It’s Christmas Cookie Time! Hooray! Time to unpack my cookie cutters and whip up a new batch of sanding sugars. Creating your own colorful sugars is easy to do, even better, homemade sugars cost a fraction of what you pay at the grocer or specialty store.

Ingredients & Supplies:
1/4 C of sugar
Food Coloring – Gel or Liquid
Jar or Plastic Bag
Toothpick if using gel
- Cornstarch (sometimes needed if using liquid food color)

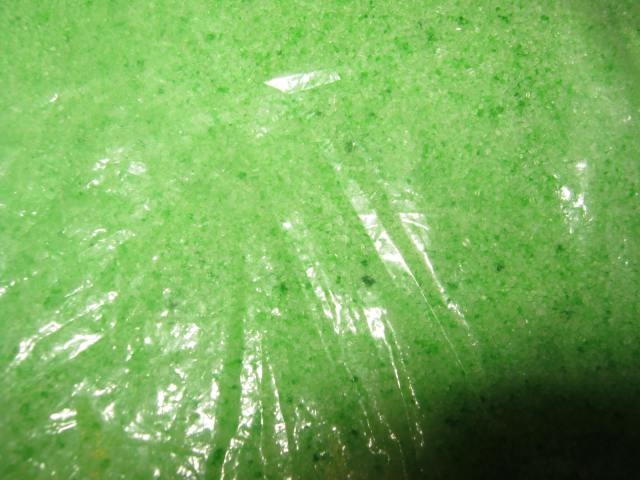
Measure out your sugar into a jar or plastic bag. Add gel with a toothpick or drip 12 -24 drops of liquid food coloring into sugar. Start small, more color can be added later. I found with the gel food coloring, mashing the colorant into the sugar through the baggie combined it quicker than shaking it in a jar. Liquid food coloring might work better with the shaking technique.
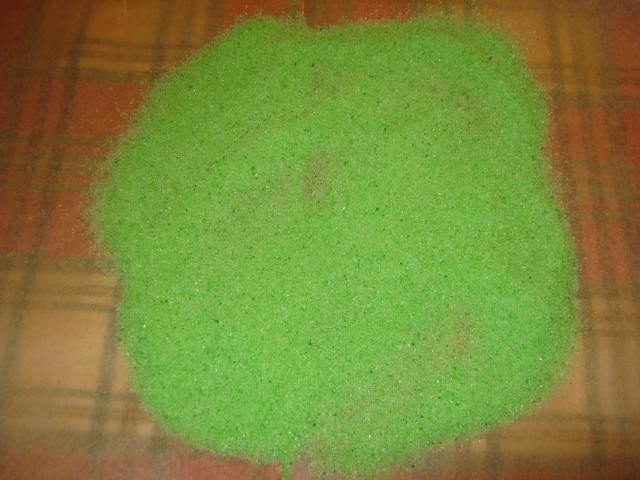
Let the sugar dry for a few hours. I spread mine on a piece of parchment paper. The flexibility of the parchment made it very easy to lift and pour the sugar into a jar. You can also use a plate or bowl. A funnel is a good tool for pouring the sugar into the jar without mess. If you used liquid food coloring, you might need a 1/4 tsp of cornstarch worked into the mix for dryness. I didn’t need any cornstarch in my sugars.
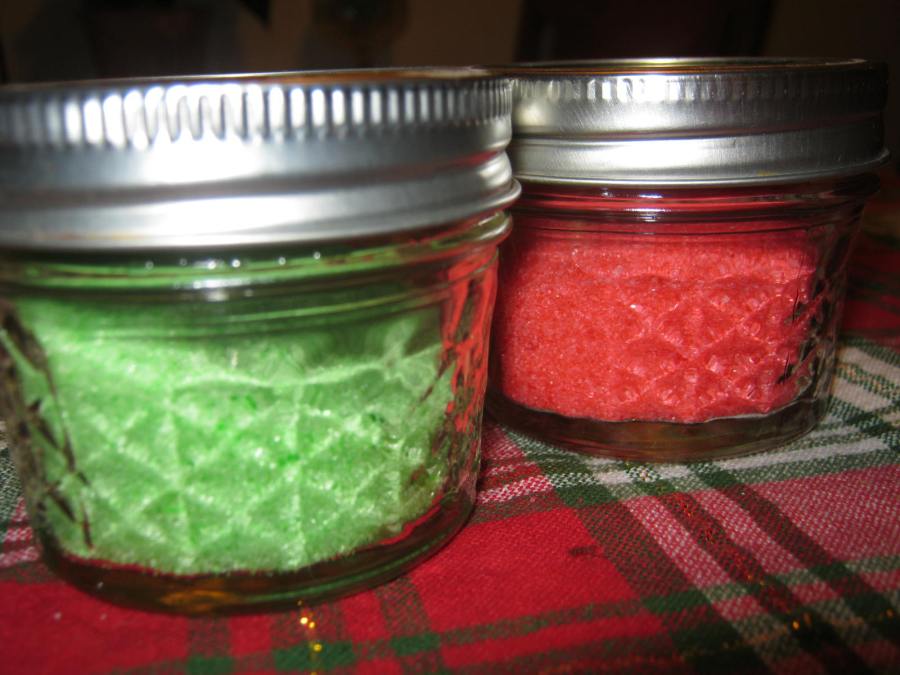
I think the finished sugars have a brighter appearance than many of the decorative sugars available in the supermarket.


Kathy, great ideas- I am going to share it with my daughter who is into baking and cooking .
What can you use colored sugar for ?
LikeLiked by 1 person
I use it mostly on cookies and cupcake icings. Thanks! 😀
LikeLiked by 1 person
As a decoration, you mean ?
LikeLiked by 1 person
Yes…edible decoration…lovely and yummy!
LikeLike
It’s also great if you need an odd color sugar. They can sometimes be hard to find or very expensive for just one use.
LikeLiked by 1 person
A great use for those cute small jars!
LikeLiked by 1 person
I absolutely love mason jars of all types and sizes. 😀
LikeLiked by 1 person
Me too!
LikeLiked by 1 person
They make great little jars for small gifts.
LikeLiked by 1 person