Here is a timely ‘playback’ post from 2016. If your Christmas timetable is beginning to crash, and you would like to create a personalized gift quickly, here is an easy way to transfer lettering of all sizes.
Creating this simple ‘PEACE ON EARTH’ plaque was easy and inexpensive. A scrap piece of wood would work just as well as a purchased plaque. I used FolkArt artist pigments for the best possible coverage. Because I wanted the wood to look rustic I only gave it one coat of Napthol Crimson.
The Napthol Crimson alone was a little brighter than I expected; I used Liquitex Transparent Burnt Umber Ink to antique the plaque. It worked perfectly. Quick Tip: Utilize a disposable brush to apply the ink, wipe off quickly to remove the majority of the color.
I chose a font and printed out letters in the size I desired for the plaque. I was lucky; you can see I almost ran out of ink. To transfer these letters to the plaque, I colored a piece of children’s sidewalk chalk over the back of the printed sheet.
Taped onto the front of the plaque with painter’s tape, I could trace around the edges of these letters with a ballpoint pen and transfer the chalk to the plaque. The outline is easy to see, yet any residue left behind after painting can wiped away when the paint is dry.
I used gold acrylic paint to fill in the letters. A swipe of black paint along the right sides gave the letters a shadowy dimension.
PEACE ON EARTH TO ALL MY BLOGGING FRIENDS! A BLESSED DECEMBER TO YOU.
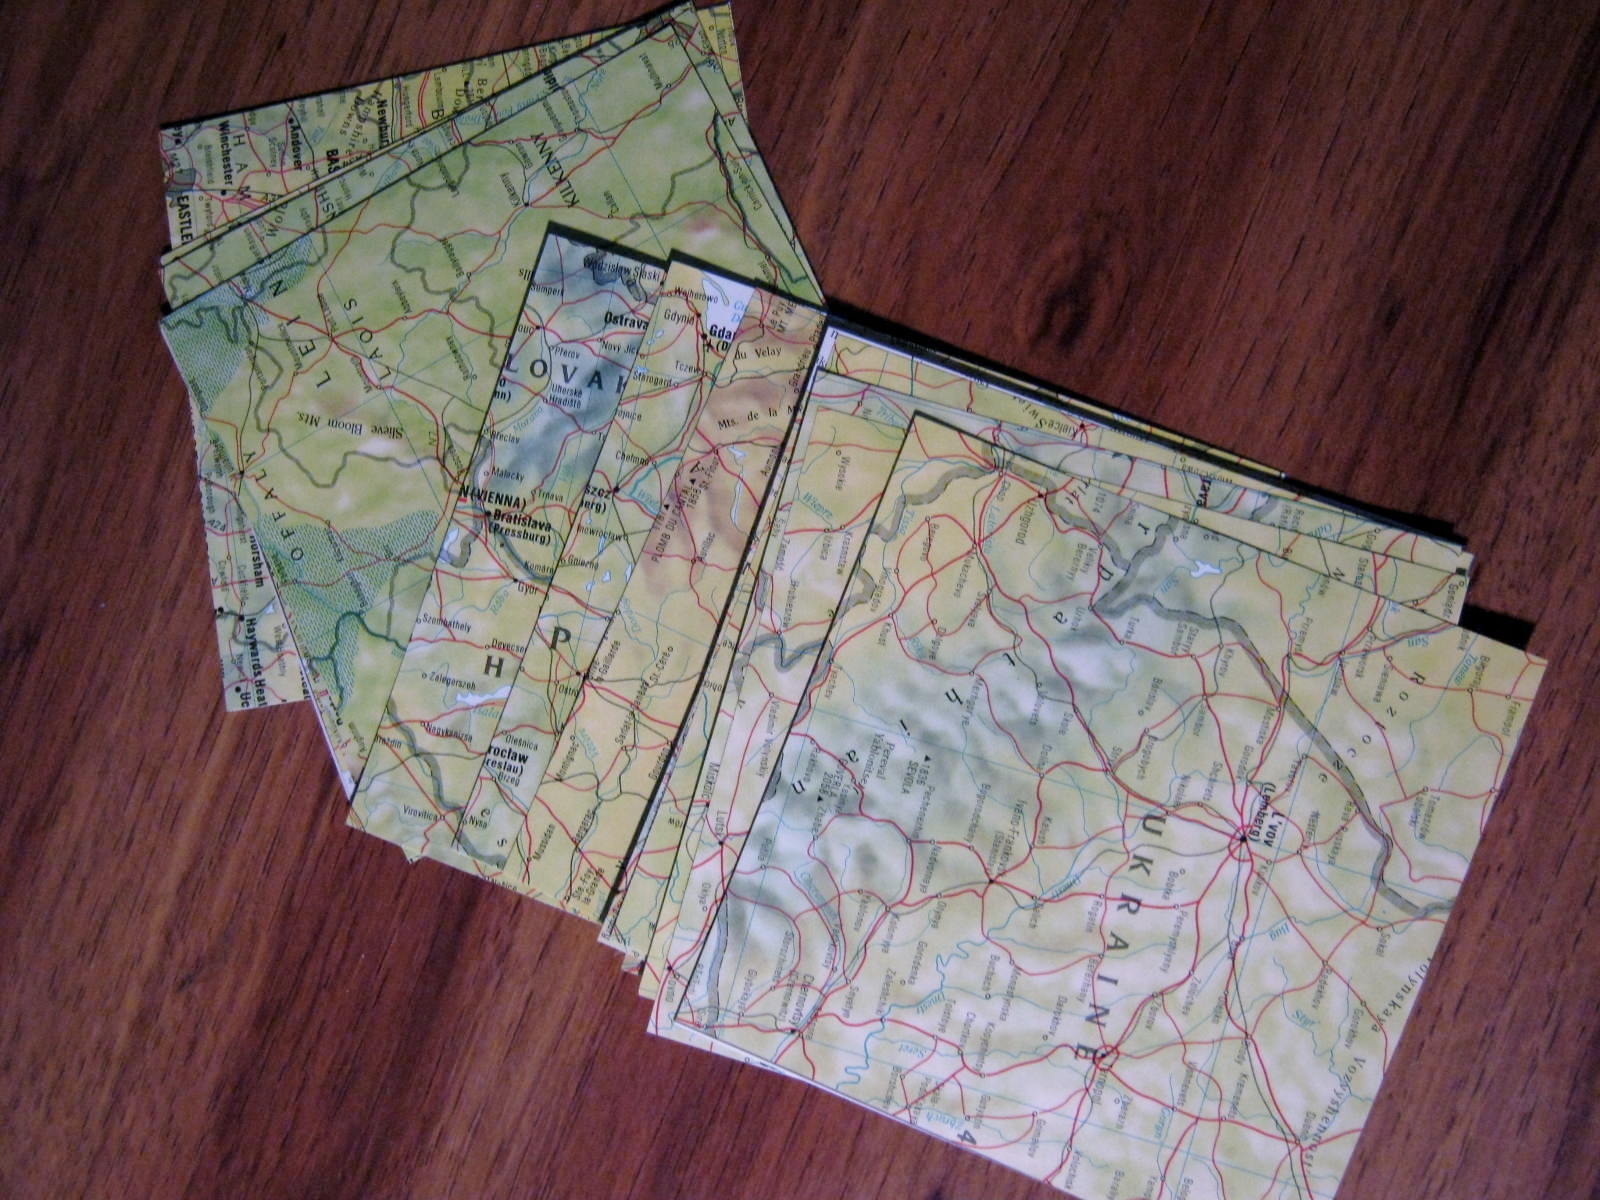
Some projects, like old records, CDs, and classic movies, deserve a playback. I started a new ‘P’ category to repost timely ‘buried’ posts. I found this one posted in December of 2012.* The paper stars I made eleven years ago from Atlas pages are still going strong. A few had to have their centers re-glued, but it’s astonishing how well they have lasted packed in a shoebox without any padding.
I have so much fun making paper stars at Christmastime. The stars can be used for any holiday: New Year’s, The Fourth of July, Easter, etc. They also could be created to hang from an indoor porch or ceiling for permanent decorations. Crafted from glow-in-the-dark paper, they would be a terrific non-electric night light for a child’s room.
My paper stars were created out of pages from an old out of date Atlas. I love the colors and shadings of the maps, and also thought it appropriate that stars commemorating Christ Jesus’ birth included countries from all over the world. I also used pages from favorite childhood classic books to create smaller stars for my tiny Christmas tree.
Since these pages did not have any color to them, I gently watercolored them with pastel versions of primary colors.
I’ll give a quick description of the steps I followed to make the stars, but the directions are condensed. I have included a video at the bottom that shows how simple the stars are to create.
To start I cut the maps into four inch squares. For the smaller book page stars I cut two inch squares. Because the Atlas pages were heavier, smaller stars and squares would not have been easy to fold and glue.
The next step involves folding four times, twice on the diagonal, twice straight across the middle. Along the middle line on each side, snip a cut about 3/4 of an inch for the 4 inch star. For the smaller star you will make a smaller snip. Trial and error is the best way to judge how long to make the snip.
At this point, you will turn the paper over on itself and glue the edge of the star point together. Hot glue made it quick and easy for me, but I have tough fingertips and am not too bothered by the heat. You want to use strong glue to grab hold quickly so you don’t have to hold the star tip too long.
Glue four points from each square, then glue another square into four points. After gluing, the middle of the star will have a raised dimension. I sometimes use a sharp pencil to push the star back into the proper shape gently. Glue two stars together, string a clear thread through the top, knot, and hang.
My star was created from a page of one of my favorite books, Anne of Green Gables. I also used Mod-Podge on these and my atlas stars to add a coating of glittery crystal.
I use books I find at local thrift stores and yard sales for projects such as these. You could also photocopy pages of books you love or copy old letters and photographs with a scanner or photocopier to use. Photographic stars would be a terrific idea for a party with the person of honor’s image on stars hanging from the ceiling or light fixture. Have fun making your stars. I had a great time creating mine. They are easy and inexpensive and are sure to please.
The original YouTube video I had included with the post is no longer available. I wasn’t able to find another with this same technique, so I made me own. I was going to edit out my stumble in the middle of it, and then decided to leave it, since it is the real me, and like me, I’m sure you have erred a bit when you’ve attempted some blog posts. So…I’ll let it stand as is. It makes me laugh.