
Once again, I’m reblogging a terrific seasonal project. I used the same technique a few year’s later to create a Valentine’s Day heart with my grand-daughters. The project and shape can be adapted to any holiday.

This beautiful Christmas tree was easy and inexpensive to create. All three of my grandsons loved putting it together. The only supplies we needed were bought at the dollar store. We purchased one piece of black foamboard and two packets of glittery stars. We had freezer paper on hand for the template, but old newspaper would work just as well.

First we scattered the stickers and took a good look at them. We noticed the stars could be used as they were, or to double the amount we had to use, the insides could be punched out and used as separate stickers. Whoo-Hoo…fun…let’s begin!
Before the boys were ready to start I cut a piece of freezer paper into a tree shape by folding it in half and cutting away half a tree. When opened, the sides matched and when placed on the foamboard waxy side down, the paper clung to the surface just a bit. To help keep the freezer paper from shifting we weighted the corners down with what was handy…salt and pepper shakers. The littlest grandson thought the salt was part of the project and promptly salted the foamboard.
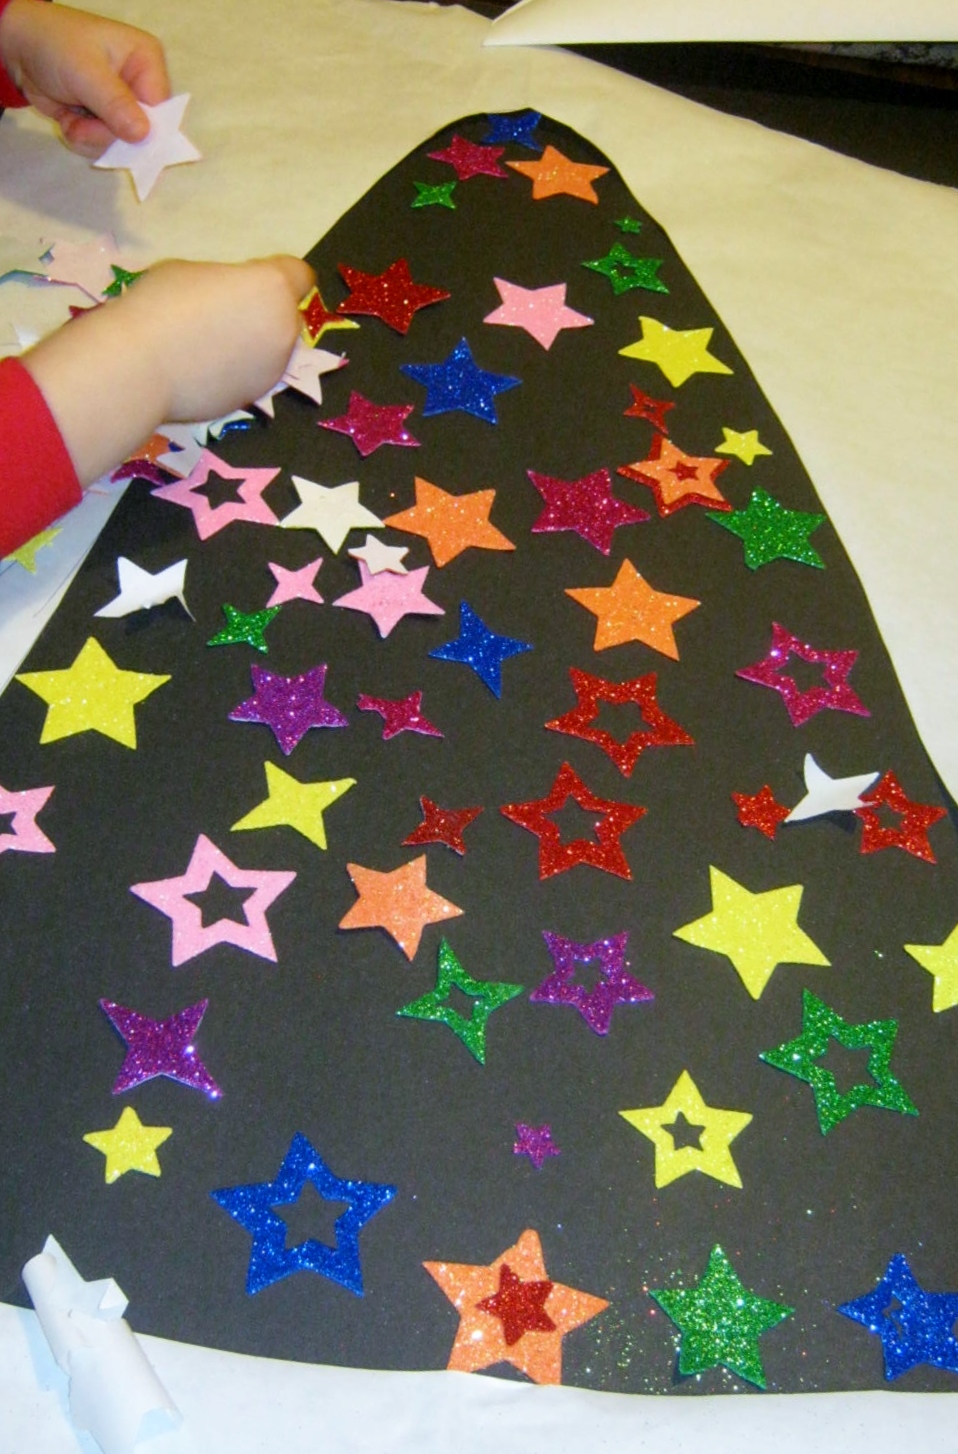
All three of the boys ages 2 1/2 through 8 years enjoyed the project. It was completed within fifteen minutes and was instantly gorgeous and bright. The only problem we had was some of the paper backing on the stickers stuck a bit for the younger boys.
When the tree was complete and we had oooh’d and aaah’d over how beautiful it was, I used my glue gun to place a string for hanging about a third of the way down from the top. The foamboard is very light and will hang on even the smallest nail.
Happy Christmas Crafting to You!


