Photo Challenges – One-to-Three Photo Processing/January

I call my photograph Snow Shadows with Prints. I like how the table casts a highly cut shadow onto the snow. You can also see that the squirrels have ventured out of their nests in the pines to search for the birdseed and peanuts I put out for them. I chose this photo for Xingfu Mama’s One-to-Three Photo Processing Challenge/January. It is a good depiction of the weather we are having, and since we are also in the deep freeze here in southern New Jersey, playing with photo filters is a fun way to pass the time.

Filter one, gritty, accentuates the silhouette appearance of the snow shadows even more. (Filter available through Ribbet.com)

Filter two, heat map, accentuates the snow’s glow and the table’s hardness.

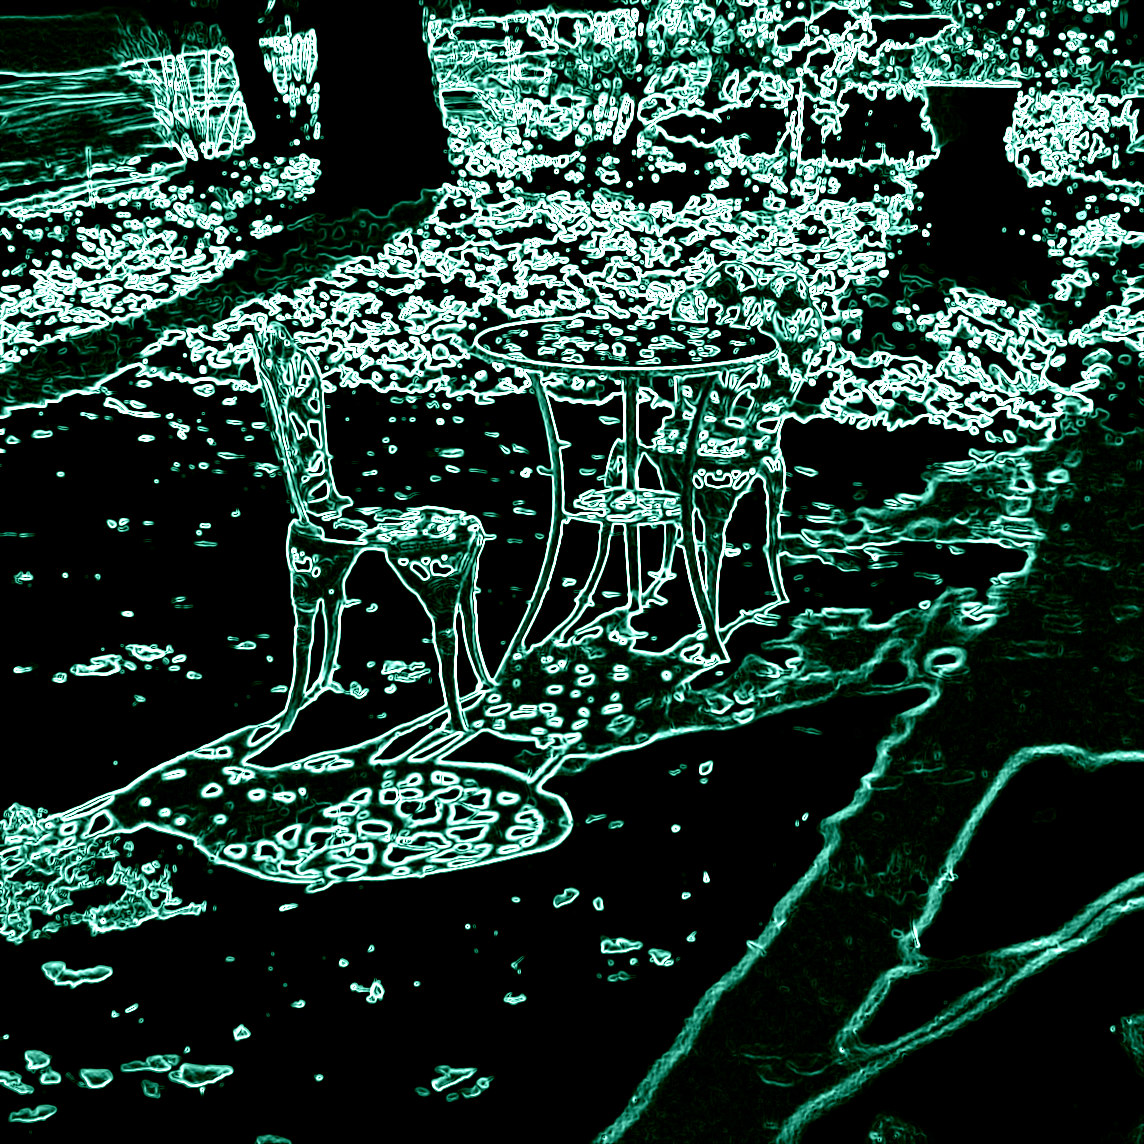
Filter three, neon, highlights the lines and curves of the objects and shadows.

Thanks to Xingfu Mama for hosting this blog challenge.

Planting – Ginger Rhizomes

Gathering in the green is one way to crawl out of the brain sludge of dreary winter weather. By green, I mean plants, green dreams of gardens to come, and green thoughts of using what is usually thrown away.

Quite a few pieces of ginger you buy in the supermarket are sprayed with a sprouting inhibitor. I recently found, in Produce Junction, a large ginger rhizome with swollen joints. They looked like they wanted to grow. Of course, to me, the sight of that ginger was irresistible. I let it lay undisturbed in my basement, and the swelling grew larger.

Yesterday, I planted it in a large 10″ pot. I hope to see sprouting above the soil’s surface in just a few weeks. I will update on the progress.

Planting indoors in such a large pot might have created havoc with dirt and debris everywhere, but I recently read an excellent tip in Martha Stewart’s Very Good Things: use an under-the-bed storage bin for planting indoors. This tip worked great for me. So much easier to close the lid when I was through and roll it under my plant table until needed again.

The online Farmer’s Almanac has an in-depth article on growing ginger from supermarket rhizomes.

Playback – Transferring Letters

Here is a timely ‘playback’ post from 2016. If your Christmas timetable is beginning to crash, and you would like to create a personalized gift quickly, here is an easy way to transfer lettering of all sizes.

img_4111

Creating this simple ‘PEACE ON EARTH’ plaque was easy and inexpensive. A scrap piece of wood would work just as well as a purchased plaque. I used FolkArt artist pigments for the best possible coverage. Because I wanted the wood to look rustic I only gave it one coat of Napthol Crimson.

img_4103-2

The Napthol Crimson alone was a little brighter than I expected; I used Liquitex Transparent Burnt Umber Ink to antique the plaque. It worked perfectly. Quick Tip: Utilize a disposable brush to apply the ink, wipe off quickly to remove the majority of the color.

img_4106-2

I chose a font and printed out letters in the size I desired for the plaque. I was lucky; you can see I almost ran out of ink. To transfer these letters to the plaque, I colored a piece of children’s sidewalk chalk over the back of the printed sheet.

img_4108-2

Taped onto the front of the plaque with painter’s tape, I could trace around the edges of these letters with a ballpoint pen and transfer the chalk to the plaque. The outline is easy to see, yet any residue left behind after painting can wiped away when the paint is dry.

img_4109-2

I used gold acrylic paint to fill in the letters. A swipe of black paint along the right sides gave the letters a shadowy dimension.

img_4110-2

PEACE ON EARTH TO ALL MY BLOGGING FRIENDS! A BLESSED DECEMBER TO YOU.