Product – Miracle-Gro Composter/Tumbler

I purchased a composter/tumbler from Miracle-Gro this Spring. It was totally unassembled, so it took my husband about 90 minutes to put it together. A few connective inserts bruised his thumb as they were challenging to push into the frame. Yet, when the composter/tumbler was ready to use, it was all easy from that moment on. 

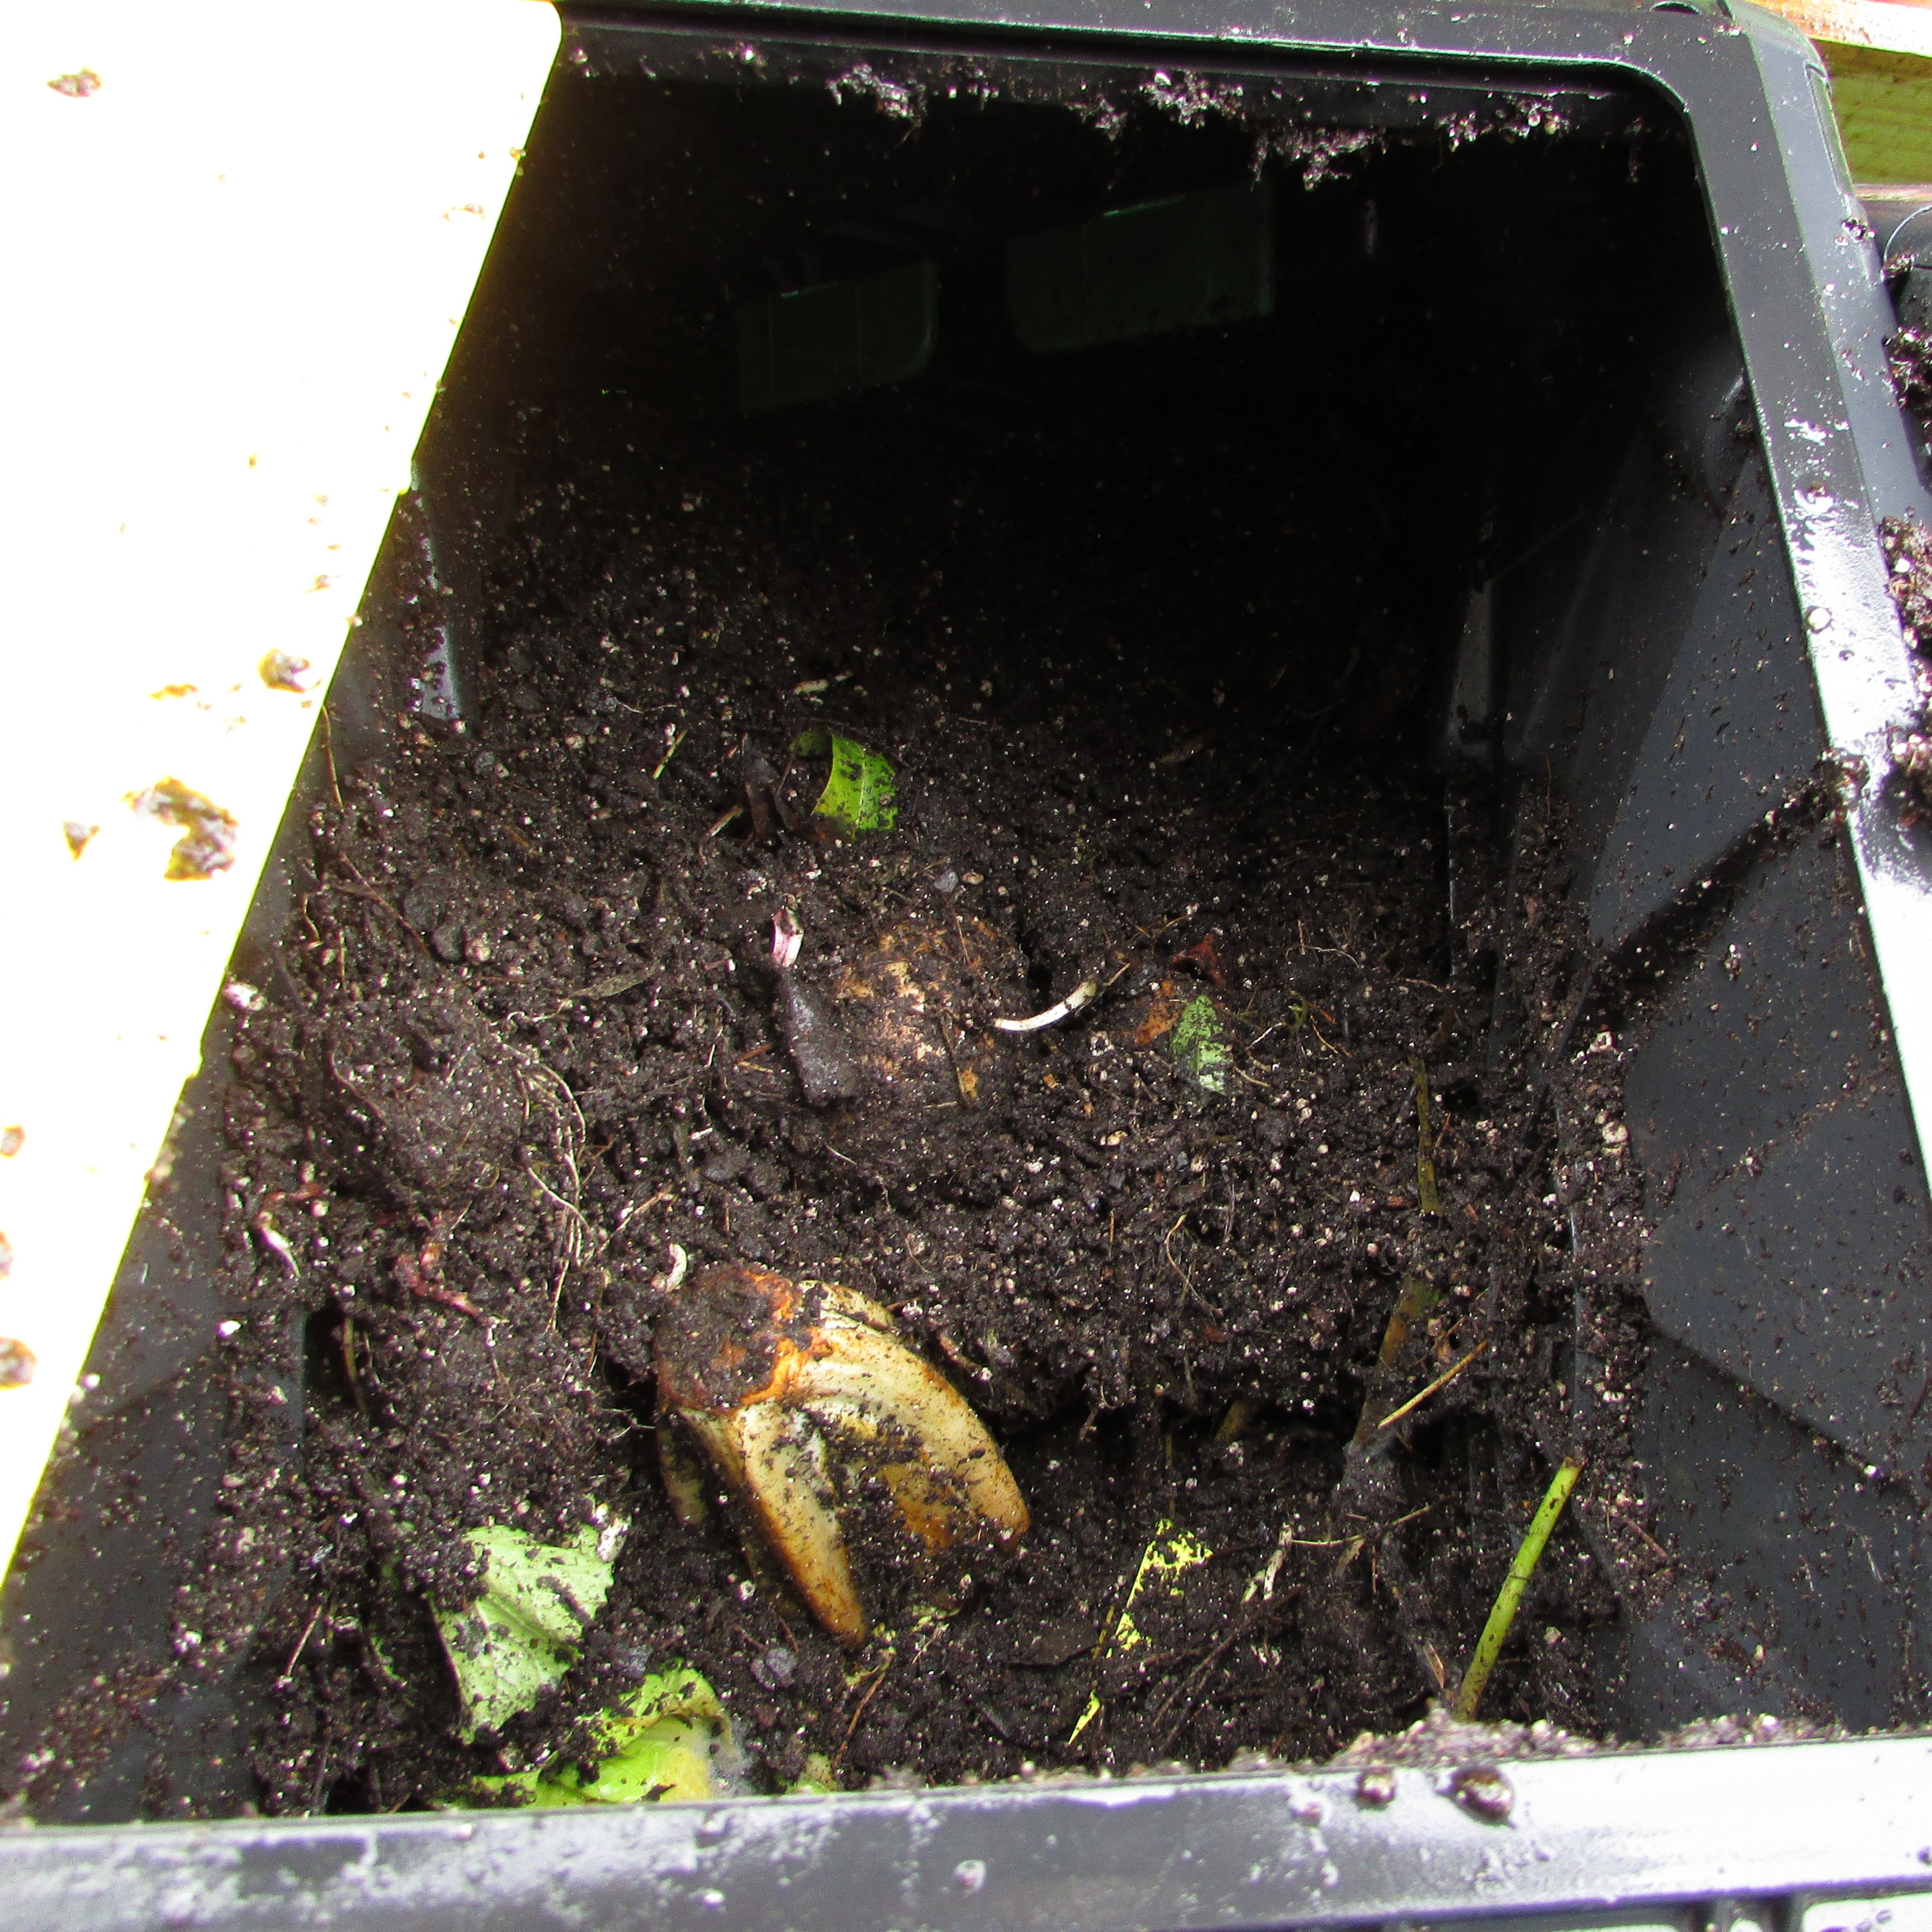
I placed it in the back of the yard. The composter is not an eyesore, but it is only pretty if you are a gardener and recognize what you are looking at. I immediately added a bit of used potting soil, undiseased yard/garden clippings, and kitchen scraps. Every day I made sure to tumble the bins. When the first bin was full, I marked six weeks on the calendar, and today was the day I scooped out my first harvest of compost. 

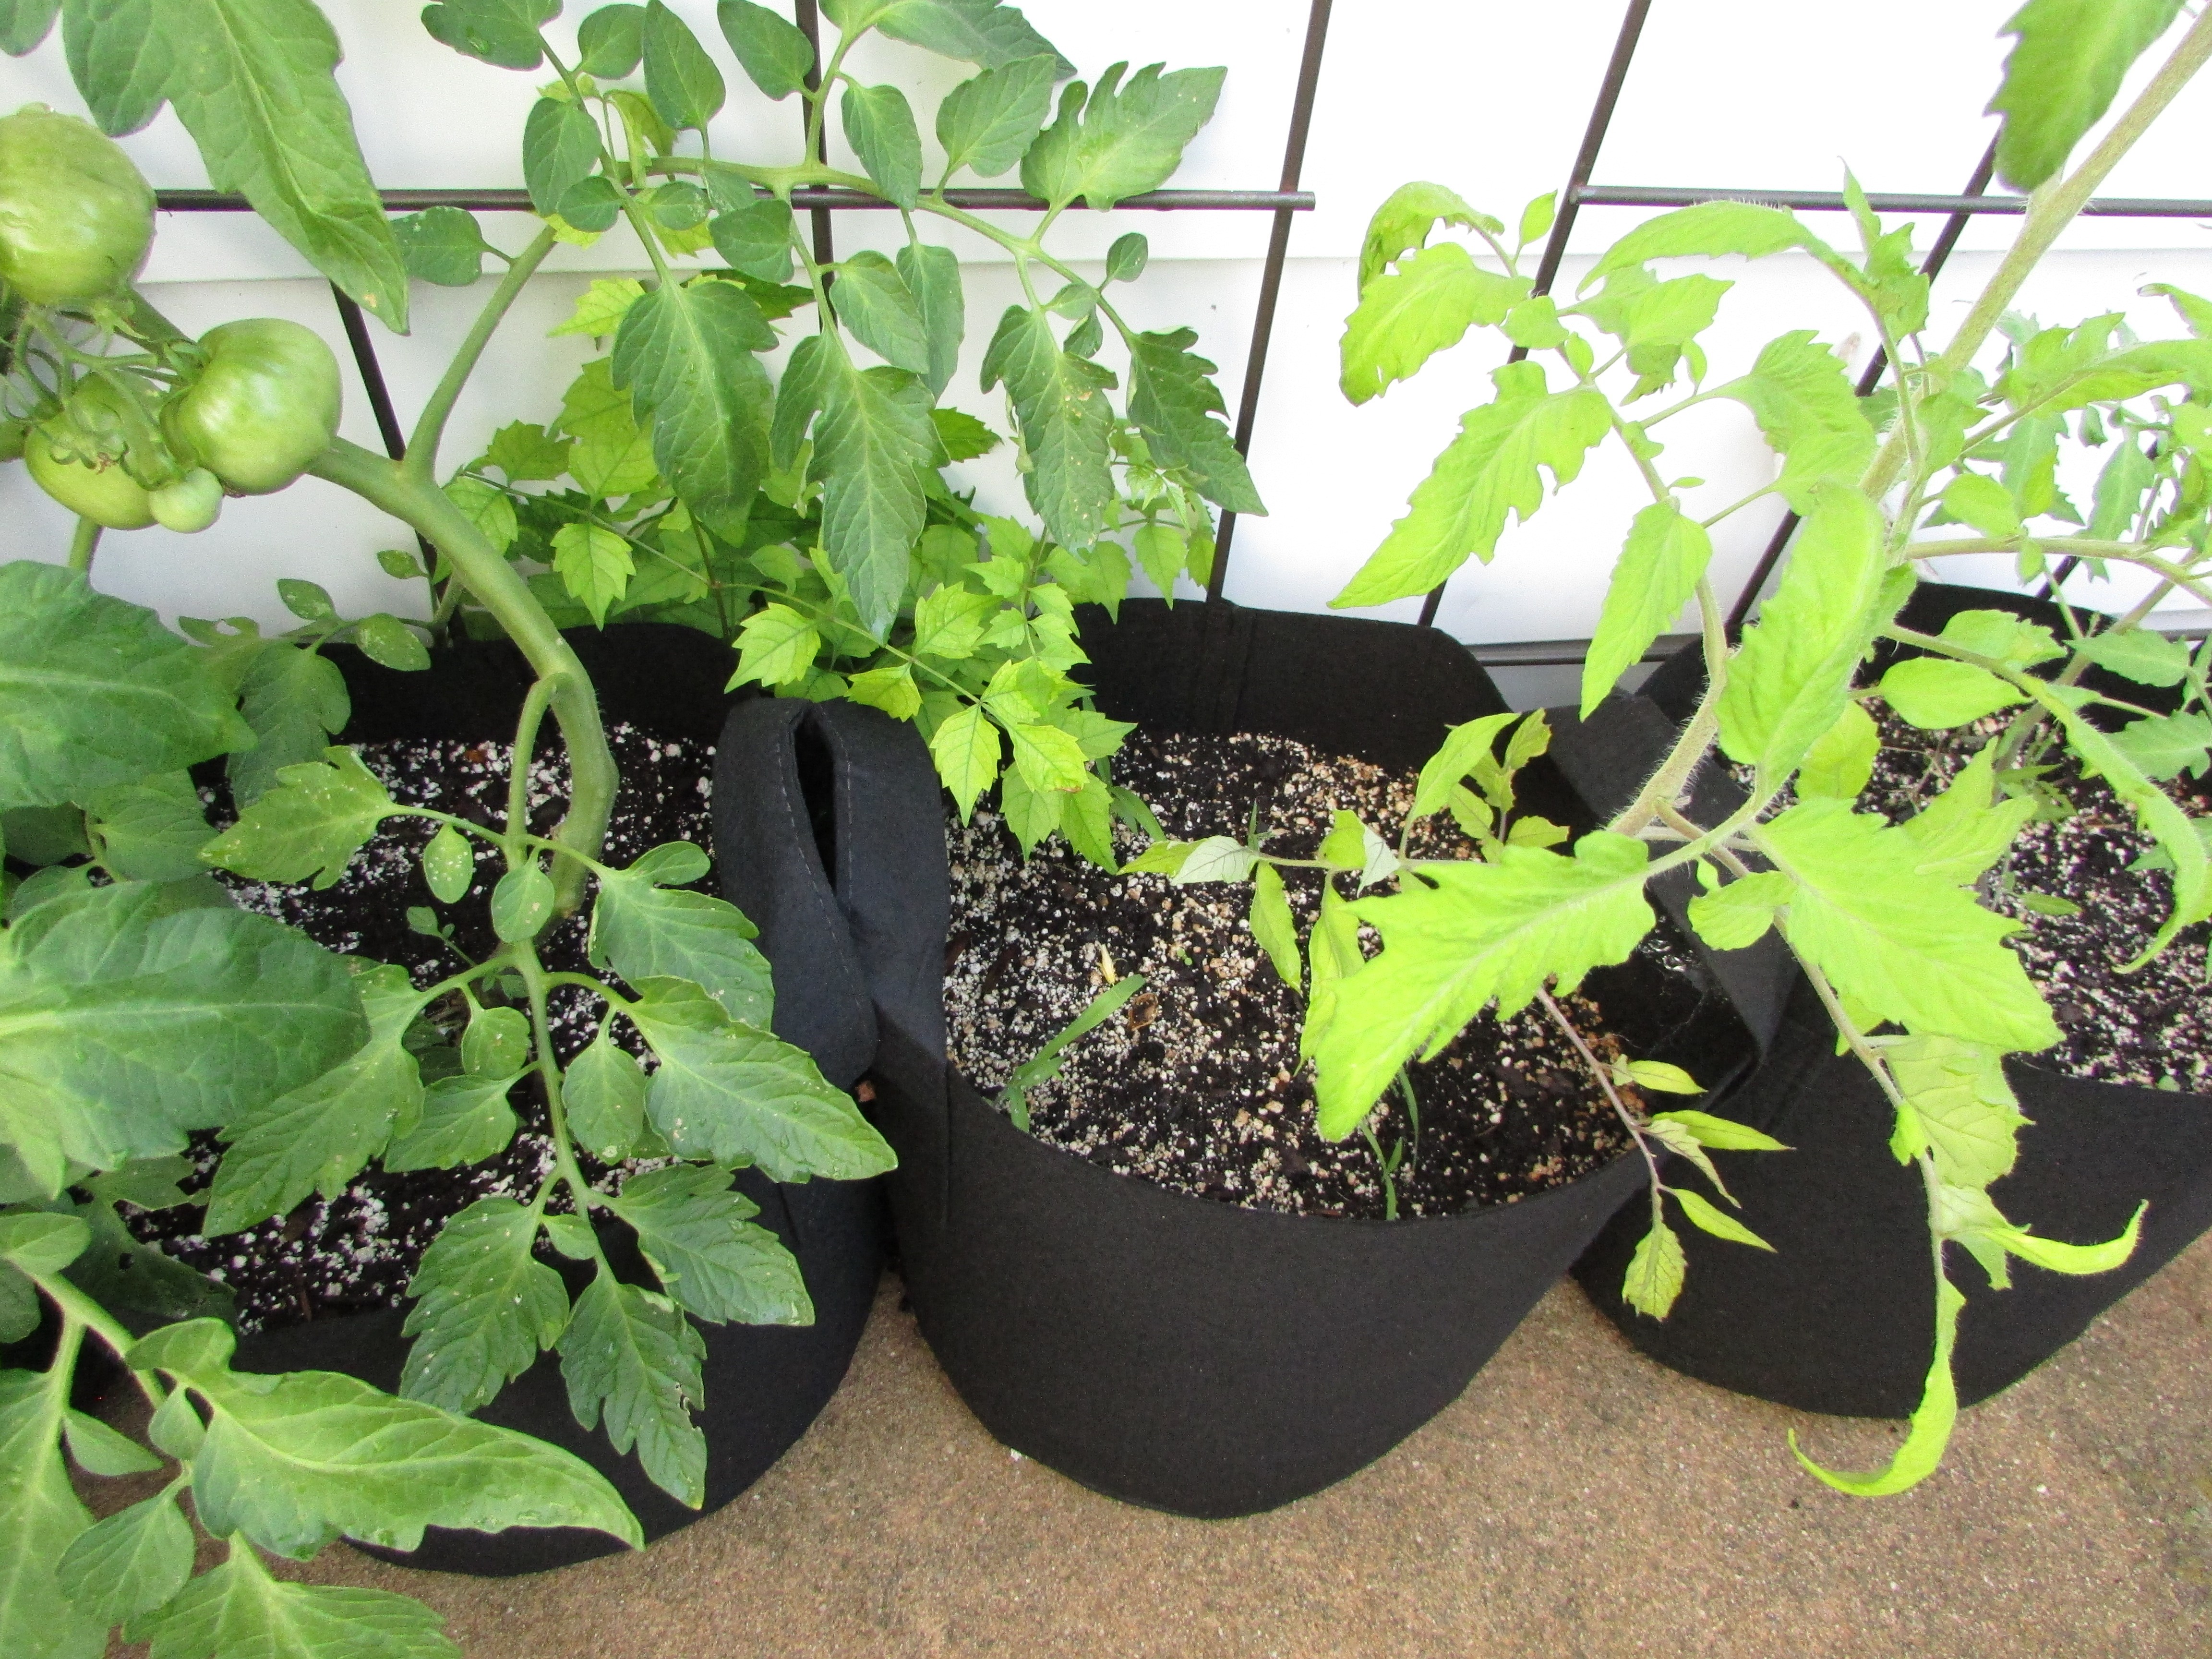
After removing the few sticks and roots that had not decomposed, I admired the dark, beautifully textured soil the composter created. I added it to the tops of my potted tomatoes. I am pleased with this wonderful garden product and recommend it. I purchased mine through Amazon. 

  • The only drawback to this product is that it is time-consuming and frustrating to connect some of the pieces. 

Projects – Square Foot Gardening Update

Yesterday, after visiting Roork’s in Elmer, New Jersey, we began mixing the growing medium for our first square foot garden. Setting these gardens up is a bit pricey. For one 4 x 6 raised bed we spent about 75.00. The good news is that this expense is a one-time occurrence. In coming years we will only need to add a bit of our own compost to the bed. These raised beds need no fertilizer or additional amendments.

Mixing was easy in an old children’s swimming pool. We mixed half the product at a time. Joe did the mixing, I did the clump-busting with a metal garden rake.

We used four different types of humus, the book recommends five, but we decided four was enough, two types of manure, one mushroom soil, and bucketfuls of our own compost from the bin.

We used a whole bale of peat moss as the book, Square Foot Gardening, recommends.

A bale of vermiculite was next. This was the most expensive item. It does look much more natural than perlite though, so in the long run we know it will be more aesthetically appealing.

All we need now is a bit of fencing to keep the rascally rabbits, the curious cats, and the mischevious chipmunks and squirrels out of the bed. Today I might work on making some scary looking owl replicas out of old CD’s. Fun.

Promise – Compost

How to Compost-Click Here

The composter in the above picture sat in my back yard for years…empty. I was concerned the rotting vegetation would cause a bad odor and offend the neighbors. This year, after once again reading about the benefits of compost, I decided to give it a try. Oh my! After a week or two of tweaking the additions I made, I finally had something that had only a smell of the humus beneath the trees in the woods.

I am surprised at my diligence where the compost is concerned. Rain, shine, cold or heat, I turn it every day or two. I have found it easy to read the condition of the compost. When it is slimy, I add black and white newspaper pages. When it seems dry, I wet it down a bit. I daily try to add a mix of vegetation from my garden, grass clippings, dried leaves and leftover kitchen scraps. I am so caught up in making “black gold,” I have begun a second composter in a Rubbermaid trash can. In April, I should be able to reap the rewards of my first container. Onward with the composting.