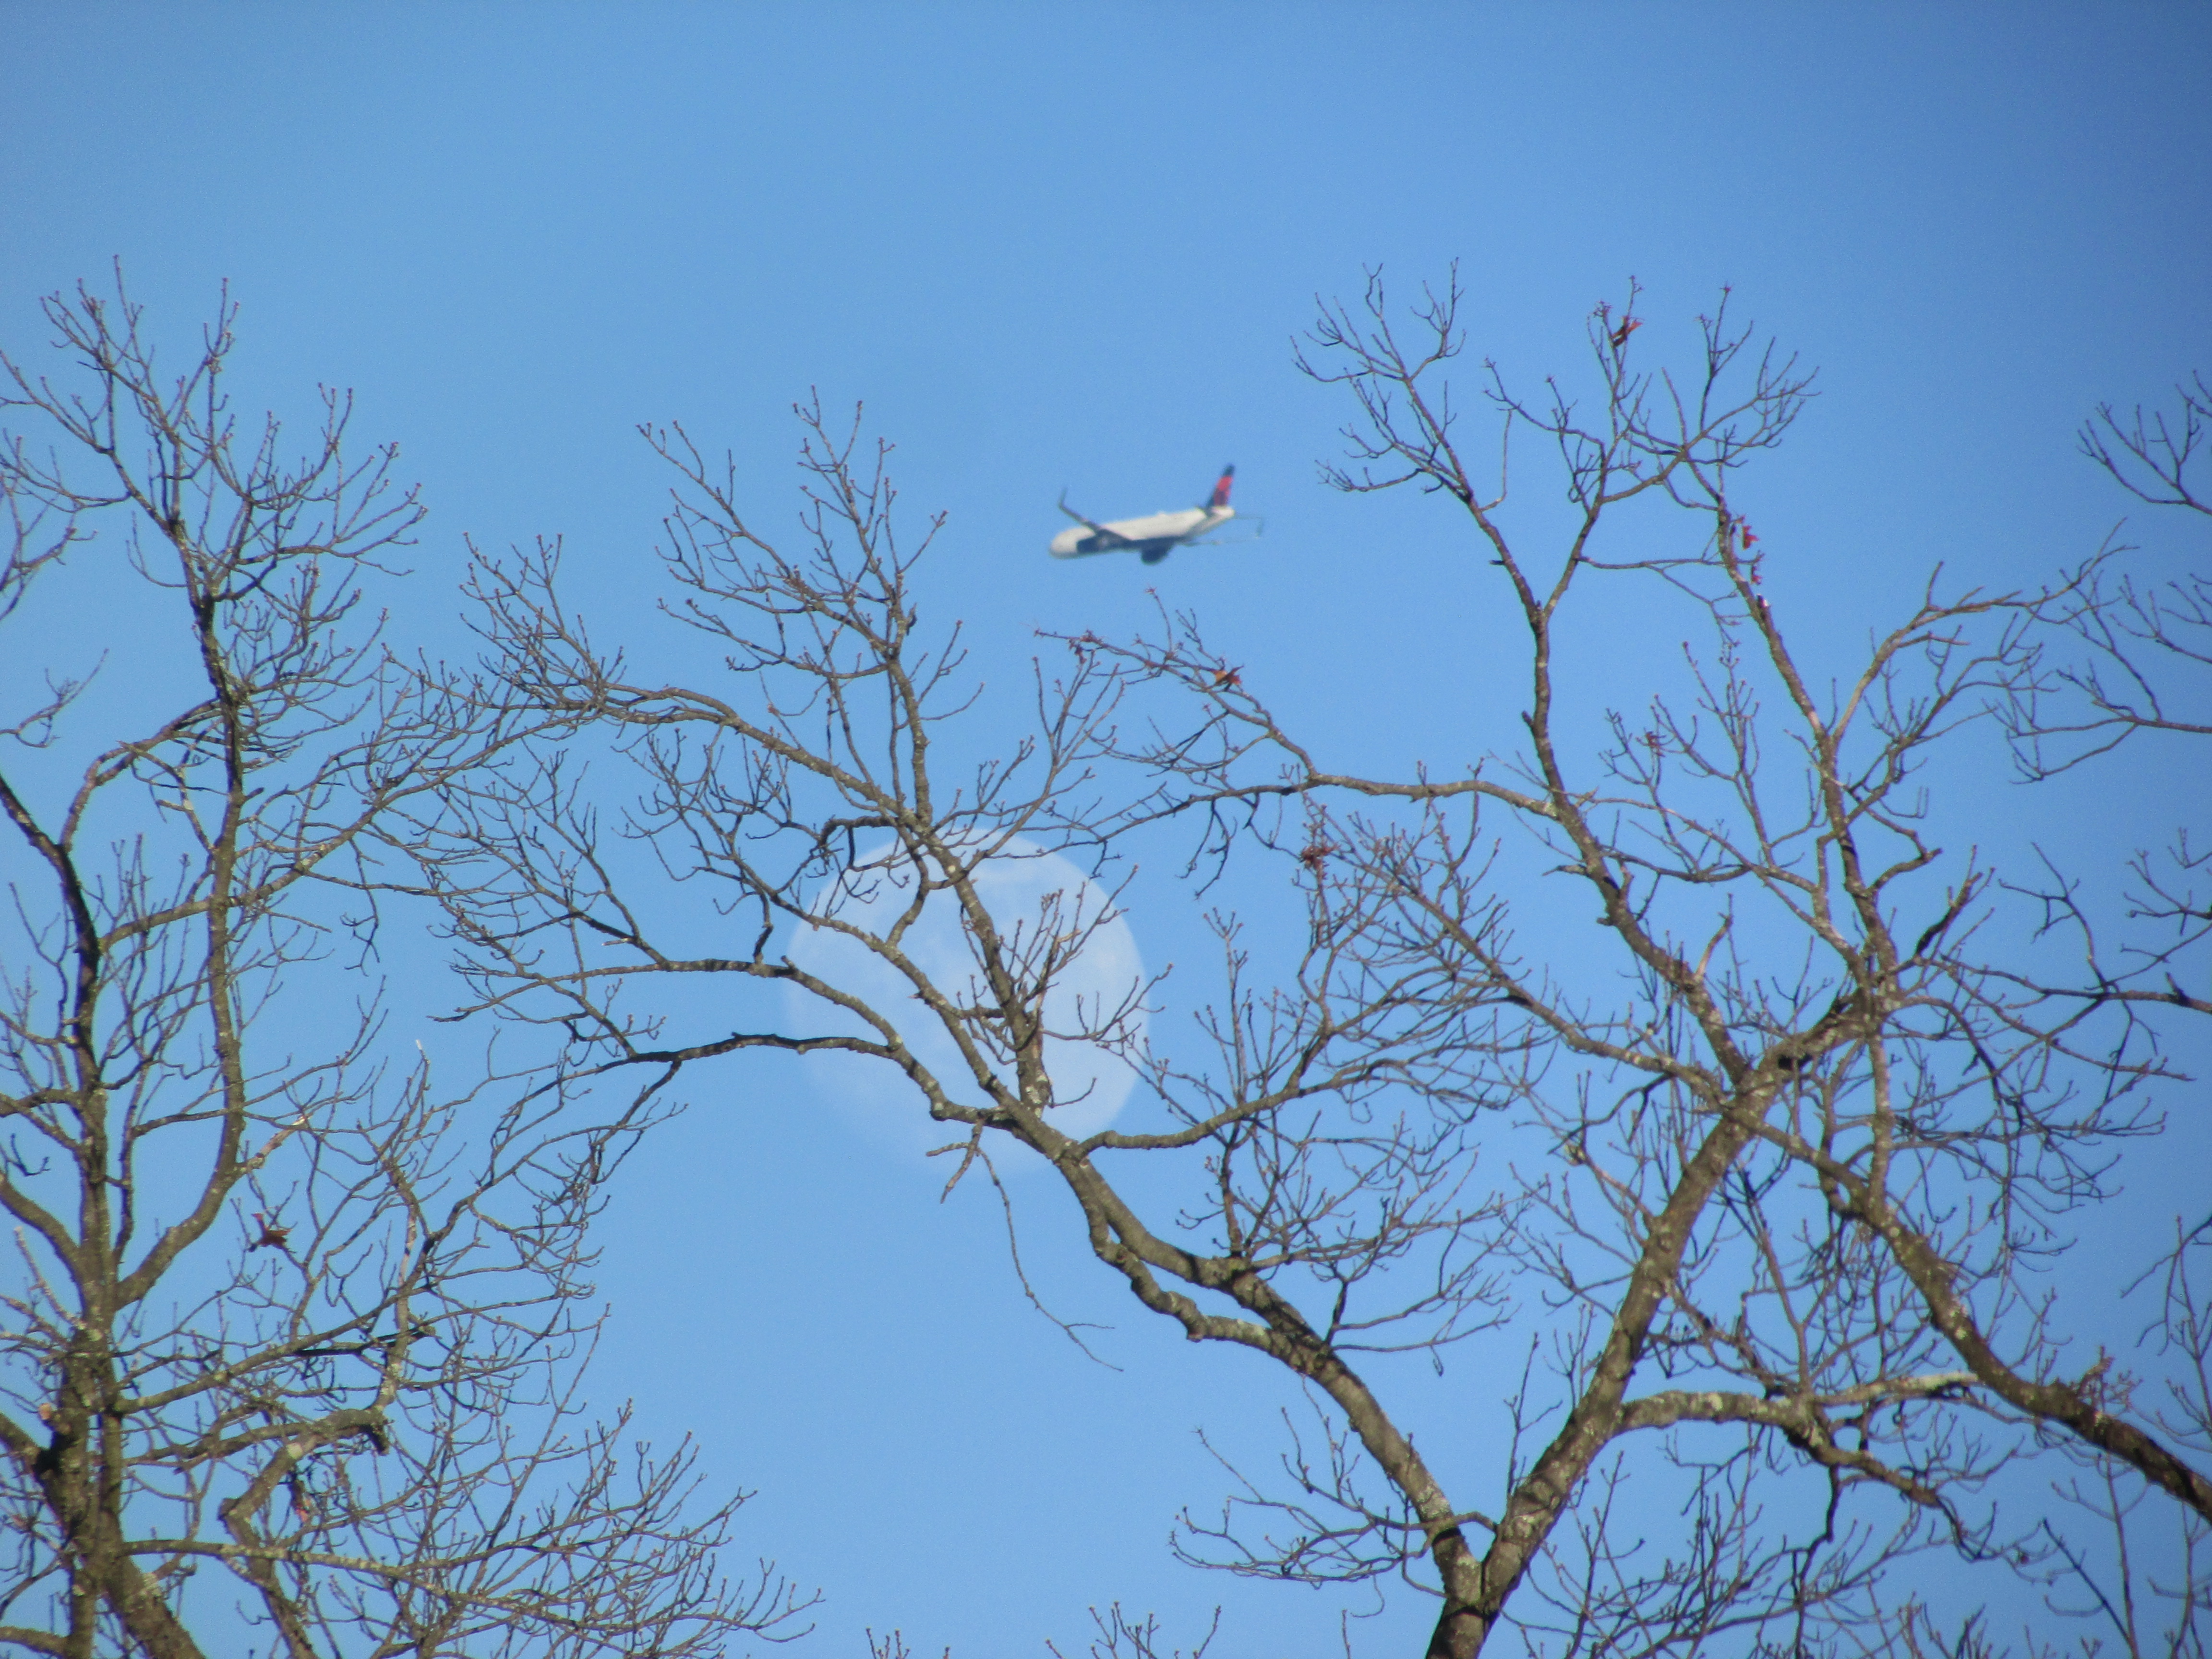
Favorite Skywatch Photograph – As I photographed the rising moon Friday night, I captured an airplane at the perfect moment as it flew towards landing at Philadelphia International Airport.

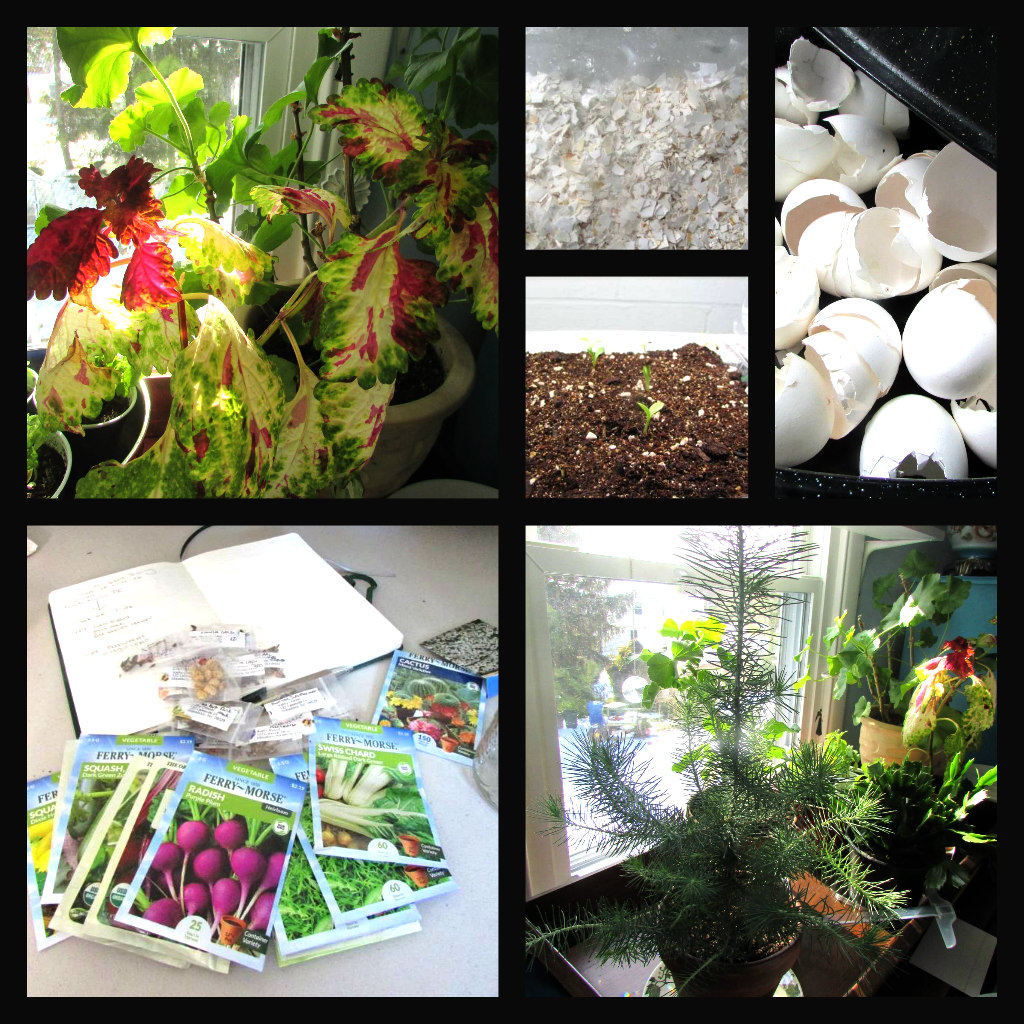
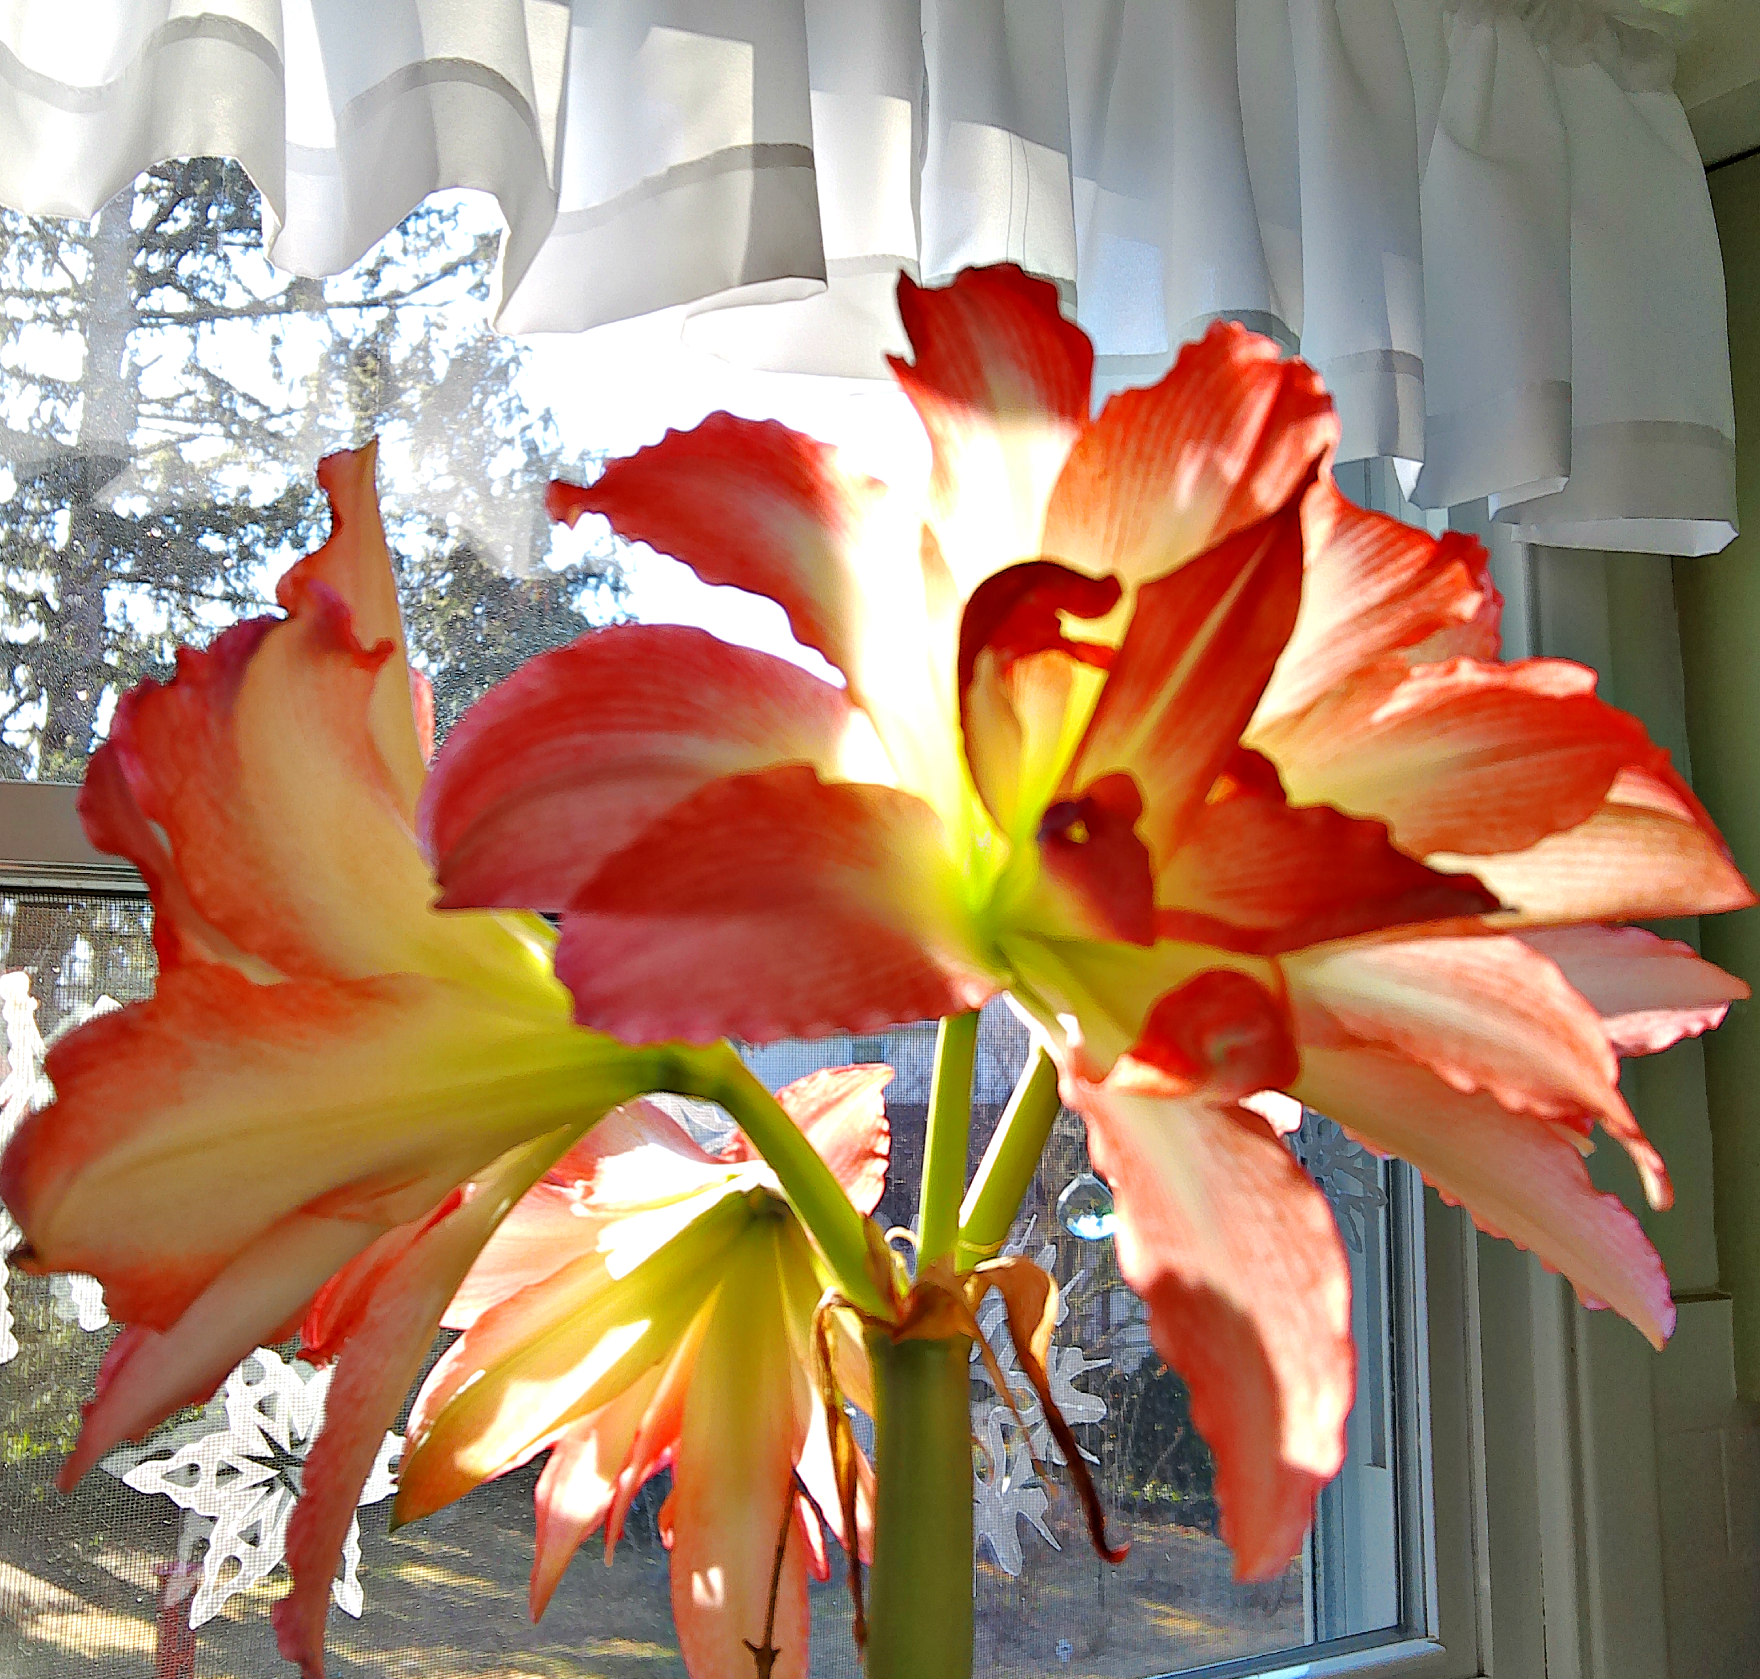
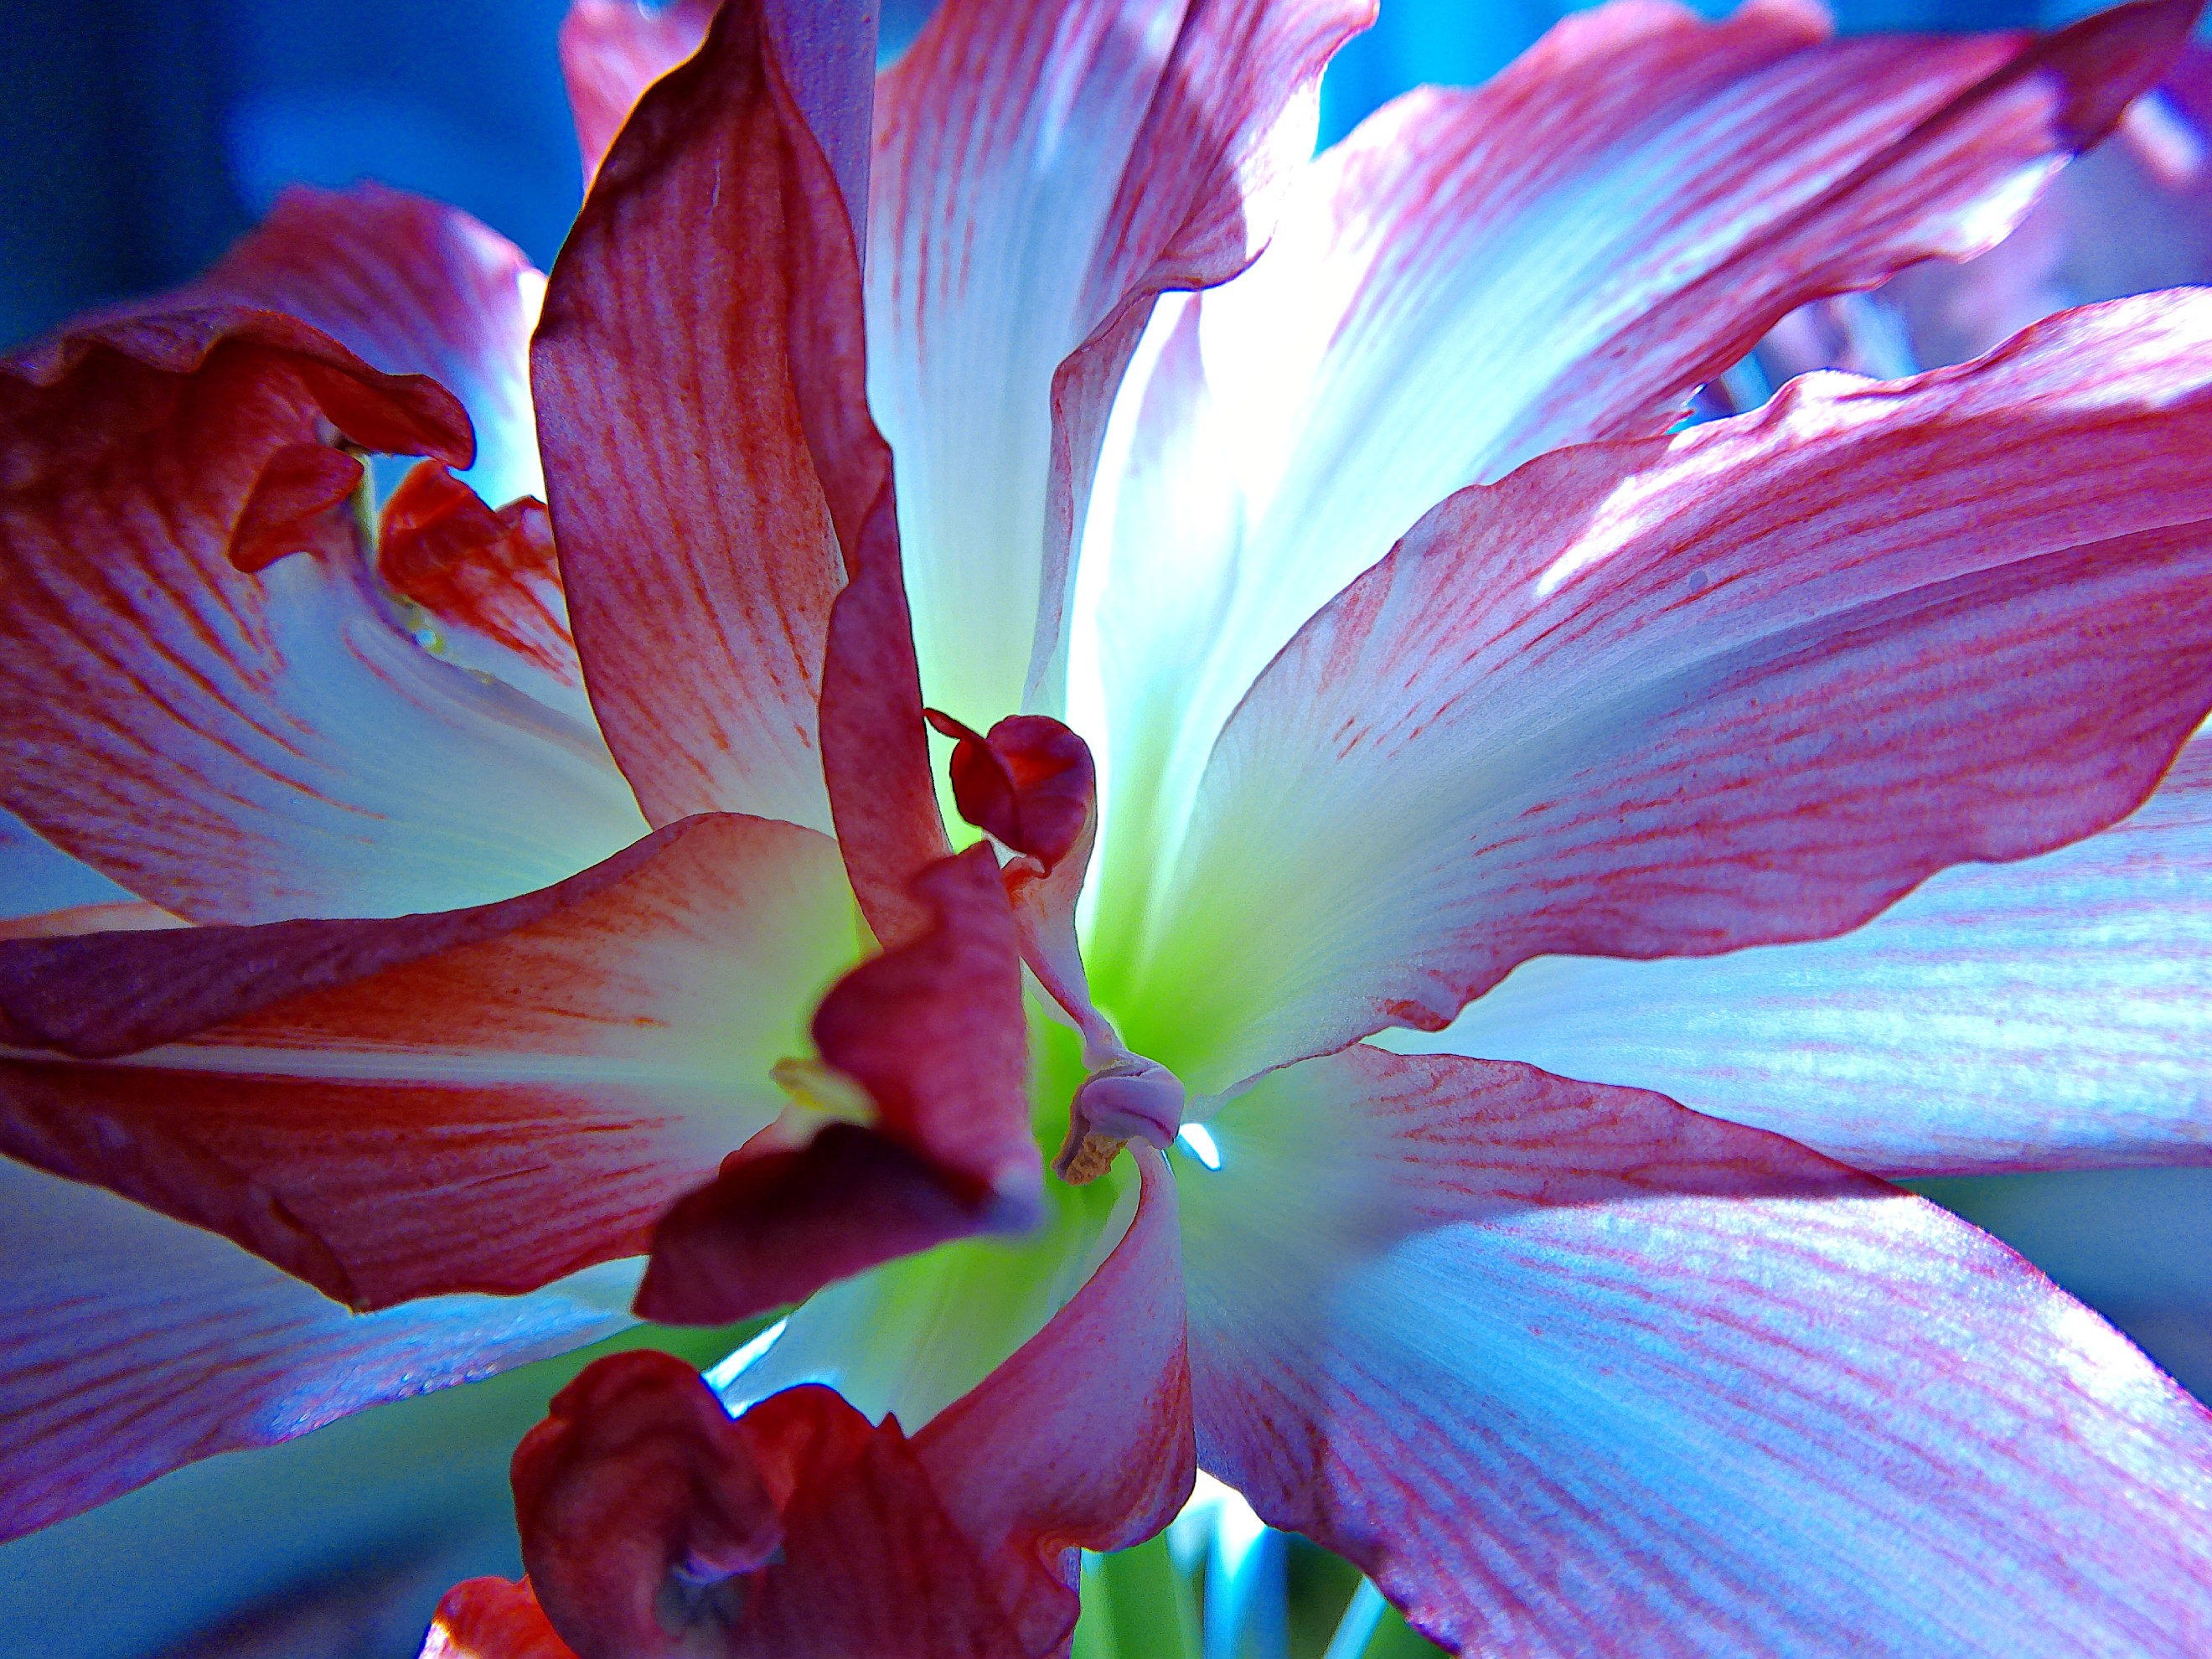
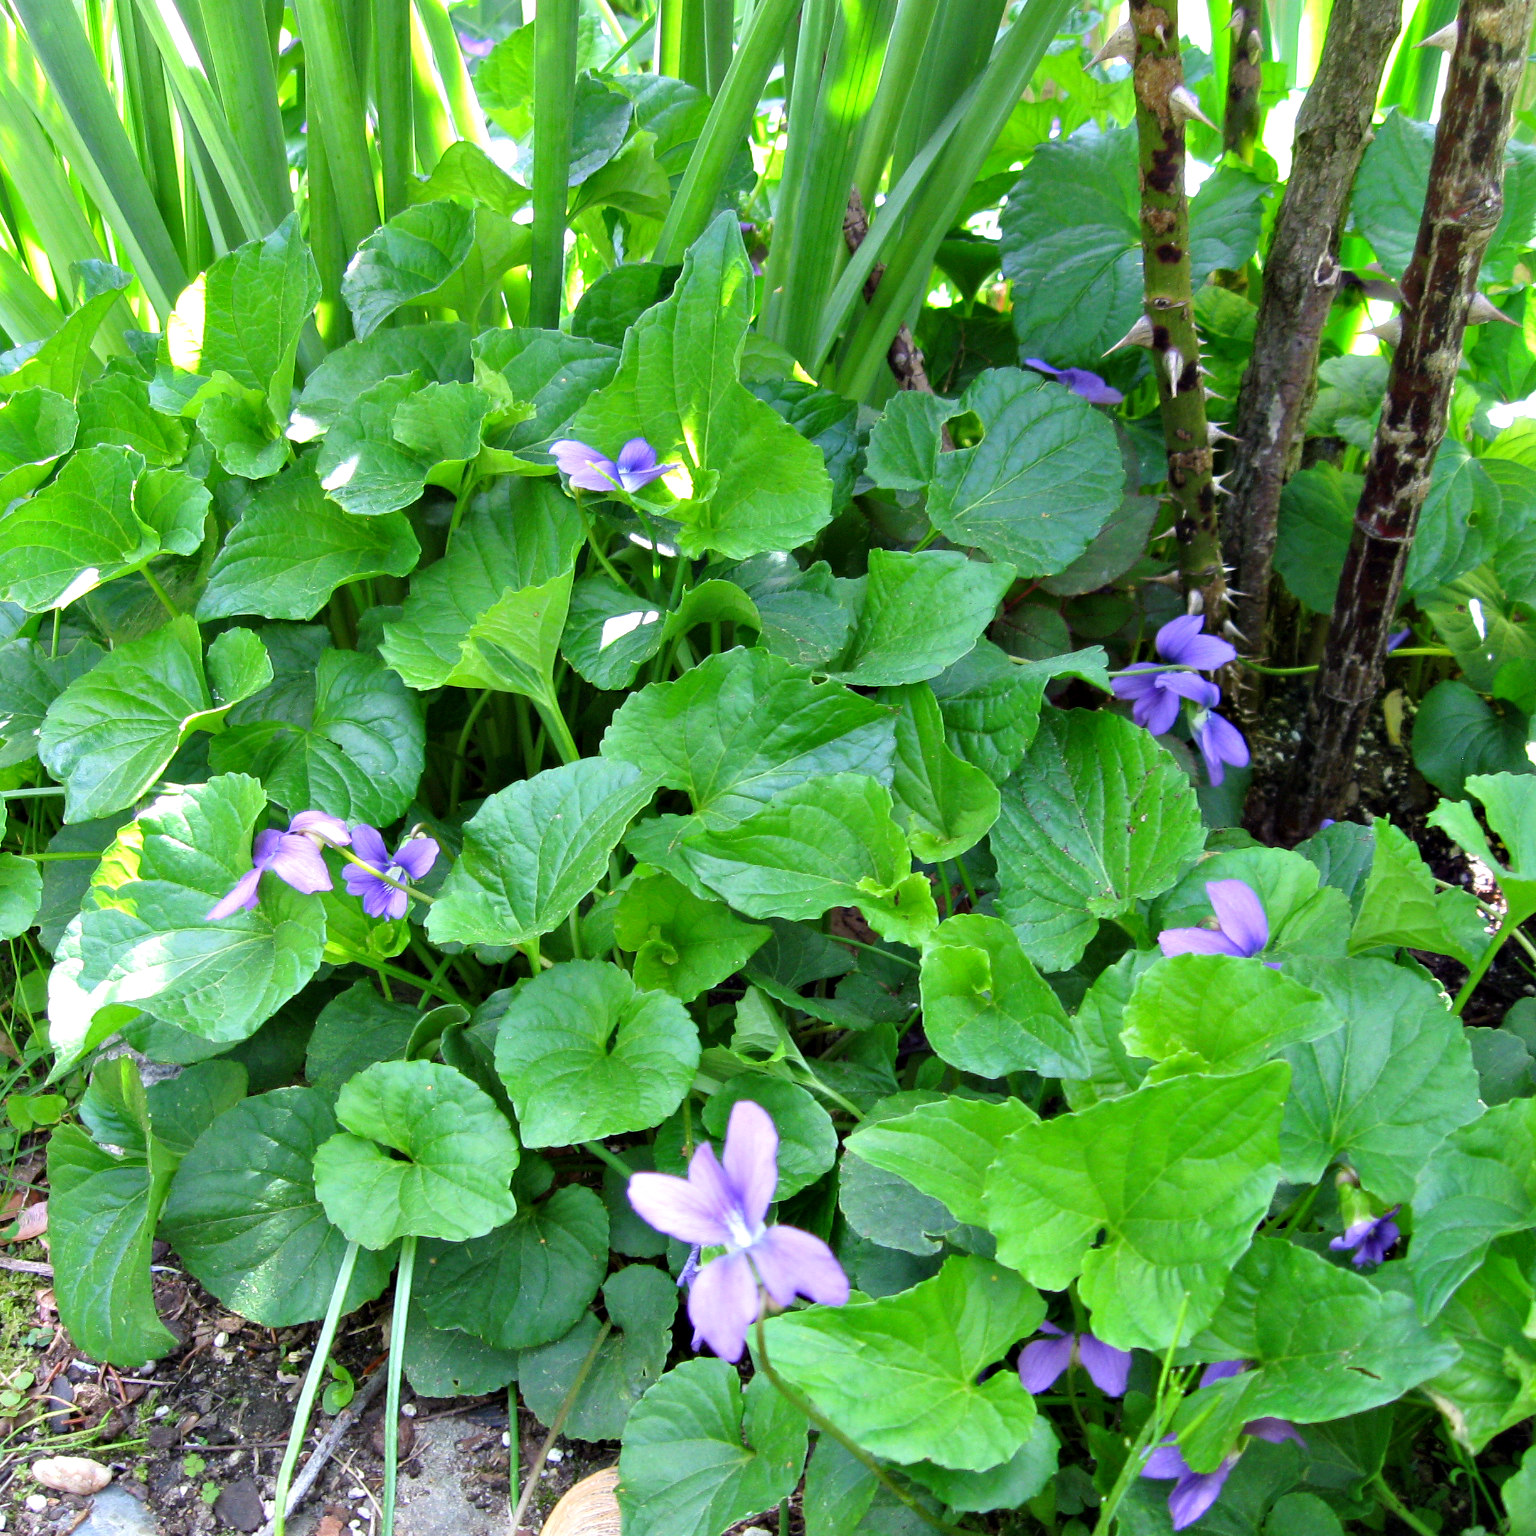
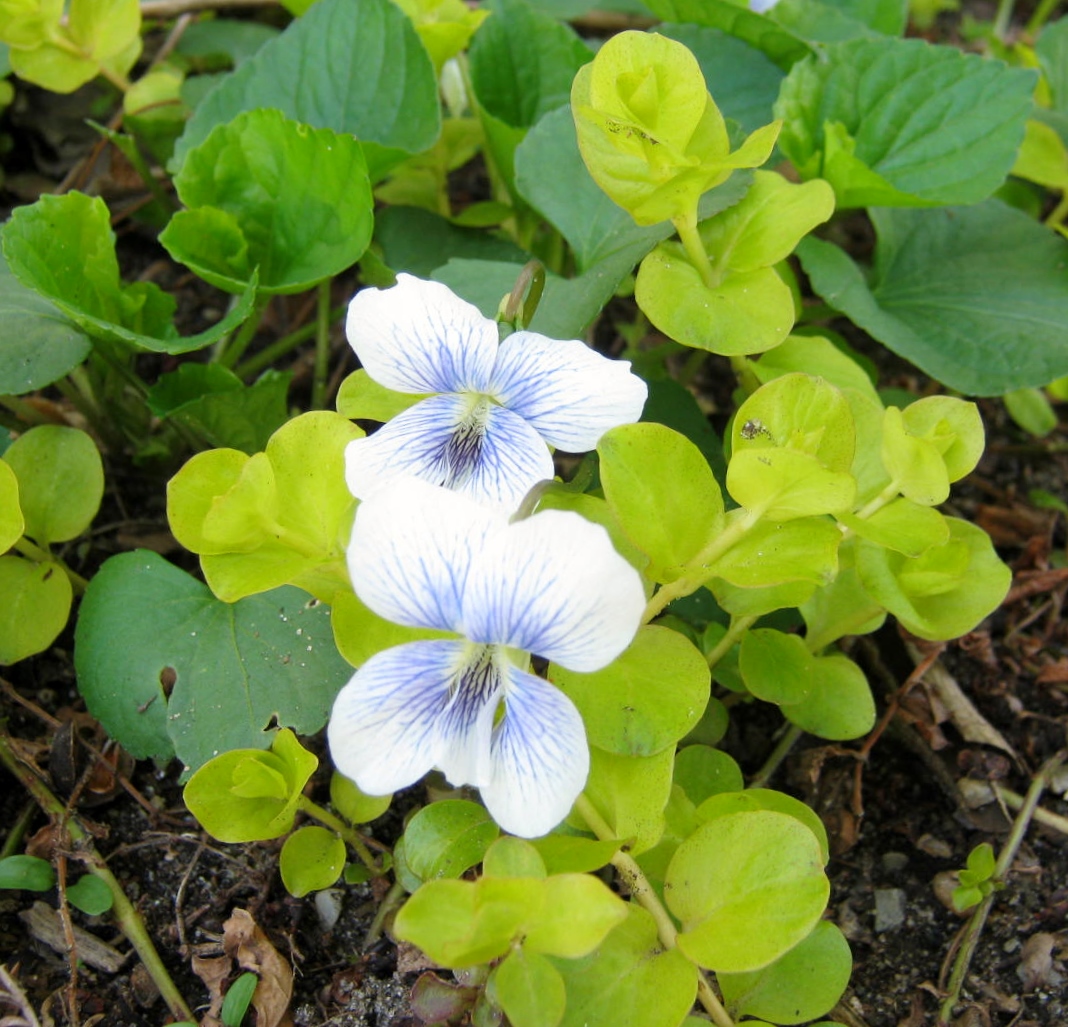
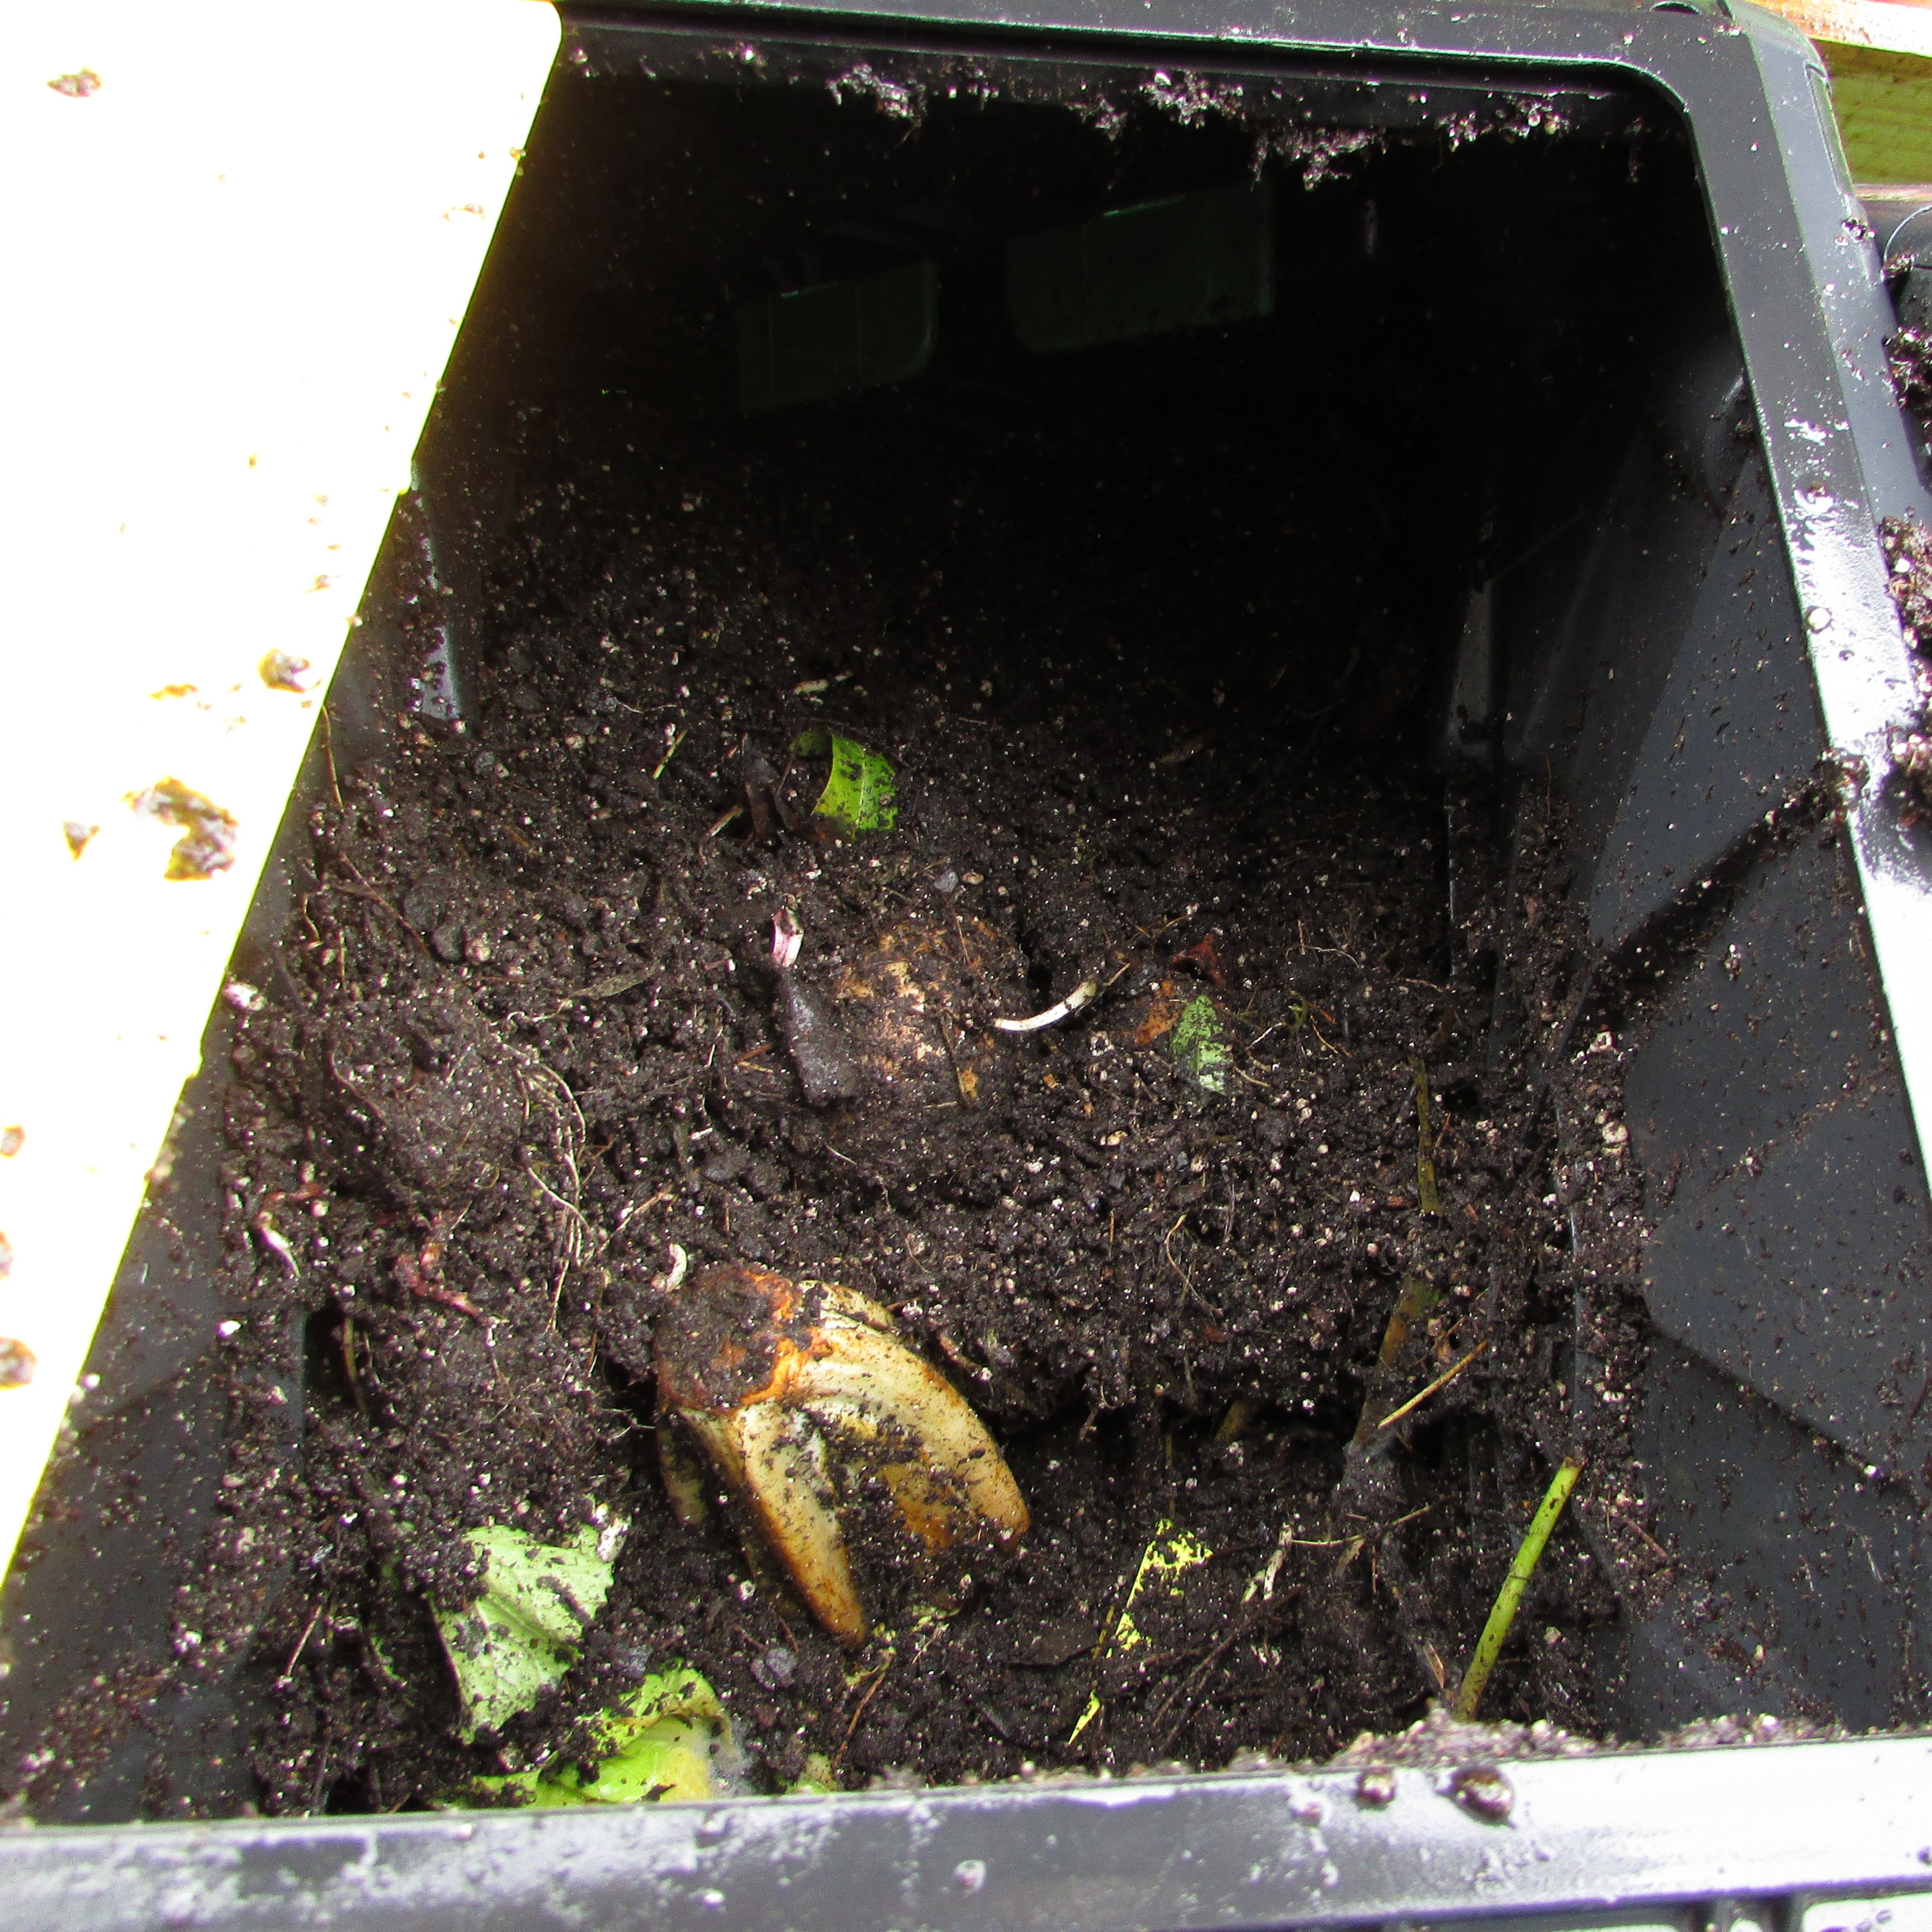
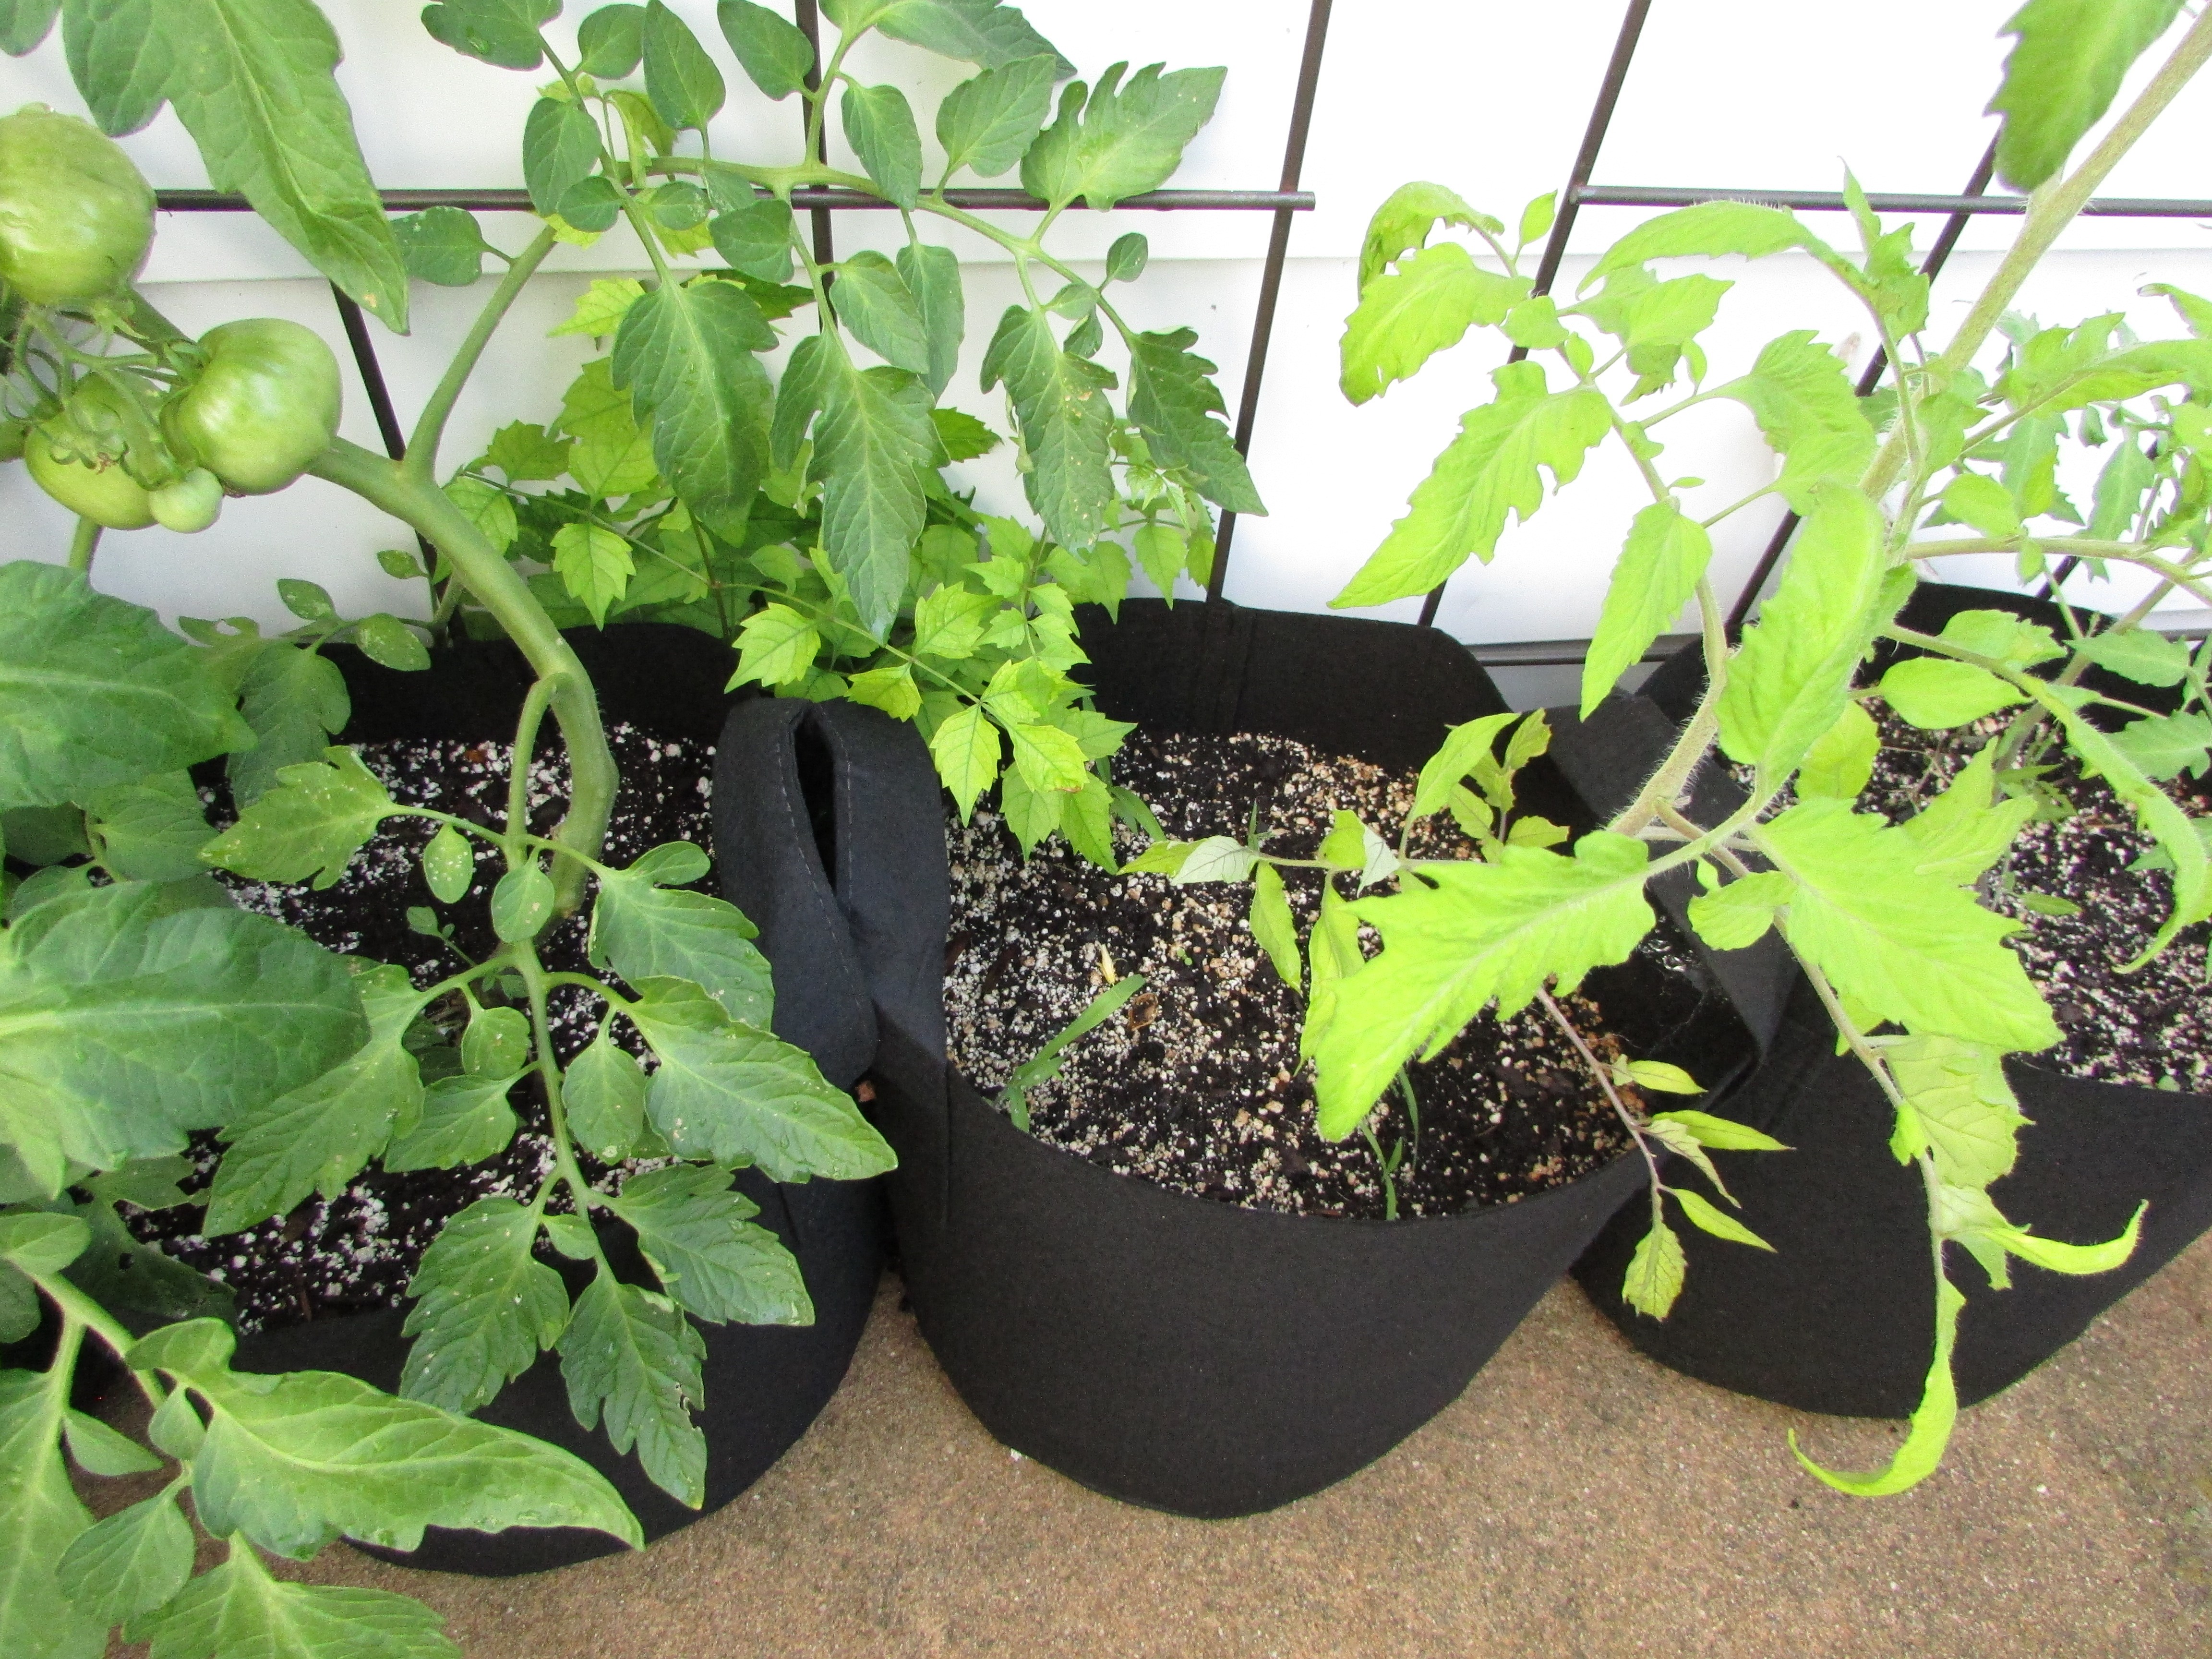
Garden Joy (Clockwise Top to Bottom Left) Favorite coleus with a ‘mutated’ stem of a totally different color. Crushed eggshells for the garden beds (good for controlling soft bodied bugs), sprouted Dahlia seeds, baked eggshells before crushing, Stone Pine, beautiful bluish needles, soft and flexible, bought during Christmas season. Garden plans – Woo-Hoo! Hurry Spring

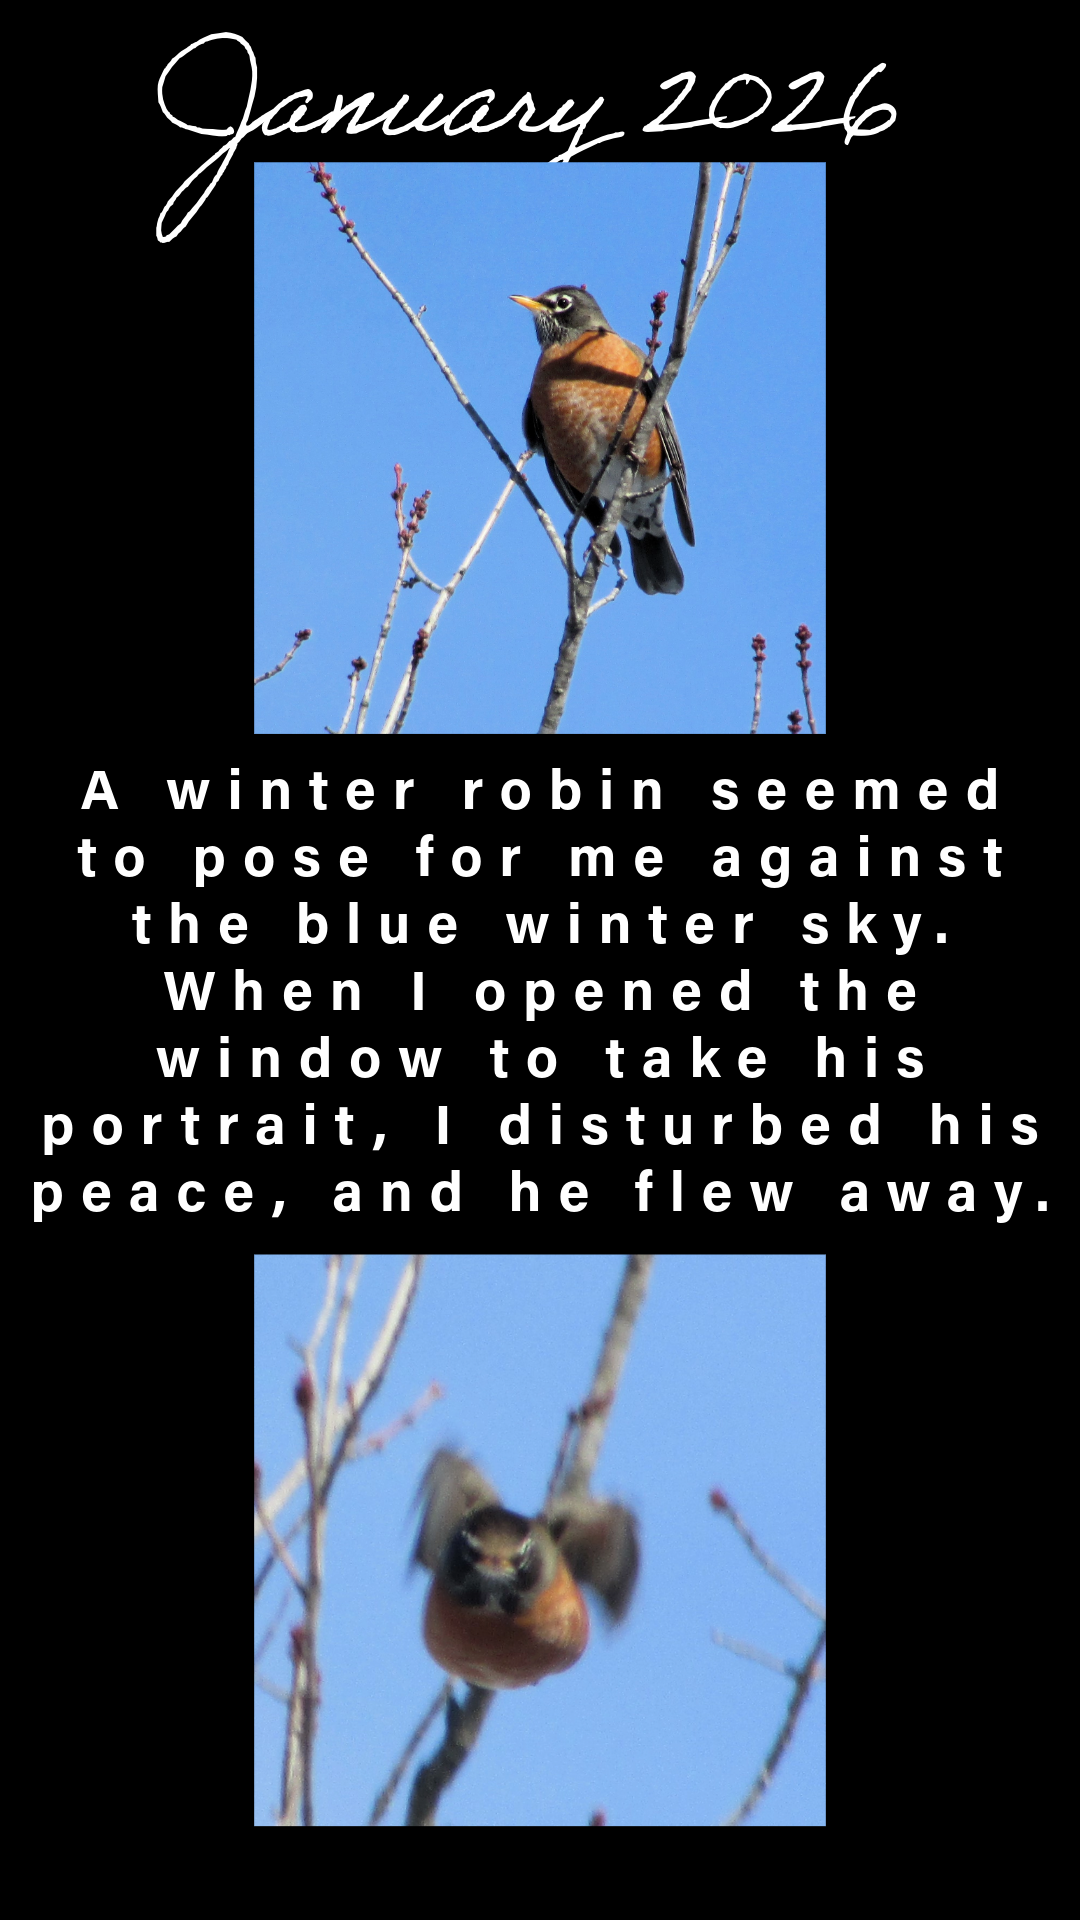
One of my favorite Signposts from January. It has the coolness of the season, but also the hope of Spring in the pink blossoms.
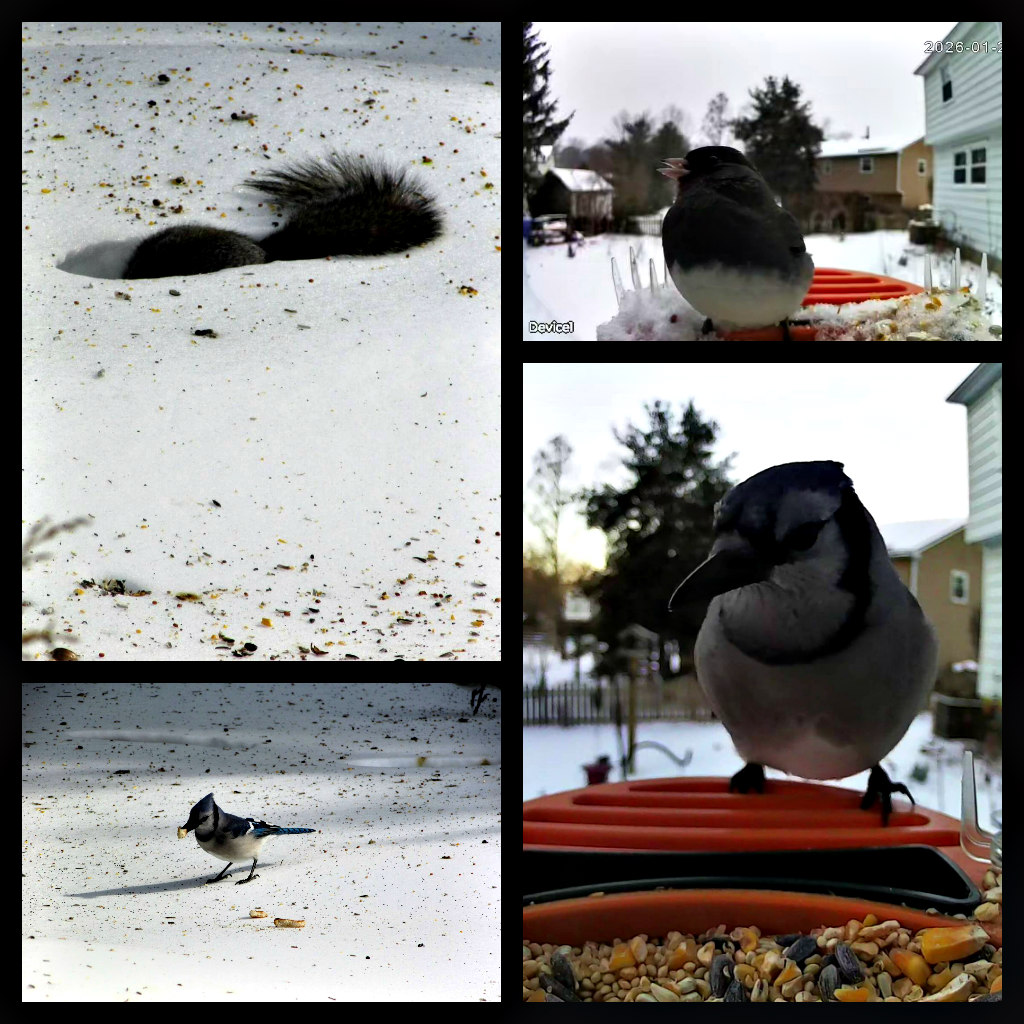
We have had icy snow on the ground for over a week. I have been throwing seed out daily, and the birds appreciate and devour it. We also replenish the suet cake as soon as it is gone. (Clockwise from top) One pleasure has been watching the squirrels and birds dive into the footprints we’ve left and gather the seed that skitters across the ice and accumulates in the indentation. A Junco on the new Tris bird camera. A Bluejay having a meal on the Tris camera. A Bluejay is enjoying the mixed bird seed on the snow.
Thanks for looking. I hope to take part in some Photo Challenges this month. Stay tuned.