
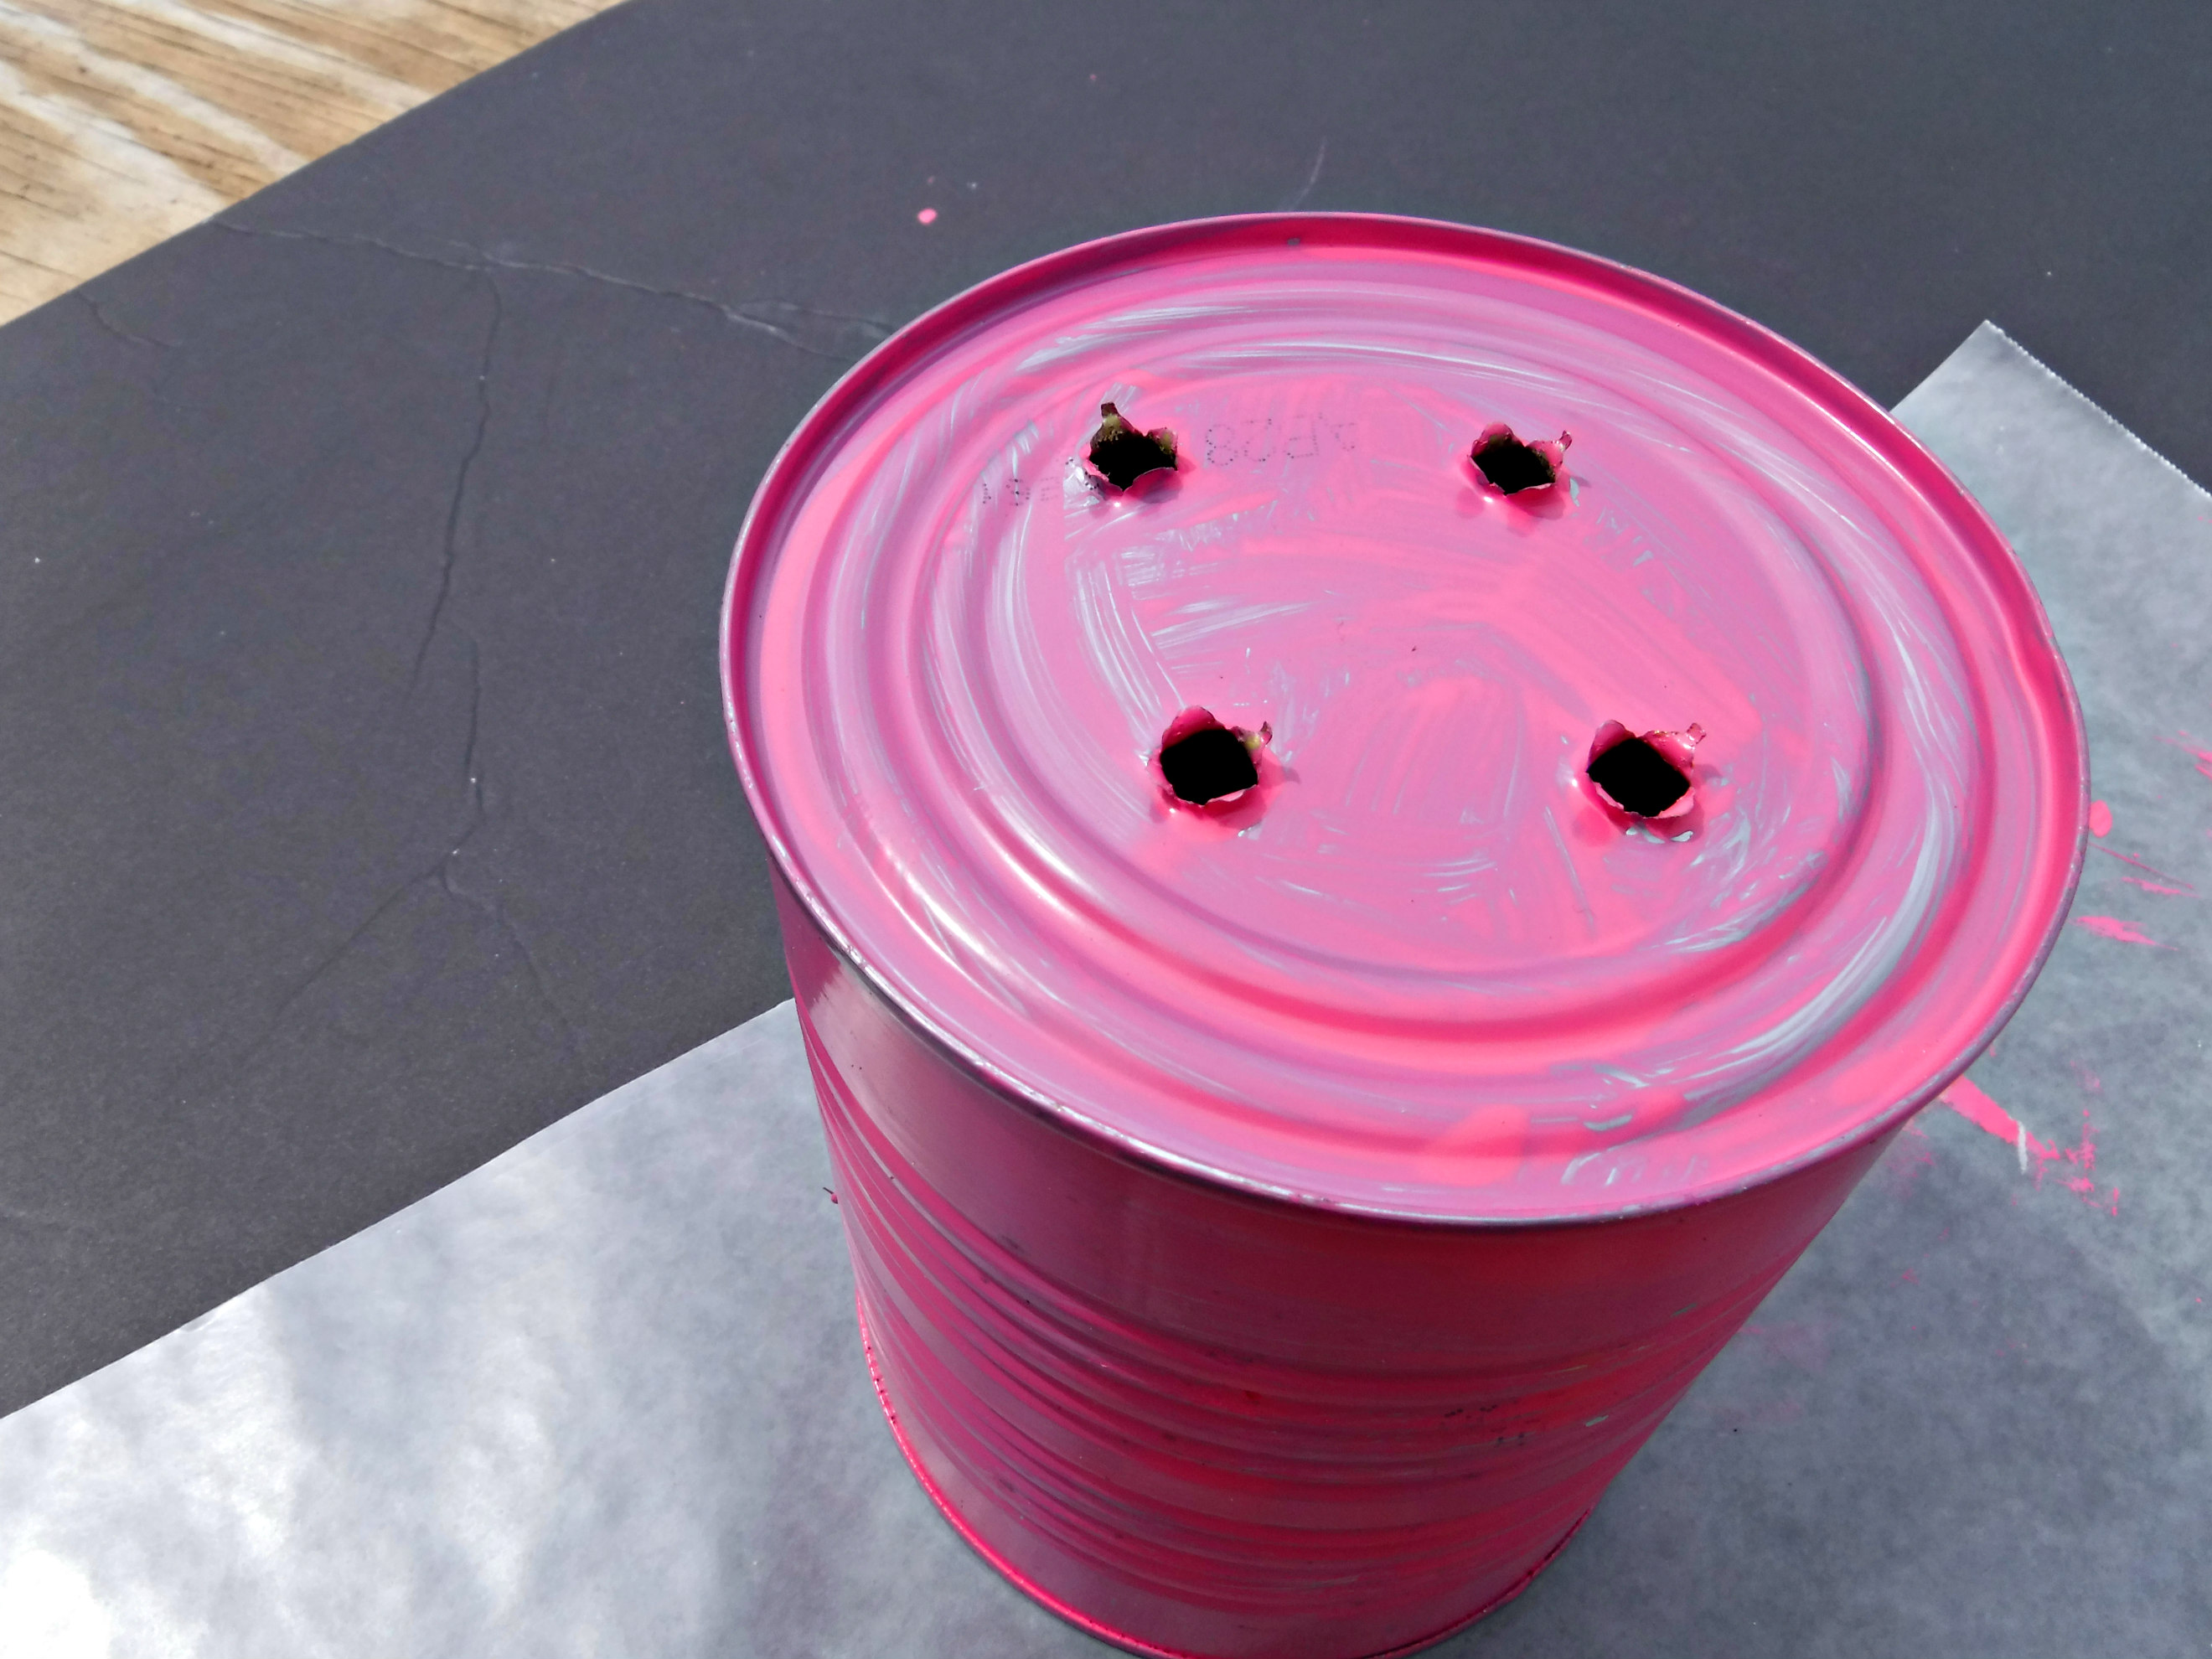
After the holes are punched in the tin cans it’s time to begin painting with acrylic paint. There will be residue from glue on the can, this can be removed with a heat gun and rag. I didn’t bother since I knew the cans would only be used for one season.

It took three coats of paint to get the look I wanted. Even before I had finished painting all the cans in pastel rainbow shades, rust had begun to work its way through the first layers. No bother…it adds a bit of shabby chic to the look of the project. I was very careful of the sharp edges inside the cans, but even being aware didn’t stop me from getting three small cuts on my fingers from the razor-sharp edges. I should have put a piece of masking tape over the holes in the sides as this is where I cut myself every time while painting.
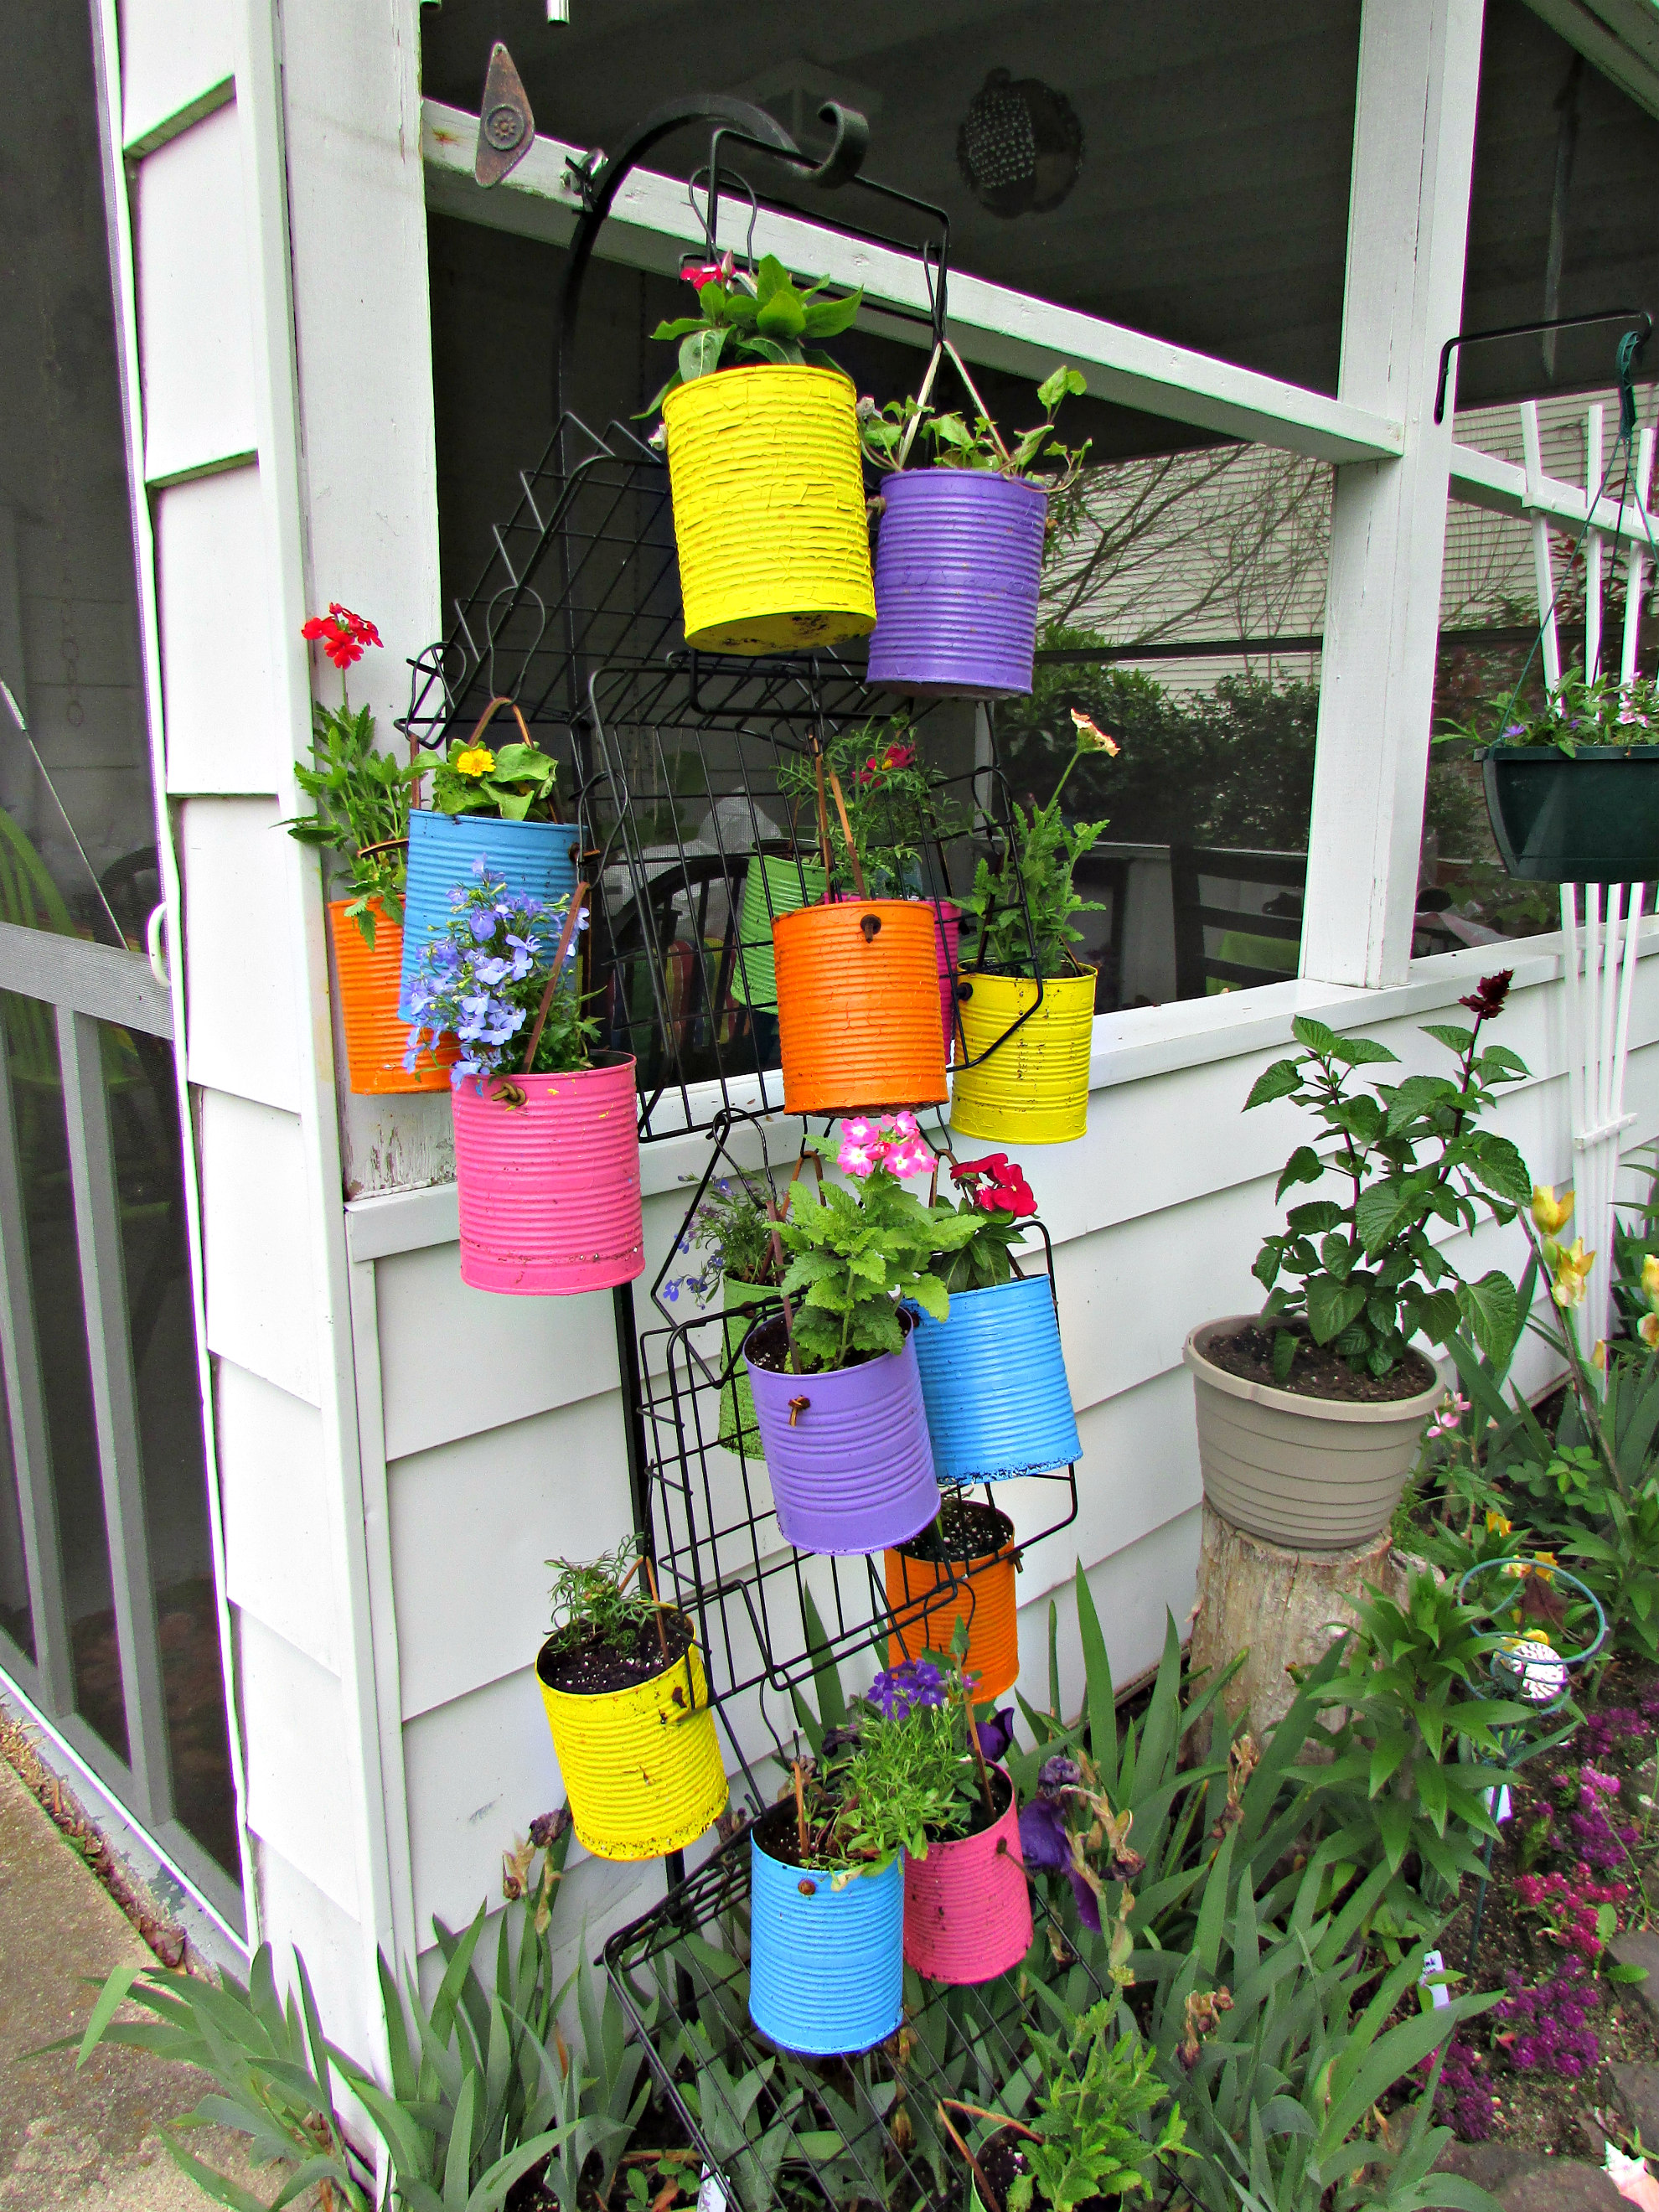
The look of the cans is even better than I had hoped. The rack I wired together from thrift store inbox trays is perfect and holds eighteen cans. Stringing leather strips through the side holes gives me a strong hanger for the weight of the cans. I’m happy with my project and pleased it gives me more room to grow flowers specifically designated for flower pressing.

