This Phlashback Thursday is a consolidation of three posts from January 2012. Microgreens are still a popular food item on the menus of small cafes and upscale luncheonettes. I have some seeds purchased within the last year. When I am finished posting, I will pull them out and plant a few. It’s fun to reset some old habits, but also a good idea to retain a few of my old goals too.

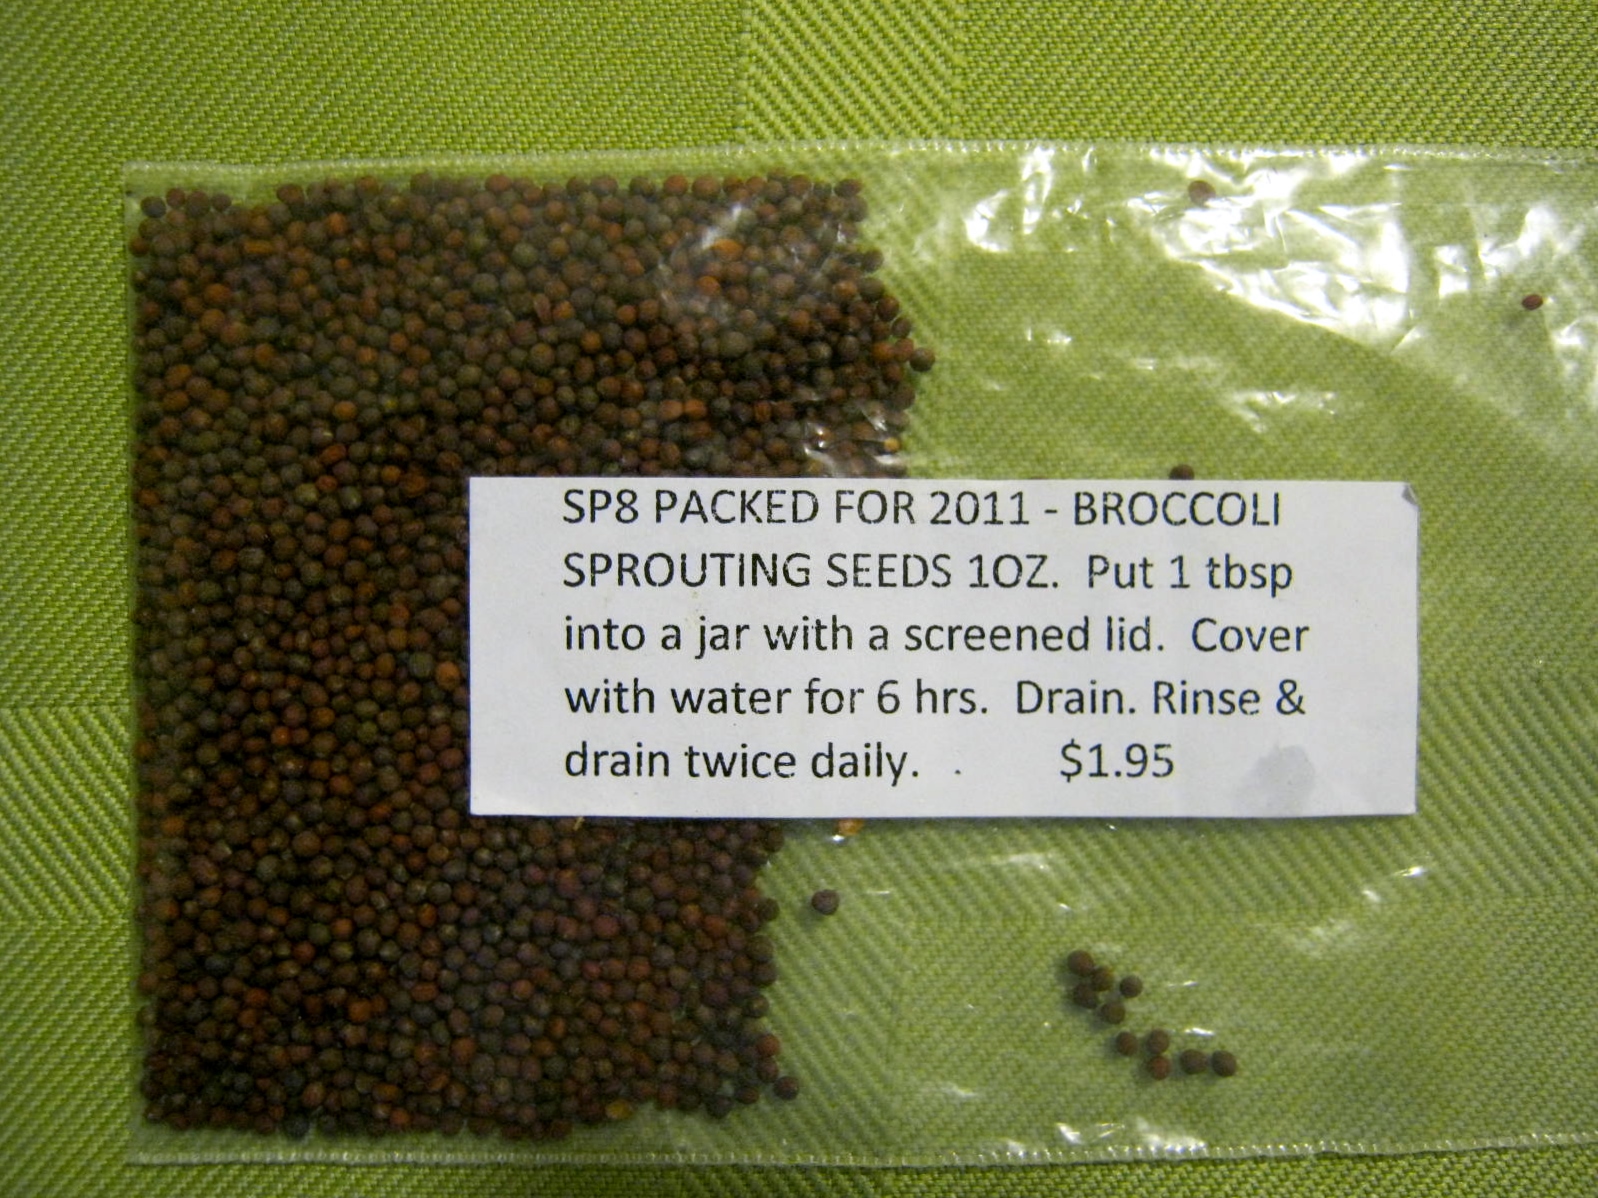
Sowing seeds and indoor gardening seem to be dominating my winter blog posts. I am starved right now for green, tired of the bare branches of trees silhouetted against the sky. I have been sowing seeds in hopes of harvesting Microgreens. Microgreens are harvested from seeds sprouted through the early leafing-out stage. I am using seeds from Pinetree Garden Seeds. This is my first attempt at this type of gardening.
I am growing the Microgreens on my windowsill in plastic throwaway containers from cookies and other snacks. To see how I went about the process, check out the photos below.

I gathered my supplies: antique pots to look pretty, throwaway plastic from cookie containers, corn holder for poking holes in the plastic.

I made sure the containers would fit inside my chosen pots before I added the dirt.

I poked holes for drainage in the plastic with the corn holder.

I filled the containers with organic soil.

I watered containers of soil and let them drain.

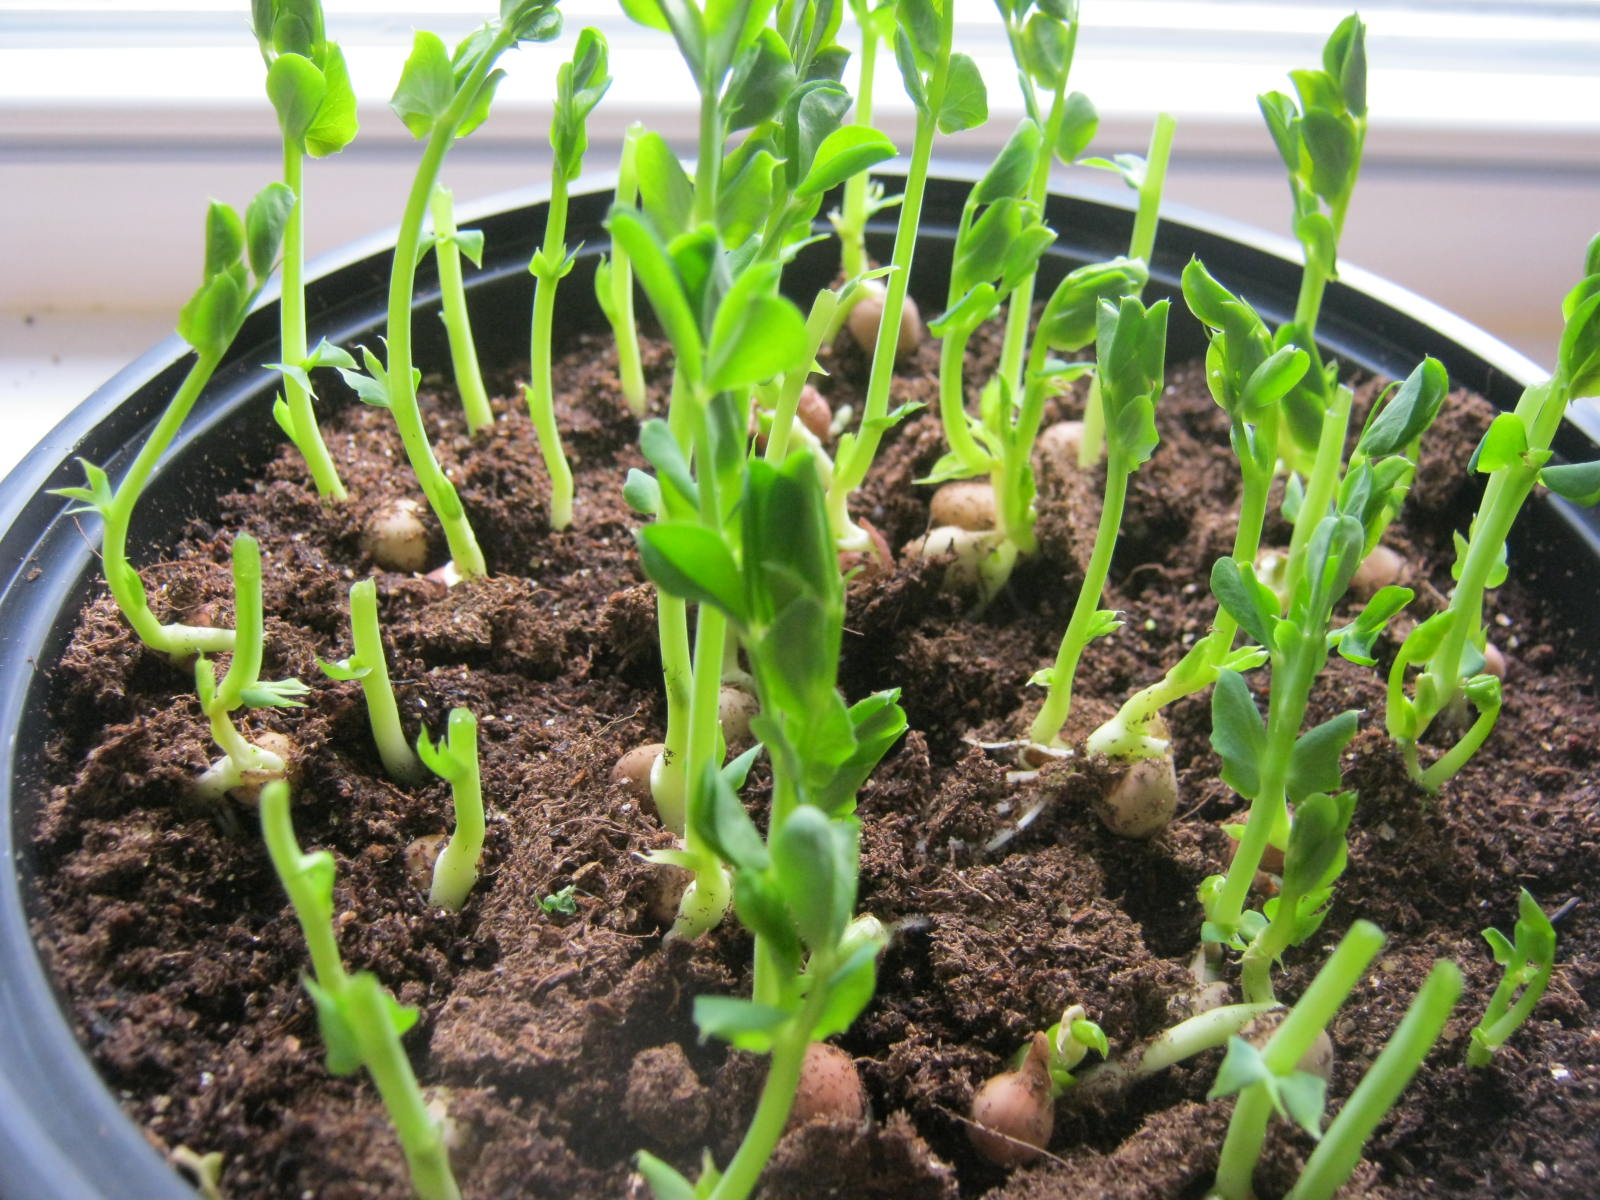
I spaced the pea seeds out in rows.

I sowed the Kitchen Sink Mix en masse.

I covered with one of my favorite kitchen tools, Glad’s Press ‘n Seal.
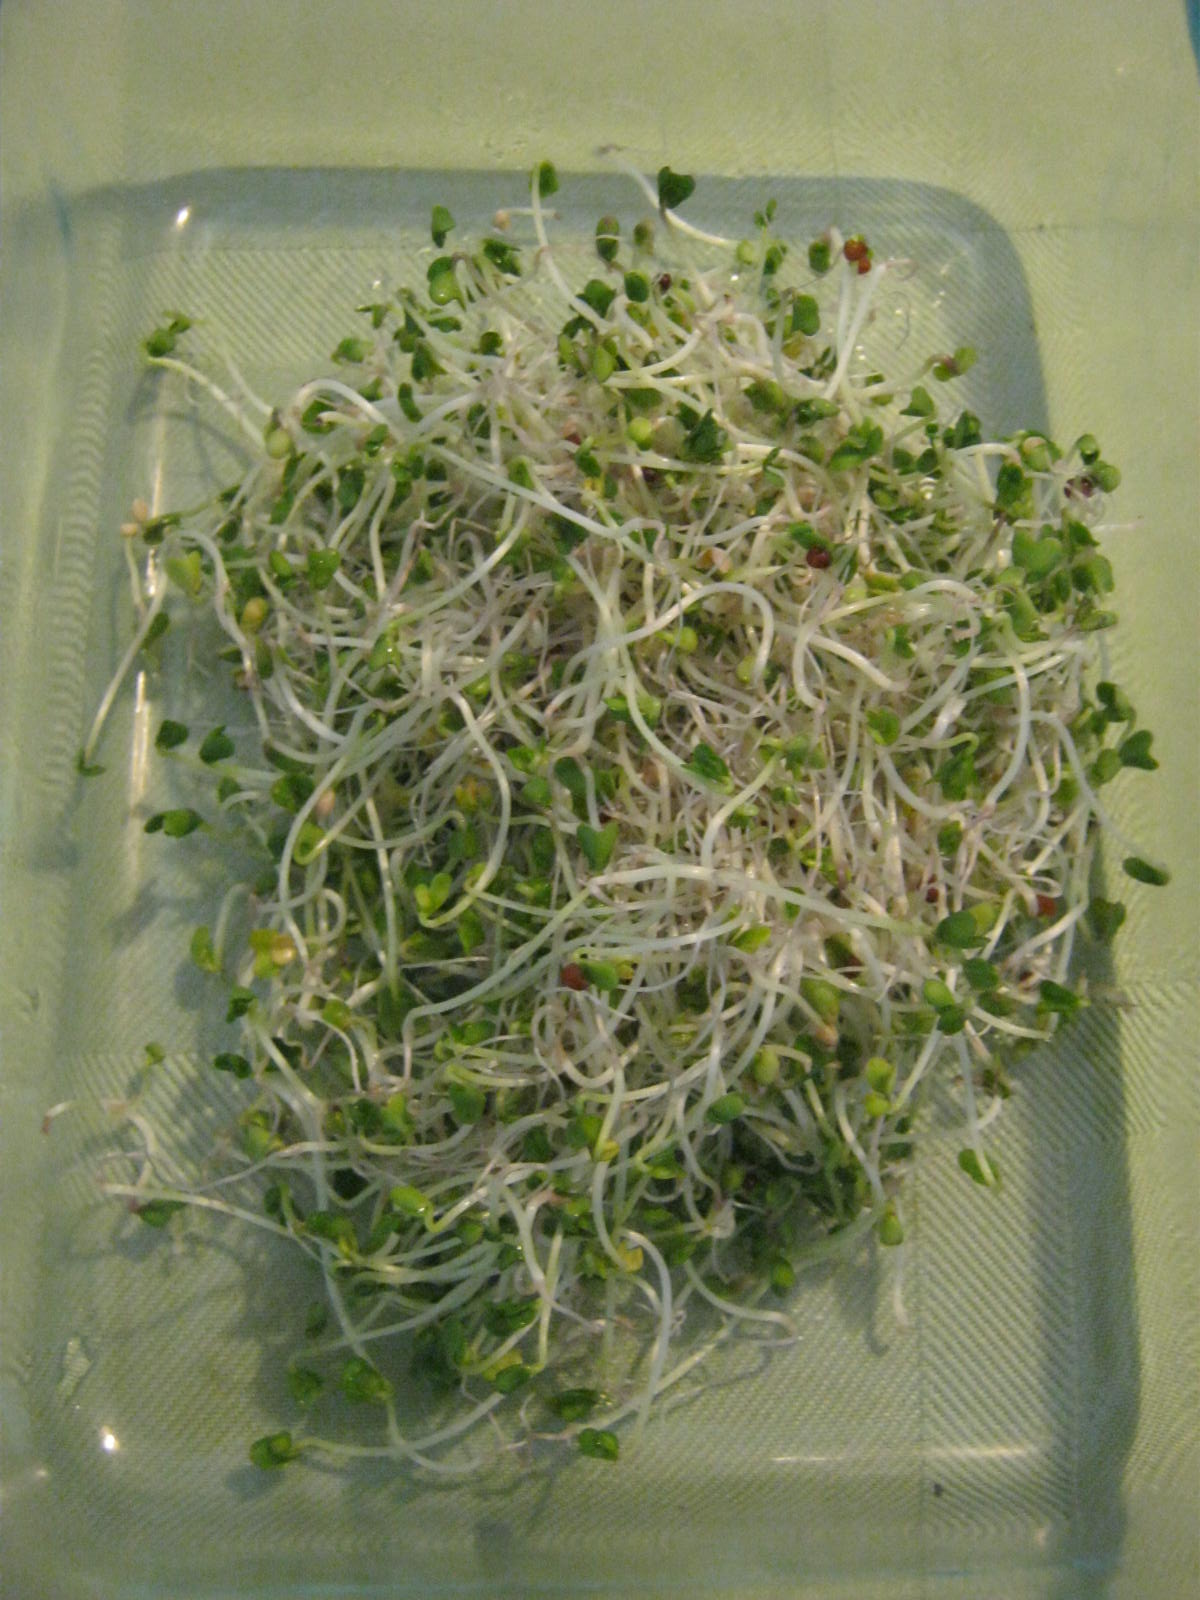
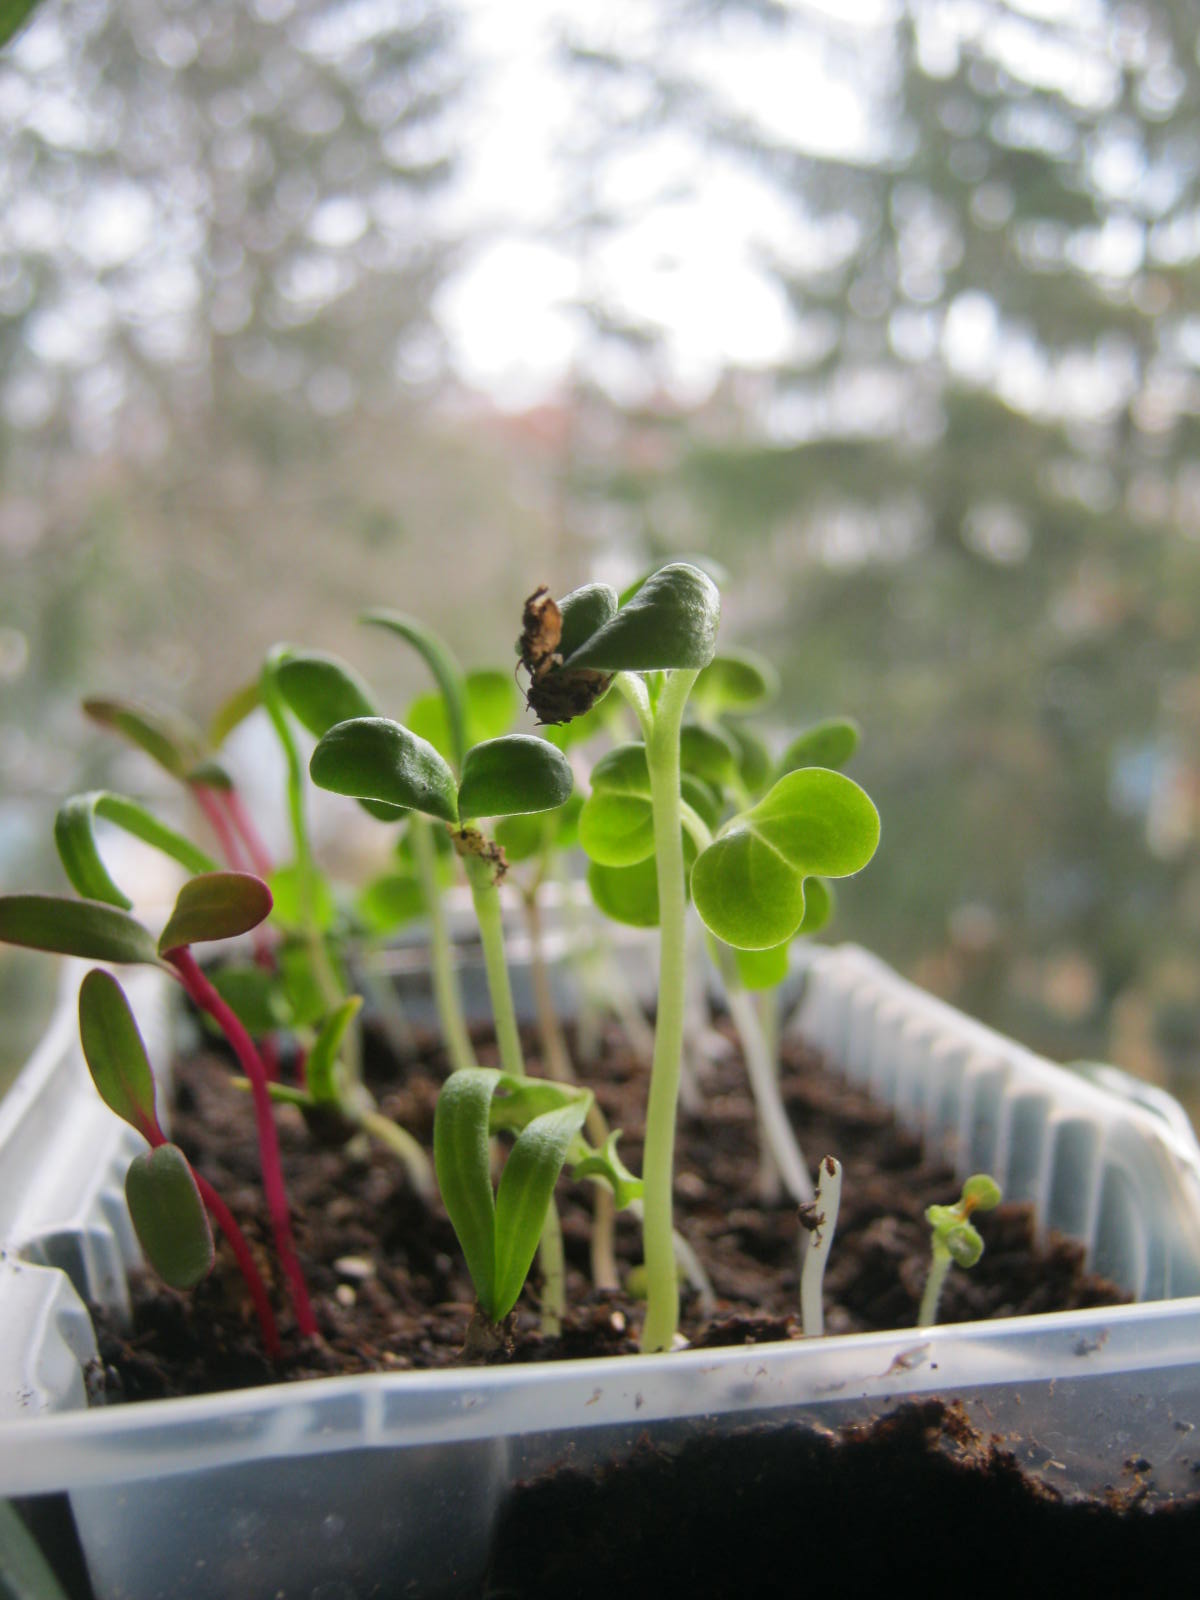
The seeds are already up…they sprouted in less than two days.

My Microgreens are up and growing fast. I can’t wait to try them in a salad.

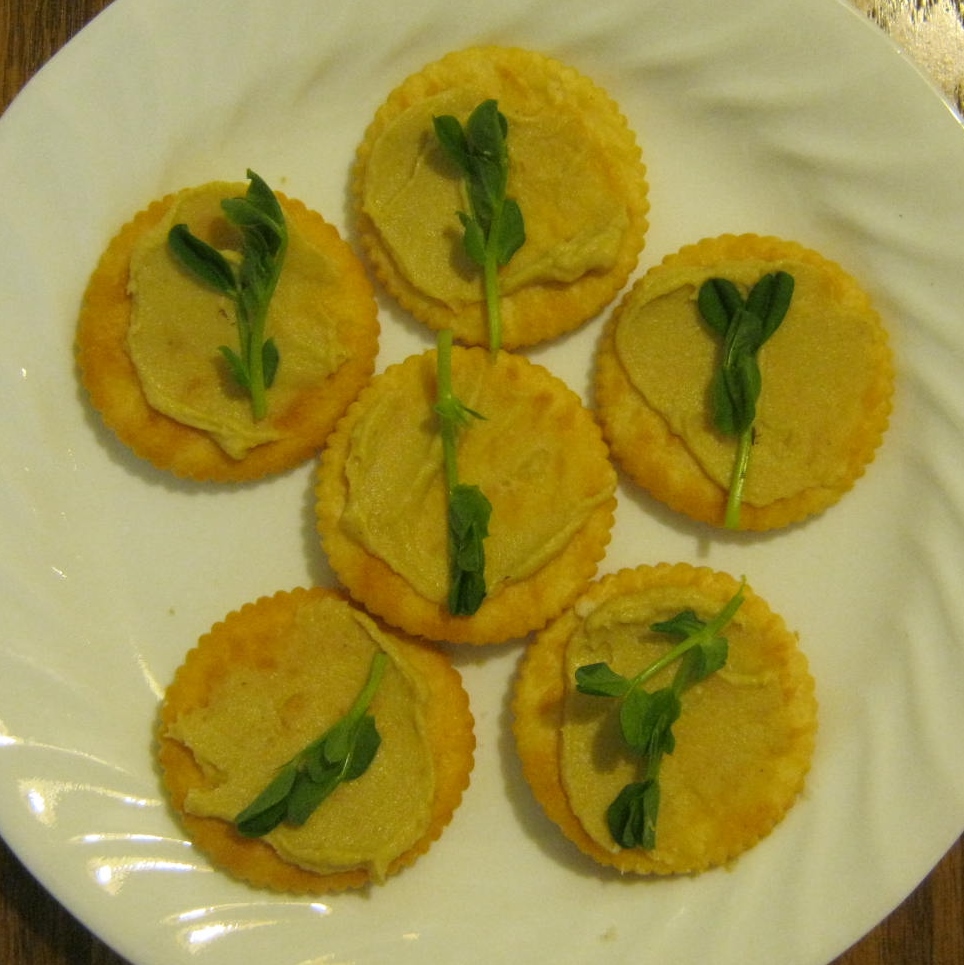
A few weeks later: Oh My! The Microgreens are a bit ragged in appearance…what happened to my lush crop? I’m afraid to say I have already eaten most of the young greens. I pop the tops off the pea sprouts and eat them like candy. This is reminiscent of the peas I grow outdoors in the Spring. They never seem to arrive on my kitchen table as a side dish. Warm afternoons usually find me standing in the midst of the pea patch eating the fresh peas out of the pods. Yum! In truth, the microgreens are a complete success. I enjoy growing them, and most of all eating them. The best use so far was garnishing my turkey and swiss cheese sandwich with a row of them. Oh Happy Day!
The kitchen sink variety is also thriving and perhaps today I will start grazing on them too. Moo!