I am re-blogging a few of my “Winter-Sowing” posts. If you live in an area where winters are cold, winter sowing is for you. If you plant viable seeds and follow the directions, you will find success!

Winter Sowing is the process of planting hardy and half-hardy seeds in clear or translucent containers (milk cartons or kitty litter jugs) The containers are sealed with duct tape and placed outdoors in the winter weather. This method of sowing seeds has been attributed to Trudi Davidoff.
Over the next week or two I hope to Winter Sow more of my perennial seeds, and later in the season some of my vegetables, annuals and herbs. A good source of information and discussion about Winter Sowing can be found on the Gardenweb Winter Sowing Forum.
STEPS FOR WINTER SOWING (My own technique, might differ slightly from how others winter sow.)
1. Poke holes in the bottom of your container with a sharp tool or a hot screw driver. A soldering iron works too, but most folks don’t have one.
2. Cut the container in half, leaving a small tab to keep the two halves connected.
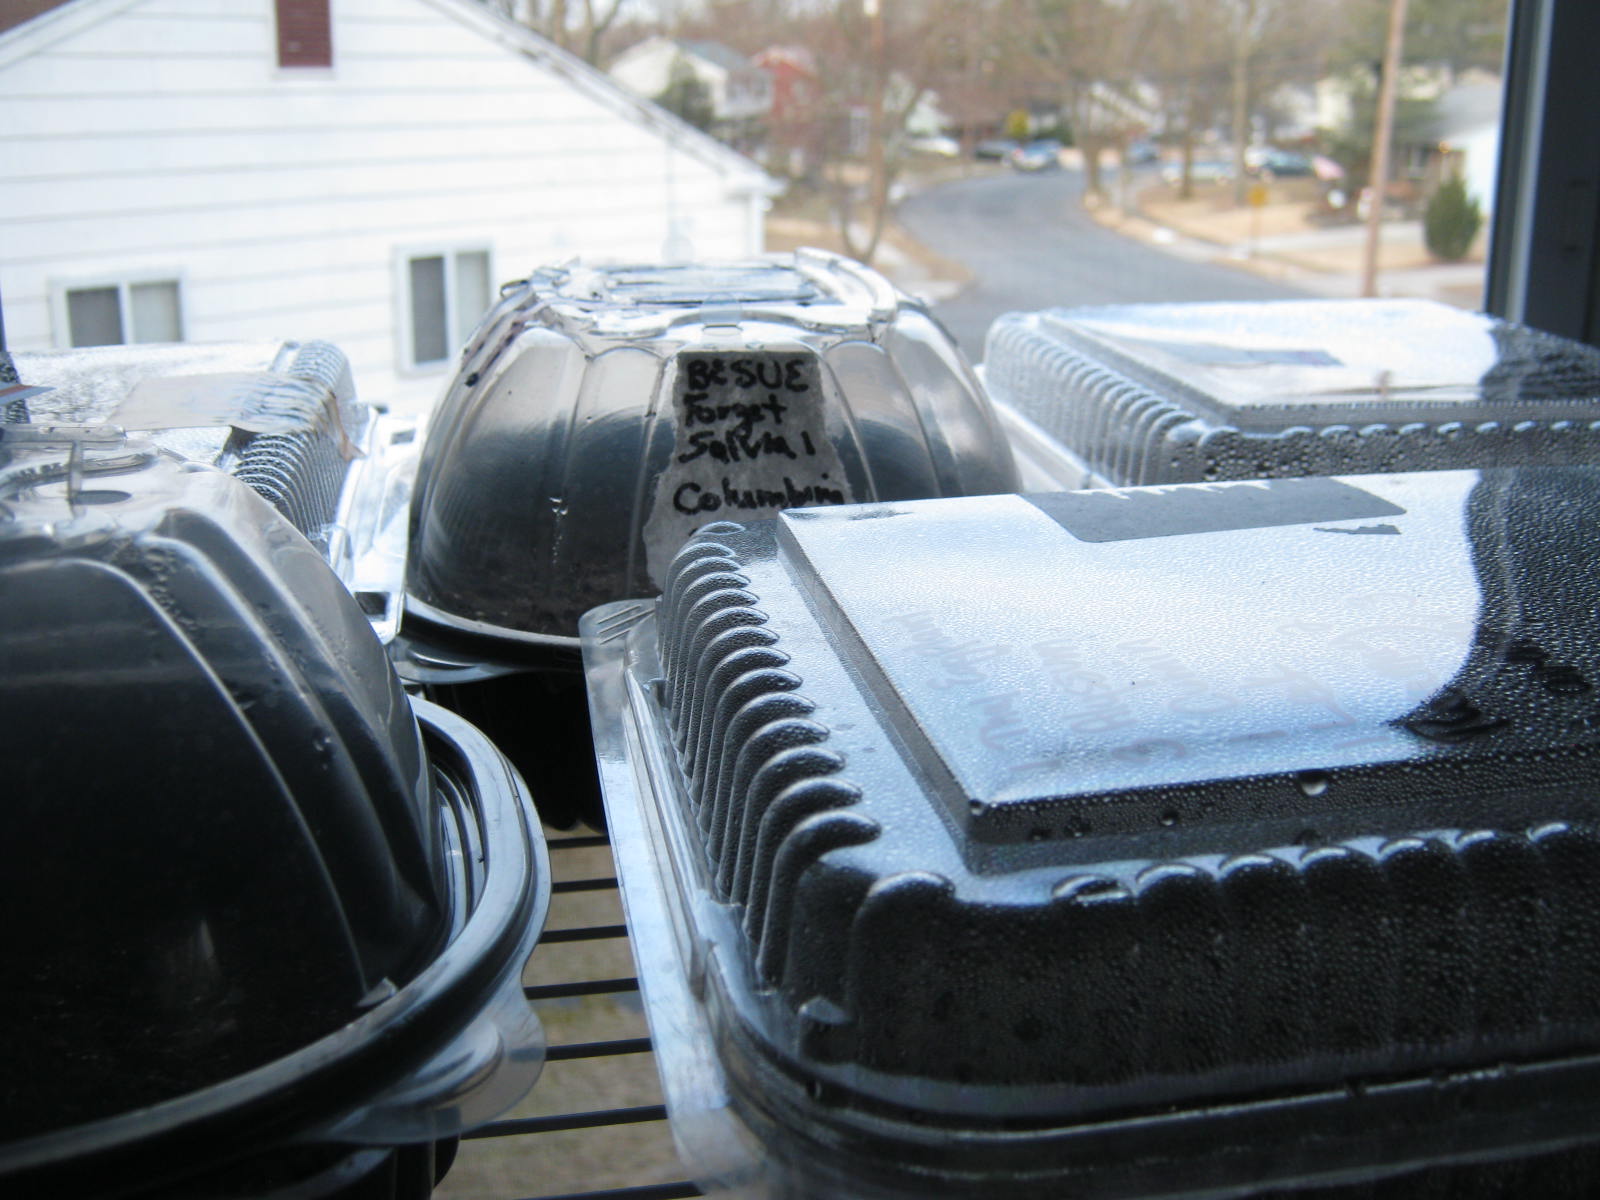
3. Add an inch of potting soil, add about two inches of seed starting mixture to top of soil. Moisten all, let water run out the bottom. Plant seeds. Label the outside of the container with permanent marker. You might need to go back over the labeling before planting time. Even a permanent marker fades in the sunshine.
4. Tape two halves together with duct tape.
5. Place outdoors in a sunny spot. DO NOT KEEP CAP ON TOP. The top needs to be left open for moisture.
6. Check periodically for sufficient moisture.
7. When temperatures warm up, open container in the daytime. Be very careful to check daily that the soil is moist after opening. Soil and seedlings dry out quickly.
PART II

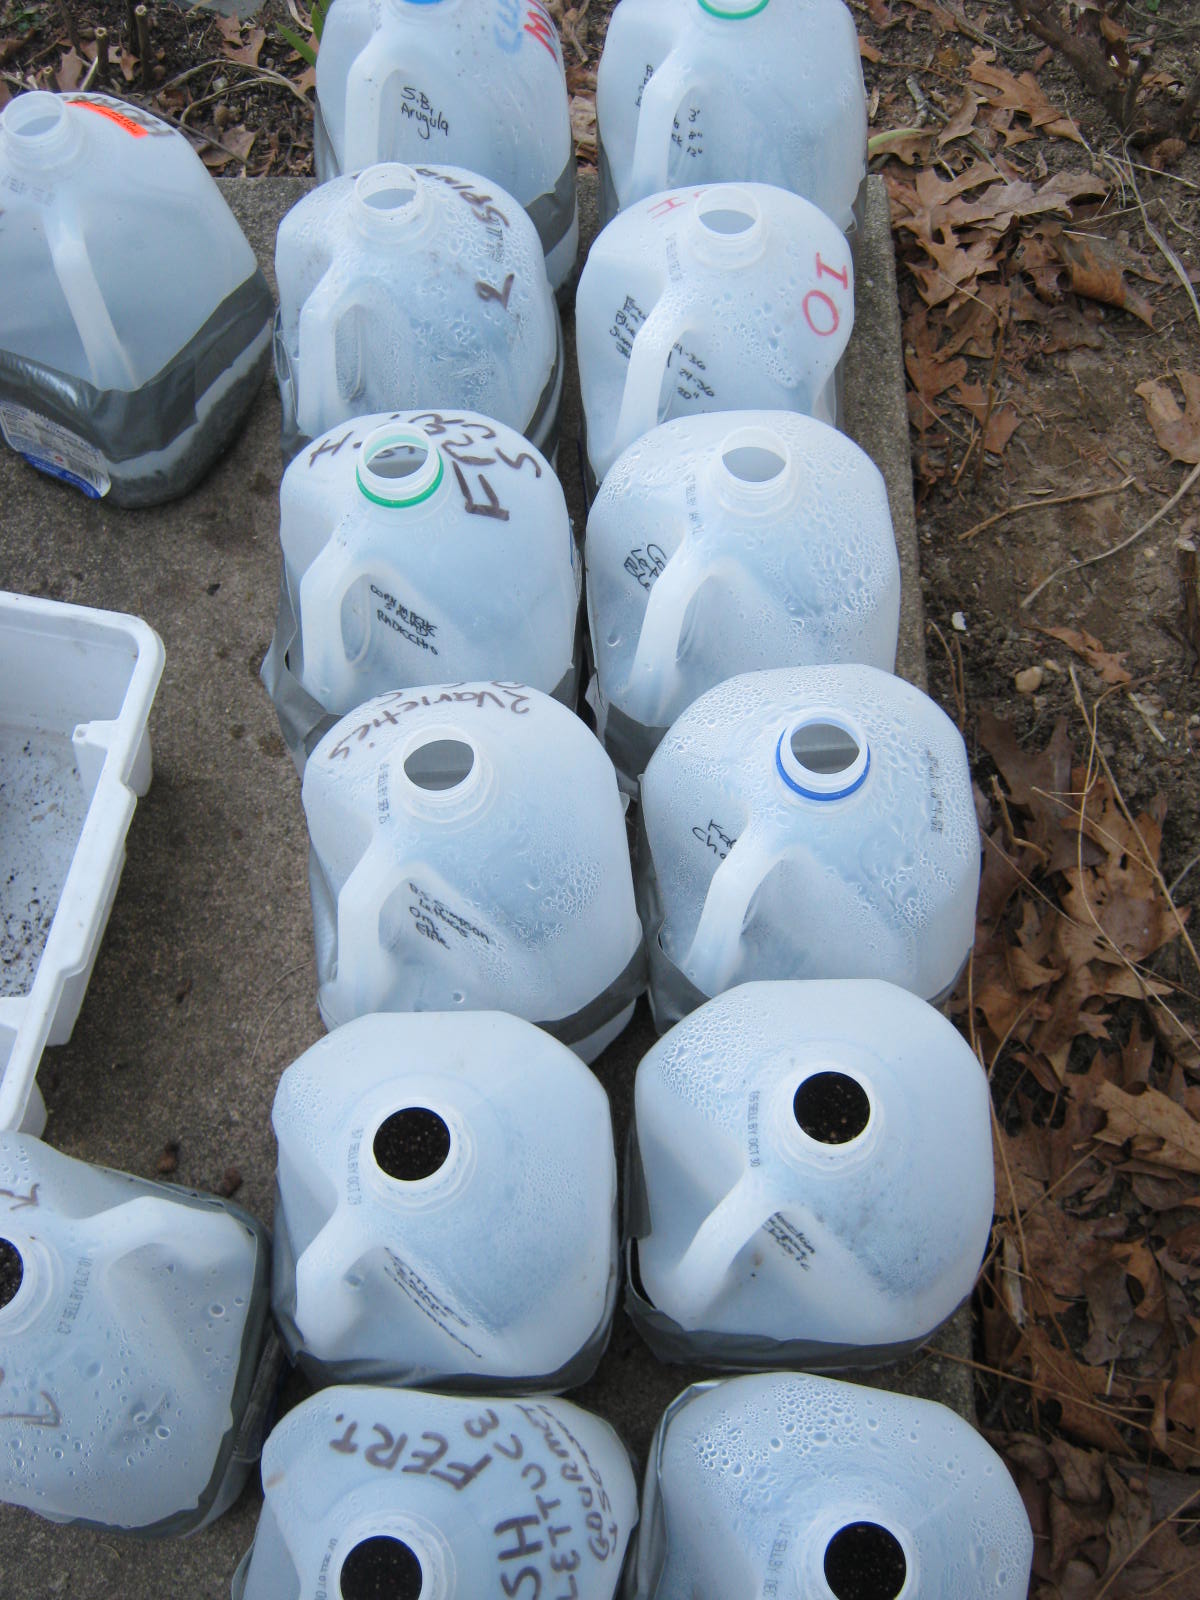
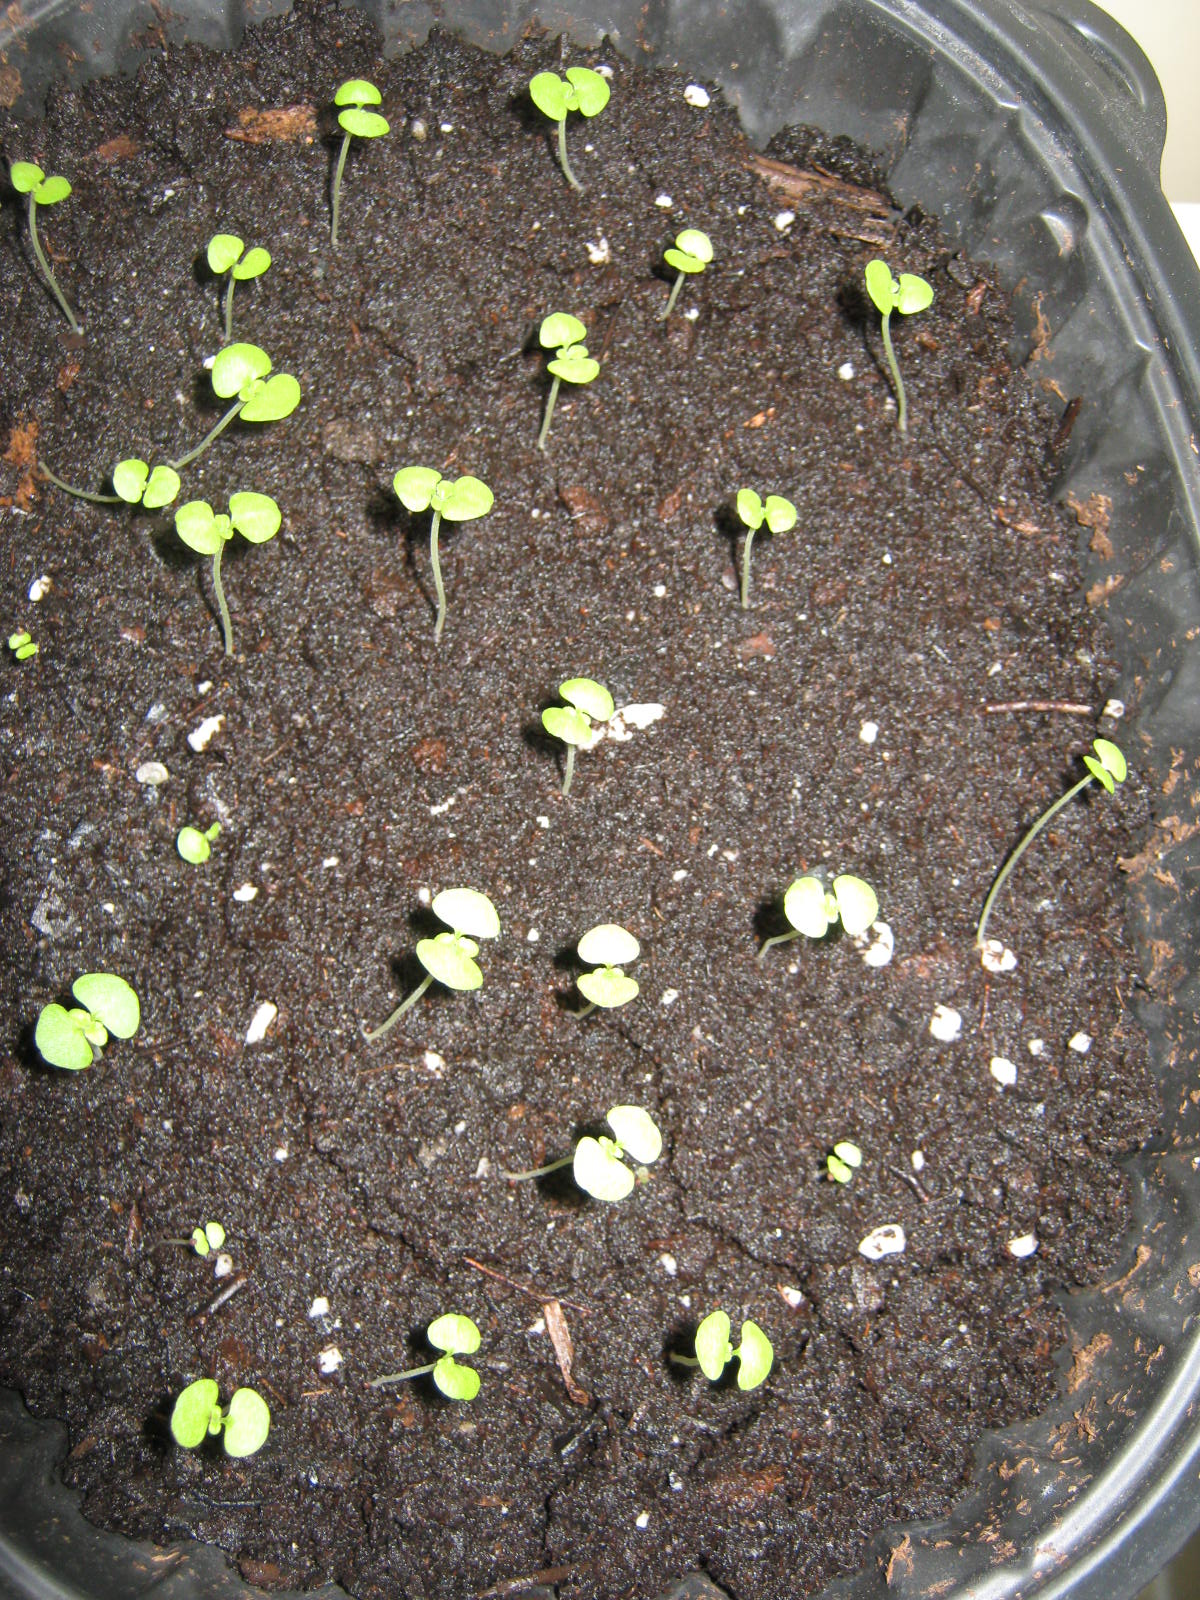
I’ve added to my cache of winter sown containers. The warm springlike weather of the past weeks helped many seeds sprout. As they are HHA (Half Hardy Annuals) and cold tolerant vegetables, I’m not worried about the possible onset of colder temperatures through the next weeks. The plastic containers work as mini-greenhouses and protect the seedlings from frost. The cold will strengthen them and keep them from becoming leggy and outgrowing their containers. I’ve had a lot of fun with this project. I also set aside a portion of each type of seed so that in the event that some of the containers fail I will have a back-up.


A view of some of the sprouts inside their containers. The above photos show my recycled orange juice bottles. These mini-greenhouses are light in weight. To windproof them I wedge them in amongst the heavier milk jugs. (I don’t use small containers anymore, they dry out too quickly. I try to use gallon-sized or larger containers.)


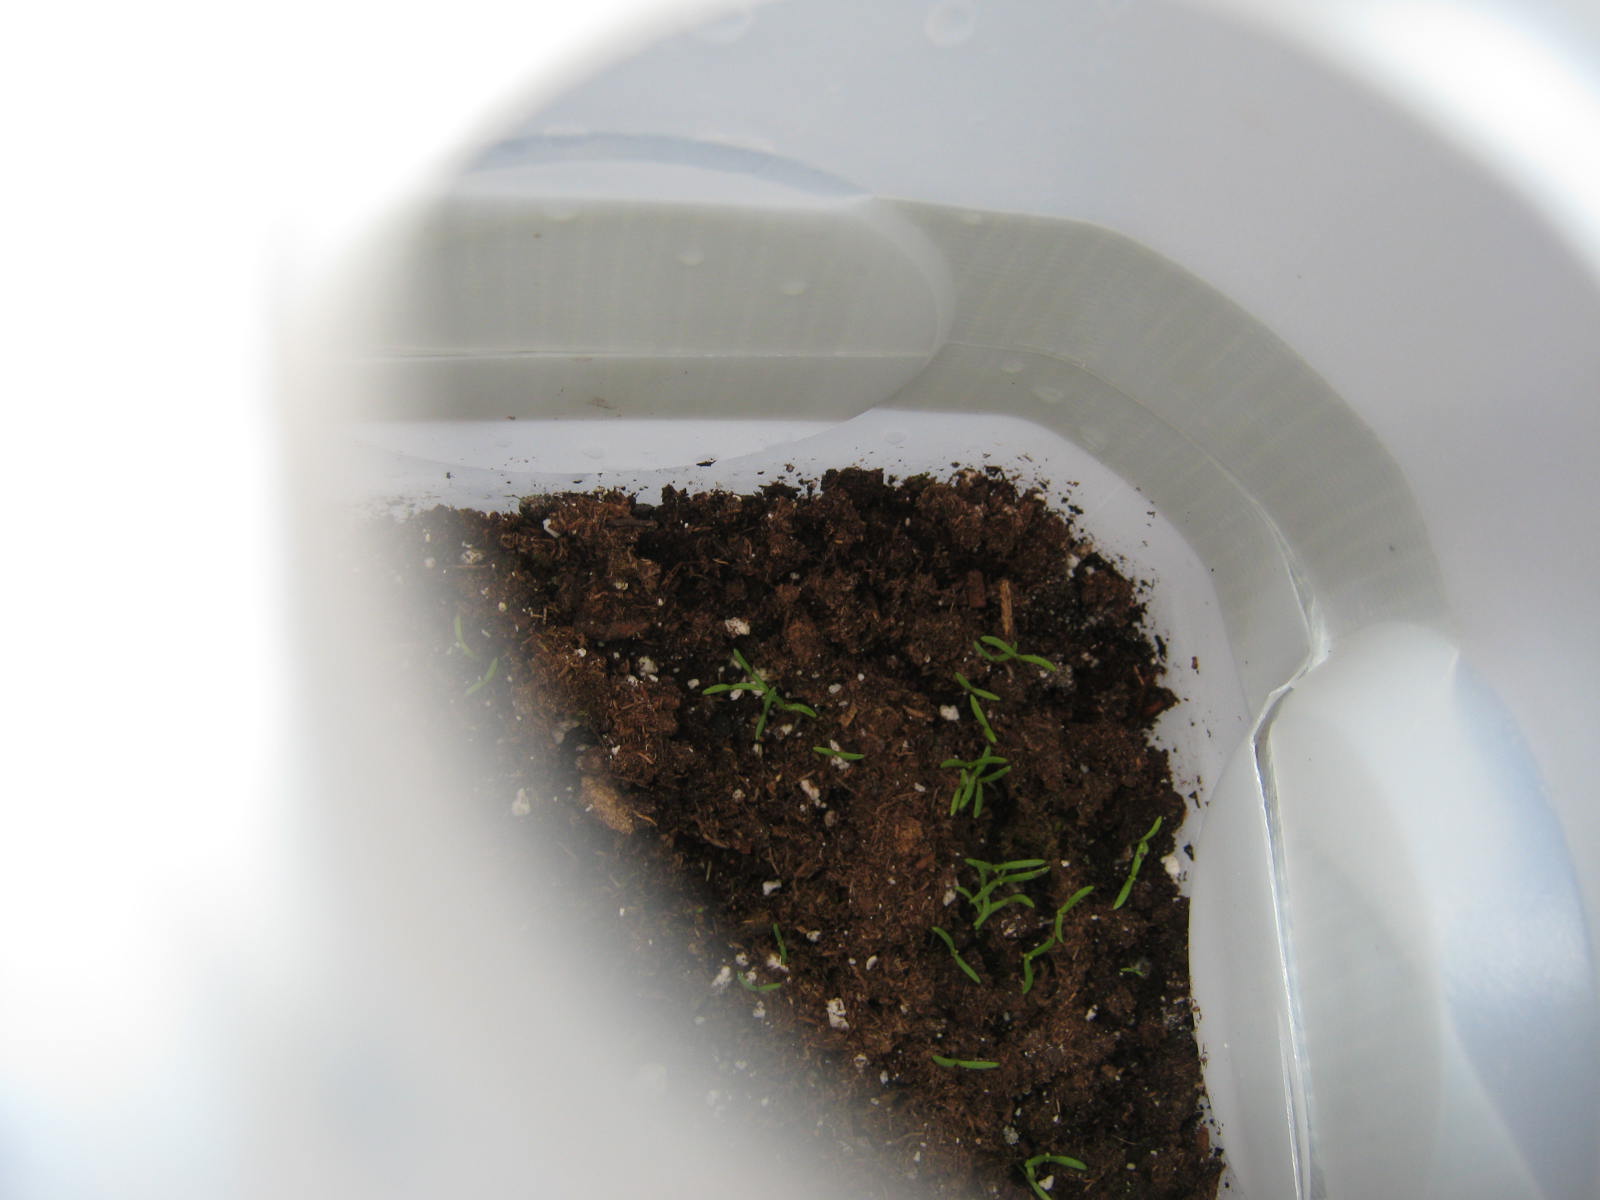
A bird’s-eye-view through the top of a milk jug. The seedlings inside are asters.

Two of my mini-greenhouses had indications of the dirt drying out. I placed these inside a plastic shoebox filled with water, a perfect fit, and let them soak up a little moisture through the drainage holes in the bottom. This worked and within a half hour they were watered.
PART III
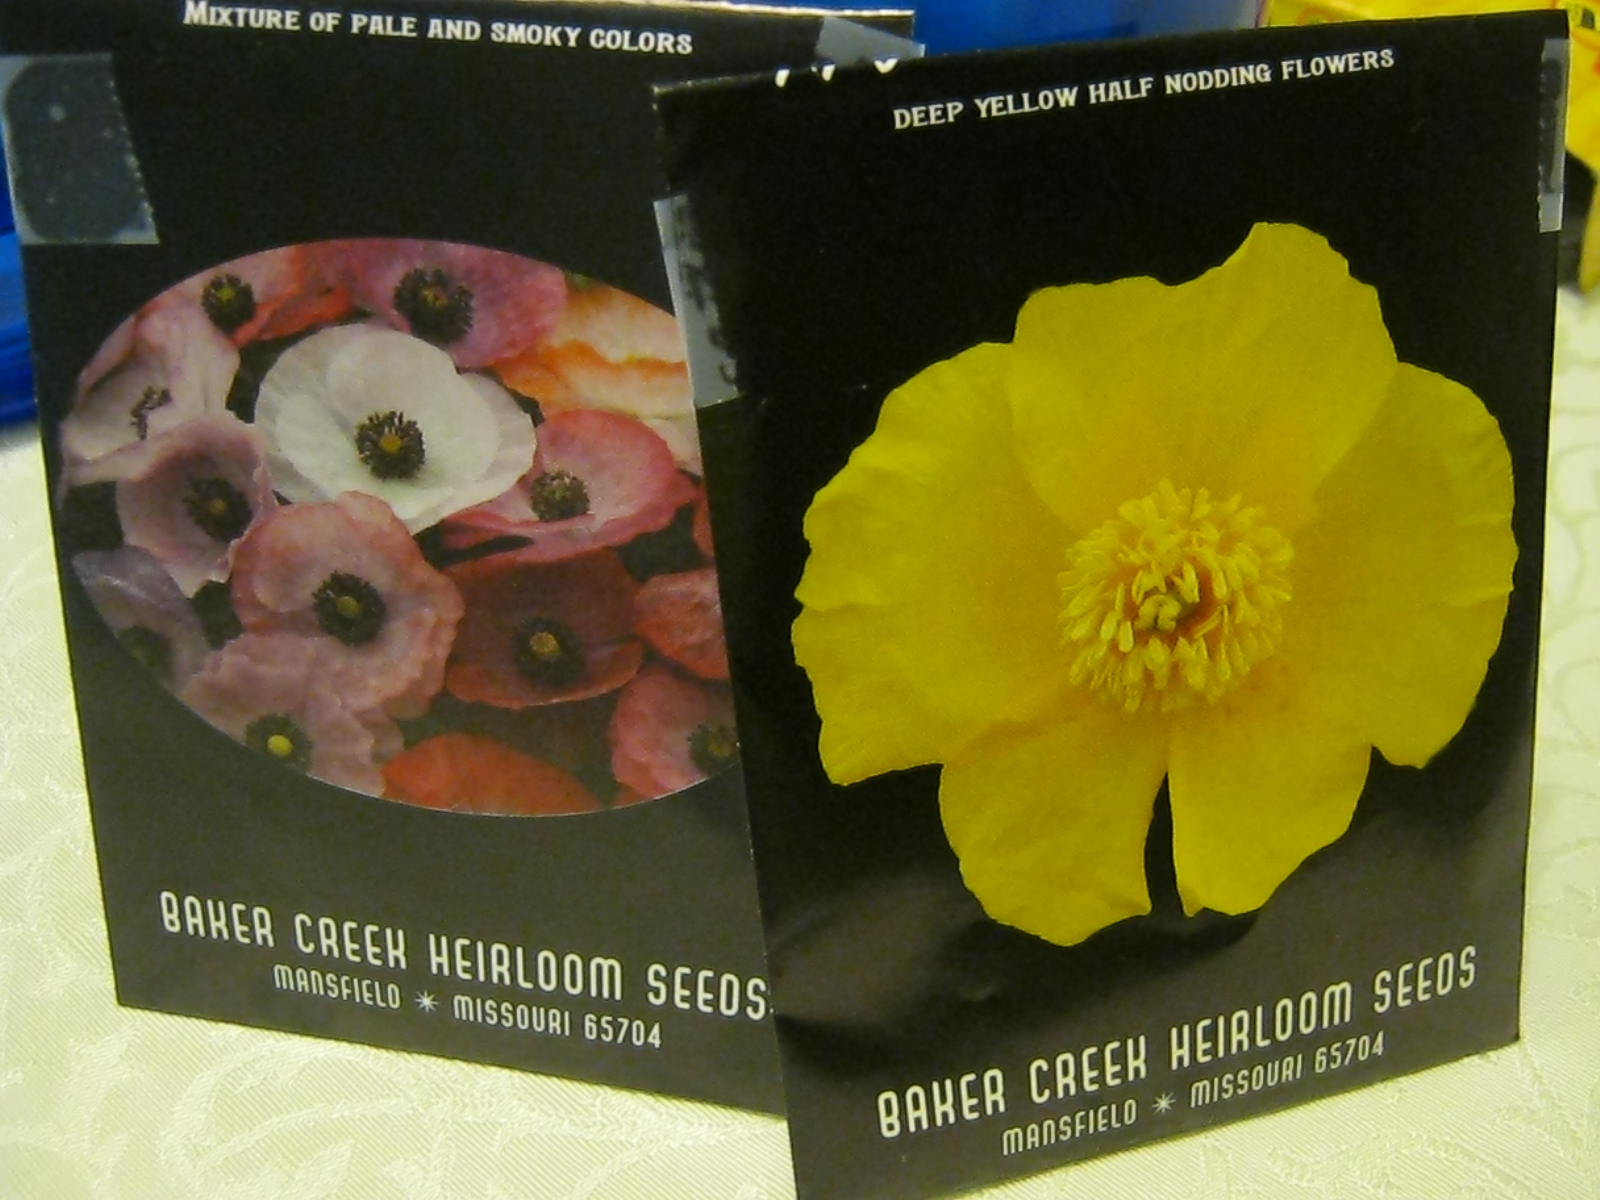
Poppies! I LOVE poppies, but I have some problems with poppies too. Number one on my list of loves is the way poppies develop big, luscious looking pods. When the pods begin to widen and split to reveal the color of the flower inside, honestly, I must admit I run out into the yard several times a day to see if the silken petals have opened. There is something magical in the wispy crown in the center of each flower too. Often there will be a splotch or two of contrasting color at the base of each petal. The foliage of many poppy plants glows in beautiful bluish green tones. Yes…I LOVE poppies.
One of the major drawbacks of poppies, at least in my opinion, is how hard it is to grow them from seed. For years I followed the advice on the back of the packets and on the pages of reliable gardening books and sowed them directly in the ground. This NEVER worked for me. Heavy spring rains ALWAYS washed my poppy seeds away before they could sprout. If they did grow, the delicate small seedlings would be beat into the ground by that same rain. The “experts” say poppies don’t transplant well. I agree if they are grown in the house, but I have found a way to get a head start on poppies and that method is winter sowing.
I am also including a post that shows the results of my winter sown poppies: Poppies
If you want to grow poppies this year, and have a milk carton or two on hand, give winter-sowing a try. It only takes a few minutes to create a miniature greenhouse to place outside in the sunshine. Happy Gardening!
![]()