
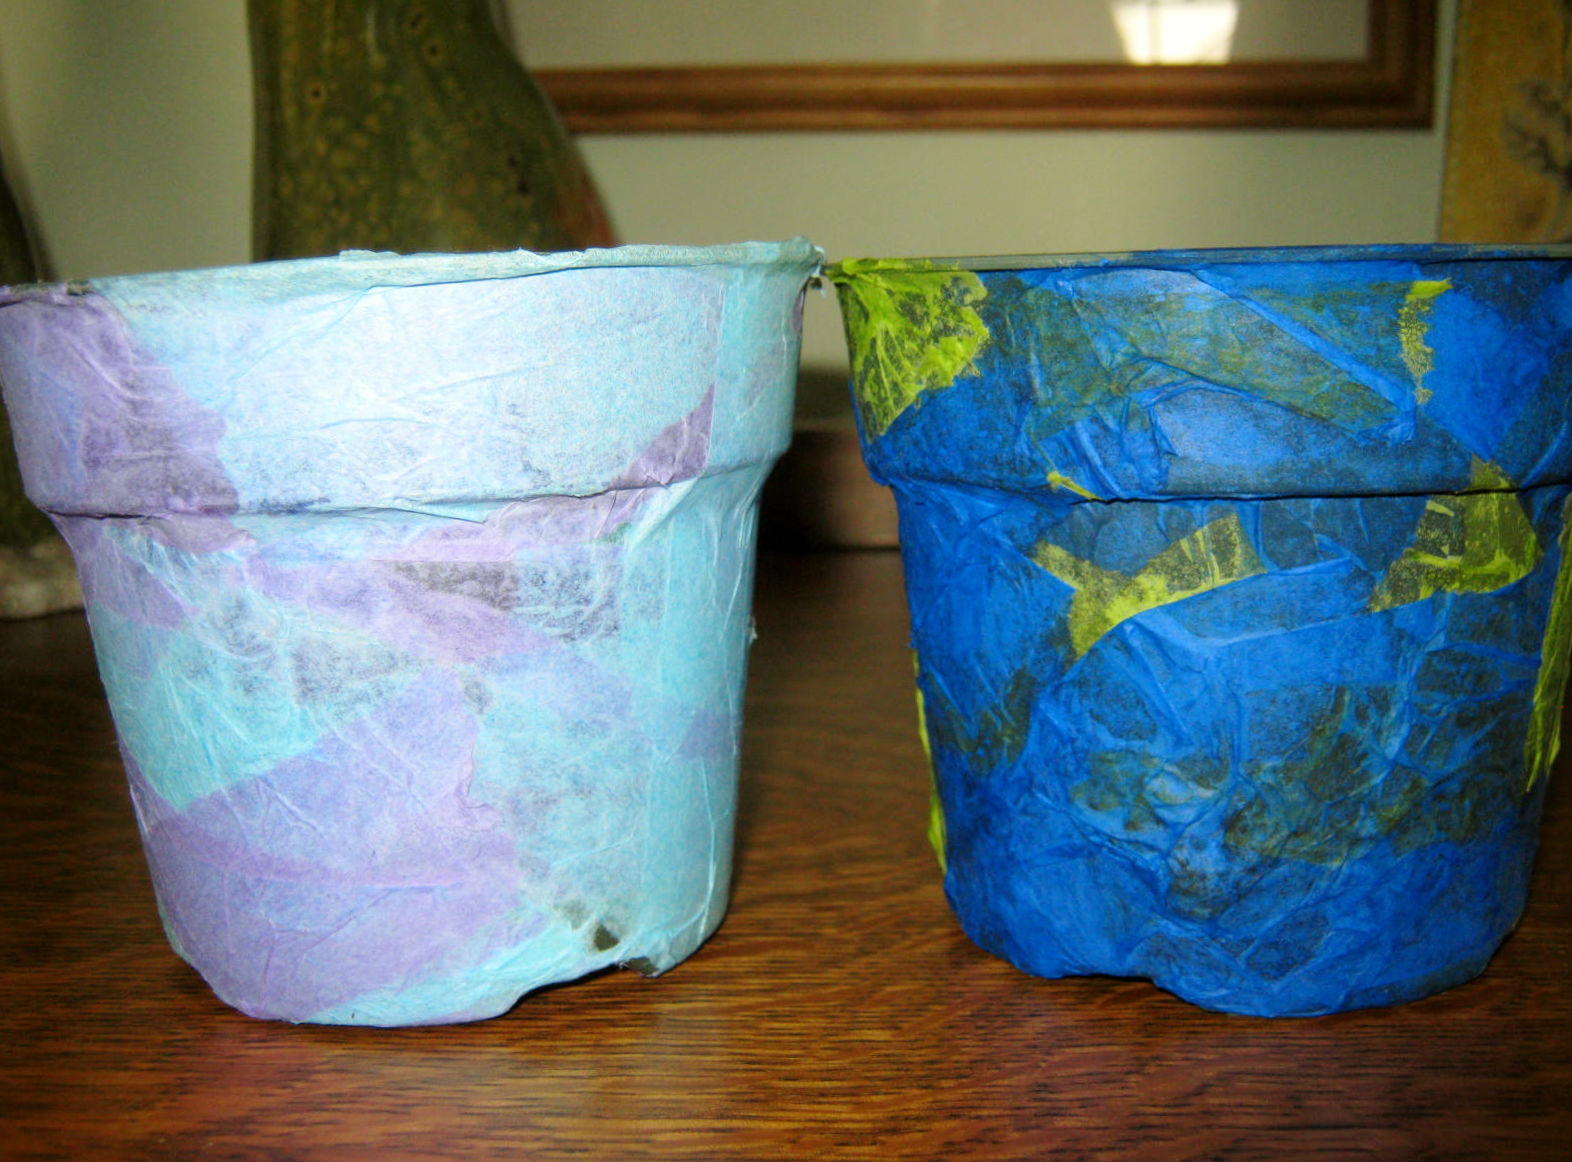
My grandsons created beautiful flowerpots with just a few inexpensive items:
Plastic flowerpot
Elmer’s Glue
Tissue Paper
Paintbrush
Disposable container for glue mixture
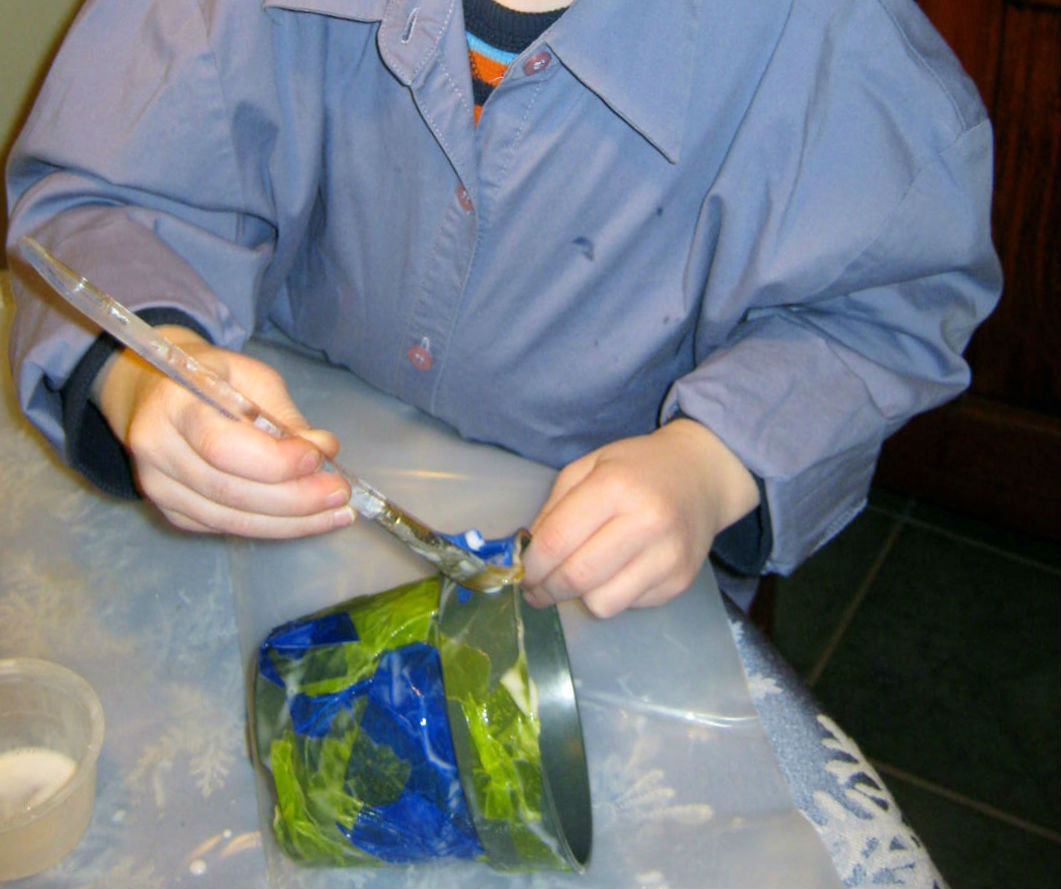
*Cover work surface before you begin. Artists smocks or aprons are a good idea too! 🙂

We tore the tissue paper into small squares. To apply the tissue we used a solution of 1 part Elmer’s Glue to 1 part water. We dabbed a bit of this well-stirred mix onto the pot, topped it with a tissue square, and covered the whole pot in this fashion.
*Keep in mind that it is best to use colors that will blend with each other well. Red and green together might form a brown tone. Use a monochromatic scheme or primary colors that will blend to create a new secondary color.
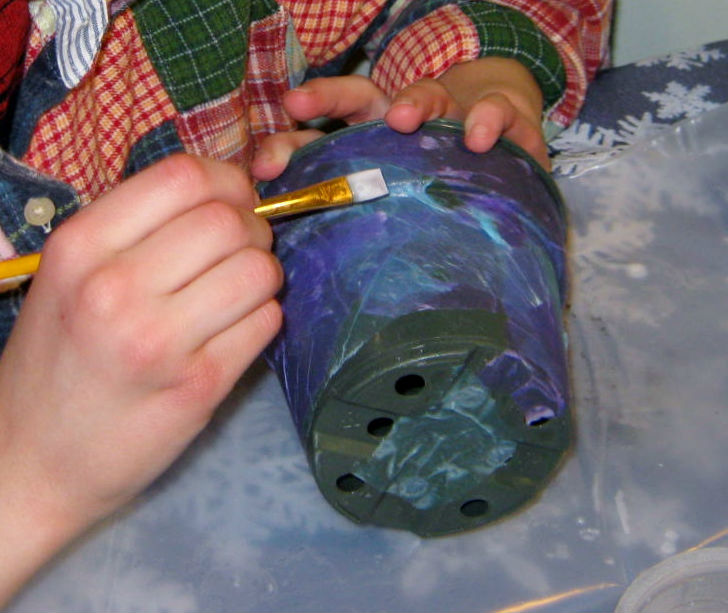
When we were near finished we dabbed down any edges that were not adhering to the pot. Drying time was about 24 hours.
This project was enjoyed by my grandsons ages seven and four. I think with supervision and help, an even younger child could attempt the project. The pots looked sensational slipped over pots of daffodil bulbs we had forced in the cold garage and fridge.


Very creative indeed.
LikeLiked by 1 person
Thank you Qaiser!
LikeLike