
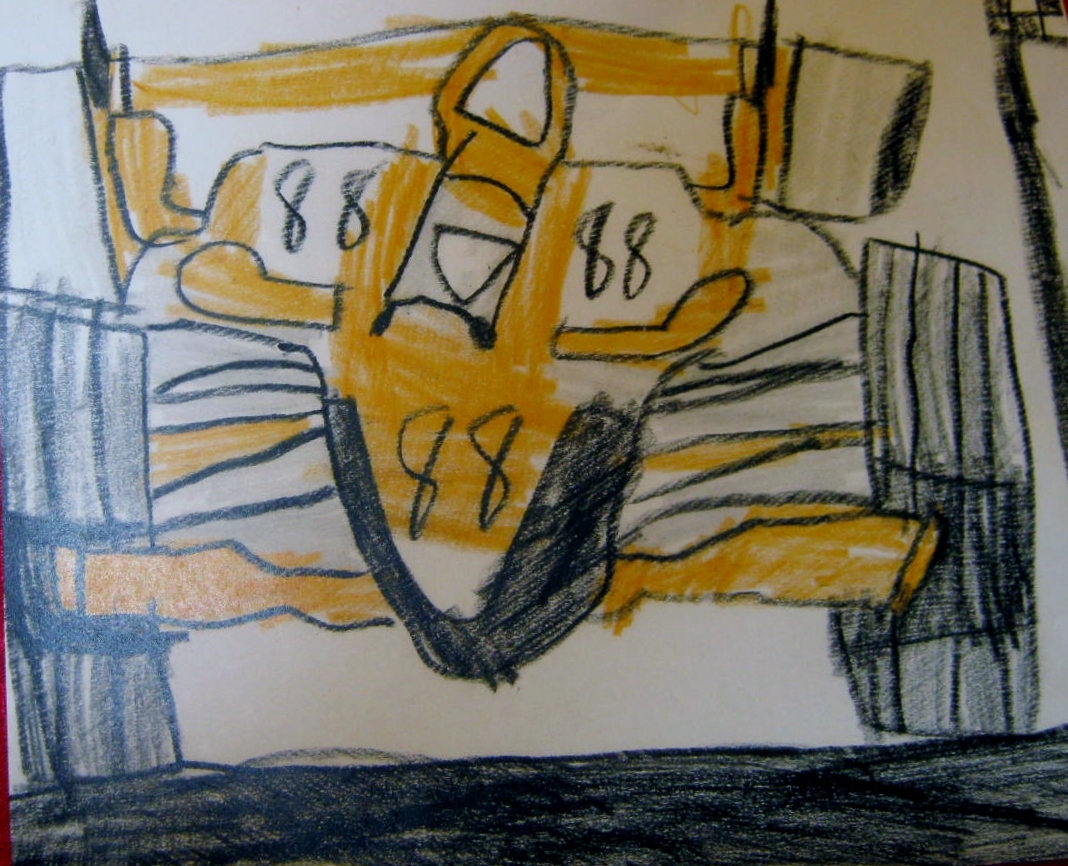
My grandson recently drew this amazing race car for my fridge. I loved his art so much I decided when we had a sleepover we might be able to try a technique I had read about and always wanted to try – transferring drawings to t-shirts or other items using Acrylic Gel Medium.
We purchased t-shirts and washed them before we started the project to remove any finish on the fabric that might interfere with the transfer. We took the drawings we planned on using to the office supply store and had them color copied and reduced 25% in size.

Before we began we covered a plastic cutting board with wax paper to put between the front and back of the shirt. This step can’t be skipped, to do so would mean the shirt layers would stick together causing the project to fail. Make sure to place this protection inside the shirt area you will be decorating before you begin.
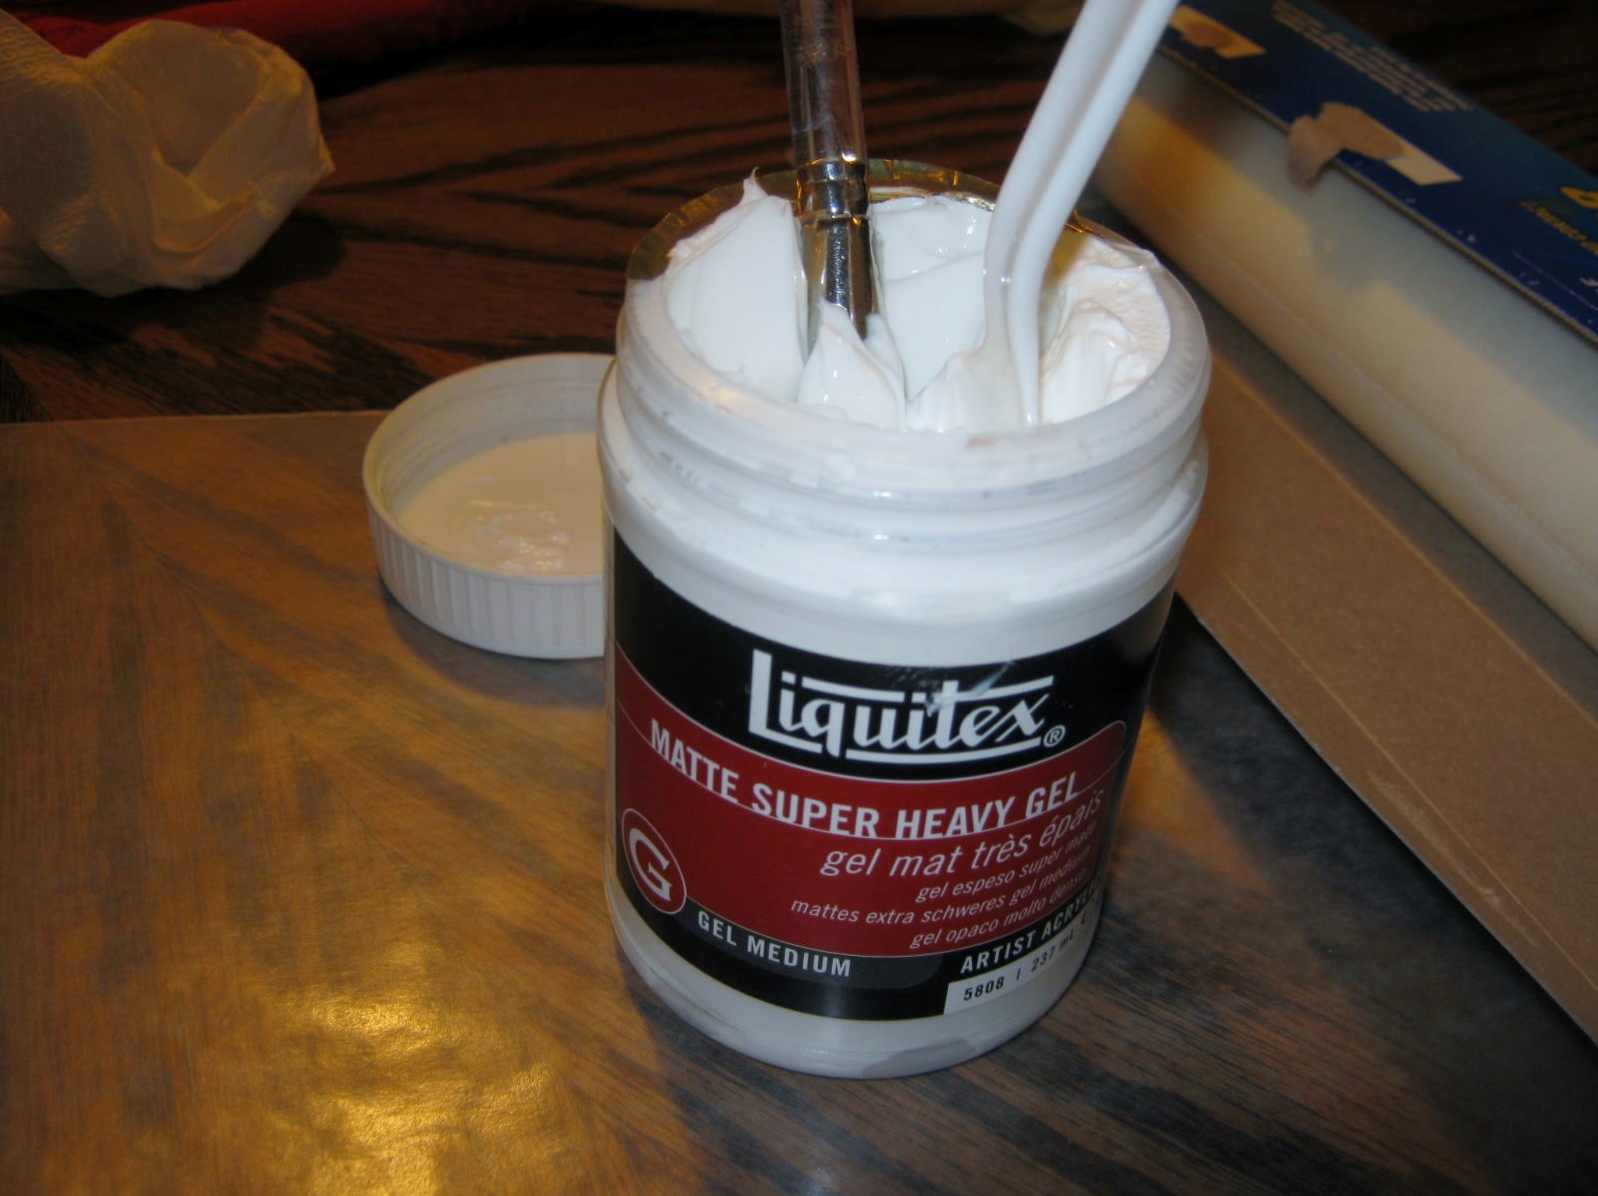
Lay the color copy right side up. Dollop a good-sized amount of acrylic gel medium on top and spread it to the edges of the paper with a large paint brush. Keep the coat of gel on the thick side, areas with too thin a layer will tend to pull away from the fabric. When you are finished clean brushes and any drips immediately. The gel is permanent when dry. I recommend wearing old clothing and working on a protected surface.
After the color copy is covered with a layer of the gel very carefully turn the copy over onto the shirt. Remember that any lettering or numbers will now be backwards. We were lucky-my grandson had used a number 88 on his car so we had no problem with backwards words or letters. Let the shirt sit and dry overnight in a place where it won’t be disturbed.
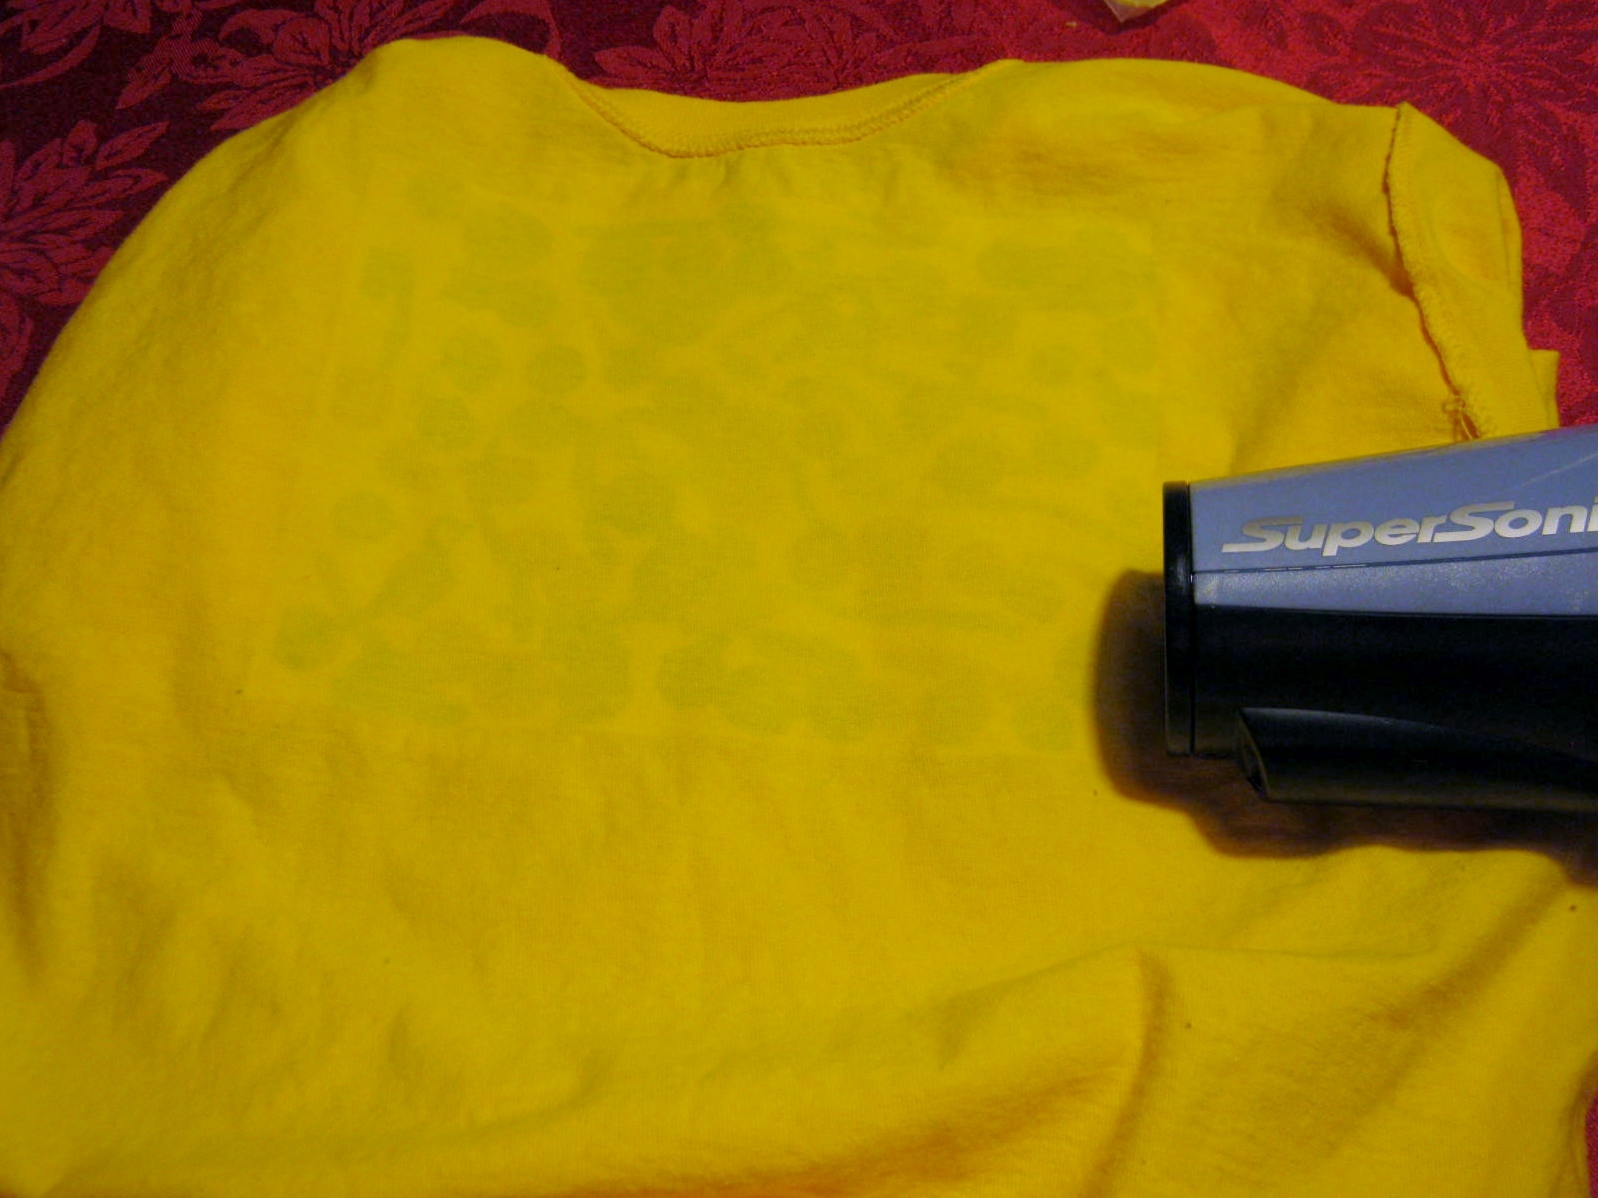
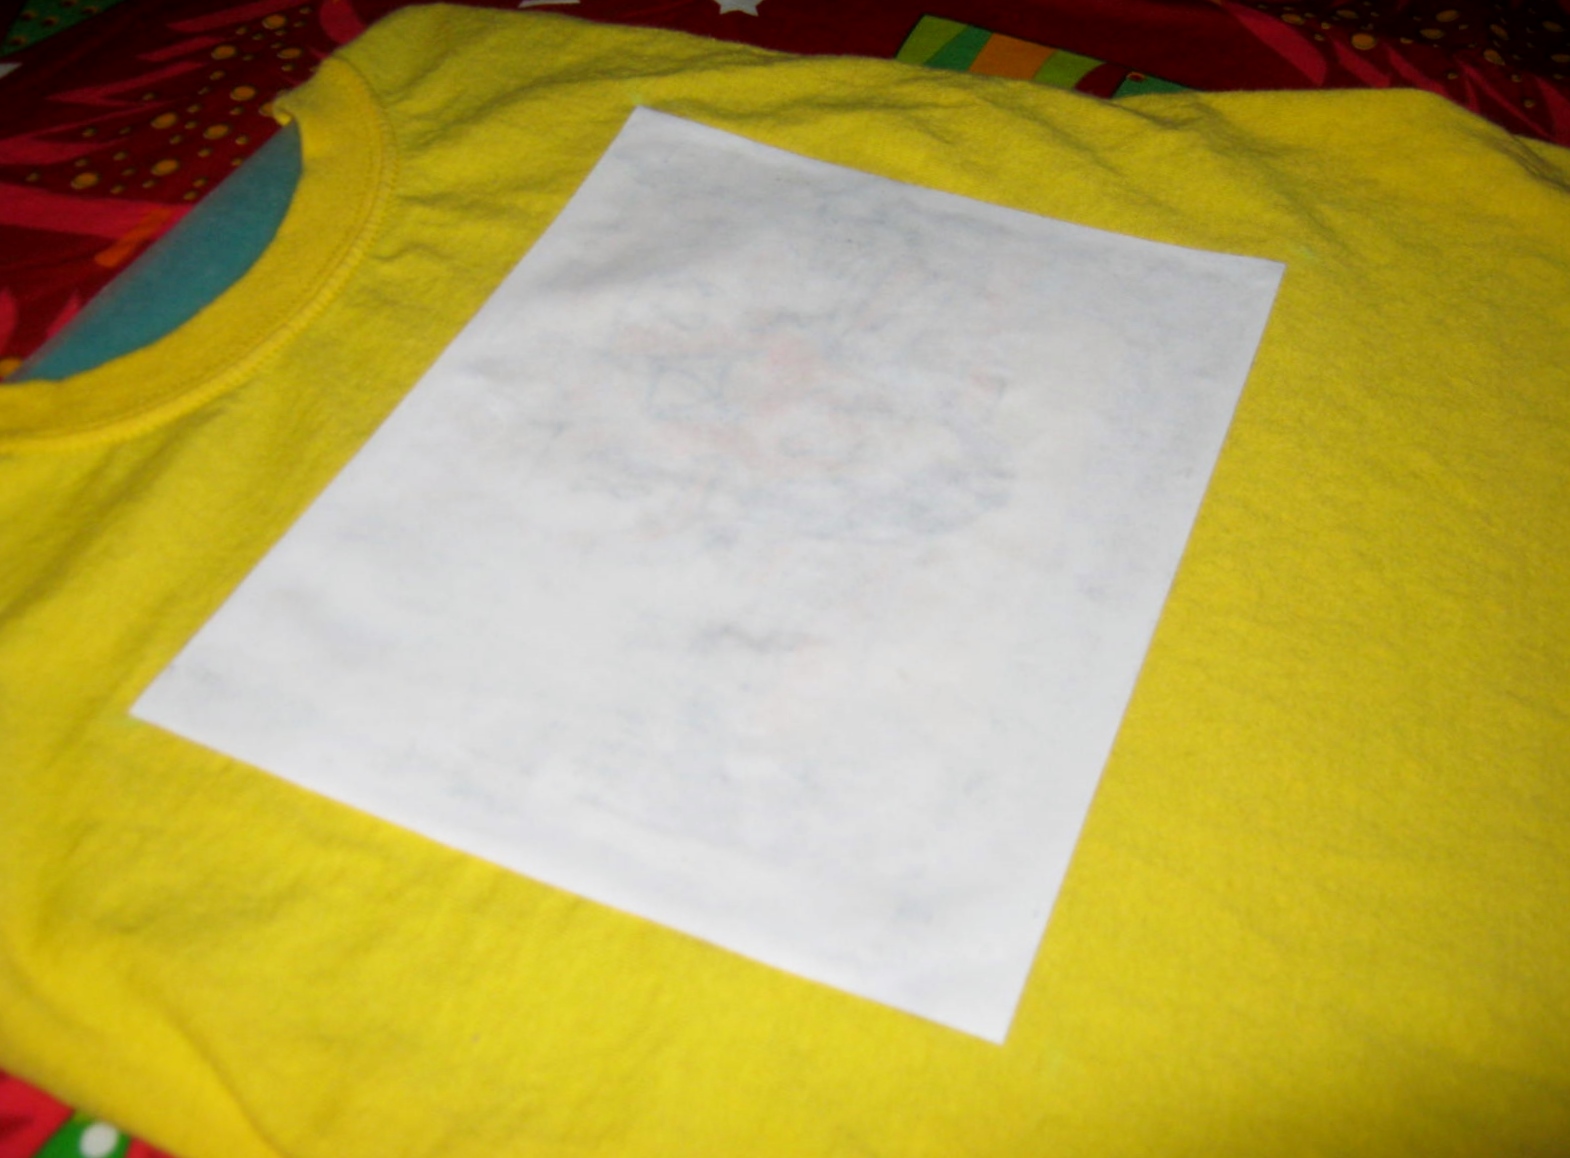
The next morning, if the paper backing feels completely dry, turn the shirt inside out and give the back of the transferred area a bit of hot air from a hair dryer.

Turn the shirt right side out again and spray the backing with warm water. Let it soak in a few minutes and then begin rubbing away with your finger. I wondered if this part might be difficult, but it came up fairly easily. In spots where we had applied the gel too thin parts of the picture rubbed away. The edges also were a bit raggedy, but compared to the area where the edges were straight, we decided the raggedy edge gave the picture a much more “artistic” appeal and looked more natural.
Small, lint-like pieces of the backing paper stuck to the fabric of the shirt when were finished. I found I needed to once again carefully immerse the shirts in water and rinse away the residue of the backing. This did not disturb the transfer at all. To excess water after the rinsing I rolled the shirt gently in a towel and hung to dry.

My grandson was very happy with his project and his little brother was very surprised and pleased by the shirt we made for him. I would recommend this for ages 6 and up and only if helped by an adult. Laundering must be done by hand washing. Be prepared for the transparency of the design to whiten up again wet. When it dries again it will be transparent again.
We created two shirts for about 20.00. There is plenty of gel medium left for several more projects.


