People – Throwback Thursday/Dressing Up

I remember dressing up as a playtime activity when I was small. Nothing was more thrilling than putting on my mother’s clothes and shoes to become a princess or a grand lady.

Everyone dressed up in the 1950’s. A Sunday-morning-going-to-church outfit for ladies consisted of high heels, stole, gloves and netted hat.

Here are my sweethearts dressing up for Halloween last year. I wonder what they’ll be this year?


Projects – Welcome October

I’ve posted several projects over the past four years while blogging on WordPress. Today is a rerun of several of my favorites. Most are easily duplicated without instructions. I’ve included links back to the original posts for the project ideas that are a bit more involved. Happy October to All!

Jack O Lantern Choir

I love Jack O’ Lanterns. They are a favorite of mine in the Autumn.

zjackolantern

Several years ago after seeing an idea on how to make Oyster Jack O’ Lantern ornaments on Pinterest, I created several. They have held up for years and today I will be decorating my Norfolk Island Pine tree with these adorable pumpkins.

jack o lantern tree

You can find full directions here:
Jack O’ Lantern Tree Part I
Jack O Lantern Tree Part II

jack o lantern tree 2

These playful glasses were certainly a hit with my grandchildren and trick-or-treaters who came to our door.

My experience and the link to Martha Stewart’s directions for the glasses can be found at Martha’s Halloween Glasses

halloween glasses

Finally, although I didn’t make this snarky sign based on the Wizard of Oz, I love the quote. I only wish I could keep a straight face long enough to use it when someone “bugs” me, but I know I would dissolve into laughter before I could get out two words. Enjoy the season, and remember, “I have flying monkeys, don’t make me use them.” Teeheehee!

IMG_8118

Phrightening – Spider Mites

Halloween! A perfect day to re-post a “how-to” on identifying and eradicating those horrifying SPIDER MITES from our plants. It’s also a timely post considering many of us bring outdoor plants inside at this time of year. Unfortunately, there are often some unwelcome “stowaways” hiding amid the leaves and foliage.

Spider Mites, they are a pest I hate to see indoors or out. They are microscopic in size, and usually, they have caused quite a bit of damage before you are even aware they are on your house or garden plants. Here is some good information on what a spider mite can do to your foliage. Spider Mites

IMG_0298

This week I noticed some yellowing leaves on my Mandevilla Vine. Because I have had problems with spider mites in this area of the basement in the past, they were tops on my list of possible pests. Instead of peering at each stem individually, I used my quick and easy solution. I sprayed the entire plant with a mister. Sure enough, the webbing the spider mites leave behind on the leaves caught the droplets of water and glowed in the sunlight. Since I want to keep all my pest control organic, I have found that the best approach to controlling spider mites is to spray the plant with water every day. This keeps the spider mites under control until it is warm enough for me to take the plant outside and really douse it with a hard spray of the hose. Daily sprays of the hose for a week or two will obliterate the spider mite colony. This technique also works on aphids. The only other solution is to spray with dangerous chemicals or toss the plant in the garbage heap.

IMG_0299

Spraying the infected plant with water will allow you to see how badly infested your plant has become. It is a good idea to spray all your houseplants to see if there are any errant mites on surrounding greenery.

Projects & Quick Tip – Making Martha/Halloween Sunglasses

IMG_3984

What a clever idea! Why haven’t I ever thought of it?

Decorate a dollar store pair of sunglasses for Halloween.

I don’t dress up, but I decided it would be fun to try a few of the cute ideas in the October issue of Martha Stewart Living magazine. The Trick-or-Treaters might enjoy the look…or…maybe they will be SPOOKED!

It certainly wasn’t costly to create these glasses, and while they will probably only last a night; I sure had a good time creating them.

IMG_3963

You can find more ideas here: Martha Stewart’s Sunglasses for Trick or Treating

If I have time I might glue a silk flower or two to an extra pair of sunglasses I found lying in a drawer.

Phun – Jacks & Jills

I searched my own archives yesterday for some Halloween ideas. I found three interesting posts full of ideas for Jacks and Jills. Enjoy!


IMG_3755

These sweet Jack-O-Lantern ornaments are created from common oyster shells picked up from local beaches.

11

Today, my grandson decorated our “Holiday Tree” with these “Jacks & Jills.” Oyster Jacks Part I and Oyster Jacks Part II contain detailed directions with step-by-step photos.

jacks & Jills

If you are blessed with pumpkins galore and enjoy carving, you can create a replica of this set of bleachers loaded down with a crowd of grinning Jacks & Jills.

jack

Last in our trio of ideas for “Jacks & Jills” is this baby-eating Jack. Spooky! My Jack’s eyebrows might be a little large and wonky…they appear to be extra eyes to me…but even now, just looking at the photo makes me smile. 🙂 The source of this idea can be found on Pinterest.

Follow Me on Pinterest

Phavorites – Manic Monday


Hurricane Sandy postponed our Halloween and Trick or Treating here in New Jersey. Today children will wear their costumes and ring doorbells. I discovered this amazing Jack O’Lantern choir while bike-riding Saturday. I couldn’t resist driving by again on Sunday, this time with camera in tow, to take a picture. I love this!

Projects – Jack O’ Lantern Tree/Part II

The next step in the project is to attach a green floral wire to the back of each Jack O’ Lantern with a glue gun or other strong-bodied glue. First, I twirled the wire into a tight circle to give it more gripping area for gluing. Wire has more stability than string, and you can twist and manipulate the object you are hanging into the perfect position. I think I am going to cut away all the strings from my Christmas ornaments this year and replace them with green wire.

At this point I went outside and chose a nice branch from my crabapple tree. Any tree branch will do, but I especially liked the crabapple twig. It is sturdy, yet it has many little outcroppings of branchlets to hang the ornaments upon. A decorative, neutral colored urn was my container of choice.  Any medium-sized pot will work, a large coffee can, a beach bucket, etc. I filled the urn with potting soil, inserted my branch, firmed up the soil around it, and added a few decorative glass pebbles from the dollar store just for aesthetic appeal.

Now comes the fun part! I twisted each Jack O’ Lantern’s wire around a branch, and twirled the excess around a pencil to give it the look of a vining tendril.

I think the oyster shells look very happy in their new role of Jack O’ Lanterns.

Ta-da! My Jack O’ Lantern Halloween tree is finished. I can’t wait for my grandsons to see it today. One word of caution, find a place for the tree where it won’t jab or catch on someone’s clothing as they pass by…be especially careful not to put the tree at eye level when it is near a walkway. The only surprise in the project-making was the time involved. It took much longer to paint the oysters than I had estimated at the start of the project. Part I of this project can be found by clicking this link: Jack O’ Lantern Oysters/Part I

Happy October to you and yours!

Follow Me on Pinterest

Projects – Jack O’ Lantern Tree/Part I

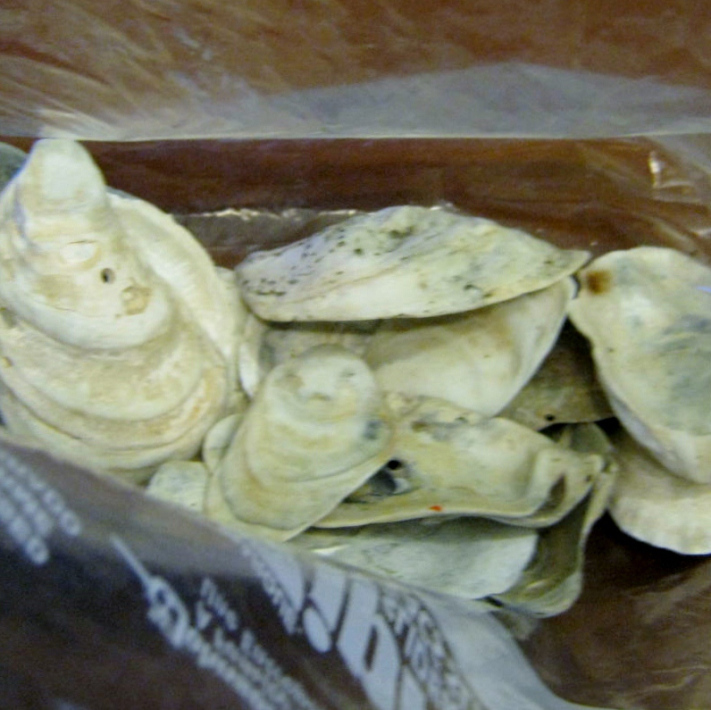
I’ve mentioned in previous posts that I am an incurable beachcomber. Recently, part of my shell collection has become a project for Halloween. I’ve seen oyster shells fashioned into Santa Claus ornaments with a bit of paint, and I imagined turning my shells into Jack O’ Lanterns. The shells are oblong and oval, much like a real pumpkin. They have a bumpy, lumpy, wavy surface, another commonality with a pumpkin.

I broke out my Folkart acrylic paints and a brush and began to paint my shells.

I  needed two coats of the paint, front and back.

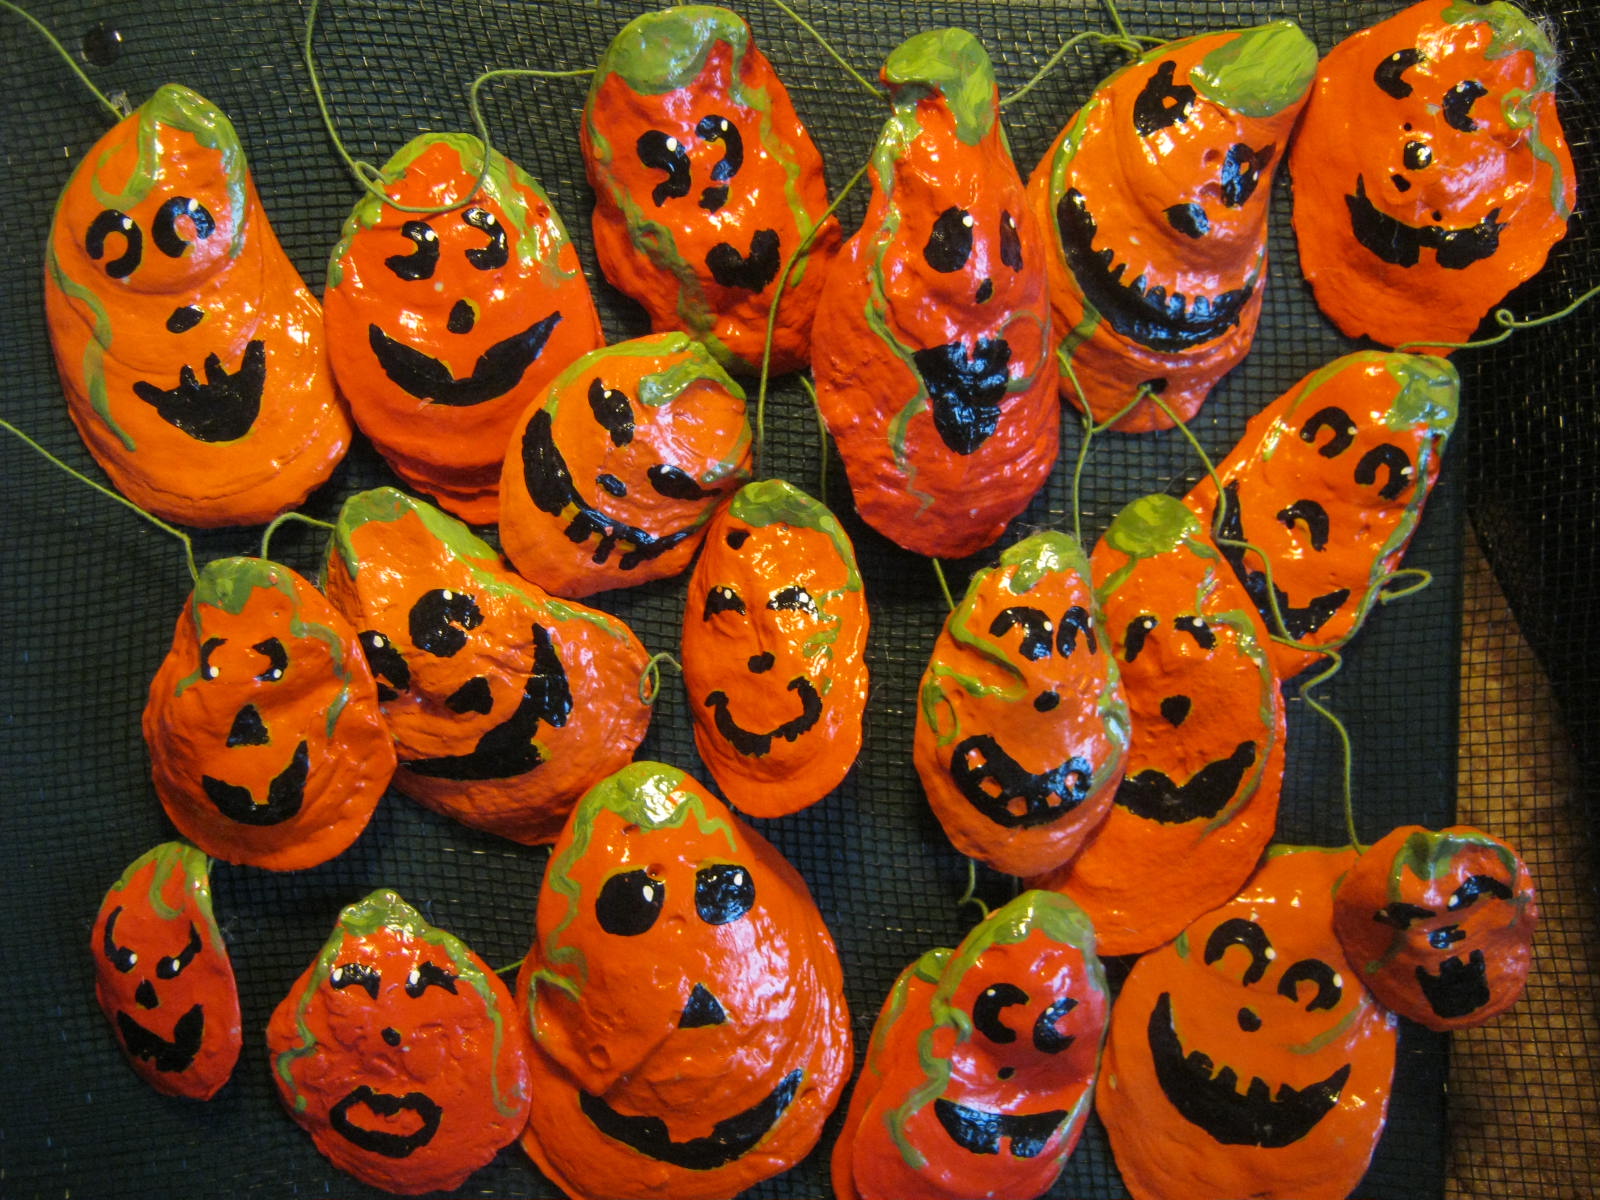
After the orange paints were completely dry, I mixed two greens together on the same brush and painted a stem and some twirly vines down the side. I followed the curves and indentations in the shell to give the oyster Jack O’ Lantern a more natural look.

Here’s a photograph showing several of the pumpkins with stems and vines painted on.

I painted black eyes on one, and realized they looked flat and had no depth. To give the illusion of carving, I painted a raw sienna paint in the face pattern first. This gave an illusion of the inner color of the pumpkins. I wanted to have happy faces, rather than scary or spooky.

I found some happy faced pumpkin patterns to use as inspiration at this site. Happy-faced Jack O’ Lanterns

I added the black paint, being very careful to leave a bit of the raw sienna showing for the depth I wanted. The last touch was a white highlight on each Jack or Jill’s eyes.

The next step was a coat of glossy mod podge. Part II will be tomorrow’s post. Check back for the finished Jack O’ Lantern Halloween tree.

Follow Me on Pinterest