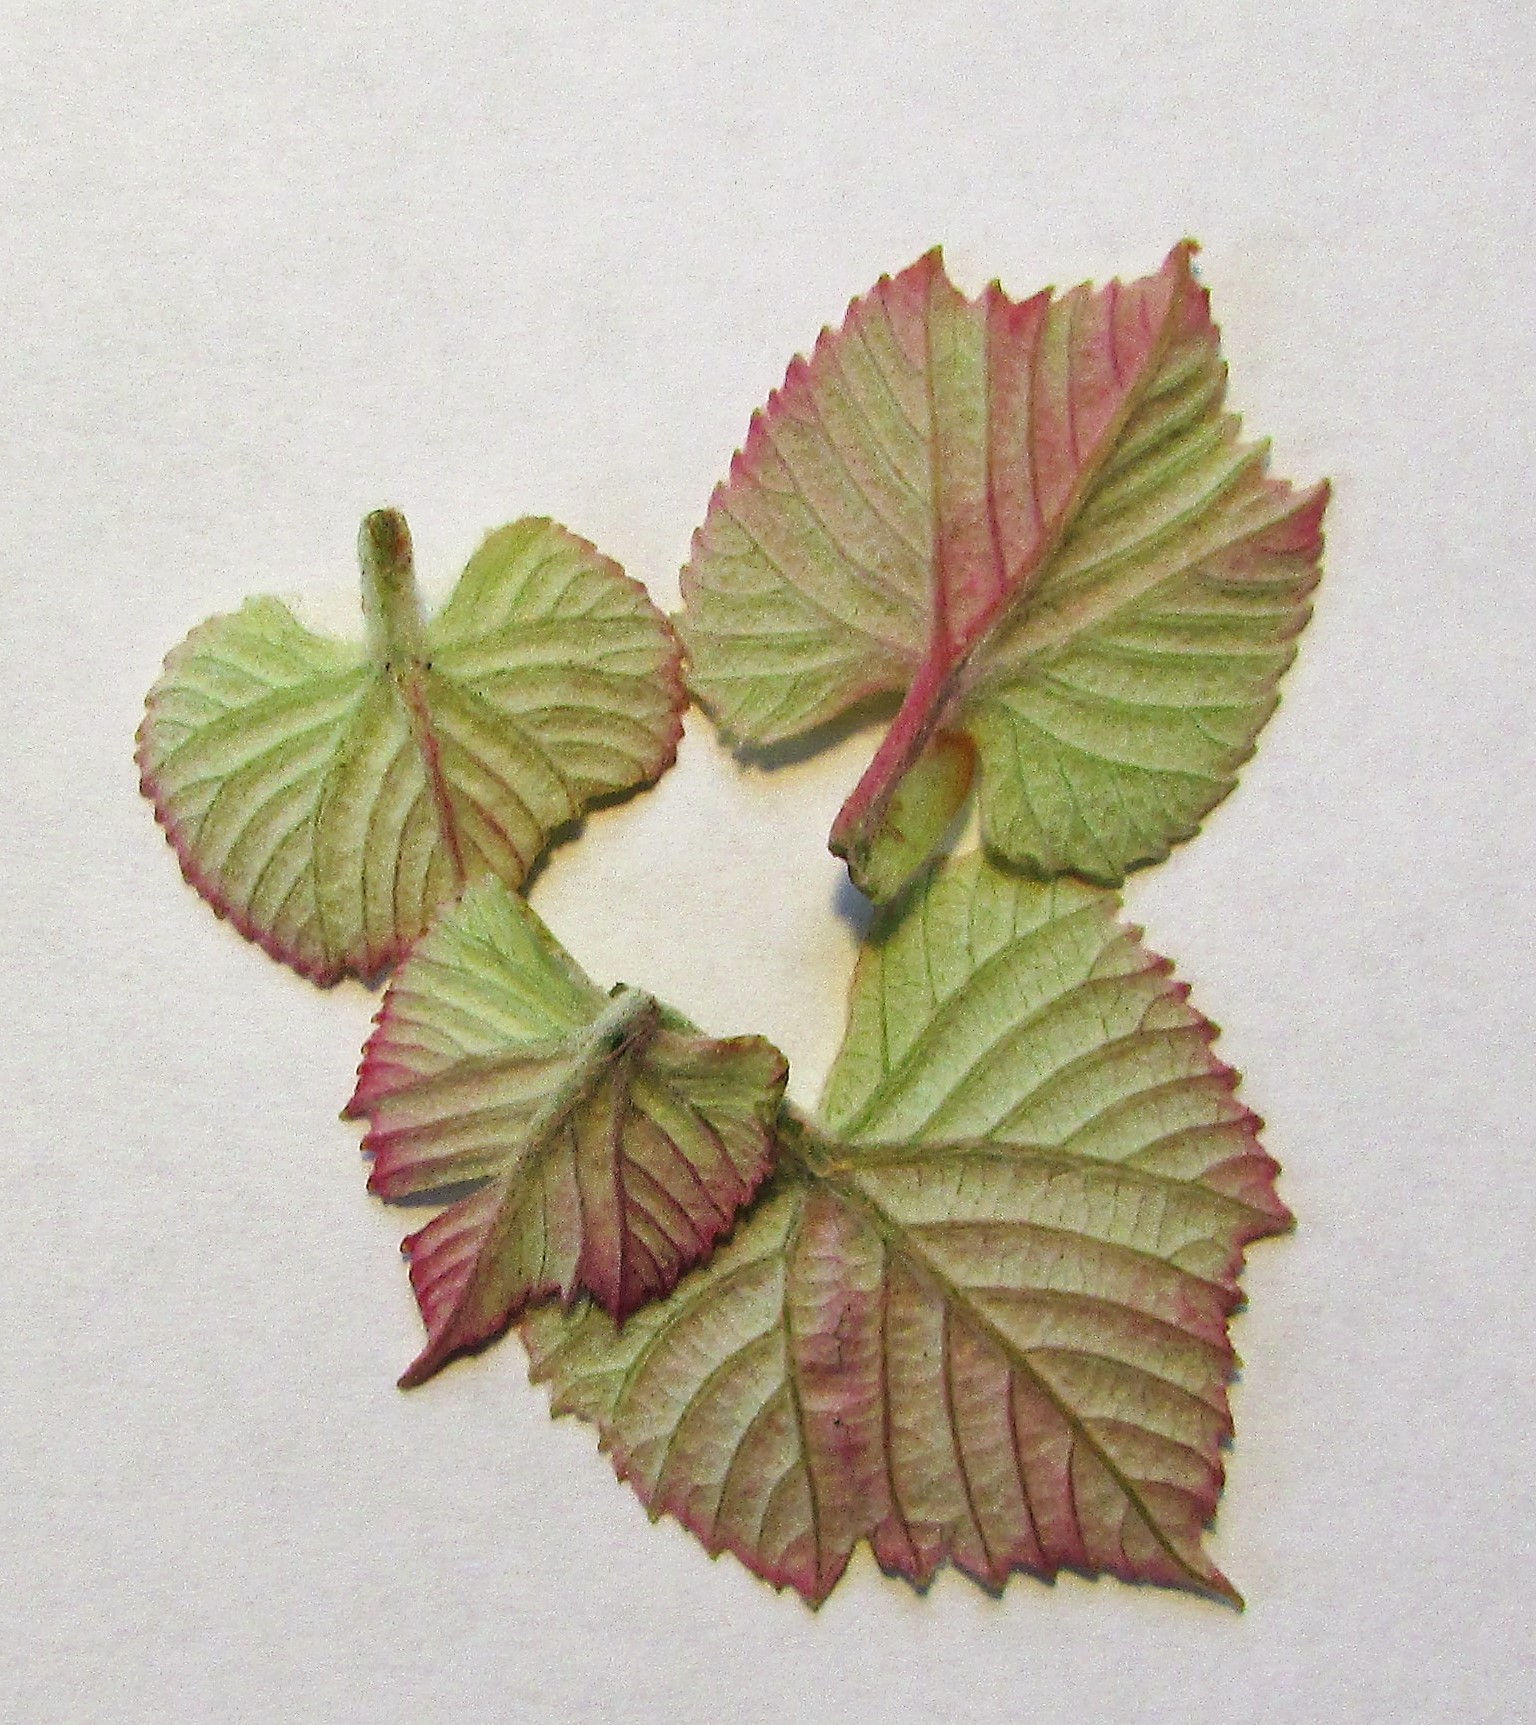
I’ve combined a few posts from past years on how I use pressed Autumn leaves.

It’s not too late to press a few Autumn leaves for crafts and Thanksgiving table scatter. They look lovely hung from mantels or chandeliers. They make great place cards. Write the names of your guests on them with metallic felt-tipped markers. Encase within pieces of glass, seal edges with copper tape or decorative duct tape and use as trivets for your holiday table.

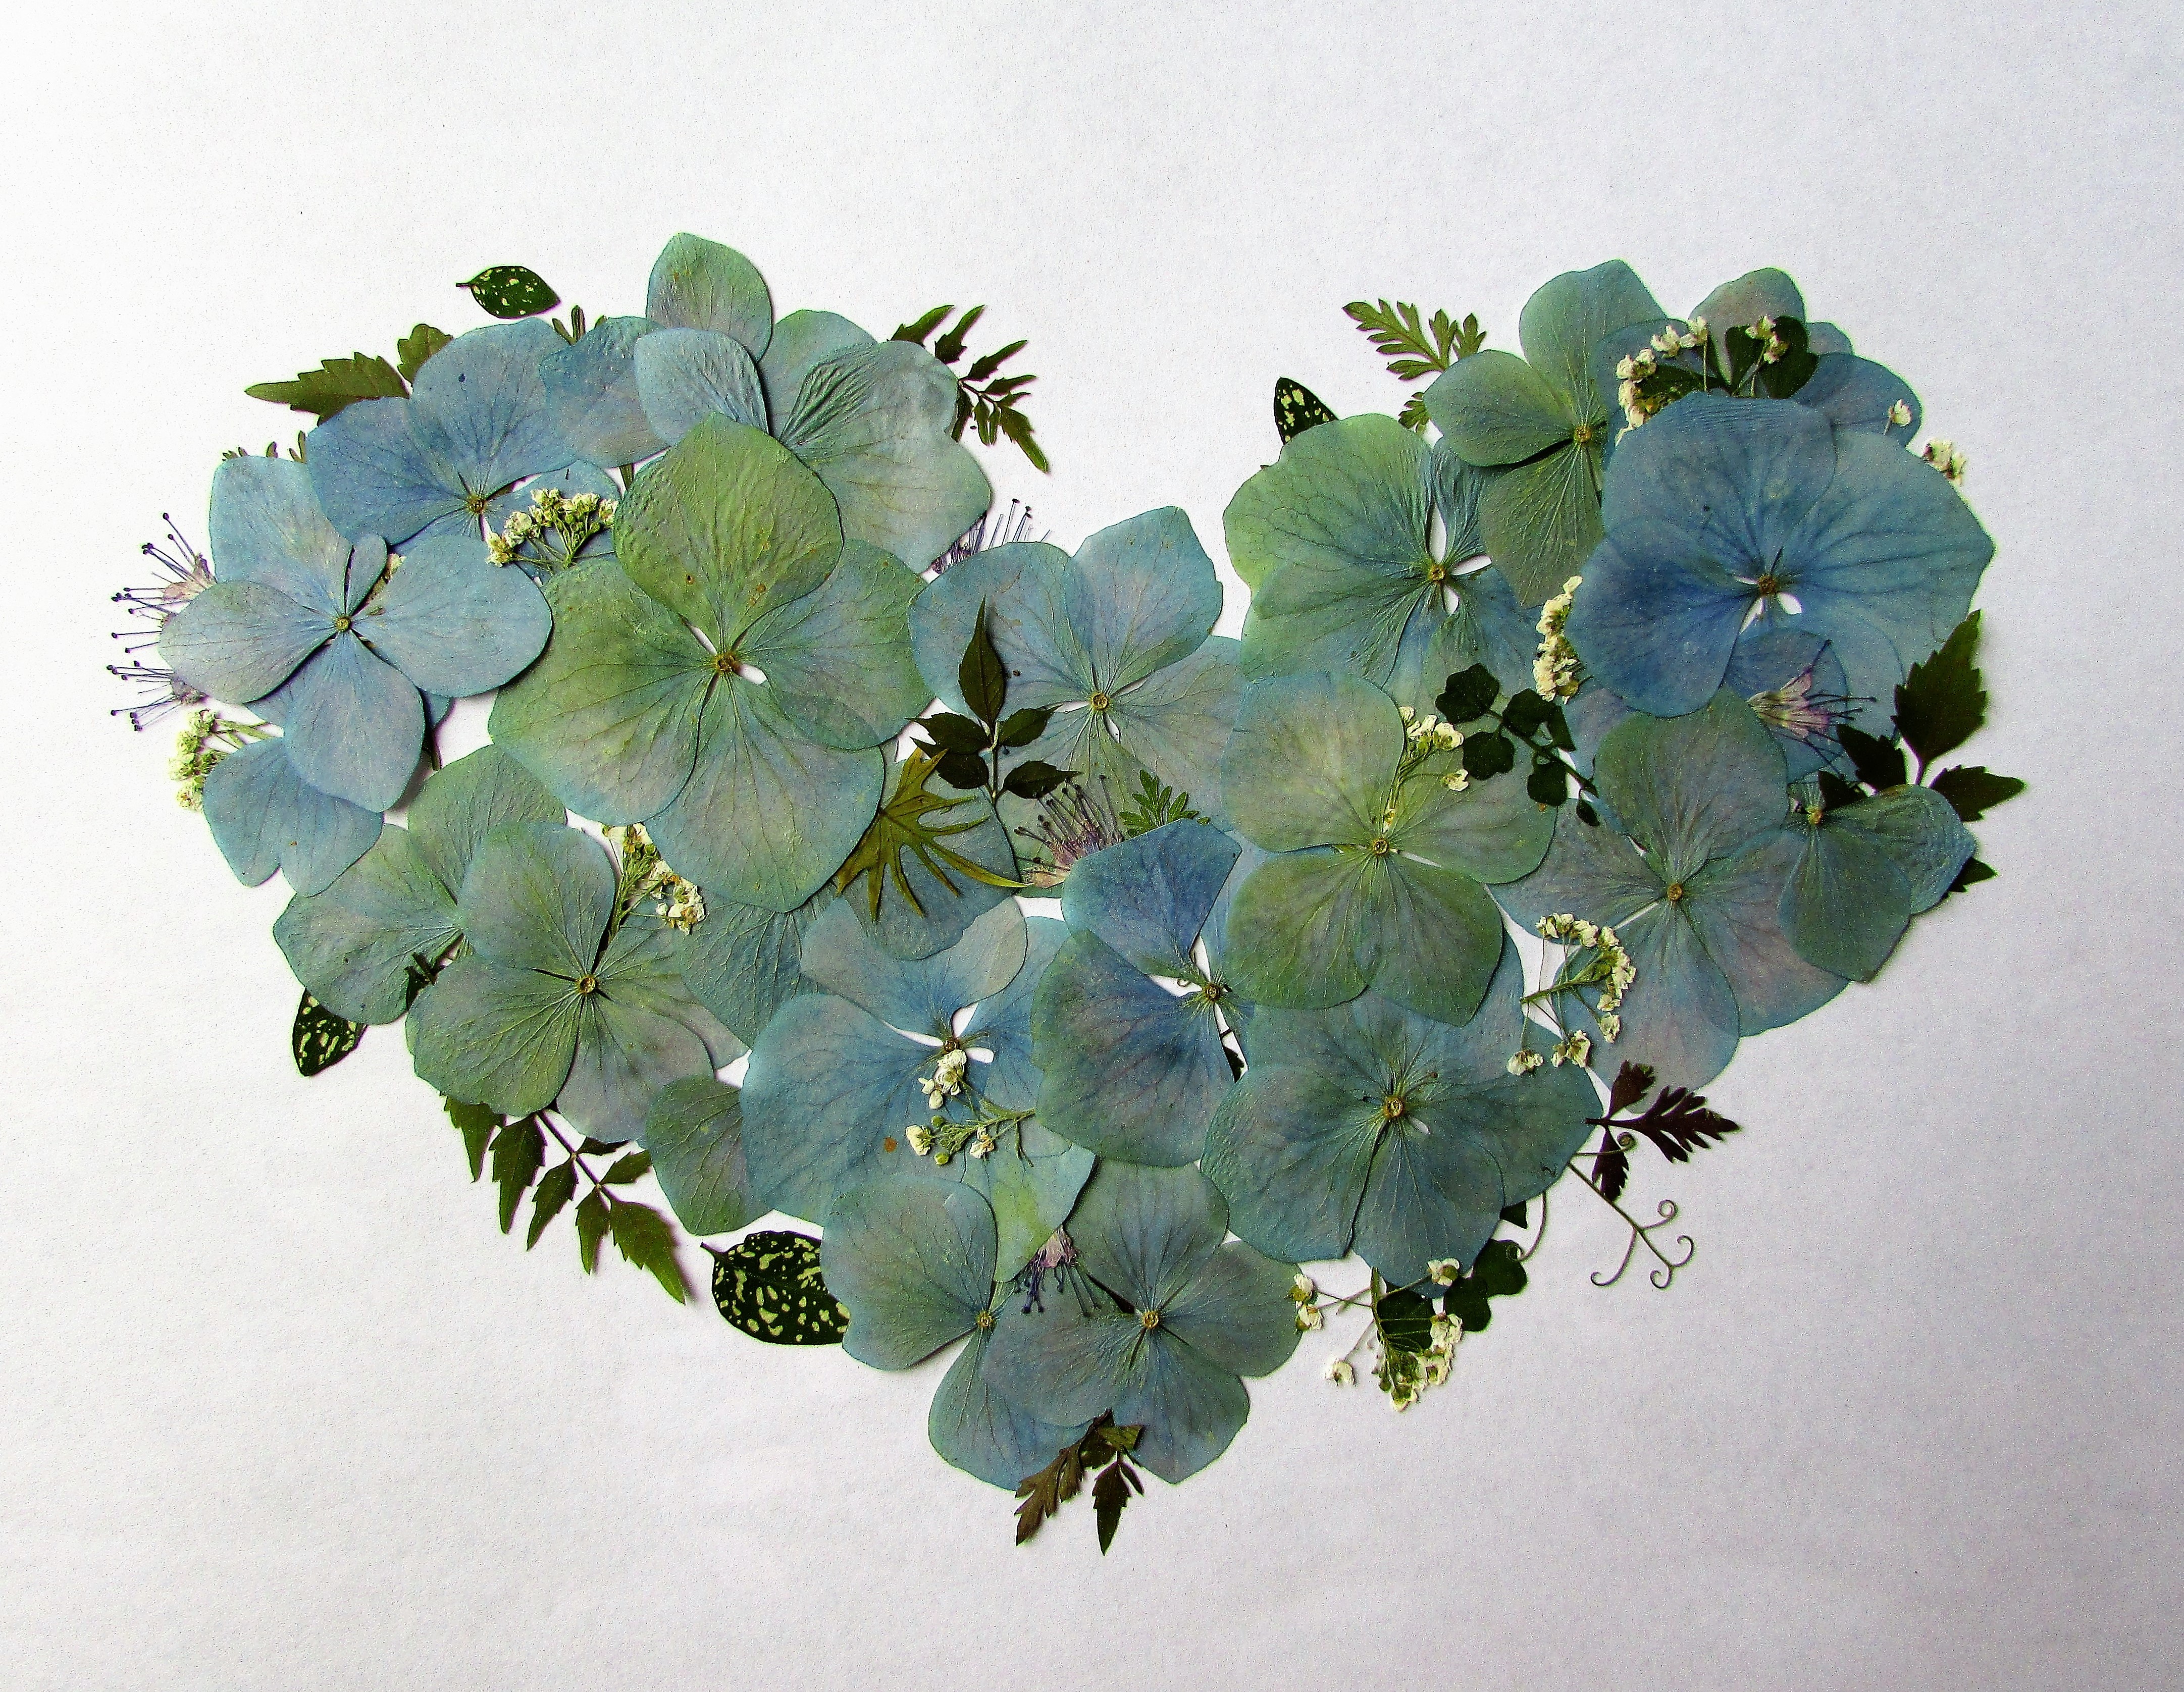
I use quite a few Autumn leaves in my pressed flower compositions. They are great for cutting into different shapes. I create many things with the pressed leaves: birdhouses, wagons, baskets, flowerpots and even small houses.
One problem that arises when cutting the leaves is their brittle nature when dried and pressed. To cut without treating them in some way usually results in shattered pieces or raggedy edges. I’ve found a few fixes for combating this problem by stabilizing the leaves with an added layer.
Fix #1 – Mod Podge the back side of the leaves

Brush the Mod Podge on the back of the leaves with a soft brush. Let it dry completely. While it dries create a pattern out of cardboard for the shape you want to use. In my case it was a tiny house greeting card I call “Home Sweet Home.”


When the Mod-Podge is completely dry, I use a Sharpie marker to trace the house pattern onto the mod-podged side of the leaves. Use a marker that is as close to the color of the leaf as possible or it might show through to the front side. Make sure you remember that when you cut out the traced pattern it will reverse itself. For instance, in the finished card, if I use side one of my pattern to trace, on the finished house the door will be on the left of the house, not on the right.

To finish this card I choose small pieces of foliage and very tiny flower bunches to create the trees. I set these aside at the ready.

For everyone who wondered why I press seaweed….here is the answer: Pressed seaweed is perfect to make small trees. When dried and pressed the thick fronds of this type of seaweed shrink to delicate branches.

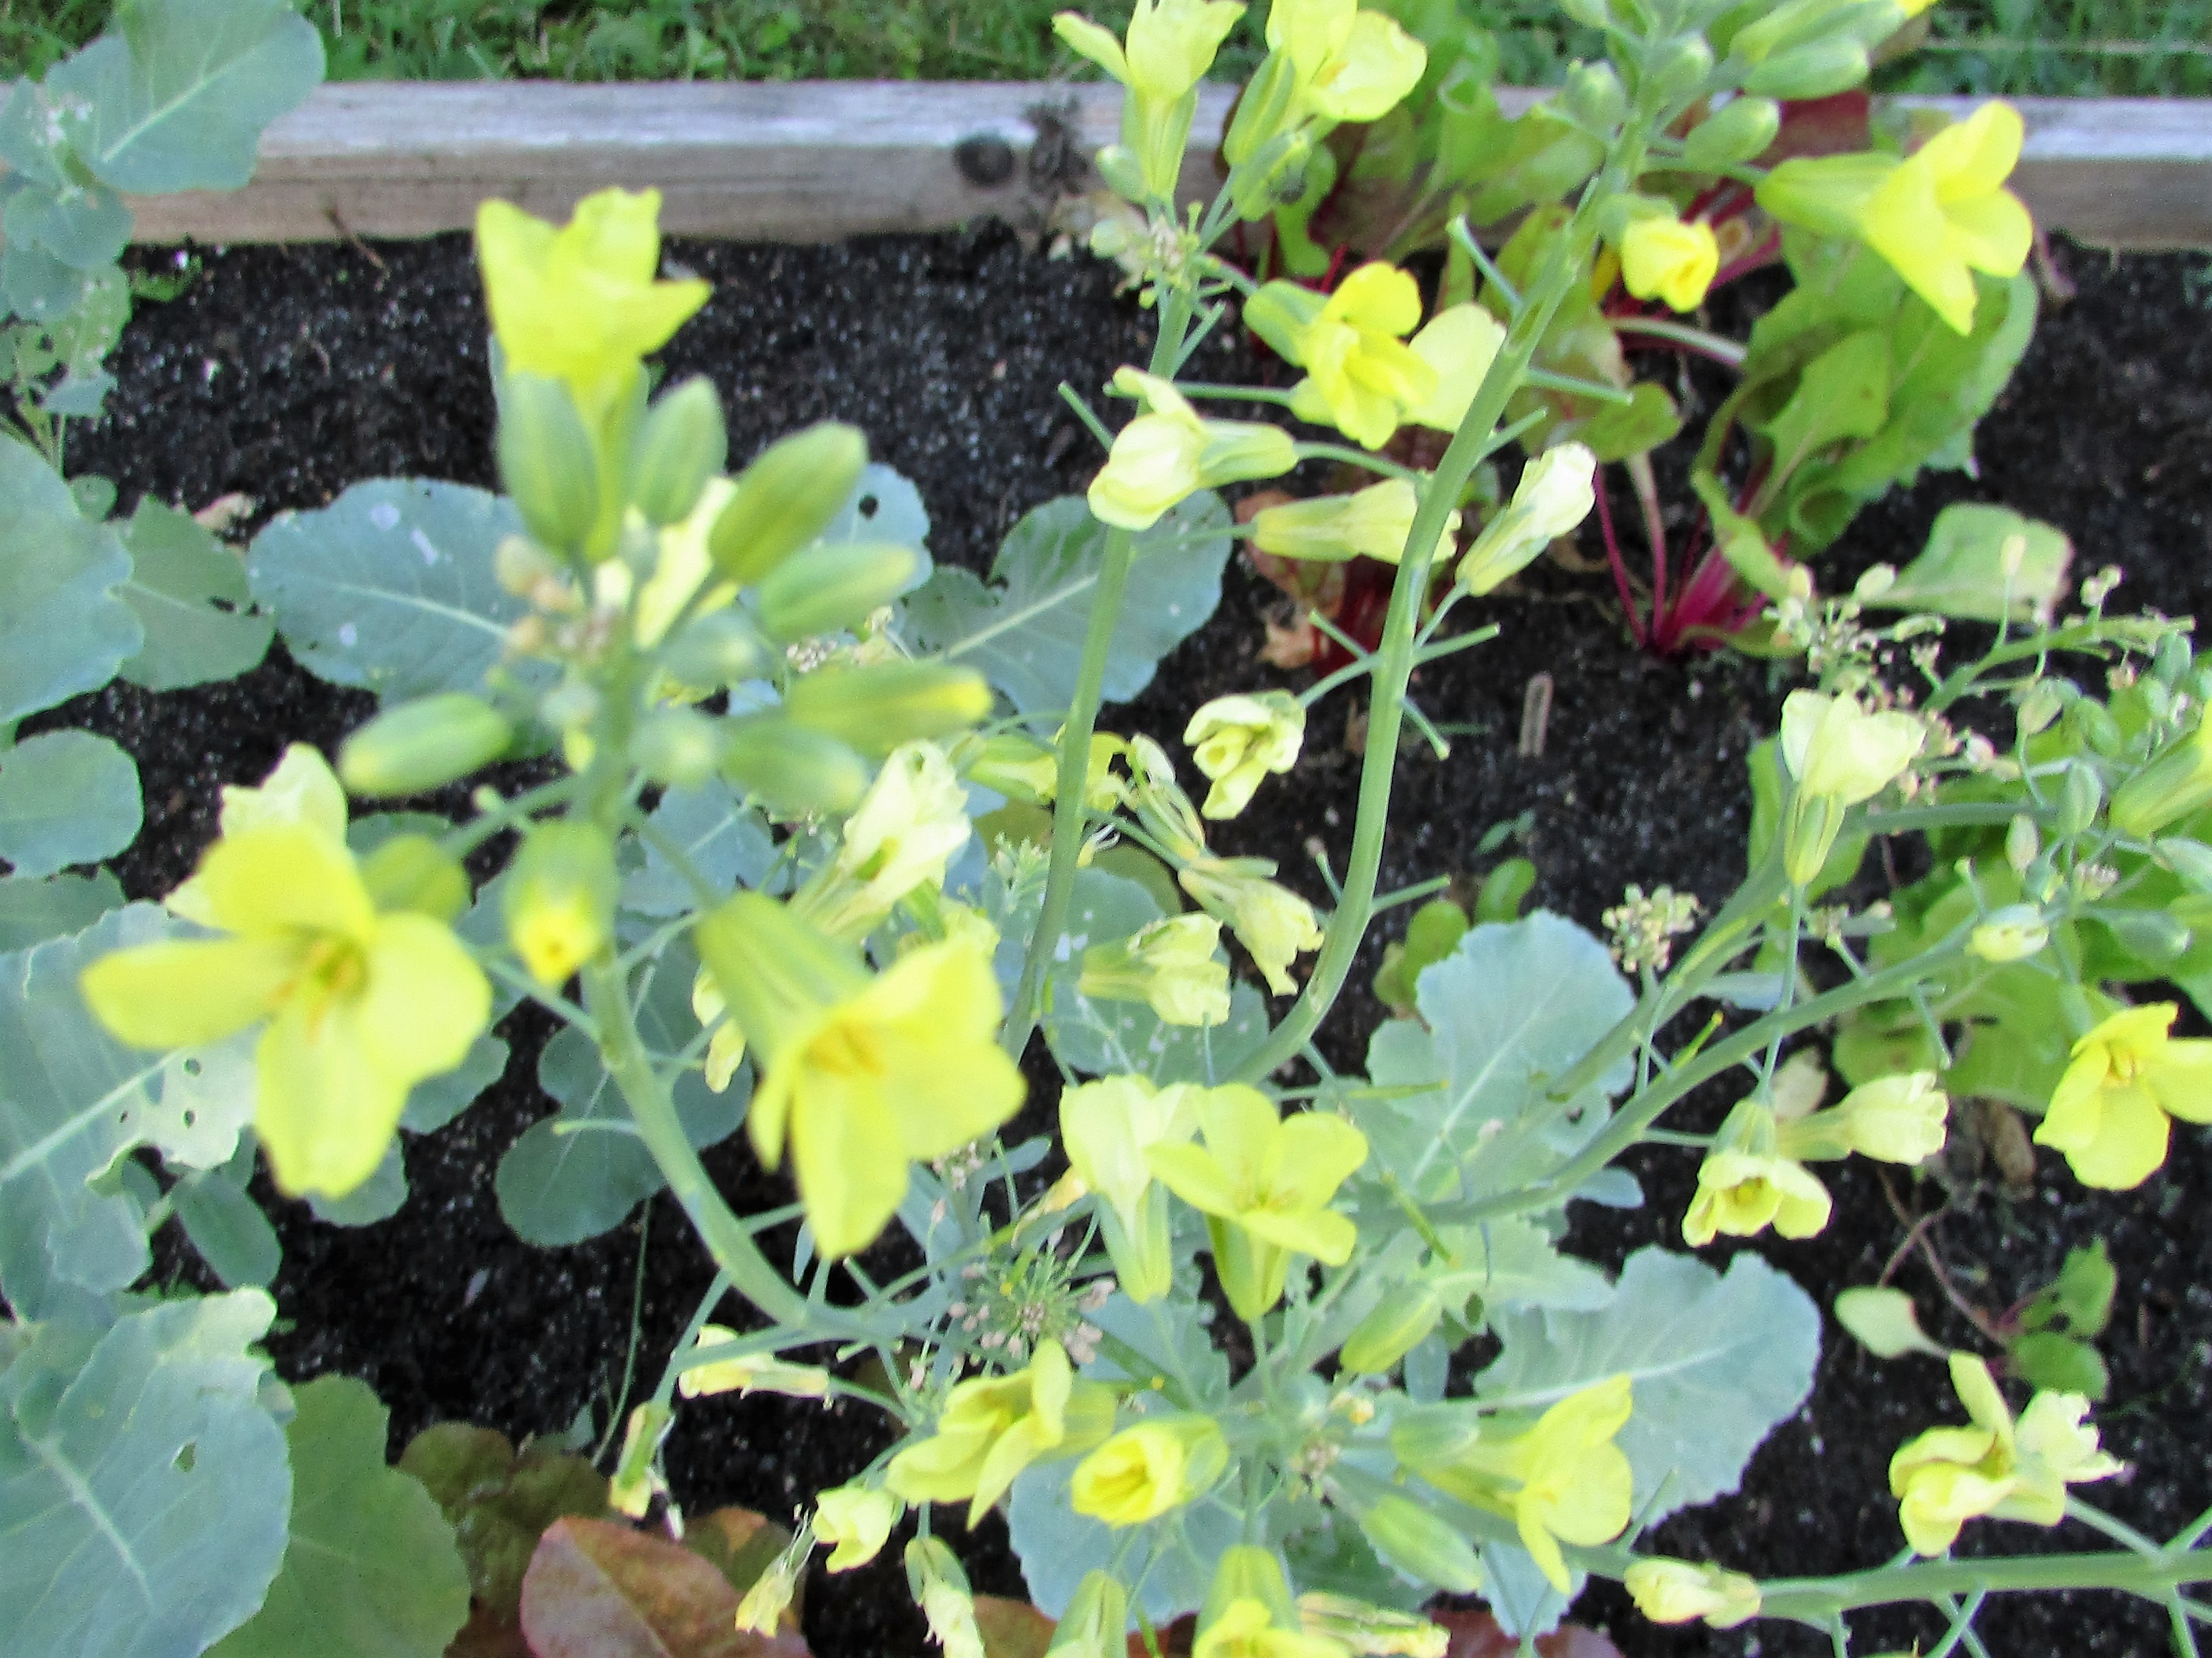
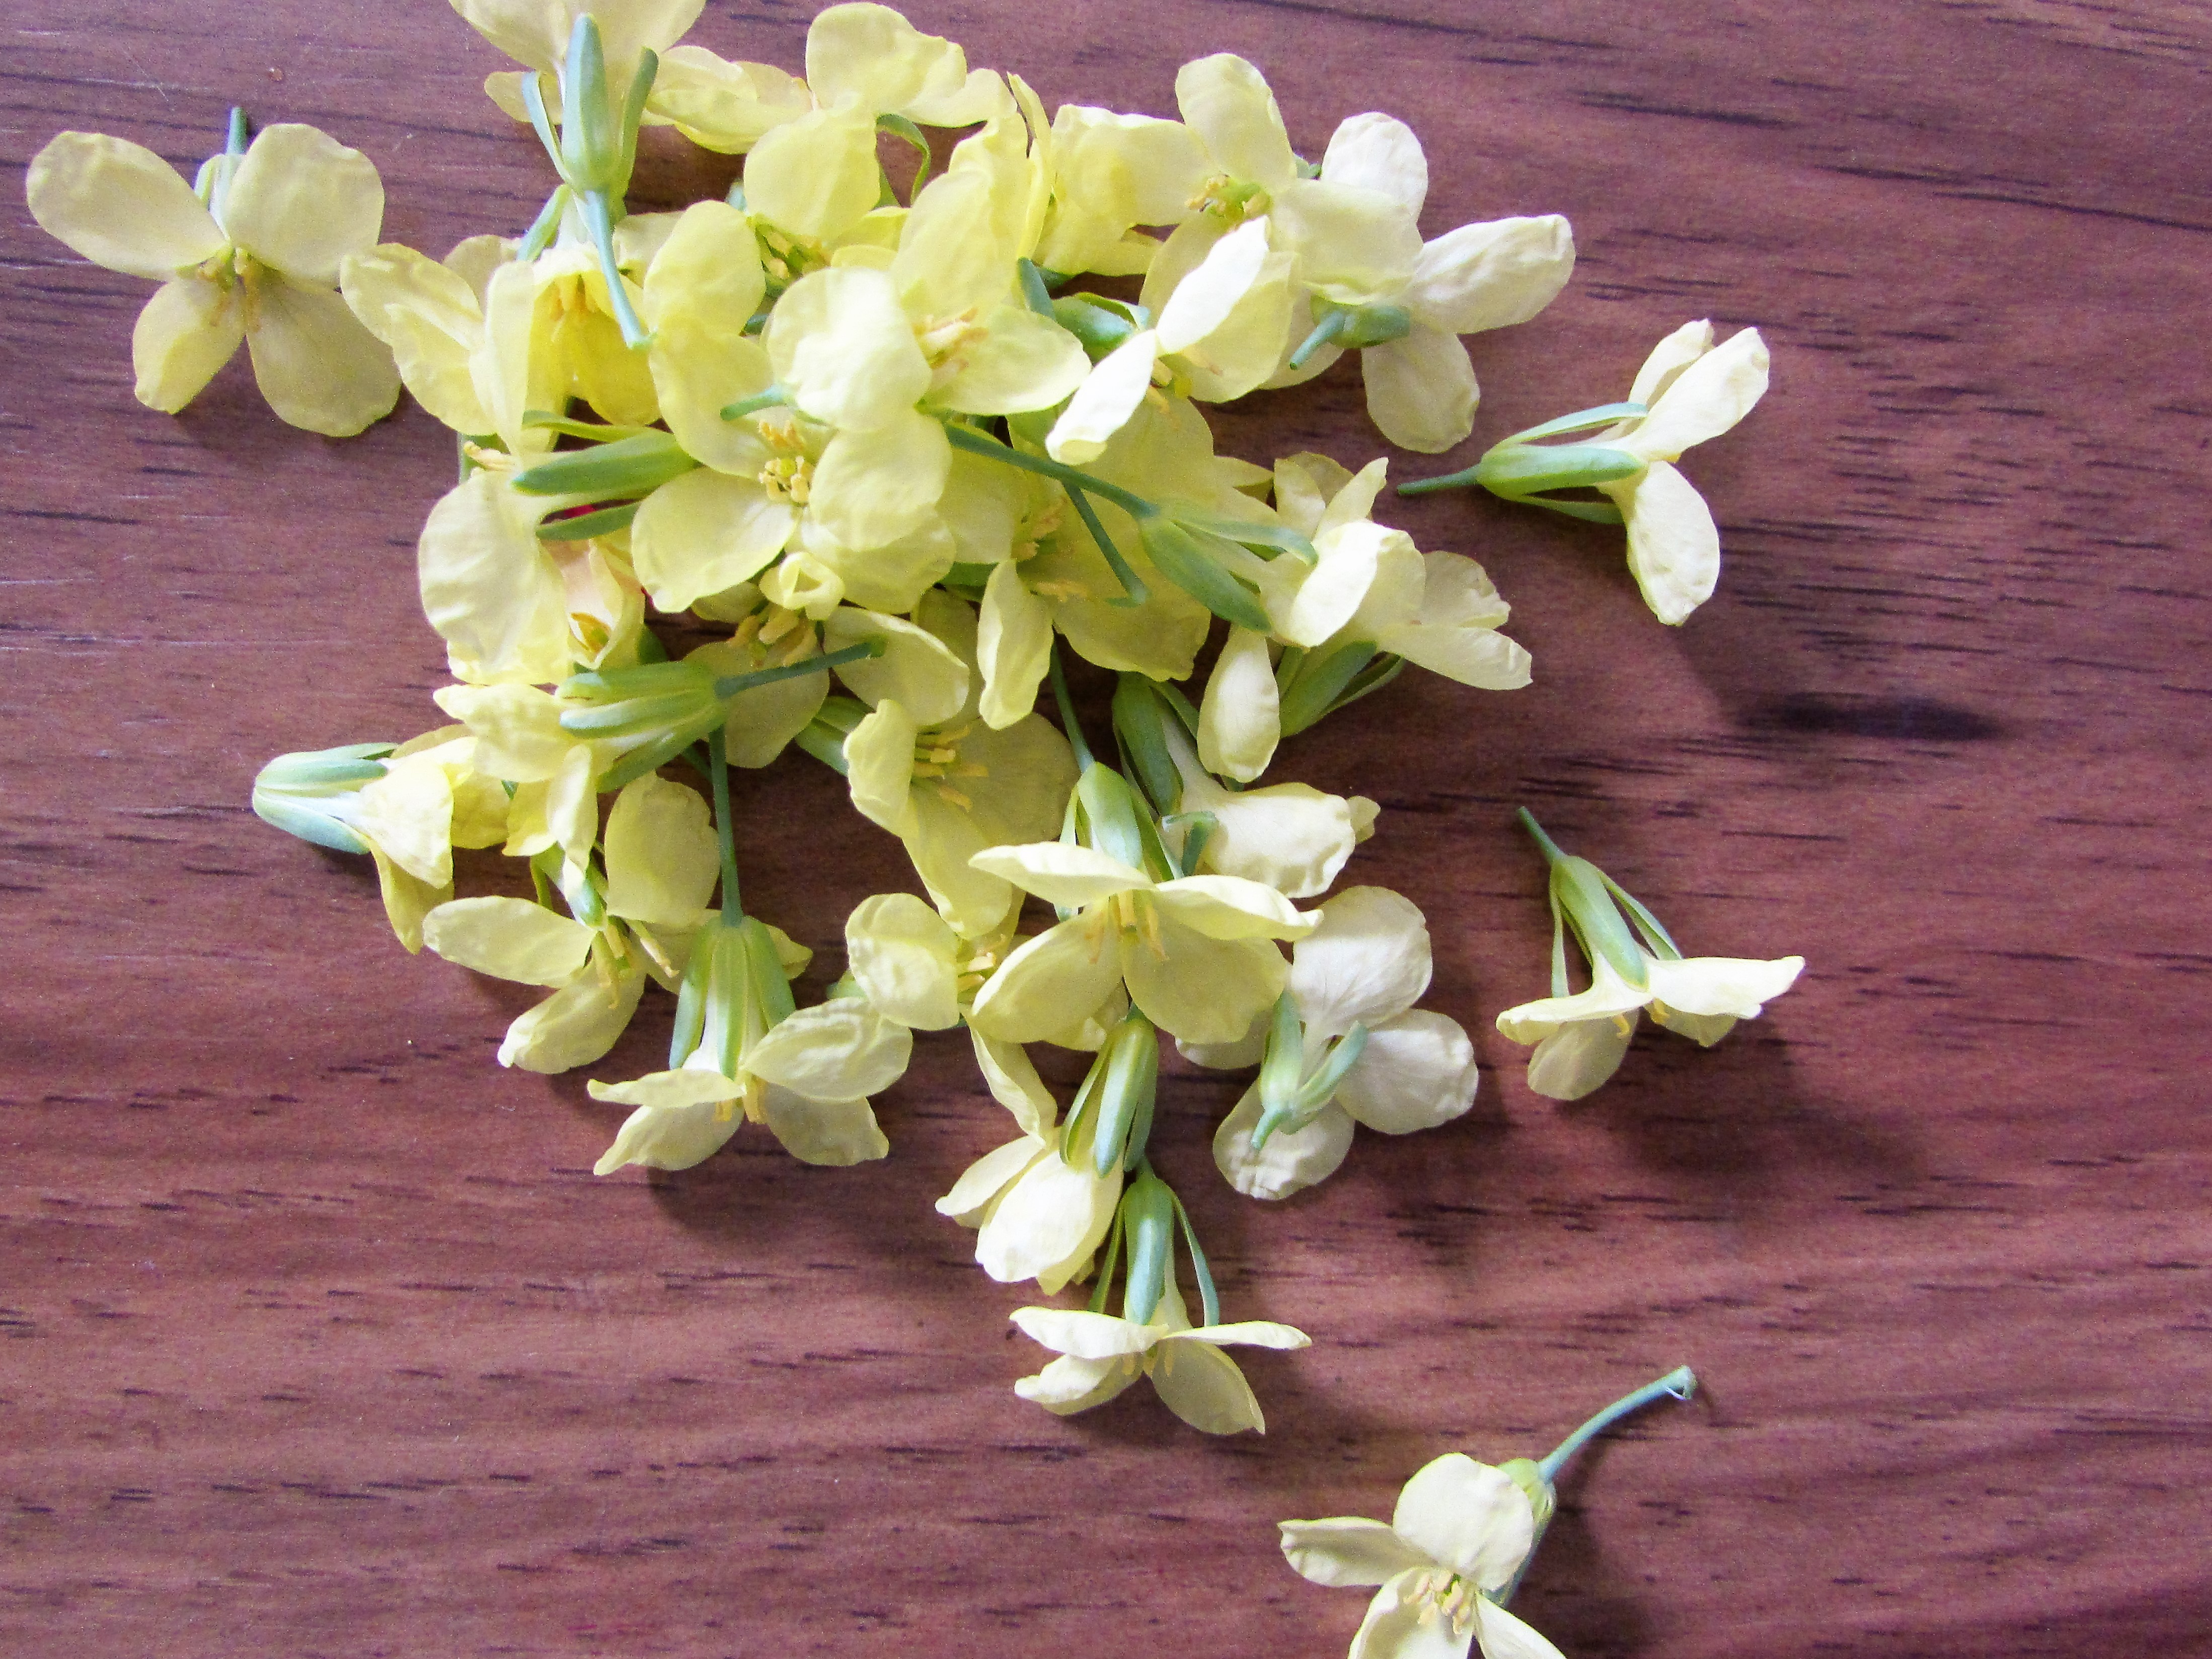
Small ferns, leaves and pieces of Queen Anne’s lace foliage, all look like small trees.

Small florets of flowers look like Crape Myrtle trees in bloom.
Here are a few of the finished cards. Four seasons of pressed flower houses.
 SPRING
For those who wondered why in the world I would press pieces of an abandoned hornet’s nest, the answer is above: hornet’s nest paper, pressed and mod-podged, is easy to cut into shapes for unique additions to my pressed flower creations.

SUMMER

AUTUMN

WINTER

Another way to cut Autumn leaves is to use Wonder Under. Wonder Under is a fusible web made by Pellon. Wonder Under can be purchased in any fabric store. Craft and hobby outlets also carry fusible web, but you usually have to buy a full package, a waste of money if you need only a quarter yard or less.

Create a pattern. I am working with a bird house shape.

Trace pattern onto Wonder Under and fuse with an iron onto the back of the leaf or bark. Remember, whatever pattern you choose will reverse itself in direction when fused to the back.

Another technique is to fuse the Wonder Under directly to the back of the leaf, and then after tracing the pattern, cut out the shape you desire from the leaf.

I am sometimes tempted to remove the Wonder Under backing and fuse the cut leaves to the card stock with an iron. This is not a good idea for two reasons, the removal of the backing often destroys the leaf, and the heat of the iron will usually warp the card stock to some degree. It’s a better idea to leave the Wonder Under in place permanently and glue the leaf to the card with the fusible web intact.

It’s fun to create different shapes for your pressed flower work using the beauty of Autumn leaves and the thin bark of a birch tree. Have fun.