Phriday Phlowers – Amaryllis

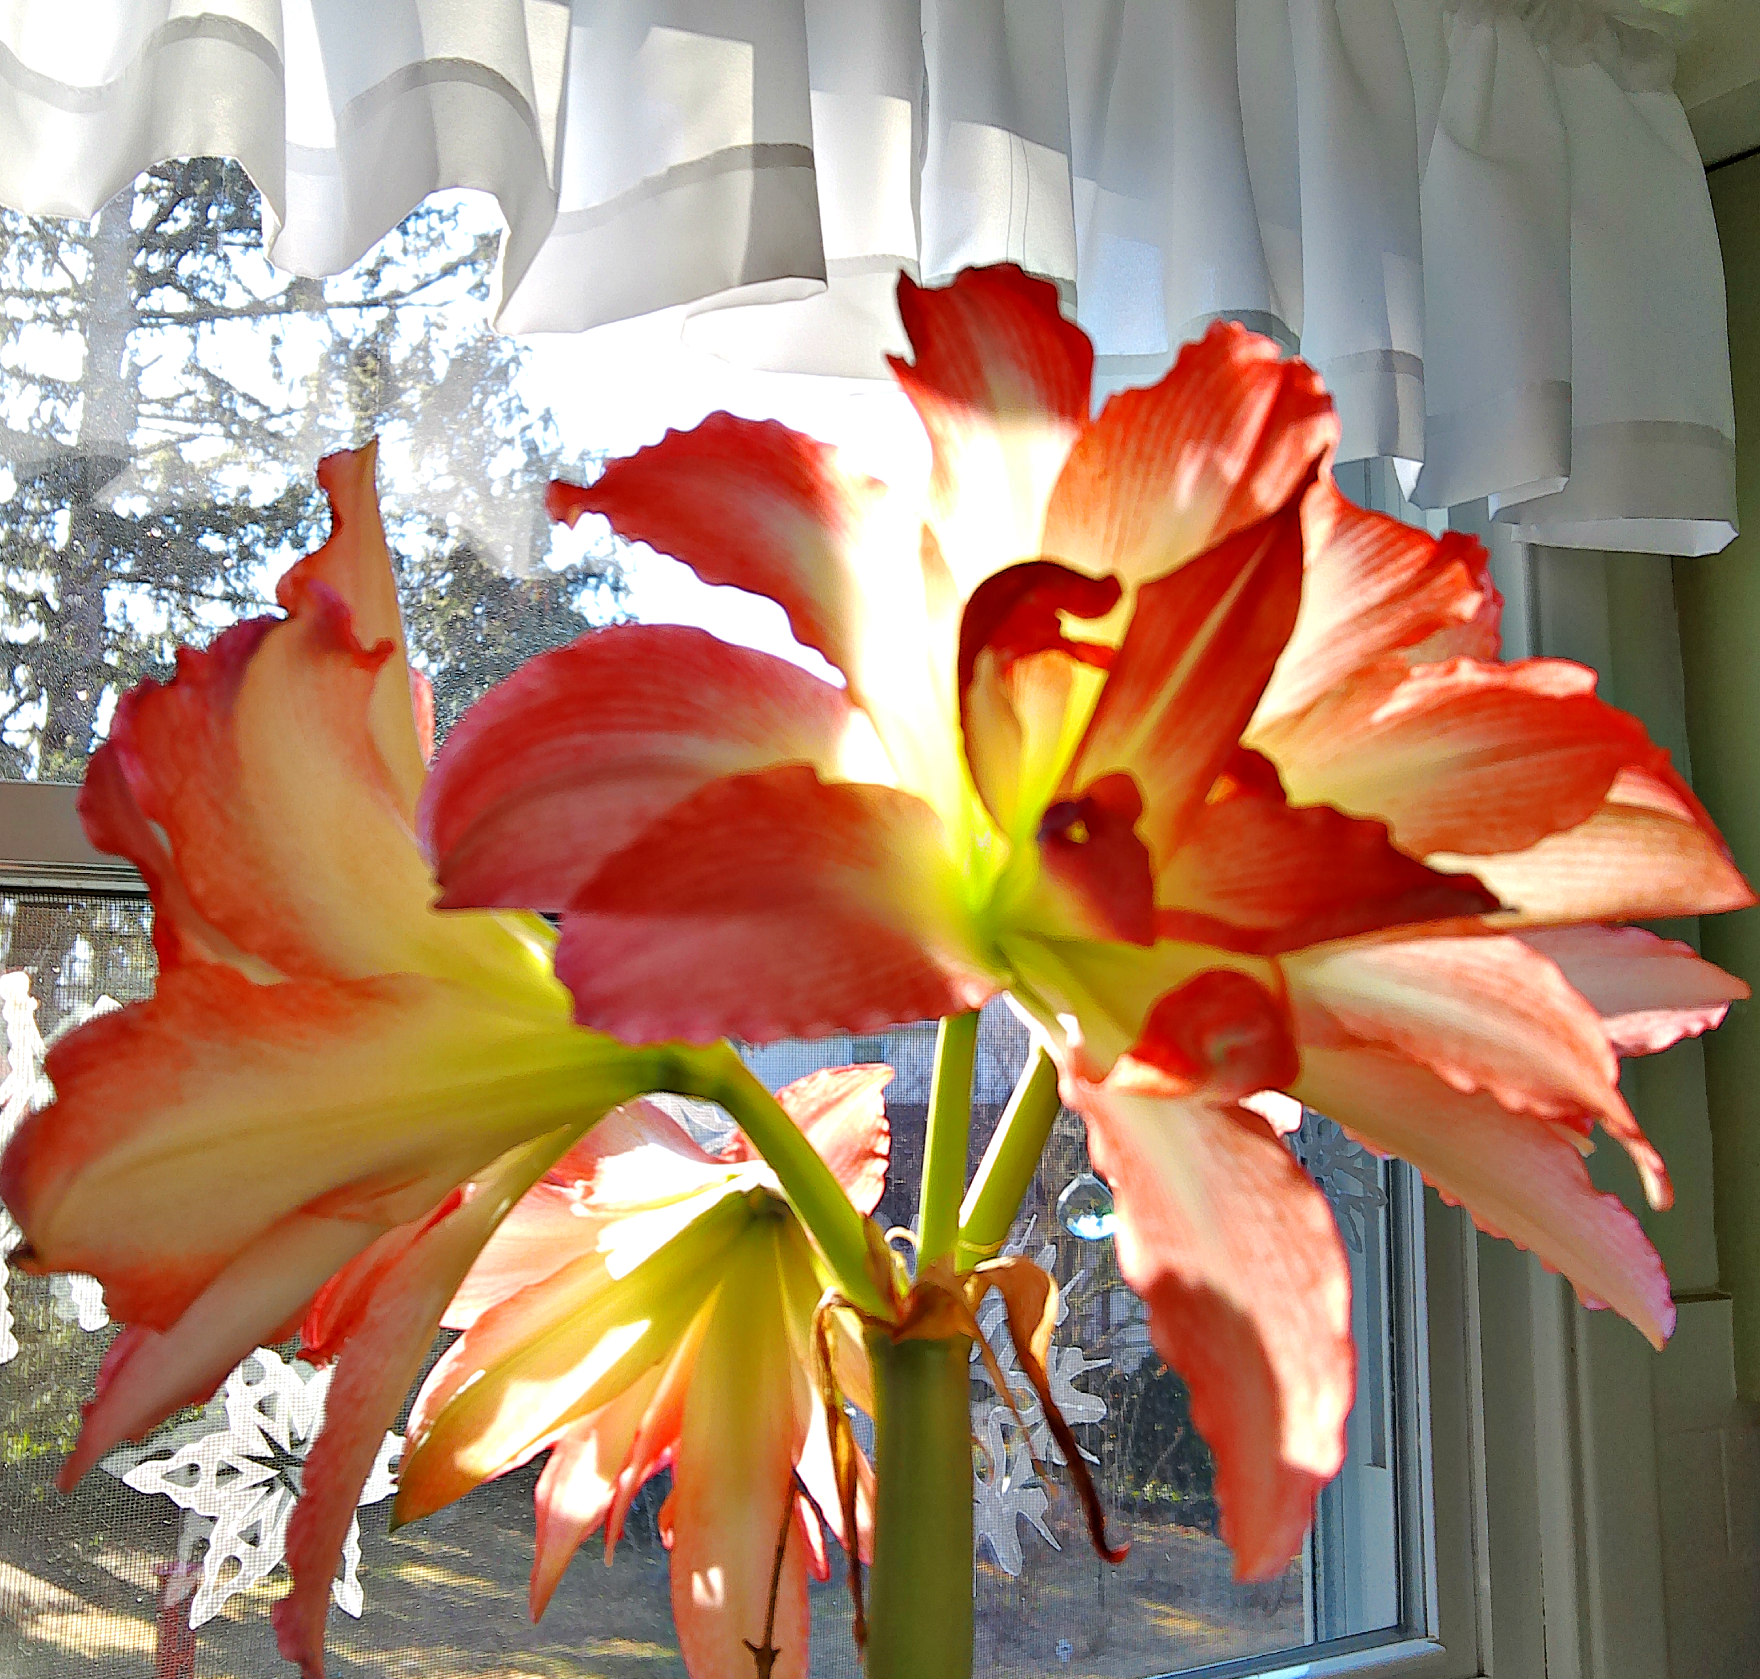
The amaryllis bulb I purchased this year finally bloomed 3 weeks after Christmas; its beauty surpassed my expectations, and it was forgiven. I knew it was going to be of the apple blossom type, white with variegated pink and red lines, but I wasn’t expecting a double bloom. The beauty of the flower is awesome and reminds me to praise the Creator of the heavens and the Earth.

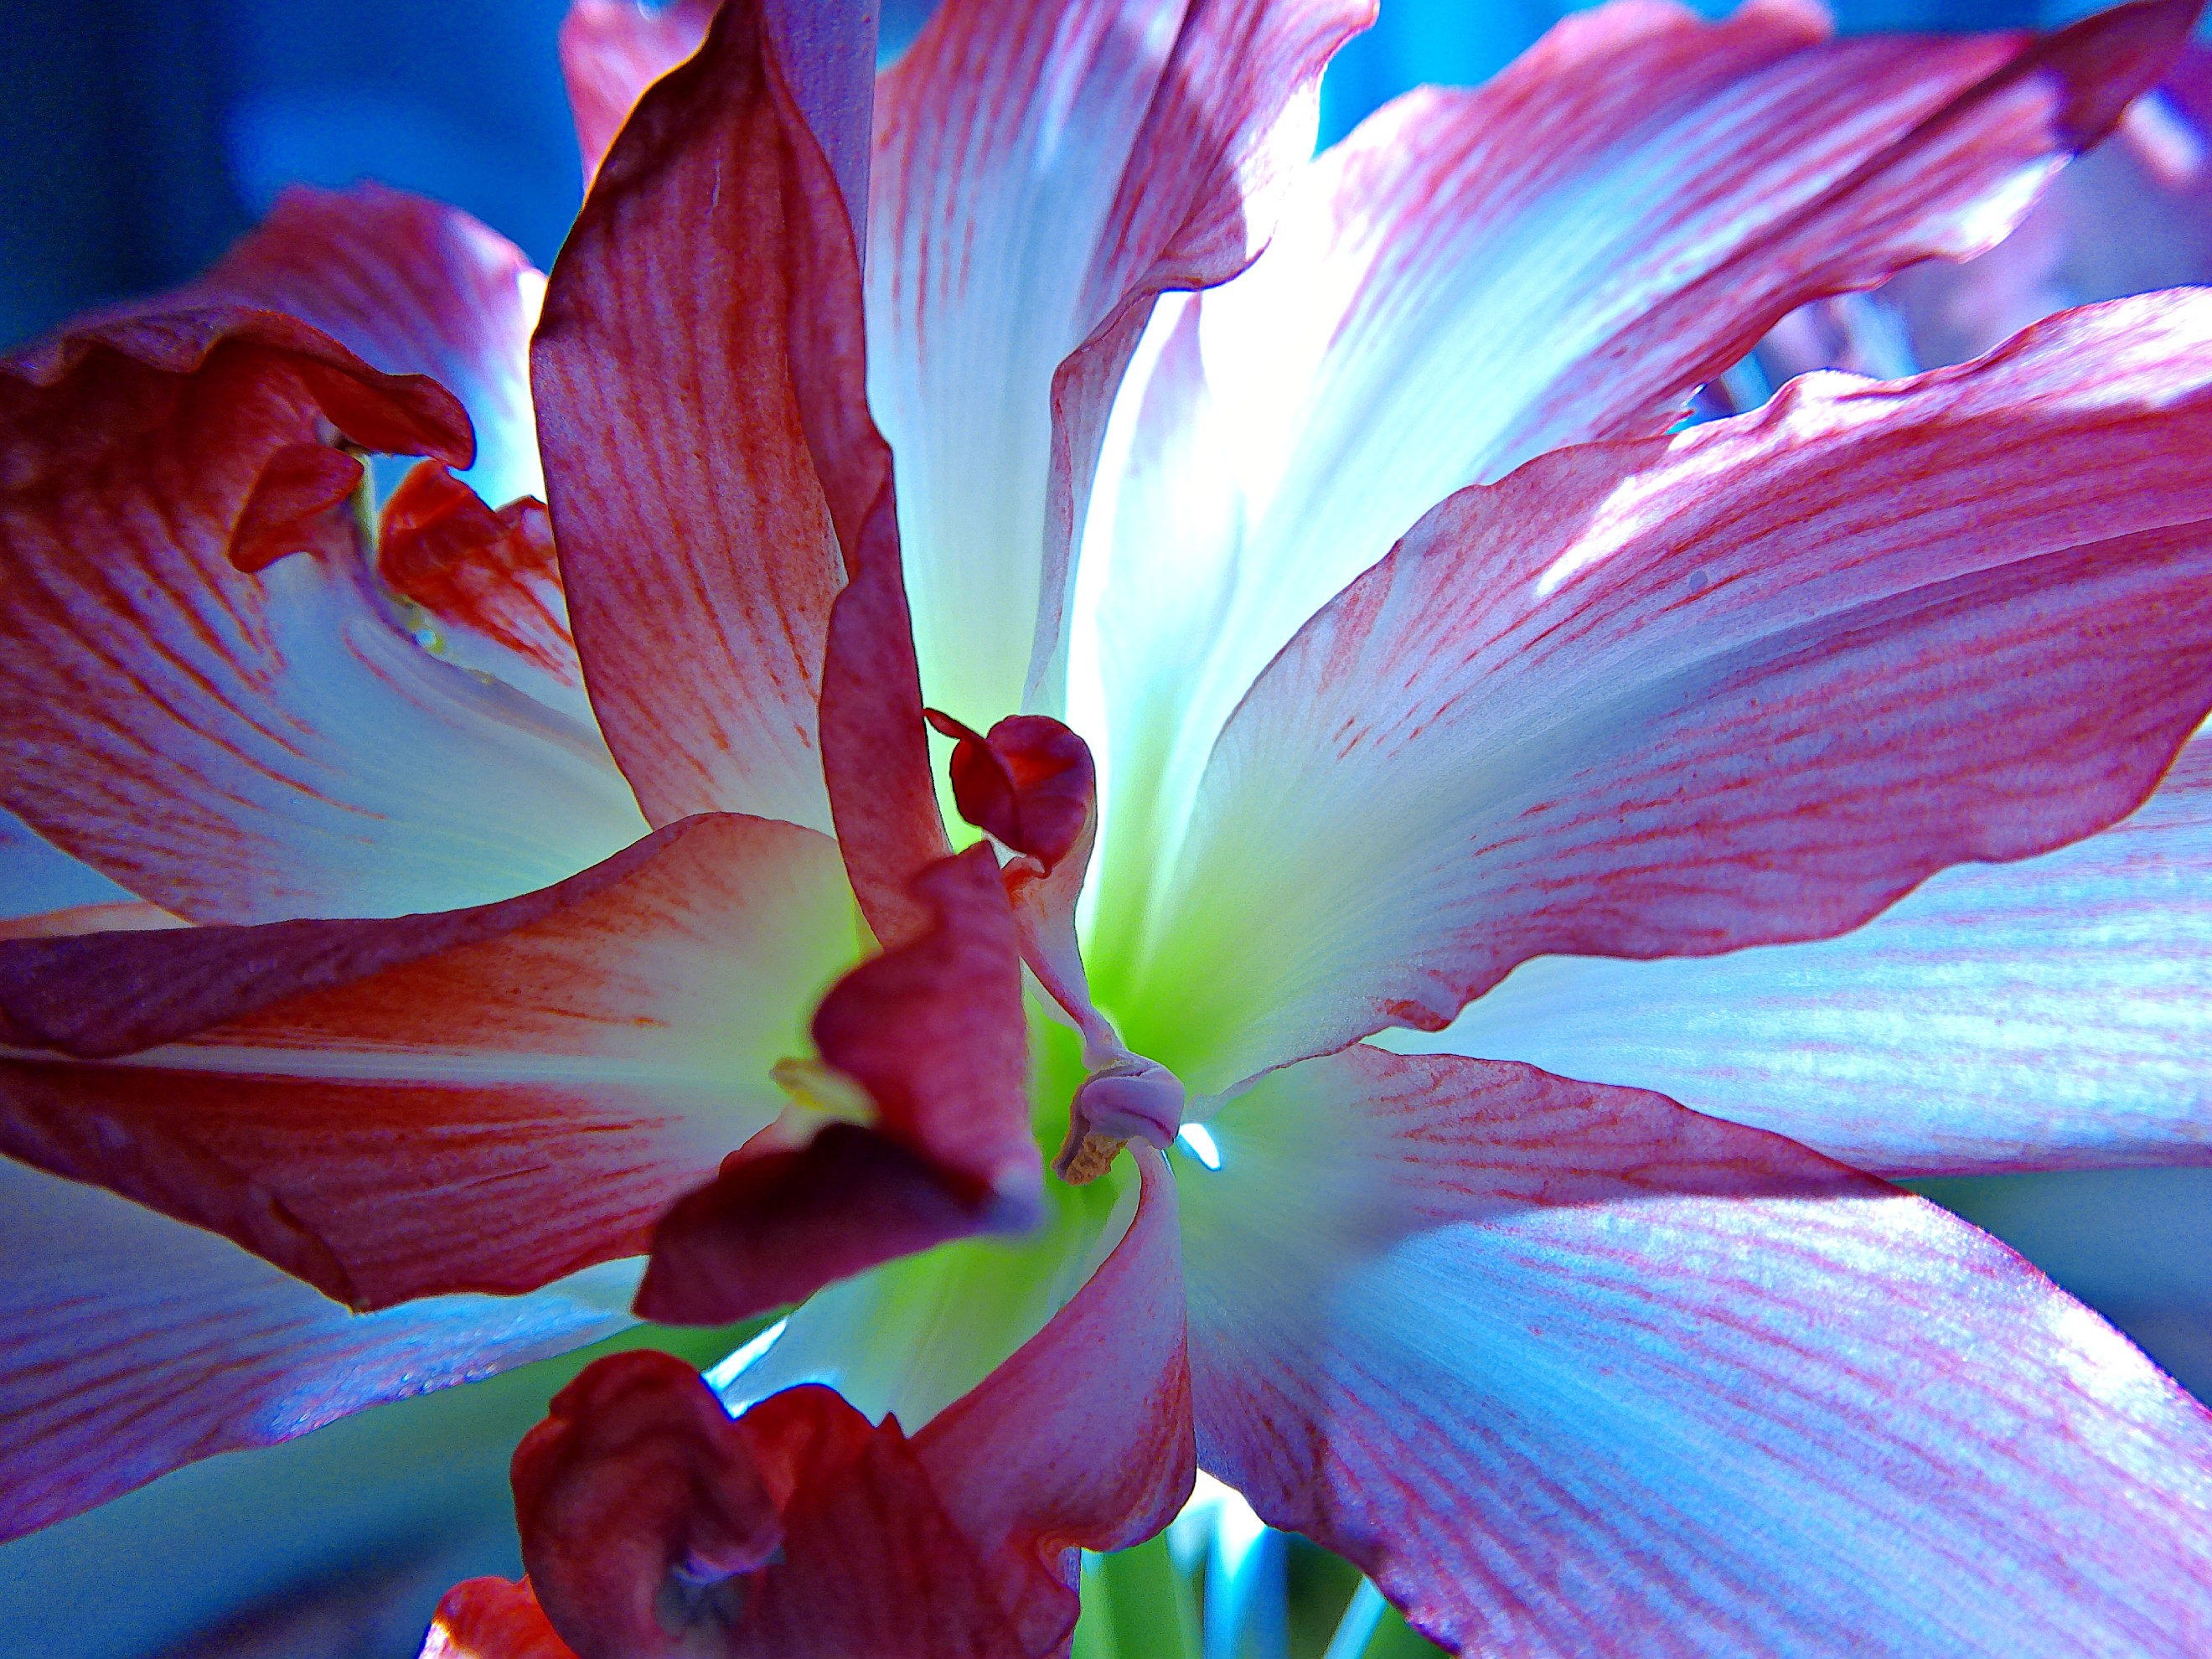
The macro photograph of the blossoming center shows the beautiful melding of the colors and the chartreuse green of the stems. I love the details the camera picks up that the eye sometimes misses when gazing at the flower as a whole.

The stem is quite long, 16 1/2 inches from bulb to the top to where the stems begin to bear the flowers. This makes for a spectacular display, but whenever I’ve had an amaryllis so tall, I’ve also had to stake it in some way.

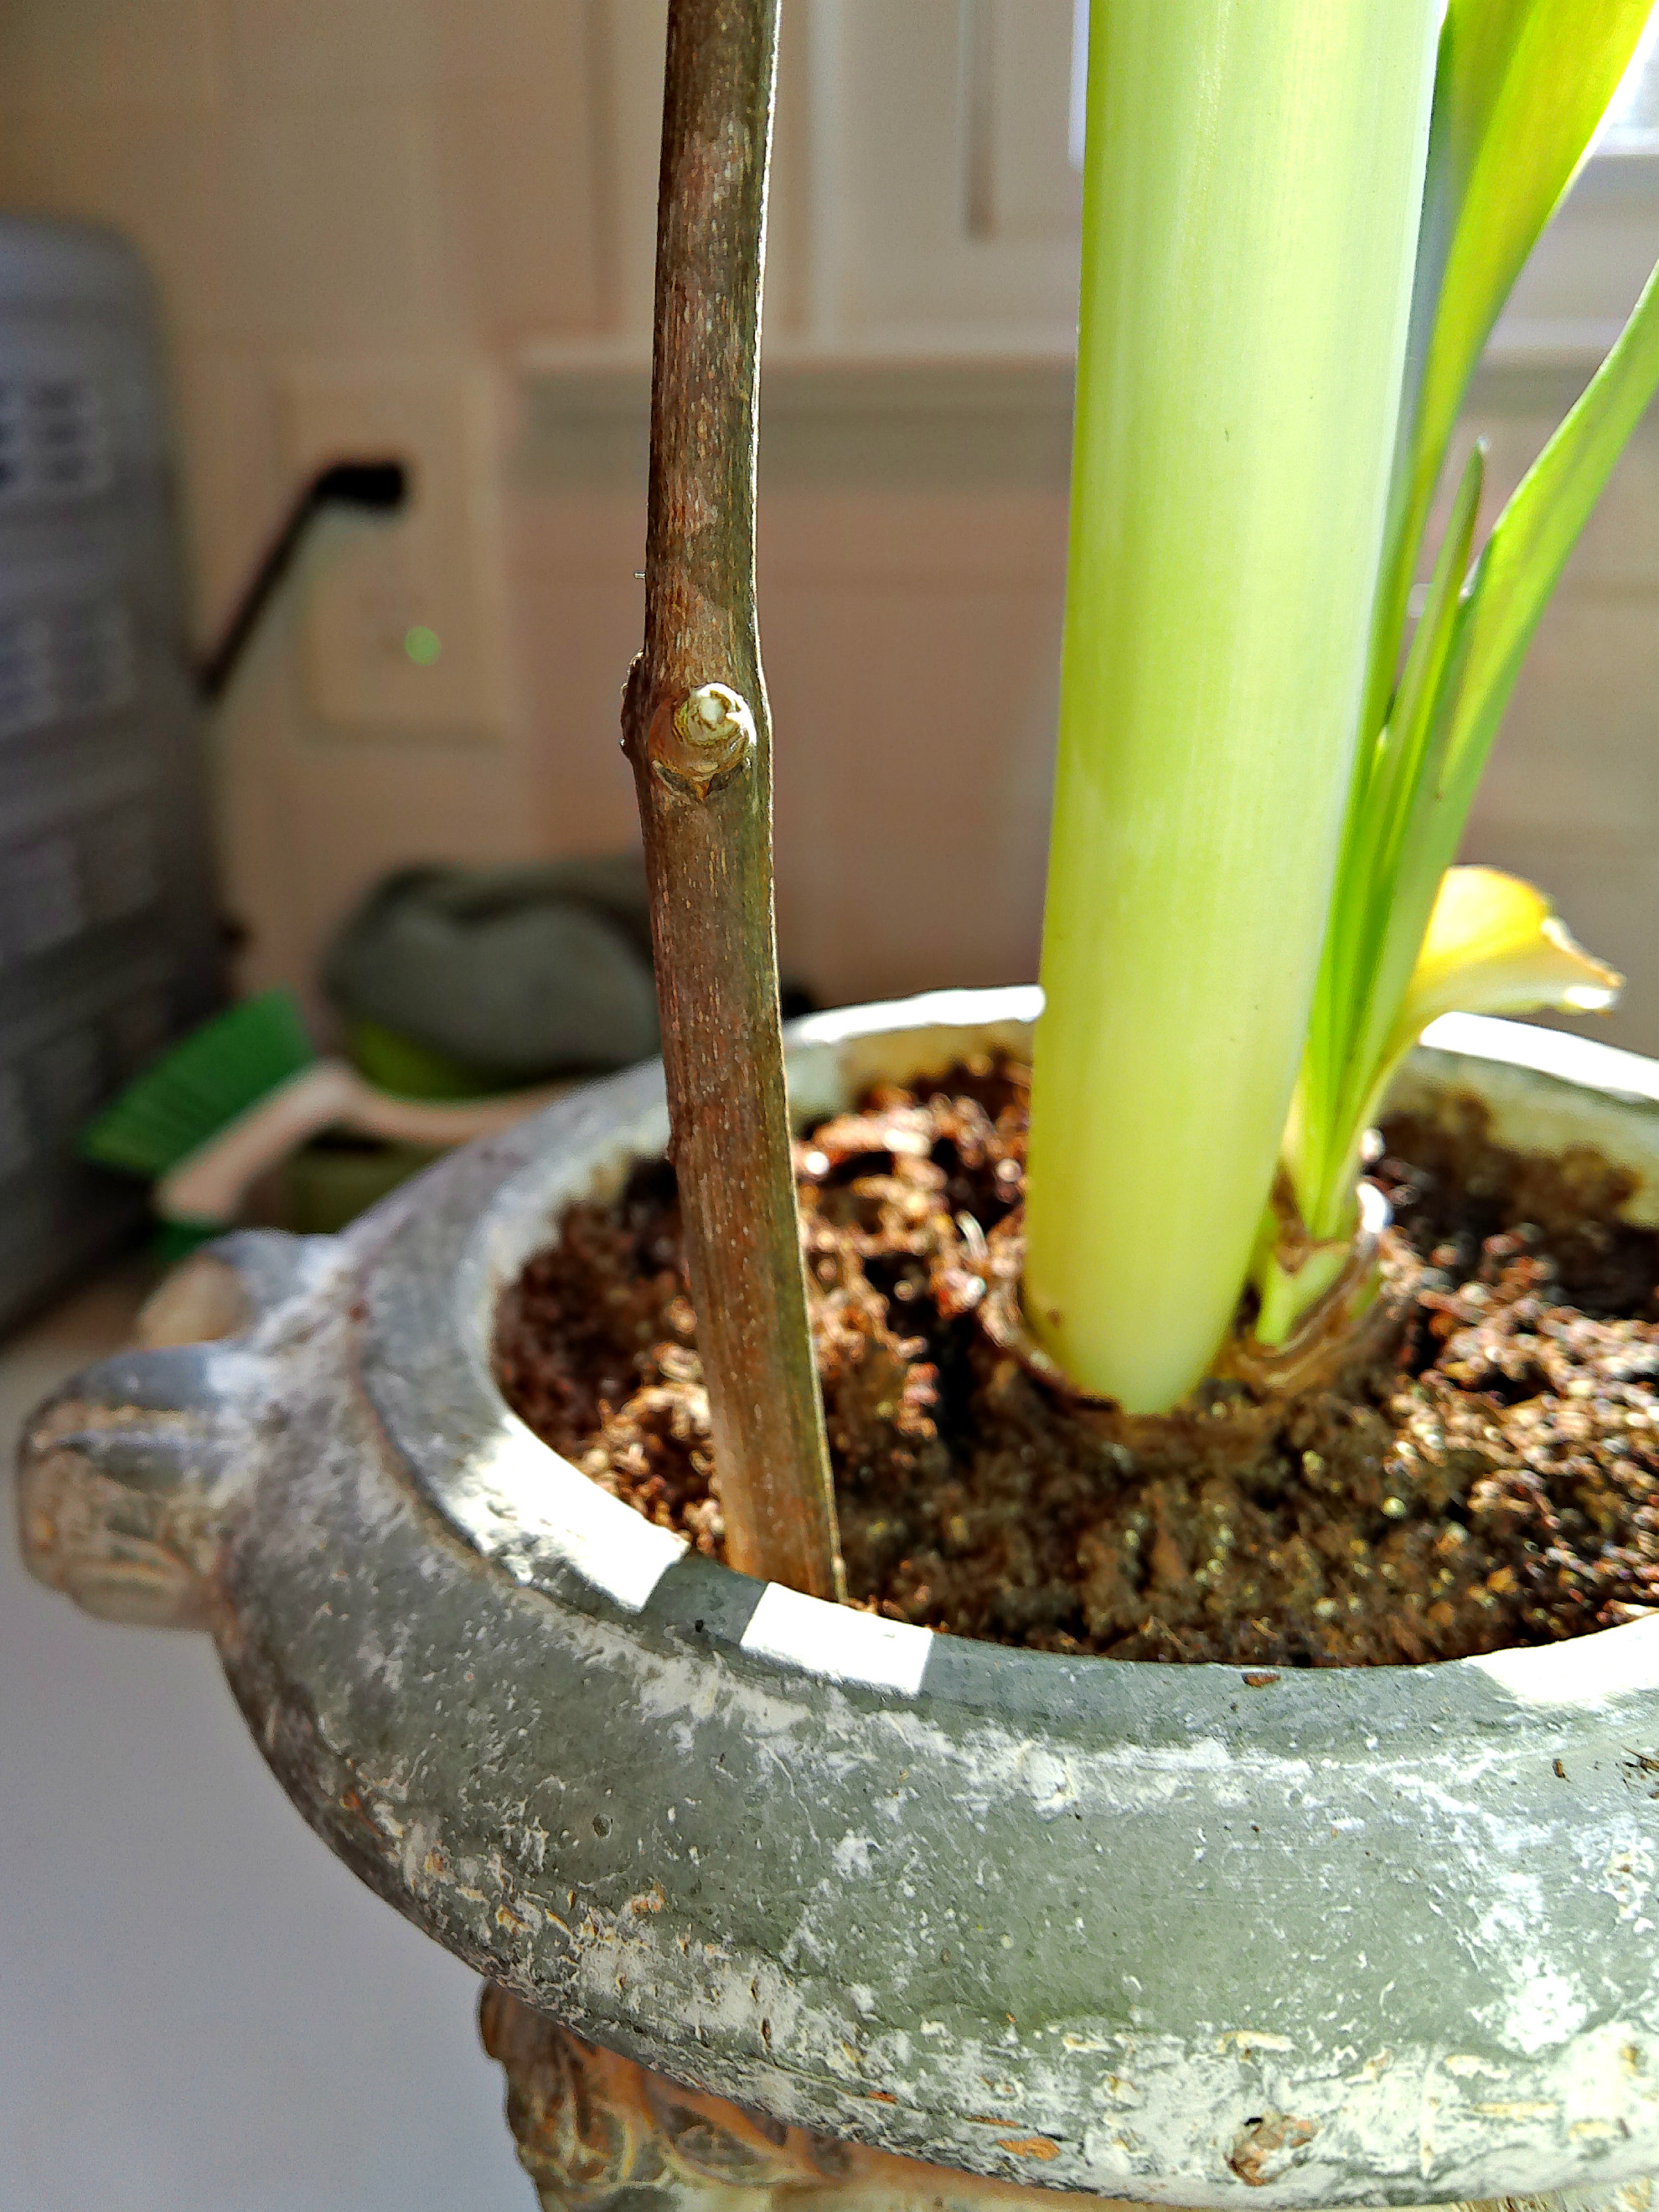
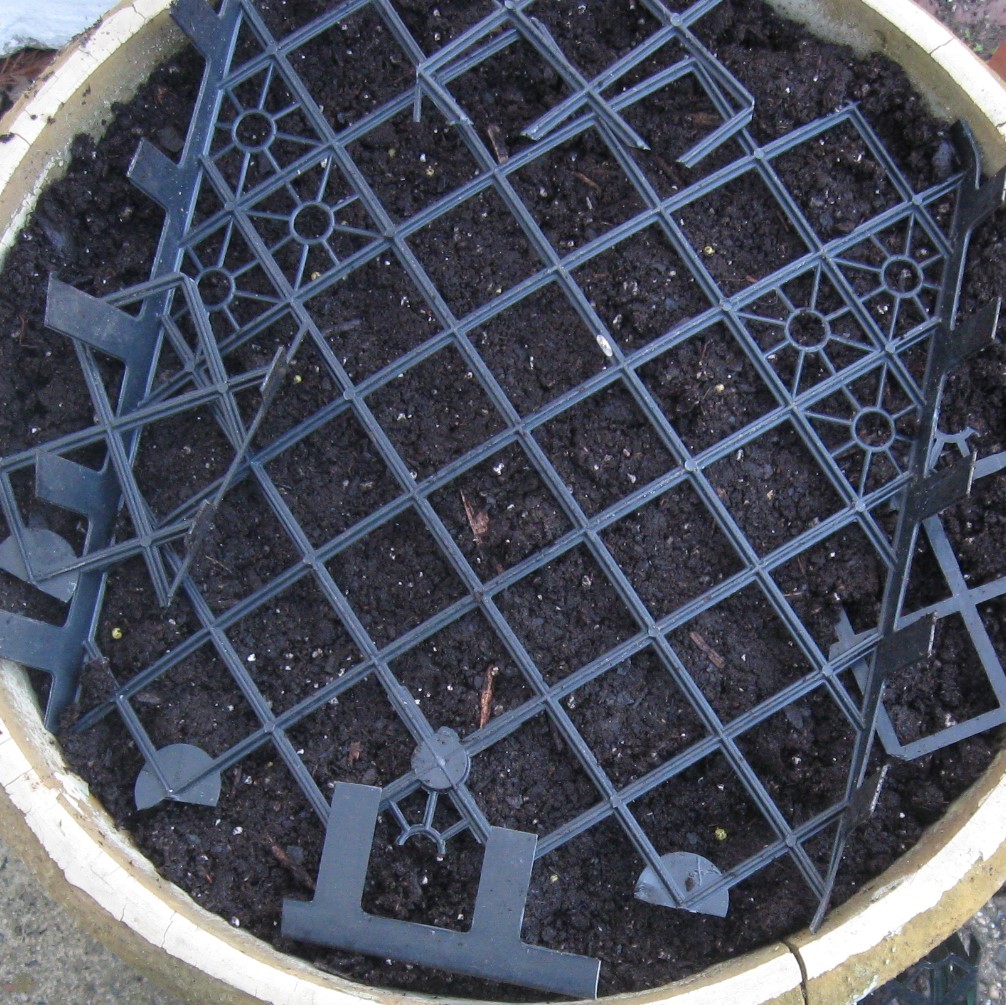
To keep the plant looking natural, I usually clip off a forked Branch from one of my bushes or trees and use that to help it stand upright. I always try to choose one that follows the curve of the pot so it won’t pierce the bulb and let bacteria get into it.

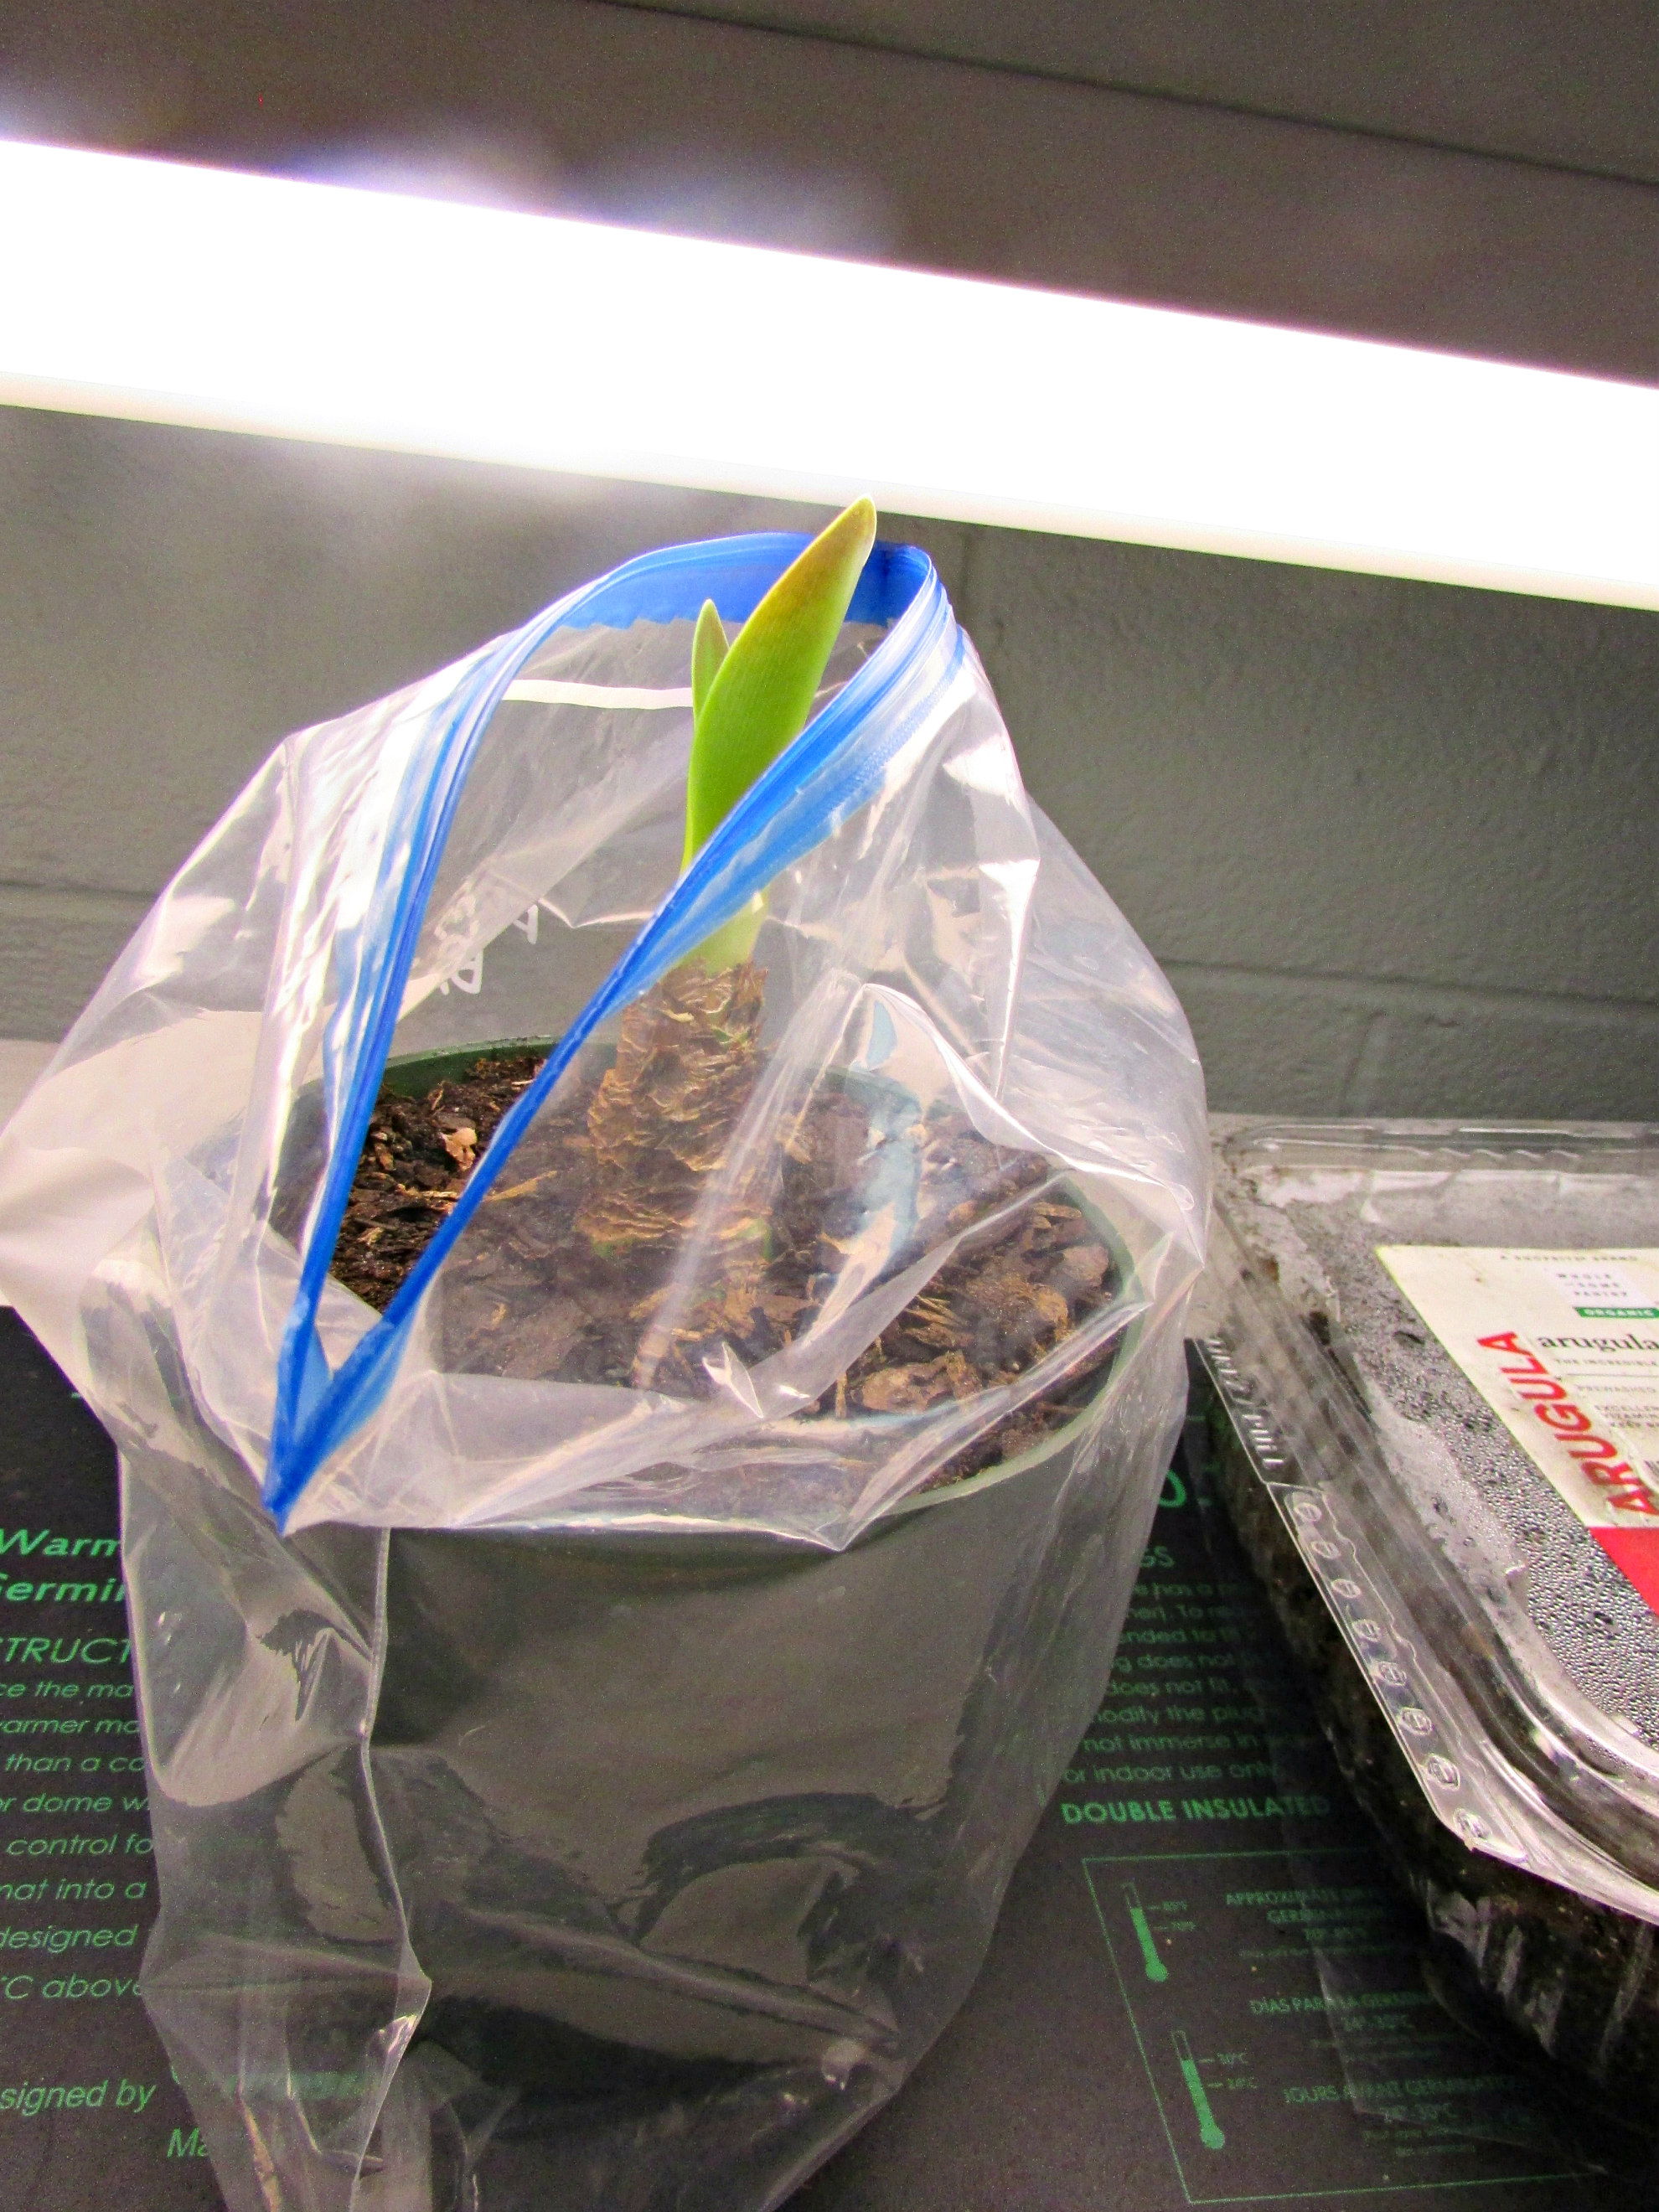
I also saved an amaryllis bulb from last Christmas. I did everything required. I let the long, strappy leaves grow all summer outdoors on the porch. Sometime in September or October, I stopped watering and then cut away the yellowing and brown leaves. I could see that the top of the bulb was green, but it displayed no shoots reemerging from the top. A week or so ago, I decided to give it a bit of a nudge to get it blooming. I took it out of the cold window I’d been storing it in and placed it in a Ziploc bag on top of a heating mat. Voila, within a few days, I saw a rounded tip of a leaf at the top, and sure enough, true to its nature, the leaves started growing at a galloping rate. I am hoping it will send up a flower stalk in the next few weeks. Updates will follow.

Planting – Protecting Bulbs

I found a packet of Butterfly friendly Spring bulbs this year. Since I am all about attracting butterflies to my gardens, I couldn’t resist. Of course, just one wasn’t enough, and I bought two. I had an instant dilemma when I opened the packages, the bulbs were all mixed up. I had no idea what was which, or which was what, and there were dozens of them. I gave up trying to identify variety and sorted them by sizes. Larger bulbs in the back of my pot, smaller sizes up front, and a row of a tulip I like in the middle.

They are planted way too close, but since they are a one season planting in garden pots, I will decide after they bloom if I am going to save and replant another year. The biggest problem I must solve is keeping the critters that munch on bulbs out of the pots. In soft dirt they will be easy pickings for rodents that dig.

I came up with a solution I hope will work for me. I used this tactic in my spring garden buckets and will try it with the bulb plantings. I cut the grates out of flat trays and secure them with large six inch anchor pins. When the bulbs begin to sprout I will remove the plastic grids and drape some netting over them. It gives me joy to think ahead to Springtime and butterflies.

Plants and Plans – Bargain Bulbs

This has been my week for bargains. I stopped in a local box store Friday and found bins of bulbs that had not sold. They were almost giving them away at 75 percent off. I bought several packs to force in the Spring.

FORCING THE BULBS is not difficult. There are several ways to do this. The bulbs can be shallowly planted and kept outdoors in a cold frame. Another way is to plant and keep the bulbs in the back of the fridge. I have had success with this in the past. This year I am hoping to force some of the tulips in this way.

FORCING BULBS IN WATER is another way to bring them into bloom. I have success with this technique using hyacinth bulbs. I have never tried with tulips, but this year will give it a go. I’ll update this post in the Spring.

My bulbs in brown lunch bags getting a shot of cold air in the crisper bin of my refridgerator.