Prompt – The Celandine Flow

The flow of celandine 1

When I read today’s Daily Prompt title, “Flow,” I immediately thought of celandine. Also known as the fig buttercup, celandine rivals the common buttercup in the wow power of its brilliant gold petals. Add to that, its propensity to follow the flow of running water, in this instance a creek, and you will find a wildflower that creates a  carpet of gold  to greet the early warmth of March.

the flow of celandine 2

Celandine is considered invasive in some states. It can be toxic to grazing animals. On the other side of the problem of its invasive tendencies, is the ease of gathering and pressing, if you are a presser of flowers and foliage. Celandine retains its gorgeous gold color and presses well for me in traditional methods and in the microwave. Because it is very abundant, I never fear I am taking more than I should. Each year when I return to my favorite gathering places for celandine, I find the flow of flowers has taken over even more of the land.

the flow of celandine 3

The color yellow, at least in the realm of wildflower spunk (I’m thinking dandelions, buttercups and celandine here) usually signals, “Charge!”

Photographs – Take a Walk/February

Seasons-“Share an image evocative of the weather or represent the current “season of your life” in metaphor.

– WordPress Photo Challenge

winterlandscape4

In February, my area of the world becomes a landscape of grey and brown. The absence of foliage creates in me  a renewed appreciation for the form of tree limbs against the winter sky.

winterlandscape4 (2)

Vines, hidden by leaves in warmer months, fascinate me as they twist and turn around the tree branches that support their winding attempt to reach the sun.

winterlandscape3

The sweet-smelling blossoms of the Autumn Clematis, growing along the banks of the creek, have disappeared, leaving behind mahogany (Color Your World – 120 Days of Crayola) seeds in a cloud of snowy fluff.

winterlandscape6

Shallow puddles and ponds form an ephemeral mosaic.

winterlandscape2

Daylight is once again lengthening, bringing the slumbering wildlife out of their burrows for water and food.

winterlandscape1 (2)

The emerging leaves of celandine is a sure sign that Spring is on the way.

Pressed Flowers – Greeting Cards

 Johnny Jump Ups, moss, Vinca leaves, barberry leaf, violets & wild onion curls

I have several books of this seasons pressed flowers dried and ready to use. The batch of cards in this post is composed with spring-flowering pansies and wildflowers. I glue pressed flowers to white or eggshell cardstock with rubber cement. After they are dry I press the finished art inside a book with a weight for several hours or preferably overnight. I then check for any loose spots. If I find one or more I touch these up with rubber cement on the tip of a long floral pin, and after they are dry re-press in a weighted book. When they are completely dry I position them on a complementary piece of colorful cardstock cut into a standard greeting card size. Below each pressed flower photo I’ve listed the plant material I used.

Common celandine, johnny-jump-ups, honeysuckle leaves & wild onion curls

Butterfly: pansy petals, nandina leaf, maple bud, seaweed stems & unknown weed foliage

Wild rose leaflets, wild onion curl, wild mustard sprigs & johnny-jump-ups

Buttercups

Johnny-jump-ups, common celandine, honeysuckle leaves & wild onion curl

Wild onion curl, maple keys (seed pods) fern with fiddlehead, Vinca springs & unknown weed sprig

I thought this card has a definite heart shape, but my husband didn’t see it. He thought the maple keys looked more like wings. I guess it’s proof of that old cliché: “It’s all in the eyes of the beholder.” I like it though, it’s unique. I am going to try to make some dragonflies with the maple keys next. I’ll post the results soon. Here’s another maple key composition below.

Wild violet, fiddlehead fern, unknown weed foliage, common celandine bud maple keys & wild onion sprig


Pressed Flowers – Pressing With Heated Books

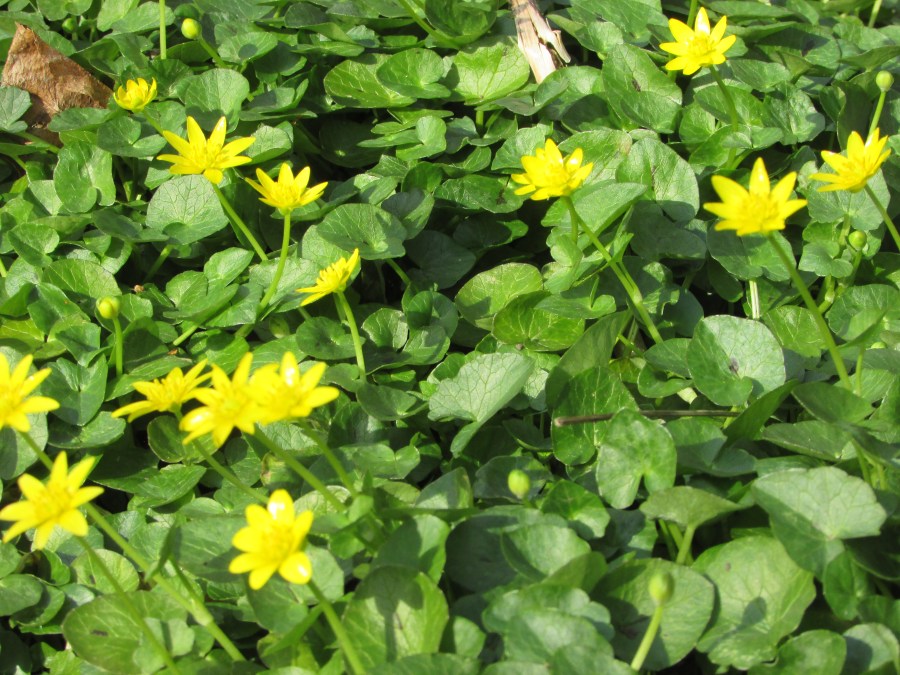
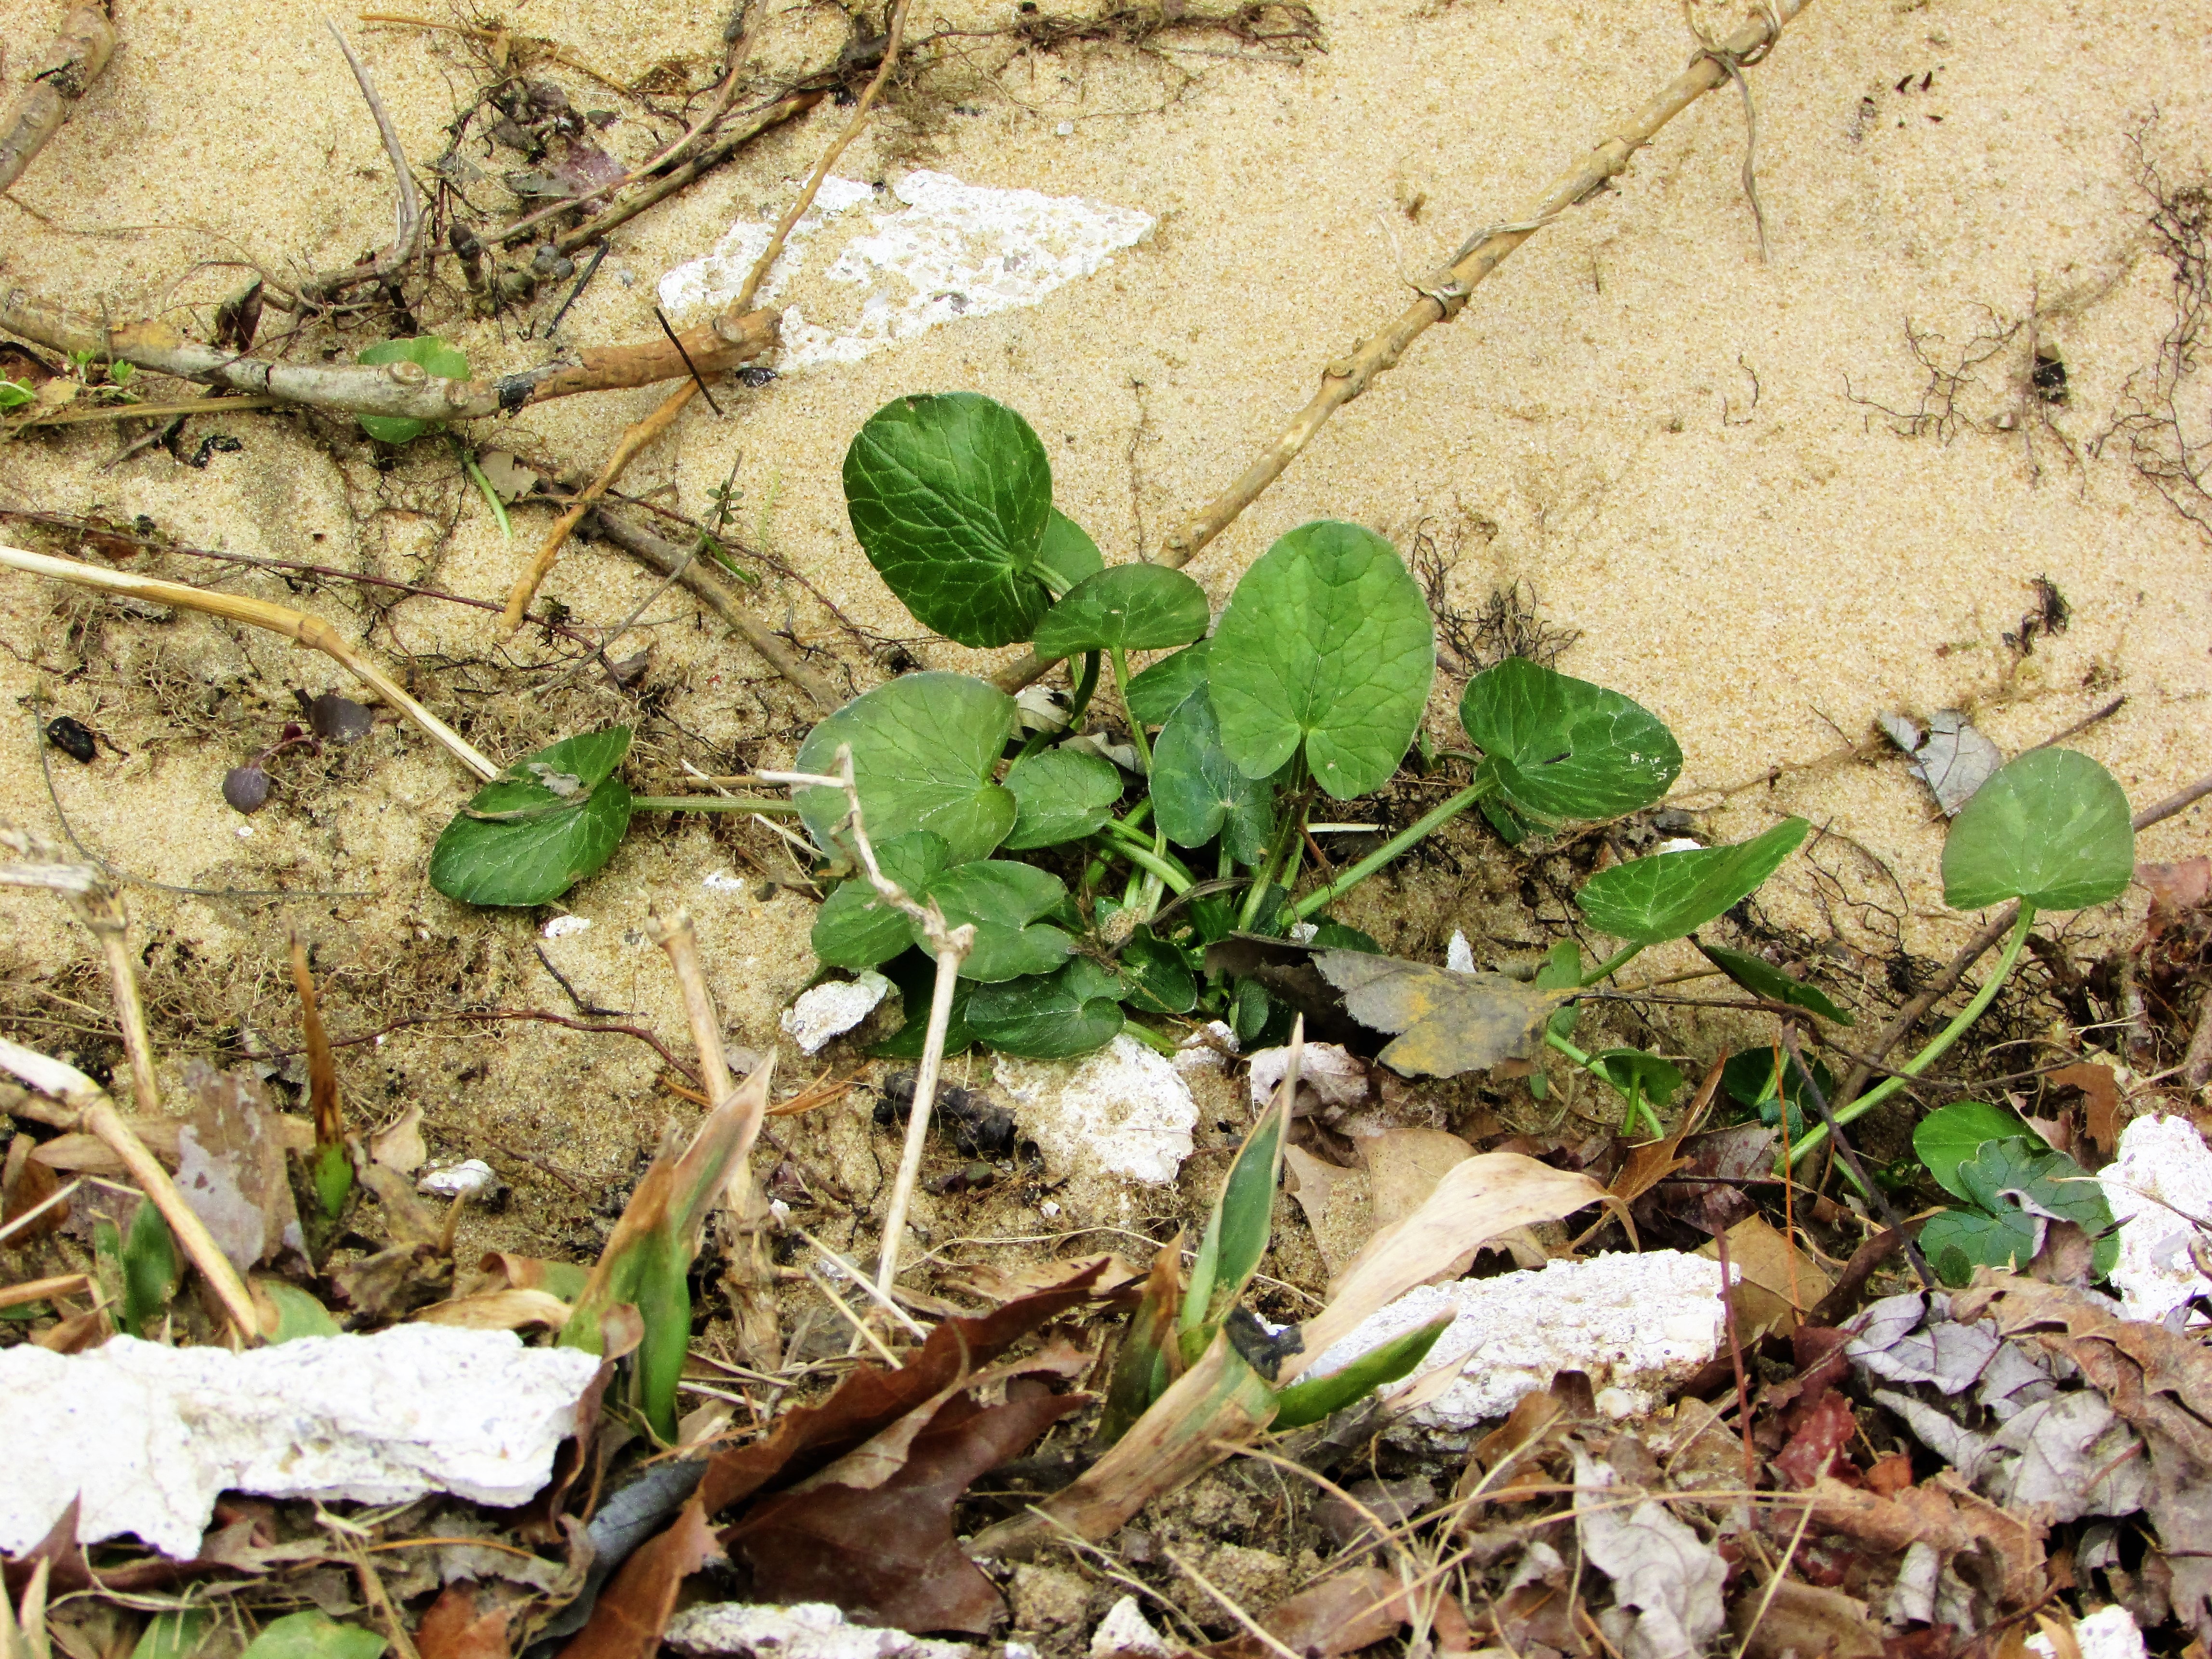
In the northeast we have had a very mild winter. Many of the area wildflowers are beginning to bloom. In my pile of foliage and flowers are blossoms of Birds-eye Speedwell, Vinca, and Celandine. It’s time to begin restocking my pressed flower supply. I love using wildflowers, they are often small and airy, perfect for pressed flower compositions. One caution though when using wildflowers, be sure that you are not using a plant that is protected as threatened and endangered in your state. To see a listing of your State’s Protected Wildflowers check out this site: US Government list of Threatened and Endangered Plants.

I have found that the best way to retain the colors of most flowers and foliage is to flash press them in a microwave. I don’t use the expensive microwave presses; I have found the best way is to use an old book. The book must have very porous paper, it must not have gold or silver leafing on the spine or page edges, and a smaller book works better. Most of the books I use are from the 1930’s and 1940’s. You can find books of this age at yard sales and thrift stores. They are usually very inexpensive.

1. Separate your flowers into thinner petaled flowers and foliage, and thicker varieties.

3. Lay the blossoms and foliage on the page. These vincas have a thick stem that will not press well behind the open faced blooms. After I lay them out on the page I cut off that stem. For the side pressed blossoms, I leave the stem intact. I also include several buds of the flower.

4. Shut the book and rubber band the edges. For thin varieties of flowers and foliage I microwave between 15 and 30 seconds. This provides the heat that speeds up the drying process. The book should not be hot, only gently warm to the touch. For thicker varieties of flowers and foliage I heat for 30 – 60 seconds. As with anything microwave temperatures vary, you will have to experiment to see what works best for you. After pressing, clean out any residue left behind in your microwave by heating a cup of water with lemon or citrus peel, and then wiping away the moisture from the sides.

5. Don’t open the book, leave the rubber bands in place and put your book under a heavy weight.

6. Your flowers should be dried and ready to use within 3 – 7 days. To remove them from the pages of the book, gently slide a soft paint brush beneath the edges.

I use large books to store my pressed flowers. I place them on acid free paper and label the sides, leaving the edges hanging over the book pages about 1/2 inch. This helps me find exactly the type of flower I want when I am composing a picture.

The flowers and foliage are ready to use. In coming days and weeks I’ll give more tips on how I compose, glue and use my pressed flower projects.