
This is a throwback post, and also a craft that’s been around for countless years. Since the time of paper and scissors, adults and children alike have been cutting paper snowflakes for windows and gift packages.
I cut over a hundred every year for my windows. I’ve included a how-to video with this post, but I have tweaked my snowflakes over the years, and want to share a new tip or two.
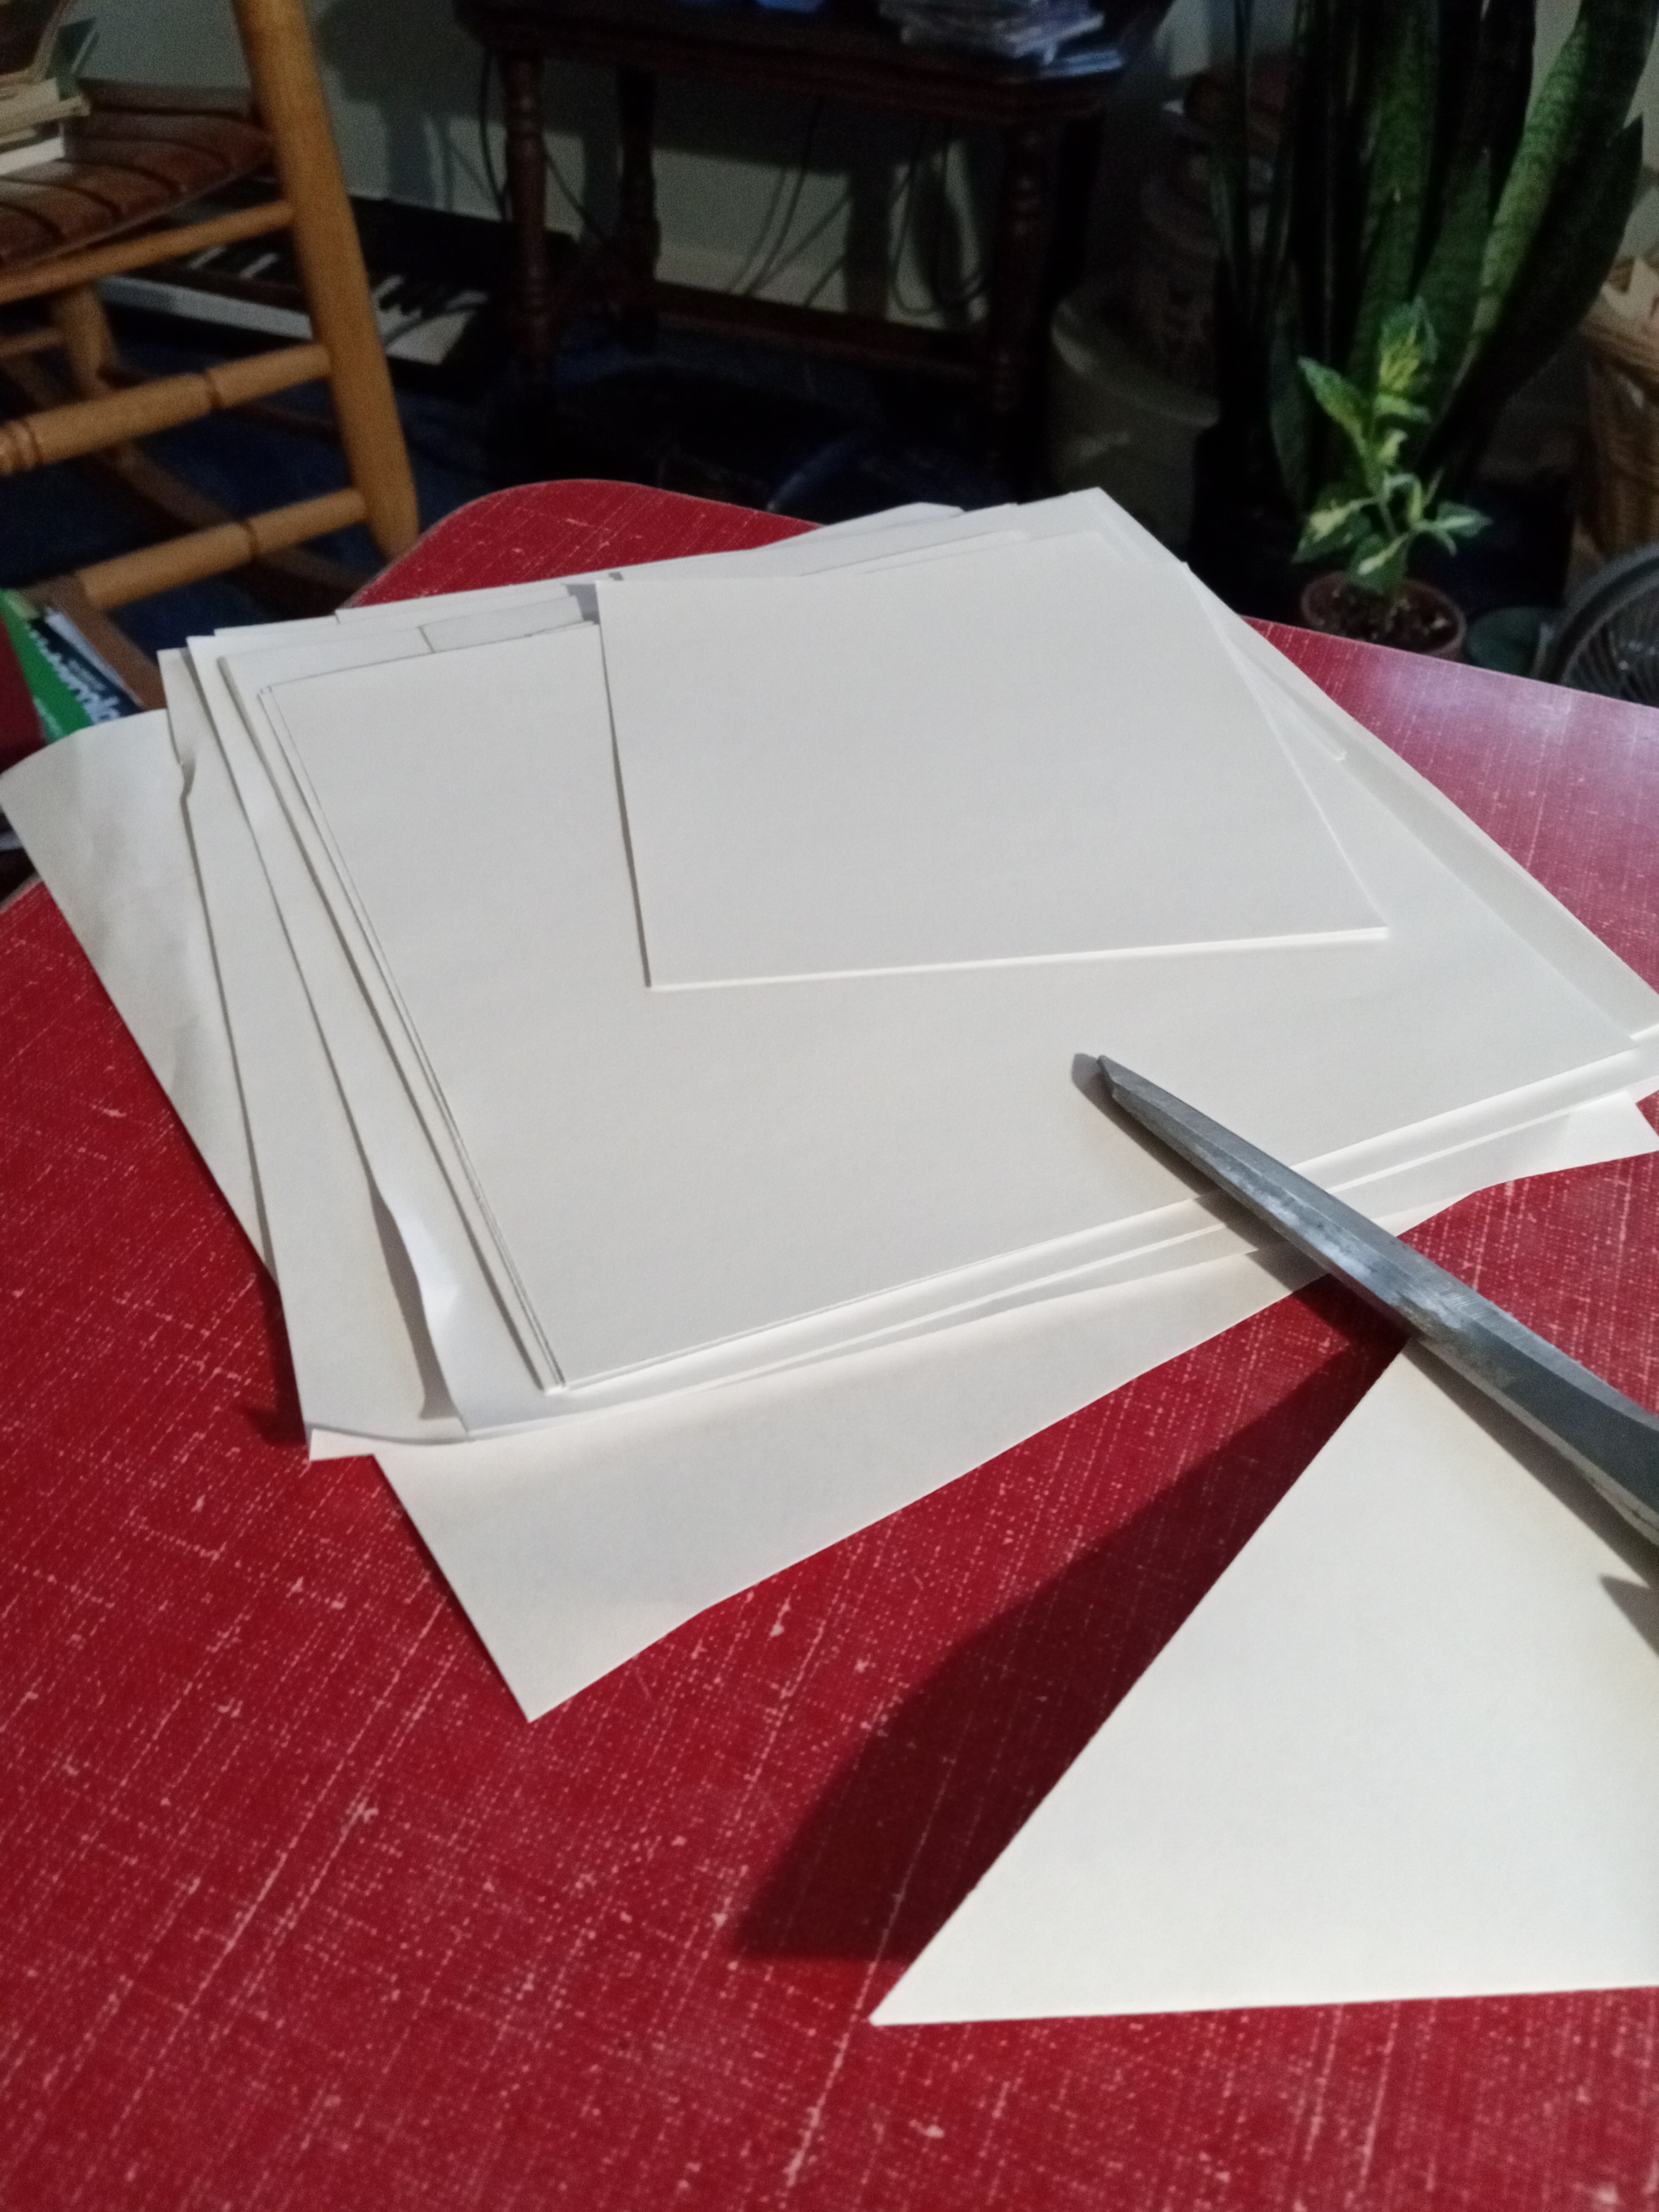
The most important tip I want to share is to cut many different sized snowflakes. The snowflakes on my windows look more interesting if they are not uniform in size. I use squares of computer paper cut into a variety of sizes, four inches to eight, and everything in between. As long as you have a square and do the folding correctly, your snowflakes will be a success.
As always, the best way to store paper snowflakes is inside a book until you are ready to use them. Here is a true story and a tip too. Write down what book you place them in and where that book is kept. I lost dozens and dozens of finished snowflakes a year or two ago. I found them months later in the “safe” place I had stashed them.
To finish off the snowflakes, press them between sheets of wax paper with an old iron you reserve for crafts, or to preserve your iron and board, encase them in several layers of newspaper and press them in wax paper. When you pull the wax paper away, your snowflakes will have a protective layer of wax to keep off the condensation winter windows often form.

