Quick Tip & Pests – Oh No….Spider Mites


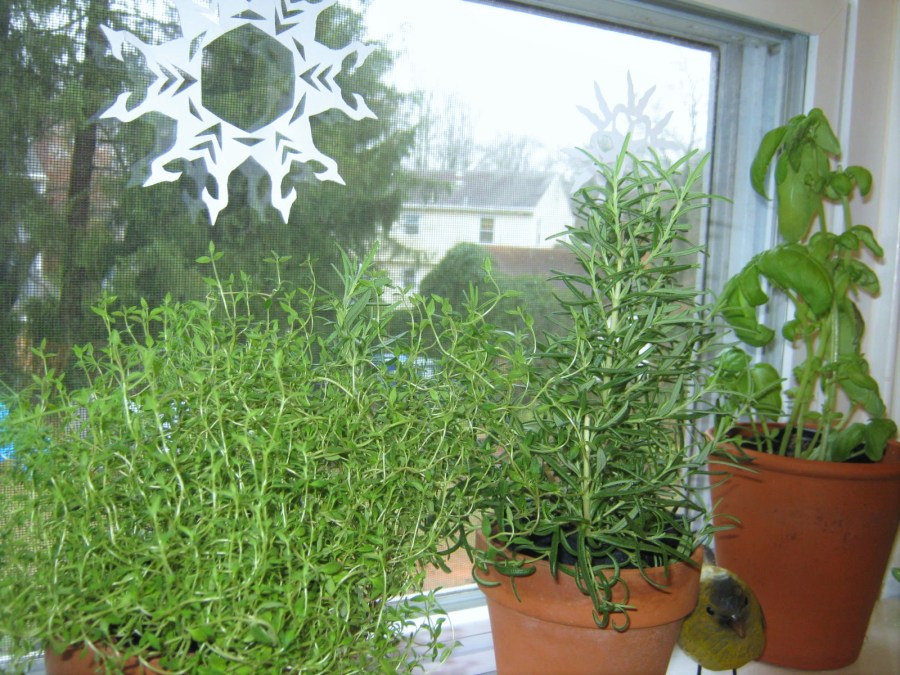
I have some lavender plants on a windowsill near my desk. I love to stop what I am doing and brush them with my hands. The lovely, fresh scent of lavender fills the air and gives me a boost of energy amid mid-winter doldrums. 

You can imagine my outcry when, out of the corner of my eye, I  spotted movement on my lavender—spider mites. The tiny pests were fearless and having a marvelous time, creating webbing, feasting on the juices, and multiplying by the minute. 

Running the plant under a heavy stream of water is always my first course of action. The spider mites are small and are quickly swept away by the deluge. So far, my initial treatment is working, and I’ve only seen one or two stray mites.

One of the problems with diagnosing spider mites on a houseplant is their size. The webbing and drying leaves are a clue to an infestation. Sometimes, as in my case, you can see them moving along their webs. To be sure I was aware of all the infested spots, I sprayed the lavender with water before washing the mites away. The side-by-side photo shows how much easier it is to see an infestation after spraying.

Unfortunately, I must be realistic; removing every spider mite from the lavender will most likely take several sessions under the faucet. This pest spreads quickly in the dry air of a heated house. I will check all my houseplants for infestation with water sprays throughout the week. 

Plants – Tulsi/Holy Basil

I am going to do a bit of raving in this post. I have a new favorite herb, probably in my top ten for all time. It is Tulsi, also known as Holy Basil. I grew my plants from seed. It has been a fabulous addition to my potted herb garden. It is growing even now, ten inches tall, after another mid-summer sowing. The heat never bothered it, if anything, it grew even faster than the plants I sowed in Spring. 


I am including the back of the Botanical Interest Seed Packet. I love the thorough information this company gives you on the packet.

Design-wise, there is none better. Botanical Interest seeds can be ordered online. They are available in some garden centers too; I sometimes drive 45 minutes to visit a nursery in our area that has an extensive display of Botanical Interest seeds each year. 


Back to the Tulsi, this herb, combined with Lemon Balm and Spearmint, has become a favorite to brew as mid-afternoon tea. It has alleviated a nagging, if small, physical problem I was fighting. It also elevates my mood when I drink it, and even when I rub the leaves to release the scent, I feel an almost instant uplift. They definitely recharge me a bit. Best of all they are a plant that loves to grow. The only drawback is they form flowers and seeds quickly too, but this can be postponed by constant pinching of the top leaves. (And you can use those pinchings in tea. )

I sowed another batch two days ago. If you look closely you can see they are ready to break free from the seeds and show green against the seed starter. 

Cuttings readily rooted in a perlite and soil mix. One cutting began to grow so fast I had to open the plastic bag and pinch it already. 

A sprig also rooted very well in a vase of water. Oh my, what a plant. I hope this amazing herb has been included in global seed vaults. There is nothing flimsy about this plant, it is a bushy, blue-green beauty. I really recommend growing Tulsi. You will be love it in so many ways.

Holy Basil dried fairly well for me, although it lost a portion of its amazing scent.

Quick Tip – Repelling Fruit Flies

fruit bowl with rosemary

This year, the usual horde of fruit flies swarming our fruit bowl seemed non-existent. I realized this is probably due to the herbs we have on our kitchen windowsill. Strong-smelling herbs, oregano, rosemary and others, repel fruit flies. Even in winter months a few stray fruit flies make their winter abode in our home. To keep them out of the fruit bowl I’ve placed a piece of rosemary amidst the fruits.

Herbs that Repel Insects

Quick Tip – Using the Heat at Hand – Part II

IMG_7311

I’ve posted in the past about drying herbs quickly on a tray or towel in the trunk of my car. I’ve also pressed flowers in this way…the technique works. Recently, I’ve gone an even quicker route. I place clean herbs in brown paper lunch bags, clip the top shut with a clothespin, and leave them inside the hot cab of the car for a day or two. I then shake the bag a little, and place it in the top of a dark closet. Within a week, the herbs are ready to package up and use. Give this a try. Your car might smell a little like an Italian restaurant, but that’s not a bad thing at all.

Product – Herb Stripper

IMG_4299

I found this small kitchen gadget while shopping for Christmas presents in my local Target store. I picked it up, took a look, and immediately decided this was a present for myself. I use fresh herbs weekly, if not daily, in my cooking. I grow them on my kitchen windowsill in the Winter, in the outdoor kitchen/herb garden in the Spring, Summer and Autumn. One problem I have, especially with the smaller leafed herbs, is removing the foliage from the stem without driving myself batty. When I cook up soups/stews the stem is fine for adding to the broth, it can easily be removed when the stewing is complete, but I don’t want to have pieces of stem in salad dressings and other non-cooked foods. This small gadget perfectly strips leaves away from the stem and drops them in the bowl of the spoon, or as in the case of the oregano in the photo below, forms a sweet rosette within the confines of the stripping hole.

IMG_4301

I wish I had thought of using this technique throughout the years I’ve relied on fresh herbs. If you can’t find this amazing little gadget, priced under three dollars, you might be able to whip one up yourself using a measuring cup or spoon. I think if you drill or create graduated holes around the top of a plastic cup you will be able to strip herbs as easily as with this terrific little kitchen tool.

Plant Tips – Bountiful Herb Harvest

IMG_3581

Autumn has arrived, winter approaches, I have been purchasing potted herbs to grow on my windowsill through the colder months. I will still take cuttings for rooting from my outdoor herbs, but they will not reach harvest size until Spring of 2015. In the meantime, when I need fresh herbs through the winter, I will “pinch” them from my lovely windowsill garden. Another plus in growing herbs indoors is the scent they “whisper” into the air when you run your hands over them…heavenly!

collage herbal
Photo collage courtesy of Picmonkey.com

Our area of the country experienced a very cool summer, but my herbs didn’t seem to mind and have thrived. I don’t want to waste the bounty of my gardens so over the next few days I will be harvesting everything I have room to store. I will hang aromatic herbs such as lavender, catnip, and a portion of my mints, in dark closets to dry. Those I use in cooking I will freeze in ice cube trays.

IMG_3597 - Copy

Step 1

Soak herbs in a bowl of water for a few minutes. Remove the herbs from the water, check for debris, refill and repeat process at least three times.  There is no need for scrubbing or agitation, the water floats the dirt away leaving the essential oils intact. (Organic potted herbs grown inside do not need to be washed.)

IMG_3574

Step 2

There is no need to dry sprigs when they are finished soaking. Break leaves away from the stem, place inside empty ice cube trays, add water and freeze.

IMG_3576

Step 3

Remove frozen cubes from tray.

IMG_3578

Step 4

Place inside a labeled zip-lock freezer bag and store in the freezer. Your “fresh” herbs are now available anytime you are ready to cook a good meal.  The cubes are terrific for making soups and stocks. I also freeze onion, scallions, peppers and other produce for quick stocks.

Plants – Herb Whisperer

And God said, “Behold, I have given you every herb bearing seed…” Genesis 1:29 (KJV)

Years ago, my mother surprised me with this gift, a rack of bottles for floral arrangements, or as in my case, a place to root plant cuttings. From the day I received this gift, until now, my bottles have not been without sprigs of plants. Placed in a bright window, without strong direct sunlight, the cuttings thrive. My home is filled with plants I have rooted in these bottles.

Lavender

A week or two ago, I cut a piece of lavender from the garden with hopes of enjoying it through the winter. Lavender is a plant I find hard to start from seed or cutting, but it is not impossible. Even if this sprig doesn’t root for me, I will still enjoy its soft scent through the cold months. I consider myself a herb whisperer of sort. I can imagine you shaking your head, “A what?” you ask. Yes, a herb whisperer. I coax a whiff of beautiful fragrance from my herbs by gently running my hand over the leaves. I don’t need to press. I don’t need to rub. A soft brushing of my fingertips against the foliage releases the oils, and the scent reaches my nose, instantly elevating my mood and energy level.

Peppermint

Whether it is the calming effect of my lavender, or the invigorating swoosh of peppermint, or the contentment found in the fragrance of rosemary, not many days go by without me calling up the herb whisperer within my character.

Rosemary

In winter two of these herbs are still easy to find, peppermint and rosemary are often sold in local supermarkets in the produce section. Lavender might be a bit more difficult to locate in the winter, but if you have a dormant plant in your garden or in a friends, cut a sprig and bring it inside, it will reward you with weeks and weeks of subtle fragrance.

Aromatherapy effects:

Lavender – calming, mood enhancing, cures insomnia and headaches. Read more here: Benefits of Lavender

Peppermint – anti-inflammatory, kills viral infections, clears lung congestion. Read more here: Benefits of Peppermint

Rosemary – aids in digestion, eases stomach cramps, relieves headaches. Read more here: Benefits of Rosemary

More on the care and culture of these three herb plants can be found in the links below:

Lavender
Peppermint
Rosemary

Plants and Pleasures – Scarbourough Fair Part II

Culinary Herbs grow well on a kitchen windowsill. I like to use antique planters as étagères for my herbs. The steam that rises from my water faucet helps keep their environment humid. The herbs grow well in their small pots. I have found I need to water them in five-day intervals.

I use my fresh herbs to whip together a delicious and healthy salad dressing.  The bright green color reminds me of Springtime, and somehow the light taste captures a bit of sunshine too.

Spring Salad Dressing

4 tbs of olive oil

1 tbs vinegar

Dash of Dijon Mustard

1/2 tsp Adobo Seasoning

Varying amounts of oregano, dill, thyme, parsley and basil.

Whip until combined with fork or whisk, or even better, use food processor to combine ingredients. Refrigerate. Use within a week.

The salad dressing thickens in the fridge, but when spooned onto salad greens immediately liquifies once more.

Problem Solving – Critter Wars Part III

First of all, there was not supposed to be a “Part III” in my Critter Wars post. Sadly, I found more critters, not the outdoor type this time, these are indoor pests.

I have had really good luck growing herbs from seed indoors under lights in my basement. I have been pleased with the success for many reasons, I know they are organically grown, I can grow hundreds for the price of just one in the grocery store, and I can grow a large variety to use in my cooking and crafts.

After the last few days of warring with the outdoor insects and animals, the last thing I wanted to find was a colony of Aphids on my indoor plants.

I found a few Remedies for Aphids on the Internet and followed the directions for the first line of attack: heavy sprays of water. This worked on a few, took them down into the soil and drowned them. In a few hours though, a few hearty pests climbed the stems again and began to set up new colonies. My next attack was with my Homemade Organic Pest Control. This seemed to take out the more determined bugs. A few are still lodged in hiding places in the stems and leaves though, so my next option is to dab with an alcohol soaked Q-tip. If all these remedies fail I will toss the plants in the garbage and begin again. GRRRRR…

Planting – Winter Sowing Seeds

Winter Sowing is the process of planting hardy and half-hardy seeds in clear or transluscent containers (milk cartons, 2 liter soda bottles, juice containers.) The containers are then sealed with duct tape and placed outdoors in the winter weather. This method of sowing seeds has been attributed to Trudi Davidoff.

The above photograph is a record of my first attempts at this process. Over the next week or two I hope to Winter Sow more of my perennial seeds, and later in the season some of my vegetables, annuals and herbs.

A good source of information and discussion about Winter Sowing can be found on the Gardenweb Winter Sowing Forum.

I’ll update my success with this method as the season progresses.