Plant – Primrose Part I/Care and Sowing Seed

IMG_9830

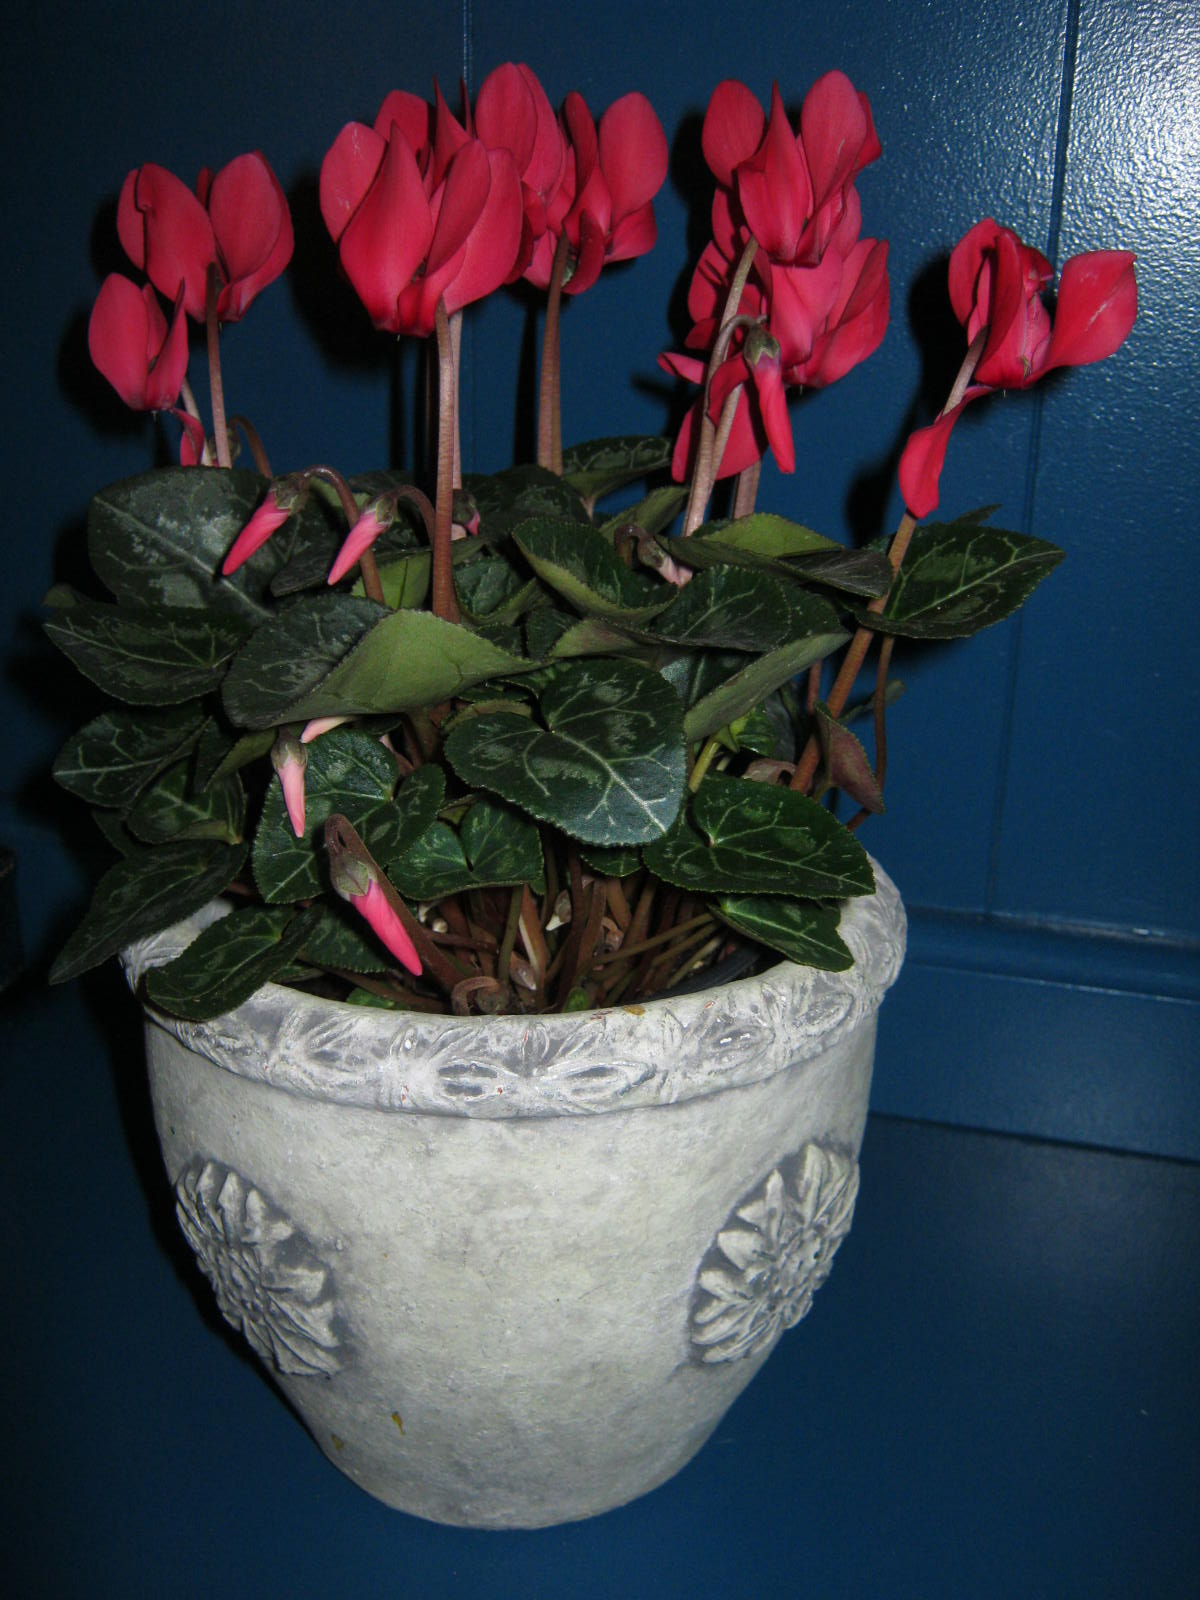
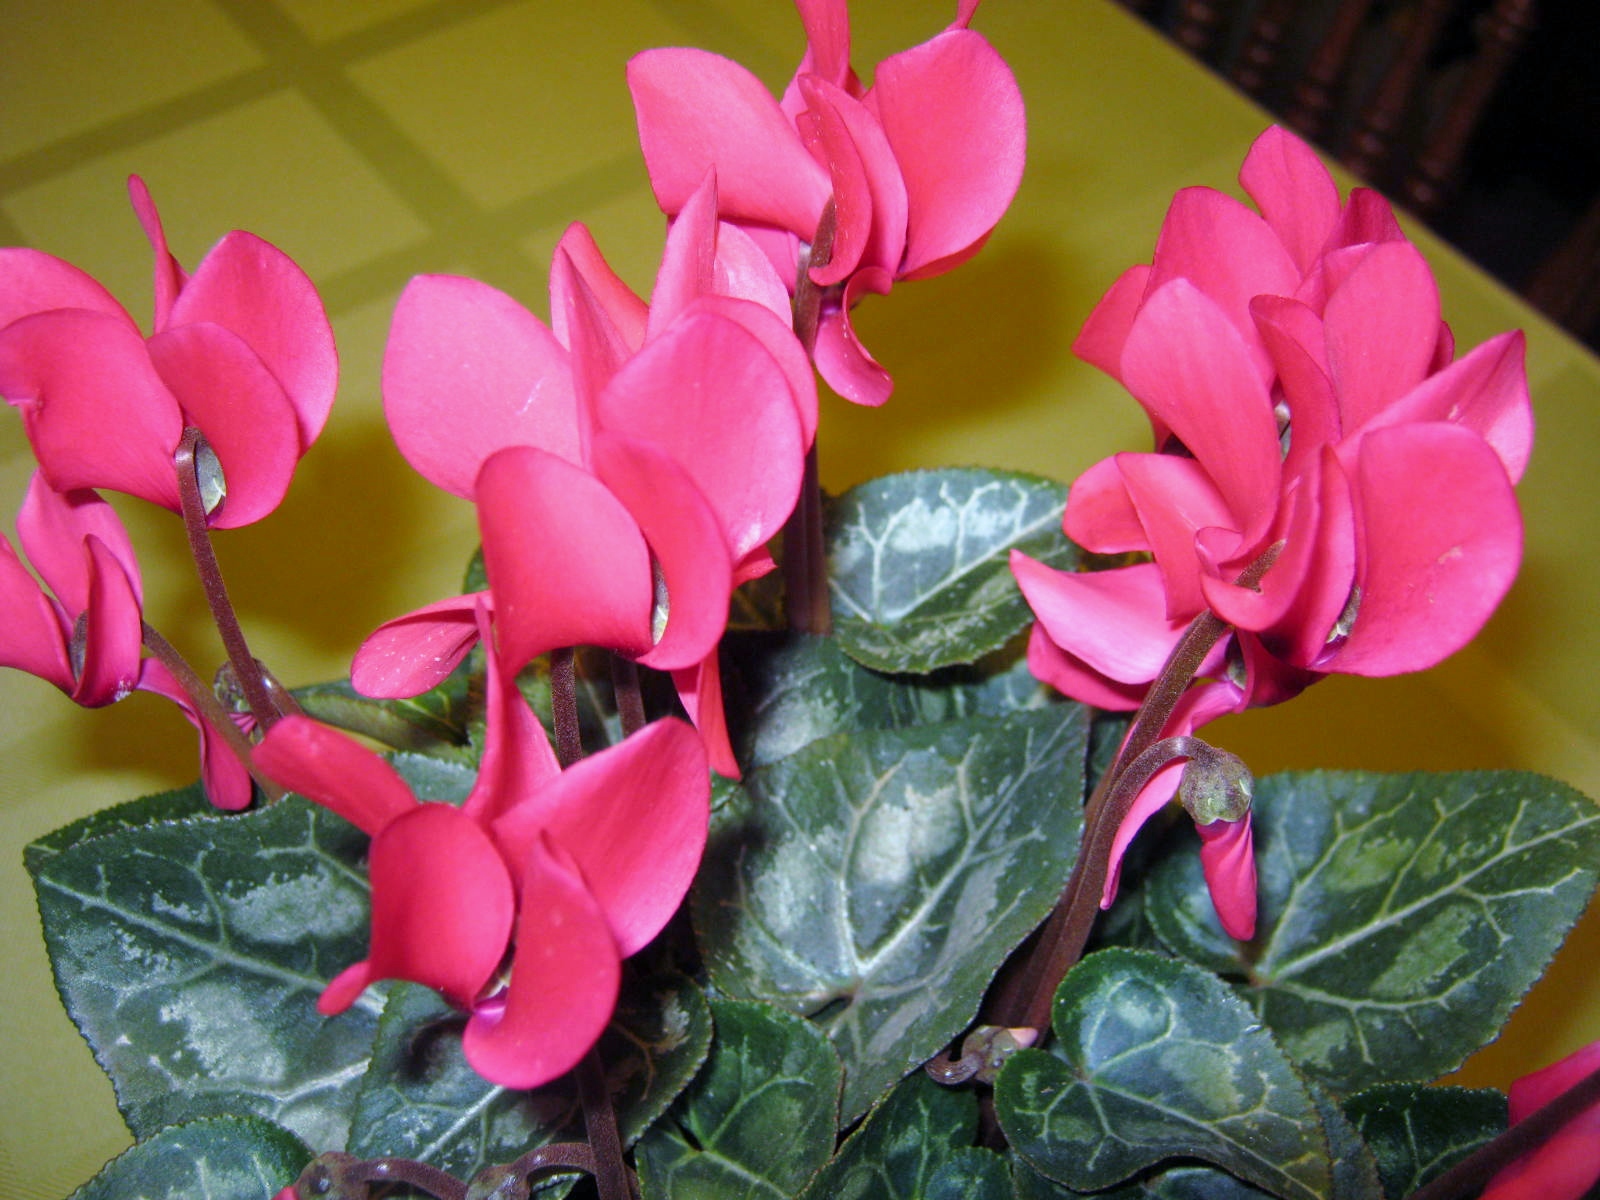
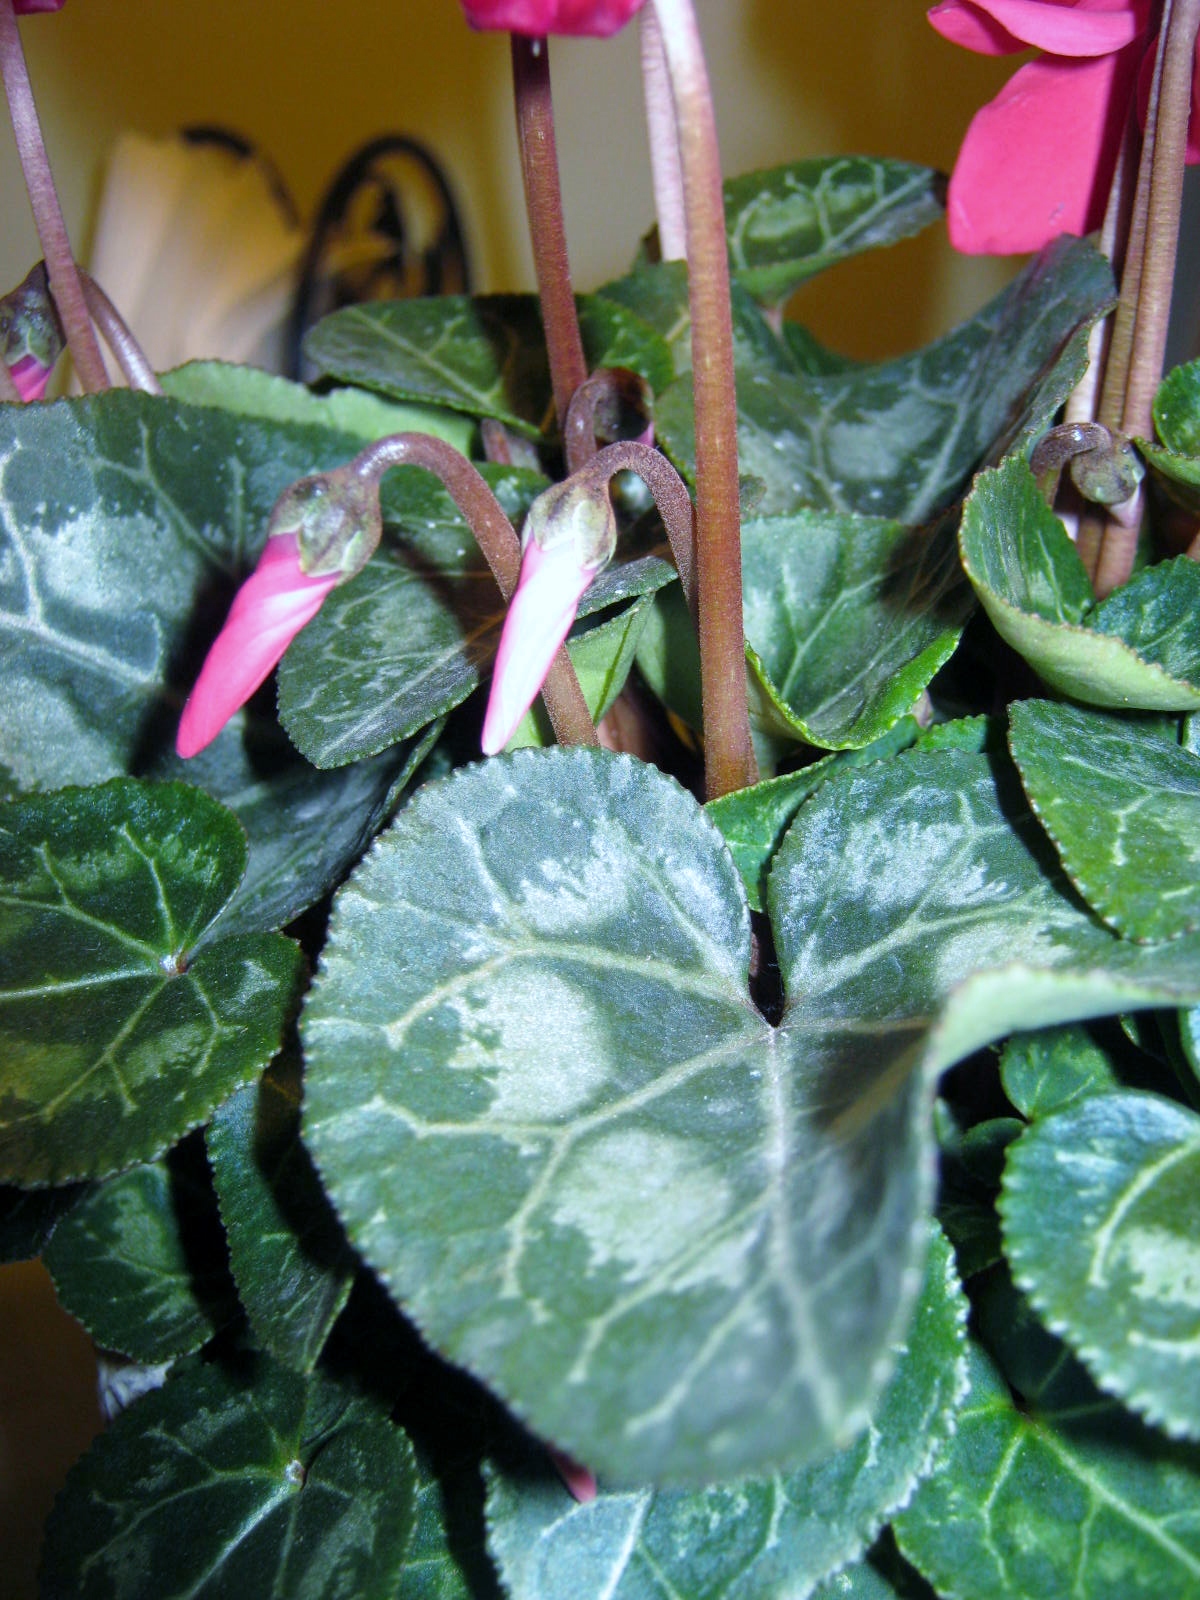
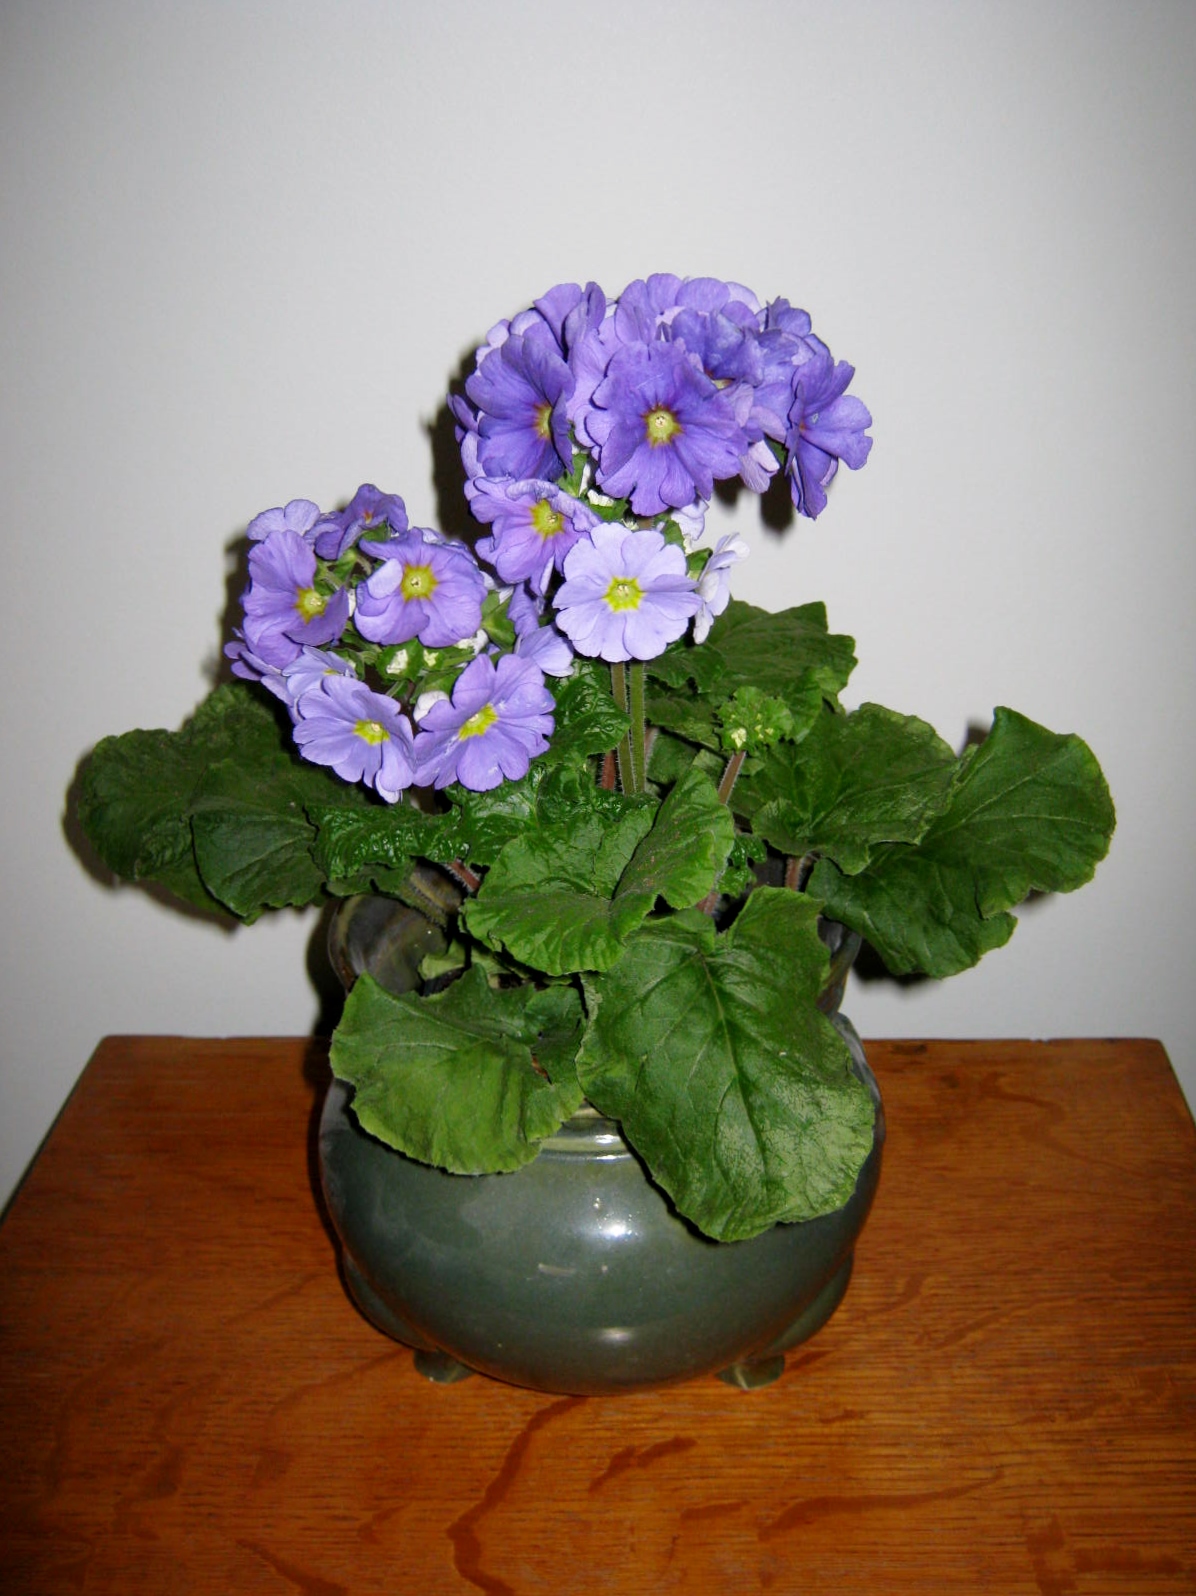
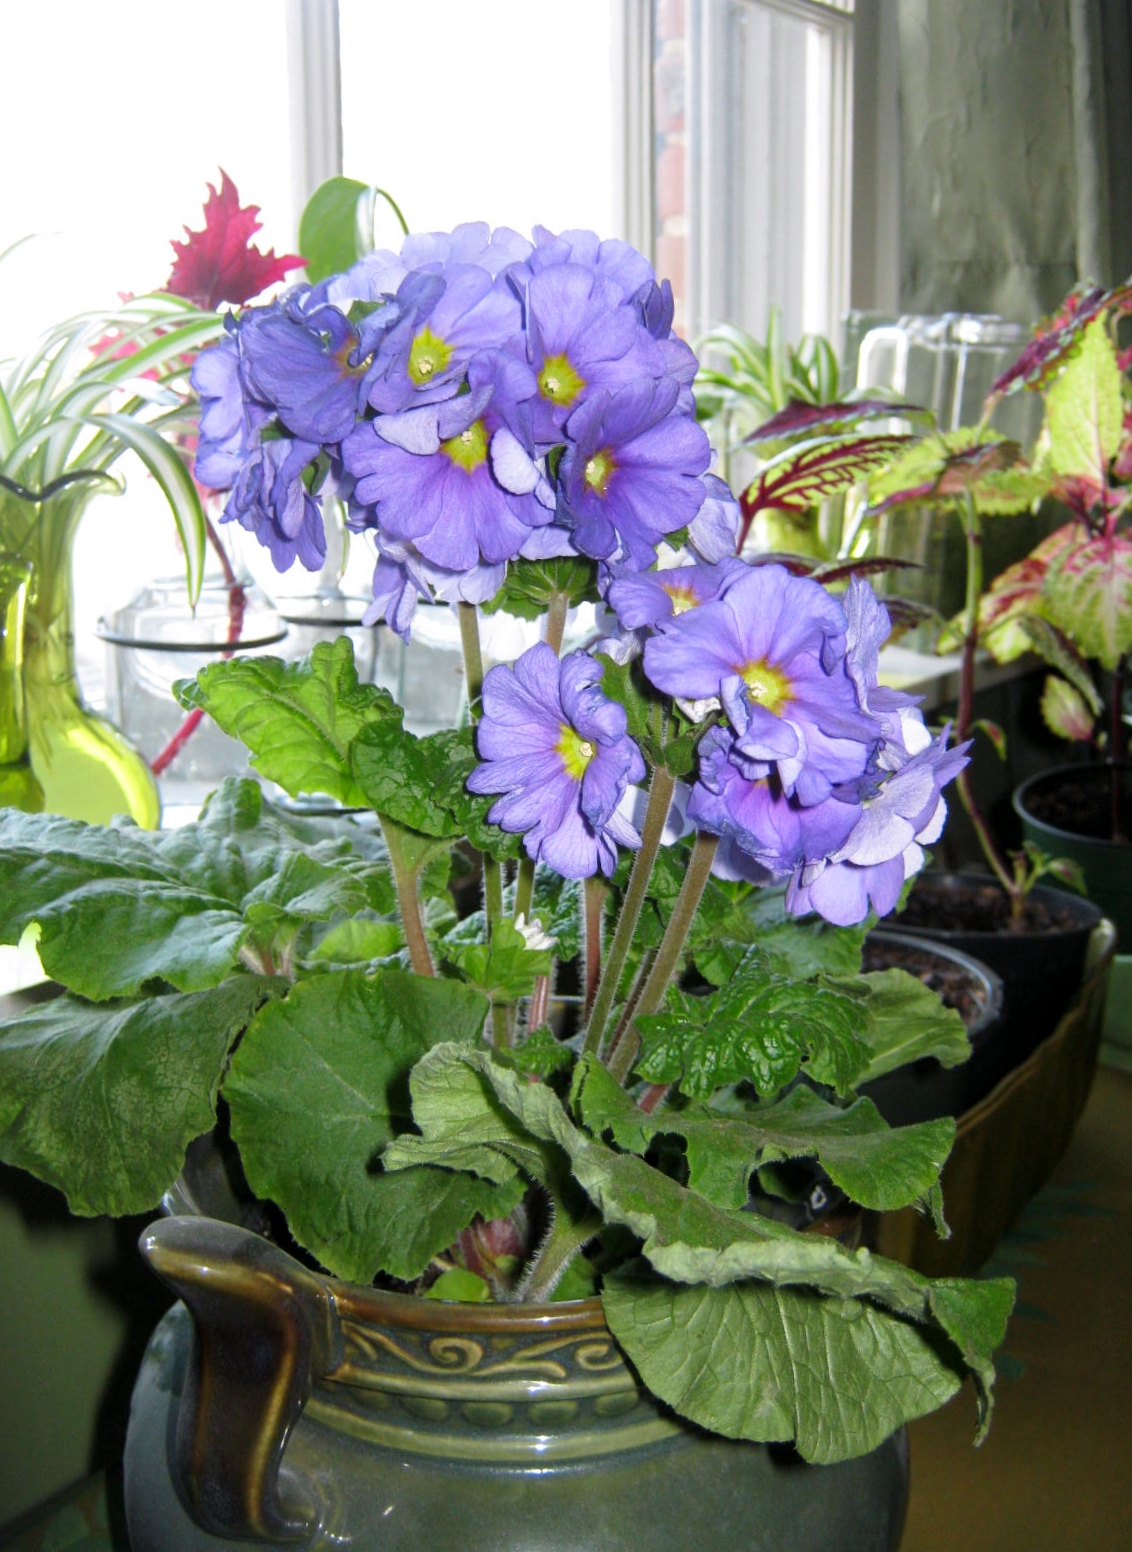
Last week I was thrilled to find this gorgeous primrose on sale at my local supermarket. The beautiful flowers rival those I see planted in my favorite conservatory at Longwood Gardens. This is the season of primrose and other cold hardy seasonal plants.

You can find an informative article on how to grow primroses here: Dave’s Garden – Primroses

IMG_9845

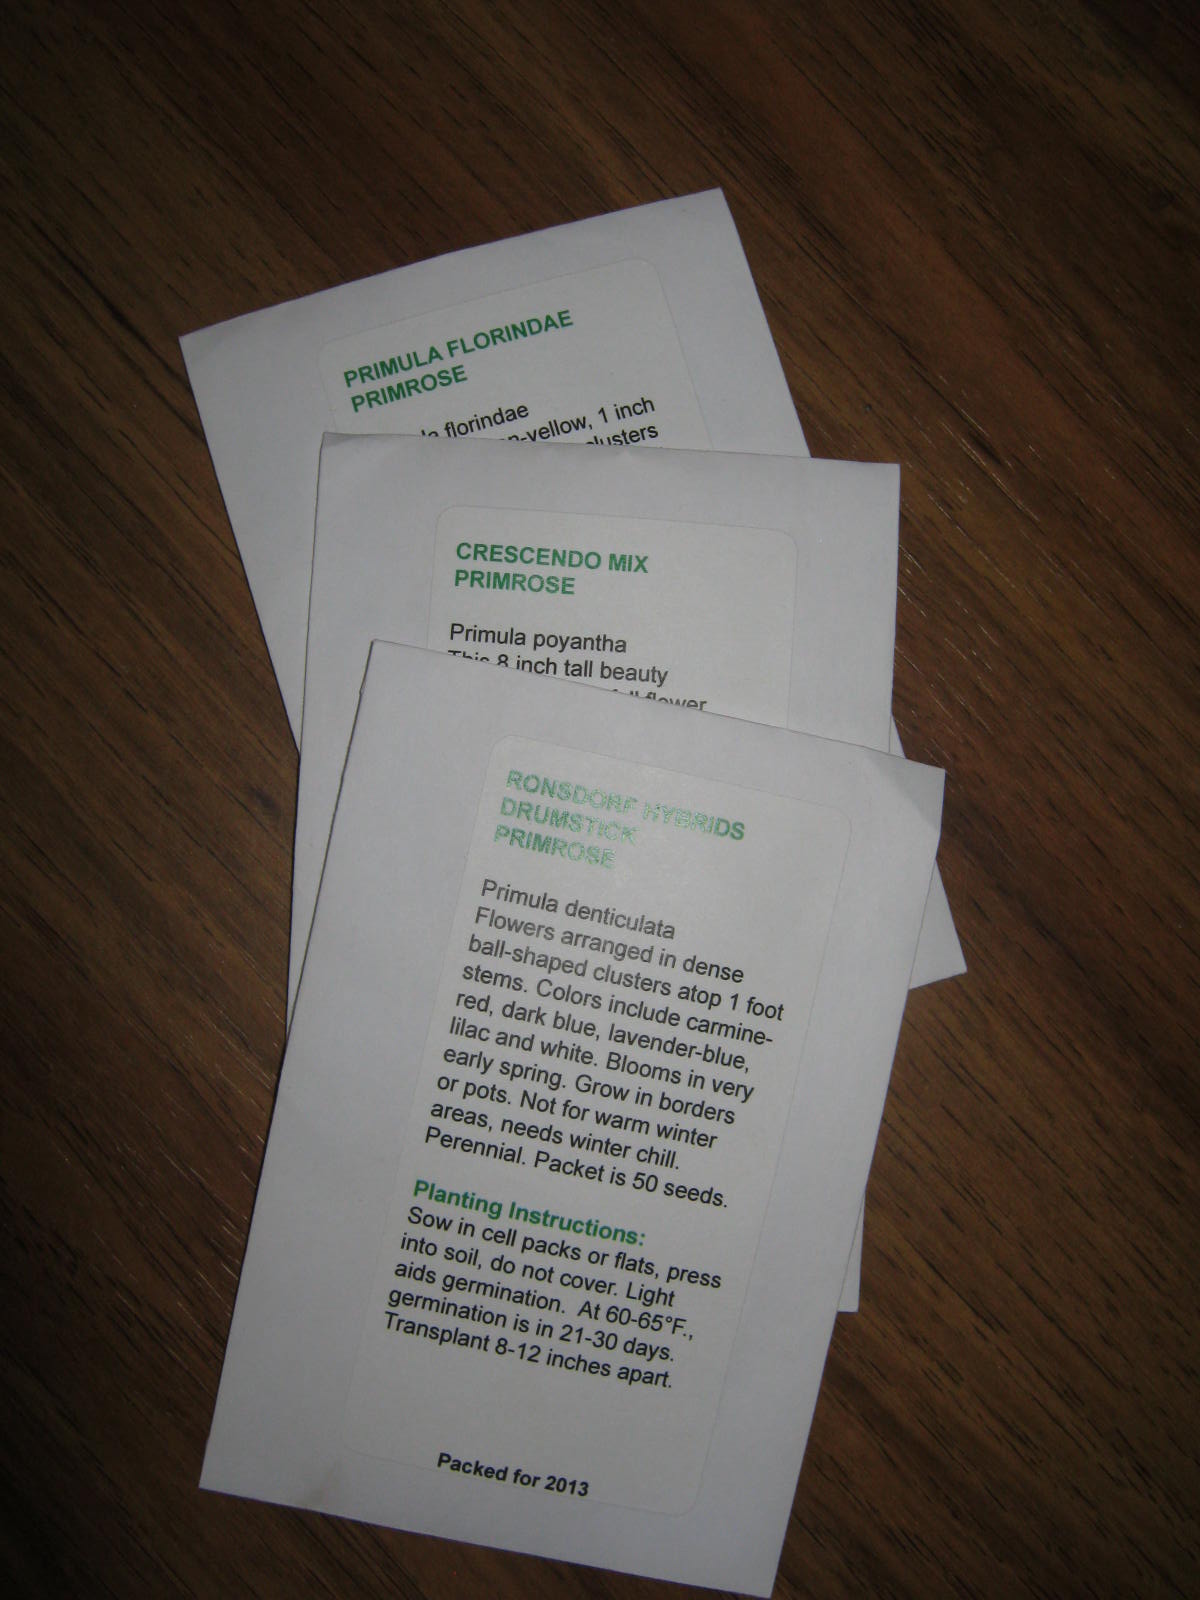
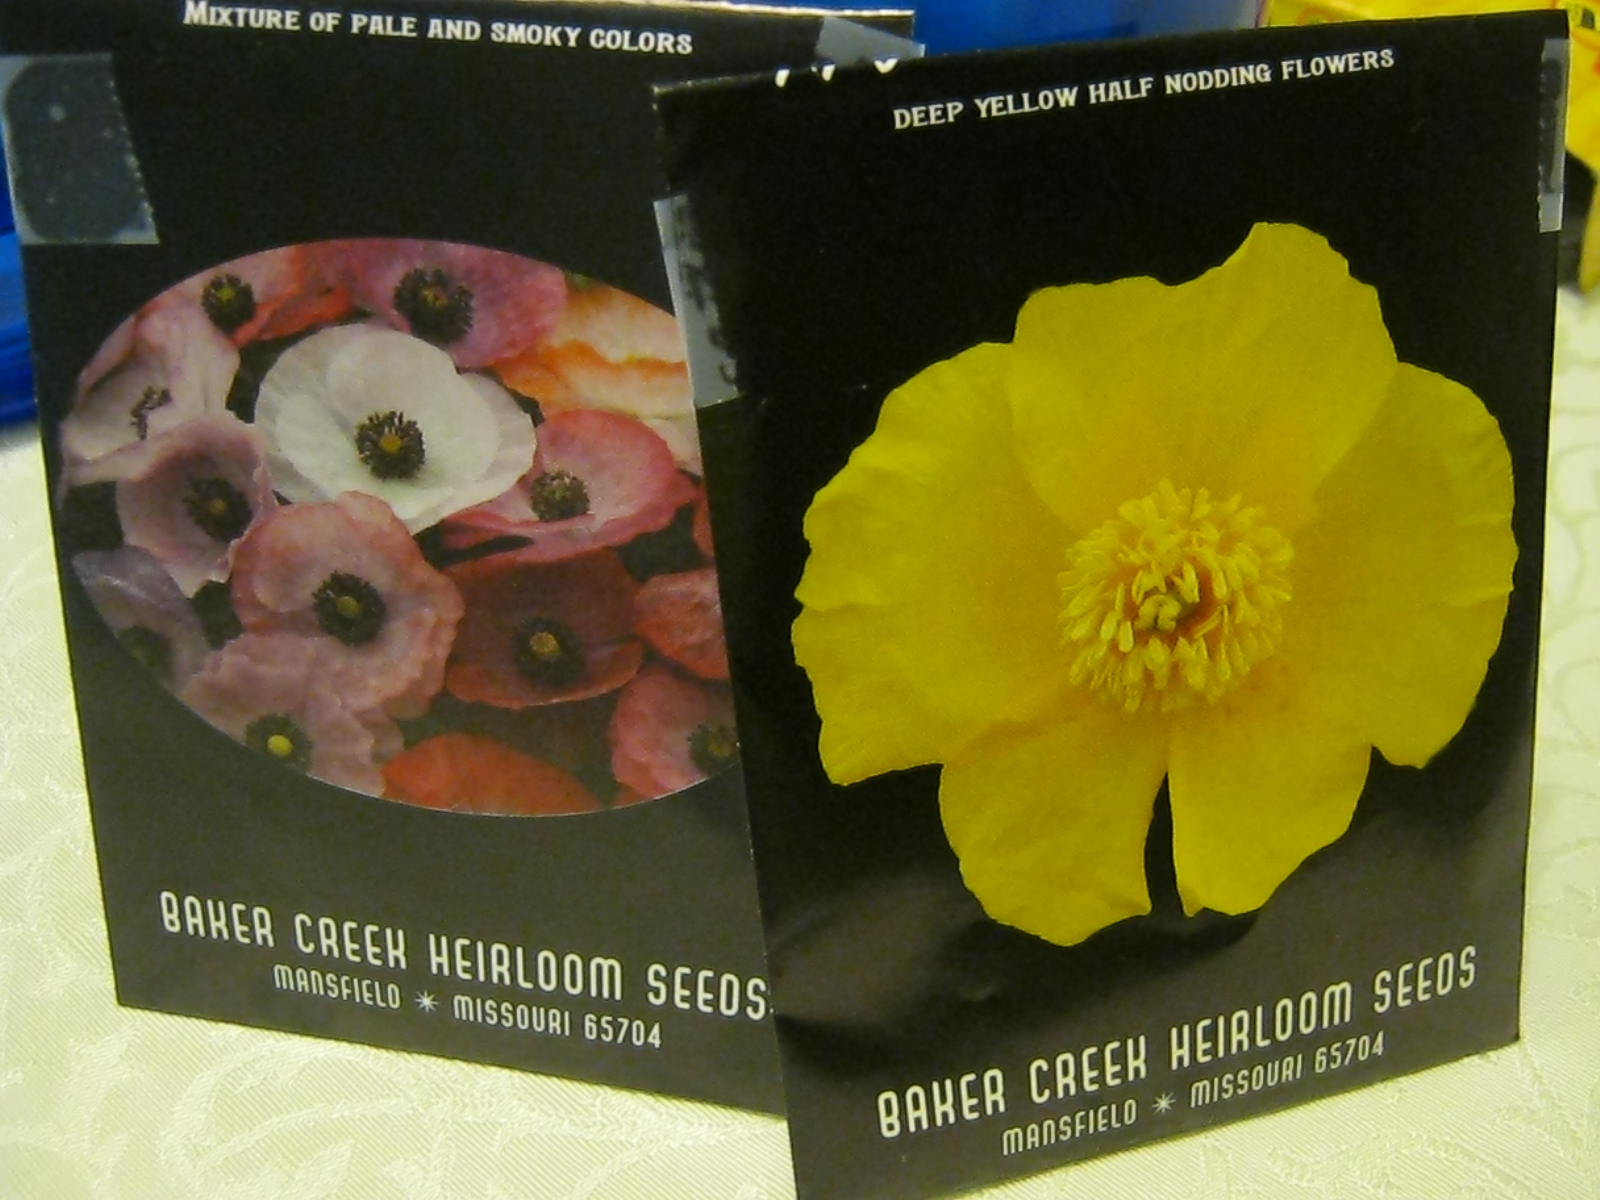
I have three packets of primrose (primula) seeds I purchased last year from Swallowtail Garden Seeds. A link to their online seed catalog can be found here: Swallowtail Garden Seeds

Two of the varieties I purchased will grow indoors or out, one type with flowers held atop a three foot stem is better suited to grow outdoors. All need cool temperatures and moist soil to thrive. My past experience with primrose plants has shown them to be akin to pansies and other cold weather annuals and perennials, they die back when temperatures become too warm.

Here is a terrific article on how to grow primrose from seed: Growing Primrose From Seed

Because the primrose seed are very small, and hard to sow evenly by broadcasting on top of the seed starting medium, I will use my method of sowing small seeds to avoid the possibility of fungal diseases taking hold of the small seedlings. Here is a link to a post on how to sow small seeds: Sowing Small Seeds

IMG_9835

Follow Me on Pinterest

Planting & Problem-Solving – Tulip Bulbs/Update

tulips 1

On February 20th, I shared a post on how my grandsons and I placed pre-chilled tulip bulbs in a vase of pebbles and water in an attempt to bring them into bloom.

You can read the post here: Planting/Tulip Bulbs

We are watching their progress now. The bulbs have sprouted at different rates, some leafing out quickly, others plodding along, but all are showing signs of growth. A few days ago I noticed a problem that needed solving if I hoped to continue bringing the tulips into flower, yucky green mold thriving on a bulb where it touched the side of the vase.

tulip2

I decided to give my trusty bottle of alcohol a try. Alcohol, safe and pure, is usually my first go-to solution for houseplant or gardening problems.

tulip 3

A few swipes of the alcohol and “Voila,” goodbye pesky green mold.

tulip 4

I realized another solution was keeping the bare portion of the bulbs away from the side of the vase and let the skin side protect the bulb from another bout of mold. I’m looking forward to showing my grandsons the progress of their tulips this week. Happy Gardening!

tulip 5

Follow Me on Pinterest

Planting – Seed Sorting

IMG_9825

Busy, busy, busy is my motto this weekend. Except for three containers of coleus I am WAY behind on my winter-sowing and indoor seed starting. Yesterday I sorted out every seed packet in the house, checking the dates, and  discarding those completely empty. I have hundreds of seeds to plant, some held over in my cool, dark basement since 2011. My Square Foot Garden book lists the amount of time you can store seeds and expect them to be viable. I will be using this terrific garden manual almost daily for the next few weeks as I plan out this year’s square foot plots. I am also going to grow some veggies in containers this year. Oooops! I am too long on here already…time to end this post and begin to plant, plant, plant…happy planting to you!

For those of you wondering when to plant indoors and out for your area, check out this terrific site: Let’s Grow Veggies The site allows you a free fourteen day trial period without a credit card commitment first.

Plants – Cyclamen

IMG_9818

Cyclamen are one of my favorite houseplants. Arriving when I am flower-starved, near Christmas through Springtime, the blossoms give the appearance of butterflies hovering over the white-splotched foliage.

IMG_9819

The flowers come in many colors, pinks, reds, crimsons and purples are a few of the choices. When I purchased the plant in the photographs I had a hard time deciding between the bright red and a white with a pink edge. The vivid hue won out this time.

IMG_9822

When I choose a cyclamen I always look within the swirl of leaves to see if there are several new buds showing. This will ensure I have cyclamen blossoms for several weeks.

Cyclamens are seasonal plants that grow from a corm. They can be brought back into bloom from their dormancy period, but I usually discard the plant when the blossoms are gone and the leaves become straggly in appearance. Perhaps this is the year I will coax one back into bloom…we’ll see.

Read more on how to grow a cyclamen plant here: The Cyclamen Society FAQ’s

Phavorites – Links I Love/Bible Gateway

HEART FOR LINKSFINISHED

Bible Gateway is a Bible verse search site. Type a keyword into the search box, and you can find Bible verses that correspond to your search word. Another terrific feature is the option of choosing the translation of the verse. My favorite translations are The Living Bible, The New International Version and The Message.

You can find Bible Gateway here: Bible Gateway

Project – Greeting Cards/Black and White Photo with Glitter

IMG_9803

I enjoy taking photographs to use as greeting cards. In the Autumn I was able to capture this photograph of a dandelion. I was so pleased when I downloaded it onto my computer and saw that I had also captured rays of light. I loved the photo and decided to have it developed in many ways, full color, black and white, sepia tones, etc. Each one turned out well.

I had a birthday gift to give last week and wanted to enclose it in a photo card. The recipient loves pink, so I glammed up the plain photo with a little bit of glitz. Glitter doesn’t photograph well, but you can see a bit of the sparkle I achieved in the photo above.

IMG_9807

I brushed a bit of iridescent medium on the photograph. The iridescence did not show up as much as I had hoped. Since the medium, when it dries, will also glue anything on it in place, I also added some ultra-fine glitter. It did the trick. The dandelion glimmered. Double-mounted on plain white and black card stock, the card had a bit of pizazz. I plan to try adding a bit of glimmer to more of my photographic cards. Happy Glimmering!

*Note: You don’t have to exclusively use acrylic medium. Try watered down white glue, mod podge, or anything else that will dry crystal clear. I also need to add that the medium you use as a “glue” might not cover well. Mine wafted about and made little rivulets, but in my opinion, this tendency to separate created a better, more ethereal look on the card front.

Pressed Flowers – Fairy Dress

dress of leaves

In January I walked the woods and searched my yard for anything leafy or green to press. I found an assortment of items, you can read the post about my search and what I found here: January Pressings

This week I used my pressings to create a sweet fairy dress. The whimsical side of my nature was quite pleased with the result. The picture measures 5 x 7, and is bordered with words cut from a children’s paperback. I used an old book that was yellowed  with age. This enabled the words to blend into the mulberry paper and create an aged look.

material

The materials I used to create my fairy dress were a piece of 5 x 7 beige mulberry paper and an instant grab glue.

floral pin tool

Two additional tools I use for pressed flower work are a paintbrush, good for lifting fragile flowers, and a pearl floral pin, perfect for running a small amount of glue beneath an errant edge.

I began my designing by cutting a bodice top and waist into an ash leaf. Remembering that most fairy dresses have the look of the ethereal about them, I cut a slit up the front of the skirt in order to take away the impression of heaviness and formality.

bodice

I added a decorative edge of trimmed lamium leaves, a sprig of moss, and the lace-like petals of a spent sage flower.

belt and peplum

To give the dress an airy look I created a peplum ruffle out of moss sprigs and a belt out of a cut ivy leaf.

hat

I crafted a hat out of the top of the ash leaf, adding a jaunty sprig of moss and flower petals.

shoes

I adore the shoes. They are cobbled out of one ivy leaf and sport some lacy sage flower petals.

purse

The handbag is composed of an ivy leaf and sage petals. A moss sprig handle adds a touch of greenery. I used the backside of the ivy for the top of the bag, and the front of the same leaf, pointed edge cut away, for the bottom.

So much fun…yesterday I went out to collect for February’s fairy dress, alas, there is very little out there. The snow and frigid temperatures of winter haven’t left much for pressing. I plan to go out again soon and make a more thorough search…updates will follow.

Follow Me on Pinterest

Pressed Flowers – First Flowers of 2014/Crocus

IMG_9799

Oh Happy Day! Crocus are blooming in my side garden. How exciting to have something to press with a little bit of color to it.

I press crocus in two ways, open and cup-shaped. To press a crocus in an open position gently press the petals flat to reveal the pollen stems. I pressed these flowers between the pages of acid-free paper in a weighted down book.

Plants – Forcing Hyacinth Bulbs

IMG_9767

Forcing bulbs: “Forcing is a technique that imitates the environmental conditions that bulbs encounter outdoors, thereby tricking them into flowering earlier.” Beginner’s Guide to Forcing Bulbs

Another way to enjoy Spring bulbs is to force Hyacinths. The same protocol applies to these bulbs, place them in a cold place for at least twelve weeks before forcing. I bring my Hyacinth bulbs into bloom by using a special vase, named quite appropriately, a Hyacinth Vase.

IMG_9614

In my experience, the plant usually becomes top-heavy if I allow it to continue growing in water. When the beautiful blooms open their bulk causes the bulb to topple out of the vase. To counteract this problem I have begun planting the bulb in dirt when it nears bloom time. This has worked very well for me. Happy Gardening!

In-depth directions on forcing bulbs can be found here: Forcing Spring Bulbs

Follow Me on Pinterest

Planting – Poppies & Winter-Sowing

IMG_9719

Poppies! I LOVE poppies, but I have some problems with poppies too. Number one on my list of loves is the way poppies develop big, luscious looking pods. When the pods begin to widen and split to reveal the color of the flower inside, honestly, I must admit I run out into the yard several times a day to see if the silken petals have opened. There is something magical in the wispy crown in the center of each flower too. Often there will be a splotch or two of contrasting color at the base of each petal. The foliage of many poppy plants glows in beautiful bluish green tones. Yes…I LOVE poppies.

One of the major drawbacks of poppies, at least in my opinion, is how hard it is to grow them from seed. For years I followed the advice on the back of the packets and on the pages of reliable gardening books and sowed them directly in the ground. This NEVER worked for me. Heavy spring rains ALWAYS washed my poppy seeds away before they could sprout, or if they did, the delicate small seedlings would be beat into the ground by that same rain. the “experts” say poppies don’t transplant well. I think I probably agree if they are grown in the house, but I have found a way to get a head start on poppies and that is through winter sowing.

I’ve written many times about winter sowing, so I am not going to take the time to rewrite what I have already posted. You can read about winter-sowing here and follow some of the links I list for more information: Winter Sowing

I am also including a post that shows the results of my winter sown poppies: Poppies

If you want to grow poppies this year, and have a milk carton or two on hand, give winter-sowing a try. It only takes a few minutes to create a miniature greenhouse to place outside in the sunshine. Happy Gardening!

Follow Me on Pinterest

Planting – Tulip Bulbs

IMG_9733

I purchased tulip, daffodil and hyacinth bulbs in the Autumn months, when they were placed on clearance. My grandsons and I planted the daffodils in pots of dirt and placed them in the refrigerator. Later, when winter arrived, they were moved into the garage. These flowers are now growing and are near blooming. This week we turned our attention to the tulip bulbs. Put to bed for three months in the refrigerator, with only a plain brown lunch bag for protection, the bulbs had already begun sprouting when we released them from their cold confinement.

IMG_9734

I had come across a beautiful picture on Pinterest of tulip bulbs growing in a glass container. I thought we could create a version of our own. Into a tall glass vase, we placed some glass pebbles, added the bulbs, and poured in enough water to barely cover the bottom of the tulips. This is where the roots will form. We will need to keep a daily watch so the water level does not fall too low.

IMG_9741

I’ll post an update on the tulips as they grow. Happy gardening!

IMG_9743

Photographs & Phlowers – A Bee-autiful Wednesday

I need a little something to remind me of Spring and Summer today…perhaps the thought of “phlowers” and some buzzy insects. Artists and crafters feel free to use these photographs as copyright free reference.

August 19, 2011 059

Picture 101

Copy of Picture 133

Picture 124

September 12, 2011 029

Project – Tissue Paper Pots

spring pots 5

My grandsons created beautiful flowerpots with just a few inexpensive items:

Plastic flowerpot

Elmer’s Glue

Tissue Paper

Paintbrush

Disposable container for glue mixture

*Cover work surface before you begin. Artists smocks or aprons are a good idea too! 🙂

spring pots 3

We tore the tissue paper into small squares. To apply the tissue we used a solution of 1 part Elmer’s Glue to 1 part water. We dabbed a bit of this well-stirred mix onto the pot, topped it with a tissue square, and covered the whole pot in this fashion.

*Keep in mind that it is best to use colors that will blend with each other well. Red and green together might form a brown tone. Use a monochromatic scheme or primary colors that will blend to create a new secondary color.

spring pots 2

When we were near finished we dabbed down any edges that were not adhering to the pot. Drying time was about 24 hours.

spring pots 1

This project was enjoyed by my grandsons ages seven and four. I think with supervision and help, an even younger child could attempt the project. The pots looked sensational slipped over pots of daffodil bulbs we had forced in the cold garage and fridge.

Planting – Repotting Over-Wintered Geraniums

IMG_9678

Most of last summer’s geraniums were over-wintered in a box in my basement. I had only a 25% success rate with this method. Happily, the one geranium that succeeded in staying green was my Martha Washington geranium. The others looked more like the photograph below, completely lifeless.

IMG_9684

No matter how far down I cut along the stem, I found little trace of green or possible viability.

IMG_9687

I had better success with the potted geranium. In the Fall, I found it very easy to pick the pot up off its stand and transport it into the house. No matter that the leaves had a inchworm stowaway. He ate only a little bit of greenery.

IMG_9688

The plant has bloomed luxuriantly in a sunny window giving me many moments of joy when I walk into the room it grows in.

IMG_9689

The geranium isn’t about to stop giving me moments of bliss with its bright flowers. This is a photograph of a new bud I took yesterday. The success of the plant has made up my mind where the coming summer is concerned. I will grow all the geraniums in pots, and in the Autumn bring them inside to cheer up the house all winter long. Happy Gardening!

Praise – The Sparrow

sparrow

The Sparrow

During a week of snowfall, I ventured out to empty the trash into its receptacle, and immediately upon opening the porch door, heard the sweet singing of a sparrow. He sang even though food is scarce, the wind is fiercely cold, and there is more stormy trouble on the horizon. He sang because that is what he was created to do. So let it be with me Lord Jesus…whatever my circumstance put a song of praise within me.

I love so many of the words of Charles Haddon Spurgeon. Here’s a little bit of his wisdom: “We are on the way to Glory, so let us sing as we journey there and, as the lark, ascending up to Heaven’s gate sings as she soars, her wings keeping time with her music and mounting in her song as she rises through the air, so let it be with us— every day a Psalm, every night a day’s march nearer Home, a little nearer to Heaven’s music and a little better imitation of it! Let us sing, now, in our hearts if not with our lips, and when the time comes, let us join our lips with our hearts and sing to the Lord! That is our text, “Sing to the Lord, O you saints of His, and give thanks at the remembrance of His holiness.”

Prose – The Country of the Pointed Firs

Country of Pointed Firs

Sara Orne Jewett was born in South Berwick, Maine, in 1849. Many of her best books are set in Maine. The Country of the Pointed Firs is a collection of linked stories that give a portrait of a seaport along the Maine coast.

Sarah Orne Jewett

I have vacationed for many years on an island in Rhode Island by the name of Block Island.  Reading this novel, I envisioned the bluffs and craggy rocks of Block Island. The book is as soothing as a lullaby, yet holds your interest with the cast of characters and their occupations. Since I am a gardener I enjoyed reading of Mrs. Almira Todd’s collecting of herbs and dispensing of them to the townspeople of Dunnett, Maine. If you love books that transport you to another time, and stories that enable you to come away with a sense of new lifelong “literary” friends, you will enjoy this book.

The Country of the Pointed Firs is available through many sources. Amazon books, Kindle and Ebay are just a few of the sources.

Psalms and Proverbs – Snow

“He sends the snow in all its lovely whiteness, and scatters the frost upon the ground.” Psalms 147:16

A few pictures of yesterday’s snowstorm and what it left behind here in Southern New Jersey.

IMG_9656

IMG_9657

IMG_9658

IMG_9659

IMG_9661

IMG_9662

IMG_9664

IMG_9668

Plants and Problem-Solving – Eradicating Scale on Houseplants

scale 1

I don’t know how I missed it for so long. By the time I saw the shiny residue on the arrowhead plant, scale insects had already infested at least half the leaves and stems.

scale 2

I took a closer look on the underside of a leaf to be sure…yup…scale. Yuck! For more information on scale insects check out this site: Scale Insect Pests

scale 3

I don’t like to use harsh chemicals on my plants. I have grandchildren and two cats. I also attempt to keep products I use as organic as possible. I decided to try rubbing alcohol to treat the scale, a good treatment I have used in the past on mealy bugs and other insect pests.

scale 4

Using a cotton swab, I dipped in alcohol and swiped the legions of scale off the plant. I checked every leaf and stem. When I was finished I removed any leaves yellowed by the insects. I also dipped the plant beneath tepid running water from the faucet. The alcohol kills the insect pests on contact. If you leave it on the plant too long it could cause damage, especially to tender new growth.

I will keep a close watch on the plant. It is also a good idea to remove it from close contact with other plants, and to disinfect the surface it stood upon, and any drip saucers beneath its pot.

Follow Me on Pinterest