Plantings – Garden Growings-On

Seedlings, Seedlings, Seedlings! They are EVERYWHERE! Last night I had to bring them into the house instead of overnighting in the garage…it is going to be very cold during the next twelve hours or so. I also covered the spinach and the kale I planted Sunday with overturned terracotta pots. They would probably be fine without the protection, but why risk it?

IMG_0510

My dining room table

IMG_0508

Coleus galore! I have more in other rooms, and I started another batch a few weeks later for those bare spots left by poppies, bleeding heart, spring bulbs and other plants that die away near the end of June.

IMG_0480

Gorgeous tomato seedlings…I tried many varieties this year.

Plantings – Sowing Small Seeds

This method of planting small seeds might seem tedious, but I have tried many ways of sowing tiny seeds and feel this is the very best. So…here is a re-blogging of my small seed sowing method. I wish I could remember where I first heard of the process so I could give the proper source credit for the idea.

I have collected seeds from my coleus plants for well over ten years. Each year I plant the offspring of the previous year, the seedlings grow, are cross-pollinated by the bees, and new seeds are harvested in the late Autumn. I start my coleus very early, the seeds are small, quick to sprout, but slow to grow. I don’t sow them thickly into the flats. Seedlings sown too close together tend to get damp-off disease.

I found these great lidded containers made by Solo this year. They are the perfect coleus incubator/flat.

I sow the seeds sparingly using the sharpened point of a pencil. I dip the pencil point into water and touch it to one seed. The dampness grabs hold of the seed. I then touch the seed to the wet seed starter mix in the flat, and the seed adheres to the wet soil. I repeat this process between sixty and seventy times per flat.

I use wire garbage bag ties, marked in segments with magic marker, to guide me in the placement of the seeds.

After I sow a row of seeds I remove the wire guide so I don’t double sow a row.

The next step is a gentle, all-over spray of water to seal the seeds to the wet soil.

I then cover the flat with the lid. It is gratifying to see it instantly steam up with warmth and humidity.

I have good luck with the sprouting by placing the planted flat of coleus seed on top of my refrigerator or near, but not on, a heating vent. I’ll update the progress as the seeds sprout and grow.


Follow Me on Pinterest

Plantings – Coleus Sampler

Coleus sampler 1

Sampler of last year’s coleus leaves.

I’ve been cleaning chaff from my coleus seed harvest, dreaming of next year’s new plants. When I’m finished the tedious task, I’ll place the seeds in the refrigerator or in the garage for a few weeks to give them a dose of coldness. This process is called stratification.

Stratification:  In horticulture, stratification is the process of pre-treating seeds to simulate natural winter conditions a seed must endure before germination.

For tips on stratification for seeds read this article: Making Winter for Seeds: Cold Stratification From Fridge to Snow Sowing.

I start my seeds in early January to have good-sized plants by late April/early May. If you’ve never grown coleus, give them a try. The colors and variety will be sure to please you.

Photographs – Summer Sizzlers in the Garden

Zinnia

National Park 111

These flowers are sizzling hot in the garden right now. Gorgeous!

National Park 113

Climbing Rose

National Park 107

Bee Balm

National Park 103

Mandevilla

National Park 100

Coleus and Pentis

National Park 101

Salvia

National Park 097

Hibiscus


National Park 098

Geranium

Planting – Front Garden Color Combo

buggy 004

I love this combination of wave petunias, angelonia, heliotrope, coleus and low-growing pink zinnias. I crowd my plants a bit in the front garden, but I am rarely disappointed by stunted plants, they all seem to thrive in their close quarters. Perhaps the tight lacing of foliage prevents quick dehydration of the ground below them.

buggy 042

buggy 044

Phavorite – Coleus Plants in my Garden

blog 072

Here are a few samples of my “phavorite” coleus leaves and plants this season.

blog 073

blog 074

blog 078

blog 081

blog 084

blog 085

blog 086

blog 087

blog 088

Phavorite – Coleus/Raspberry Swizzle

035

I am a believer in pinching the tips of my coleus to facilitate a bushier plant. Yet, about mid-August I stop my constant nipping of the leaves. Why, you may ask. The reason is at this point I let my plants begin to bloom. Although coleus blooms are not very attractive, I covet the new crop of seeds they will leave behind. I’ve named the coleus above Raspberry Swizzle. I’ve grown it for years, first from a seed collected from my plants, and afterwards from cuttings I take every winter from the plants I’ve saved. Allowing my coleus cross-pollinate for years has resulted in some interesting plants. Tomorrow I’ll post a selection of my favorites of this year.

Pleasures – Volunteers

003

I’ve been wandering the yard with trowel in hand looking for late season volunteers. These are plants that have self-seeded and are sprouting in the damp and hot weather we are having at the present time. I don’t mulch my flower beds and the volunteers are the reason why. I always have a few bare spots in my gardens left by plants that bloom quickly and die back just as fast; the small volunteers are perfect for filling in the bare spaces. Removing them from between the sidewalk cracks is a little dicey, but I know if I don’t they won’t thrive for very long. Onward Volunteers!

003a

Plants – Coleus Seedlings Update

coleus 002

Yesterday, I moved my coleus plantlets out onto the back porch to begin acclimating them to the cooler night temperatures. I will probably plant them this weekend, even though the nights are still unseasonably cool. I am hoping a few days and nights on the porch will sufficiently harden them off. They are still very small. They have been grown in a cool basement under lights, and although this keeps them from becoming too leggy, it does not promote quick growth.

coleus 004

It’s fun to see what new patterns and scalloped edges the new season will bring. This year, as always, I have one or two favorites. My dilemma will be the decision of whether to plant them outdoors where they will face elements and insects, or coddle them on the porch for a few months. Maybe I will do a little bit of both.

coleus 005

Growing coleus from my own seeds is one of summer’s happiest pleasures.

coleus 007

Planting – Sowing Seeds Part III/Small Seeds

coleus 004

My coleus seedlings are sprouting. To guard against damping off diseases I keep the seeds spaced apart. I have found in the past that crowding seedlings invites disease.

Coleus seeds, among many others, are smaller than the head of a pin. Sowing them in neat rows can be a daunting task. To accomplish this with as little frustration as possible I use water and a pencil.

untitled

An explanation of this technique can be found here: Planting Small Seeds

Below you will find some samples of last year’s coleus plants:

CCF09282012_0000 CCF09282012_0001 CCF09282012_0002 CCF09282012_0003

Plant – Coleus Seed Saving and Volunteers

Since they have been planted in the spring, I have regularly been pinching off the tops of my coleus plants to keep them from blooming and to force them to branch out. I have some really pretty plants this year. I have stopped my pinching now. It’s time to let the spiky blooms emerge, mature and form new seed for next year’s coleus.

A week or two ago I noticed this amazing patch of small sprouts growing alongside the brick in the front garden. A patch of volunteer coleus had emerged, some with really interesting colors and patterns. I thought at first they might have sprung from old flower spikes I threw in the back of the garden last year, but on taking a second look decided I must have thrown a few leftover seeds in the back as an experiment. This week I’m going to dig them up with the shovel and pick several to pot up and grow in the house through winter.

Plants – Flower Garden Update/August 2012


My late-summer flower garden is thriving. The Rudbeckia is full of blossoms. I don’t deadhead these flowers. They do not produce more blooms if I do so, and then I would deprive the finches of their treat. These flowers produce hundreds of seeds and are a favorite of the goldfinches. I often see the small birds hanging upside down on the seed heads, feasting on the bounty.

The Coral Nymph Salvia is a beautiful plant. It almost becomes shrub-like as the season progresses. I do deadhead the spent flower stalks of this plant, and it keeps producing until cold weather. It is a favorite of hummingbirds.

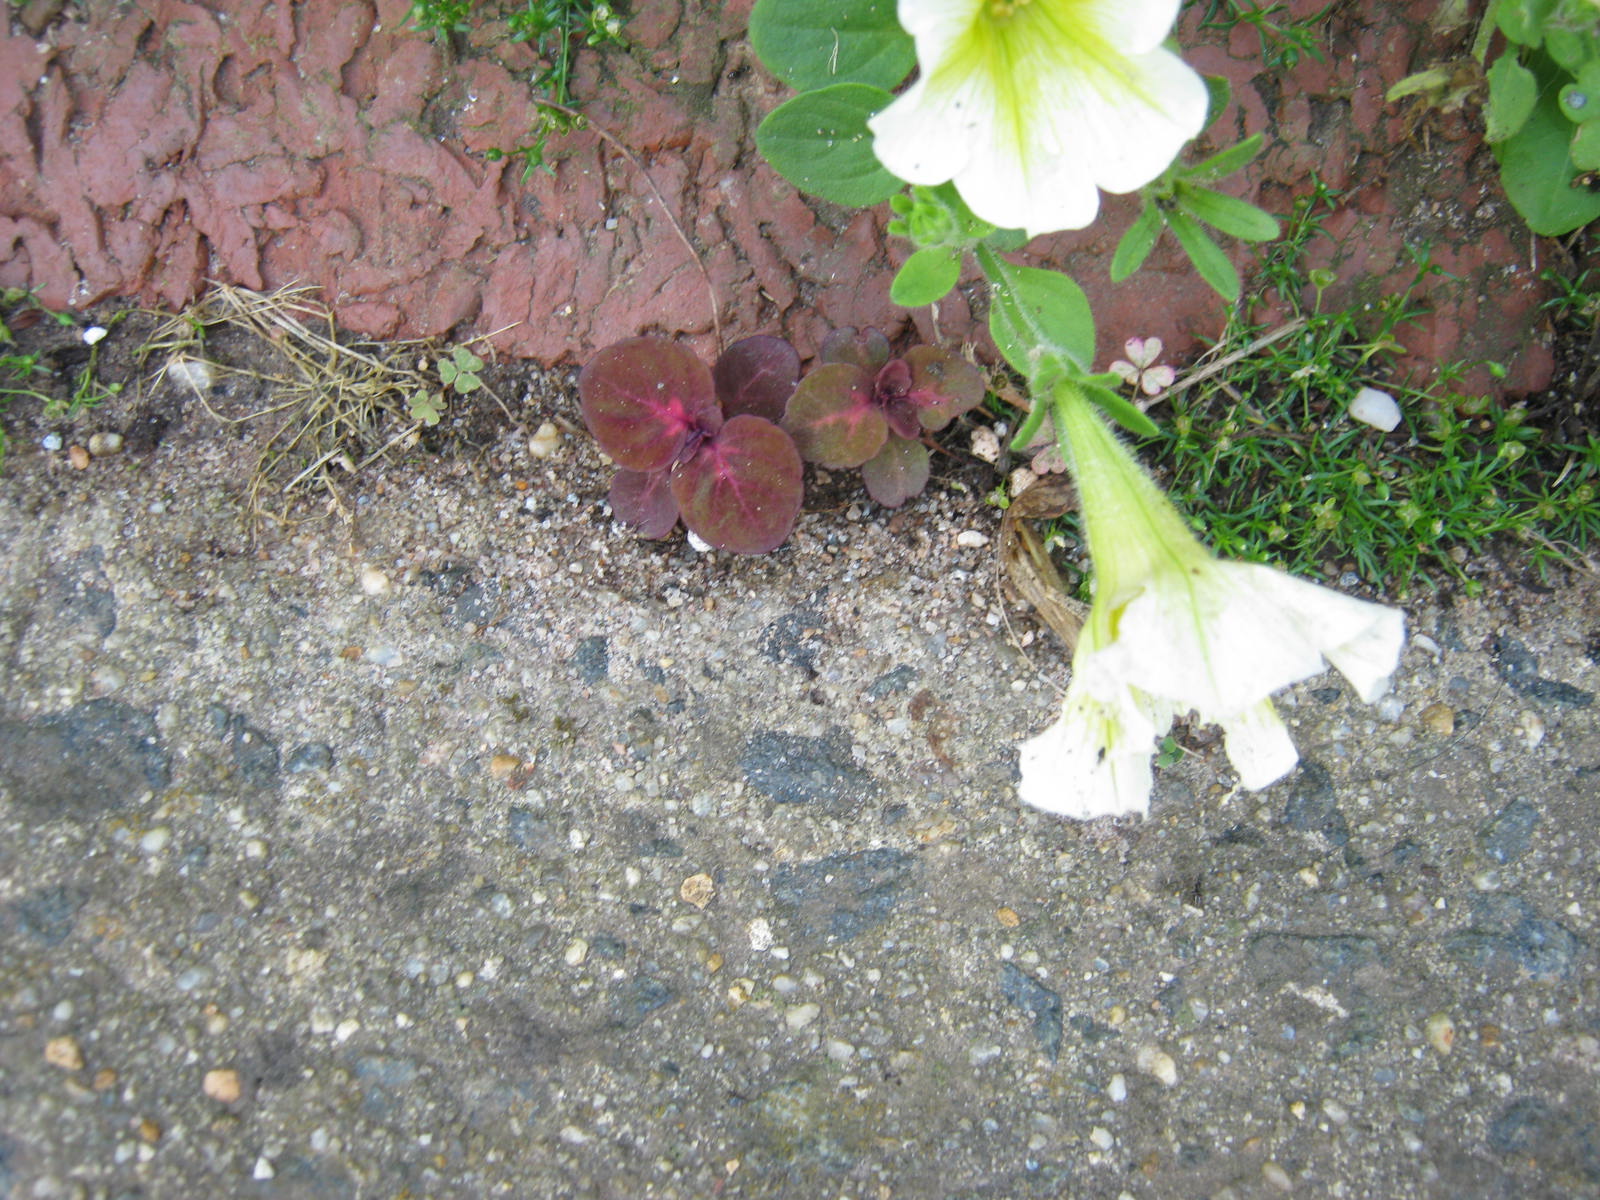
This Salvia self-seeded last summer, grew in a crack between the sidewalk and front porch steps, and is thriving. I will save seeds from this plant this fall. It has a resilience and determination I admire.

The Popsock Cosmos I grew this year is a bit taller than I had thought it would be, but is still a welcome addition to the front garden.

These cheerful petunias I bought on a whim this spring have been fantastic. I love the bright color and the abundance of blooms they have given me.

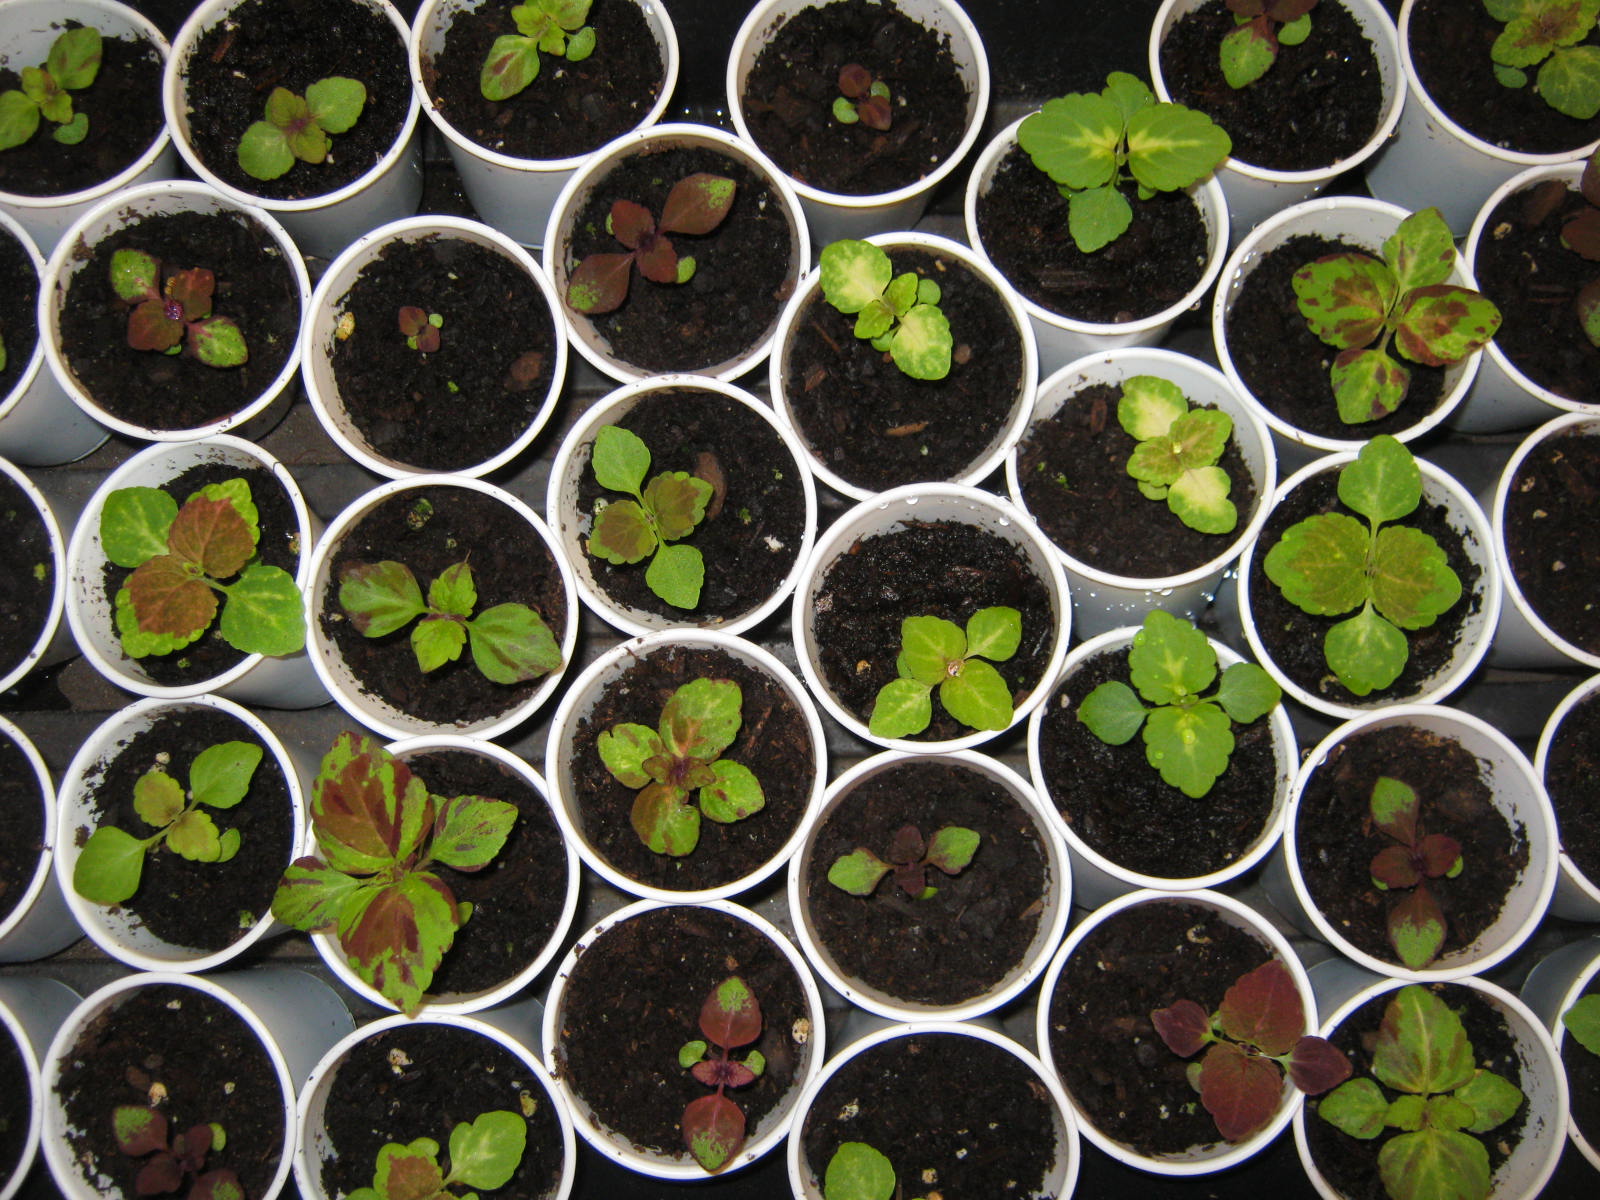
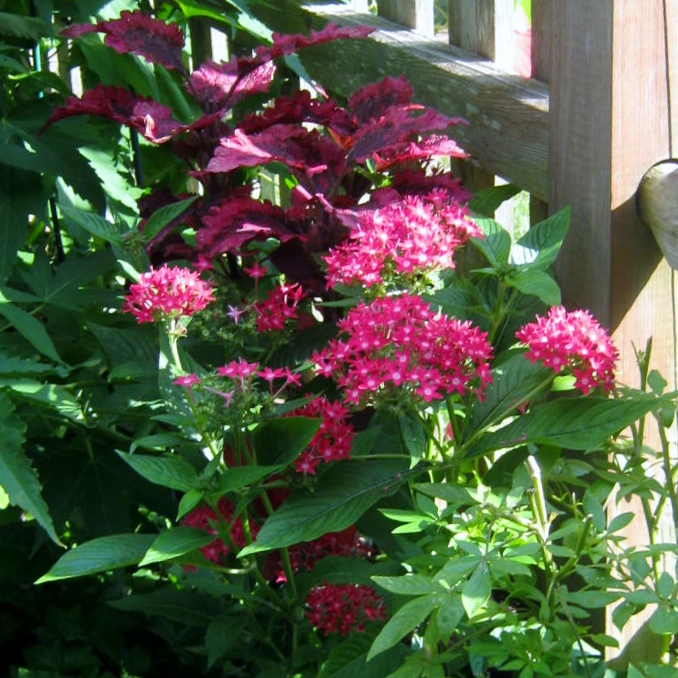
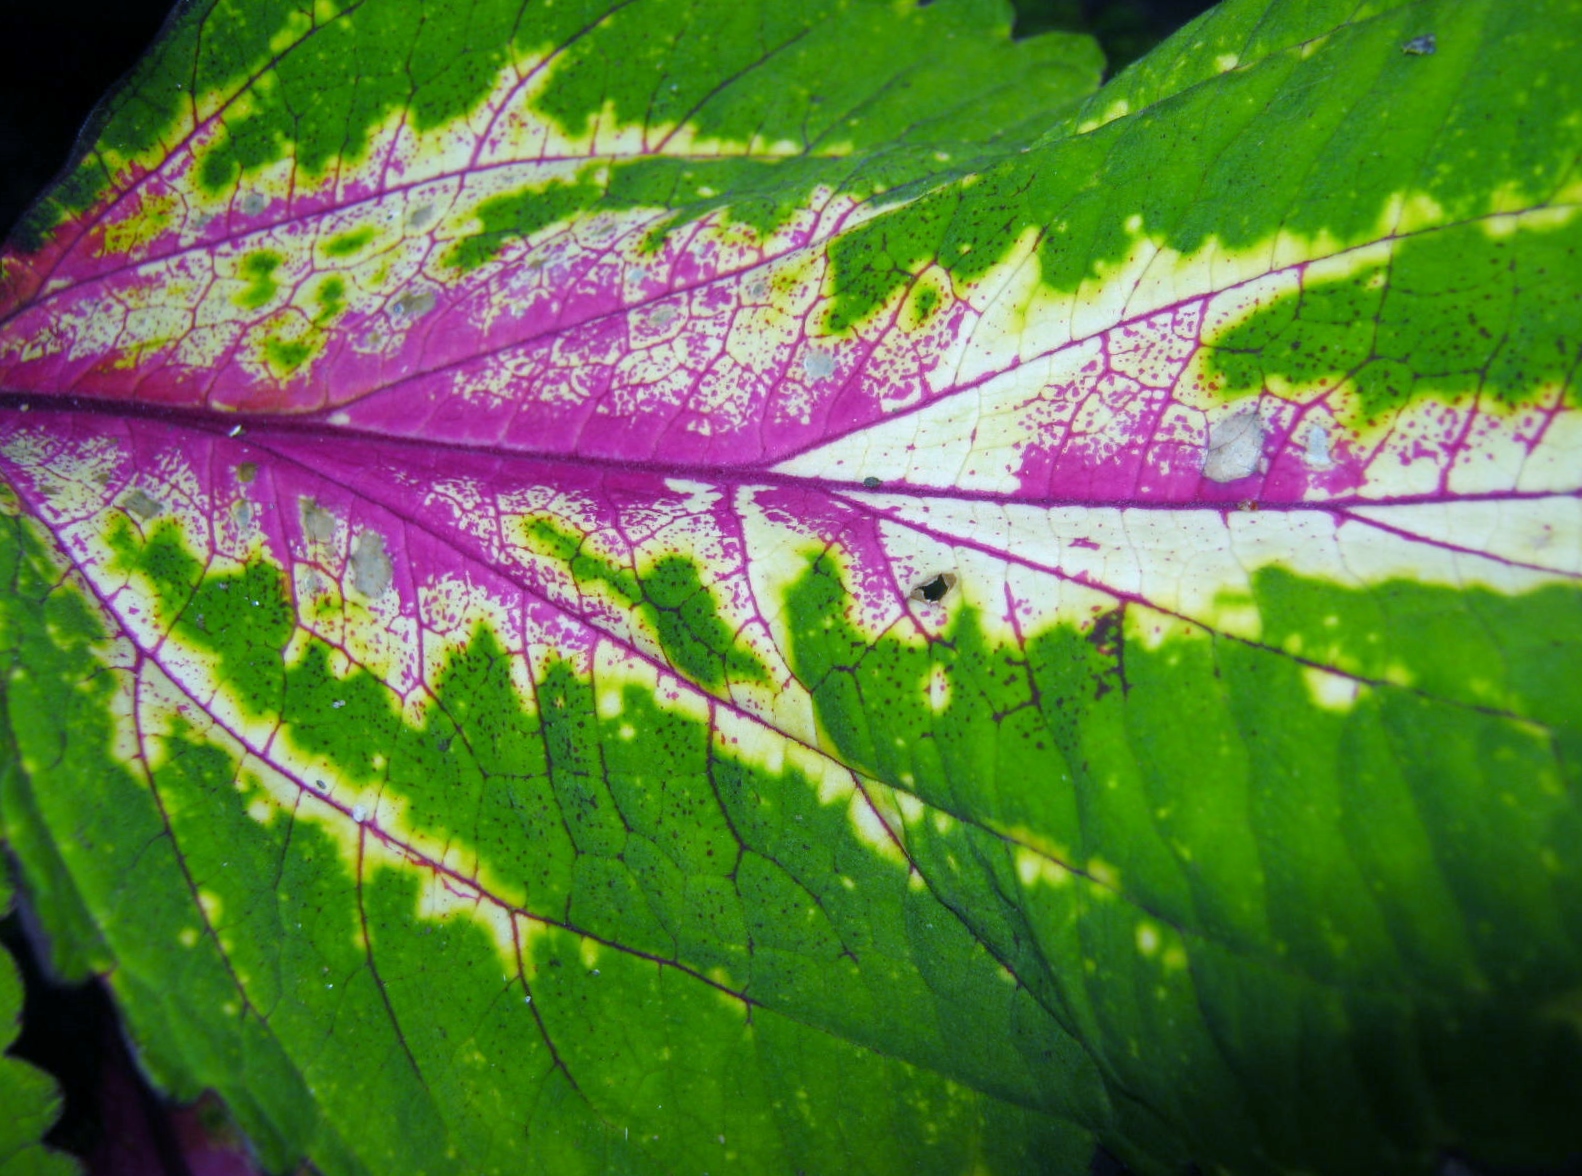
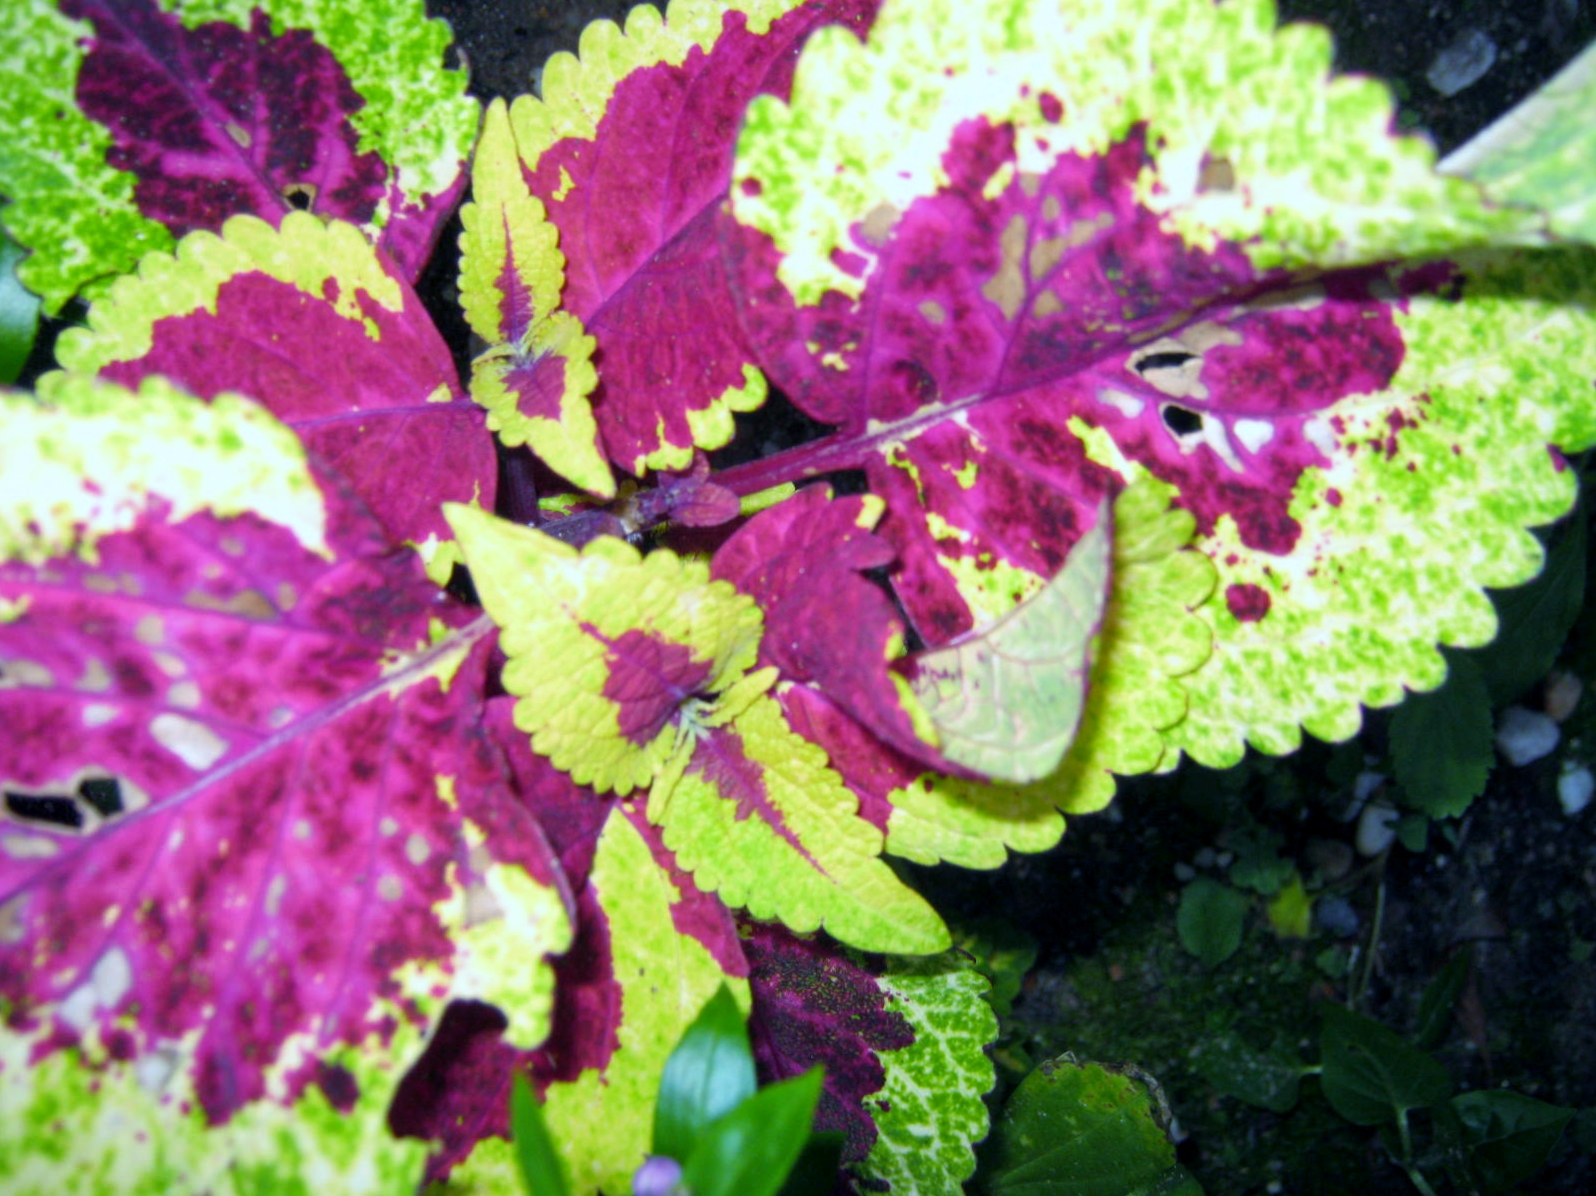
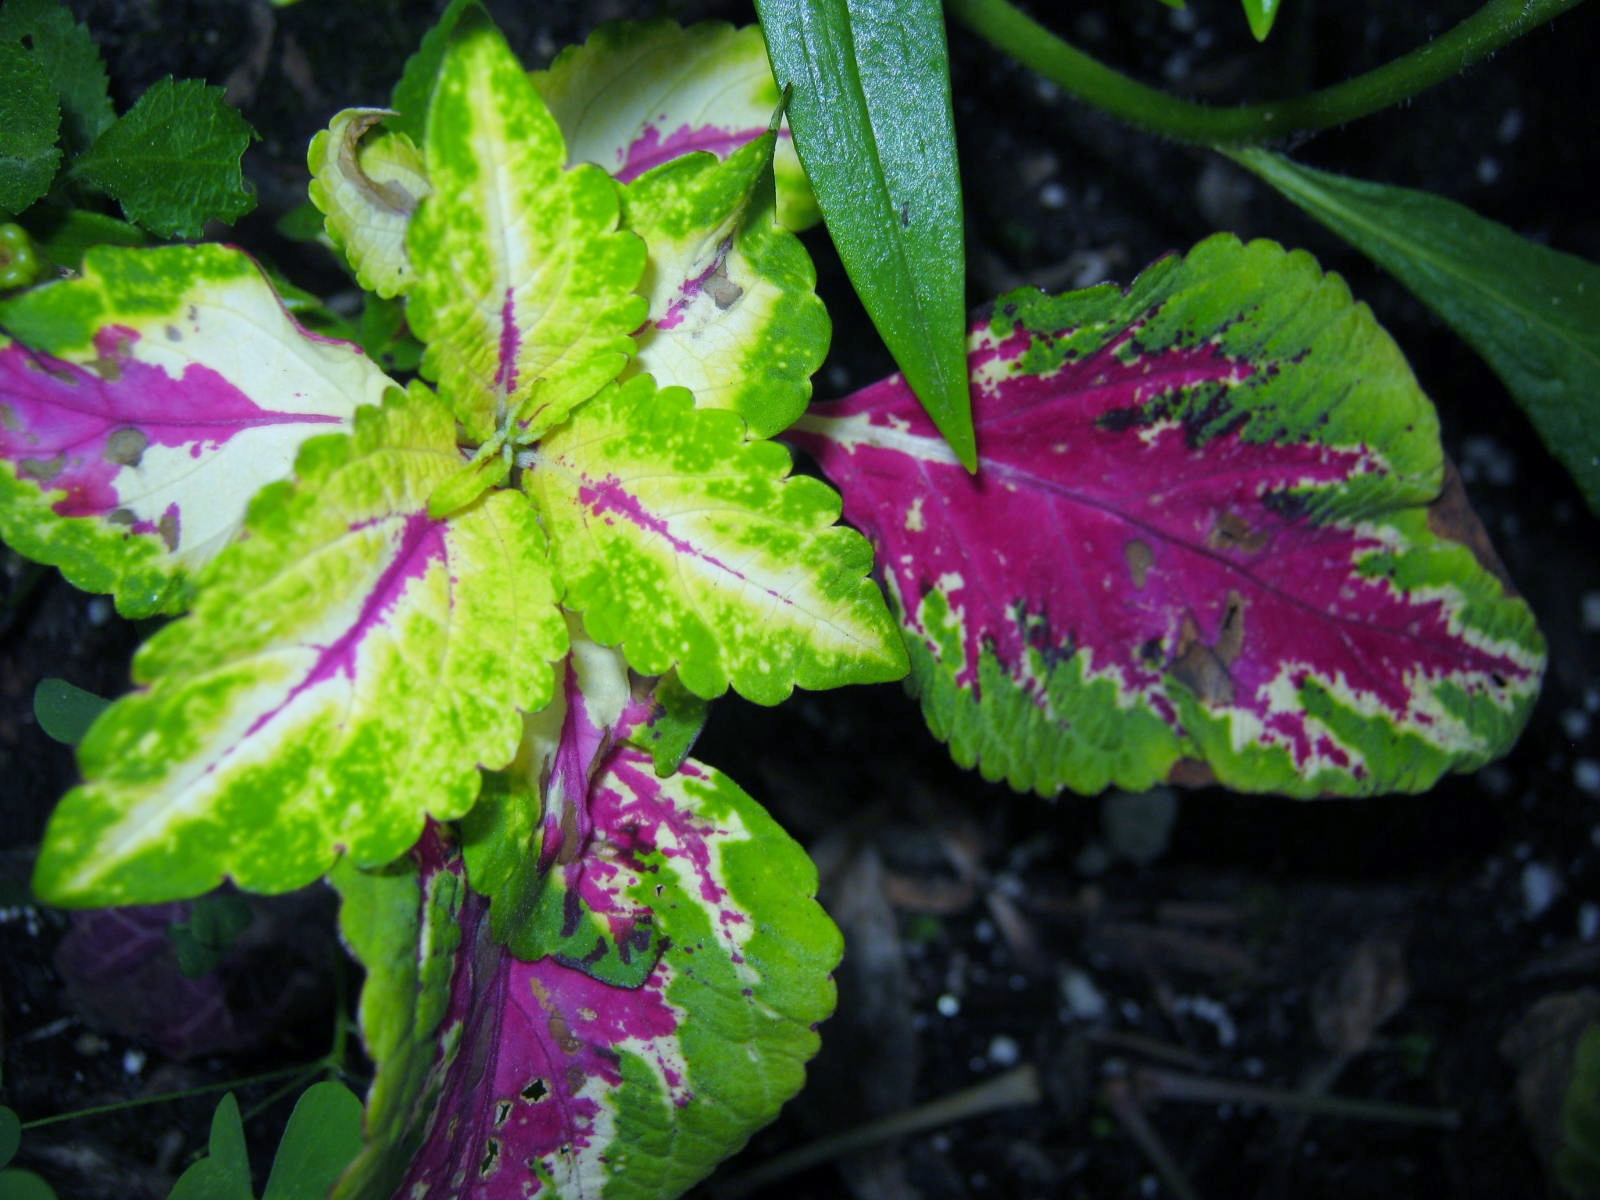
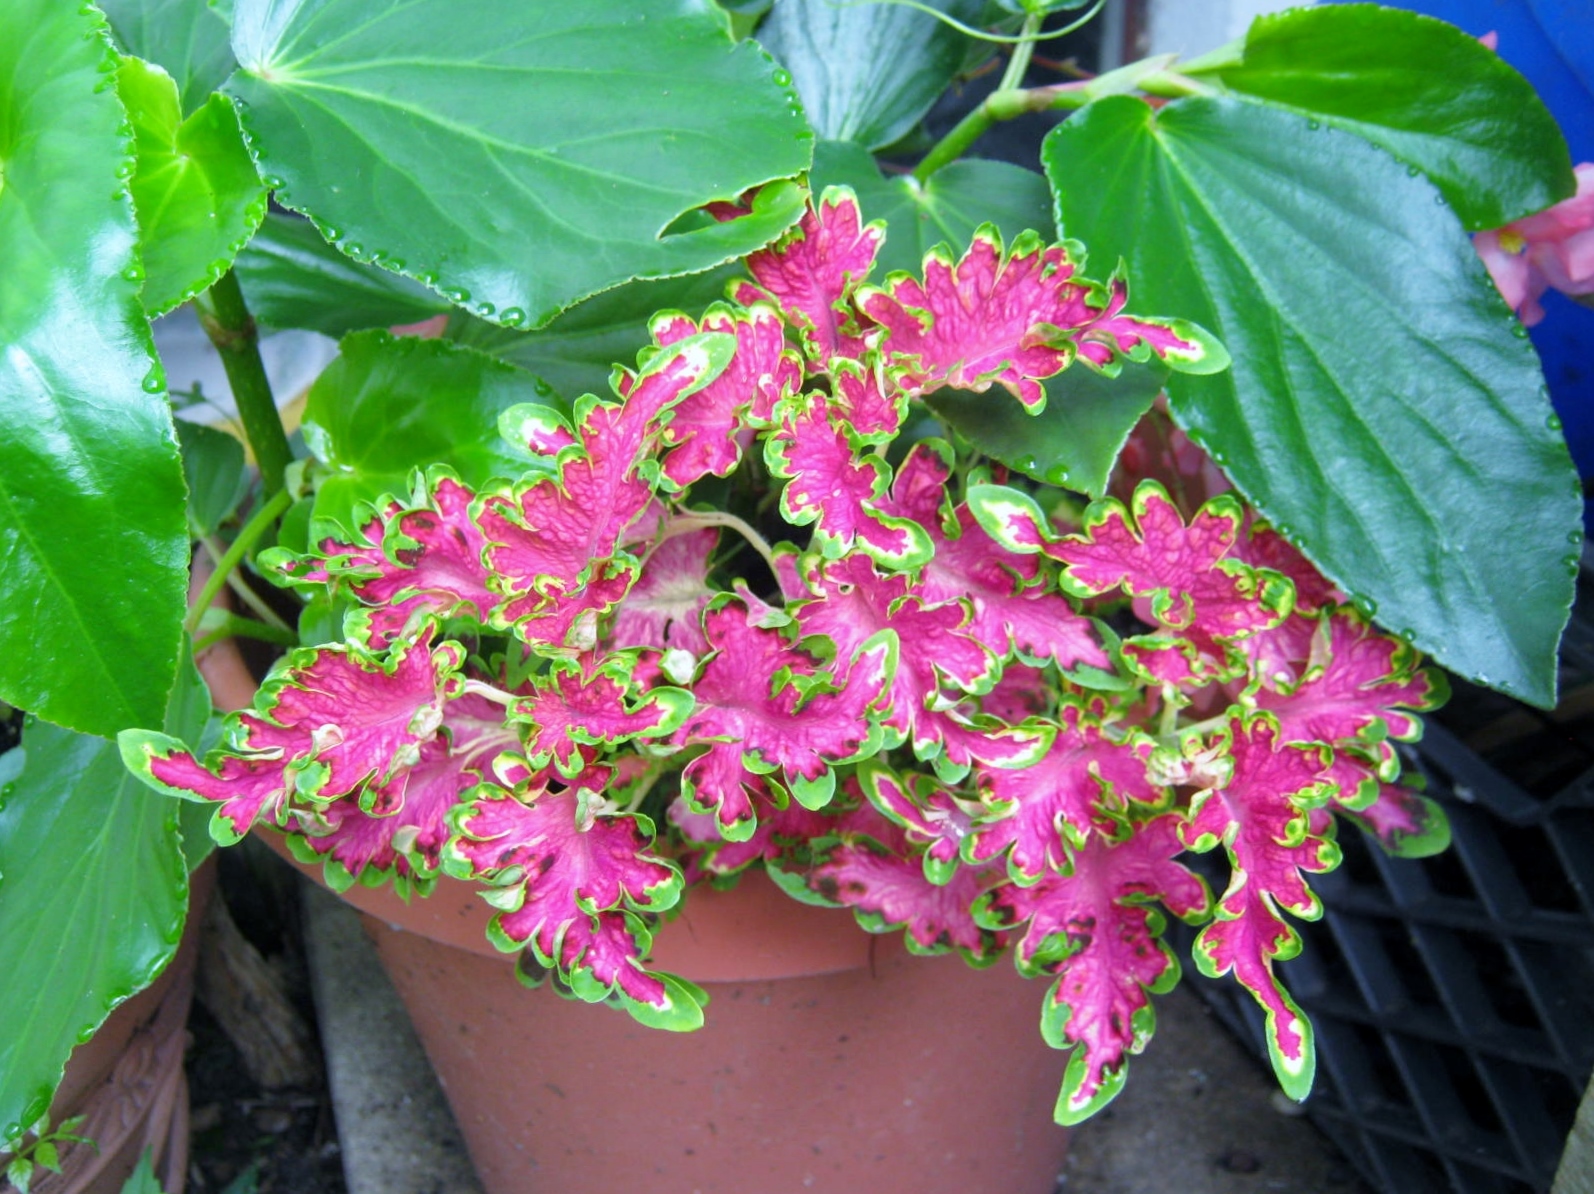
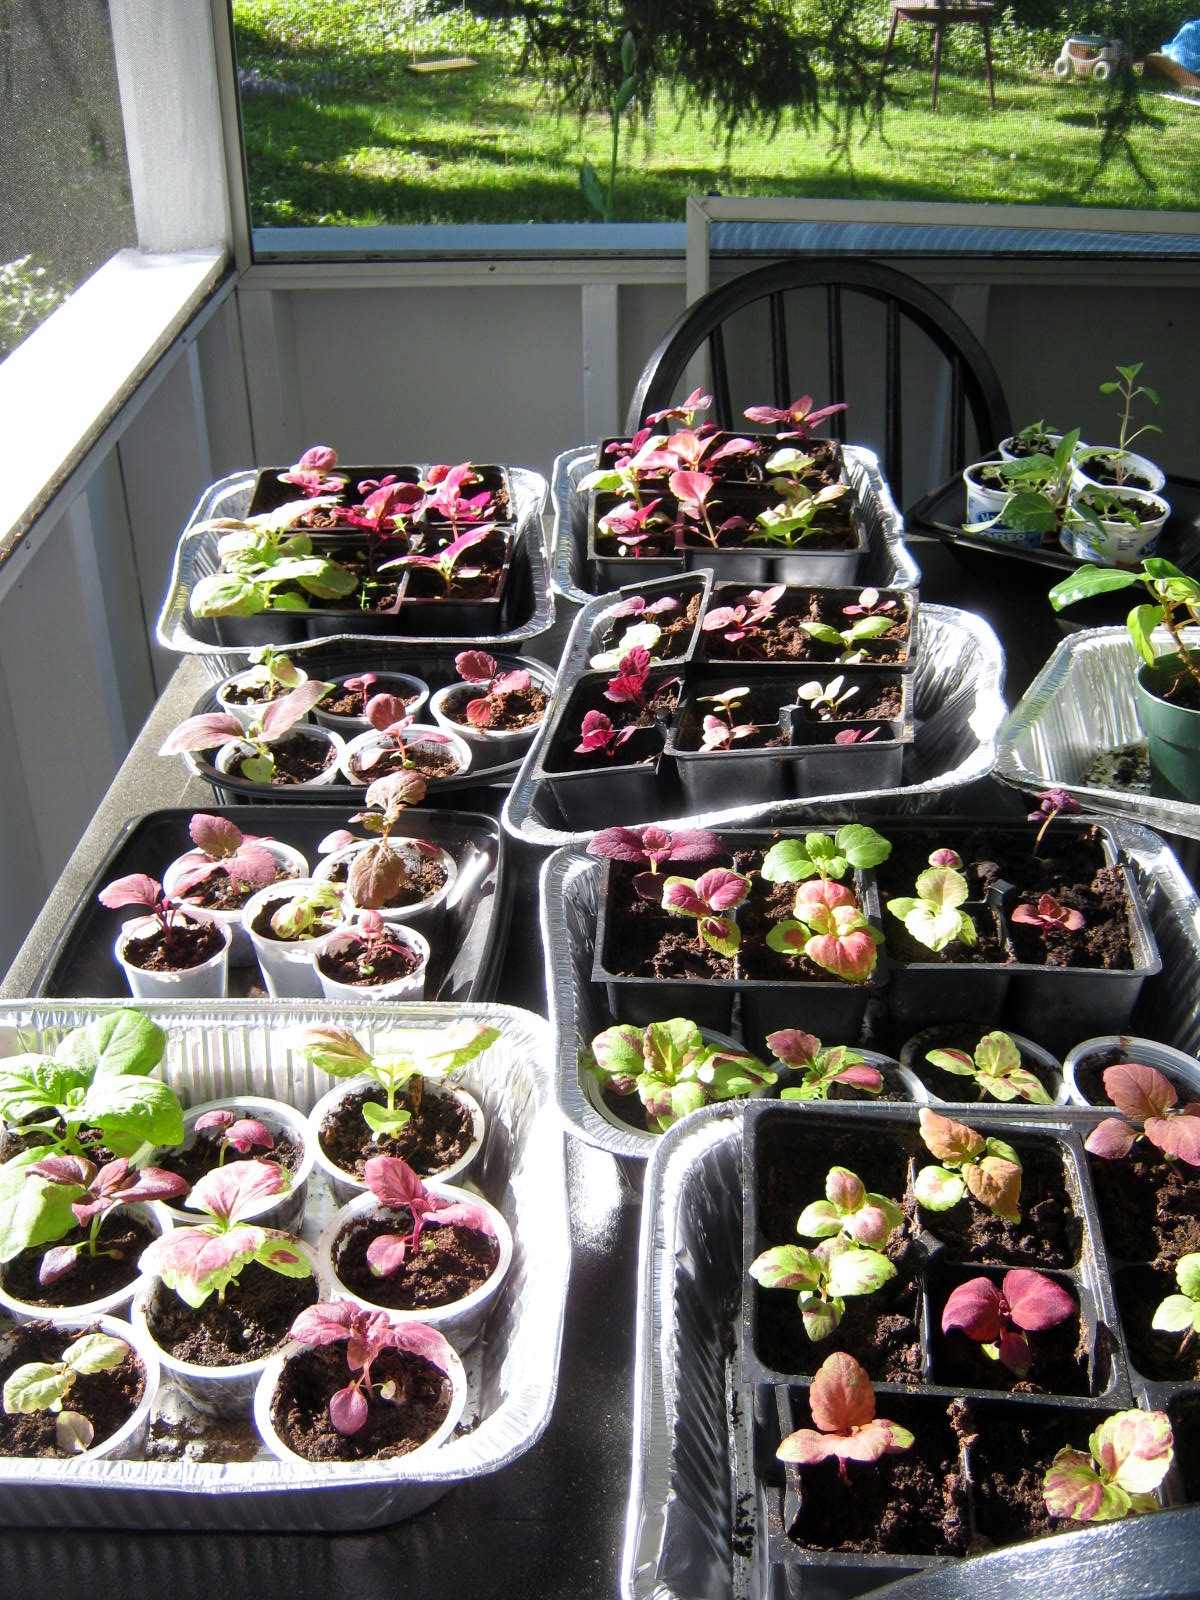
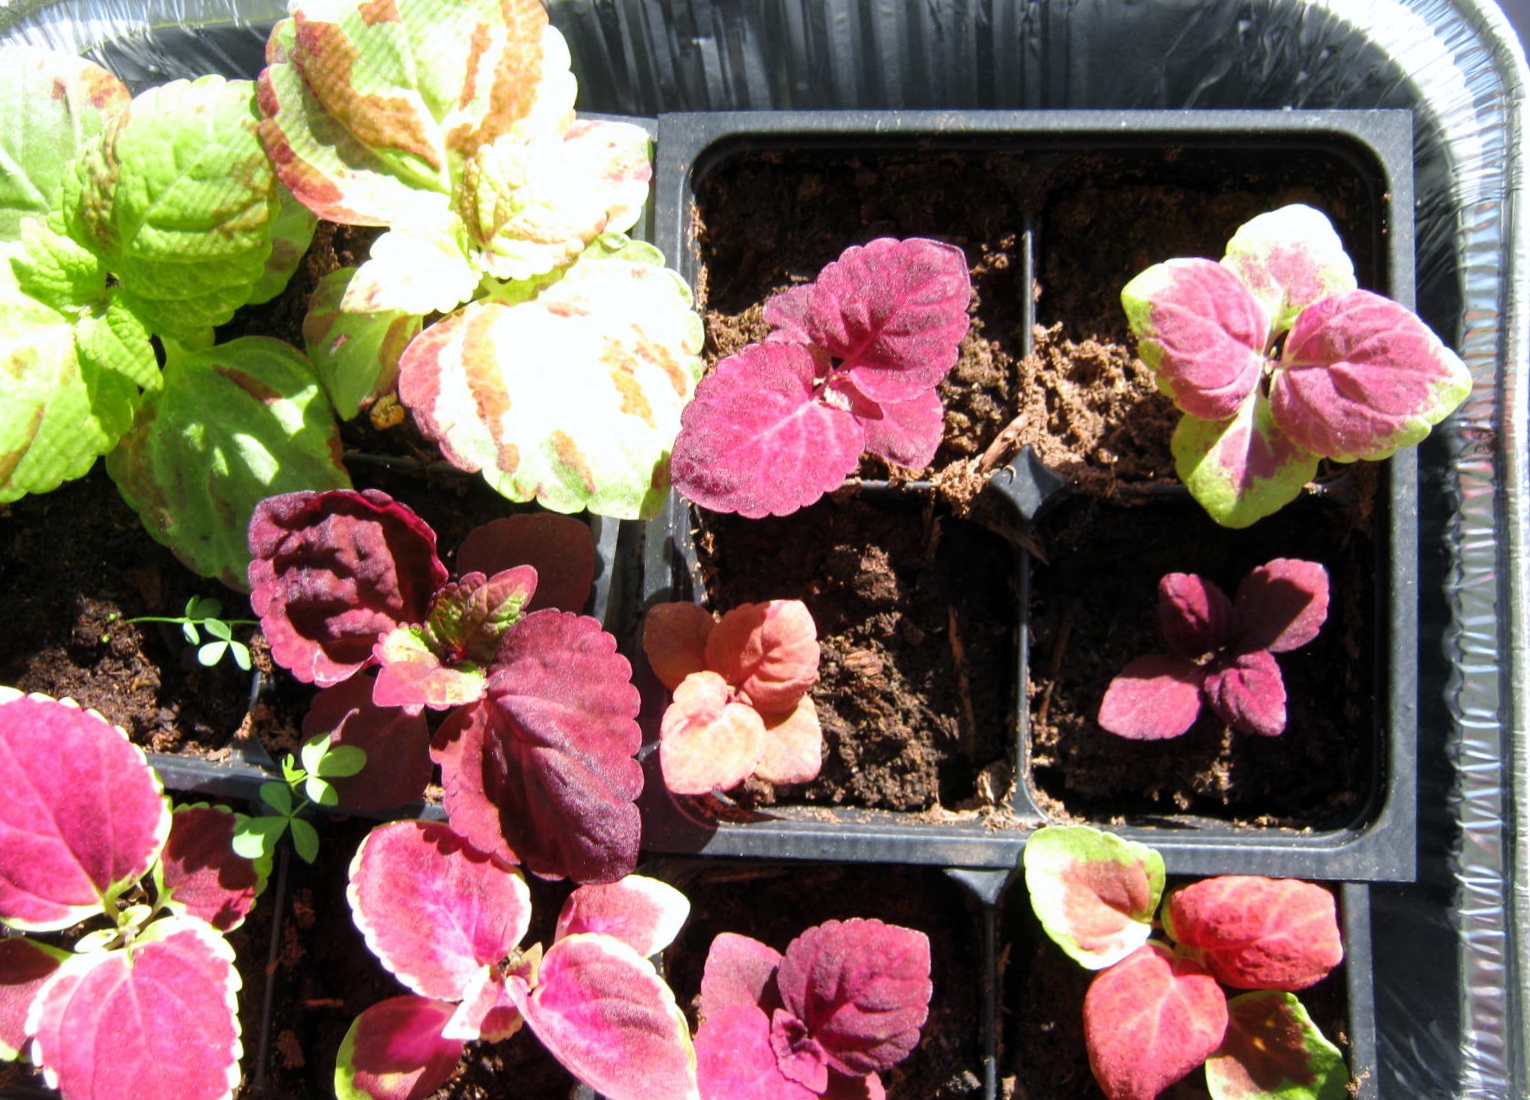
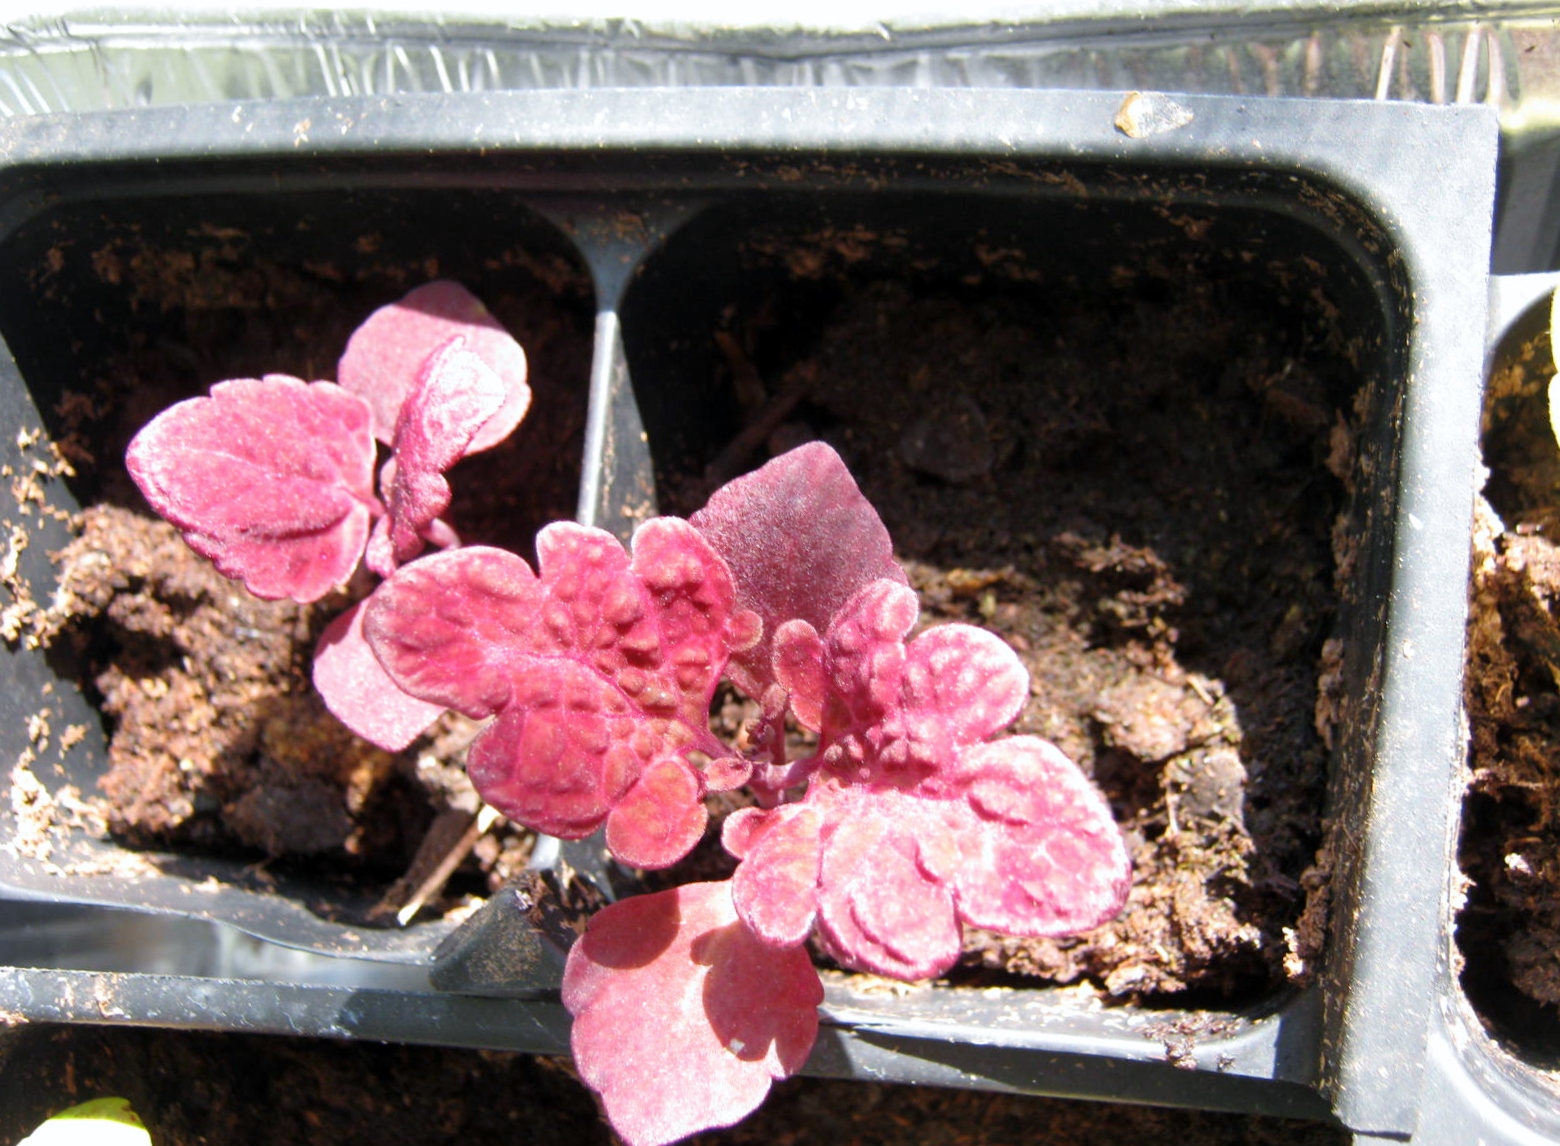
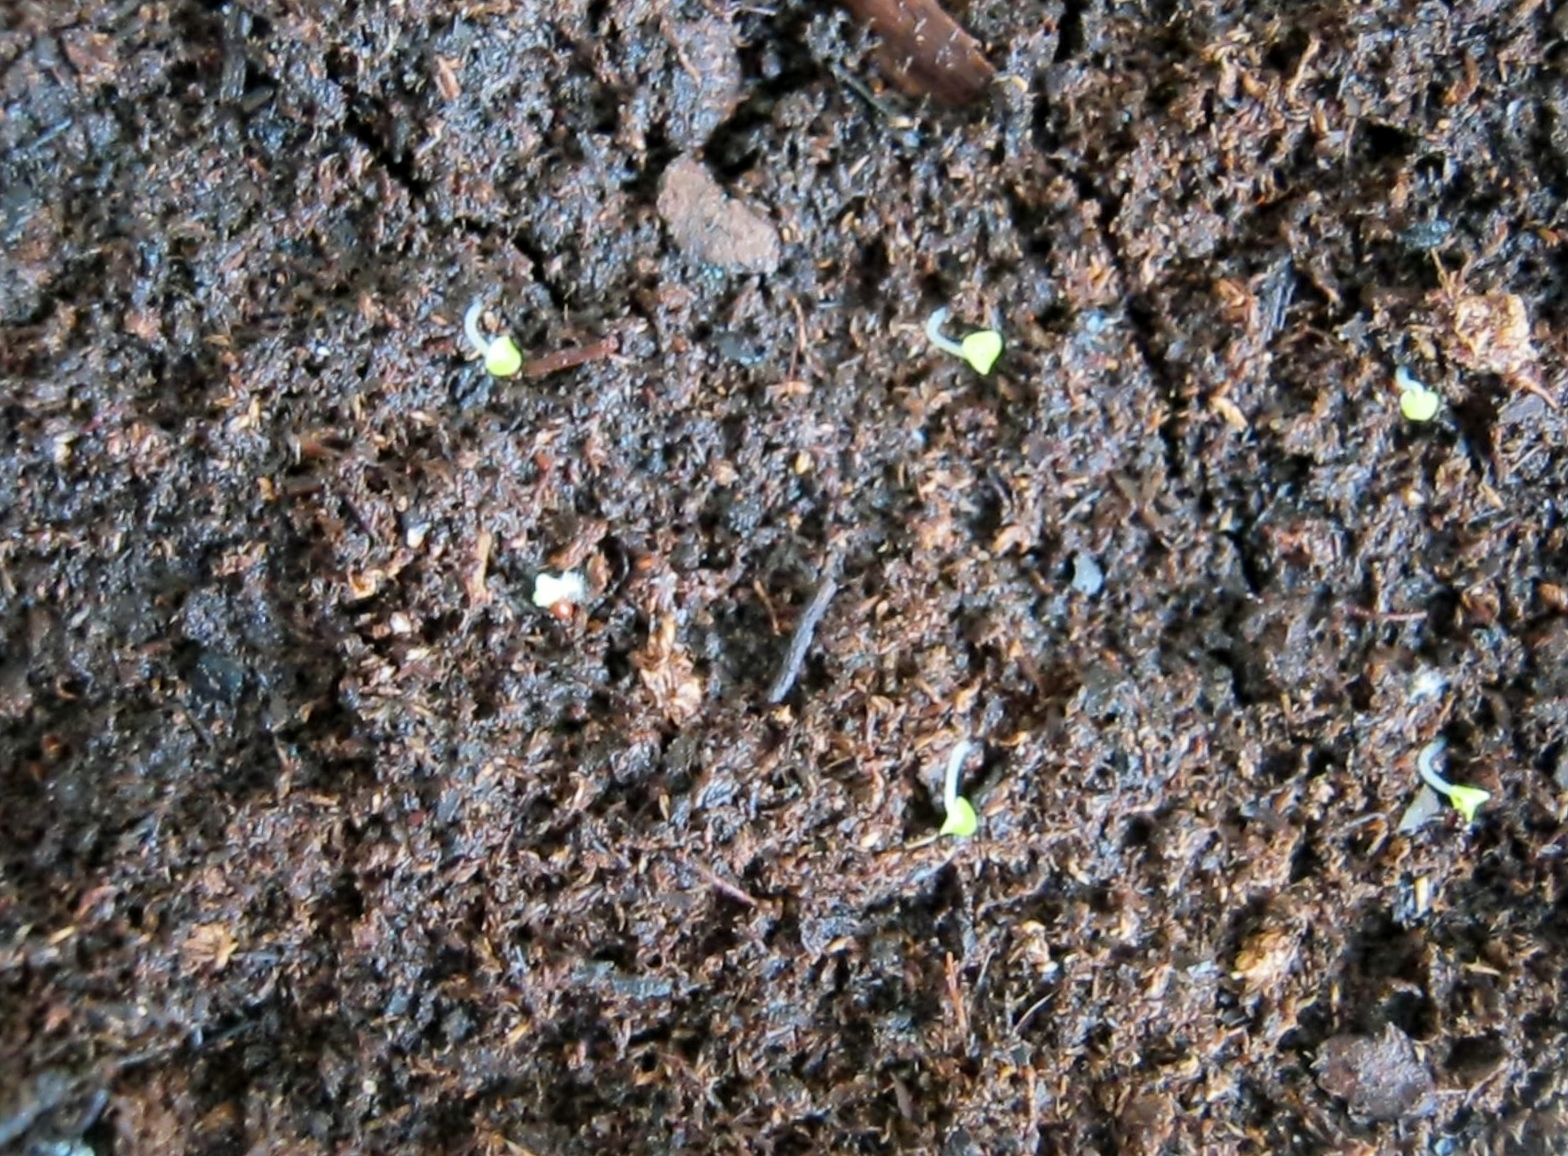
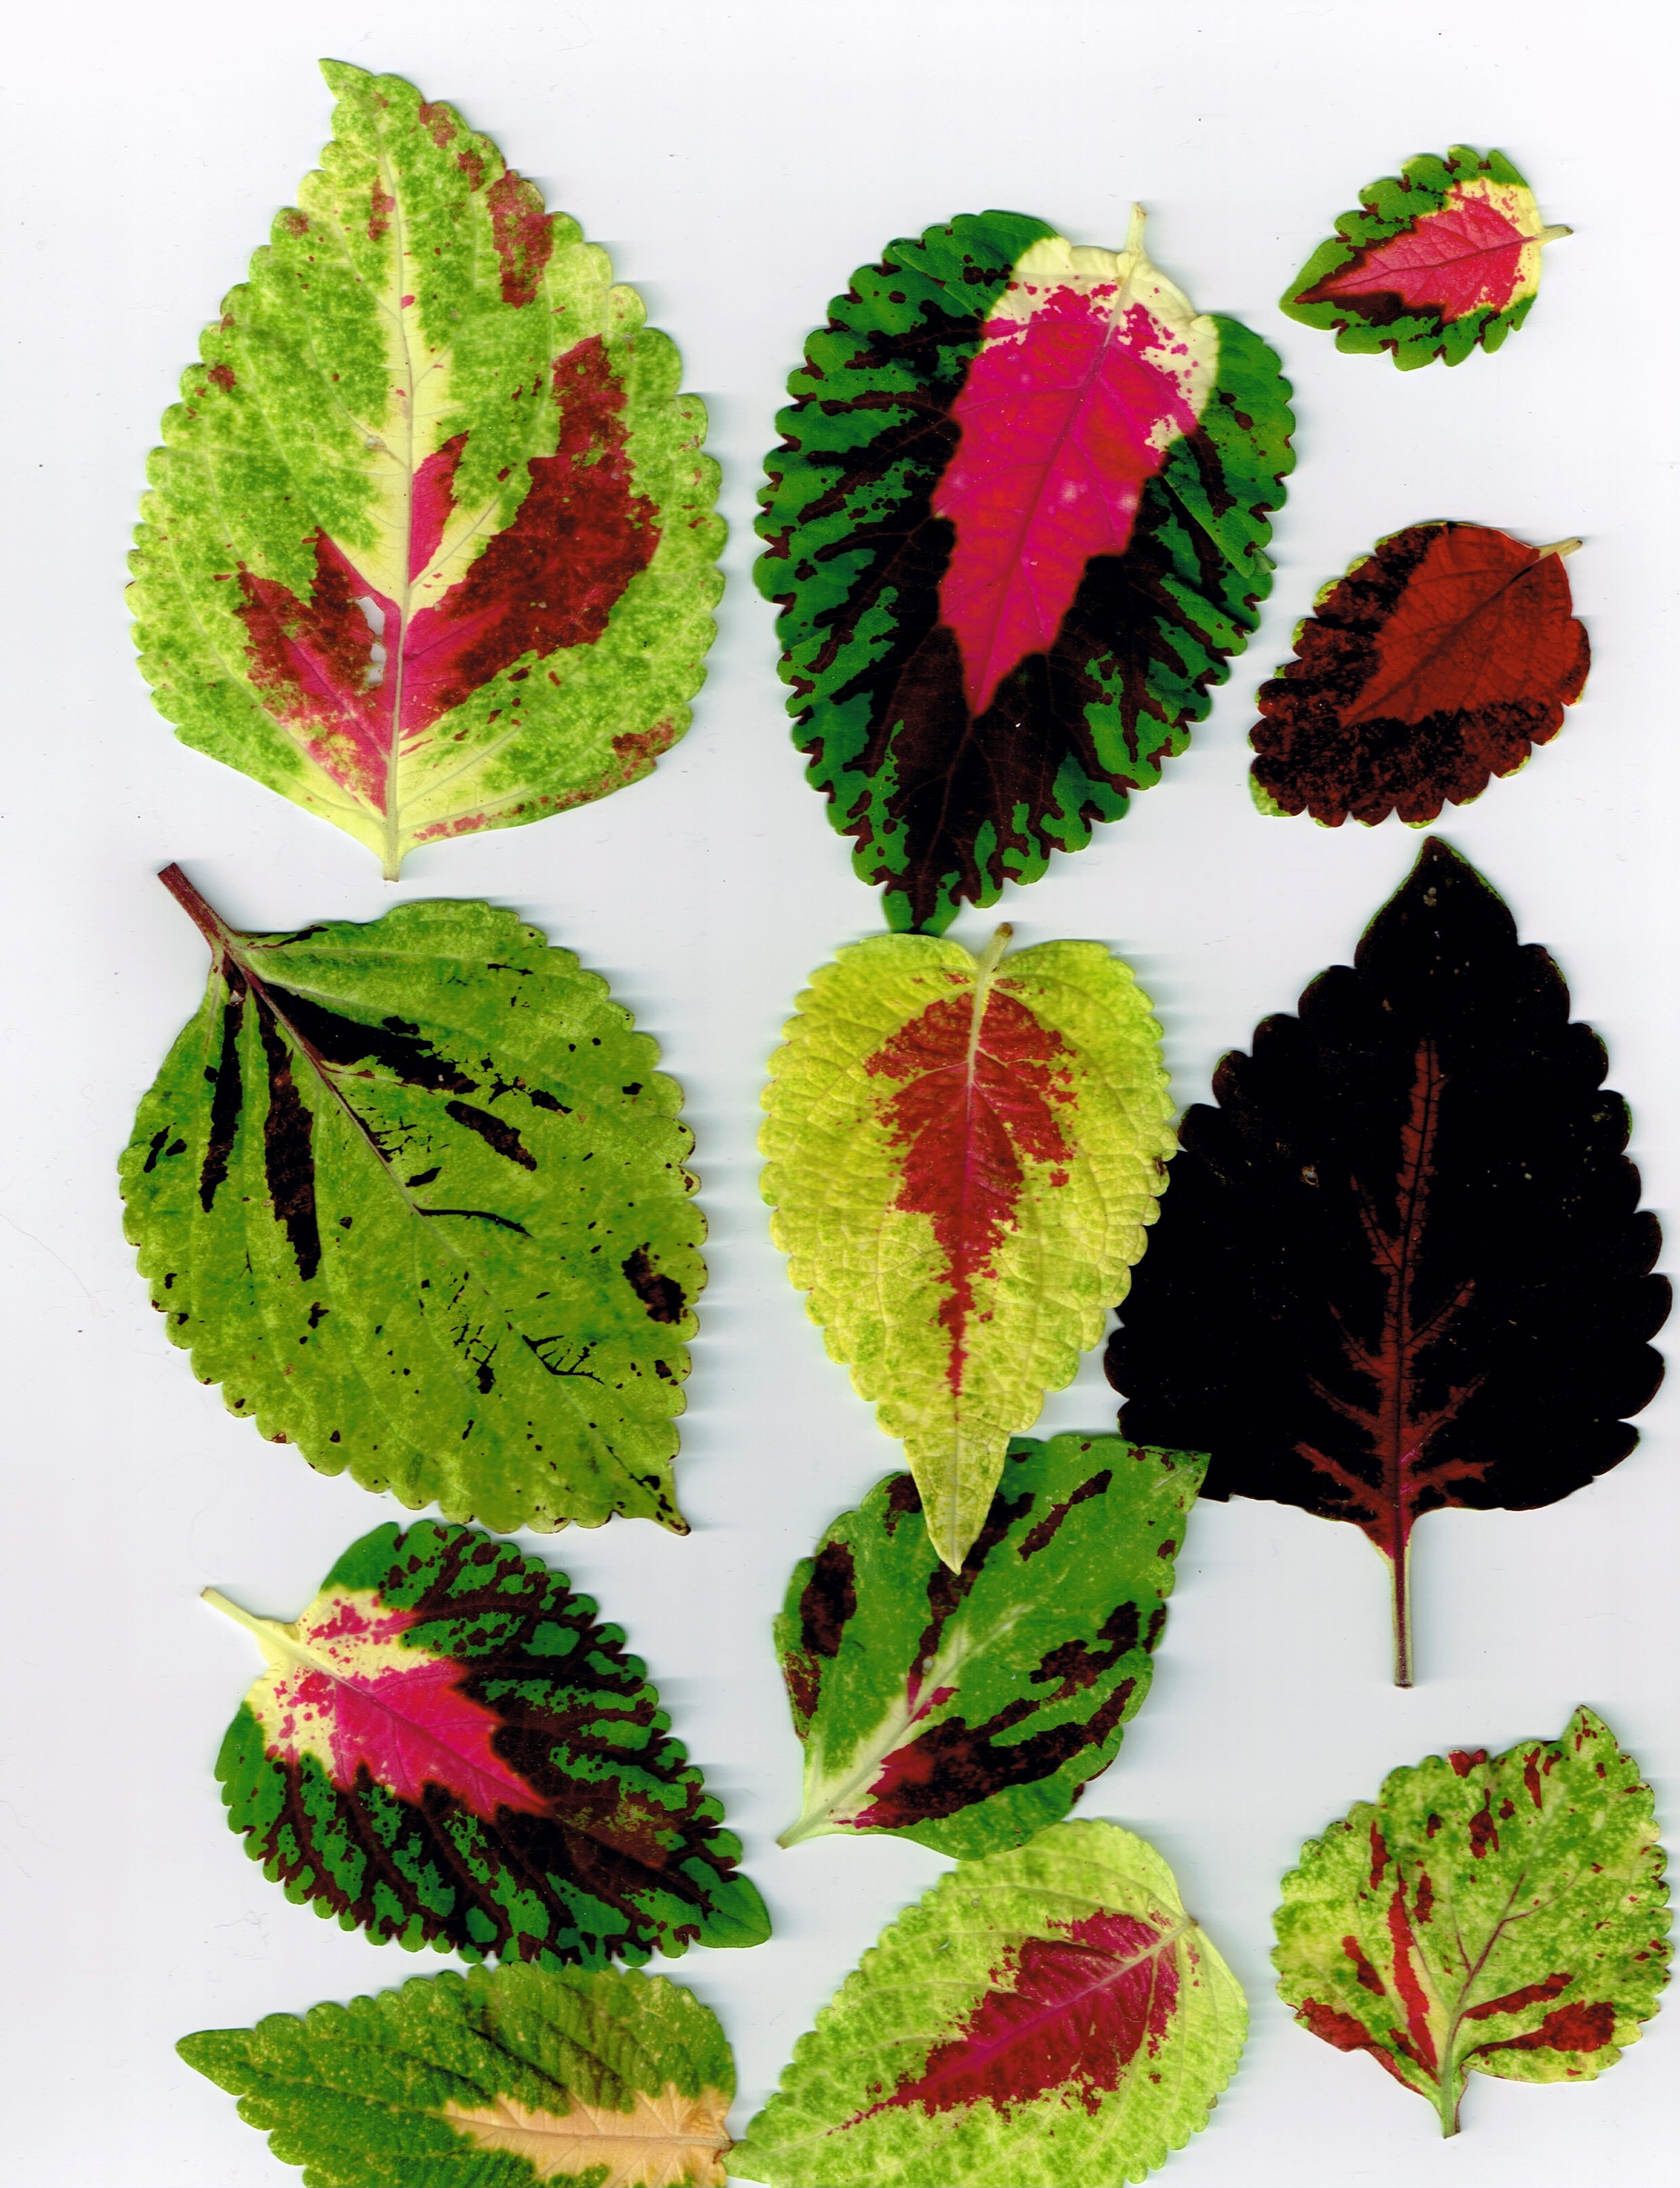
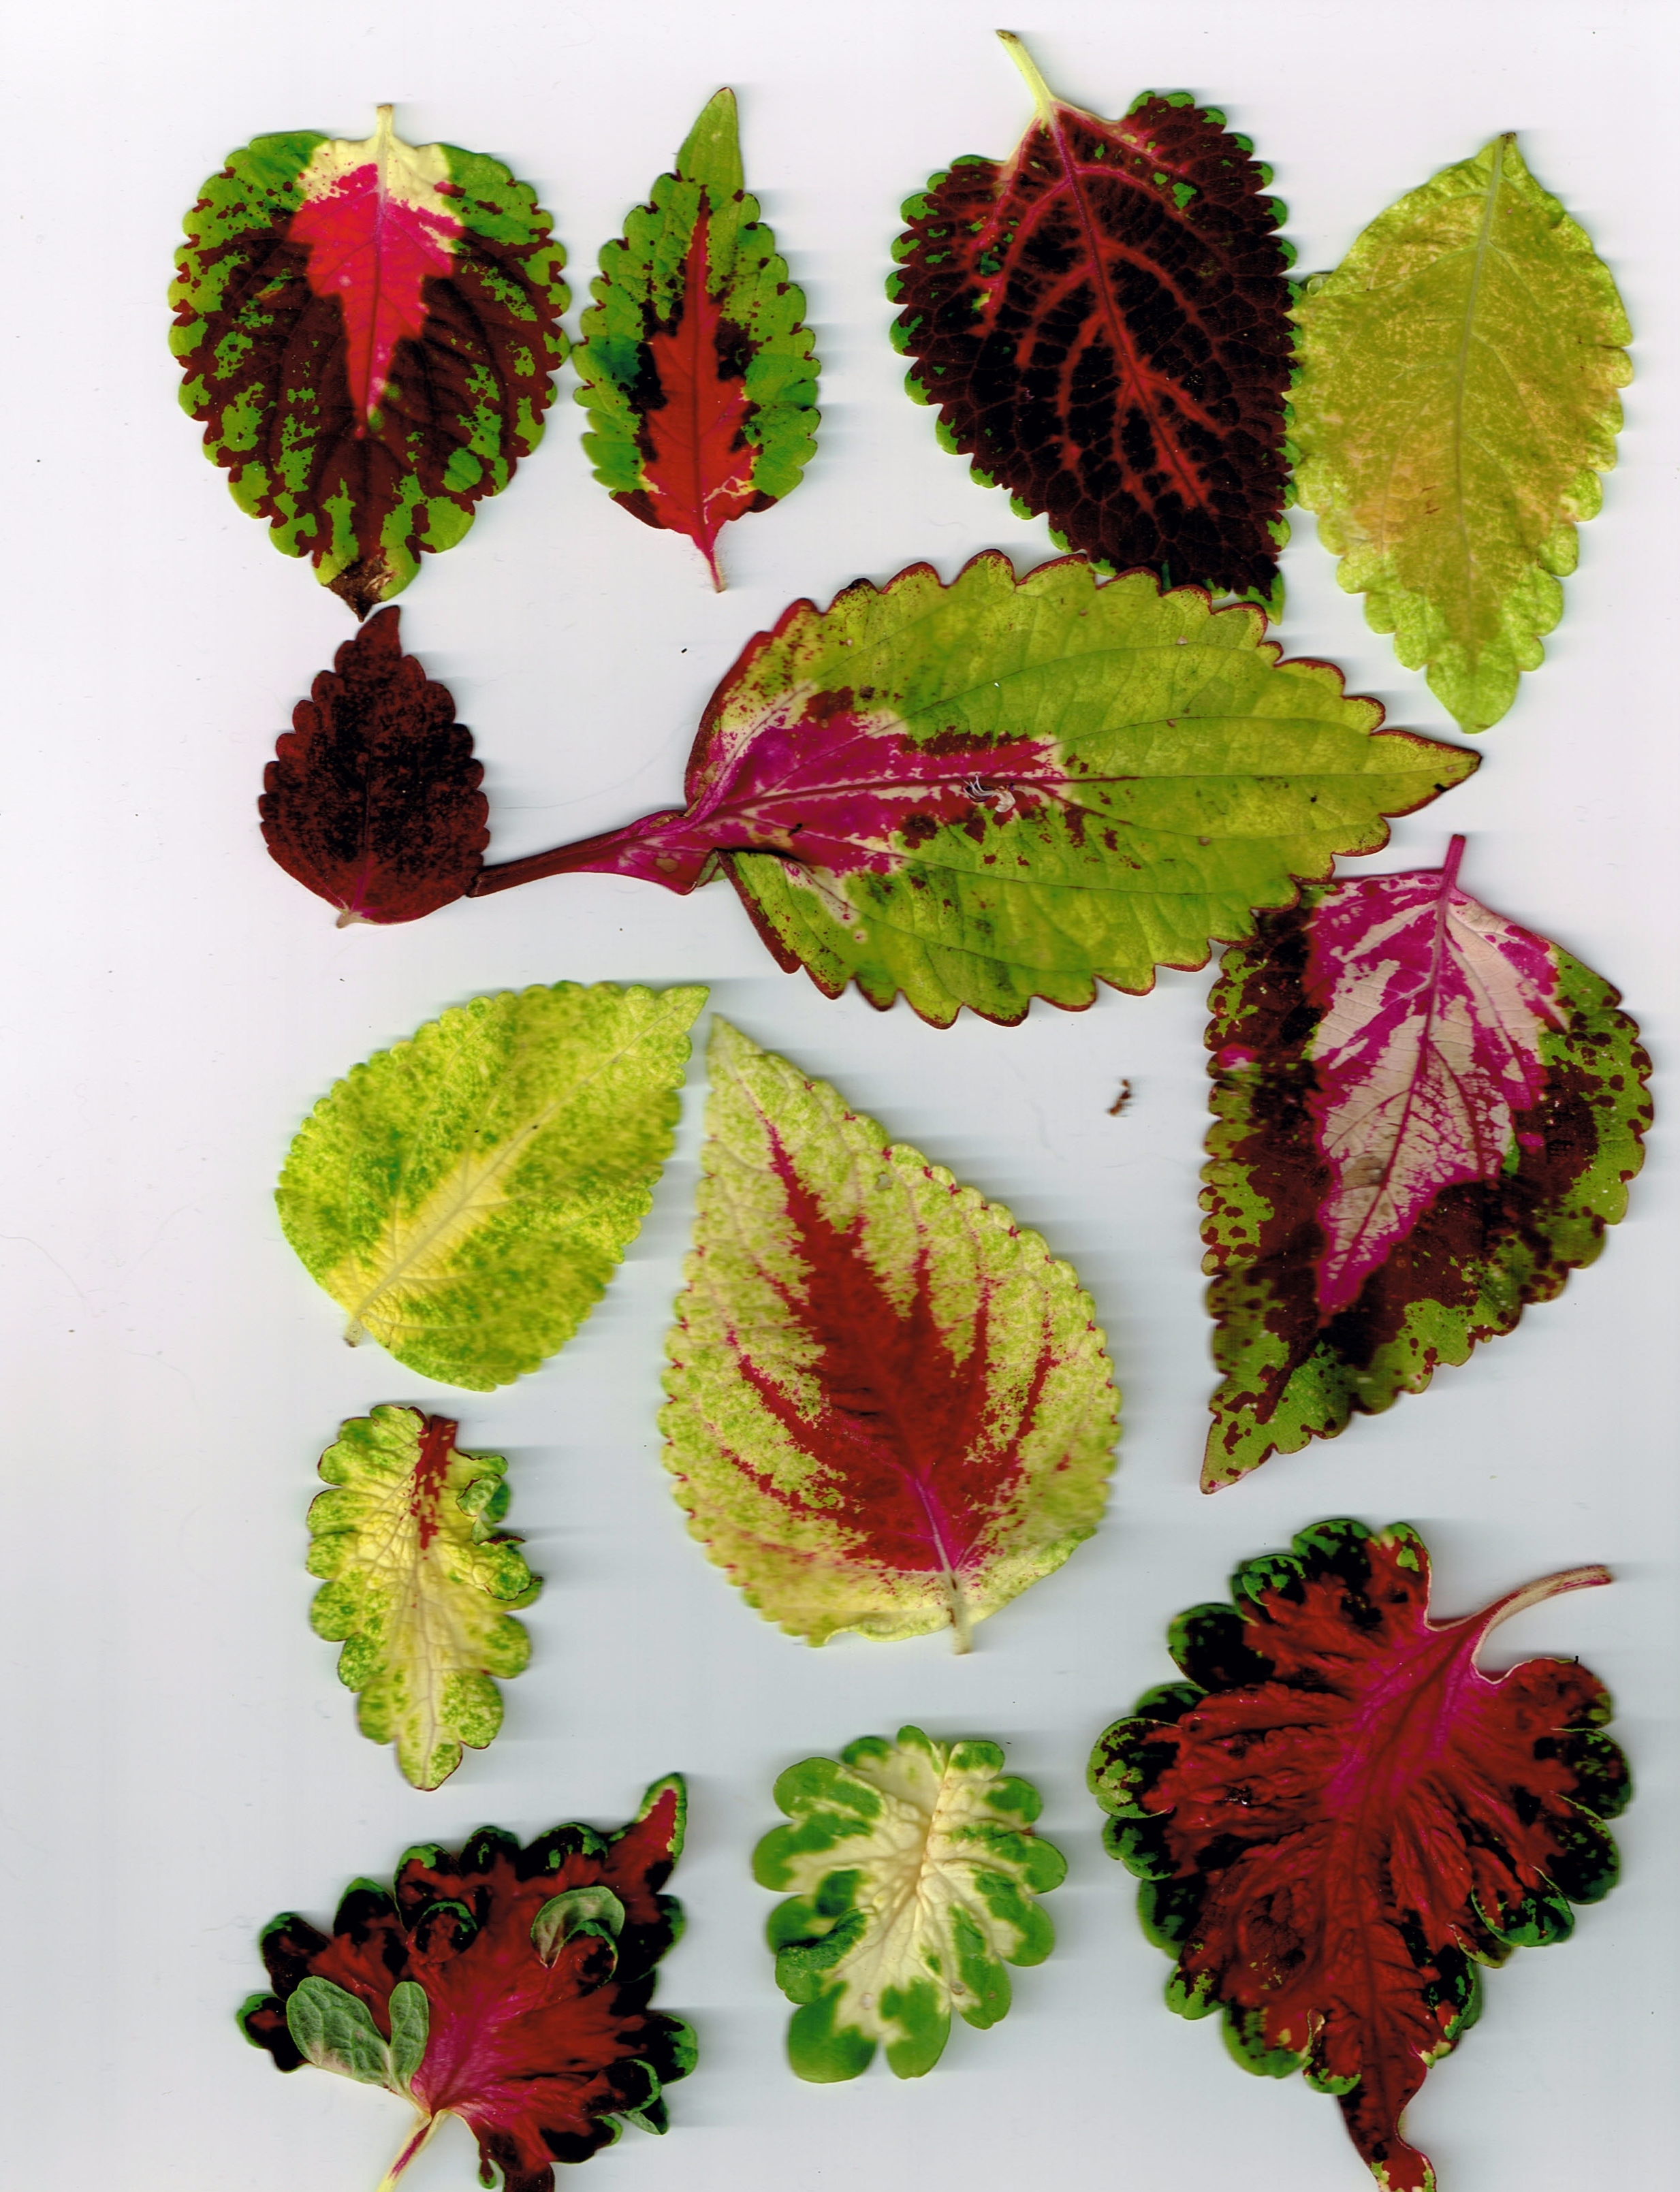
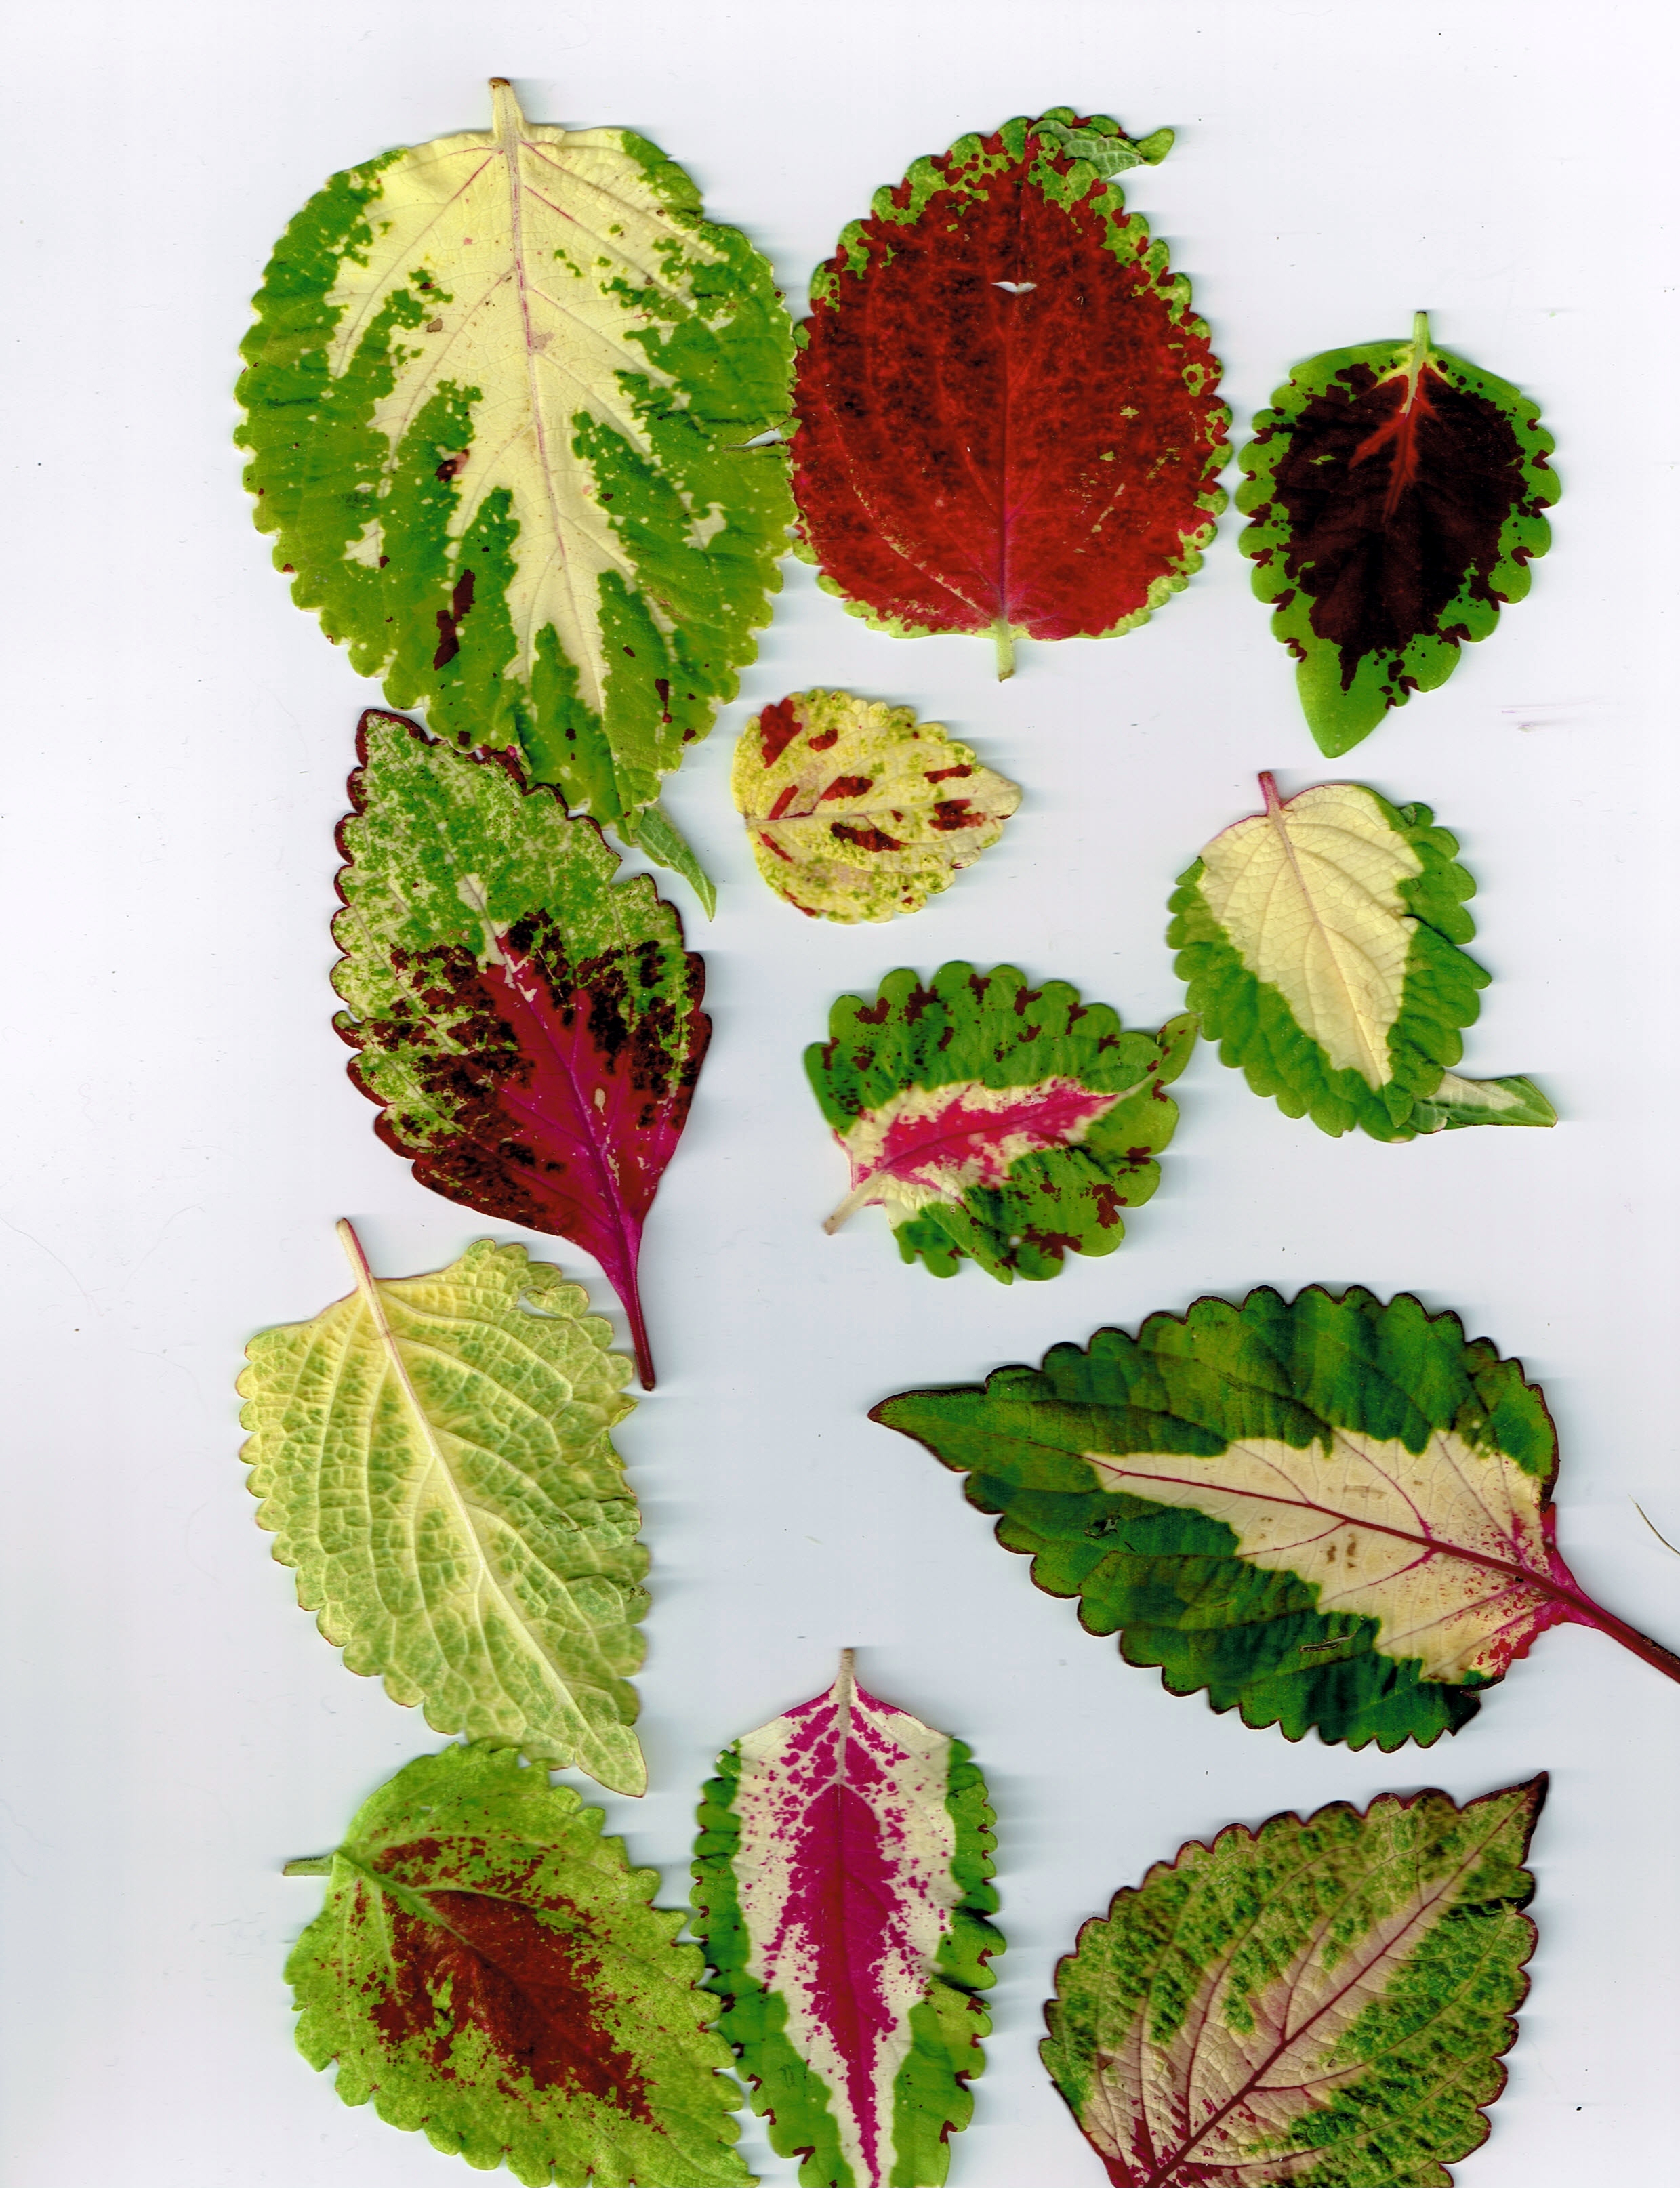
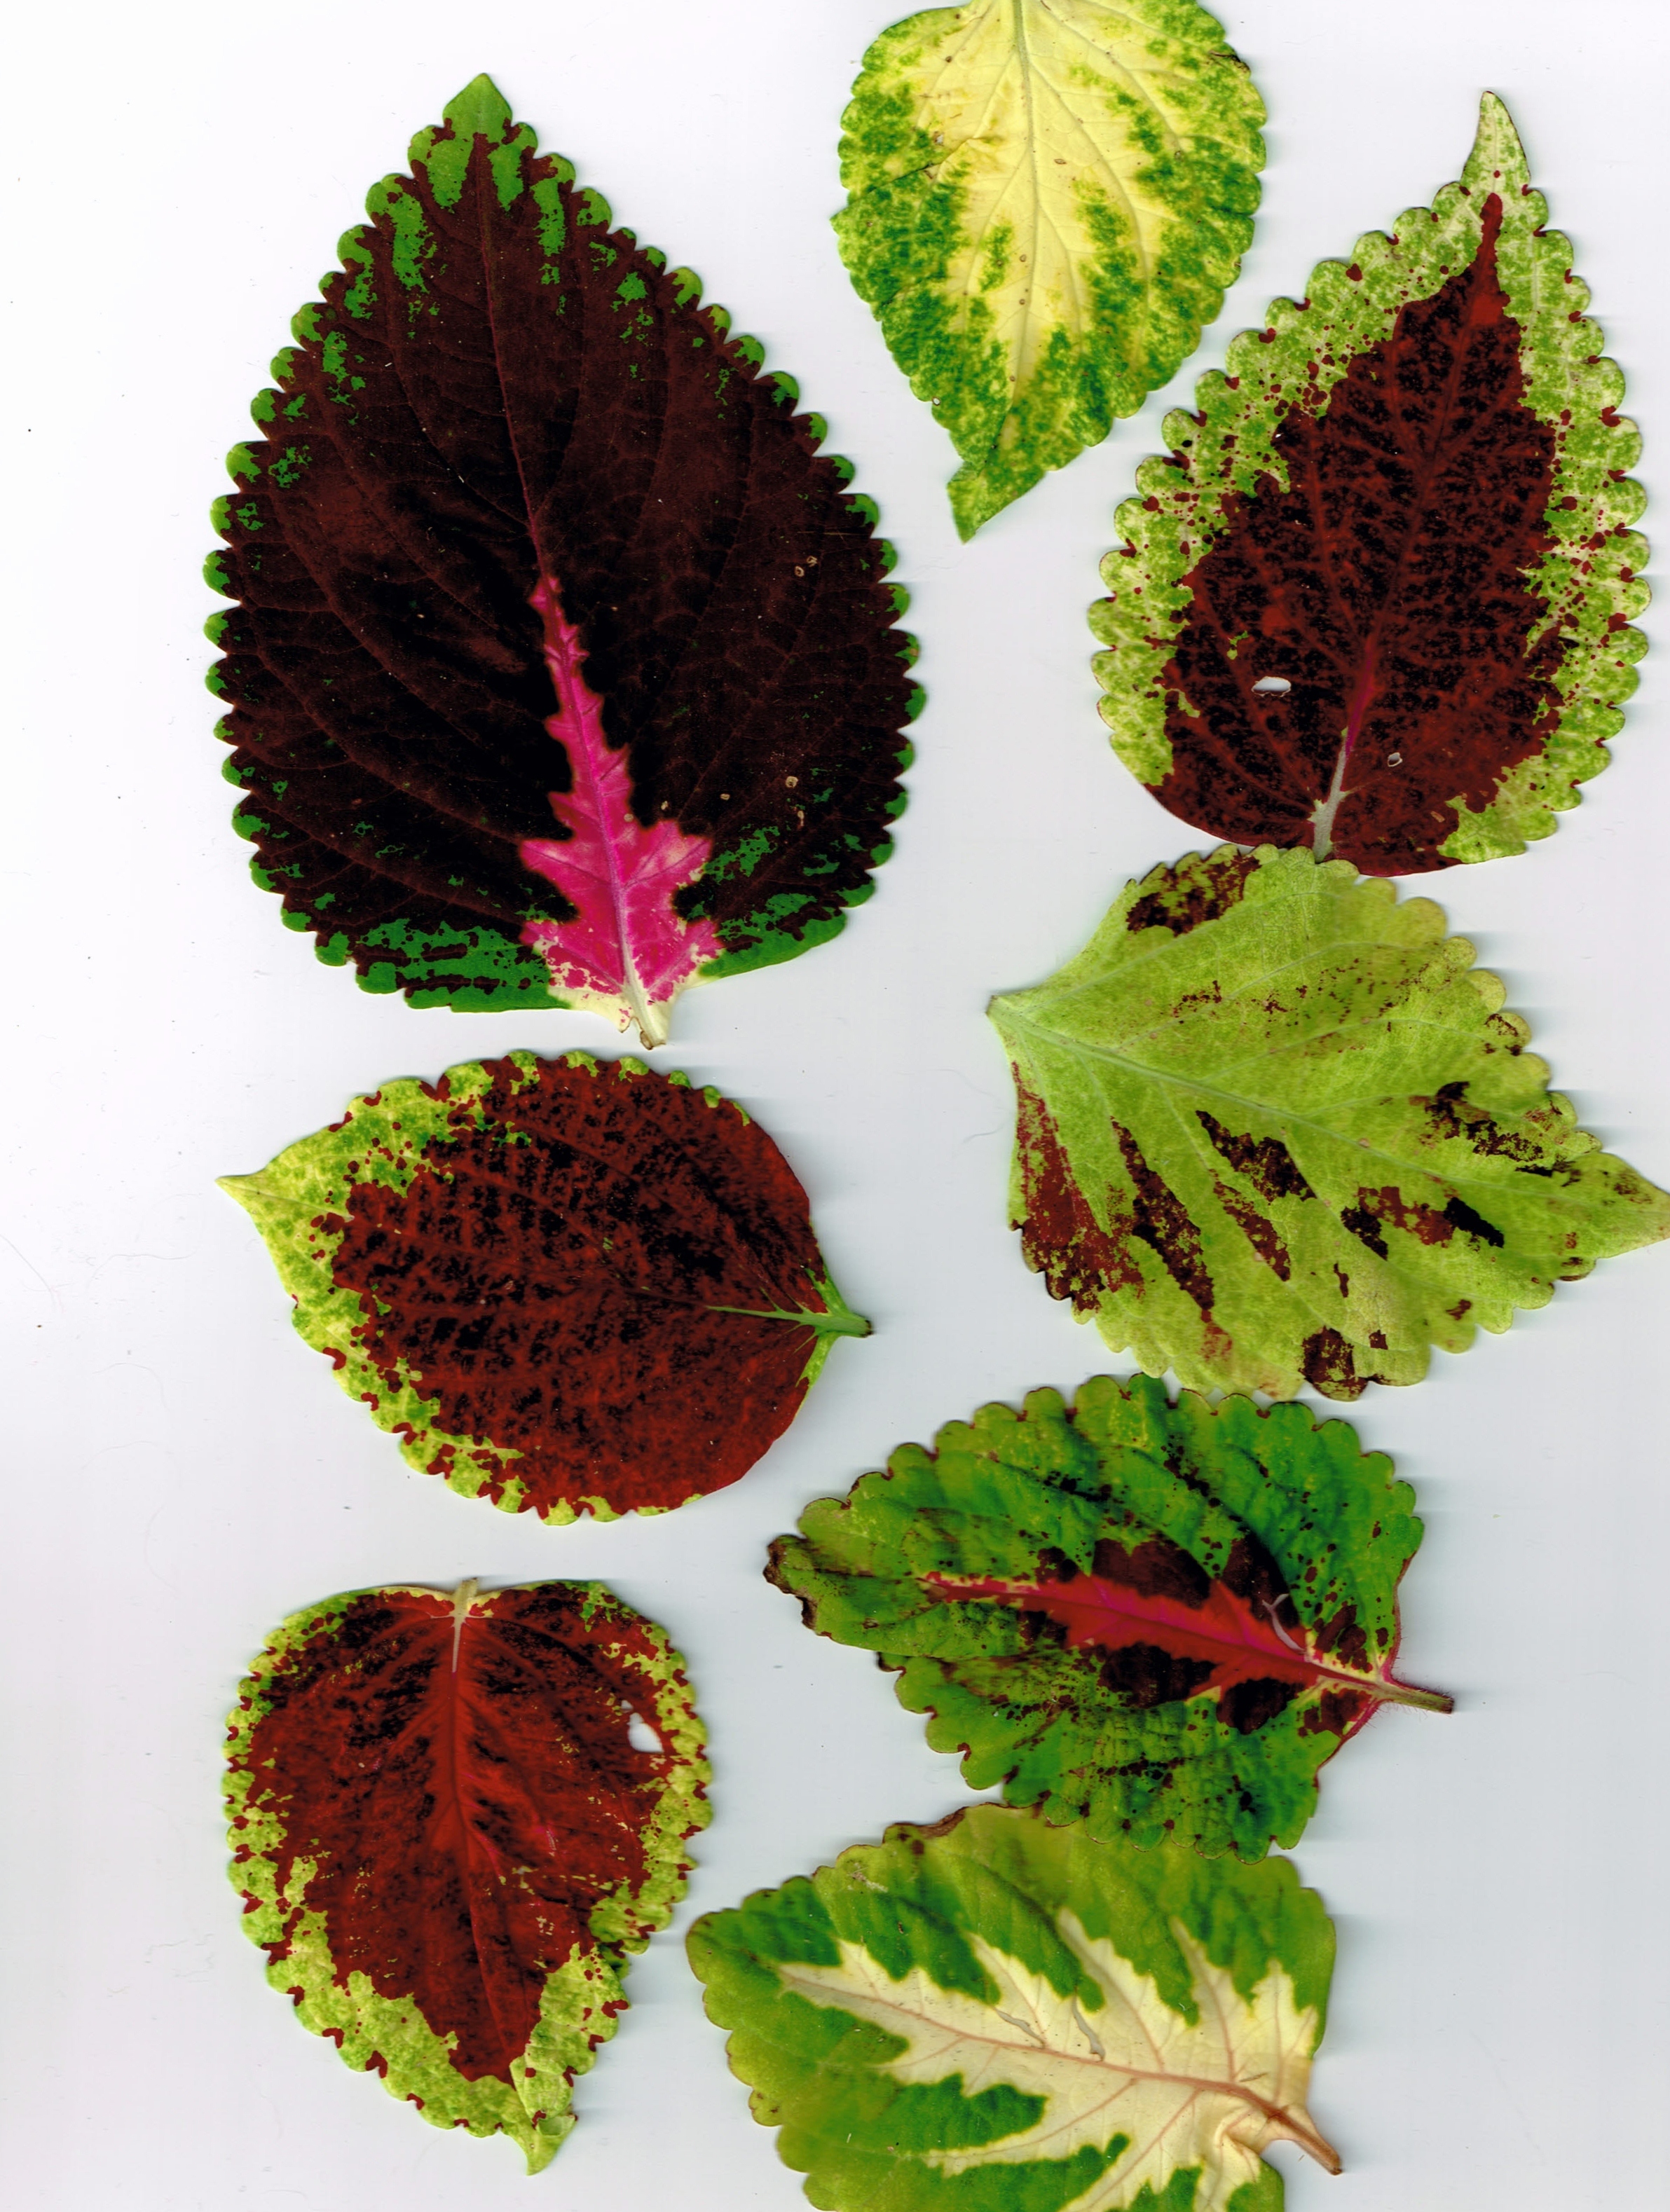
The coleus plants in the front garden are outstanding. I will soon let them begin to flower for next year’s seed harvest.

The asters I grew by winter-sowing are beautiful. They come in a variety of purple, lavender and pink shades. I am really pleased with this plant.

The Bonariensis Verbena is often perennial. This patch grew tall and broad this year and is constantly attracting butterflies. Last year it also self-seeded, and I have several new patches of this great plant.

Dahlias grown from seed and sun-loving impatiens (a Mother’s Day gift) are all doing well.

Here is one of my mistakes, although I love the lilypad-like foliage. I planted nasturtium in fertilized soil, and the foliage is abundant, but the flowers non-existent. They prefer to grow in poor soil.

Both varieties of Fuschia are doing well, as are both varieties of the Dragon-wing Begonias.


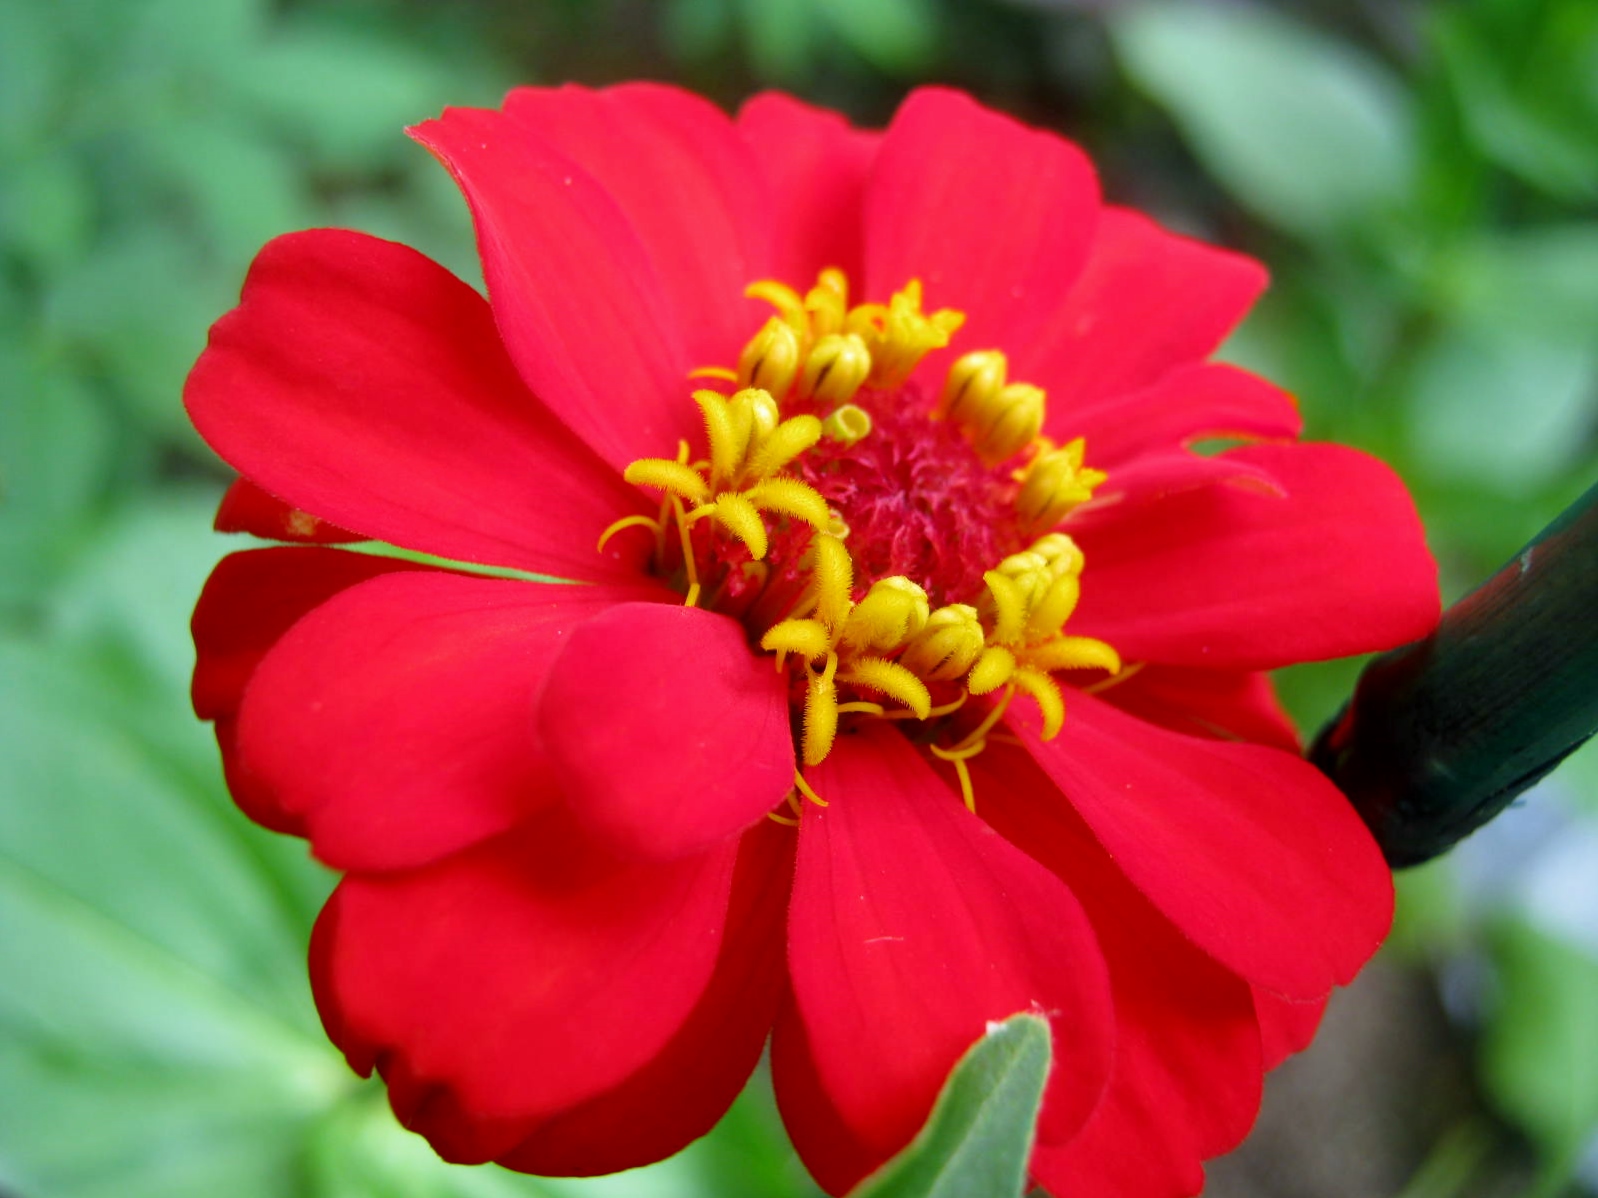
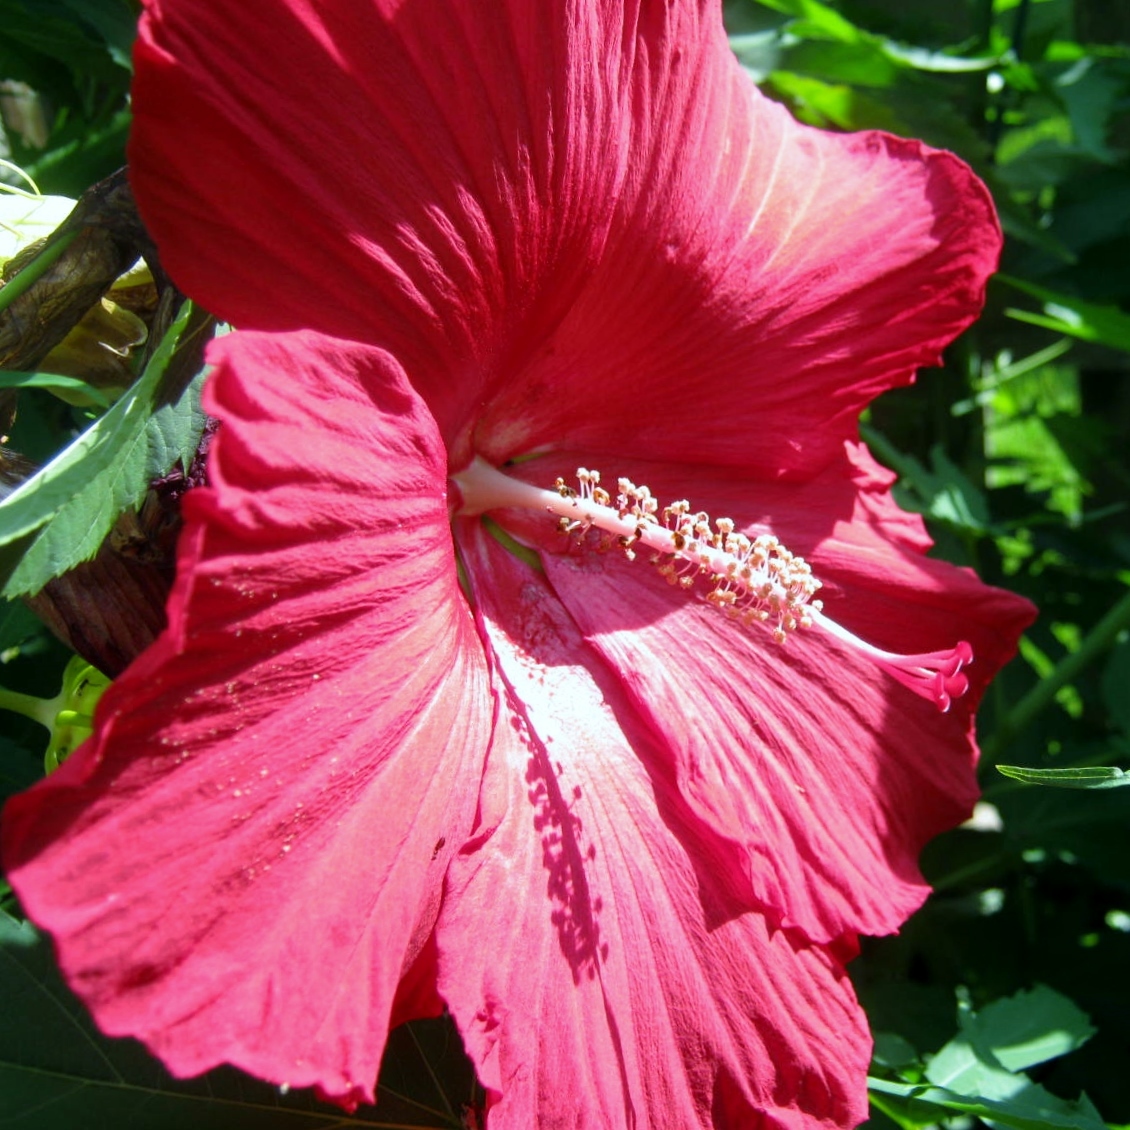
Last but not least is my Lady In Red Salvia, a great hummingbird flower. I love the little hover-fly sipping nectar that I captured in the photograph below.

Plants and Pleasures – Volunteers

Ground Moss

 I am not a gardener who uses much mulch. In fact, this summer the only mulch I have is around the beds of my Square Foot Gardens to keep the weeds away. I like the way dark mulch sets off the colors of my flowers, but I love the way the absence of the mulch allows many “volunteers” to sprout in the hot month of June. I have ground moss, spilanthes  (toothache plant), coleus, perennial blue lobelia and many other little sprouts showing amid the weeds that need to be pulled out. Before I put my gloves on and pull out the pesky weeds, I will first gently remove these small plantlets with my trowel and place them in bare spots in my garden beds. I love volunteers.

Coleus sprout in between sidewalk squares.

Another coleus hiding among the leaves.

Coral Nymph Salvia sprouting in a between porch steps and sidewalk.

Plants – Update/Coleus

The Coleus started in January have grown into these gorgeous plants. Even though it seemed early, January was the best time to start my coleus seeds. I am planting them out this week. The roots have outgrown the small Dixie cup pots, and the soil they are planted in dries out in a day. It might be a tad chilly at night, but I doubt we will experience another freeze. I will have my bed sheets and tablecloths at the ready though, just in case.

Coleus Sprouts in January

I was unhappy with the Rainbow Floral Strain of Coleus seeds I purchased. As they developed they showed no promise. I did not keep any of the plants beyond a few weeks.

Problem-solving – Mealy Bug Infestation

While watering my succulents I noticed the dreaded white fluff of a Mealy Bug. Oh no. I have had experience with these pests in the past and know they can become a full-blown infestation. I wasted no time in treating the infested plant.

I like to use organic products and things I already have around the house. For Organic Mealy Bug Treatment Isopropyl Rubbing Alcohol is a good choice. Using a Q-tip I touched the saturated tip to the back of the mealy bug. As I checked the plant I saw a few more of his family residing along the stems and treated them too. Further down there were more, oh no, it was beginning to look like an infestation, time for more drastic measures. I filled an atomizer with some of the alcohol and sprayed the entire plant. I left it on for a few moments and then washed all the foliage in tepid water. Most organic pest control sites recommend watering the alcohol down first, but for a hardy succulent, straight out the bottle did no harm. If I was treating one of my african violets I would definitely water the solution down before using.

I knew I had to check all the plants that were in the same room with the infested succulent, and sure enough, on one coleus I found the beginnings of more mealy bugs. Hopefully the intervention with rubbing alcohol has eradicated the problem.

Planting – Coleus Part II

The coleus seed plantings are emerging. At this point I am very glad I took the time to space them out rather than mass sowing. If one seedling develops any sign of damp-off or unexplained wilting I will be able to remove it before it contaminates its sister sprouts. The coleus seeds will continue to sprout for a few more weeks, maybe even another month. They now begin what I call “The Pouting Period.” The new plantlets seem to stand still. There is little growth and they usually take a few weeks to begin to leaf out. I am going to try and hasten the leafing out this year by applying bottom heat, but that is a whole other post.

Close-up view of a newly emerged sprout still holding onto it’s parent seed. The coleus plants below are two of last year’s crop. I really liked these coleus and actually named them and kept them going through the winter months by rooting cuttings taken in the Autumn. Some of the newly sprouted coleus could be their offspring.

Lemon-Lime Swizzle Stick

  Pink Lemonade with a Twist