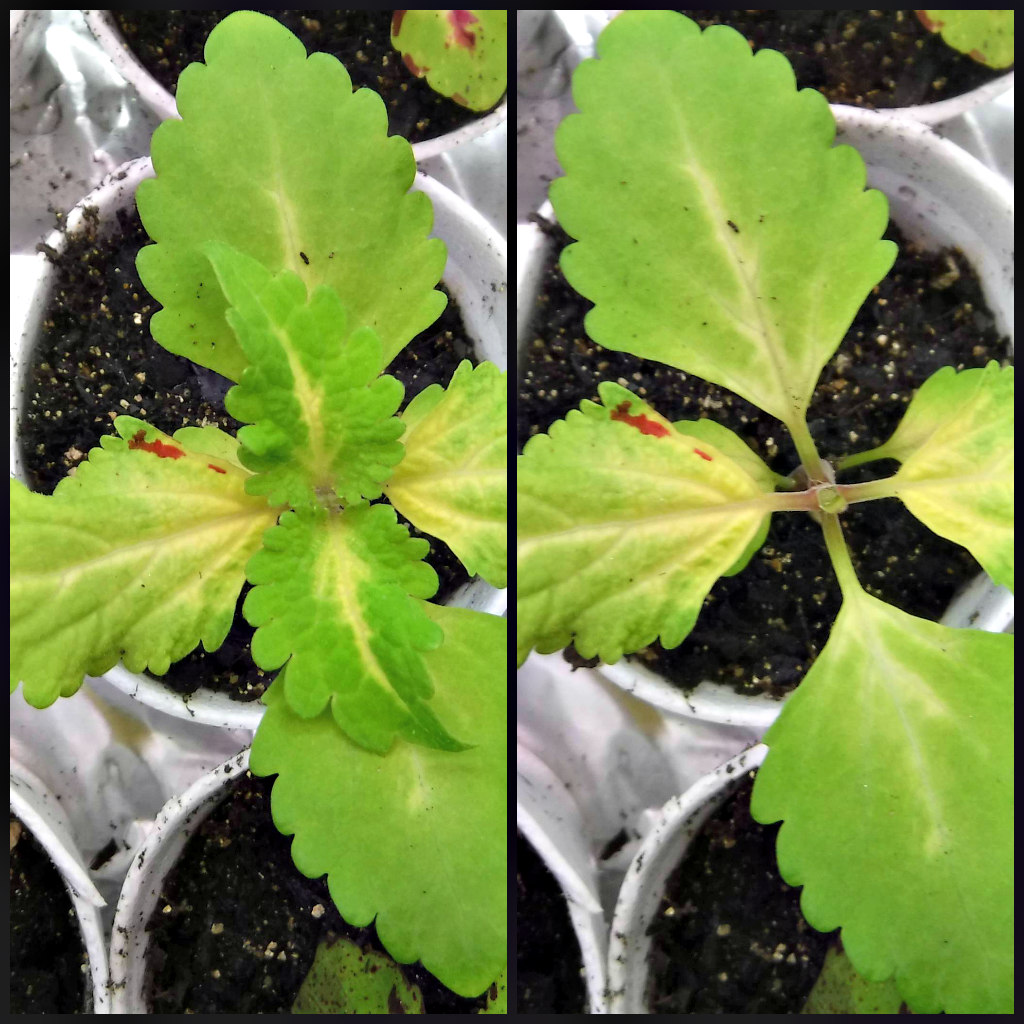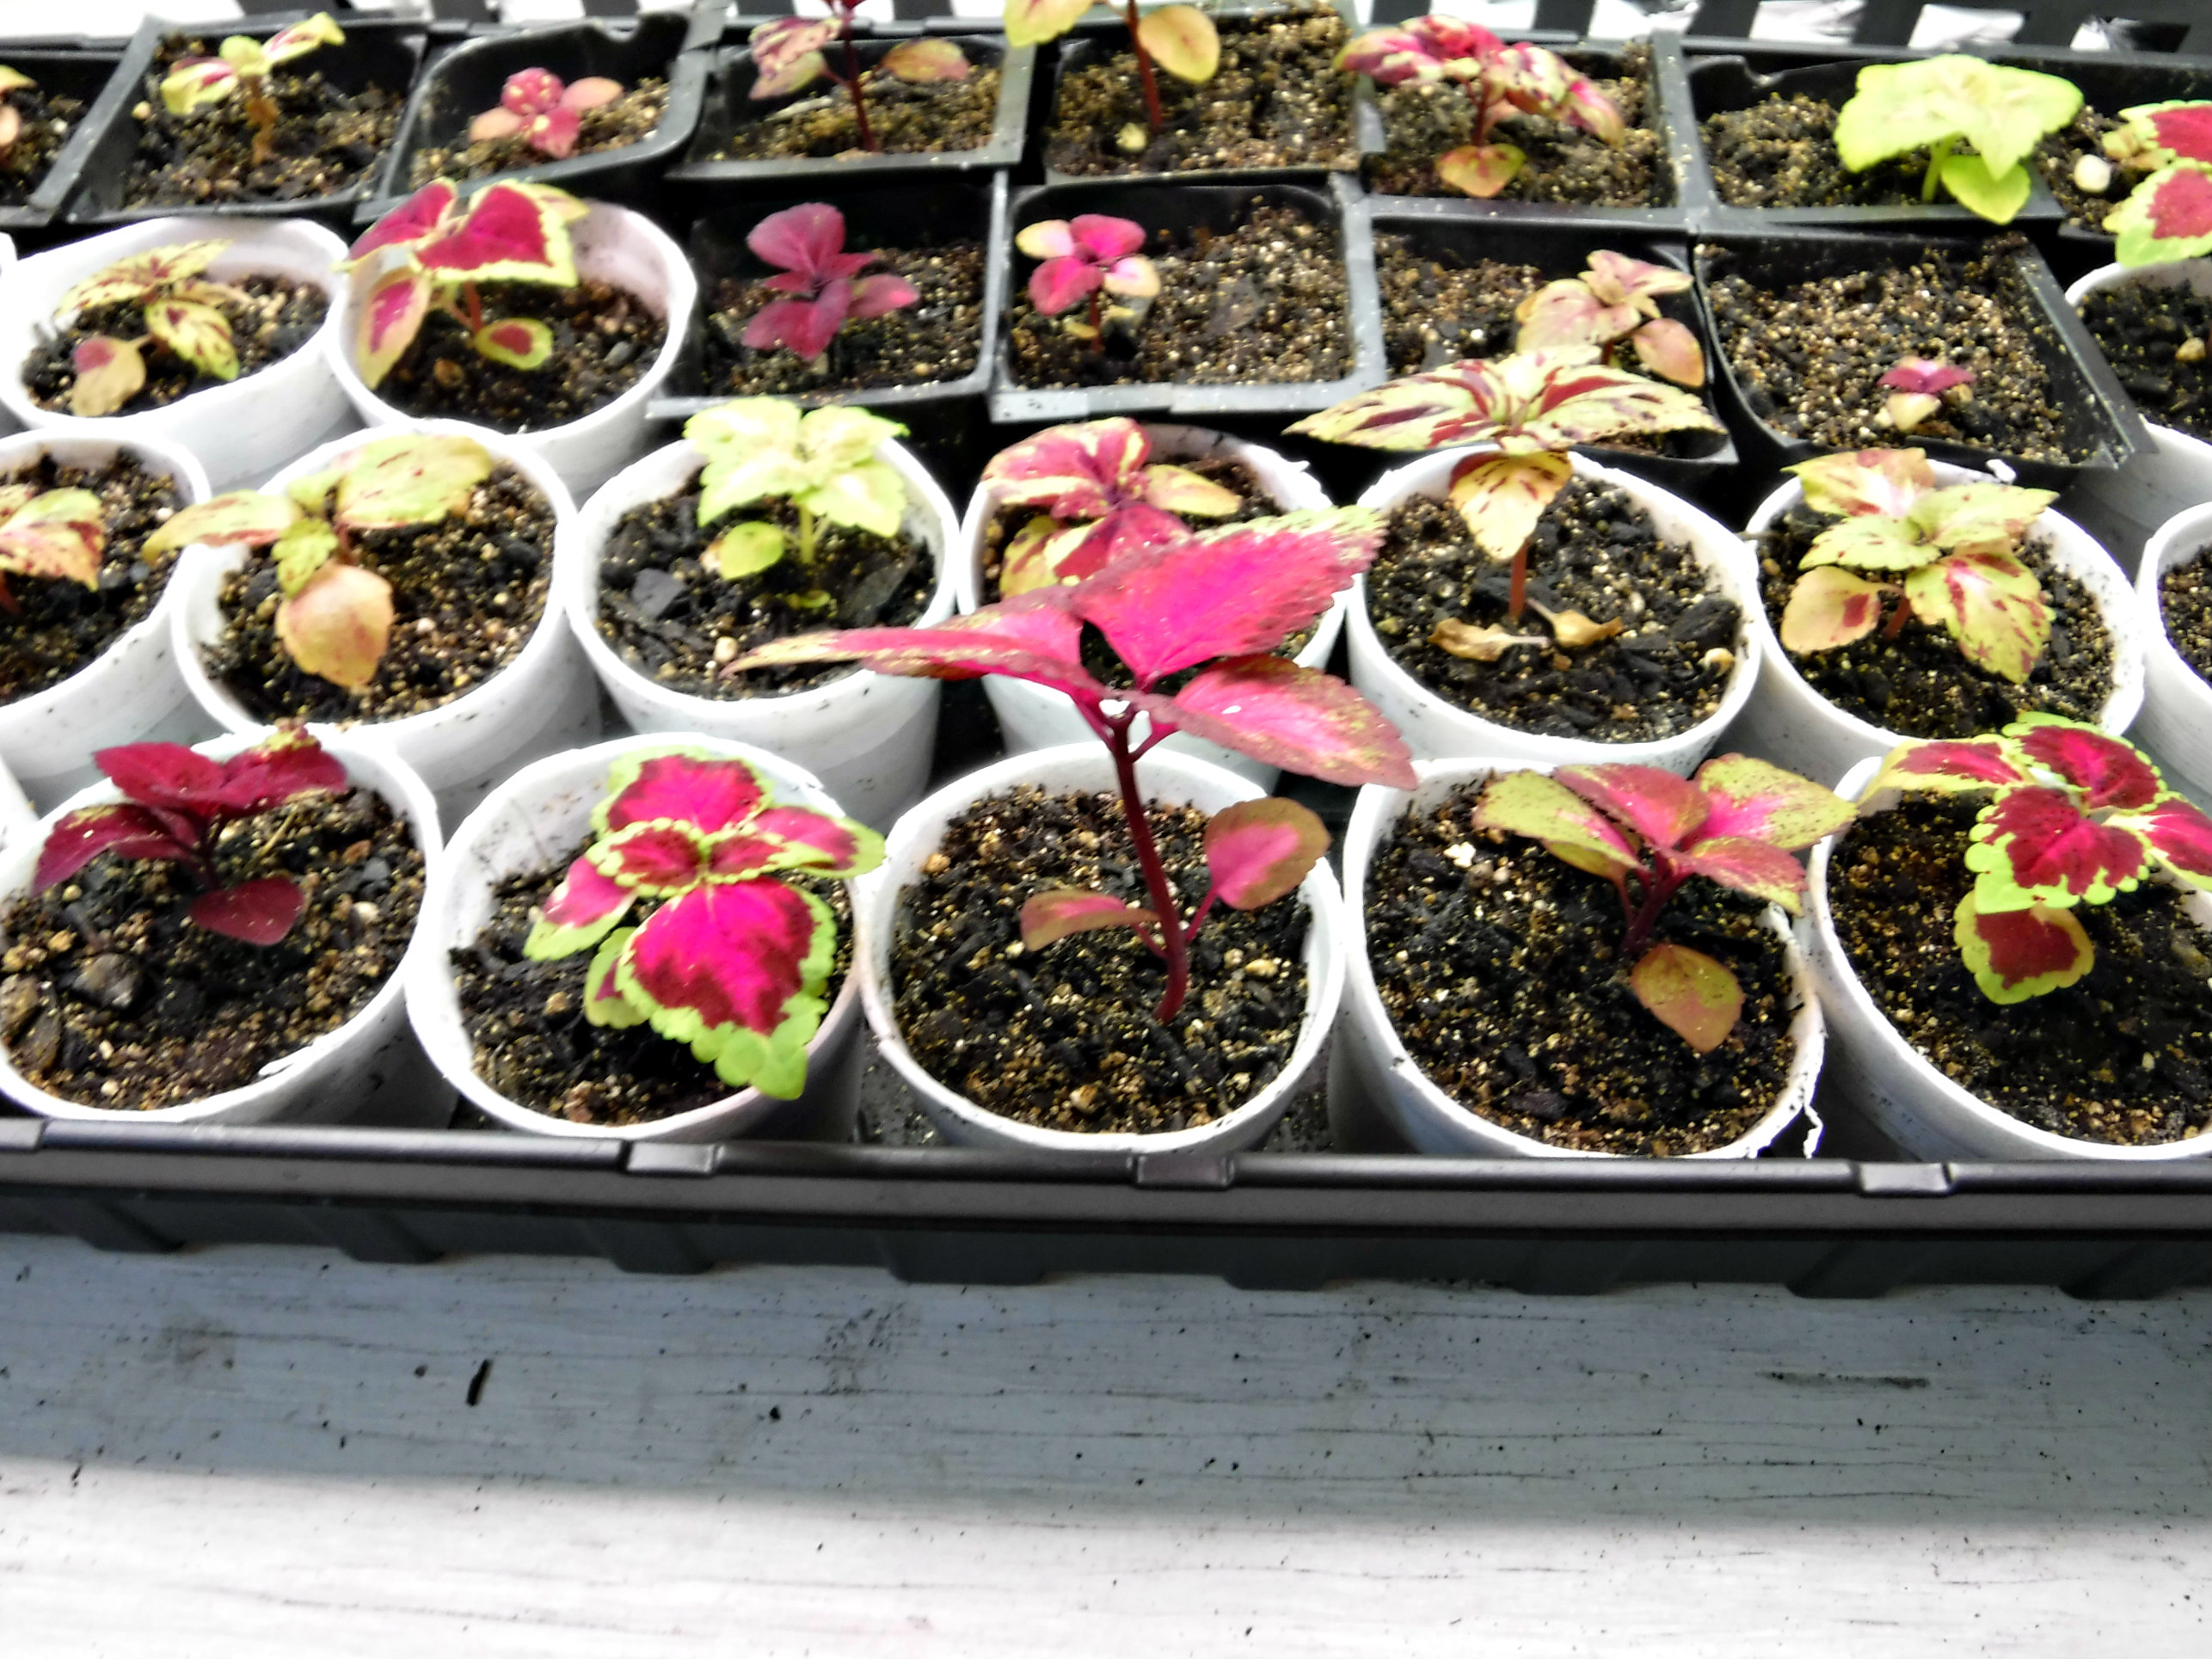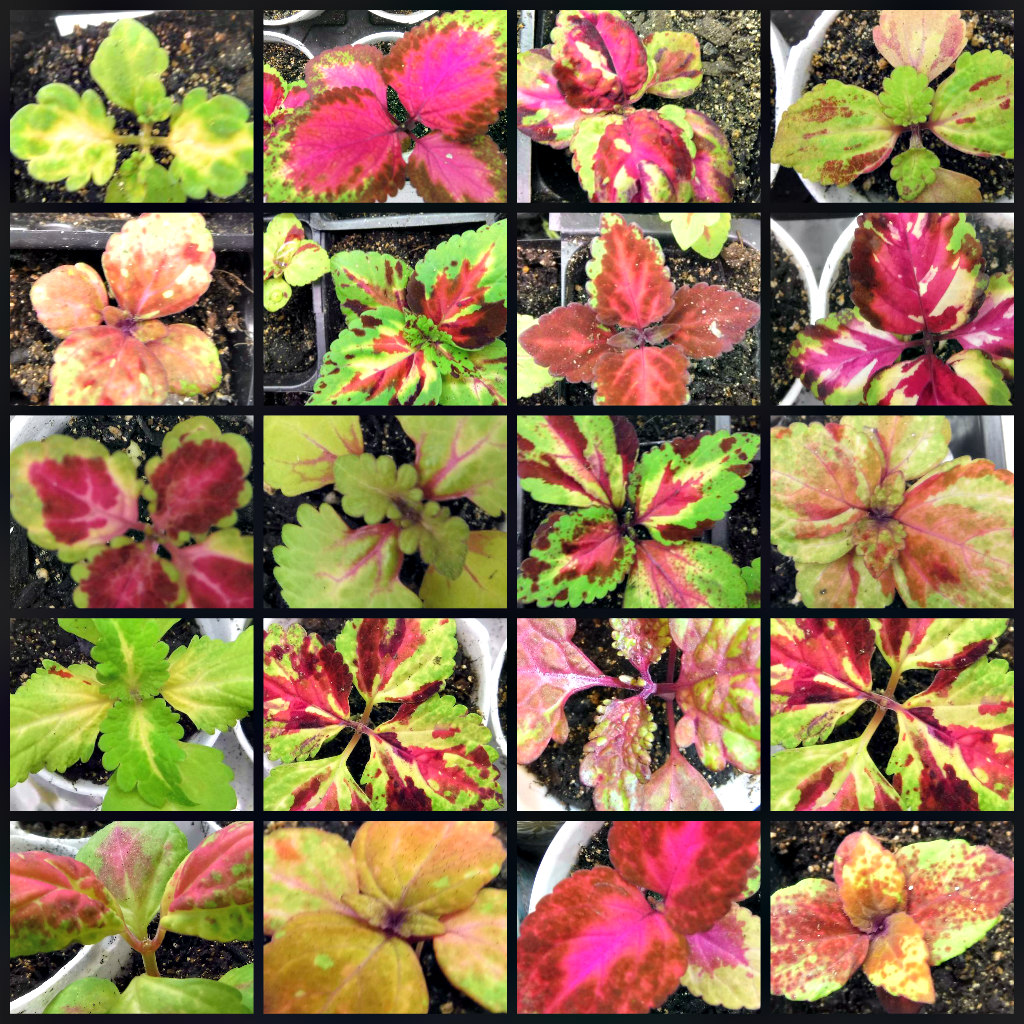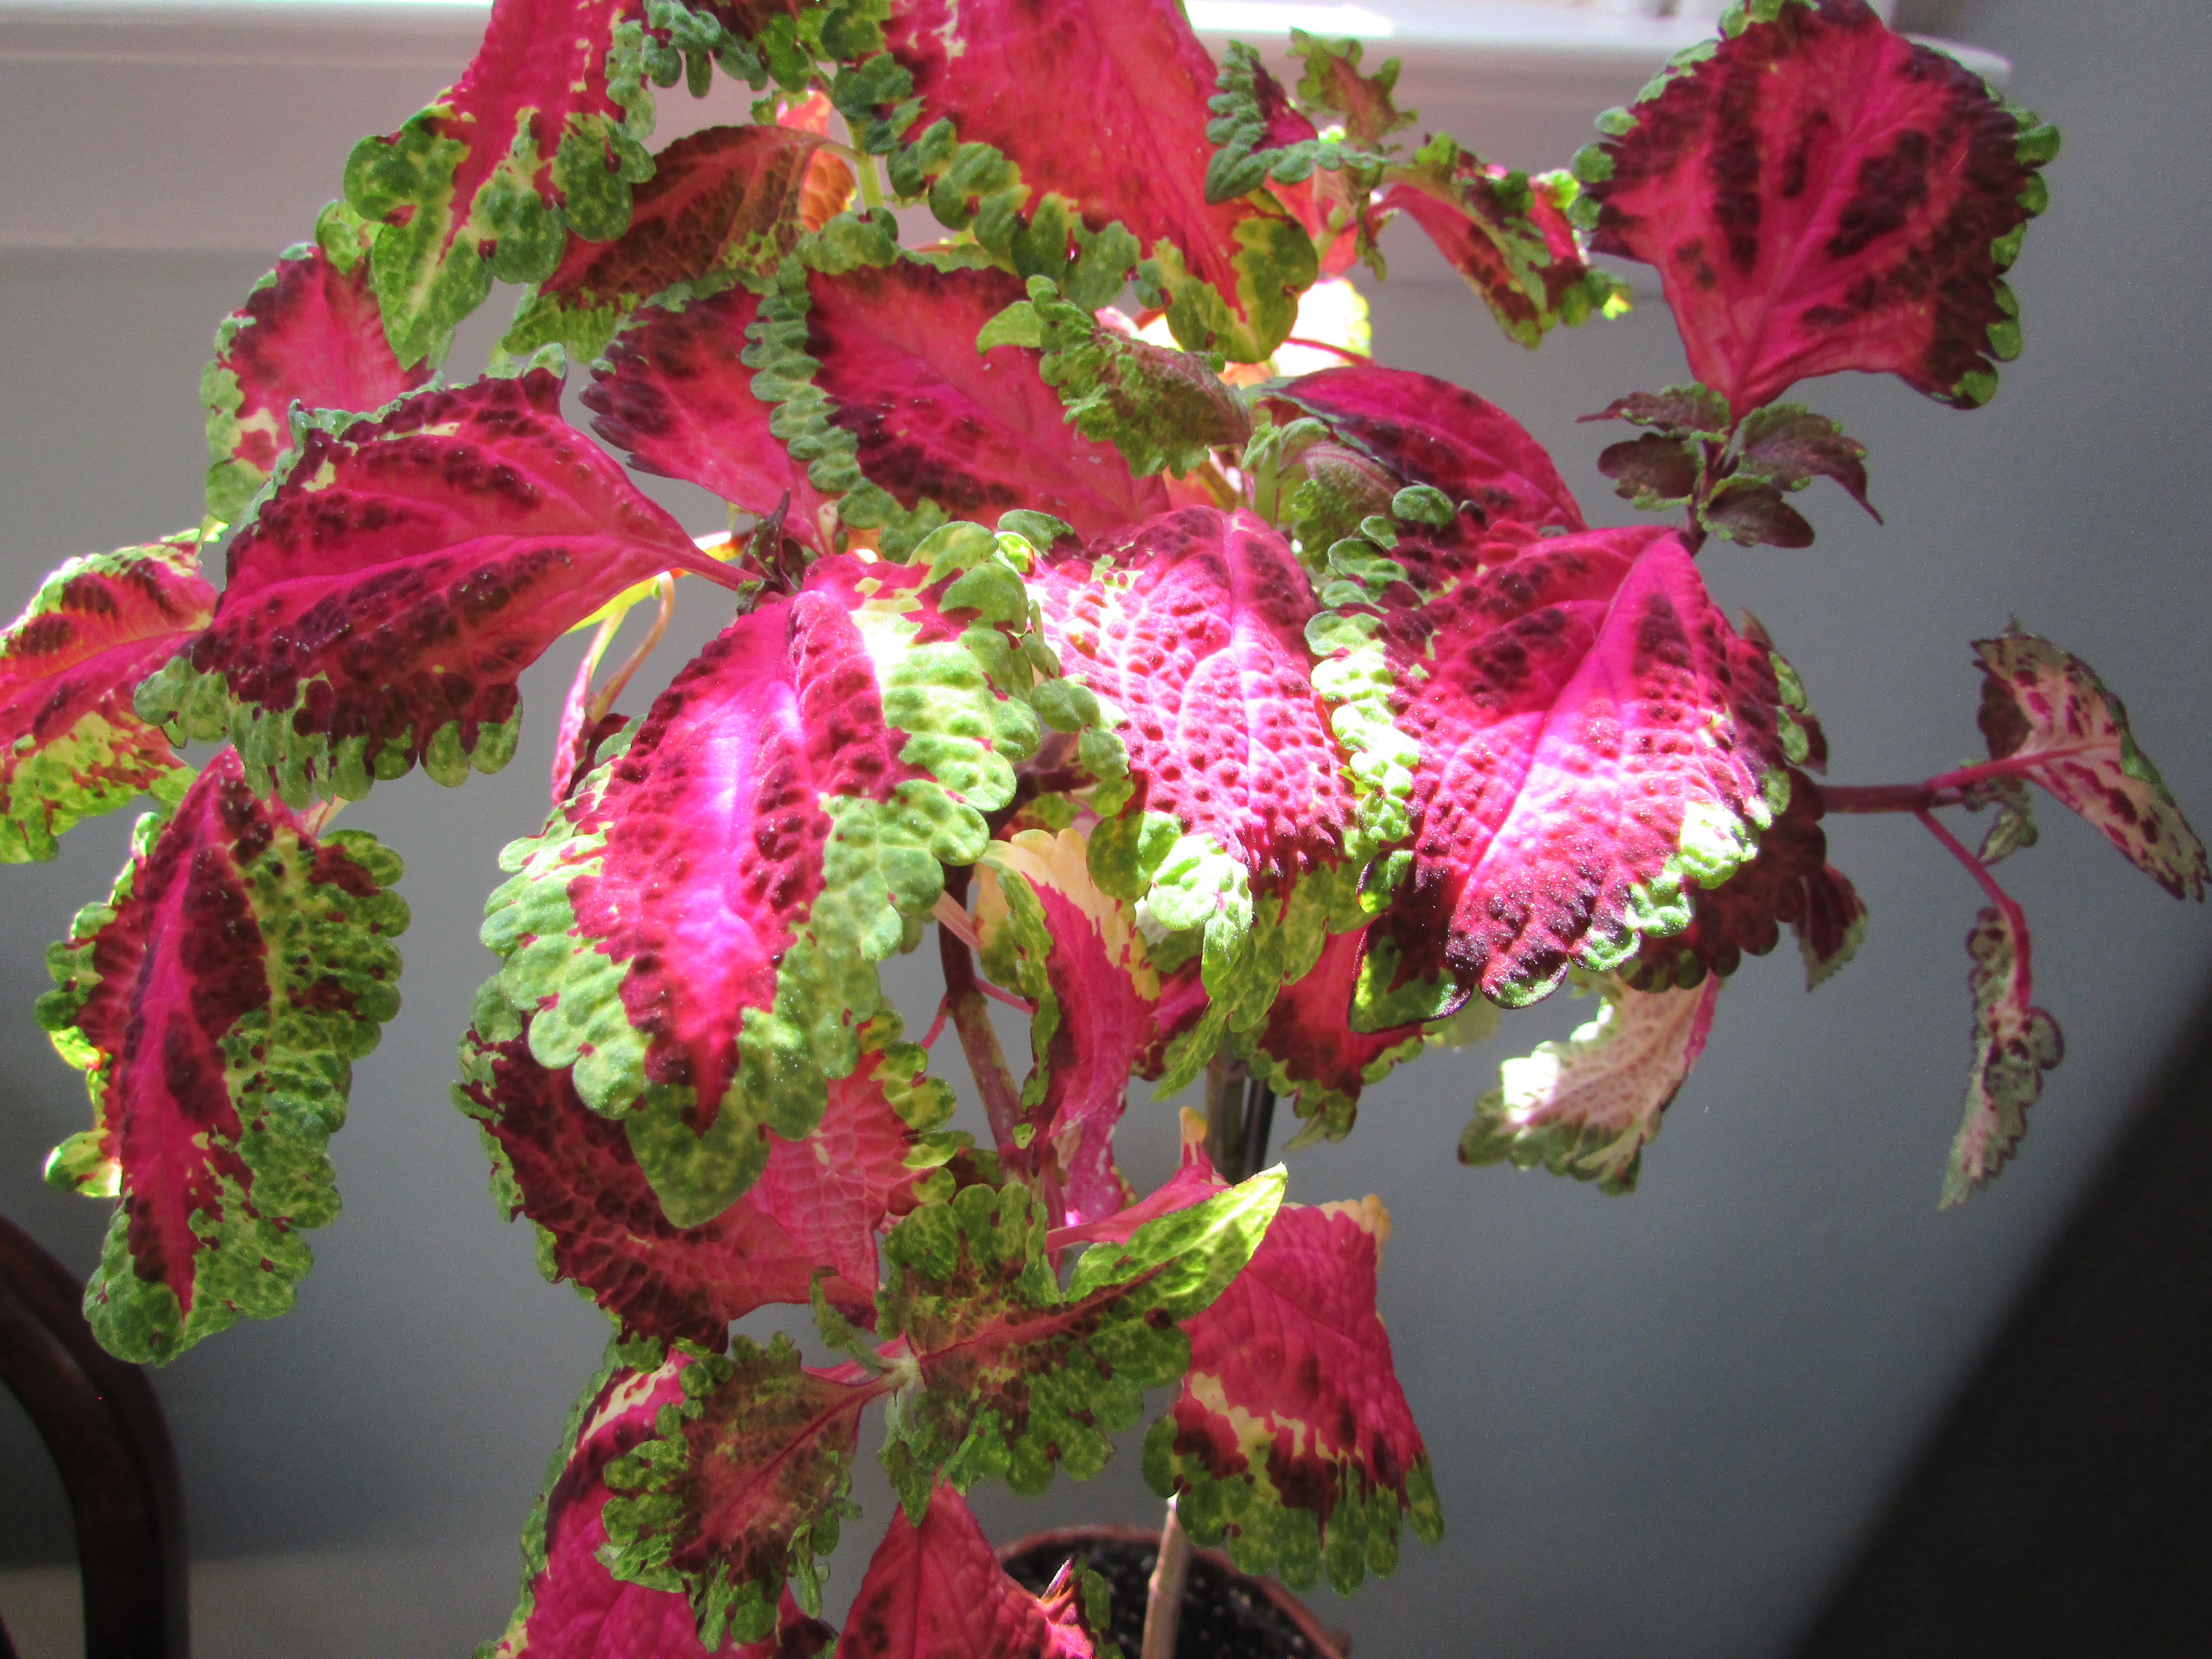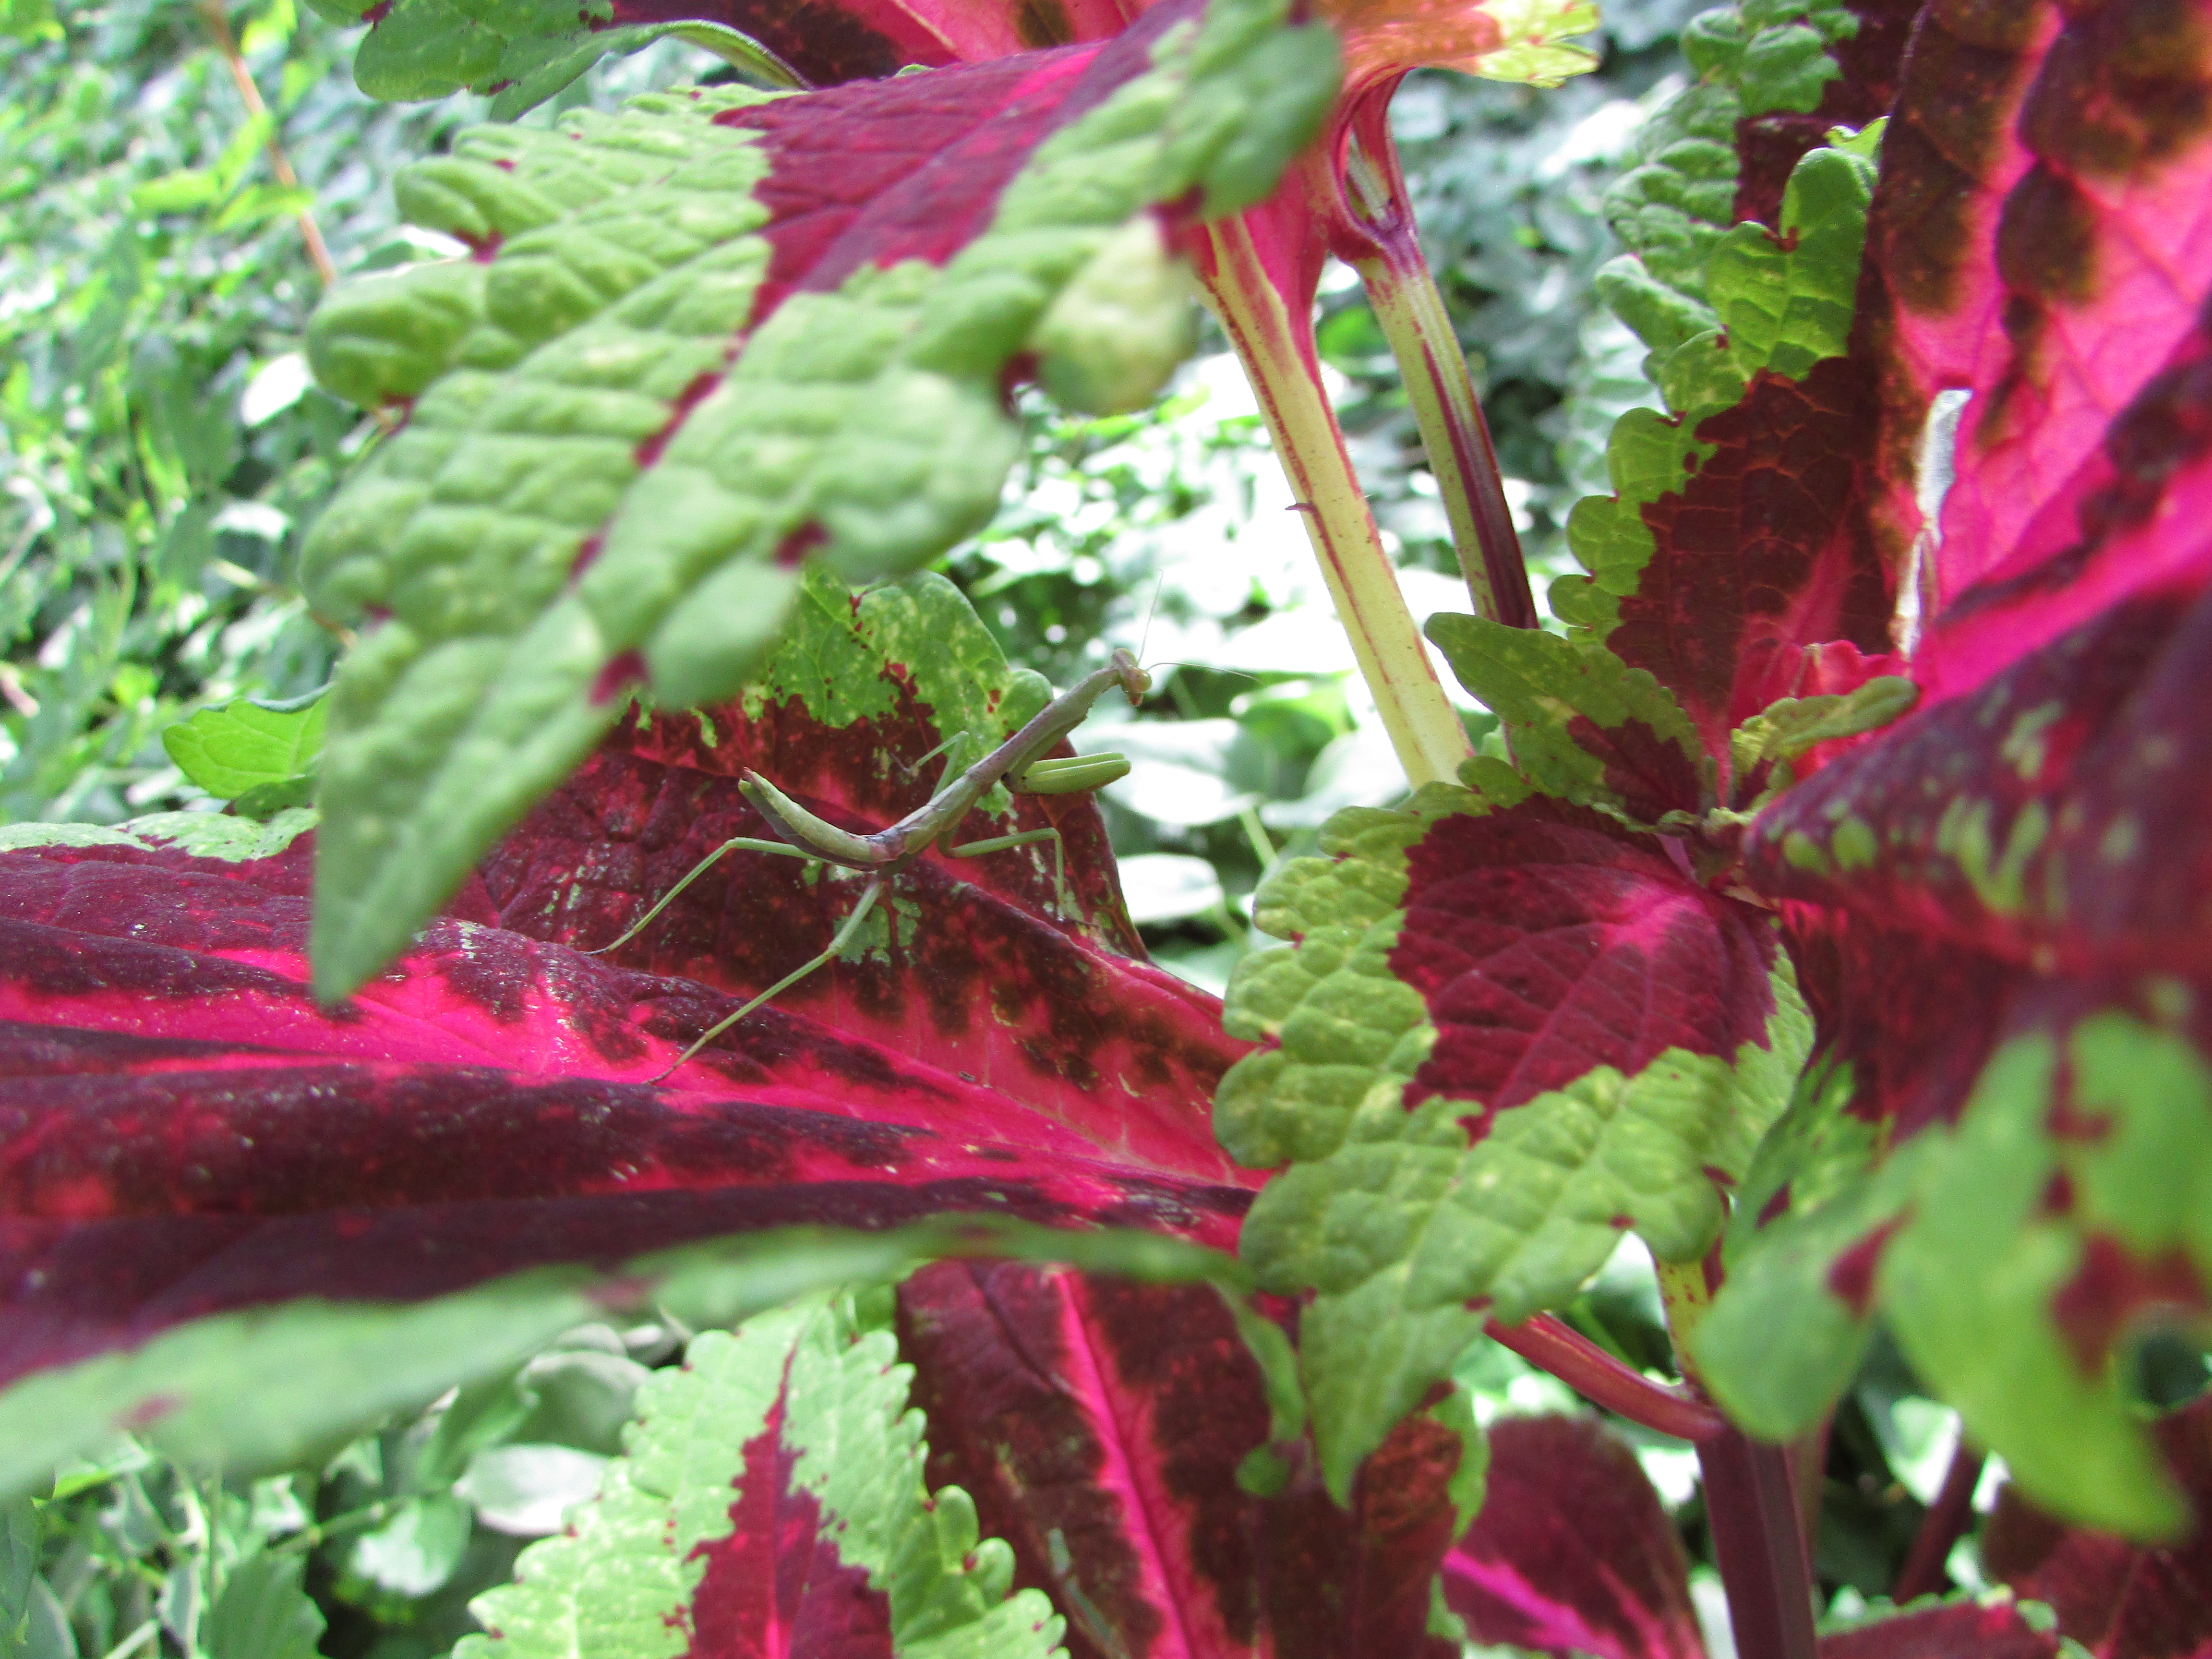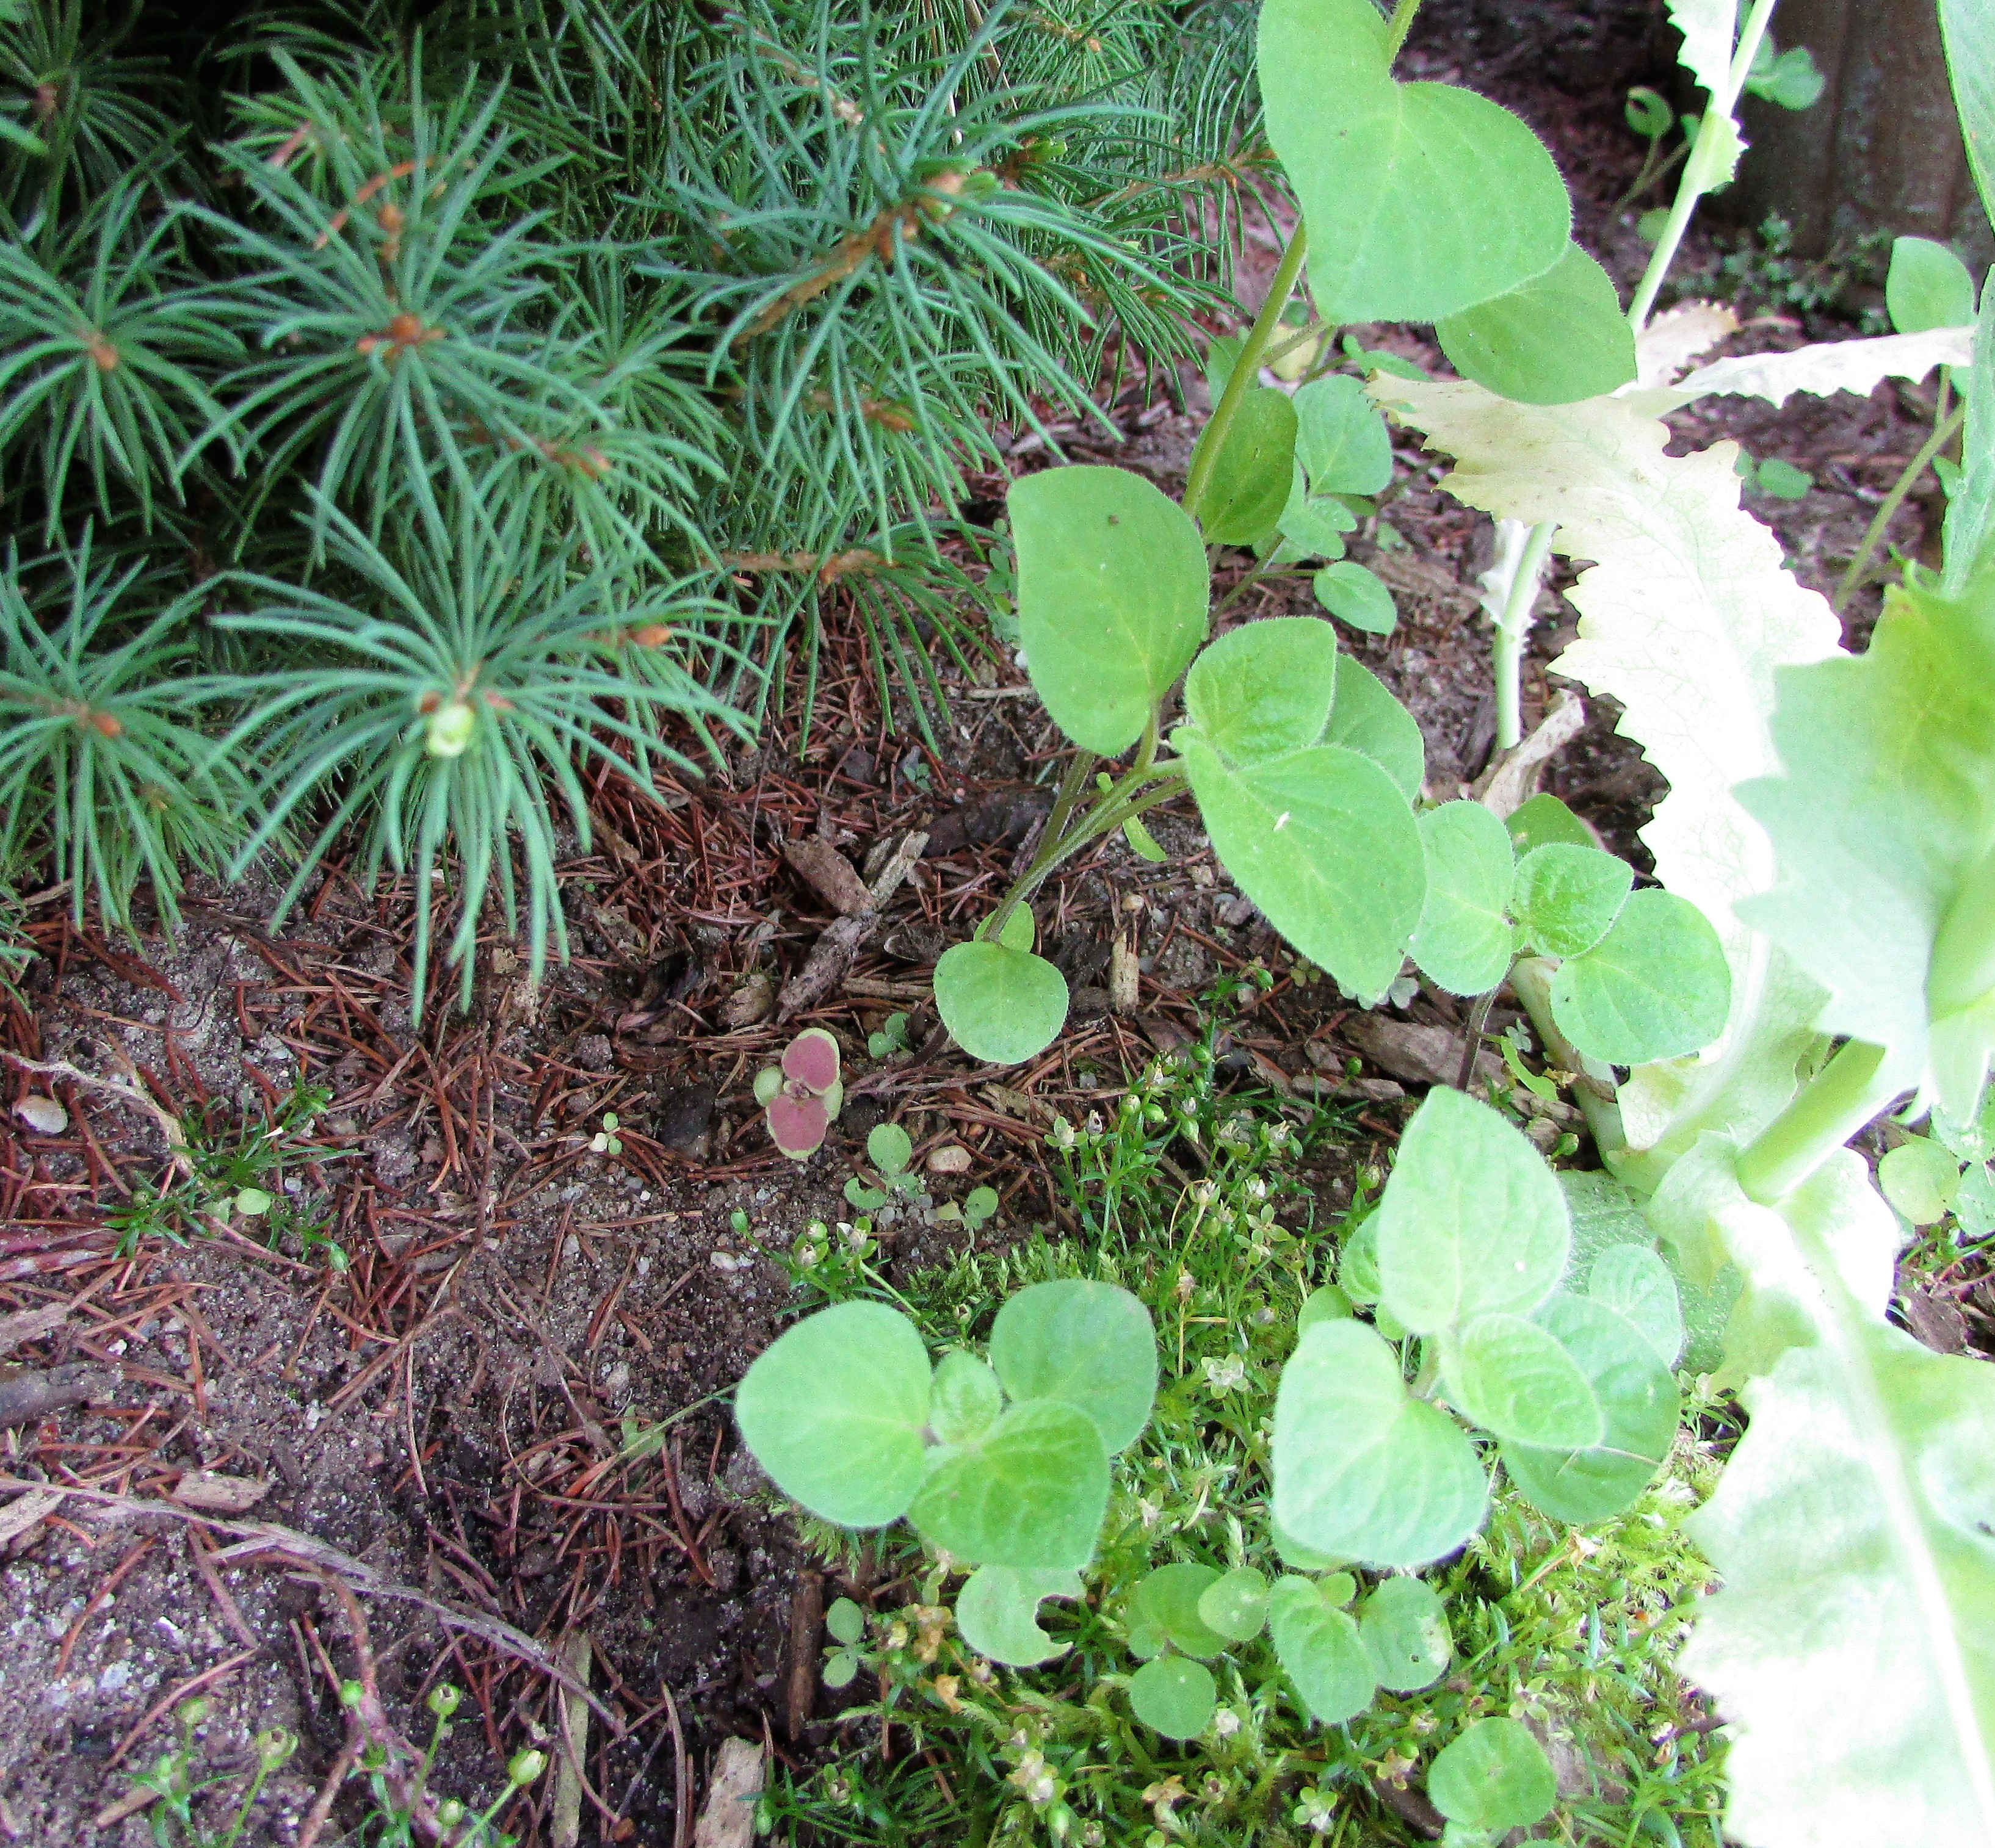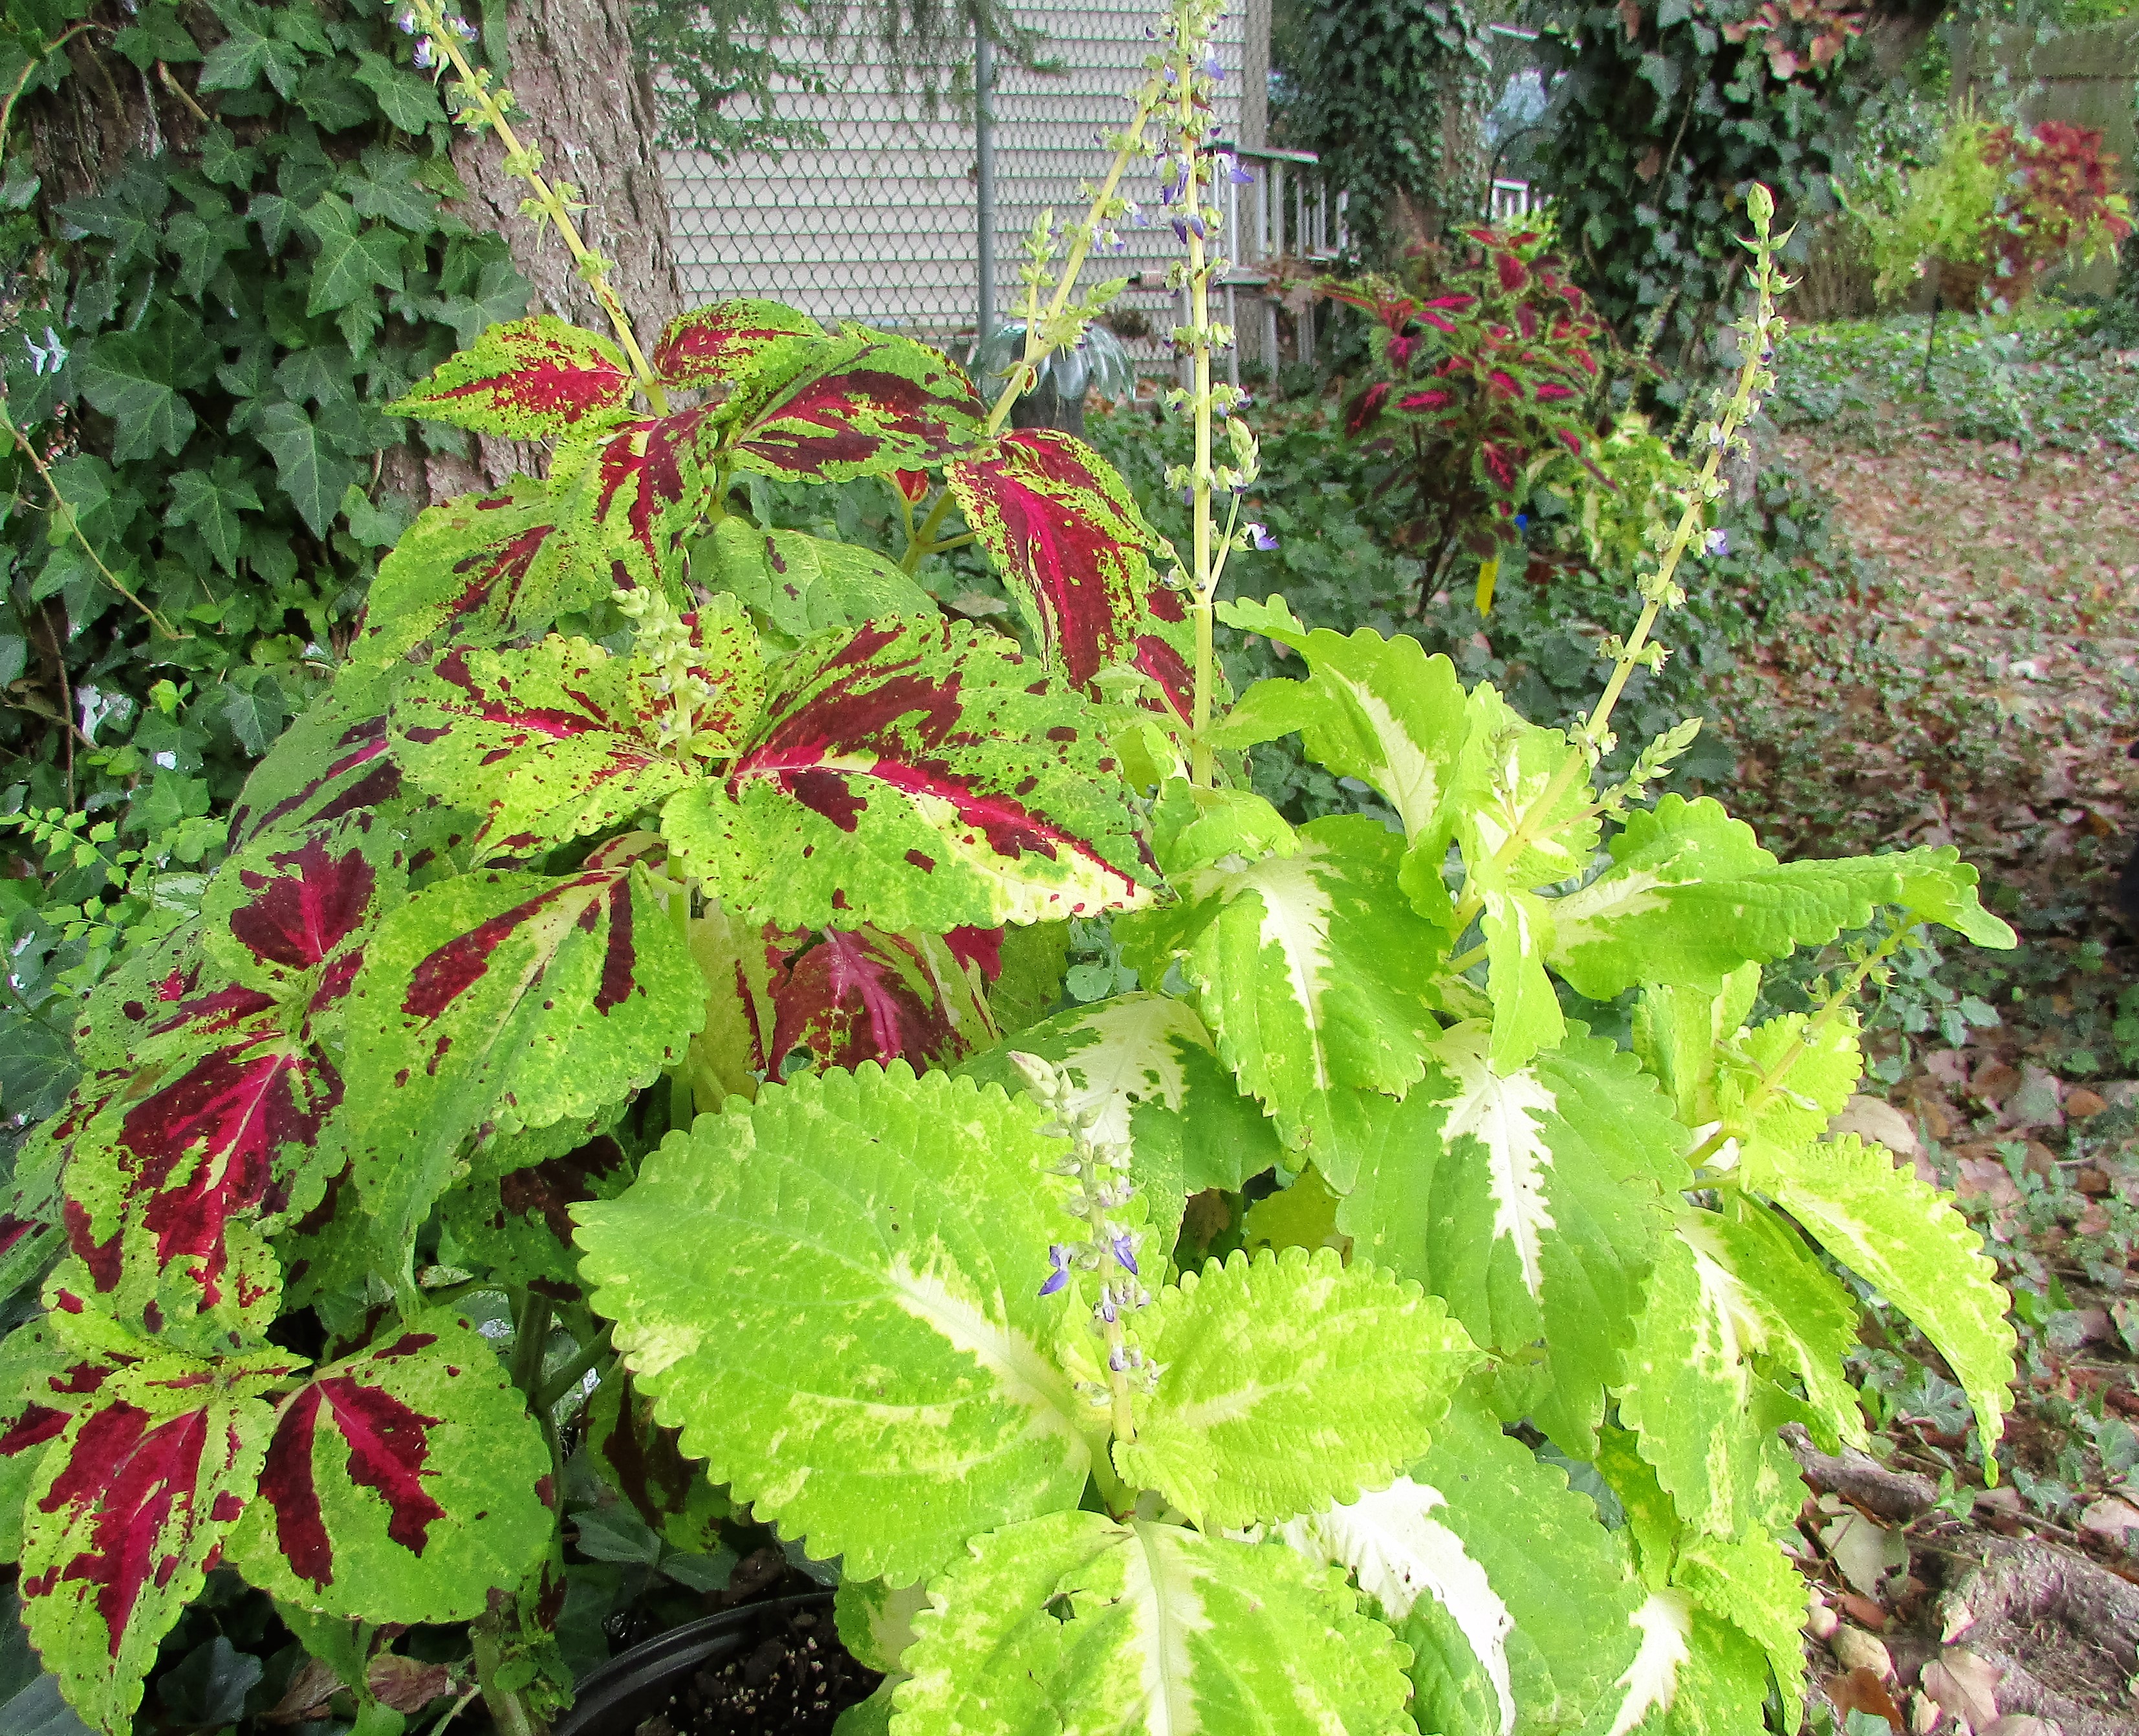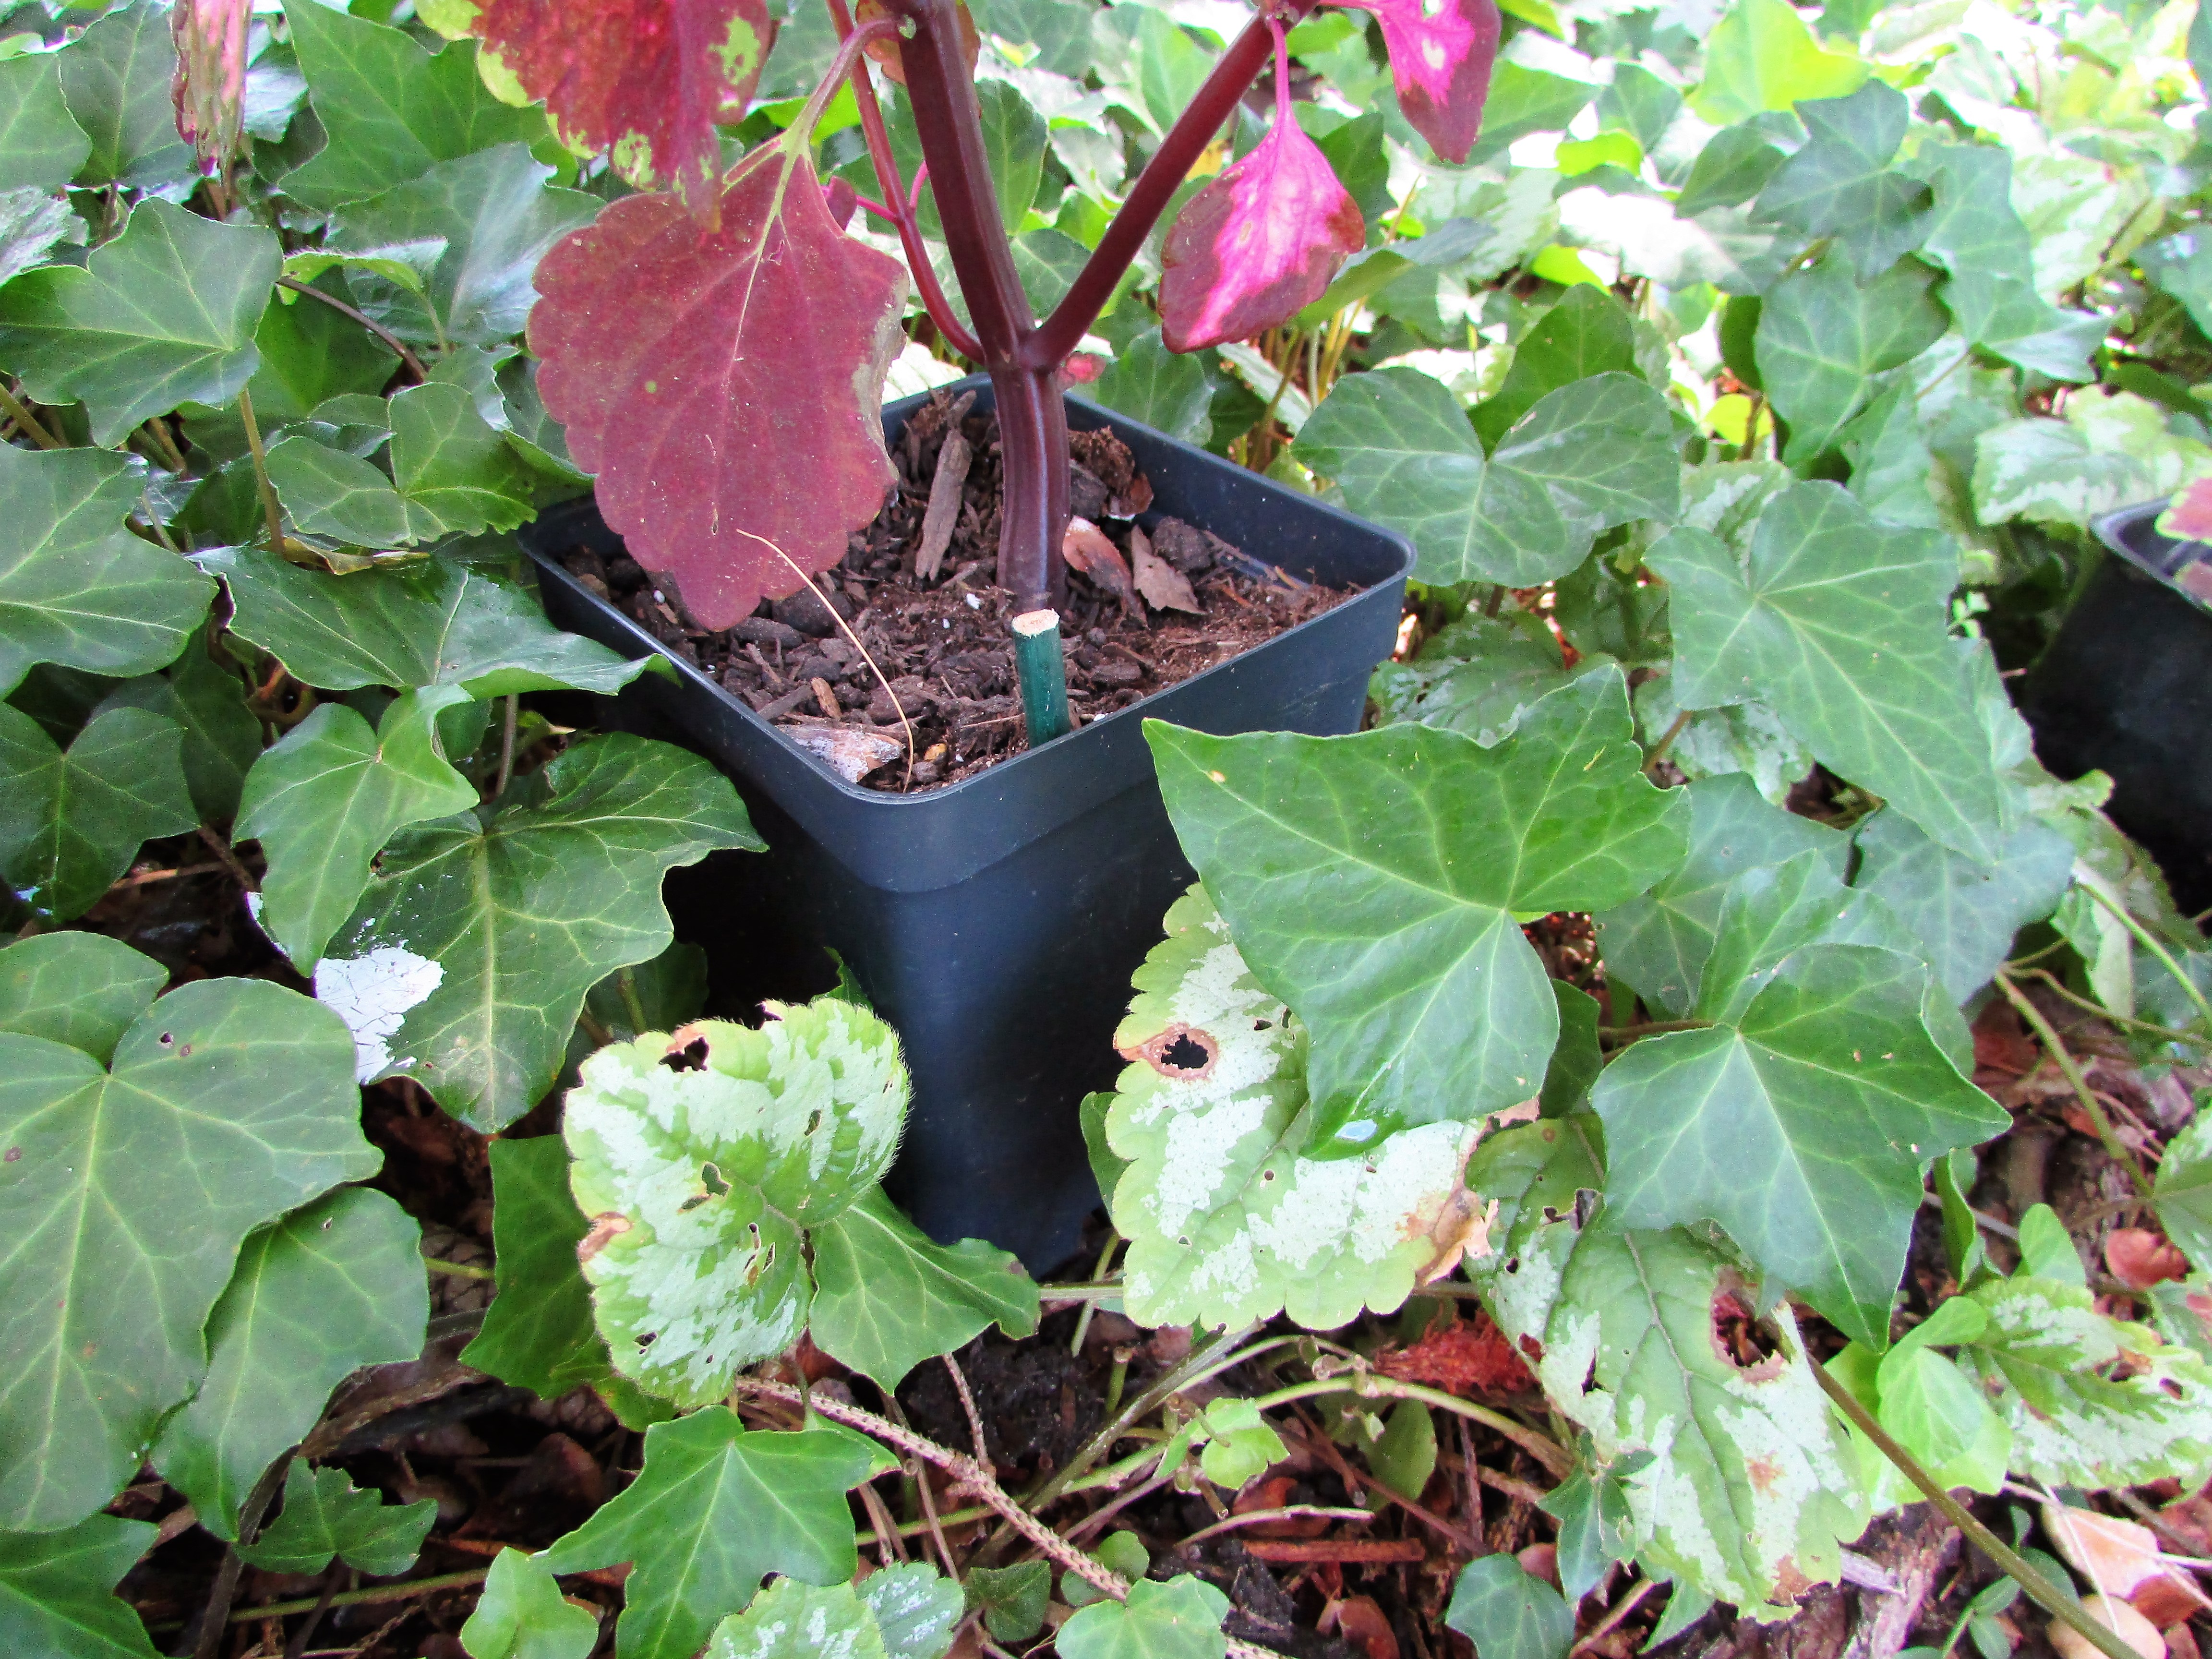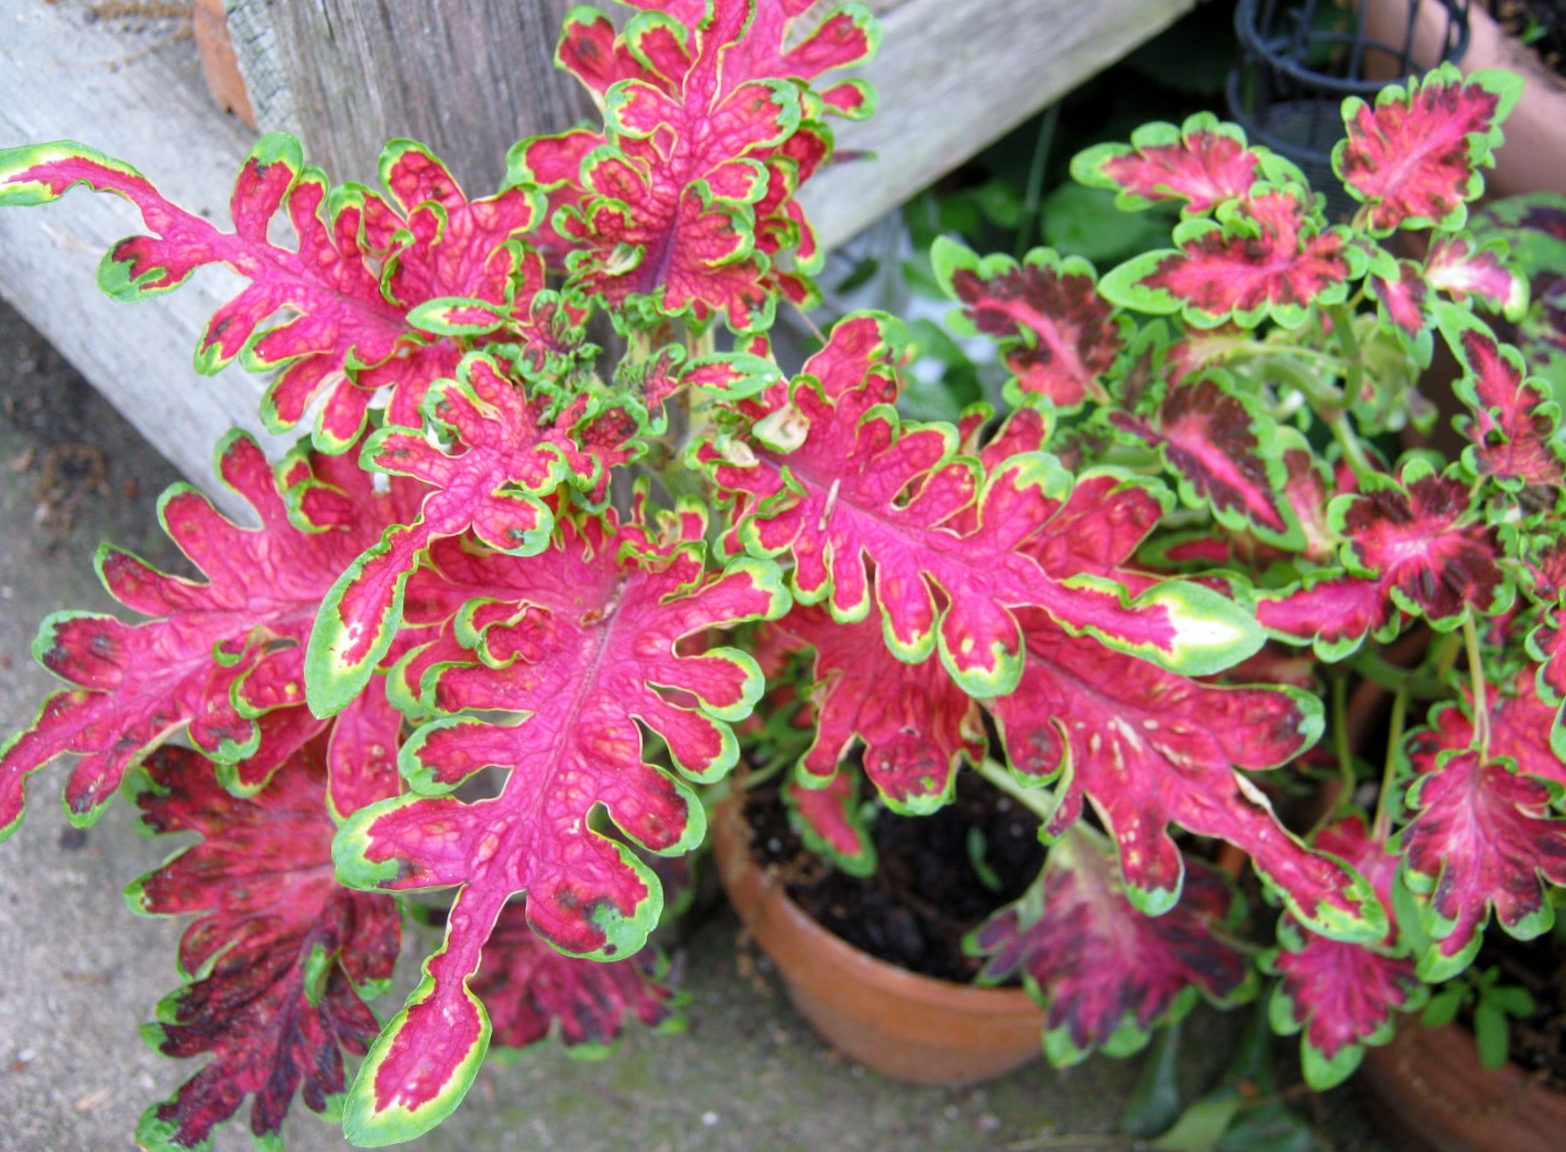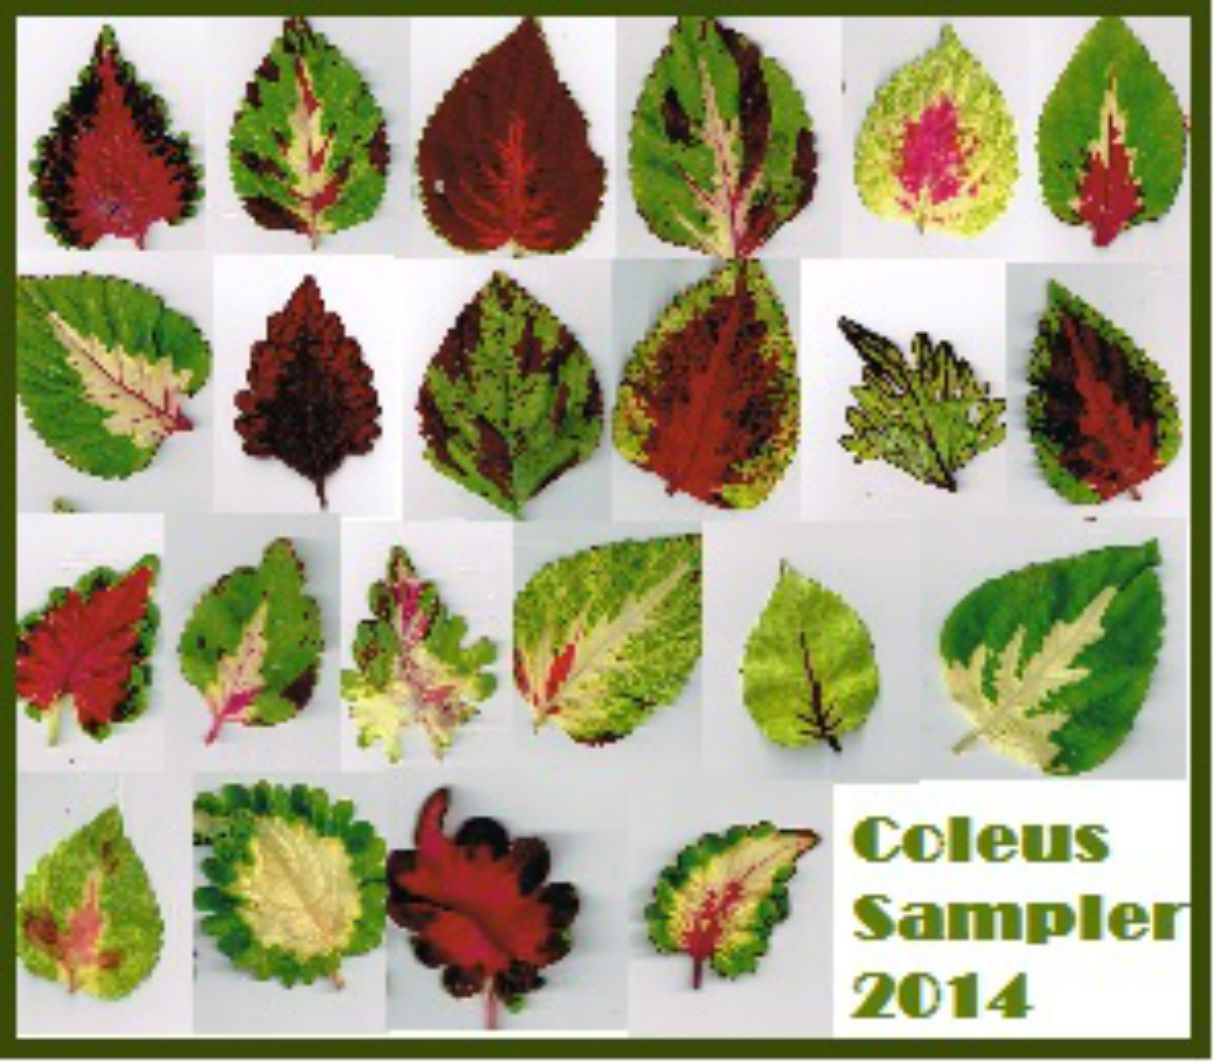
Gardening can be very rewarding at times, but it can also feel like you’re just slogging through an endless onslaught of weeds. In the high heat we’ve been having in New Jersey, even weeding in the early morning has been oppressively hot. Recently, I was near the end of my task and about to move my knee pad further along the border when, out of the blue, I spied a colorful volunteer coleus growing in the grass outside of the garden bed. Oh my goodness! Joy immediately flooded me. I once had hundreds of coleus seeds, but somehow, over the years, I now have only one specimen left from all the many different colors I once grew. Even sadder, I have none of the seeds I saved so faithfully for over a decade.
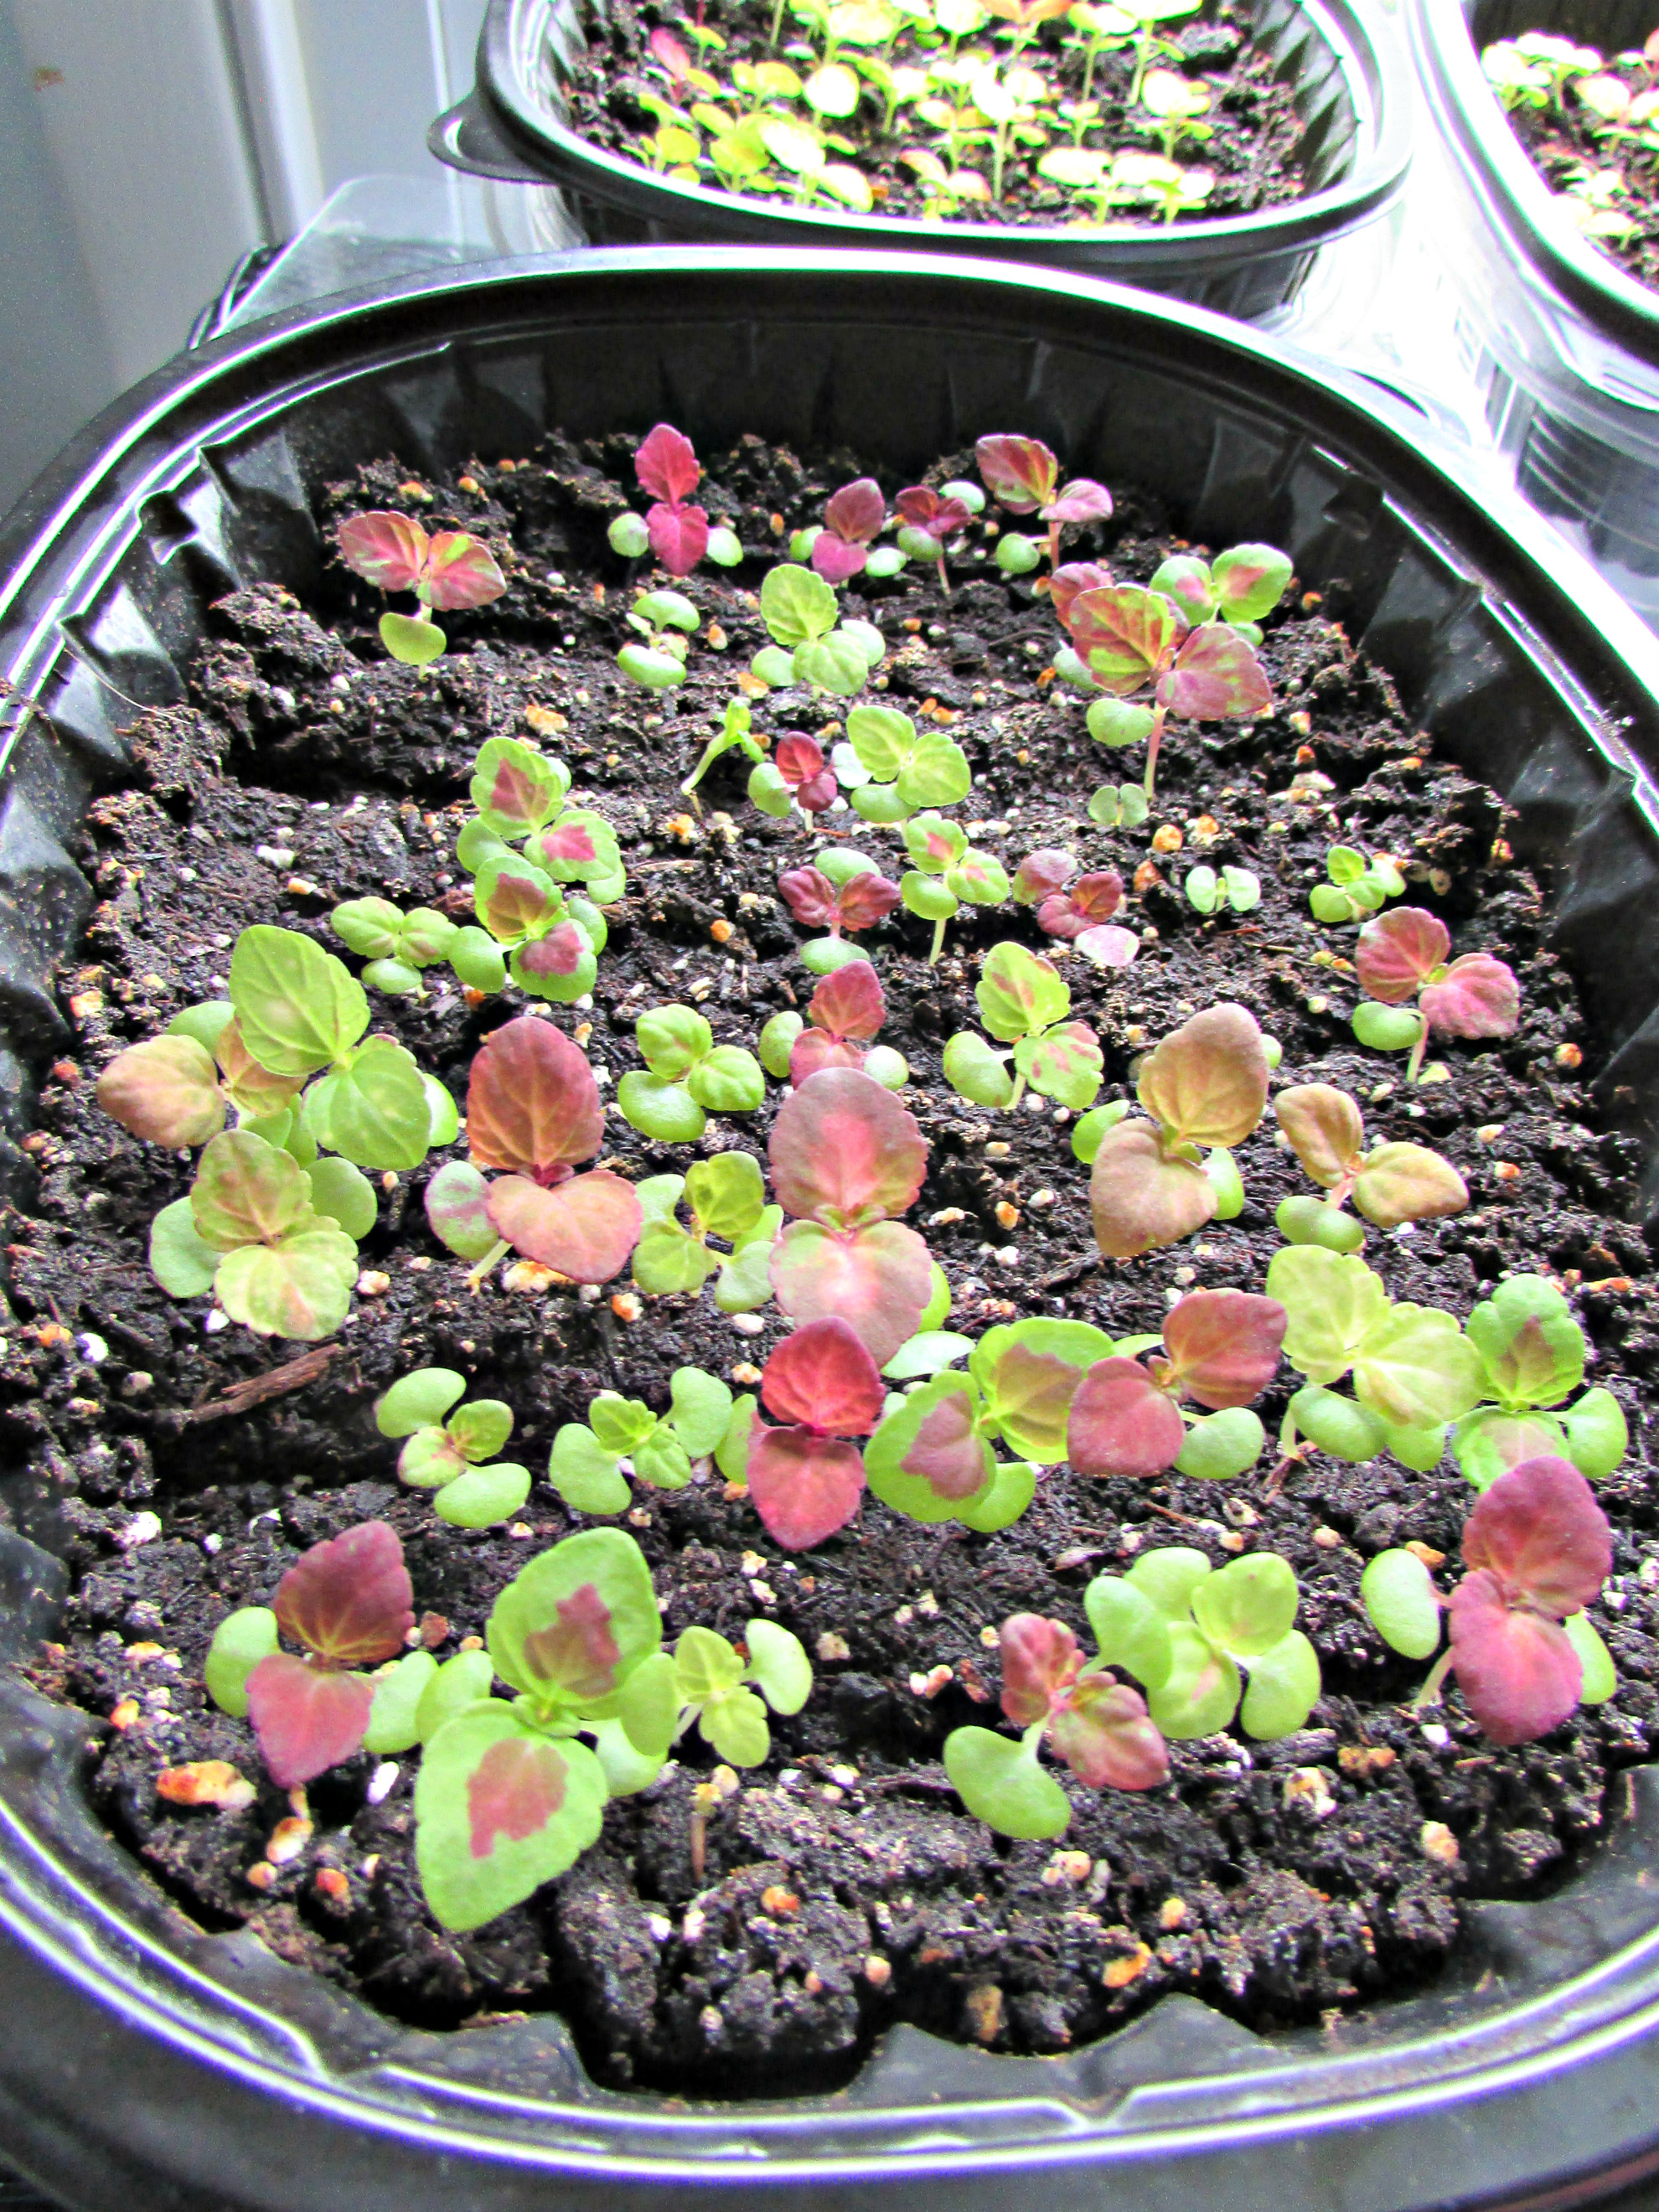
I felt like God had shown me the small coleus before I squashed it beyond repair with a knee pad. In fact, I was sure he caused that volunteer to grow for me. Finding it will allow me to grow it over the next year or two to a point where it might produce seeds. All the colors of my previous coleus plants might be in the DNA of this small plant, and I might get many of my old varieties back.
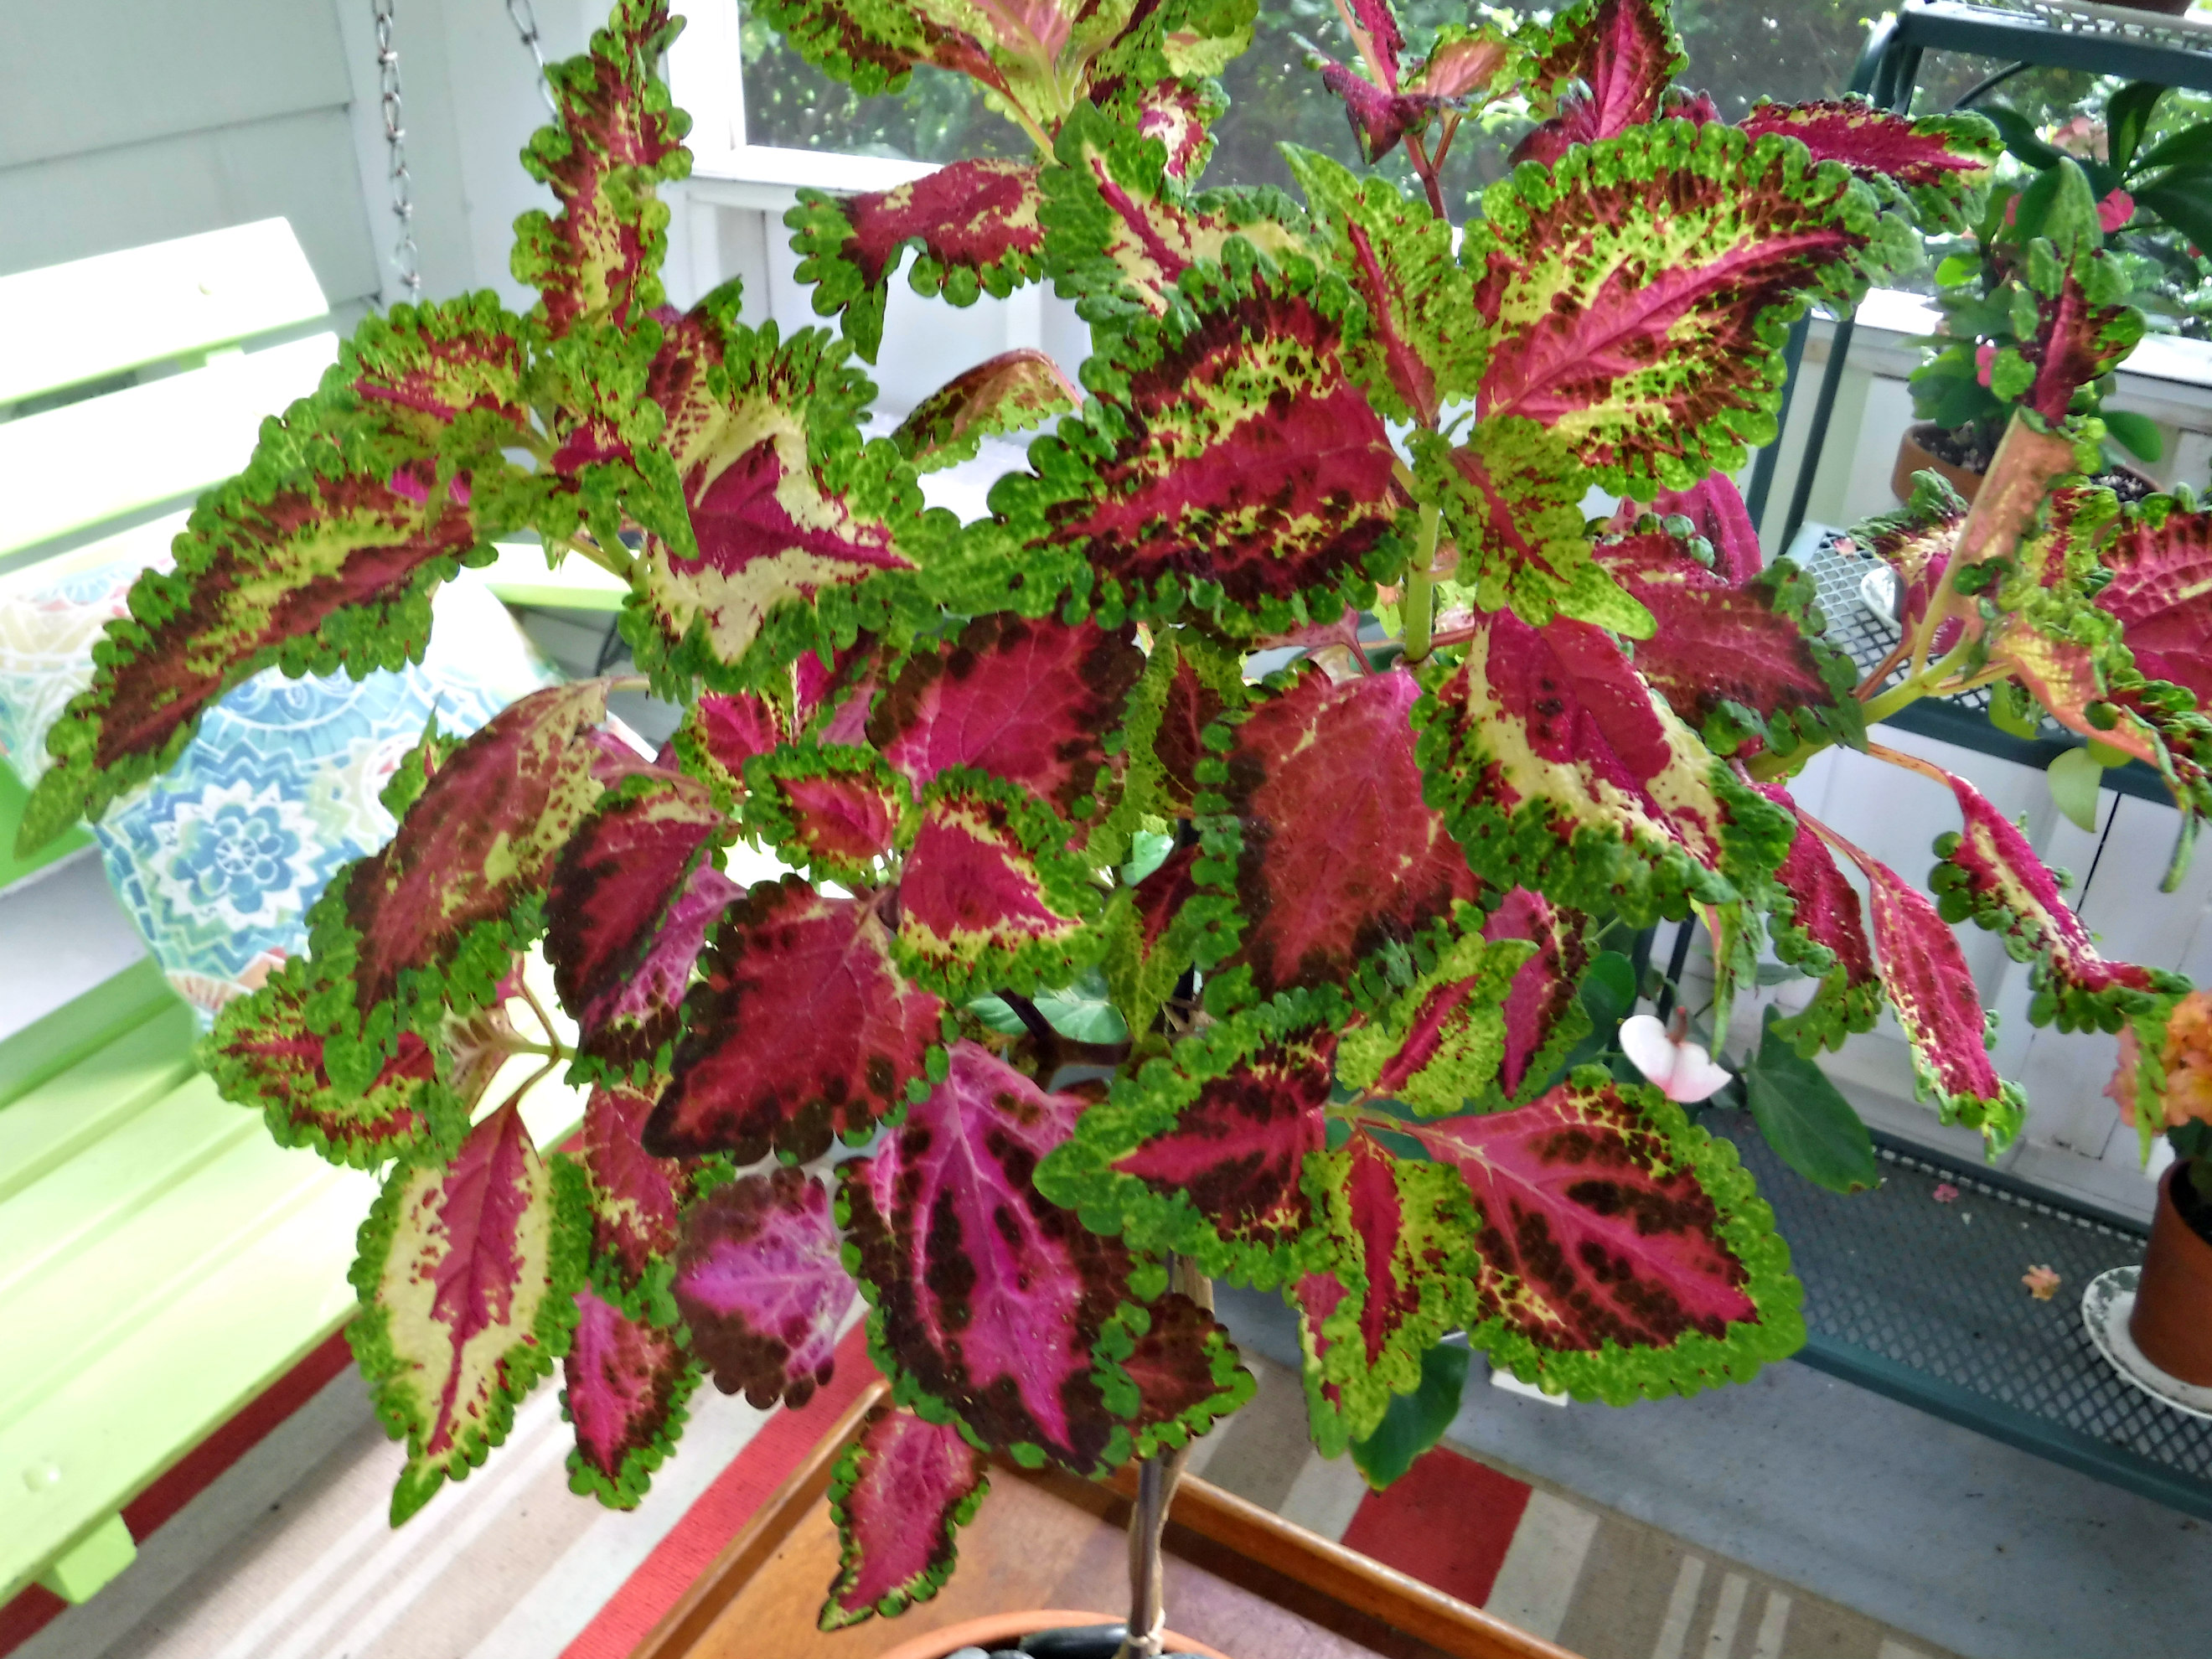
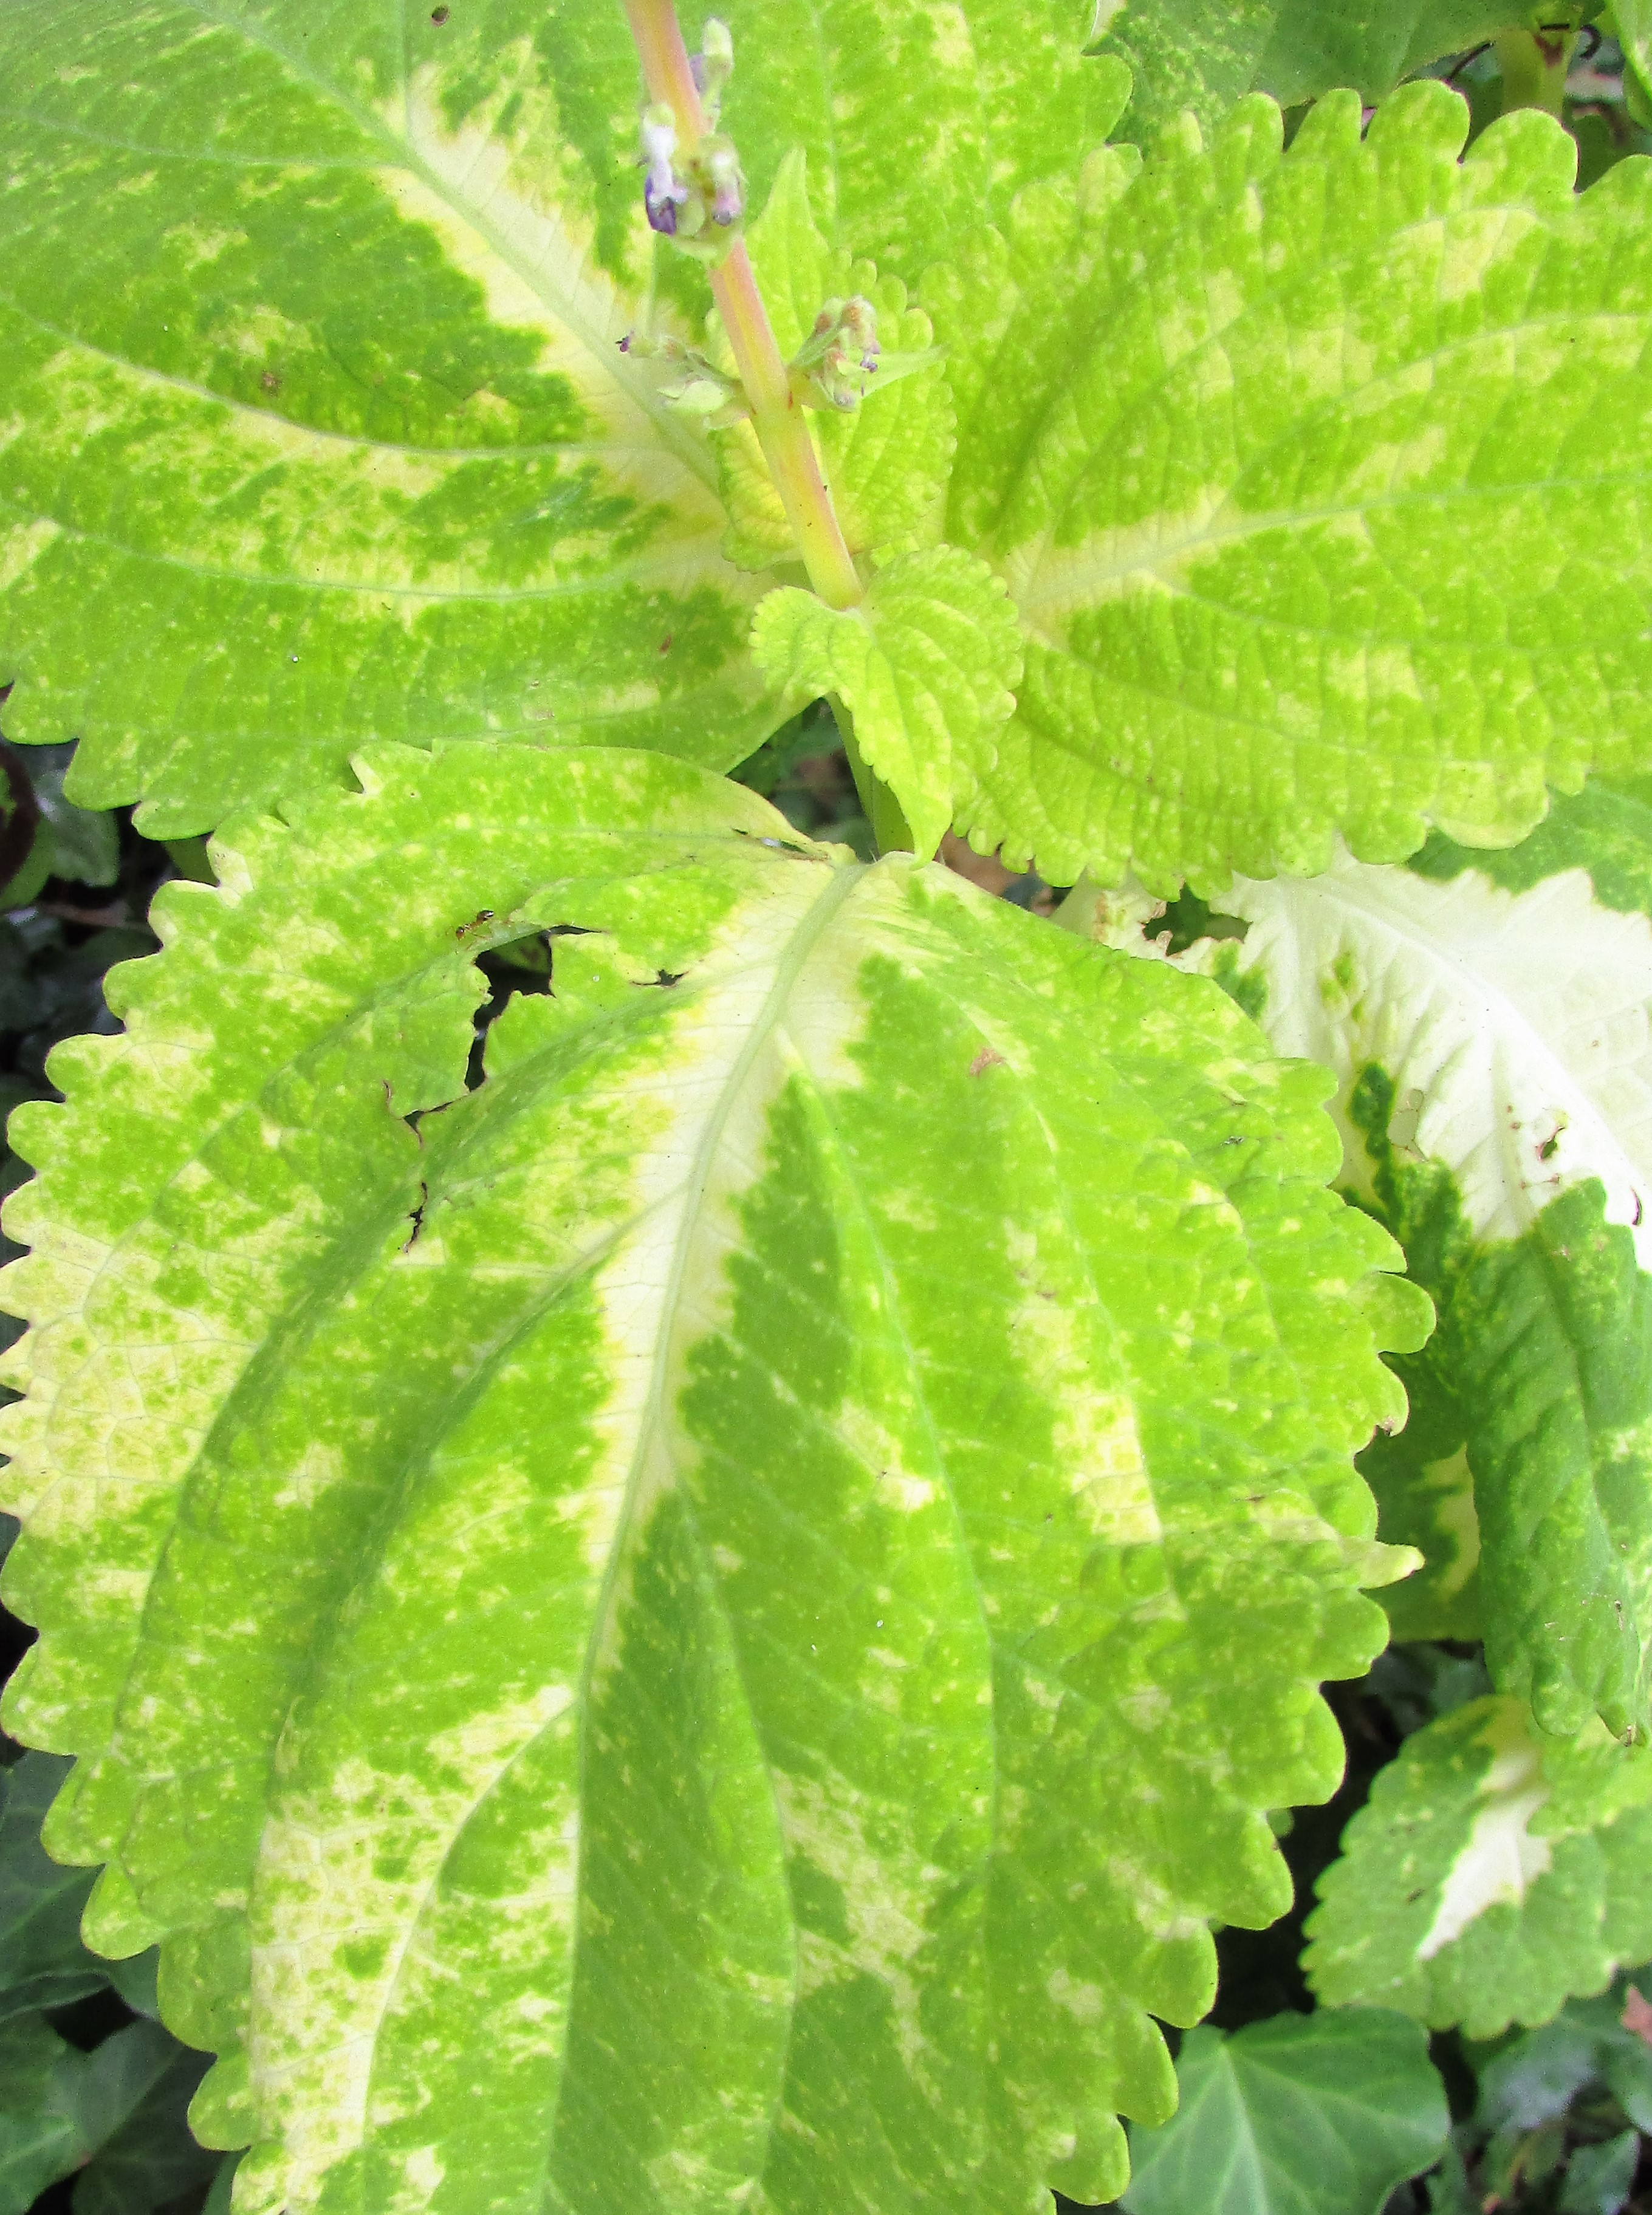
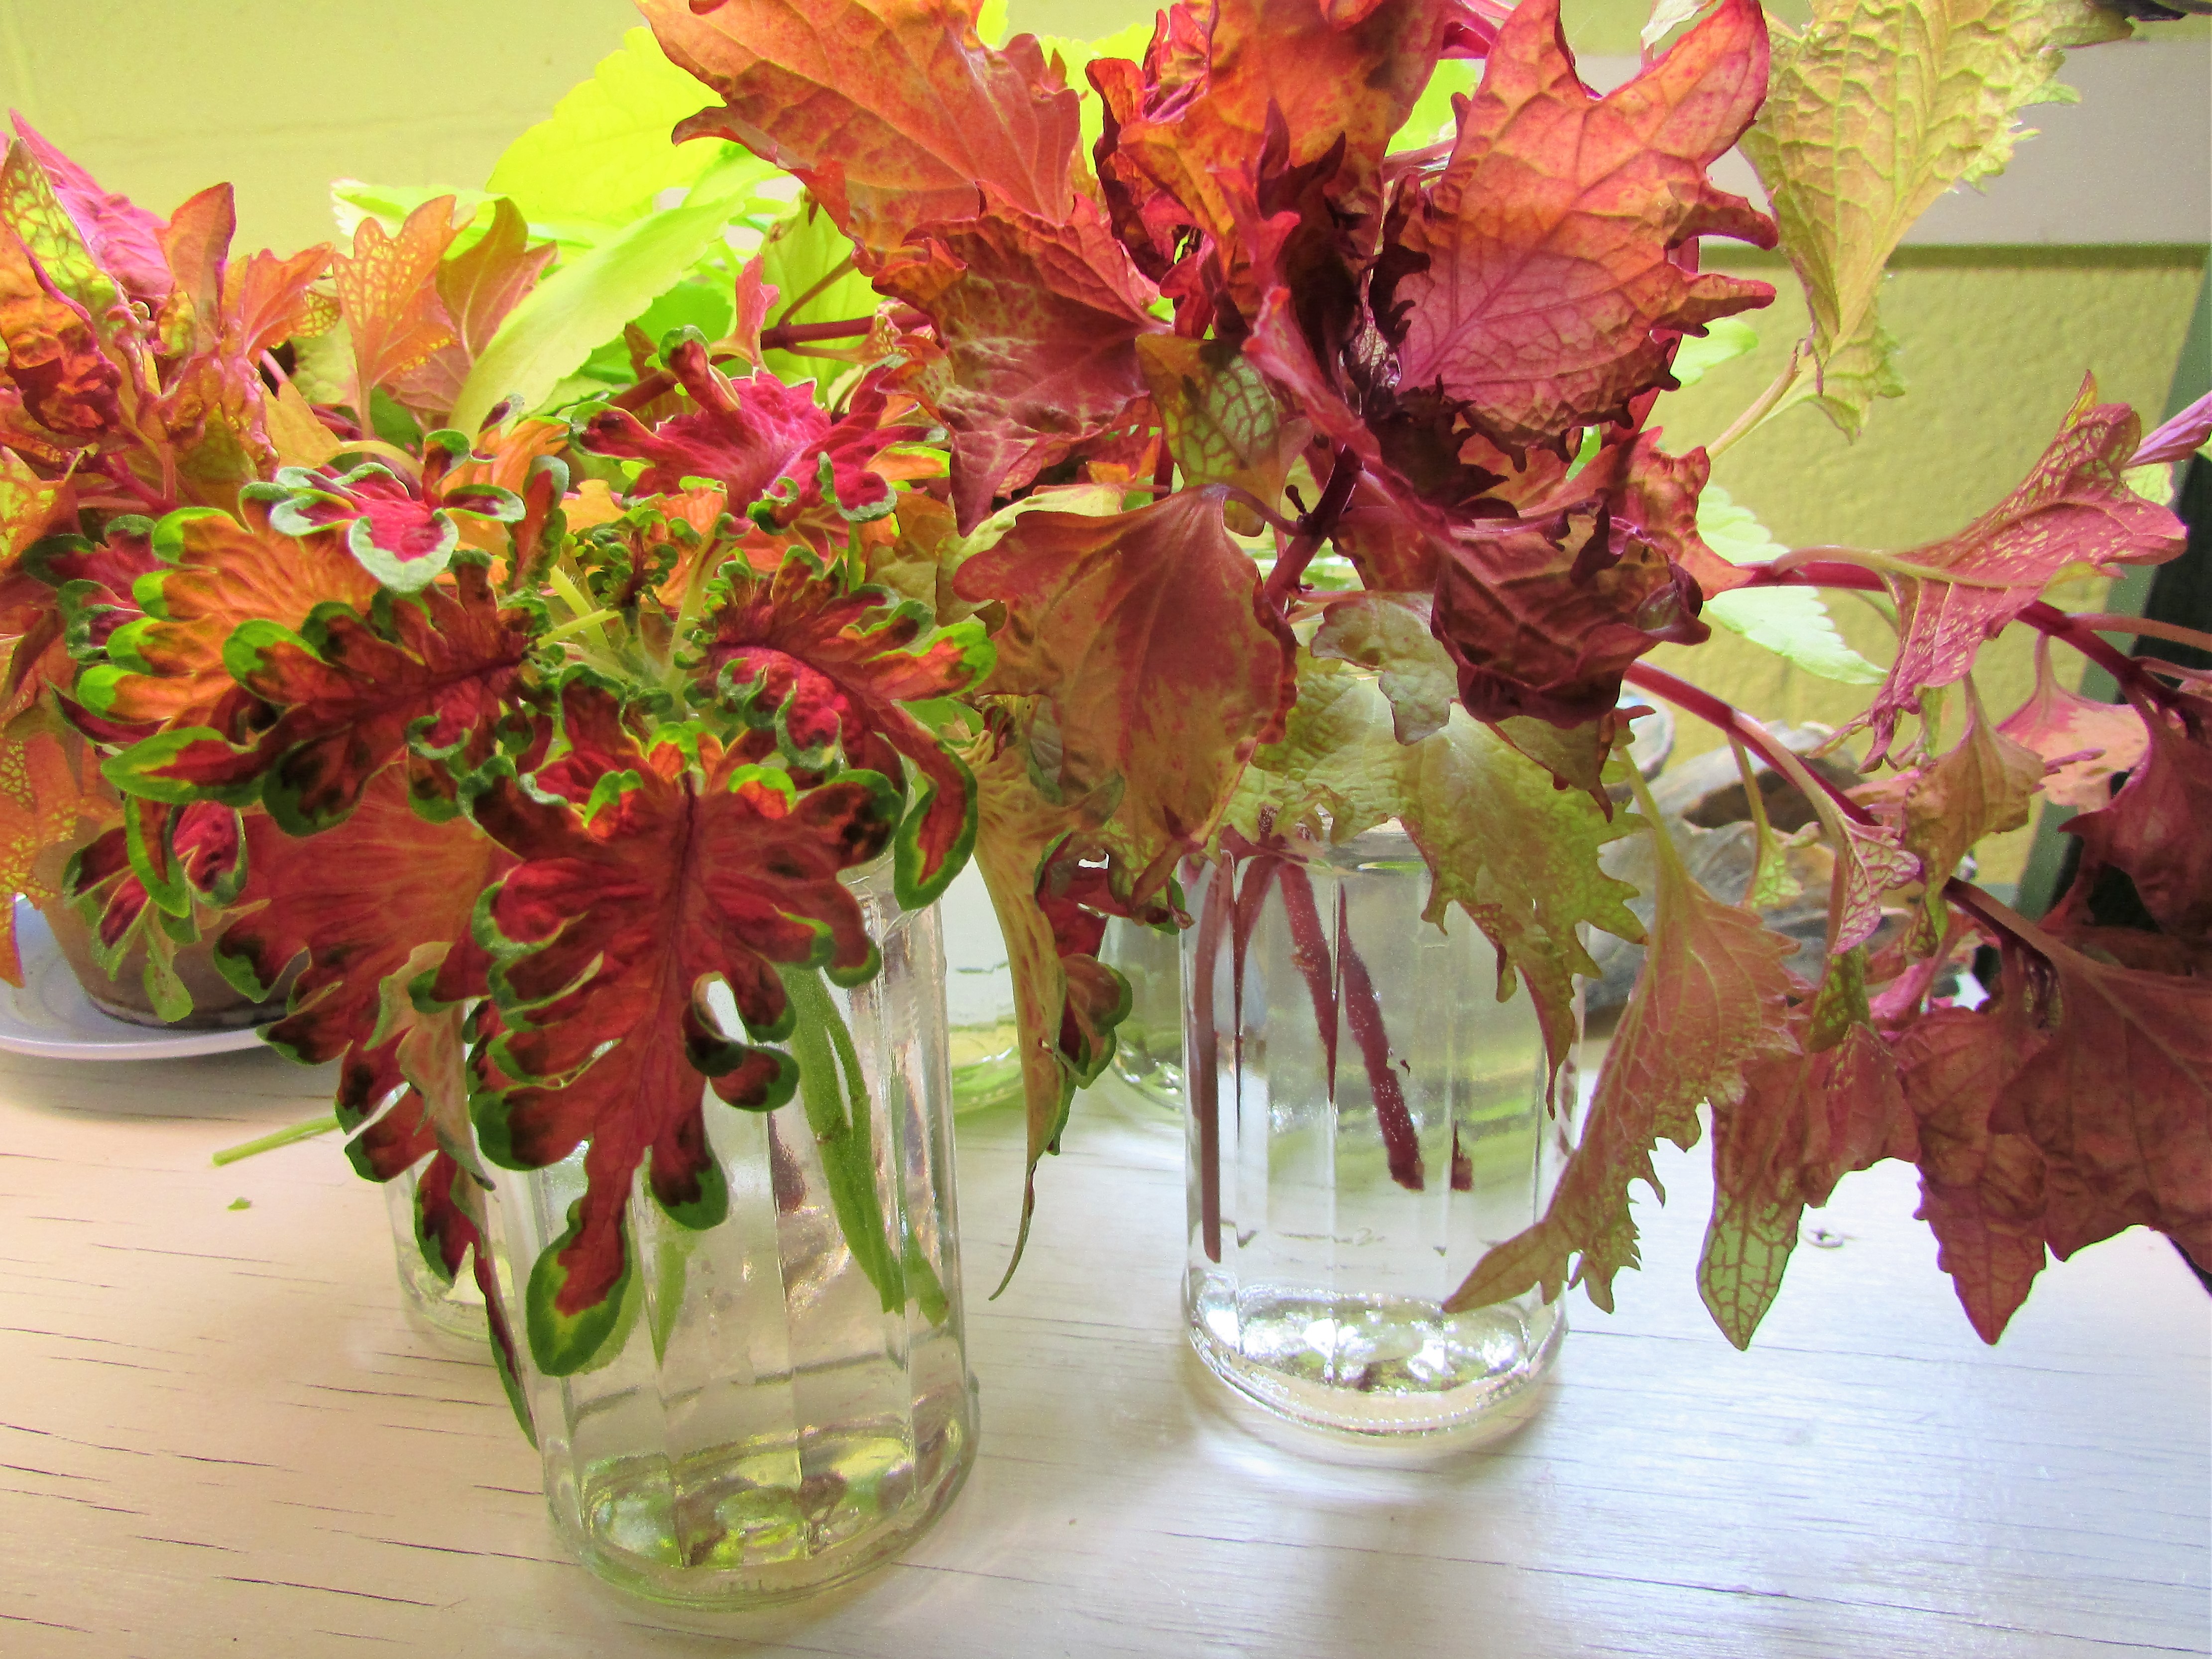
The Joy was so great in me over the gift God gave me that I began to sing. I Think He Loves Me, I Think He Loves Me, I Think He Loves Me, to the tune of the old Partridge Family song, I Think I Love You. That joyful singing has lodged within me since I found the coleus, and I will find myself singing the phrase again. I think he loves me, and that’s a good thing because, more than I think, I know God loves me. My personal burning bush could be the burning reds, pinks, and greens of the small coleus plant.
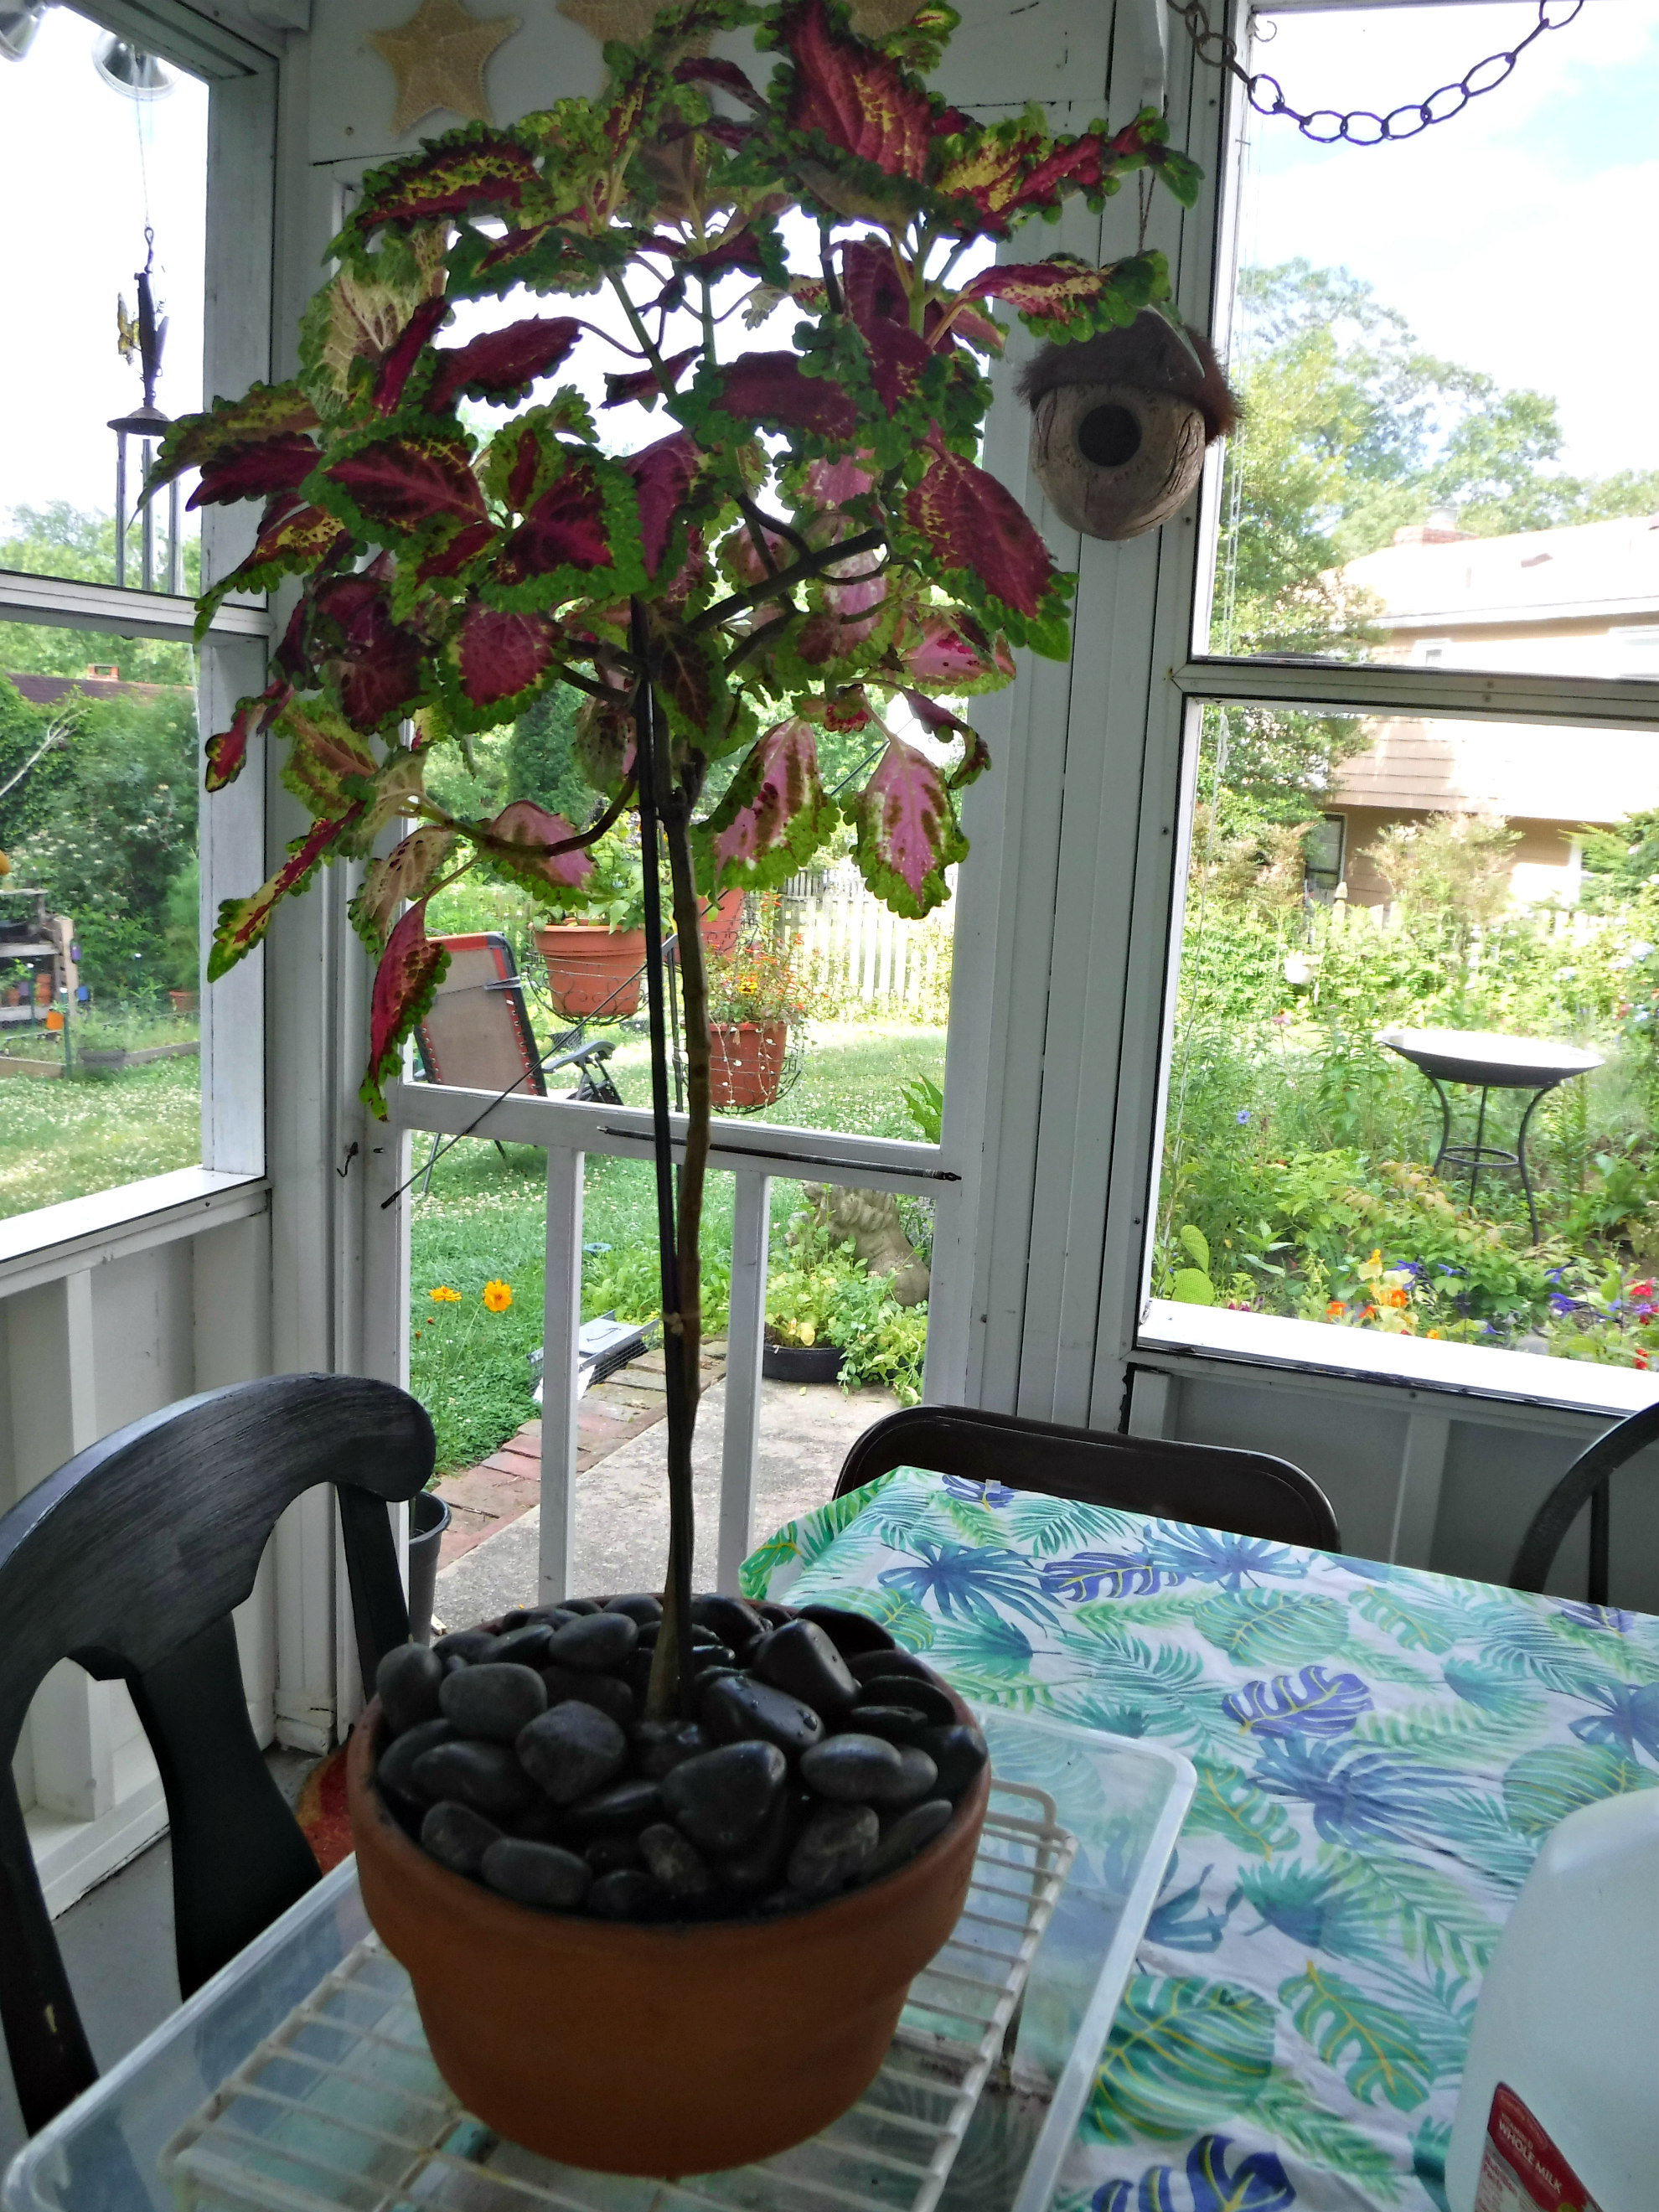
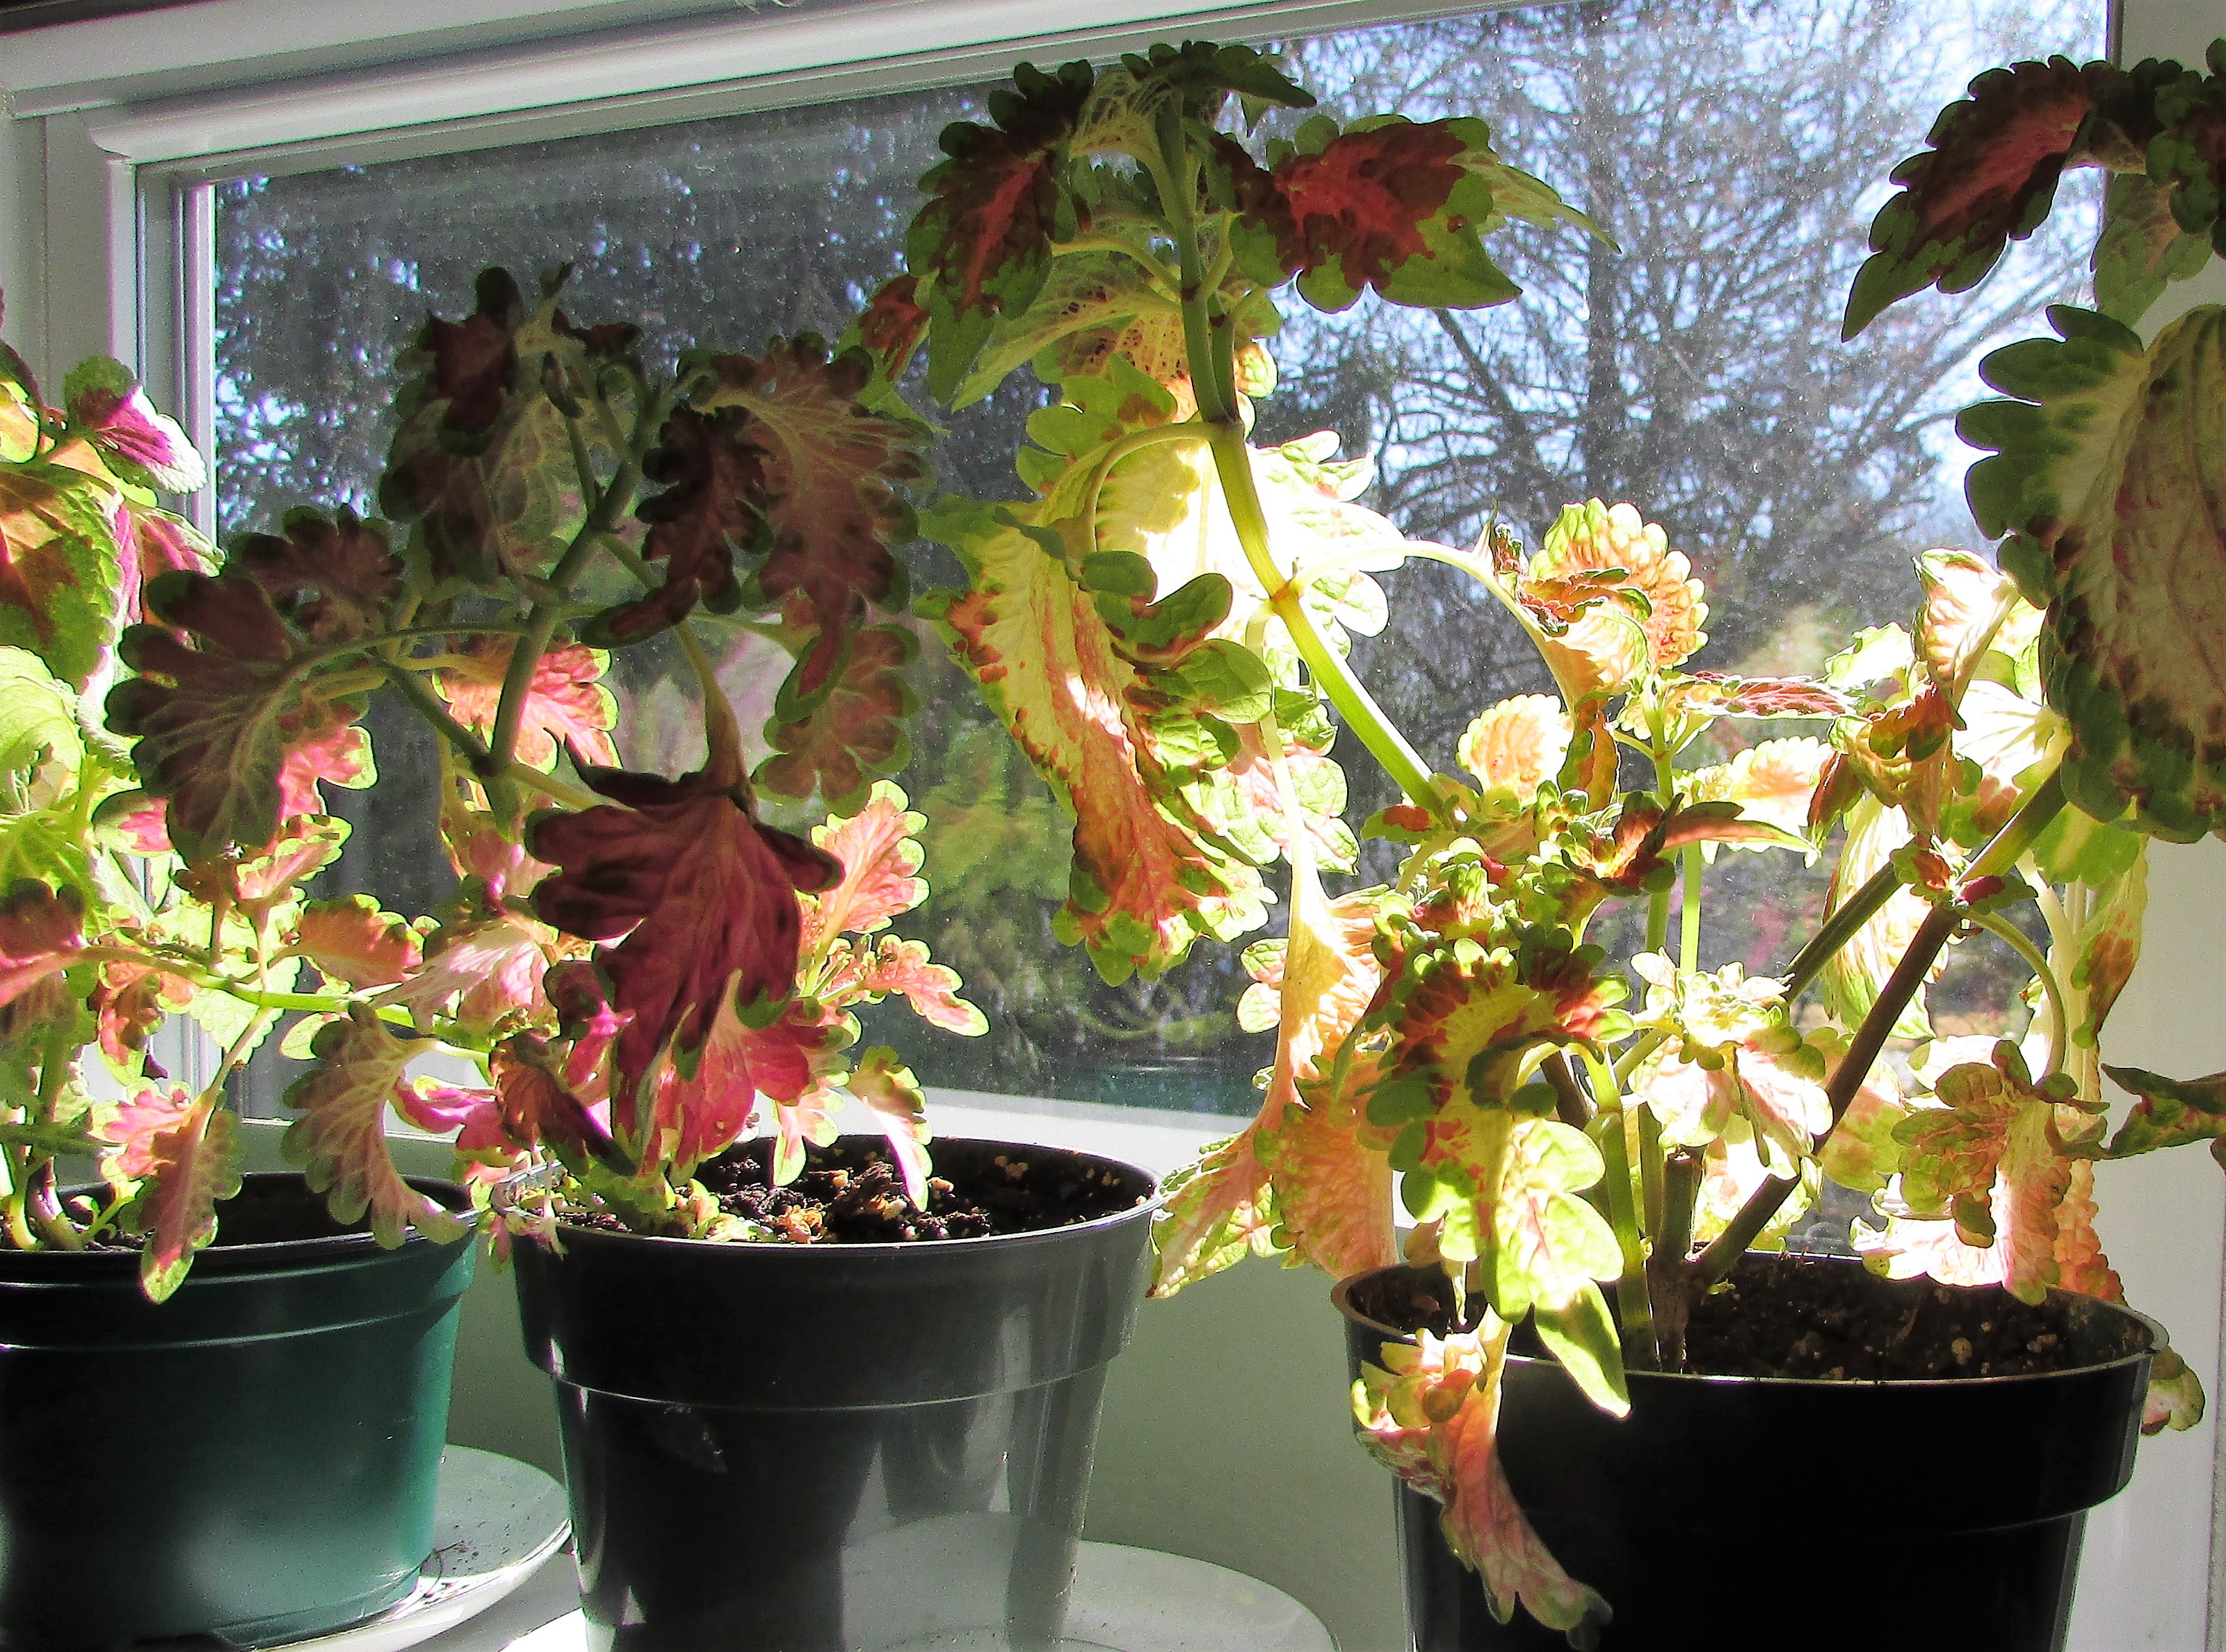
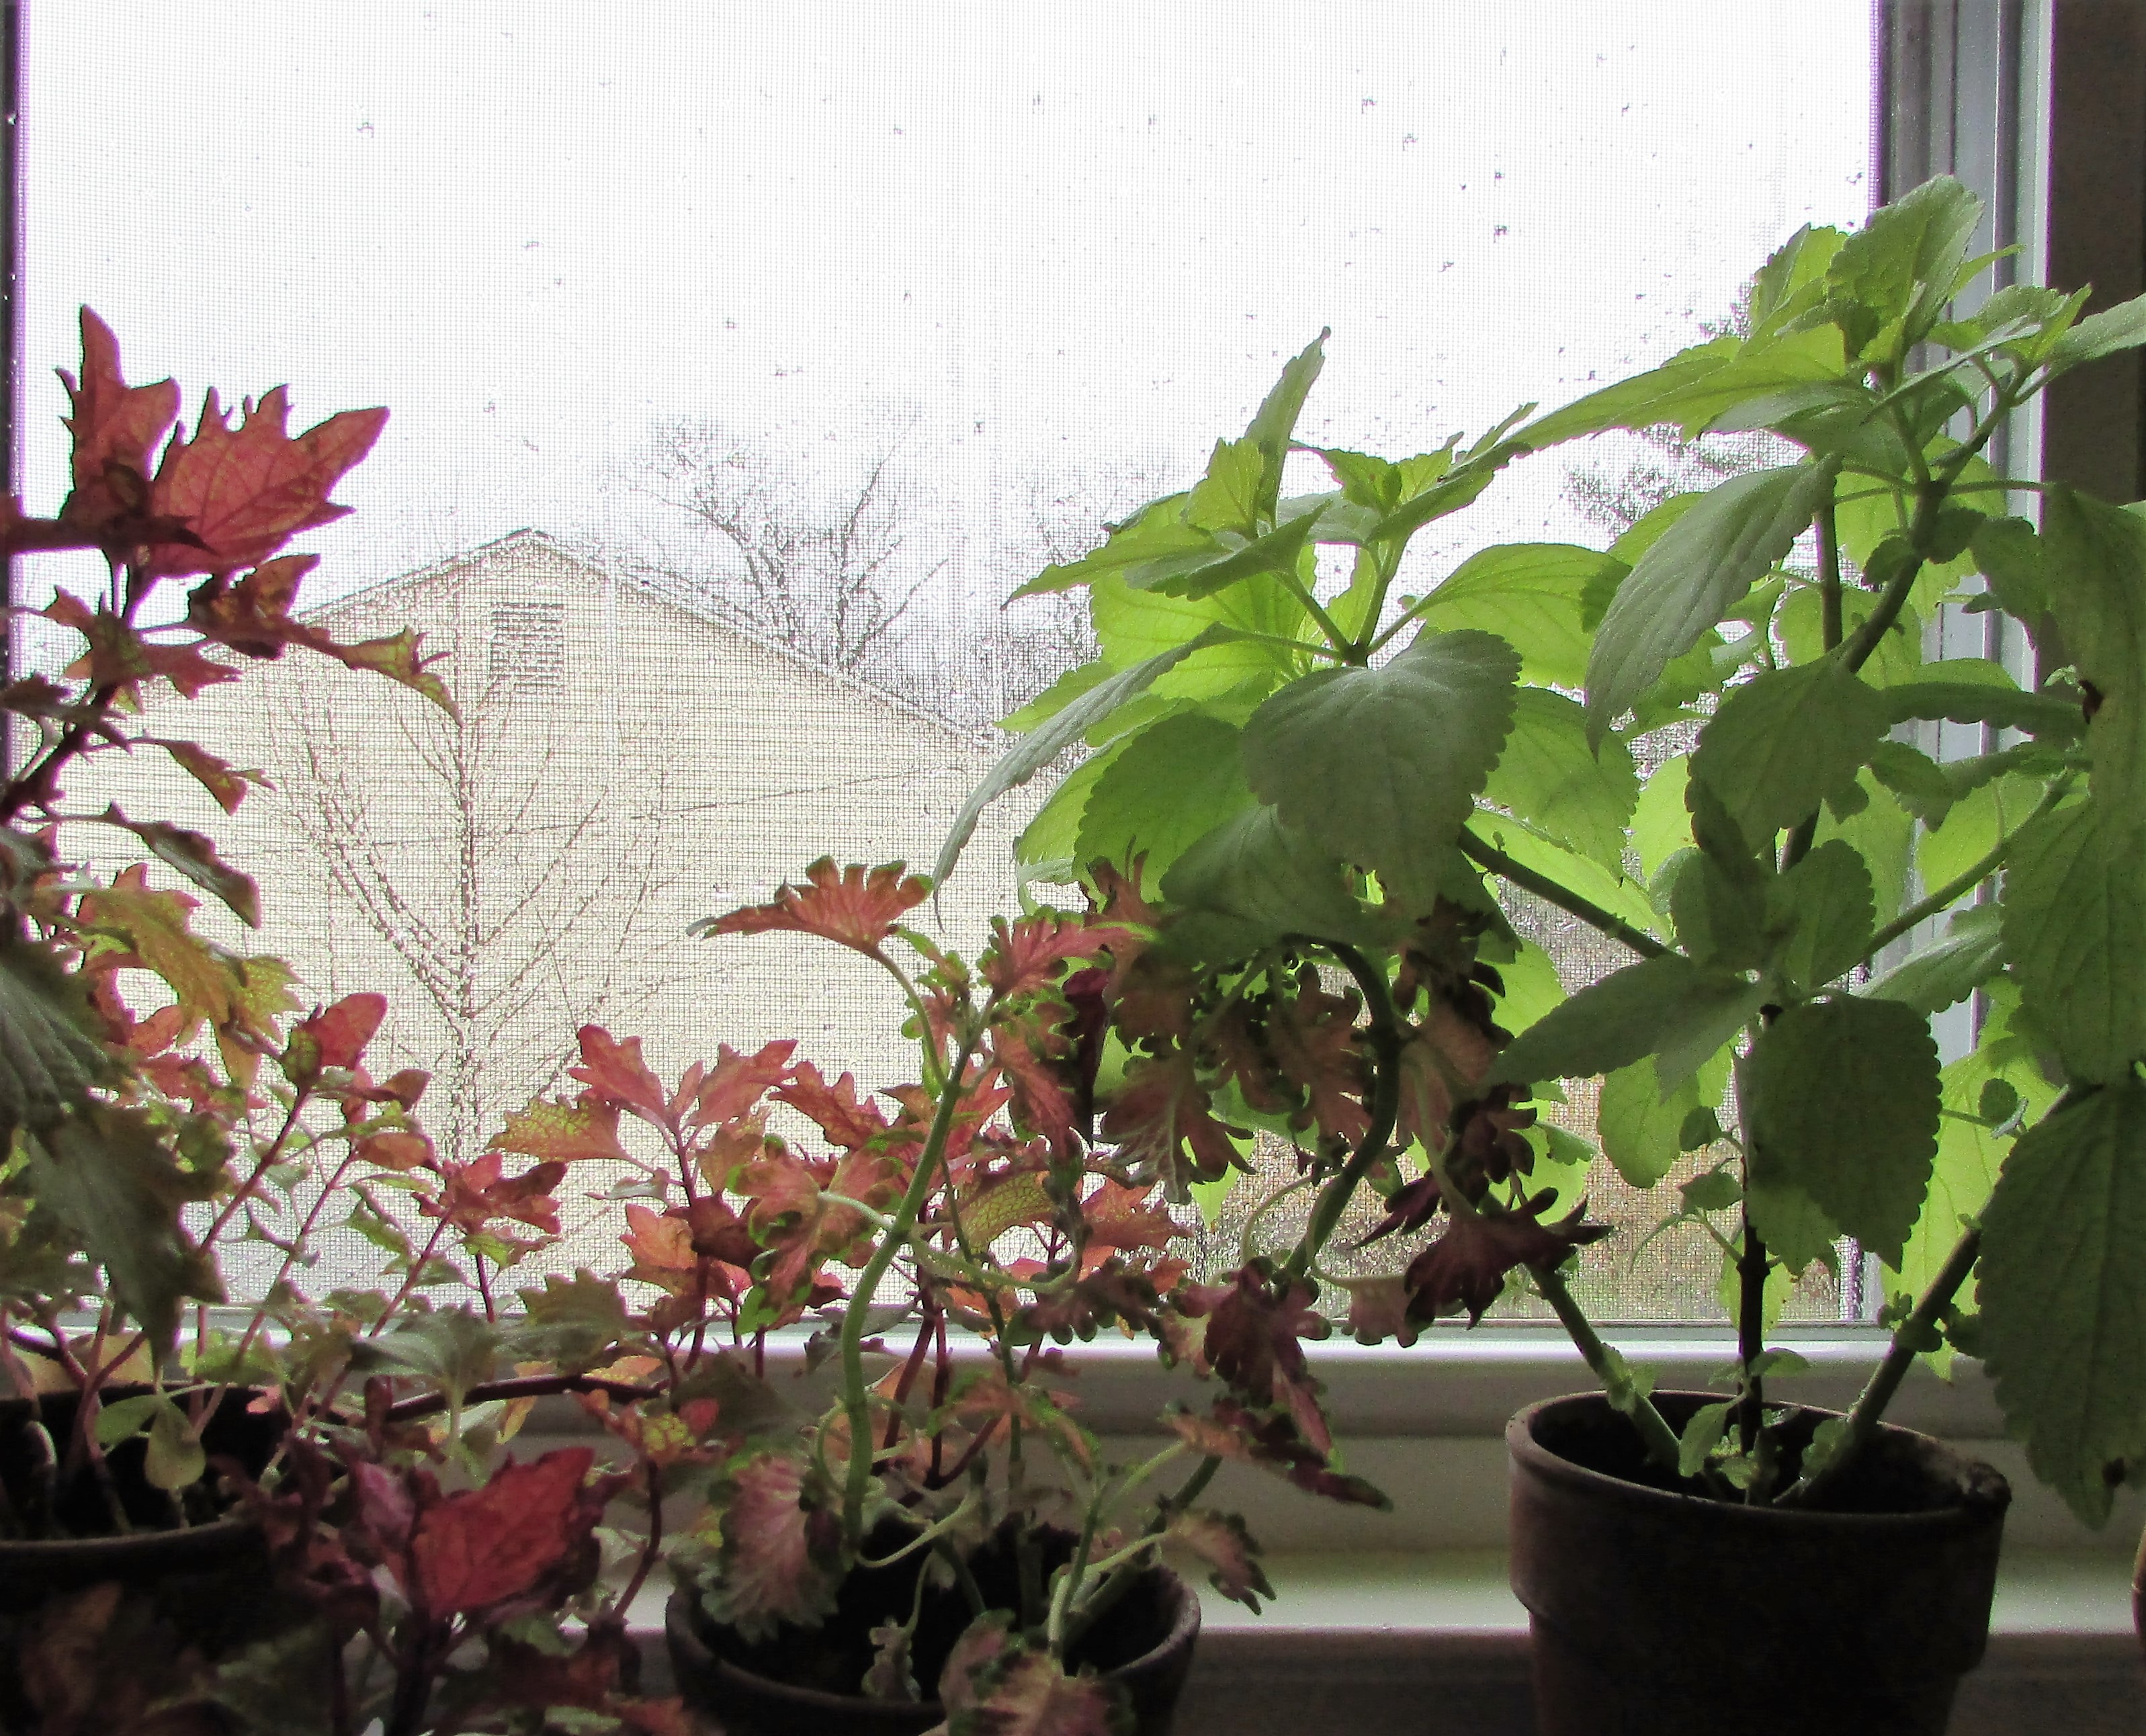
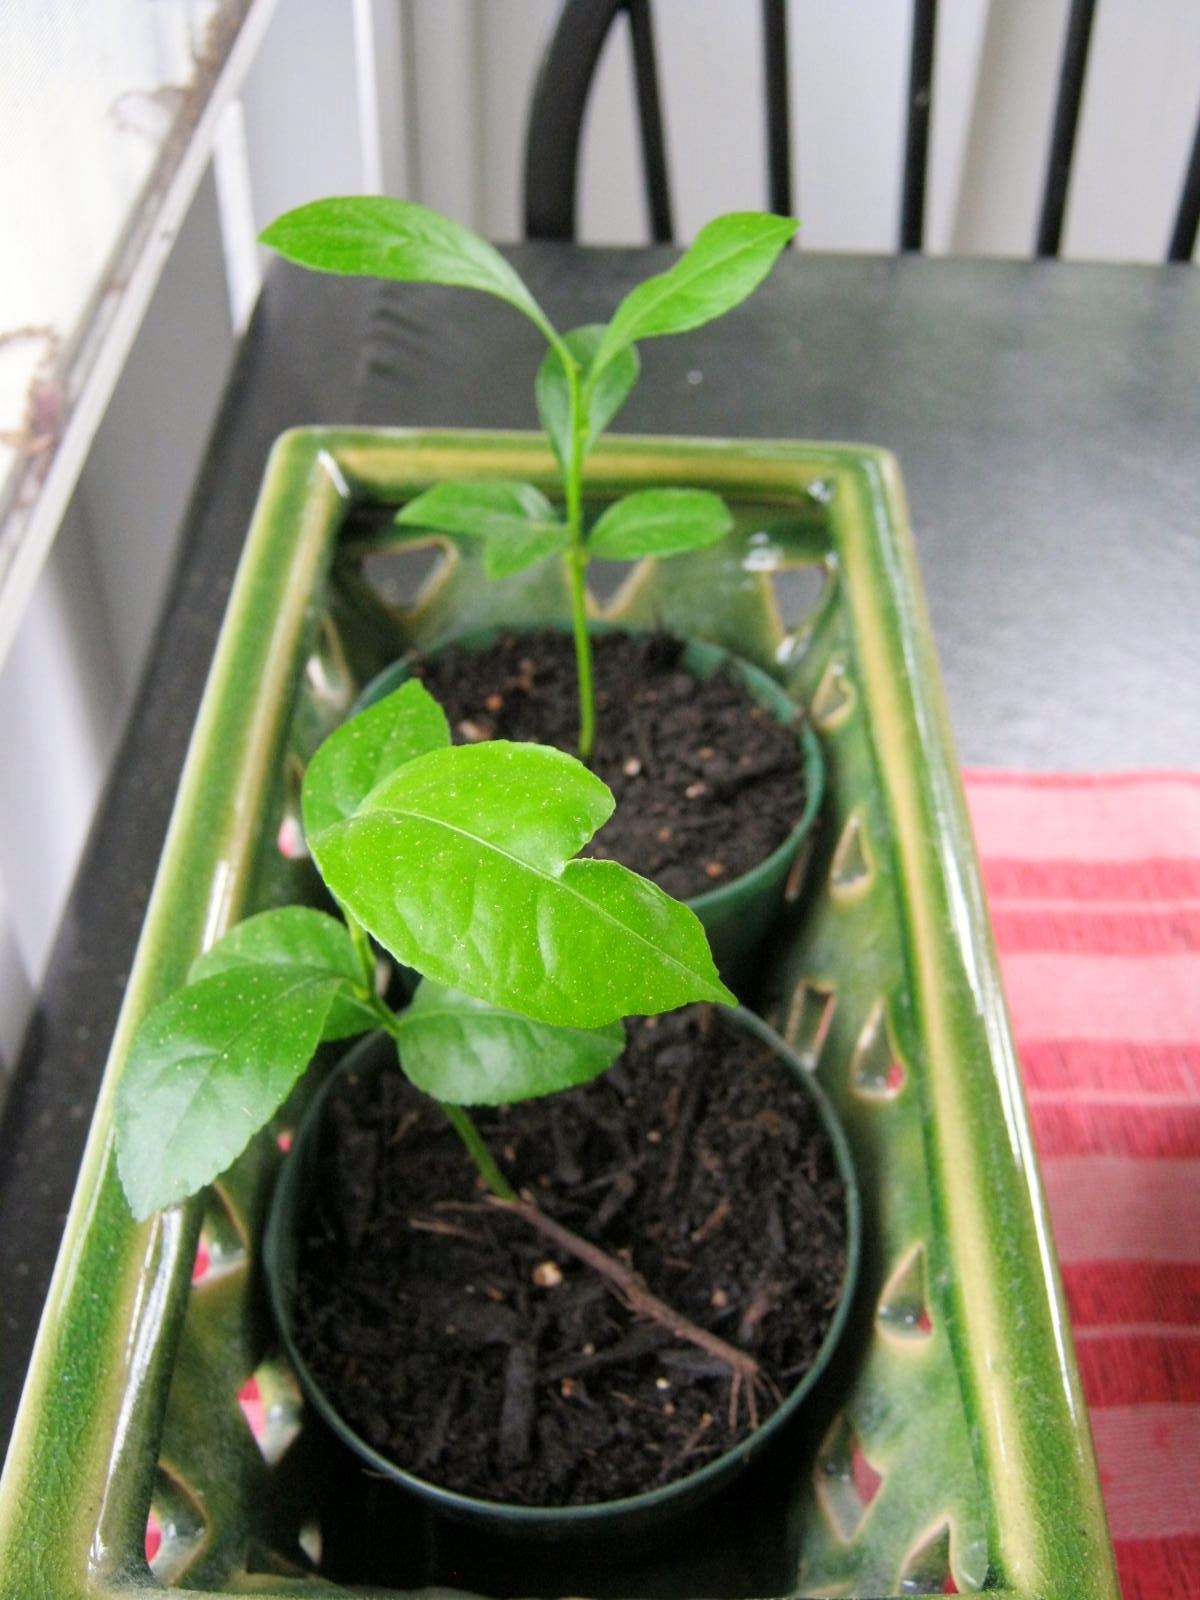
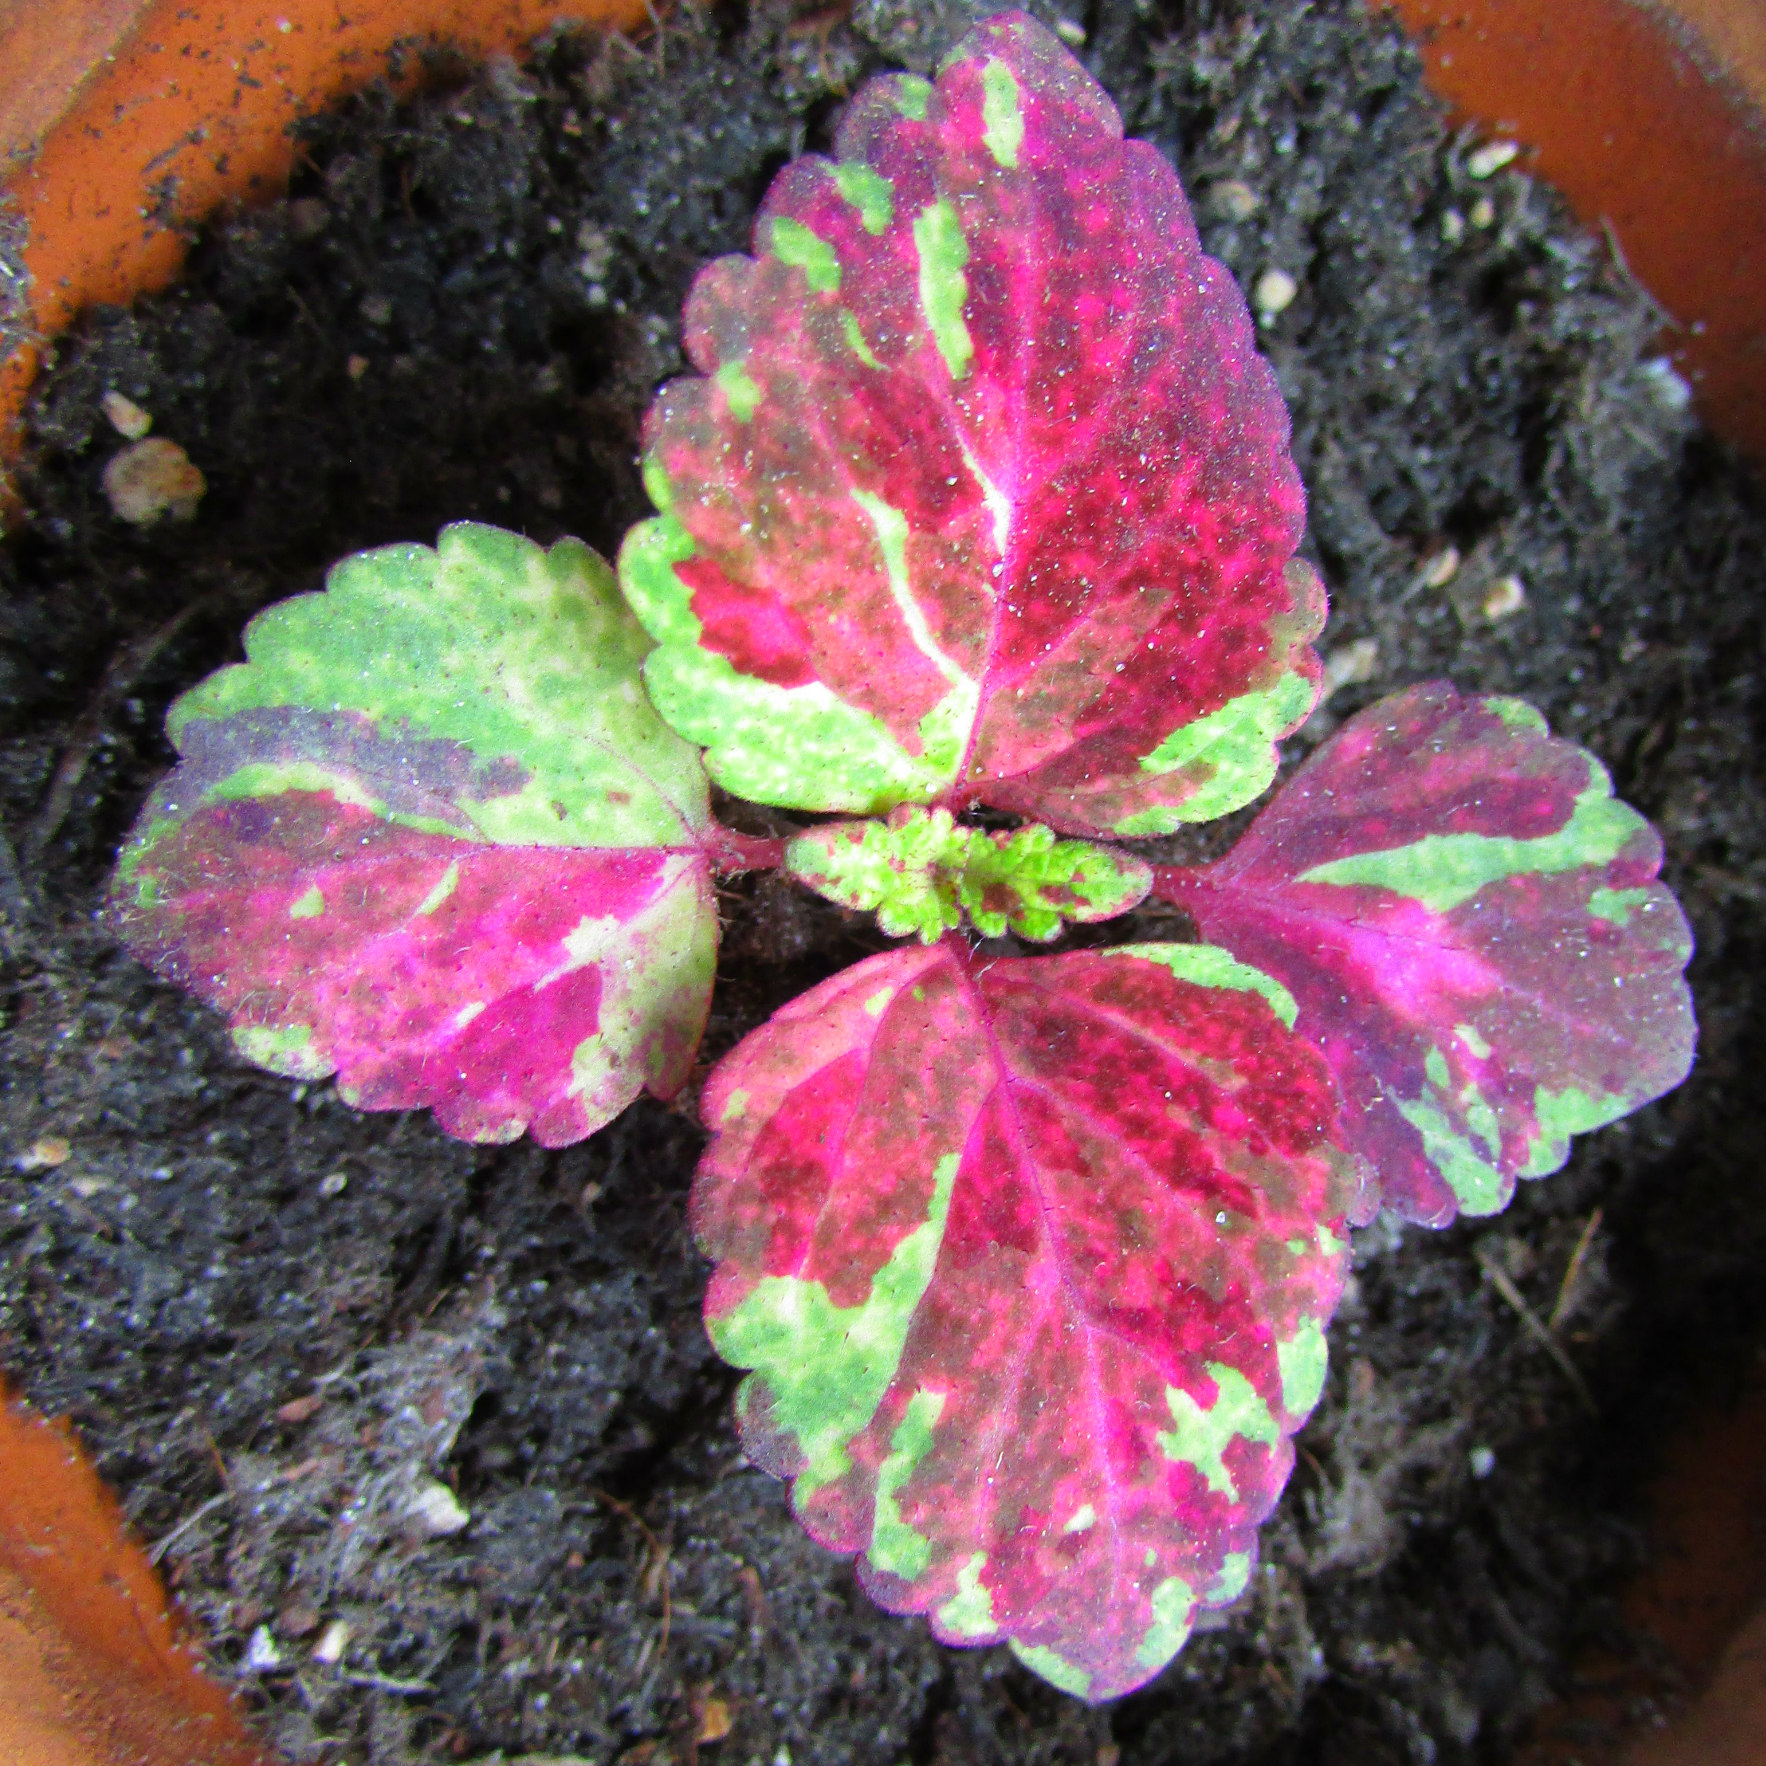
As you can see from the photo, I wasn’t taking any chances, and I transplanted it into a terracotta pot where it will be nurtured through the winter. I hope to propagate it into a whole new series of coleus seeds. This rather long explanation is part of Becky’s Life of B, Simply Red challenge.