Quick Tip – Kid’s Craft

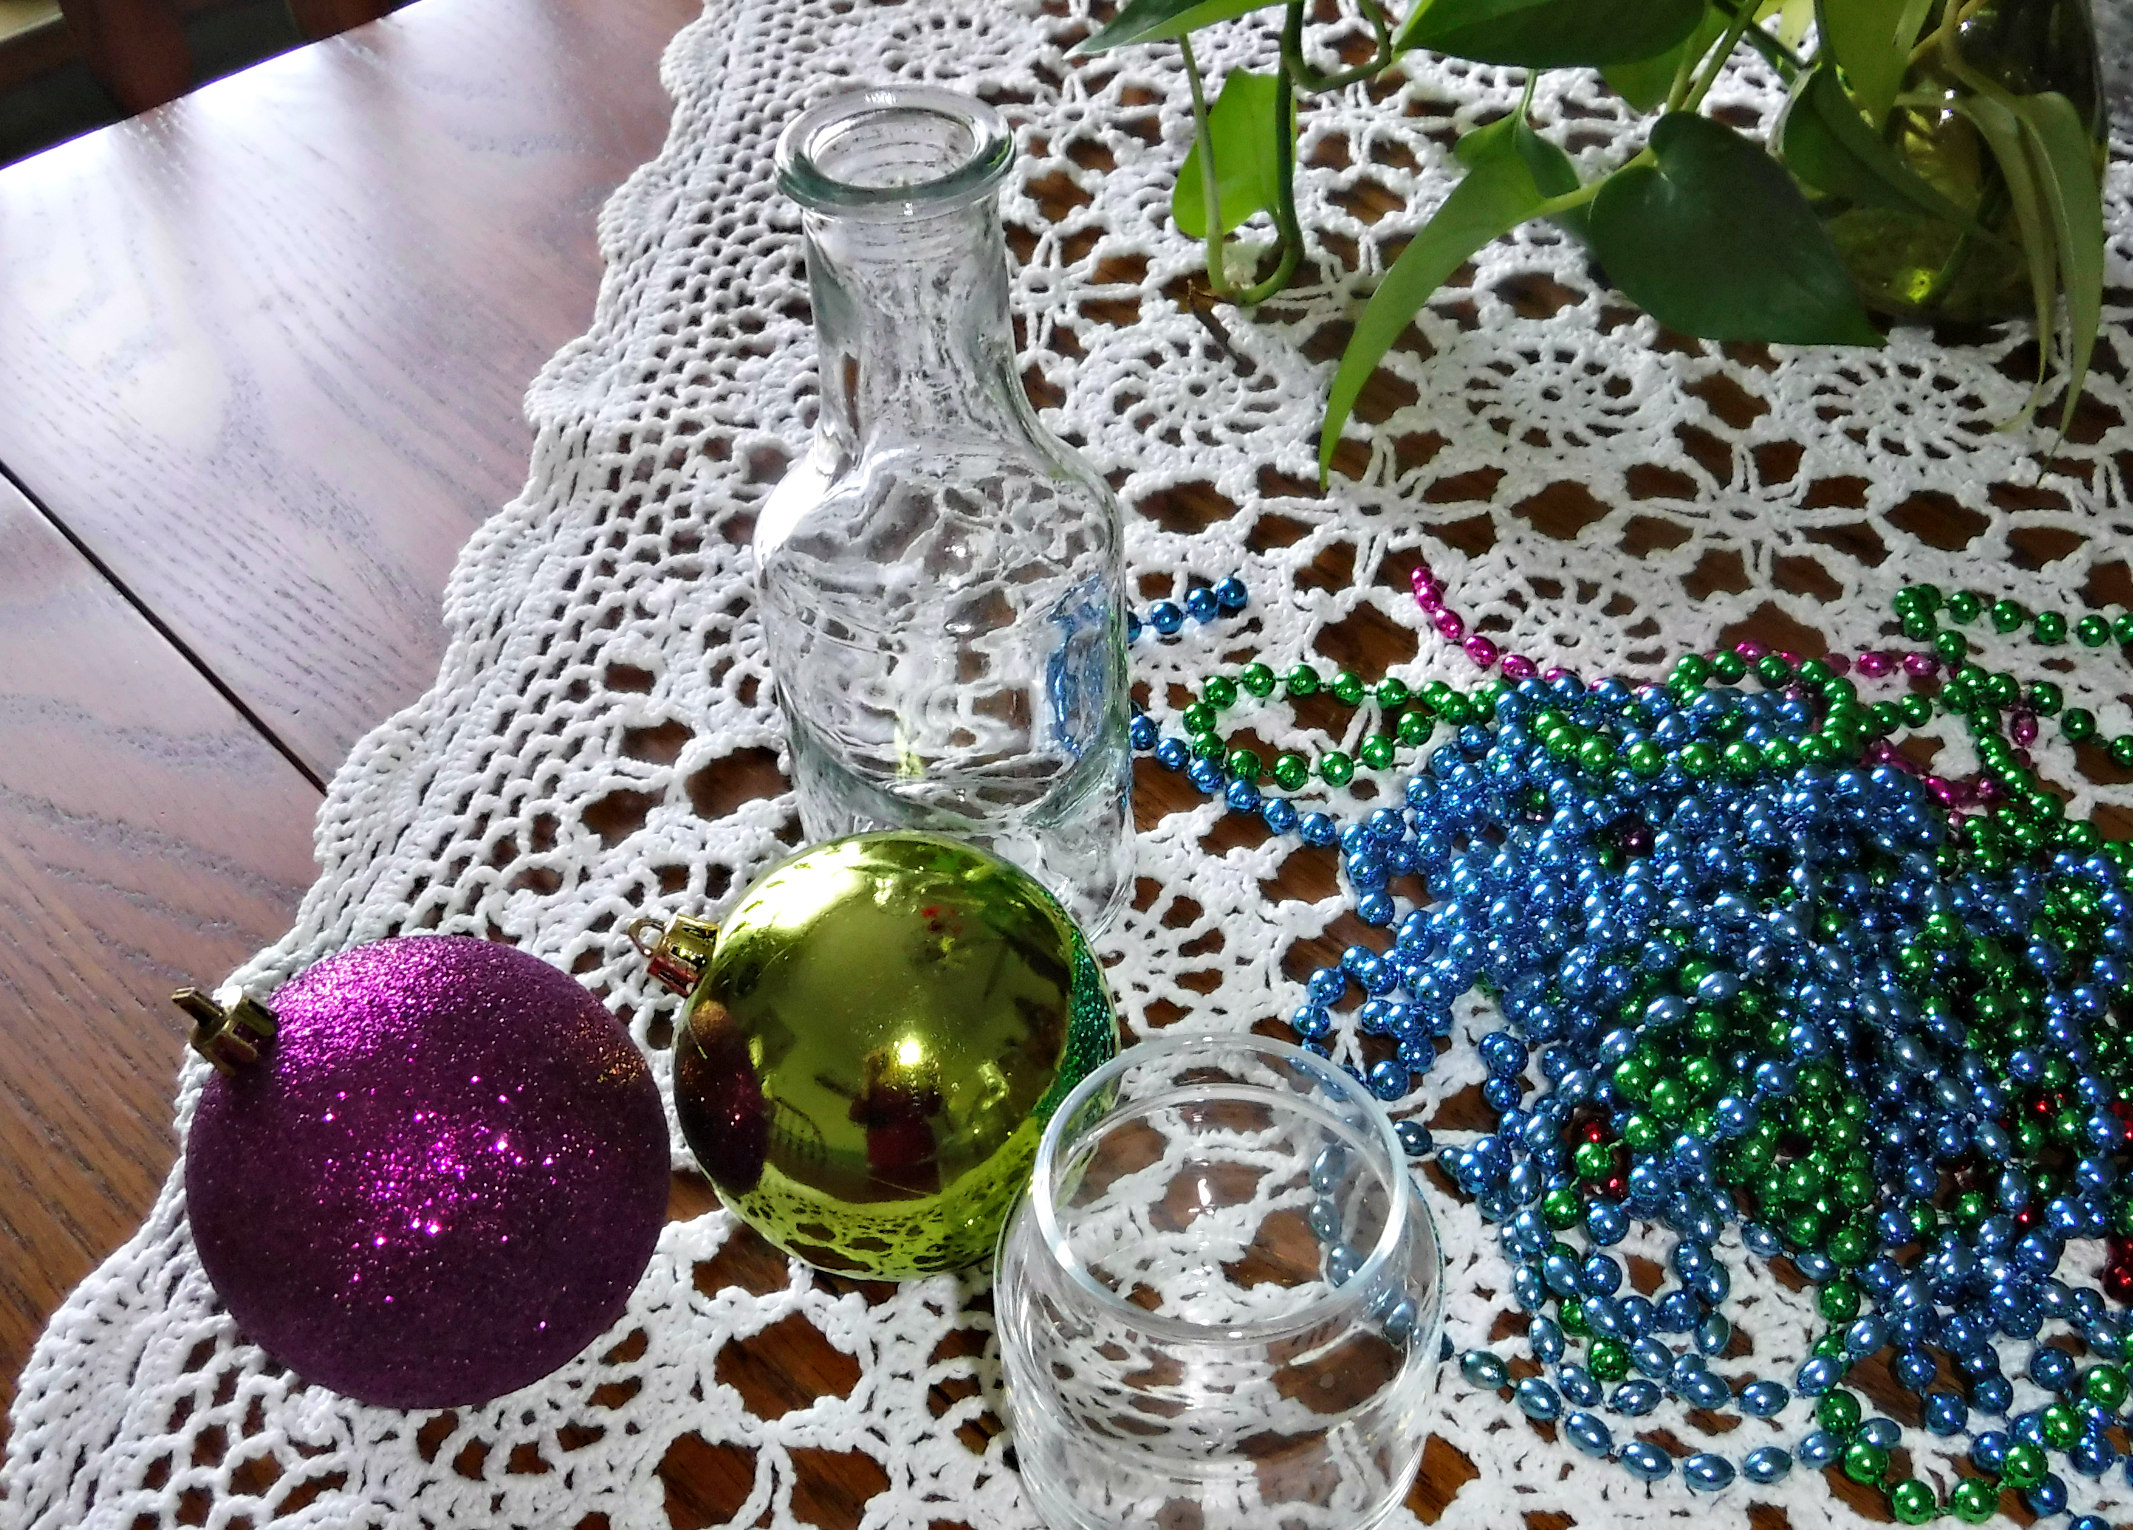
I had extra Christmas beads lying around after I finished decorating this year. Hmmm-what to do with them?

The craft project I used them for reminded me of sand art. It is quick and inexpensive to create with children. Glass bottles aren’t necessary, a plastic one will do just as well. This craft has the potential to be as fancy as you choose to make it, glued on stickers and jewels, etc., or it can be super simple, like mine, and take about five minutes time. Unless you glue the large ornament to the top, I recommend you use something plastic in case it gets jostled and rolls off.

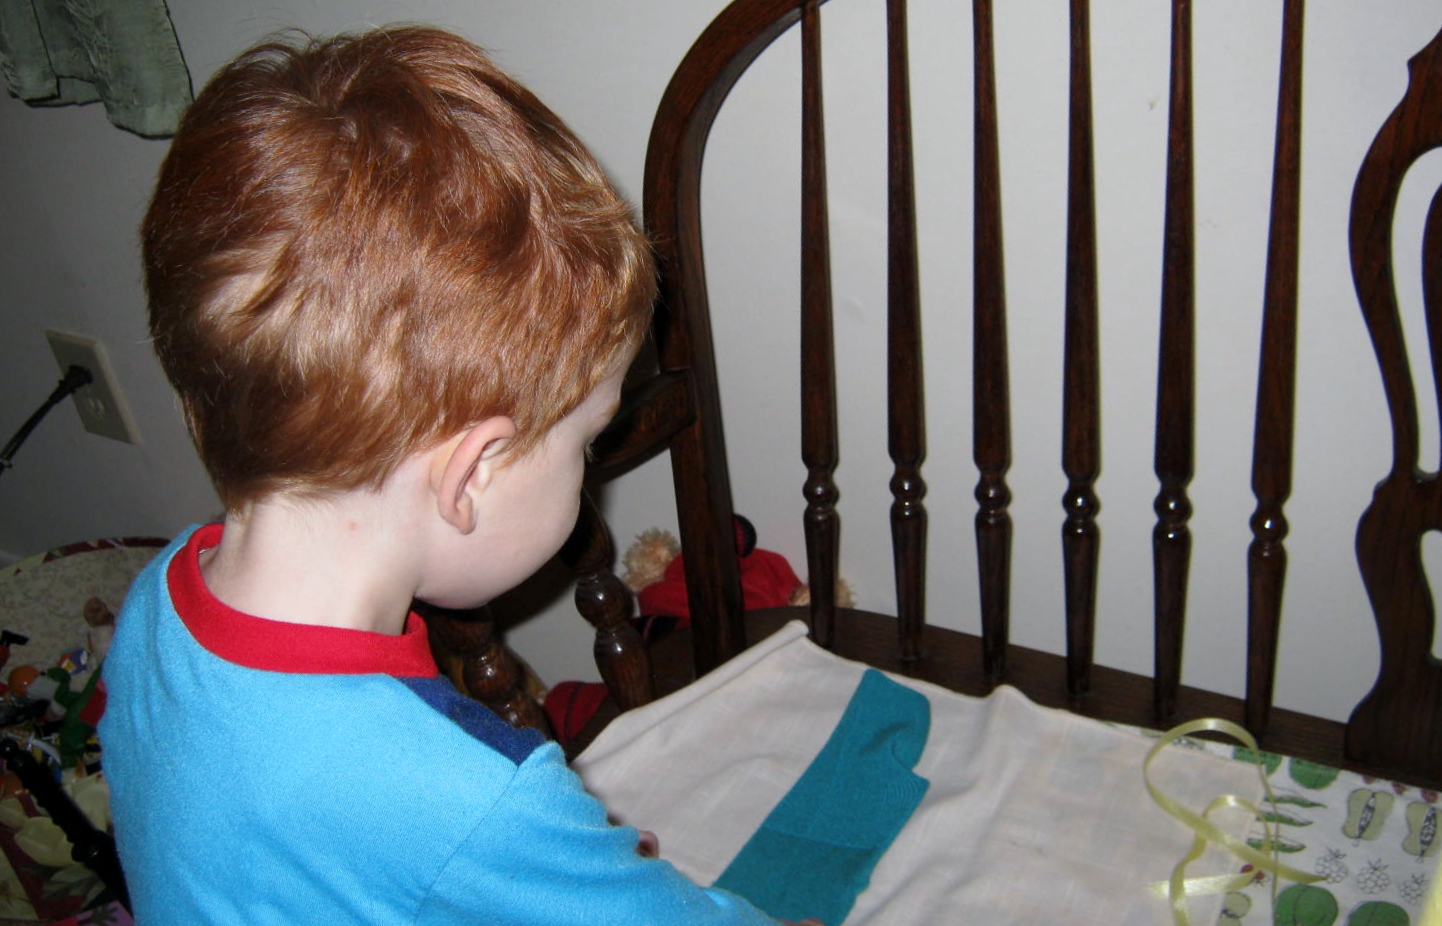
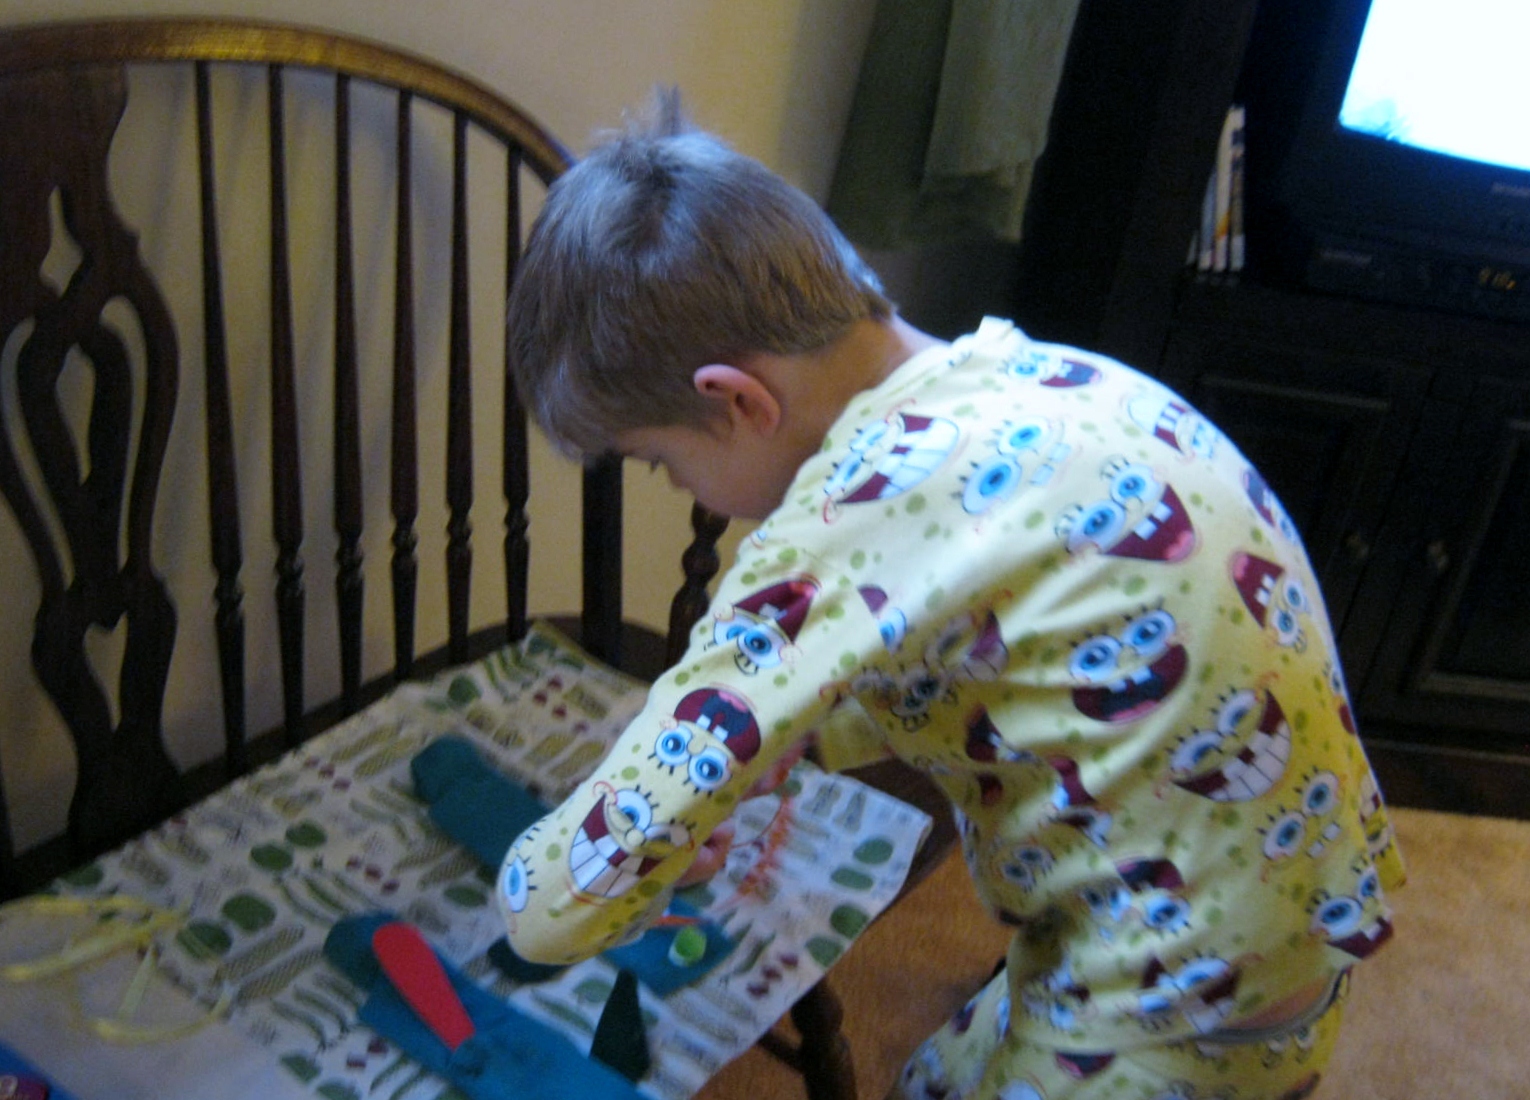
No instructions necessary. Even a toddler can figure out how to make this pretty and festive decoration.

Plants & Project – Sprouting Morning Glories

blog ladybug and spray roses 008

I was in a local dollar store this week, and noticed a rack of seed packets. The azure blue illustration of morning glories drew my eye. Hungry for blue sky on a grey and cloudy day, I picked a packet out of the rack and purchased it for under a dollar. I soaked the seeds overnight, and by morning discovered several little white appendages poking out of their black coats. I planted them about 1/4 inch deep in seed starting medium, covered with self-stick plastic wrap and put them near a heating vent. Oh my! They sprouted in under two days.

morning glories and roses 001

Within two more days the sprouts are greening up. I am planning on growing these vines indoors around a window. I hope to have flowers by the end of March. I will not thin them out, but instead leave them crowded, never fertilize them, and let them fight between themselves for nutrients. It will be a true survival of the fittest. It sounds harsh, but actually my lack of tender-loving care should yield me more blooms of blue. Morning Glories do best in poor soil. If I feed them or give them too much room to grow I will have a magnificent vine and a paltry few blossoms. I want blossoms, blossoms, blossoms…all in glorious shades of sky blue. Updates on their progress will be posted soon.

Planting morning glories is an inexpensive and easy project for children.

Project – Sock Puppets/Fun for Kids

sleepover and sock puppets 021

I love this book from Sesame Street. It is full of ideas to craft with young children. My grandsons and I have enjoyed making several of the projects, and last night, a sleepover night, we were able to complete another one.

sleepover and sock puppets 018

Using a pair of my old socks that had lost their elasticity we cut a piece of heavy cardboard into a long rectangular shape and inserted it into the sock. This kept the two layers of the sock from touching as we glued bits and pieces to both sides. Next we glued on a red foam tongue in the area right under the heel, facing toward the toe of the sock.

sleepover and sock puppets 024

The next step was the fun part…using more tacky glue we added googly eyes, a pompom nose and felt ears on the edges, facing outward. We made sure that the felt ears extended beyond the sides of the sock so that when the puppet was on a hand the ears would droop downward.  Everything was left to dry for several hours, then we removed the cardboard, tied a ribbon around the neck of the puppet and added a heart dog tag.

SO MUCH FUN!!!

sleepover and sock puppets 020

puppet

Phun and Play – Scattering Paint with a Straw

Once again, I made good use of the Pinterest Boards and found a “phun” project for the grandsons. Materials: paper, googly eyes and other lightweight decorations, markers, washable paints (we used Crayola brand) and a straw.

Using a measuring spoon I doled out about 1/4 tsp of two paint colors onto the paper, fairly close together. The boys then blew on the paint through the straws to move the paint in every direction. The colors blended together forming a third color. Because wet paint acts as a glue when it dries, we added our decorations: pompoms, googly eyes, foam stickers while the paint was wet.

When the “creatures”were dried we drew arms and legs. The boys had a great time making this project. It was challenging enough to keep the six year old interested and easy enough for the three year old to do without feeling frustrated. SO MUCH PHUN!!!

Projects – Crayon Chips & Wax Paper = Stained Glass Valentine Hearts

My grandsons and I created beautiful Waxed Paper Stained Glass Hearts to put on our windows. First we used pencil sharpeners and created shavings of pink, red, and violet crayola crayons. Yes, our crayon box is now depleted of these colors…must buy more.

I used the back of a cereal box and cut out a heart shaped pattern. We traced this onto waxed paper with a Sharpie, and then dribbled bits of the shaved crayons into the outline.  We covered the shavings and paper with another sheet of waxed paper, and I ran a hot iron over them very briefly. This melted the crayons into a beautiful pool of swirled and translucent colors. I carefully picked it up and laid it on the garage floor to dry. When they had hardened we cut them out and hung them on our window with double sided tape. (I have since realized a glue stick is a much better choice!) I would give this project an A++.

The Valentine hearts glow when sunshine steams through them. I wish we had more waxed paper and crayons, I would have made dozens.