
Therefore, if anyone is in Christ, he is a new creation; the old has gone, the new has come! 2 Corinthians 5:17 (NIV)


Therefore, if anyone is in Christ, he is a new creation; the old has gone, the new has come! 2 Corinthians 5:17 (NIV)


This week my grandsons and I created stained glass Easter eggs from waxed paper and crayons. The process must involve the participation of an adult.
SUPPLIES

To start, I tore away the crayon paper and chopped them into bits with a large knife, much as if I was chopping nuts. The crayons chop easily, but also fly about a bit. Children can create their own crayon bits by tearing away the paper and sharpening the crayon into fragments. This method takes quite a bit of time. Since I planned on creating three dozen eggs it was easier for me to prepare in advance.

Egg cartons are the perfect container for the chips.

I used a cookie cutter as a pattern, several egg patterns can be found at this link: Egg Patterns. Our eggs are about six inches in length. This was an easy size to handle and large enough to display the colors and patterns.
In retrospect, I wish I had traced with something other than a marker, but can’t think of what might withstand the heat of the iron and still show up for cutting. The process causing a bit of steaming and light smoke to fill the room. It’s a good idea to have some sort of ventilation when you begin (kitchen fan or a slightly open window) If anyone has a good idea for tracing please let me know via the comment sections below and I will edit the post to include your ideas. Thanks!

The boys scattered chips of crayon into the pattern with small measuring spoons. It’s best to limit each eggs choice of color to three, any more than that and you get a muddy look.

An adult needs to complete the next step. Fold over the waxed paper or cover with another sheet. If you are using a good iron cover with newspaper. Since I used a craft iron that is specifically used for messy crafts, I ironed directly on the waxed paper so I could see the progression of the melting. Here’s a step by step look at the bits melting into the finished design.


At this point lay the egg aside to completely dry. This only takes a minute or two. When it is cool and the wax hardened, cut the egg out with scissors.
I hang my eggs by using glue stick on the back and placing them directly on the windows. The glue dries clear, and upon removal is easy to wipe away with a wet washcloth before cleaning your windows with Windex.
We found using a large amount of chips equaled a vibrant, colorful egg. To create a more pastel appearance, such as the last egg featured below, use less chips.
Here a few samples of our Easter eggs. I hope you will give this beautiful craft a try.


![]()

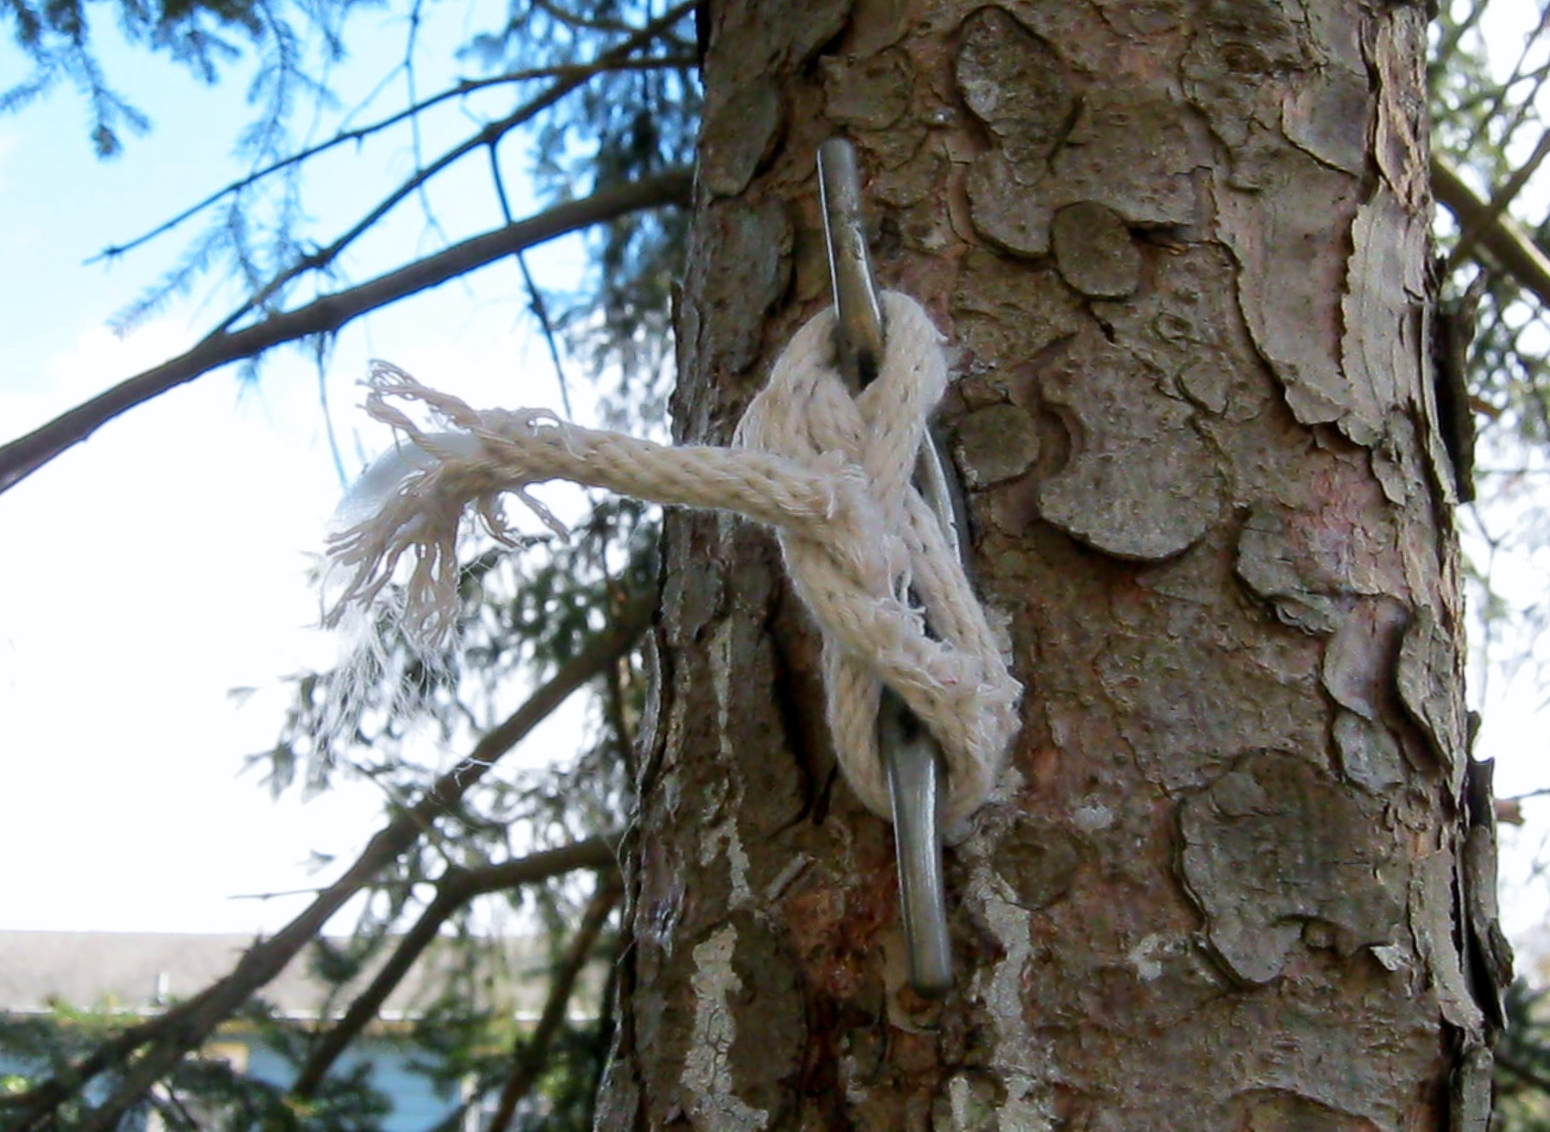
This is my clothesline, well at least a portion of my clothesline…
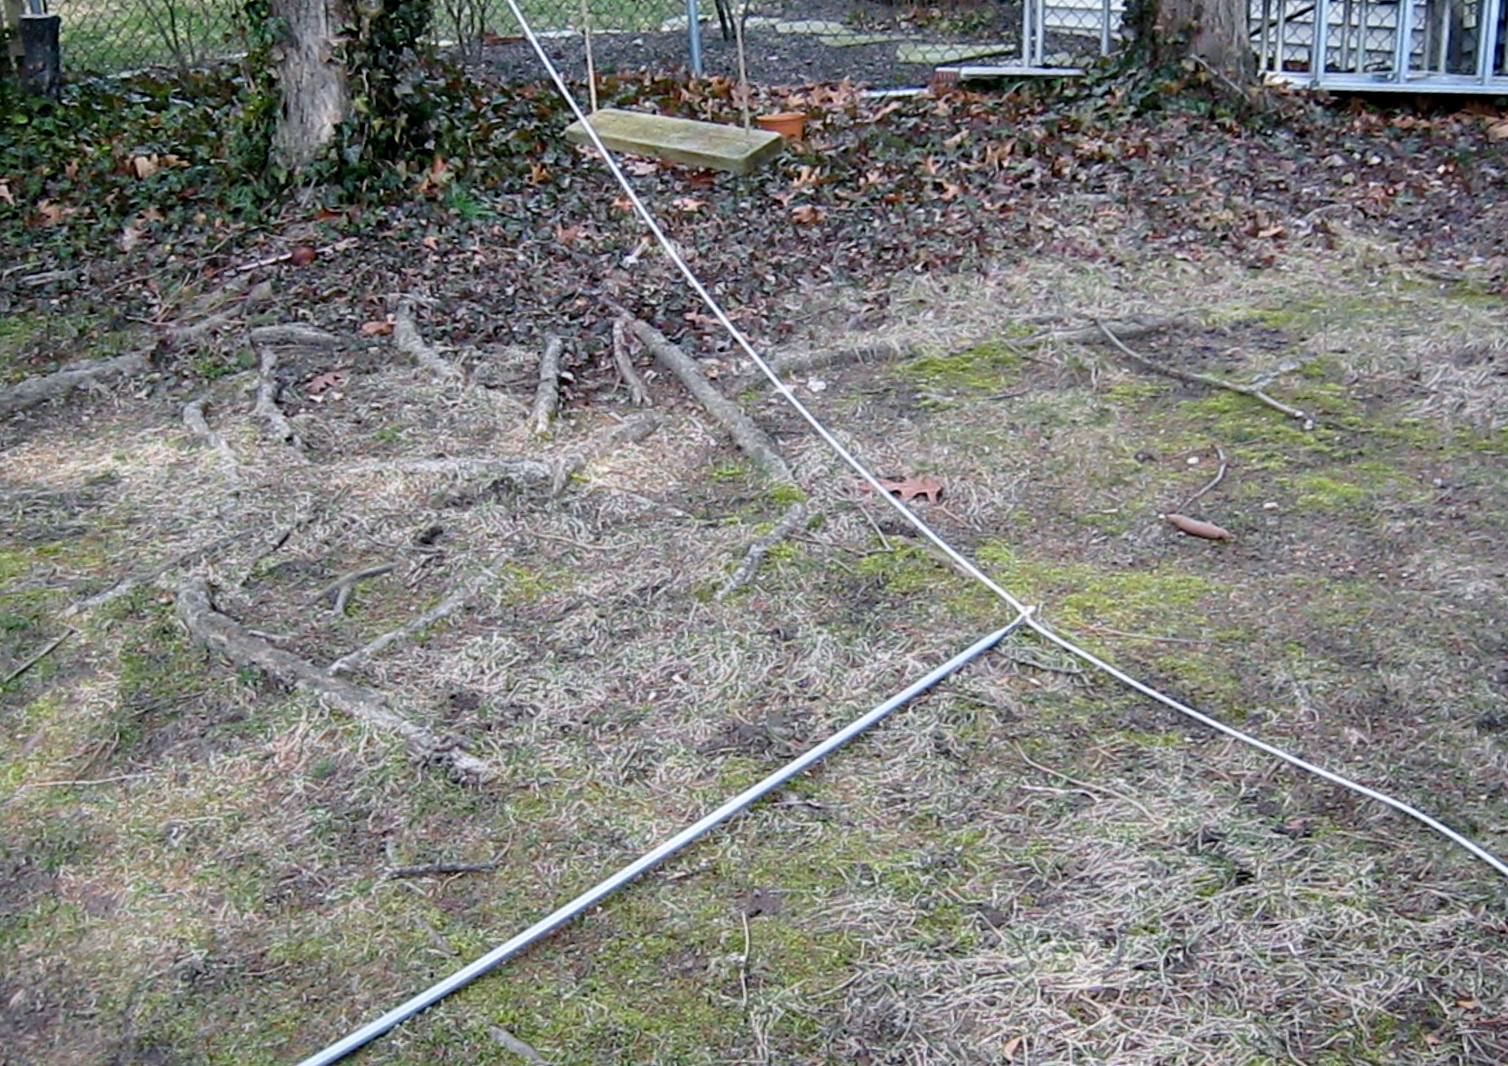
This is the other half of my clothesline, as you can see, laying on the ground instead of up in the air.
Considering the chewed end, and taking into account this is the third time I have encountered a downed line this winter, I am pretty sure the resident squirrels are the culprits.
I don’t know if they consider the line attached to their tree to be in bad taste, or if they are using fluff from inside the clothesline to line their nest, or perhaps they are just ornery…who knows? At least they haven’t bitten through while there have been clothes present.
I’m not sure of the solution. Luckily, we have spare rope set aside, and will once again square knot on the amount of line we need. Last time the squirrels stole about twelve feet! I know, I know, what can squirrels possibly do with that much clothesline? I have no idea!
I’m trying to think of something very repellent that I can put on the end this time, but I must be careful, I don’t want it to act as a wick and taint the whole piece. Squirrels! Bah!

In the meantime, I’m putting out these yarn scraps, leftovers from my hanging seed pots. I saved them for the birds, to soften up their nests. Maybe it will act as a peace offering of sorts, and the squirrels will use the yarn as bedding and leave my clothesline alone.

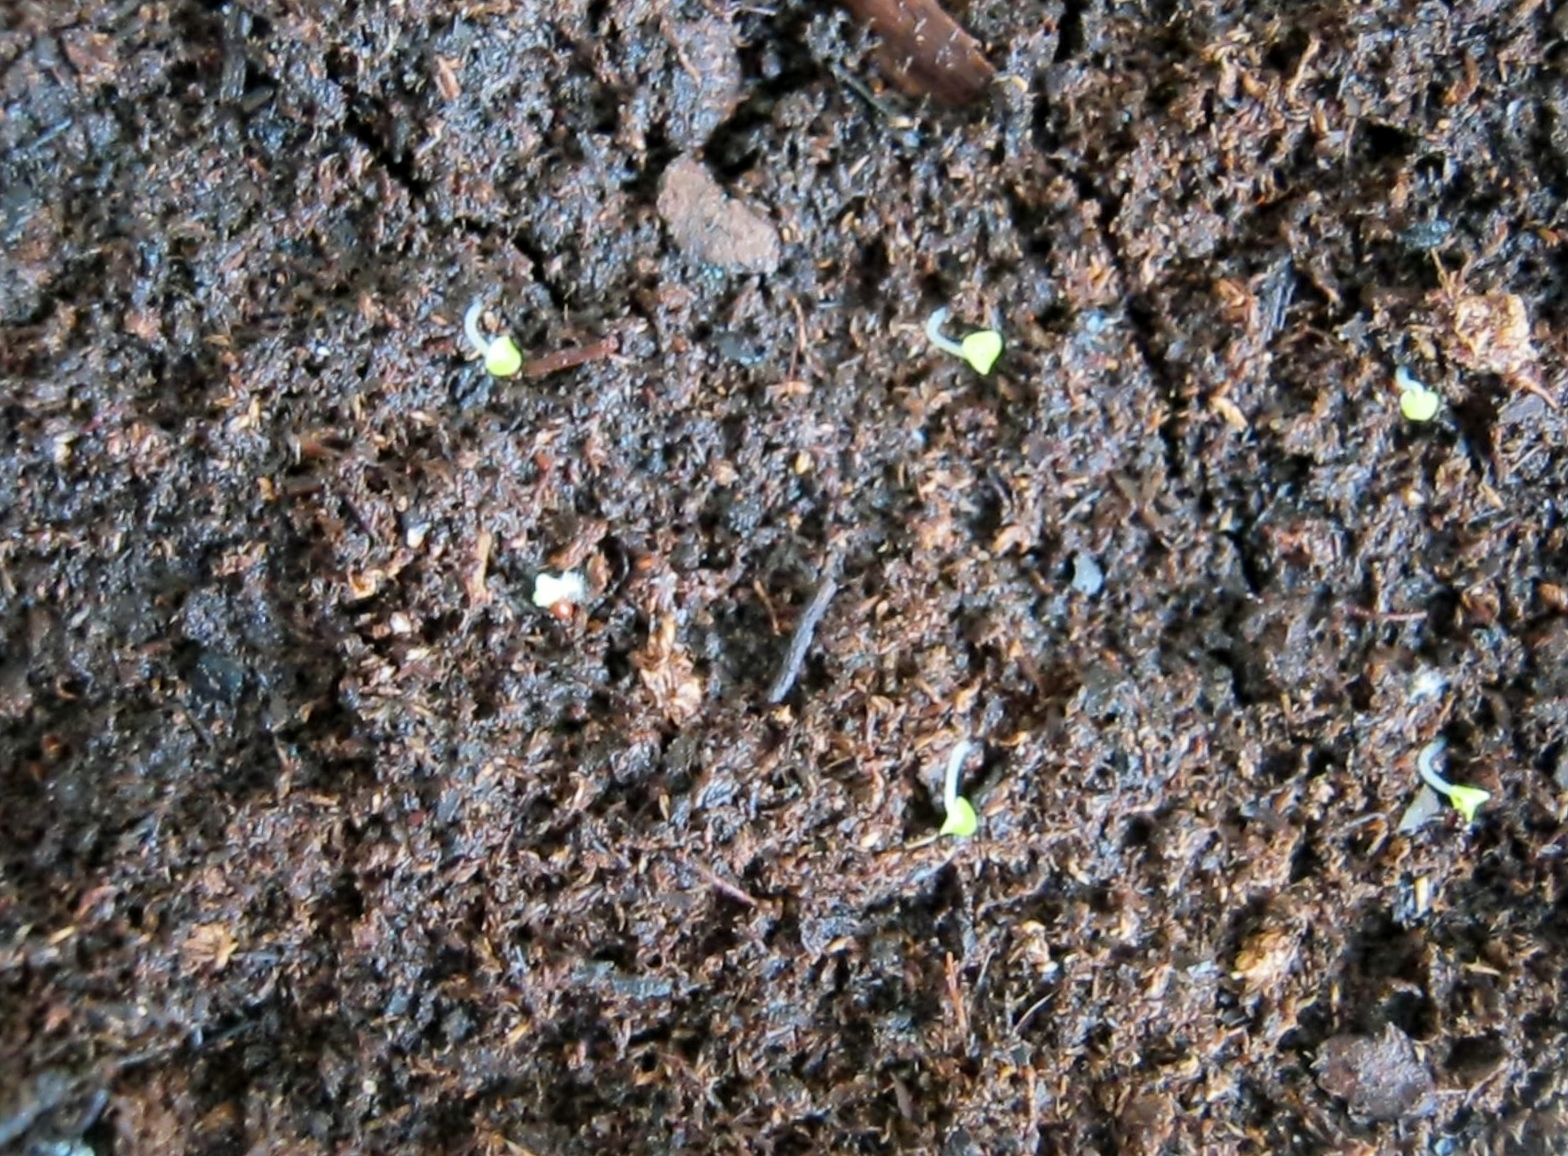
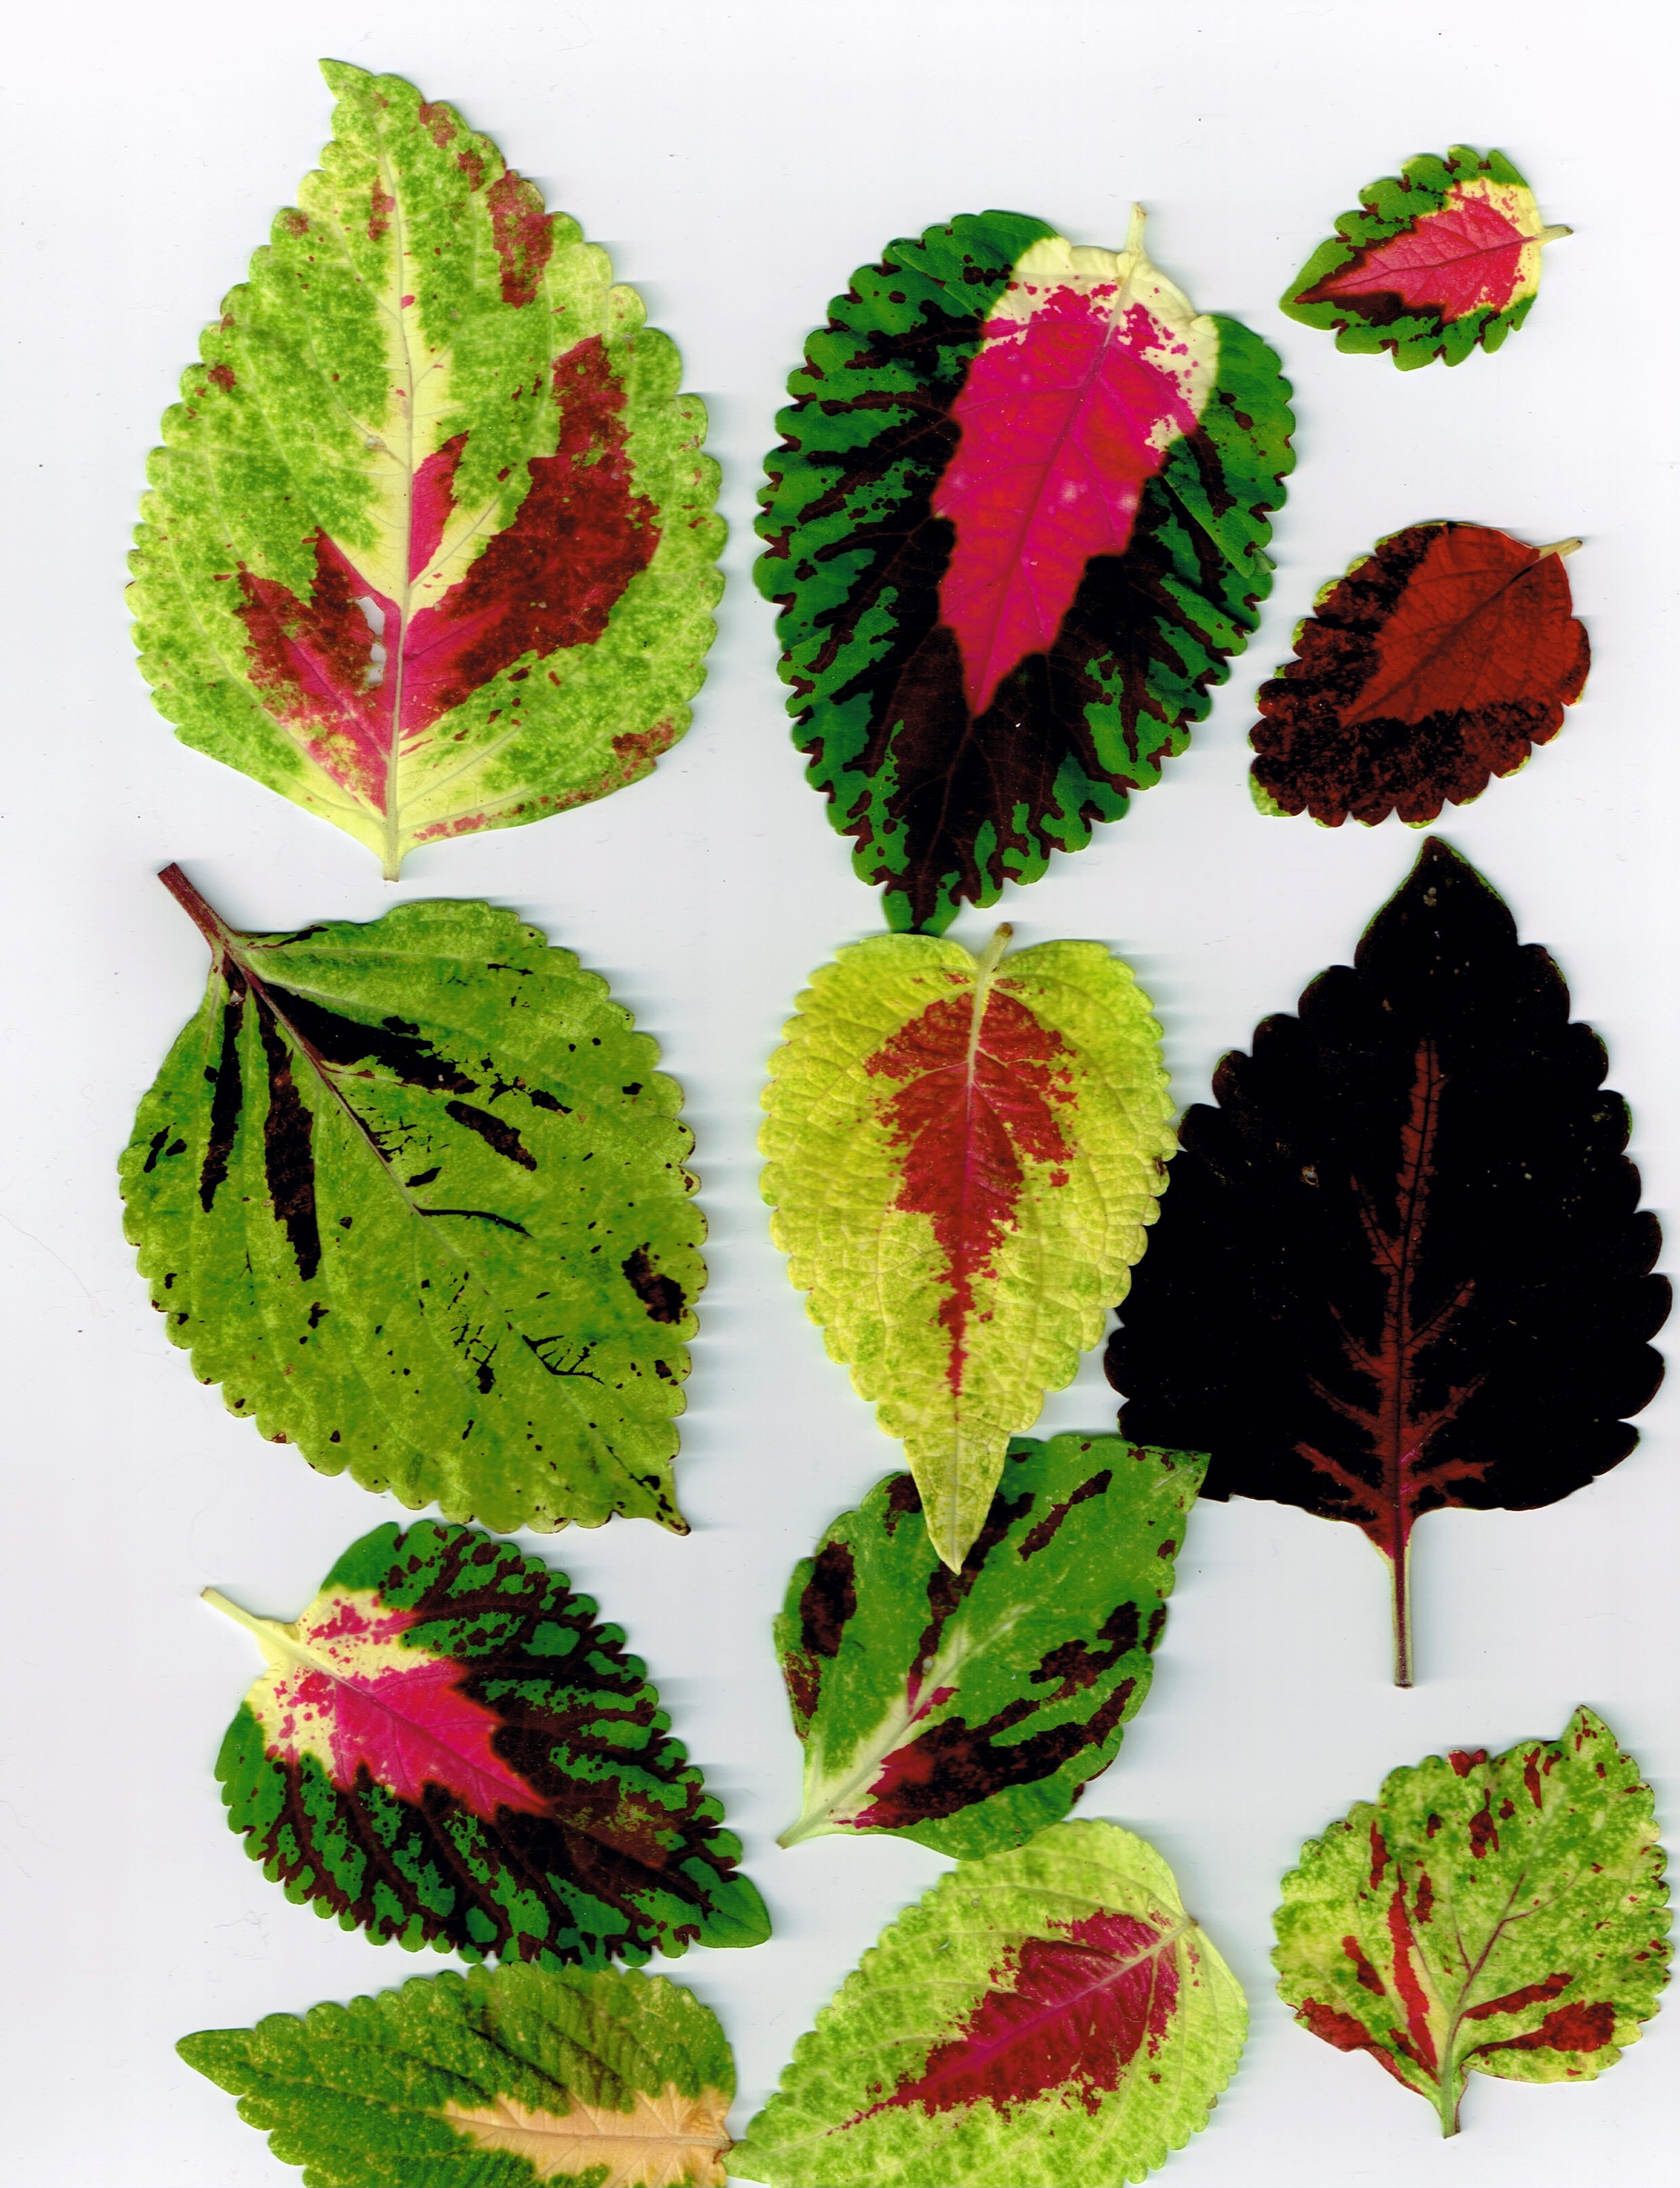
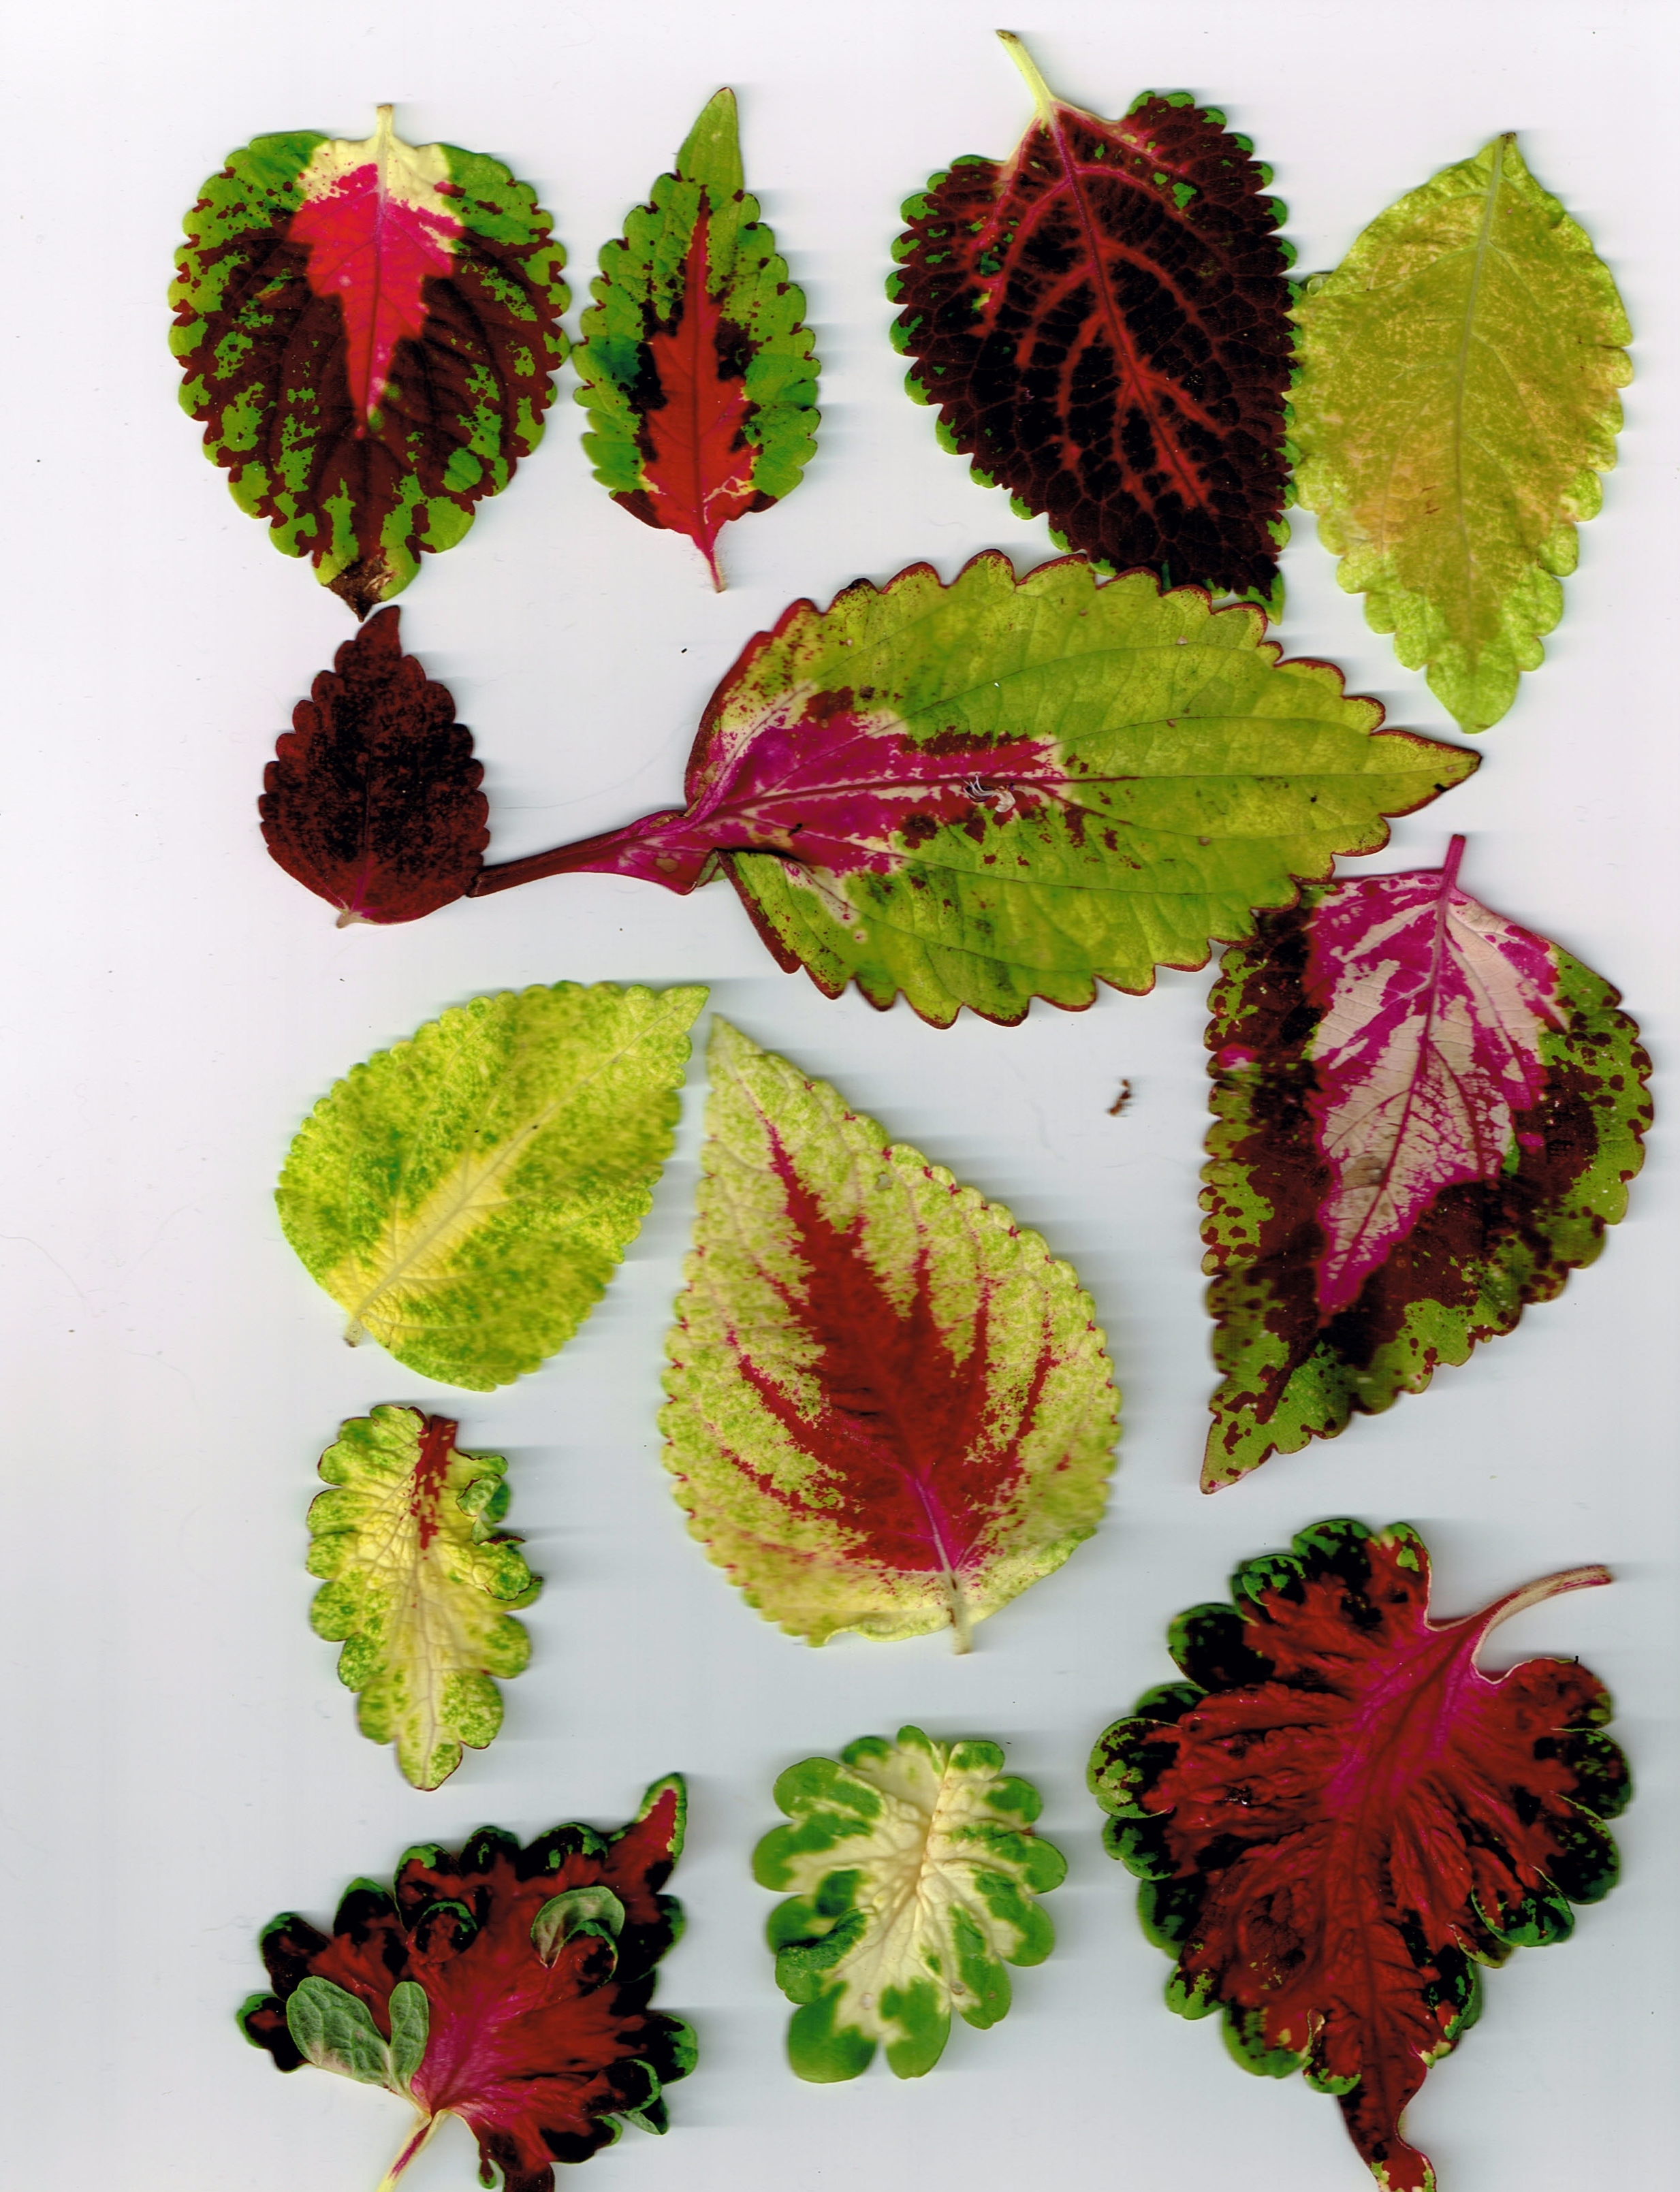
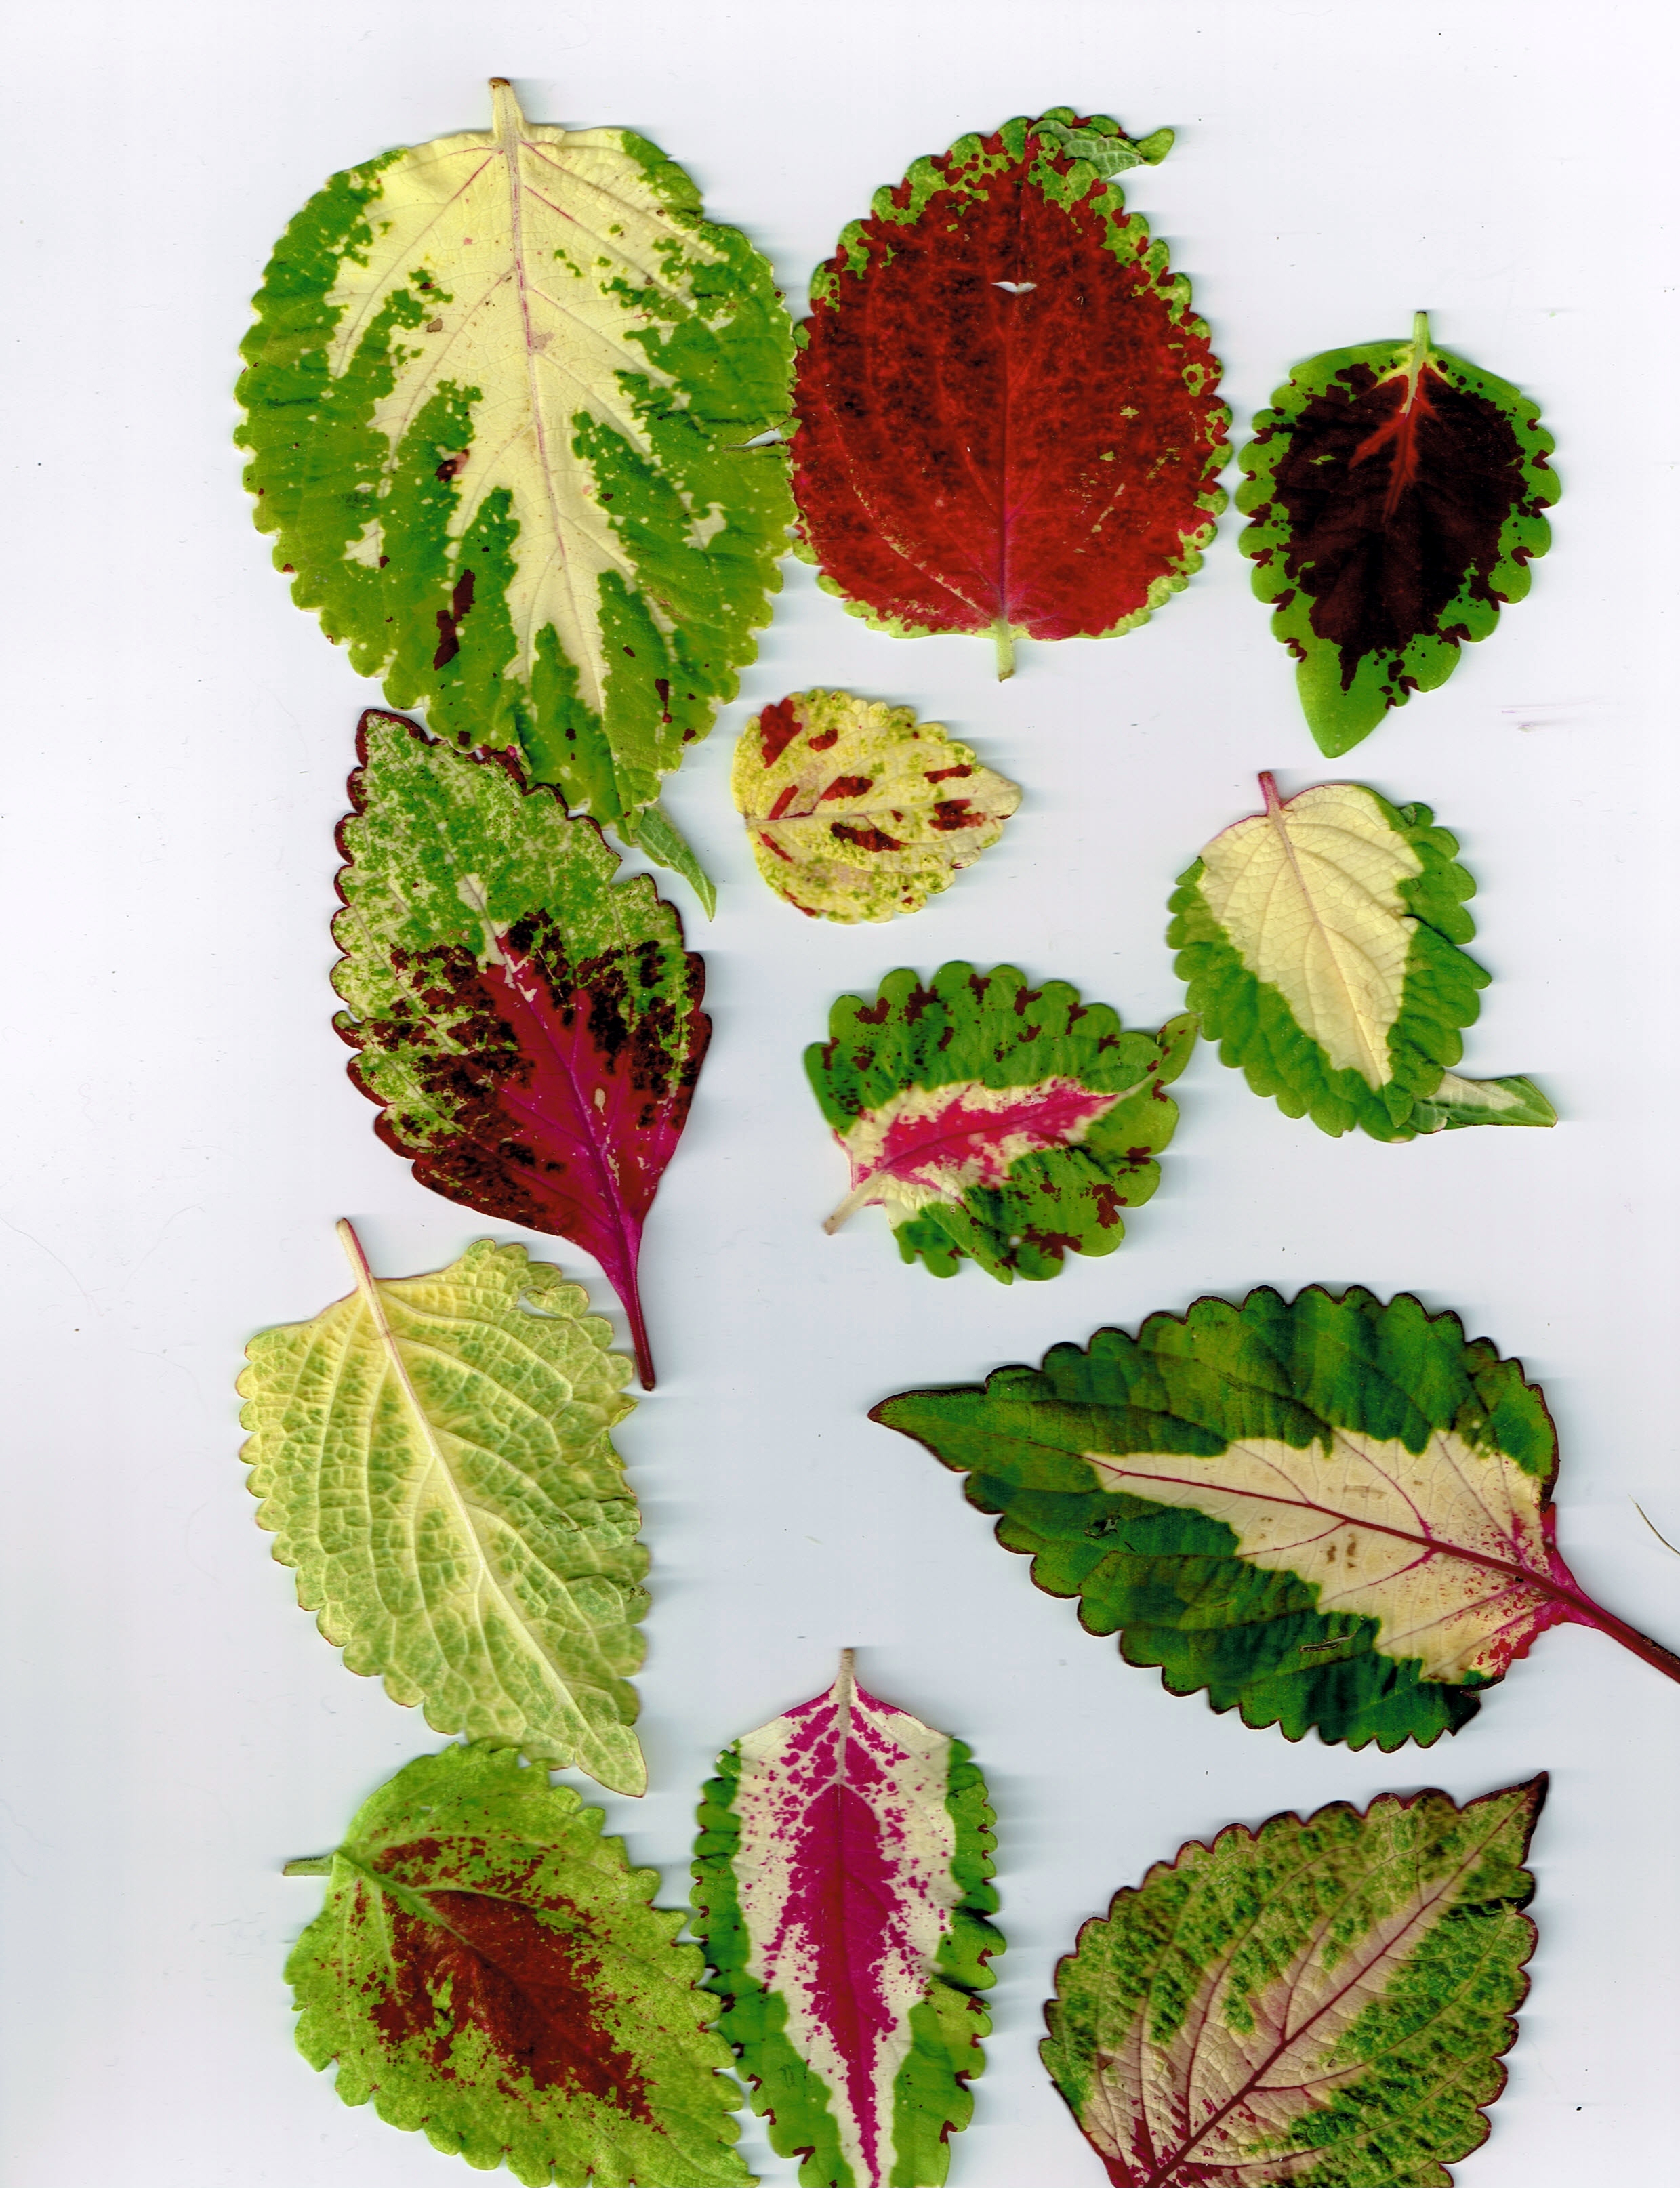
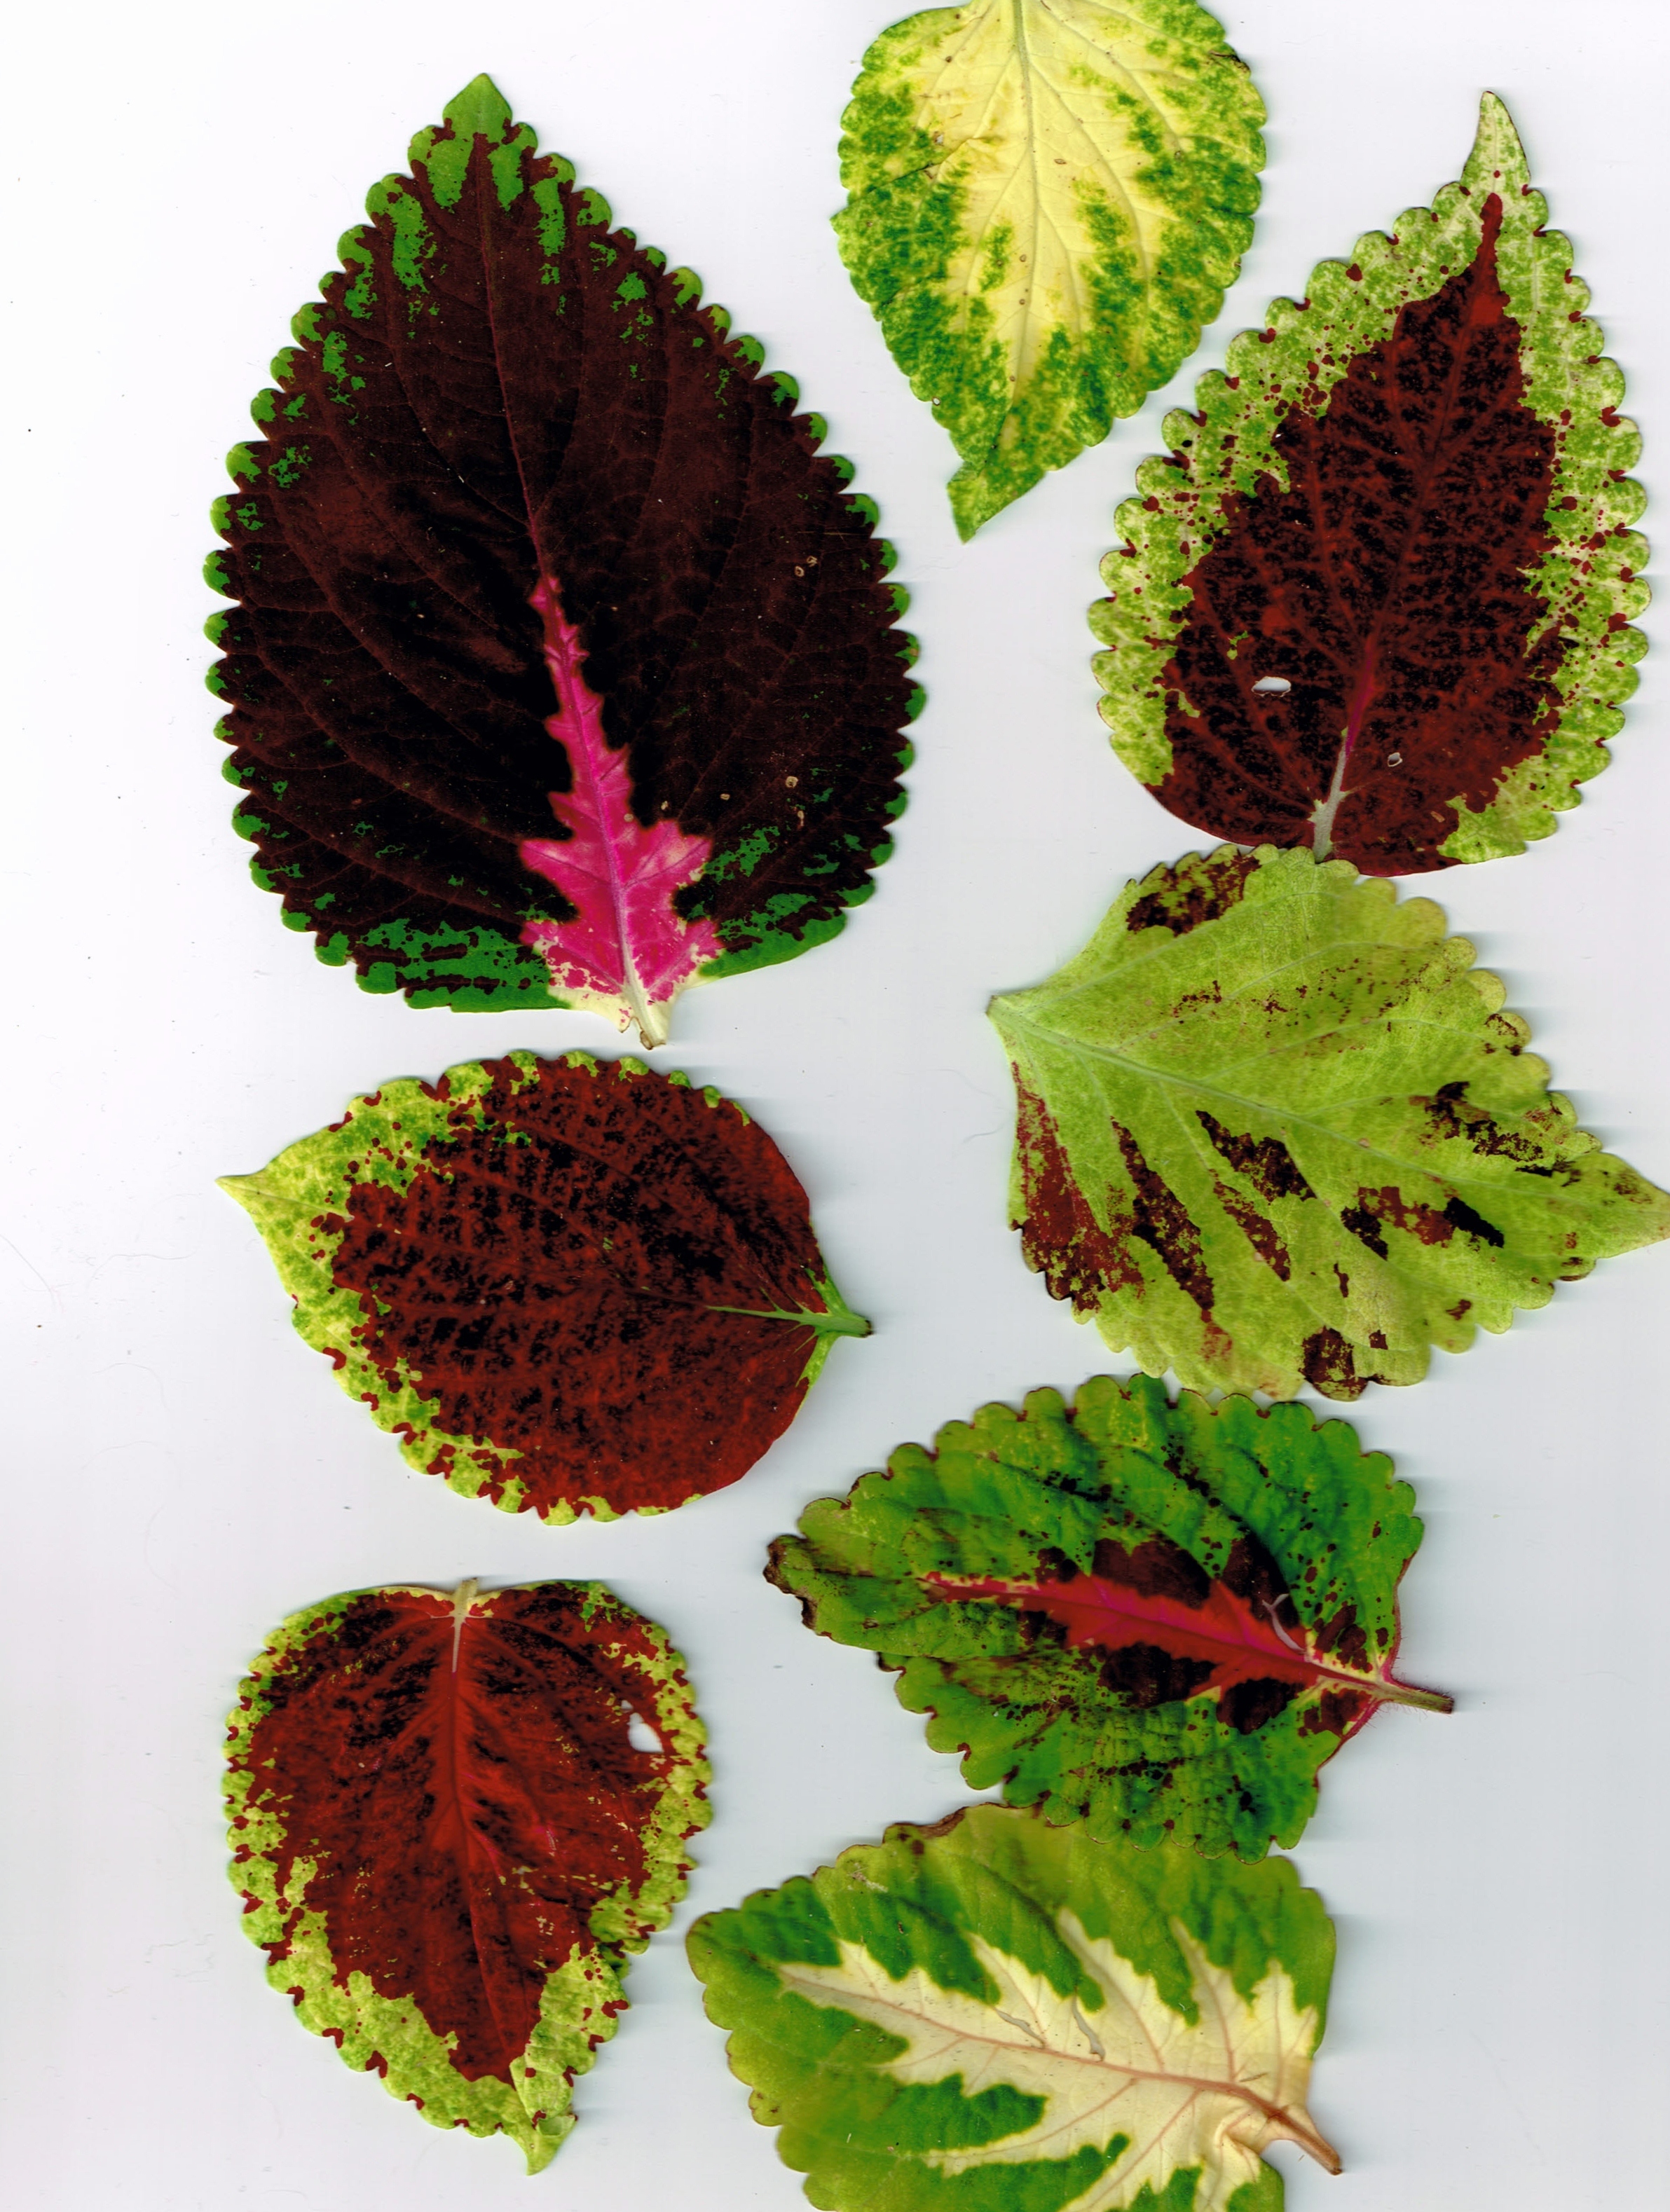
My coleus seedlings are sprouting. To guard against damping off diseases I keep the seeds spaced apart. I have found in the past that crowding seedlings invites disease.
Coleus seeds, among many others, are smaller than the head of a pin. Sowing them in neat rows can be a daunting task. To accomplish this with as little frustration as possible I use water and a pencil.
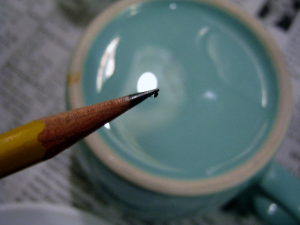
An explanation of this technique can be found here: Planting Small Seeds
Below you will find some samples of last year’s coleus plants:

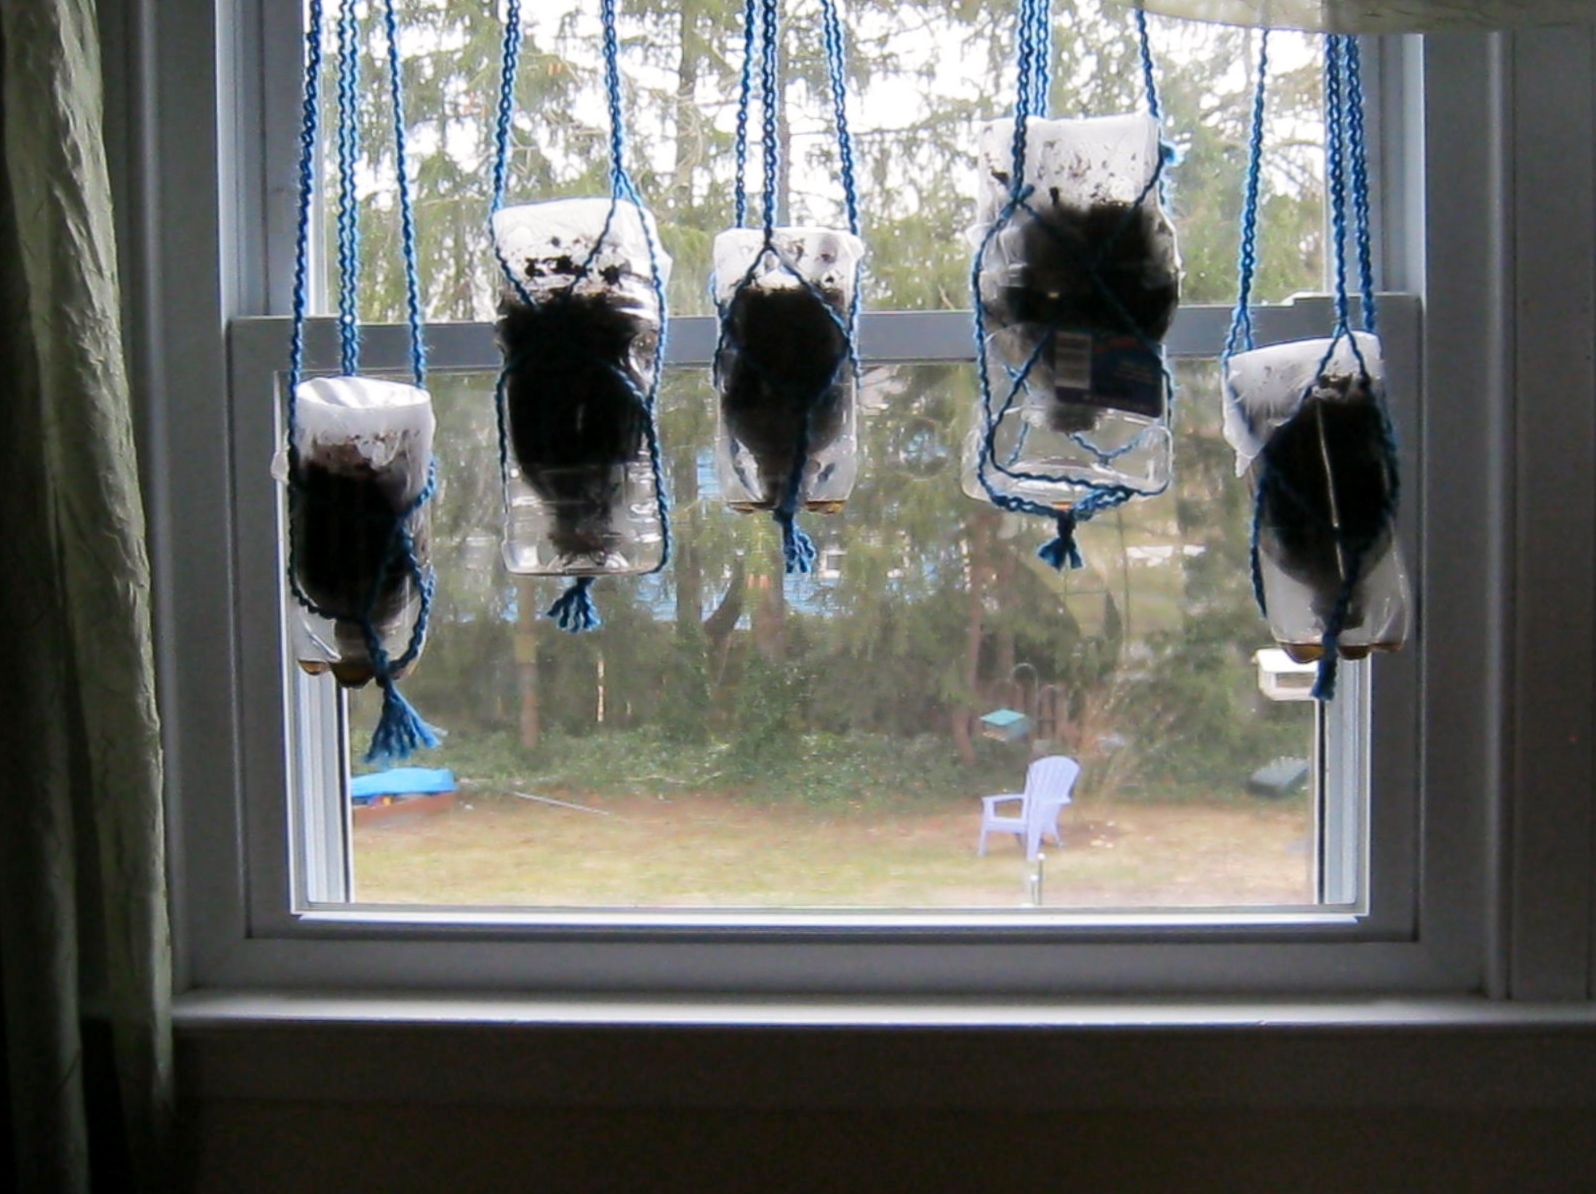
I sowed several varieties of tomatoes and eggplant yesterday. Because these plants love warmer temperatures I decided to forgo winter sowing for them and planted them indoors. Last year, my tomatoes did very well in my sunniest windows, but space on the shelves and tables in front of these windows soon became a problem. Since I save my light table space for lower growing plants, I crossed that option off my list. Instead I decided to put a Pinterest idea into practice.
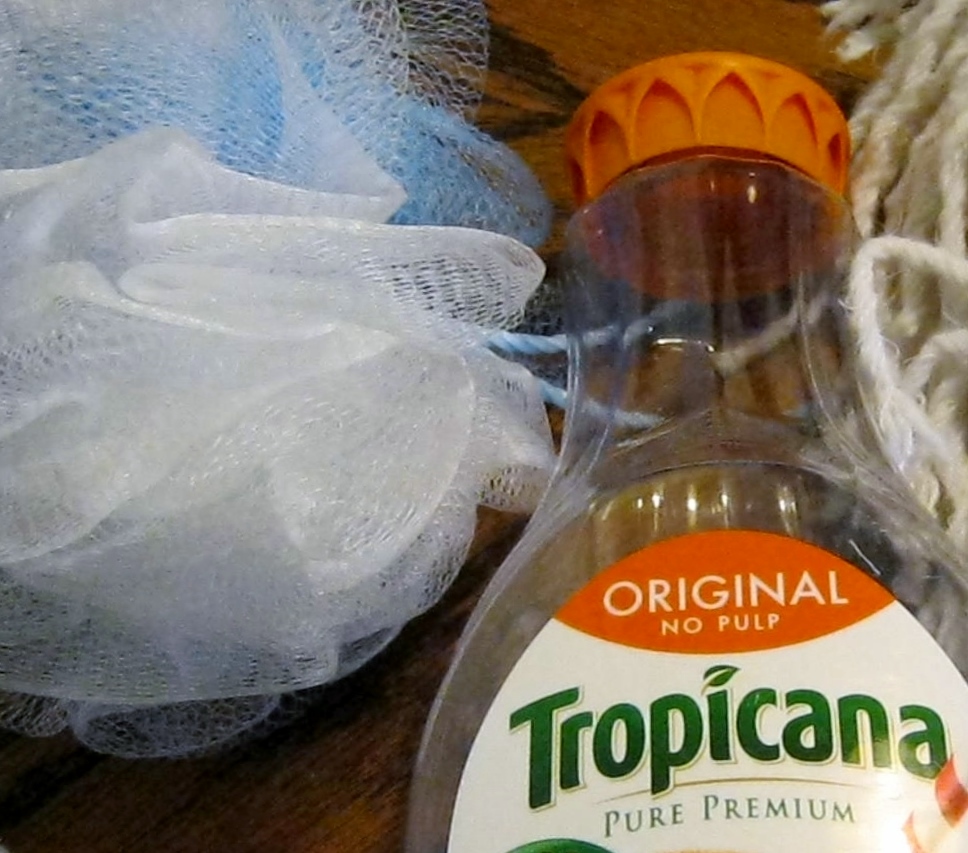
To begin, I gathered together a few of the empty juice containers I have been saving. Since I prefer milk cartons for outdoor winter sowing, I have at least two dozen or more juice containers cleaned and ready to use. I also rounded up an old net scubber, rubber bands, thick yarn, and of course seed starting medium.
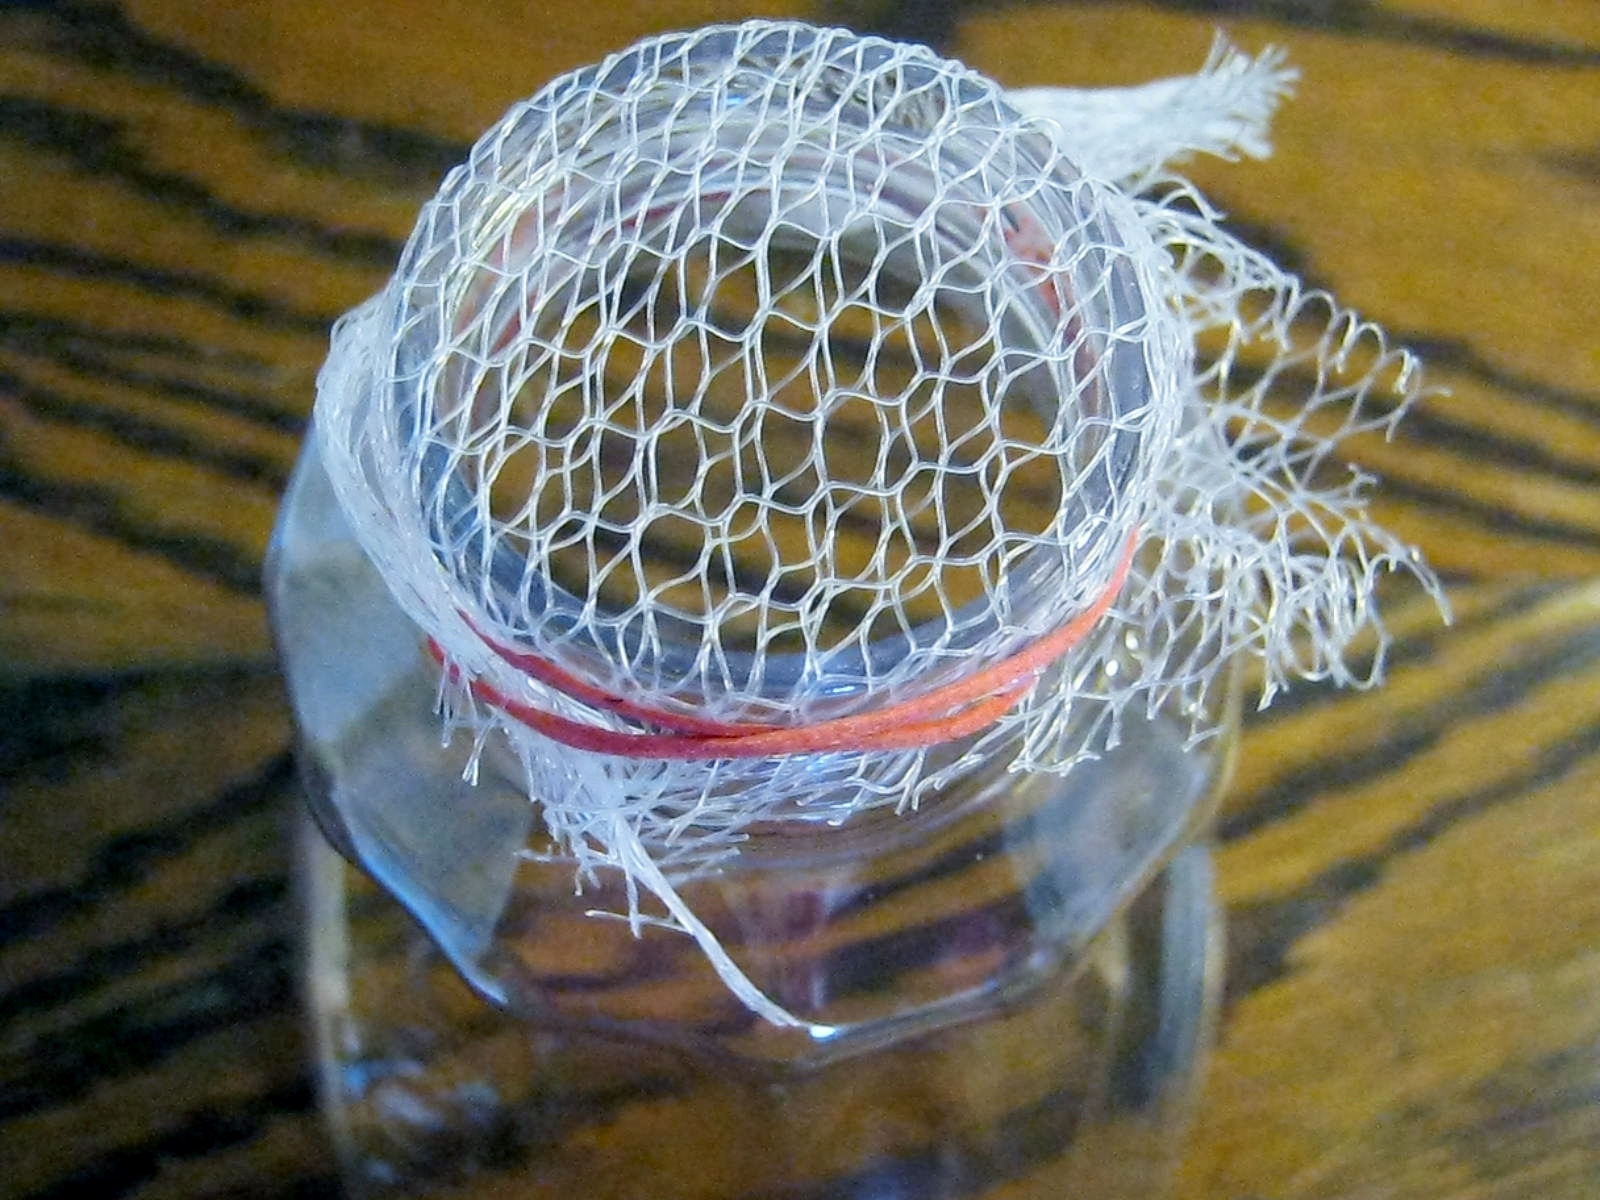
After cutting the juice bottle 1/3 up from the bottom, I was left with a good sized top section. I covered the top opening with a doubled up portion of netting and secured it in place with a rubber band.
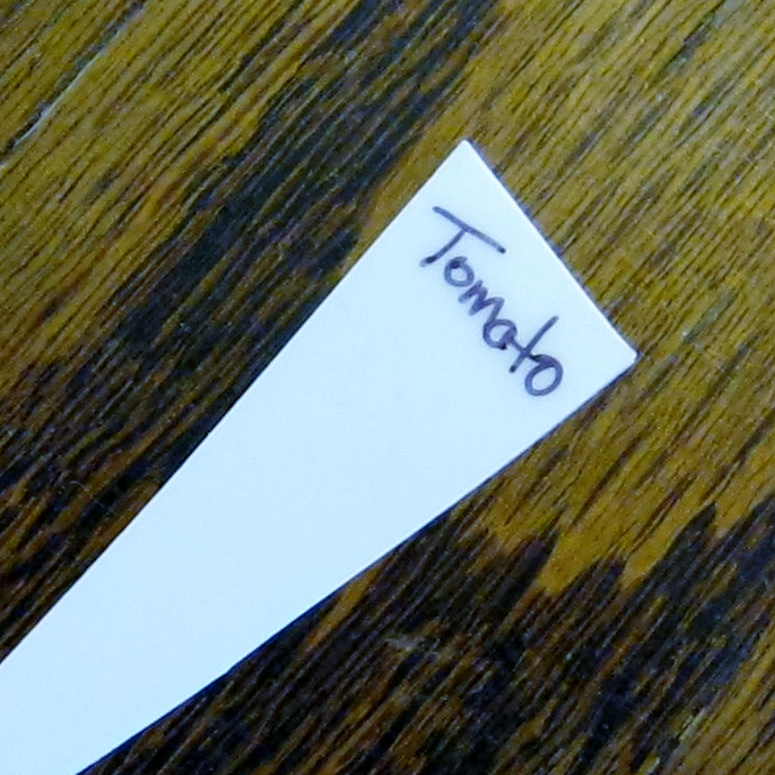
I turned the top portion upside down and added the seed starting medium, planted the seeds, and added a tag cut out of a recycled detergent bottle.
Using a skein of extra thick yarn, I fashioned rudimentary macrame plant hangers over my extra strength curtain rods and hung my gardens. Every time I see them silhouetted in my back window I smile. Hurry Spring!
![]()


In January of 2012 I wrote of my first attempts at Winter Sowing. The original blog post along with a follow-up post can be found here:
Winter Sowing
Winter Sowing 2012
As you can see from the photographs above and below, I have winter sown many seeds again.

Garden web has a forum dedicated to winter sowing. The link can be found below:
Gardenweb Winter Sowing Forum.
Here are a few containers I stored by attaching them with pipe cleaners to coat hangers. I then hung them until they were needed from basement rafters.

Here’s a terrific site I found just today with plenty of good lists on what to sow and when: Terrific Winter Sowing list for what to sow and when. Take a Look.
If you live in a cool climate area there is still plenty of time to winter sow. Give it a try!
![]()


I have always loved the image in the photograph above. The painting, attributed to artist Lindberg Heilige Schutzengel, shows a Guardian Angel protecting two children crossing a dangerous bridge. A similar painting hung in my grandparent’s home. As a child, the painting fascinated me. I can remember standing beneath it, and feeling protected by its silent promise.
Lately, so much of what seemed secure is crumbling. Even the earth below our feet is becoming much like the dangerous bridge, ready to fall apart beneath us. I have been watching recent events and disasters and there certainly does seem to be many Biblical prophecies being fulfilled by collapsing world governments, disappearing rights and freedoms, cataclysms on earth and in the heavens above. Many technologies are in place that could bring to fulfillment Bible prophecies that once seemed hard to understand.
I have begun to read Revelation yet again, this time in a Bible that also has some insight and commentary by Charles Haddon Spurgeon.
The text of Revelation can be found here: Text of Revelation
You can read a bit about Spurgeon here:
Charles Haddon Spurgeon
In-Depth Biography of Charles Haddon Spurgeon
I recommend that you read Revelation, even better, read some of the verses aloud. Ask God for discernment, and to imprint its words and message upon your heart and soul.
“Blessed is the one who reads the words of this prophecy, and blessed are those who hear it and take to heart what is written in it, because the time is near.” Revelation 1:3
Listen to Spurgeon’s words concerning reading and studying Revelation:
“To induce us to give the most serious attention to the subject, a blessing is pronounced on those who ‘read, and hear, and keep,’ the words of this prophecy, especially as the time of its fulfillment was at hand. There does not appear to be any other part of Scripture that is prefaced with such an inducement to read, and understand, and practically regard it.”
One word of caution, there are hundreds upon hundreds of theories on the Internet about the meanings of these verses. Be forewarned, there are a few words of wisdom, but there is much argument and complete foolishness too. Again, it’s best to read the words yourself and as you read and study, pray for discernment in not just this, but in everything concerning these precarious times we are living in. God Bless Us All.
A good site with many verses concerning prophecy:
48 Bible Prophecy Verses

I love so many of the old Bible films, “The Greatest Story Ever Told,” “Barrabas,” “The Robe,” “The Ten Commandments.” Even “Ben Hur,” while not taken directly from the Bible, tells the story of JESUS, and can keep me spellbound for its 212 minutes.
I was thrilled when I heard that The History Channel was going to present a mini-series based on the Bible. Starting this evening, it will be presented on Sunday evenings at 8 o’clock over the course of five weeks. I will be watching.
Here are a few clips from the mini-series: Clips from “The Bible.”


Sometimes listening to your written words read aloud allows you to hear mistakes that proof-reading by sight alone does not reveal. I can’t even begin to number the times I have read, and re-read my blog posts, only to find a grammatical, spacing or spelling mistake at a later date. It is hard, sometimes next to impossible, to edit your own work. The Natural Reader website helps alleviate some of these problems. Yes, the free voice is a bit stilted and robotic, but it gives a sense of flow to what you have written, revealing grammar mistakes, or errors of omission in your text. Give it a try!
Here are two links for Natural Reader:
Natural Reader Instruction Page
Natural Reader Home Page and Free Download

Another good tool is Auto-Crit. You can try this program for free, and if you are a daily writer, you might want to purchase the program. It will reveal grammatical errors, word count, excessive word usage, etc.
Click here to try Auto-Crit: Auto-Crit

Donald Duck, created with a Cricut Machine.

A week or two ago someone dear to me emailed me this question, “Who is your favorite, Mickey or Donald?”
I think you can see by the picture above what my response was to her.
What a surprise to have a package arrive yesterday with this beautiful Donald Duck inside. Thanks Kelly. You do beautiful work! I love him!
I have attempted only a few scrapbook pages in my time. I know that since I am into so many other crafts, along with gardening and spending time with grandchildren, the time involved would put me over the top of hours available. It’s an art and form of expression I truly admire.
Who do you like best, Donald or Mickey?


Most of us at one time or another have crafted a project that uses an up-cycled bottle or jar. We all know how difficult the labels and glue can be to remove without marring the surface. Recently, I wanted to create a Discovery bottle with my grandsons. Since the project needed a clean plastic bottle, I began to remove the label ahead of time. The glue and paper were very stubborn. I cut and peeled away the label, soaked the bottle in water, but was still left with unsightly glue and scraps of paper on the surface.
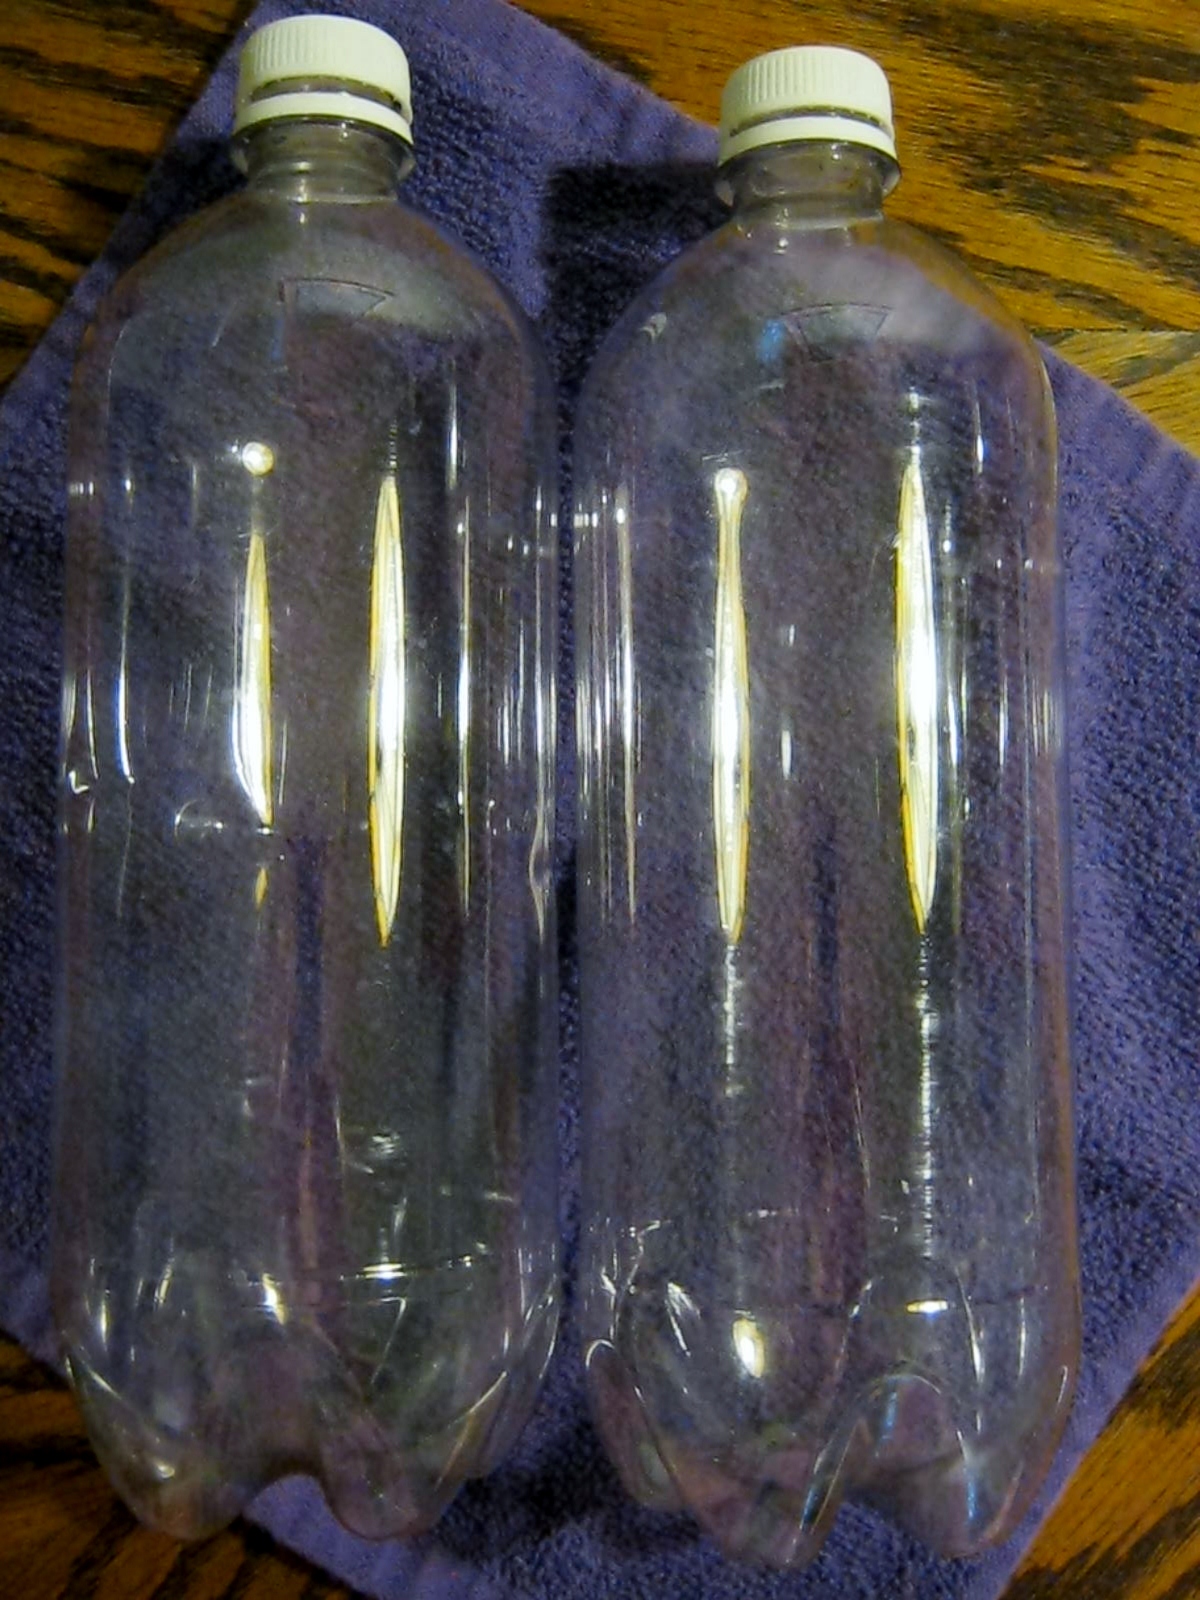
I searched the Internet for a solution and found the tip of using ordinary mayonnaise to remove labels. I gently scraped away anything I could with the top of a butter knife, applied the mayo and then scraped again in about an hour. There was still residue. I reapplied and waited another hour. I removed a bit more label, reapplied again and tried once more. Hooray! The mayonnaise worked. If you use this tip for removing labels you will be pleased that it is chemical free and very gentle. The downside is it takes a few hours. Use this tip only on surfaces that are hard as you will need to wash afterwards with warm soapy water to remove the oily residue of the mayo.

A wintry afternoon was the perfect time to begin making “Discovery Bottles.”
Click here for more information on Discovery Bottles: Discovery Bottles
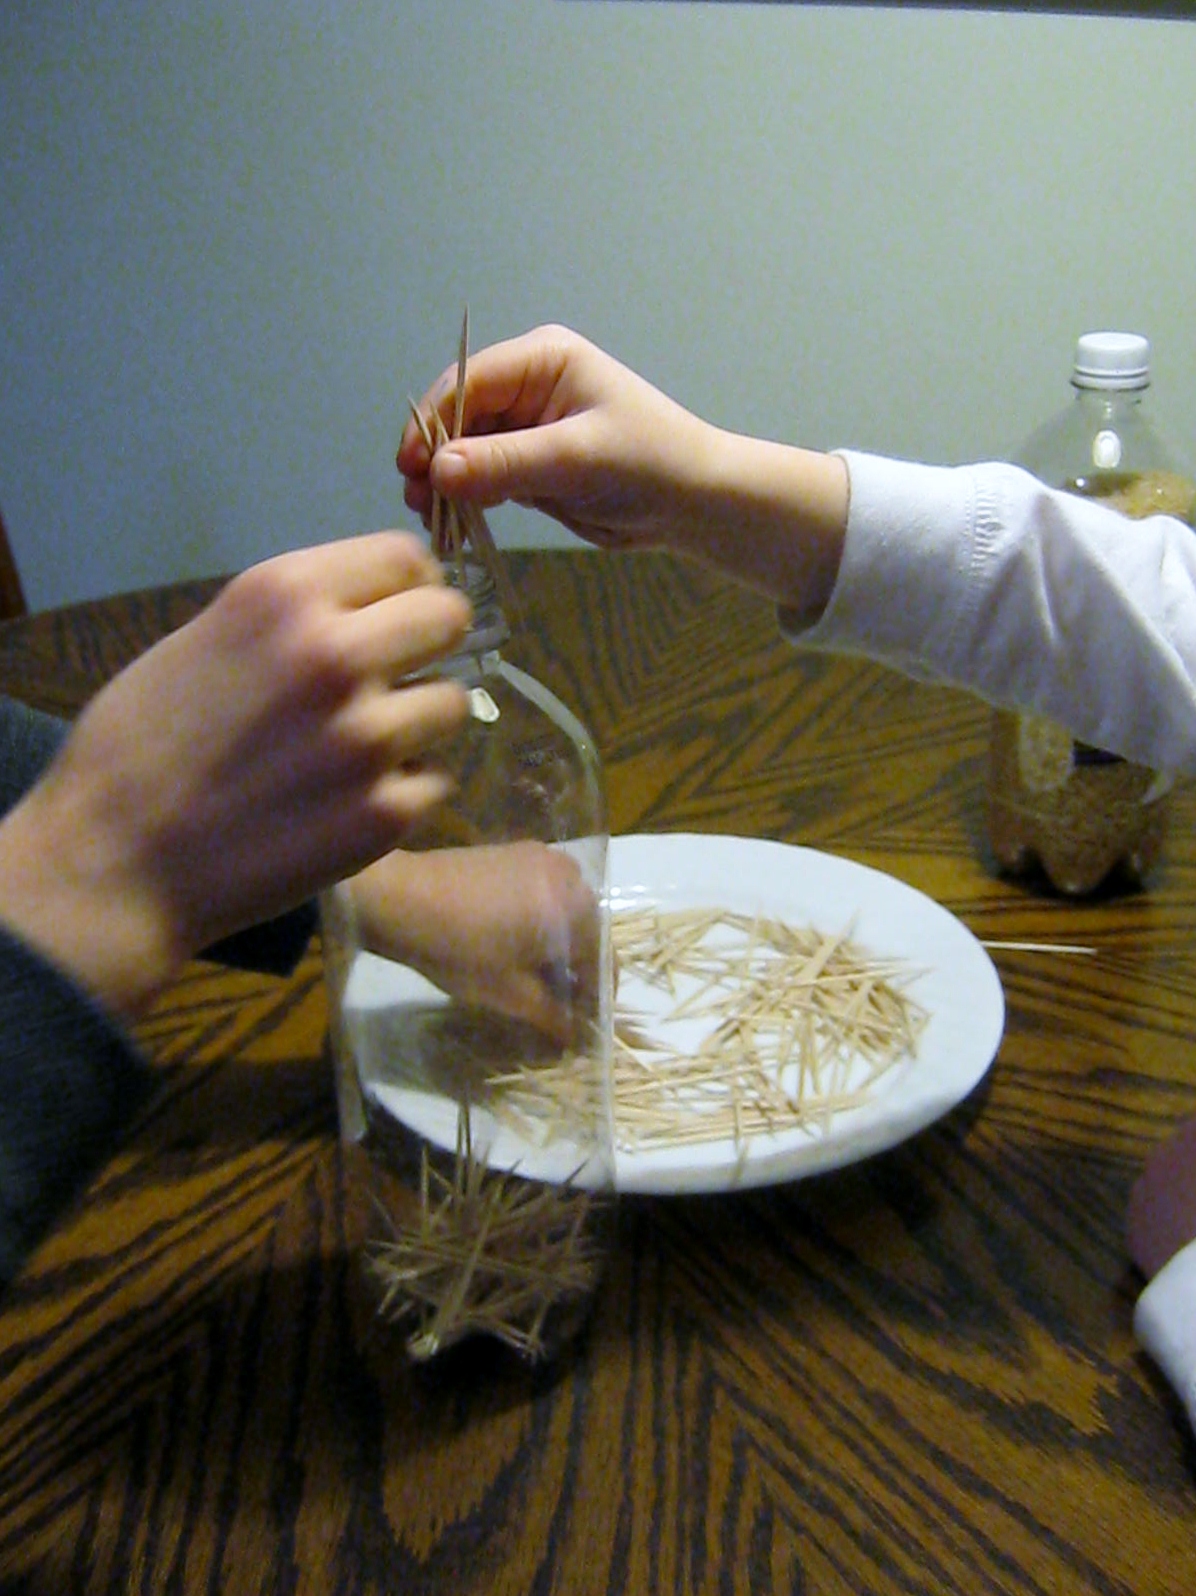
We decided to make a rain bottle first. Fill the bottle with toothpicks, add some dried rice, when you turn the bottle upside down the toothpicks and grains of rice sliding down the plastic sounds like rain on a roof. The boys really enjoyed filling the bottle, and after I glued the cap on with hot glue, they had fun turning it up and down to hear the soothing sound of the “rain.”
If you are creating Discovery Bottles for toddlers please take care to use a plastic bottle with a very wide cap/lid. A small water bottle cap is not appropriate because of choking issues. Gatorade bottles and other juice containers often have a wide lid. Remember the elbow rule, nothing smaller for a baby or toddler than your elbow.
Always use a permanent glue when closing the bottles. I used hot glue for the rain bottle, but if I was using liquid in the bottle I would use a double dose of glue: a waterproof sealant and then a layer of hot glue for extra strength.
![]()


About this time of year I really need the sunshine, and this Bird of Paradise flower, and the many other blooms in the Longwood Gardens Conservatory, brought a bit of brightness into the cold winter days.


Today the song “Jesus Paid it All,” has been on my mind and on my lips. What amazing truth that beautiful old hymn holds. If I could tell all the world just one thing today it would be those words…Jesus Paid it All…for you, for me. And to that I must say, “Amen.”
“Jesus paid it all,
All to Him I owe;
Sin had left a crimson stain,
He washed it white as snow.”Elvina M. Hall, 1865
Copyright: Public Domain

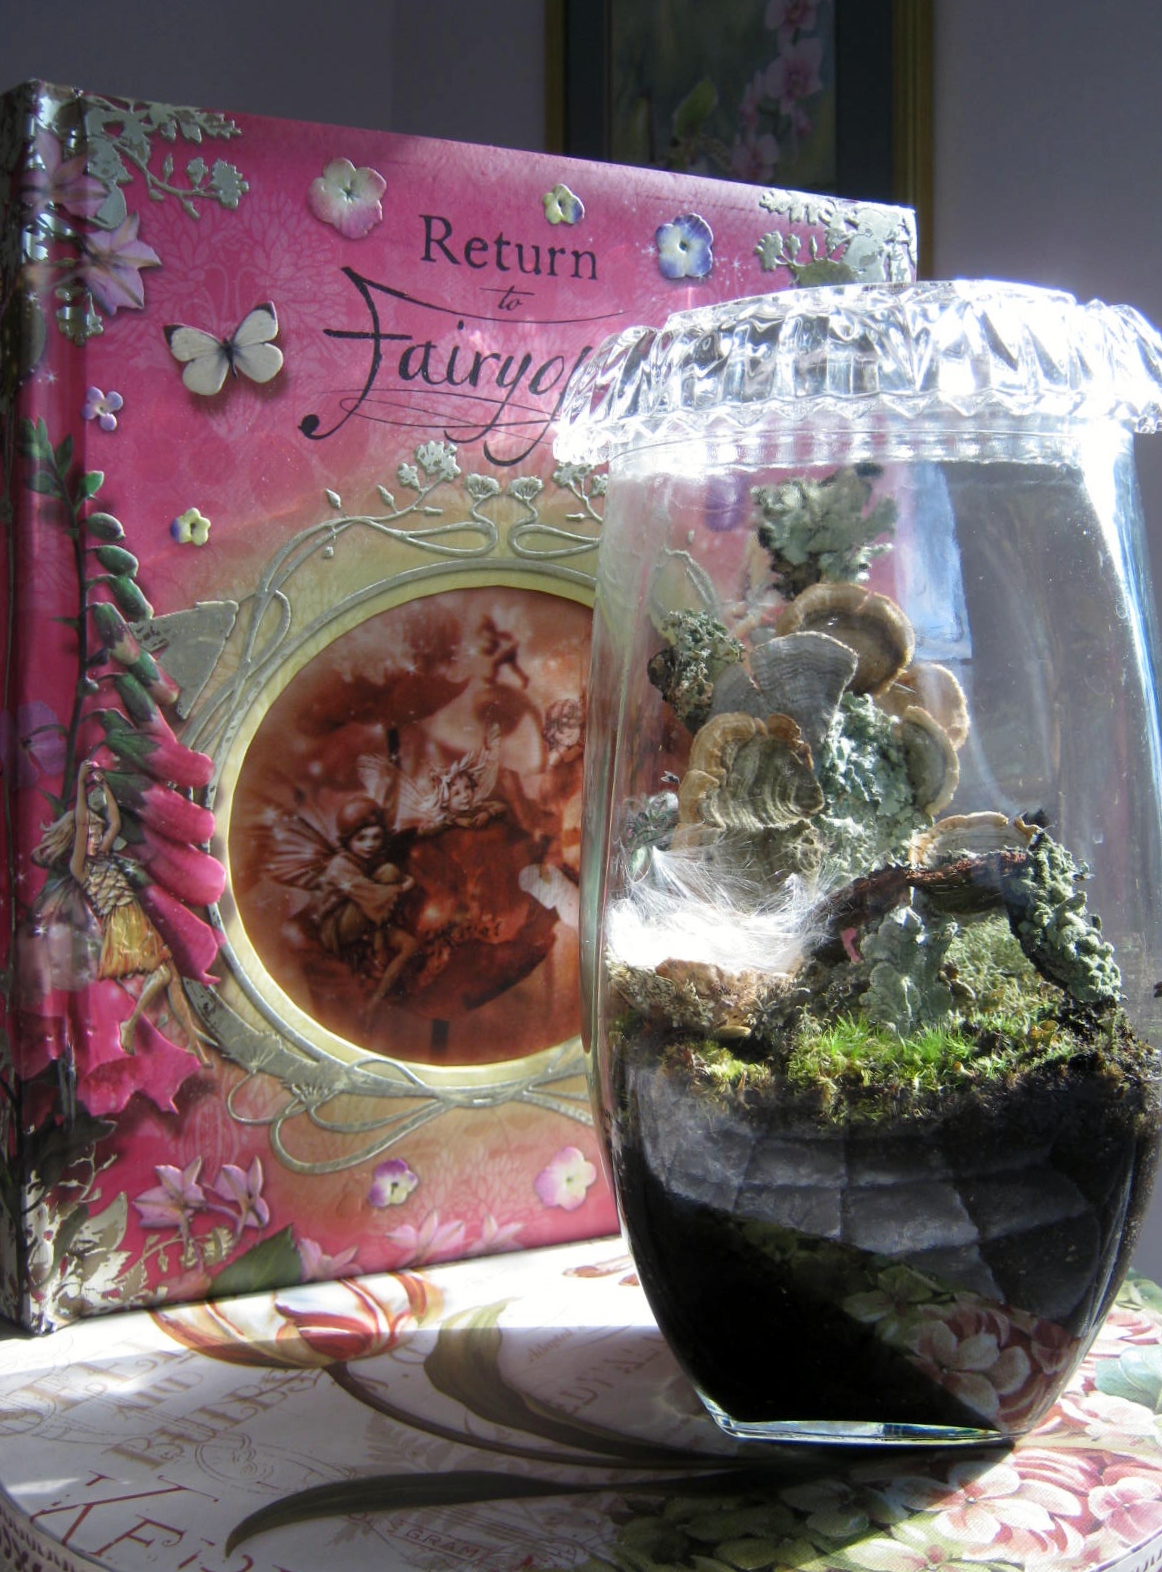
I’ve been experimenting with lichen covered branches and bark in an attempt to create a fairy chair that will actually be alive and growing inside a terrarium. I think I succeeded with the mossy concept when I crafted the chair shown above, but I am not happy at all with the appearance of the miniature replica. It has no fey appeal or magical delicacy. To my mind, it calls to mind a gnarly resting place for the local gnome or troll instead.
I do like the papery thin, empty insect pod I used as a fairy basket. It is filled with several pieces of milkweed fluff, which when tossed into the air become floating fairy wishes. I can just imagine a sweet woodland lady sitting down and spinning the soft strands into gossamer yarn.
Aesthetics aside, a good tip for covering a terrarium is to use a shallow glass bowl or dish for a lid. This crystal lid fits nicely on top of my odd-shaped garden. I’ll keep trying to come up with a way to create the fragile, yet strong, fairy furniture I desire. Until then, “Calling all gnomes!”


Today I sent a friend a link to a terrific trumpet fountain I saw on Pinterest. She sent me back this amazing picture of a lamp she made out of a trumpet. I love it!
Here are some of the components she used to create the lamp: Hardware store supplies: tube for wiring, screw locks, base-for a clock. Craft store supplies: Lamp shade. She also used parts from an old lamp and locking tie downs to secure. The pocket trumpet was bought from EBay for a good price.
Anita, creator of the lamp, is a retired teacher and band instructor. We’ve known each other since we were in High School. She plays beautiful trumpet solos in our church during Offertory and also plays with the Atlantic Brass Band. Here are a few links for the Atlantic Brass Band:
Atlantic Brass Band
Atlantic Brass Band on Twitter
Atlantic Brass Band Facebook Page
Atlantic Youth Brass Band
Items that are re-purposed into art or something functional always fascinate me.
![]()


Several years ago, on a beach bordering the Atlantic Ocean, I found the lovely Coca-Cola bottle on the left. Captured by the surf, and bounced across the sand for dozens of years by ocean currents, one Autumn day the bottle rode a wave and came ashore right at our feet. Beautifully sanded to a translucent gem-like glow, the bottle from the sea is now a treasured item in my home.
This winter, about five years after our first find, I came across another sea glass bottle. This time we were beachcombing on the shores of the Delaware Bay. The darker green bottle is not quite as polished as the first, the bay currents are not quite as strong, but it is still a striking example of sea glass. It even has an extra bonus of a barnacle or two. I love my beautiful bottles from the sea.

I promised when I started this blog to be truthful when a project fails or has a problem.
Vermicomposting (Worm Farming)
Problem #1 – My worm farm is going strong and thriving, but in the time I’ve been “farming” the worms I’ve run up against two very “stinky” problems. Most of the time my worm farm smells fresh, a bit like the fragrance that wafts upward when you rustle your feet along a woodland path. A sure proof way to foul that nice smell is to feed the worms leftover broccoli. OH MY!!! The smell was absolutely horrendous for days. Thankfully the worm farm is in my basement, and the smell didn’t escape too far into main house, but it was definitely noticeable at the top of the basement stairs and in the hallway. Happily, the worms seemed to really like the mushy, stinky broccoli, and ate it quickly. Hooray! But…I will never, ever, ever feed them a cruciferous vegetable scrap again. Only apples and other sweet-smelling leftovers from now on.
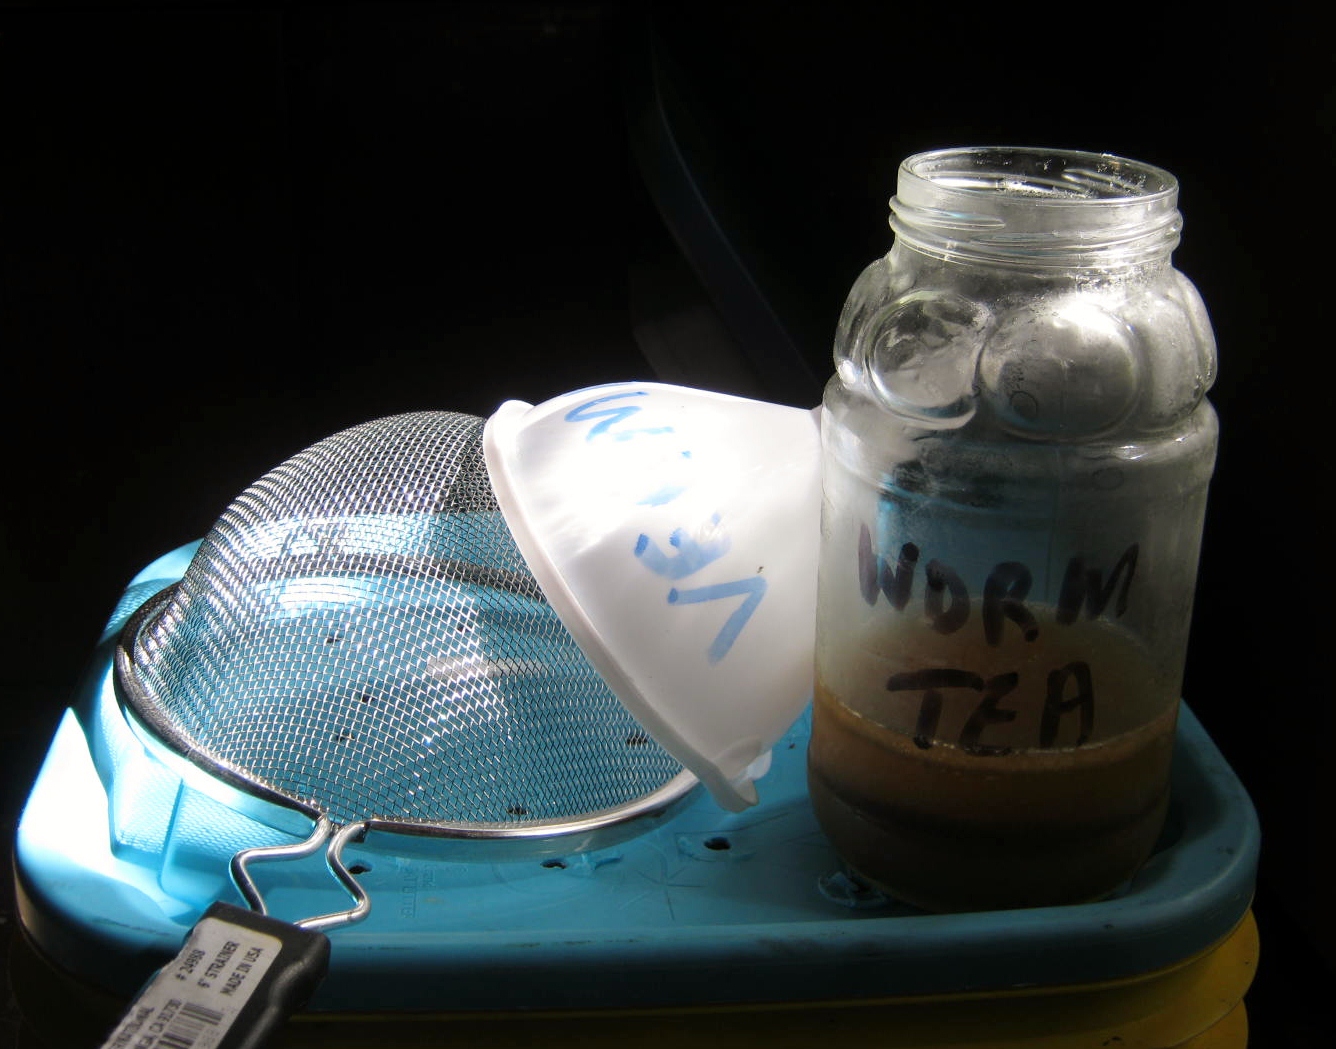
Problem # 2 – Do not feed your houseplants the worm tea as fertilizer. The worm tea had very little odor when harvested, but seemed to develop an off odor after applied to the soil of houseplants, even though it was very watered down. Lesson learned – Save the worm tea for outdoor plants.
Problem #3 – I have had two escapees. I think they slipped out the holes in the side. The unlucky fellows didn’t even make it a yard past the worm farm. Since I keep the bin in the basement the concrete floor acted exactly as a sidewalk does…think dried and shriveled worms in the summer sun…the escapees seemed to have instantly dried up and died on the basement floor.
To read about the start of my worm farming click on these links:
The Worm Farm
Worm Farm Update


I must have over a hundred old Victoria magazines in my upstairs closet. I know, I know, it sounds a bit like hoarding, but I just can’t seem to make myself recycle or sell them. In the last few weeks I’ve been paging through the old issues, and tearing out articles and pictures I can’t seem to do without. Alas, (A very Victorian expression) even while I am weeding out old ephemera, I’m also in the process of creating a new collection. Big Sigh! At least it won’t take up quite so much room. Smile!


