
Quote – If My People…


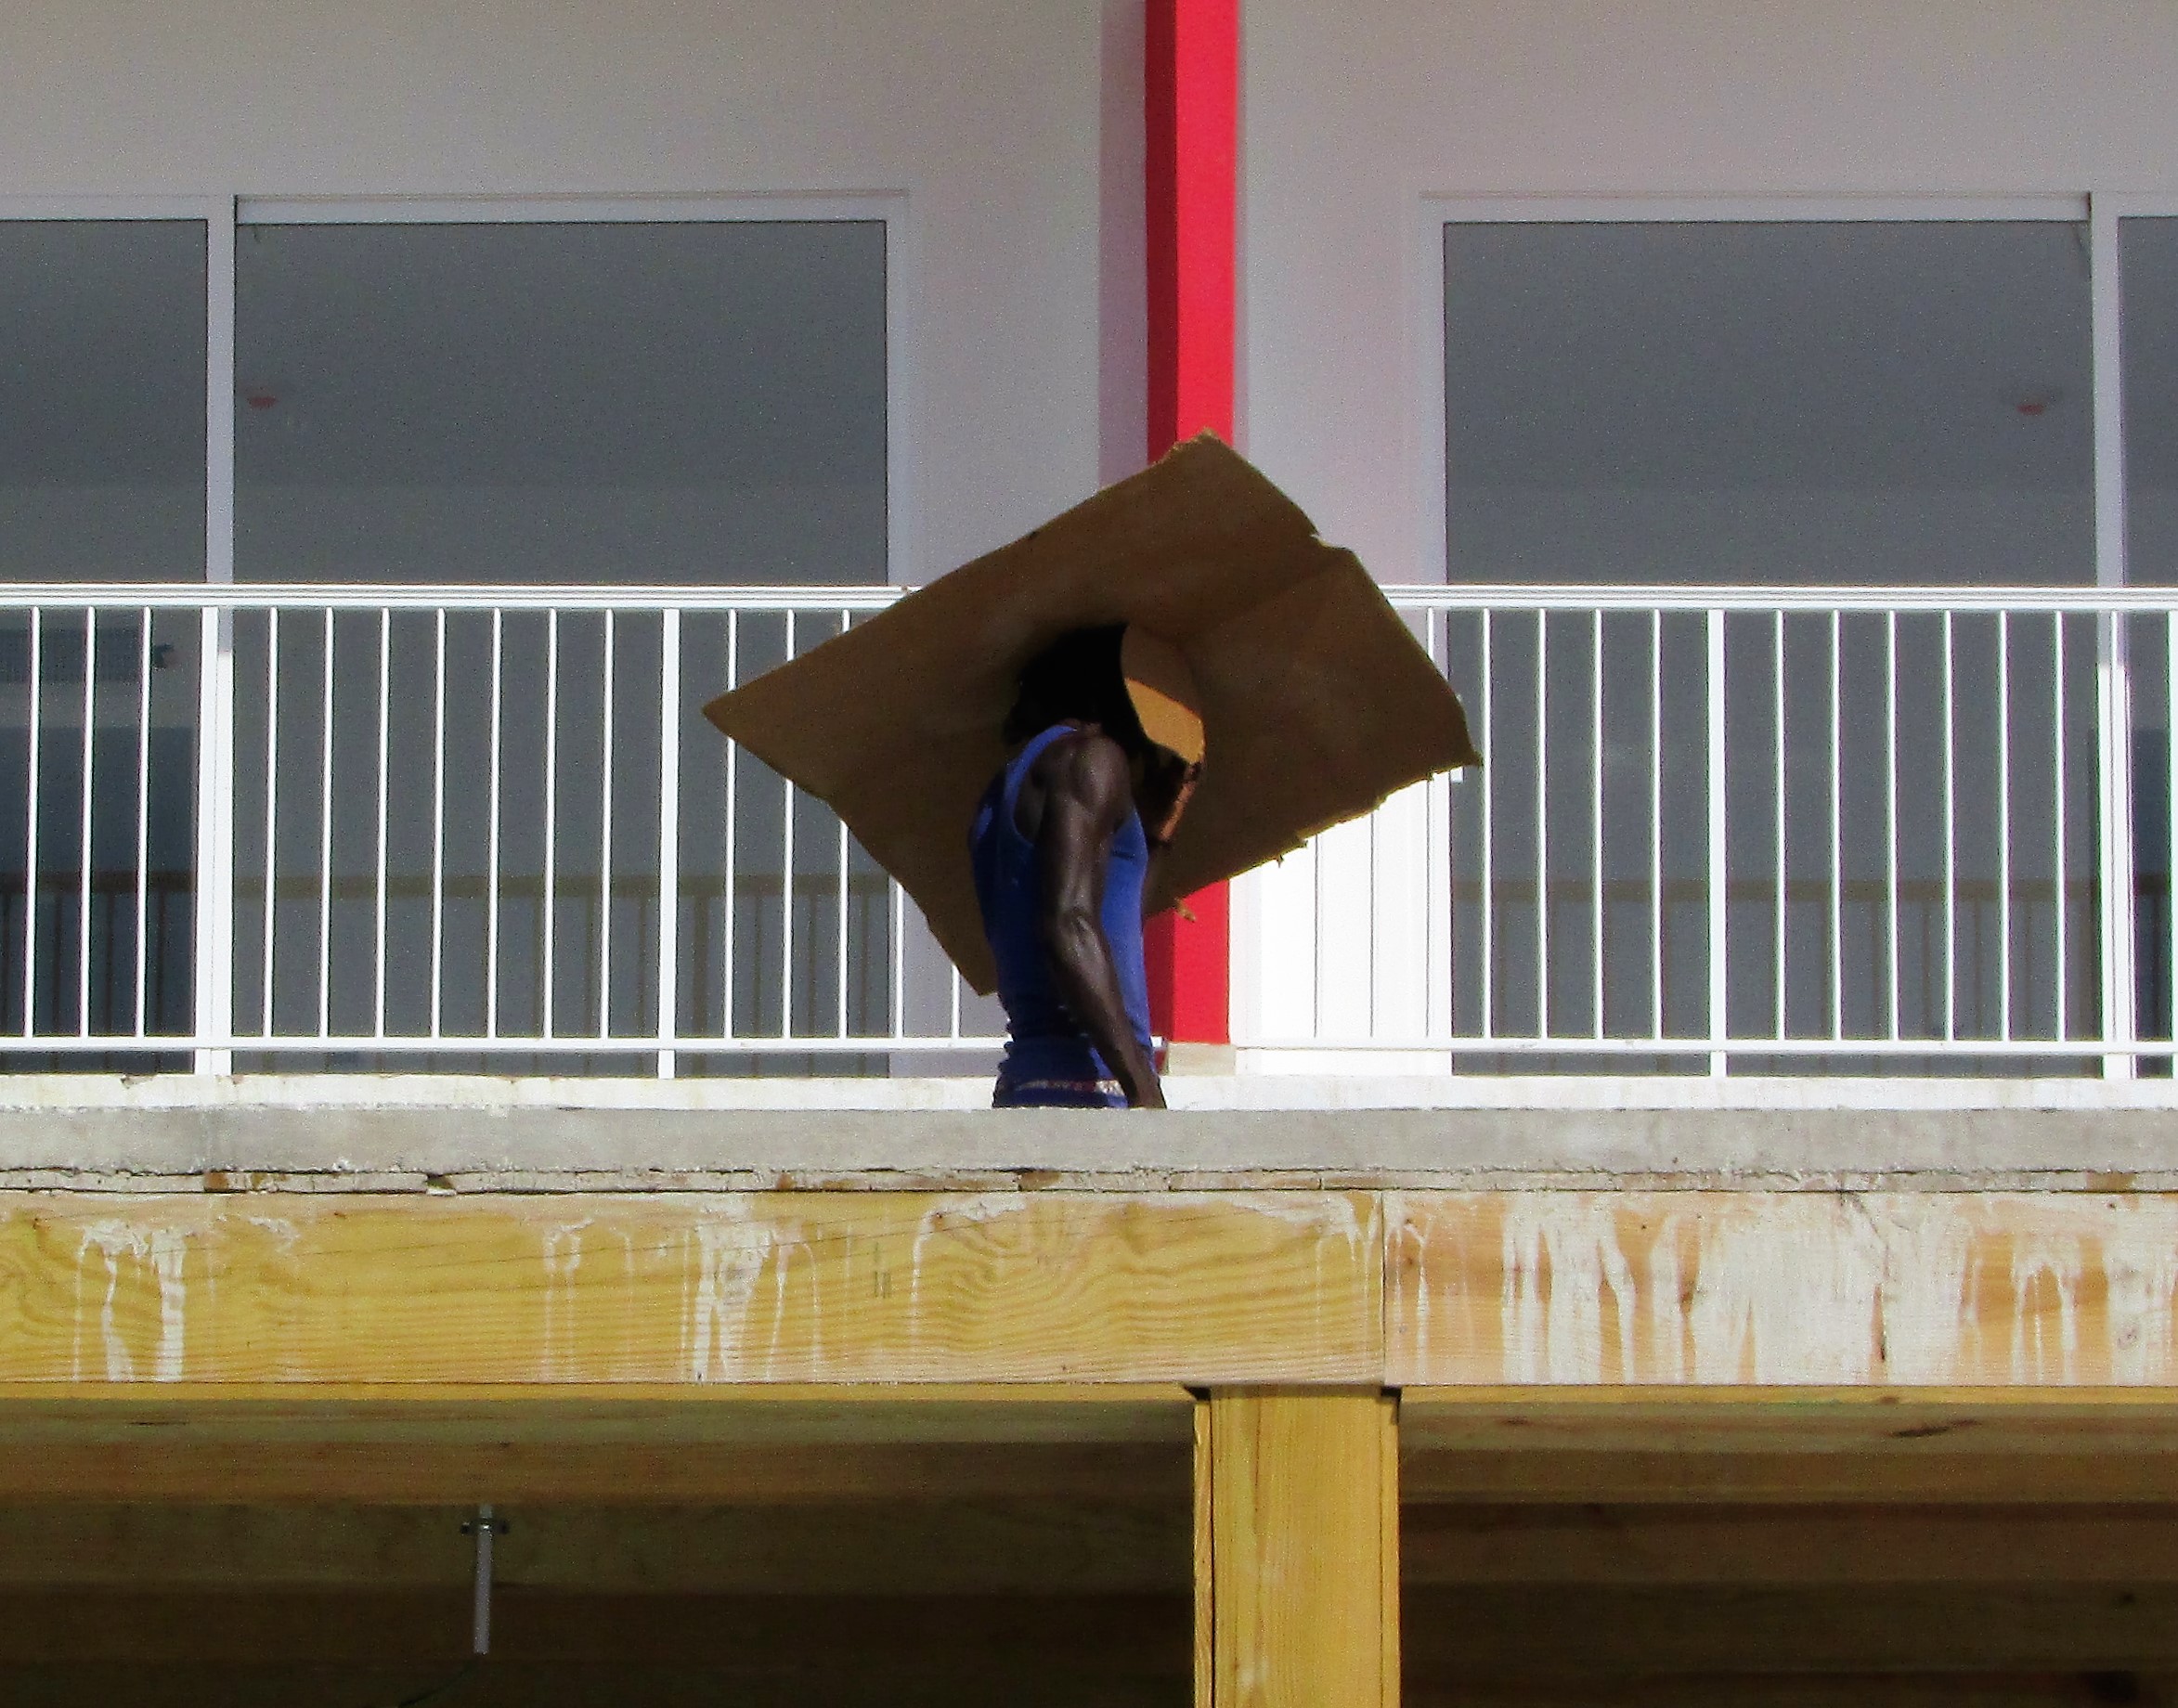
Jamaica is one of our favorite places to visit. I love the land, the sea, and most of all the people. The DeCameron, a lovely hotel in Montego Bay, is one of our favorite places to stay. They are expanding in size, and we enjoyed watching the work going on around us. We were very impressed by this man’s ingenuity in shielding himself from the hot sun with a large piece of cardboard. The cardboard is light in weight, but its broadness cast a large shadow, protecting him from the heat. I would never have thought of such a good idea, but I will definitely file it away in my thoughts as a perfect solution for blazing sunshine.


It’s time to be on the lookout for Autumn leaves. I press them between the pages of books and use them for crafts and Thanksgiving table scatter. They look lovely hung from mantels or chandeliers. They make great place cards. Write the names of your guests on them with metallic felt-tipped markers. Encase within pieces of glass, seal edges with copper tape or decorative duct tape and use as trivets for your holiday table. Have fun!

I repeat this post almost every year when I pull out my Ugg Boots.

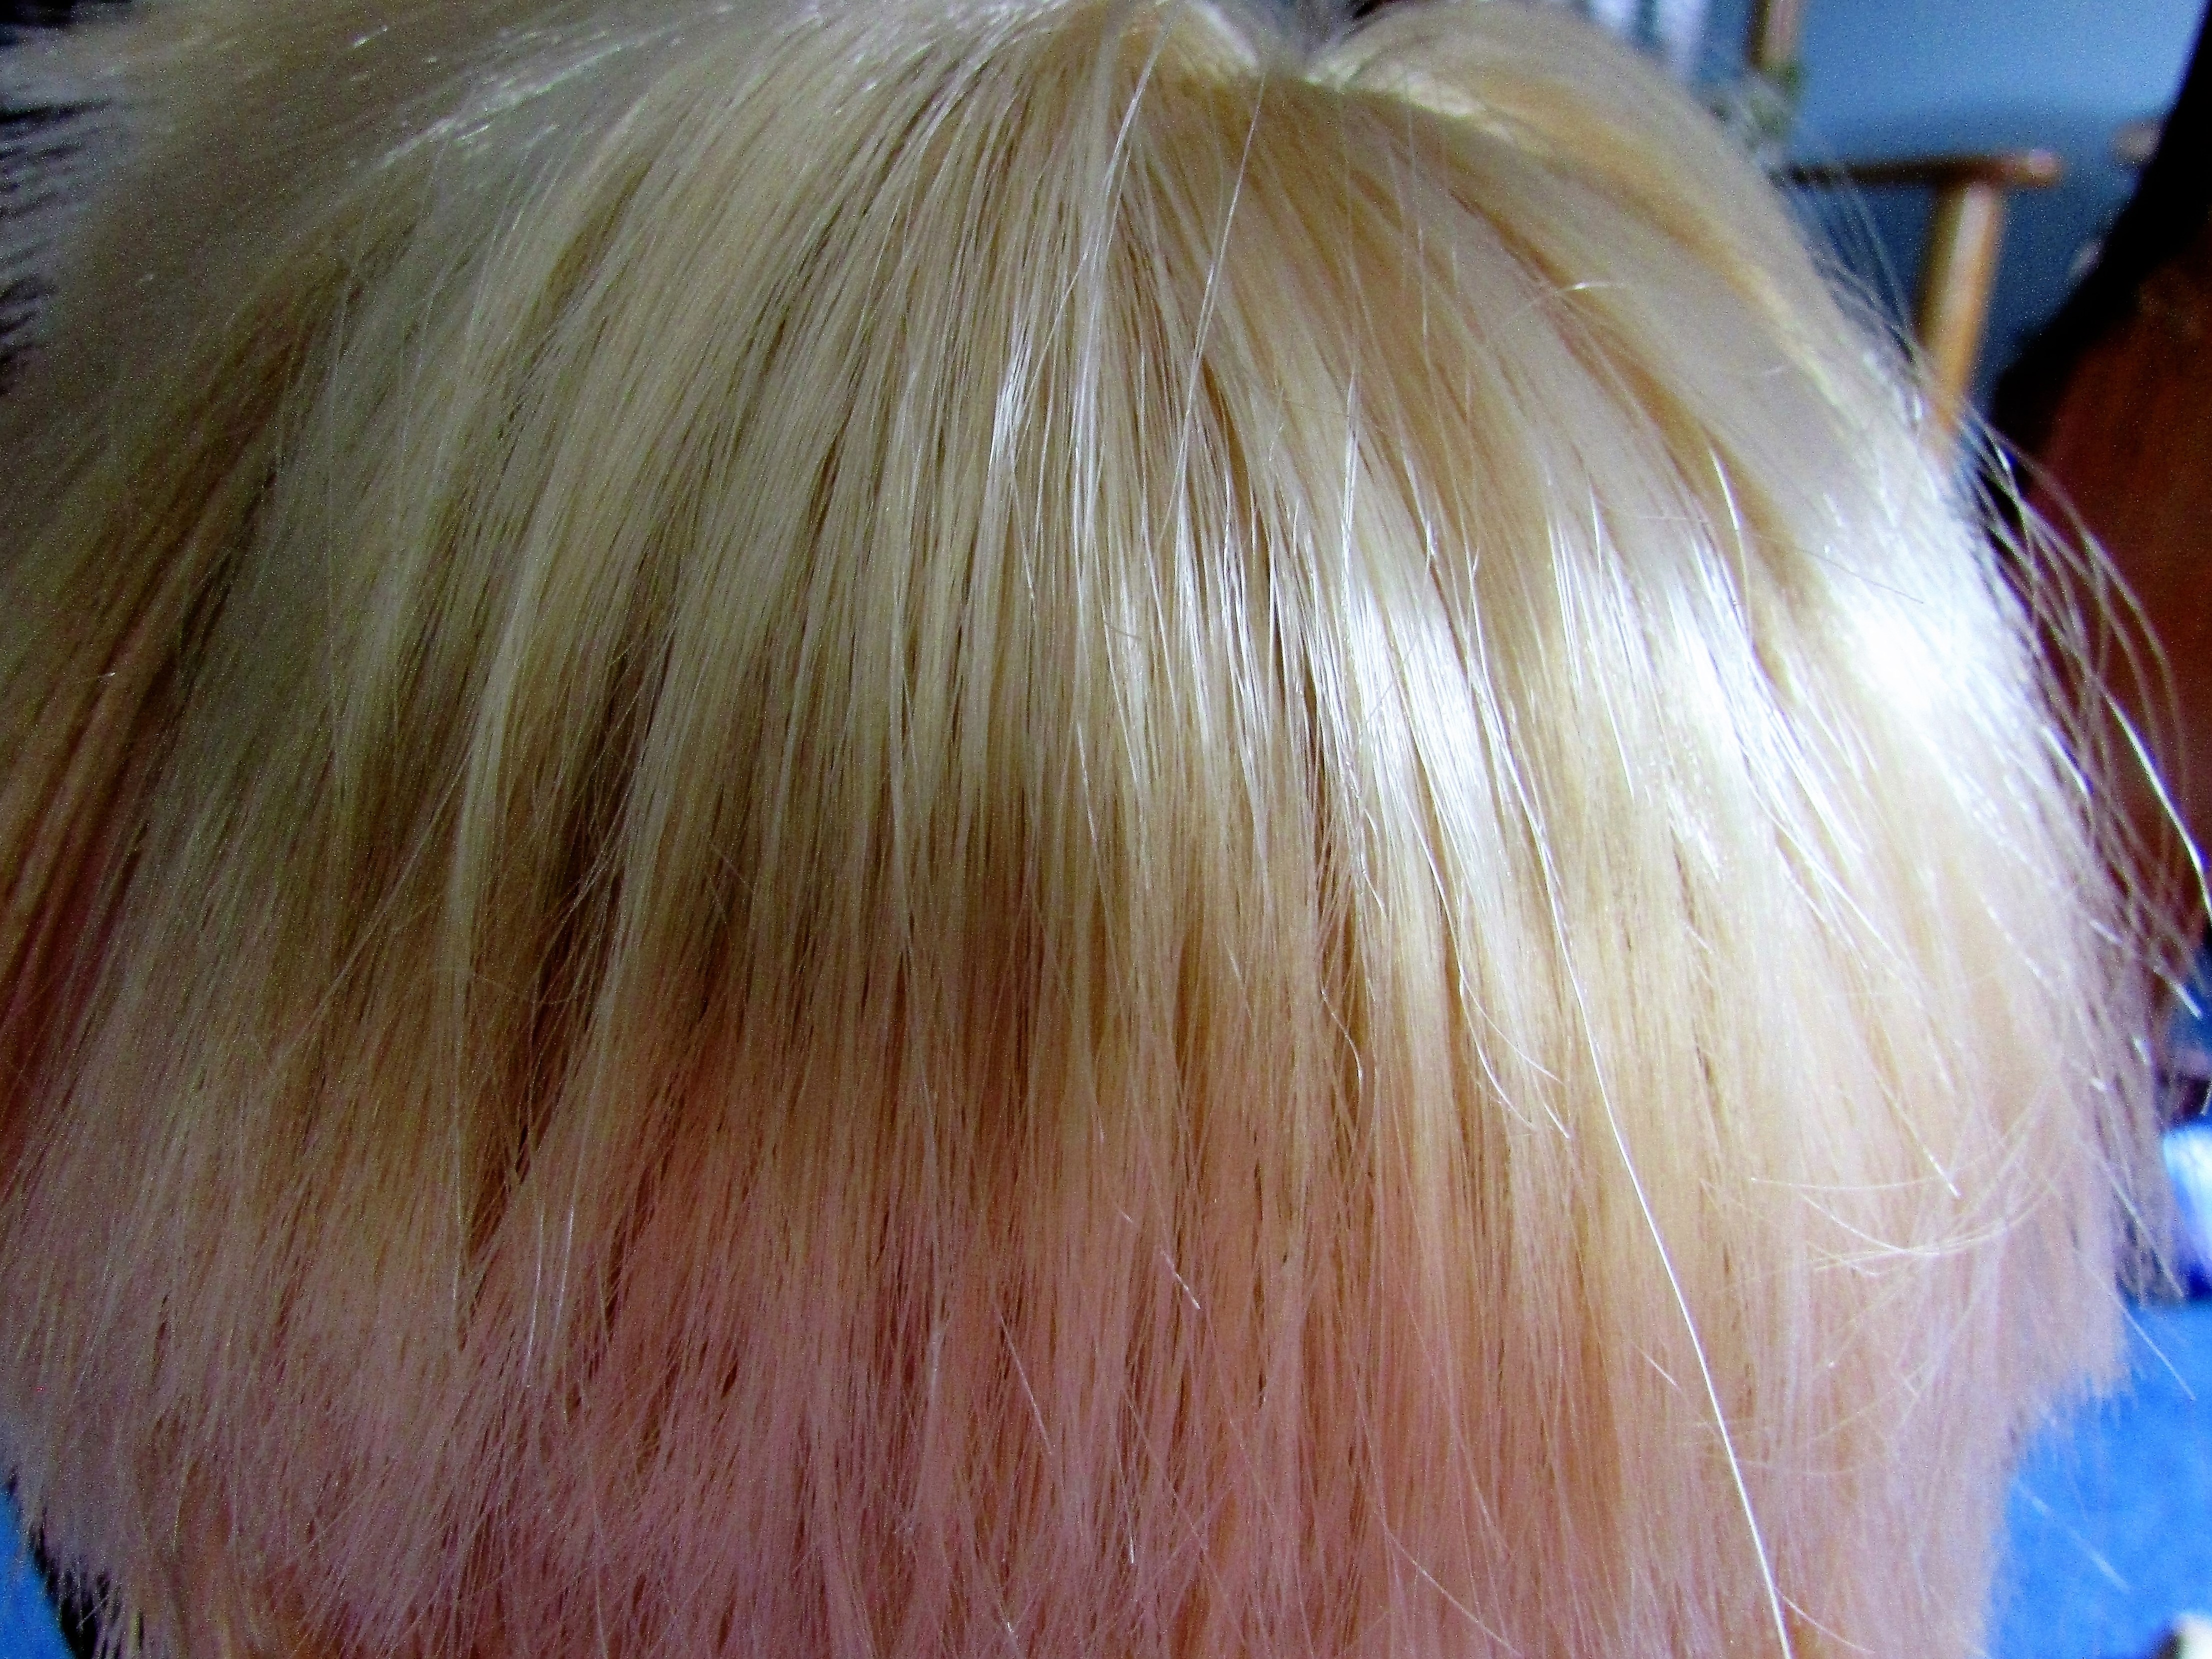
My Uggs Boots were stained by salt last year. I don’t know why I waited a whole year to clean them off, I suppose it is the classic, out of sight, out of mind syndrome. Thankfully, I do know a good way of cleaning them by applying shaving cream and rubbing with a soft cloth. Below you can see my progress. As I write, the boot I treated is sitting beside a heater vent drying. If there is any residue still left I will repeat the steps.

Dampen the entire boot so there is no line of demarcation when they dry. Apply the shaving cream and gently rub the soiled area with a soft cleaning cloth. Spread the shaving cream lightly around the entire boot with the cloth. No need for a heavy coat, just a light touch of the shaving cream will keep the color and texture of the boot uniform.

The boot on the right was previously treated. You can see the slightest bit of salt stain around arch of the boot, but all in all, unless someone was looking for the problem area, I don’t think it is very noticeable. Give this money saving tip a try. It certainly beats spending near $15.00 to have your boots professionally cleaned.
![]()


A.J. Gossip – (Arthur John Gossip) was Professor of Christian Ethics and Practical Theology at the University of Glasgow from 1939 until 1945.


The weather is quite cool now in the evening, windows are shut, the air in the house becomes musty and stale. I love organic/natural solutions for cleaning and adding a touch of scent to the air. This mixture is soft and lovely, and leads me to experiment with other combinations of herbs, pods and citrus skins.
Fill an aromatherapy pot, a small crock pot, or a pot on the stove with water. Add a capful of pure vanilla extract, some fresh lemon peel and snips of rosemary. I used fresh Rosemary, but I think dried would work just as well. Heat to a simmer. This fragrance doesn’t seem to cause anyone, even those with allergies, any breathing or headache problems.

Spider Mites are a pest I hate to see indoors or out. They are microscopic in size, and usually, they have caused quite a bit of damage before you are even aware they are on your house or garden plants. Here is some good information on what a spider mite can do to your foliage. Spider Mites
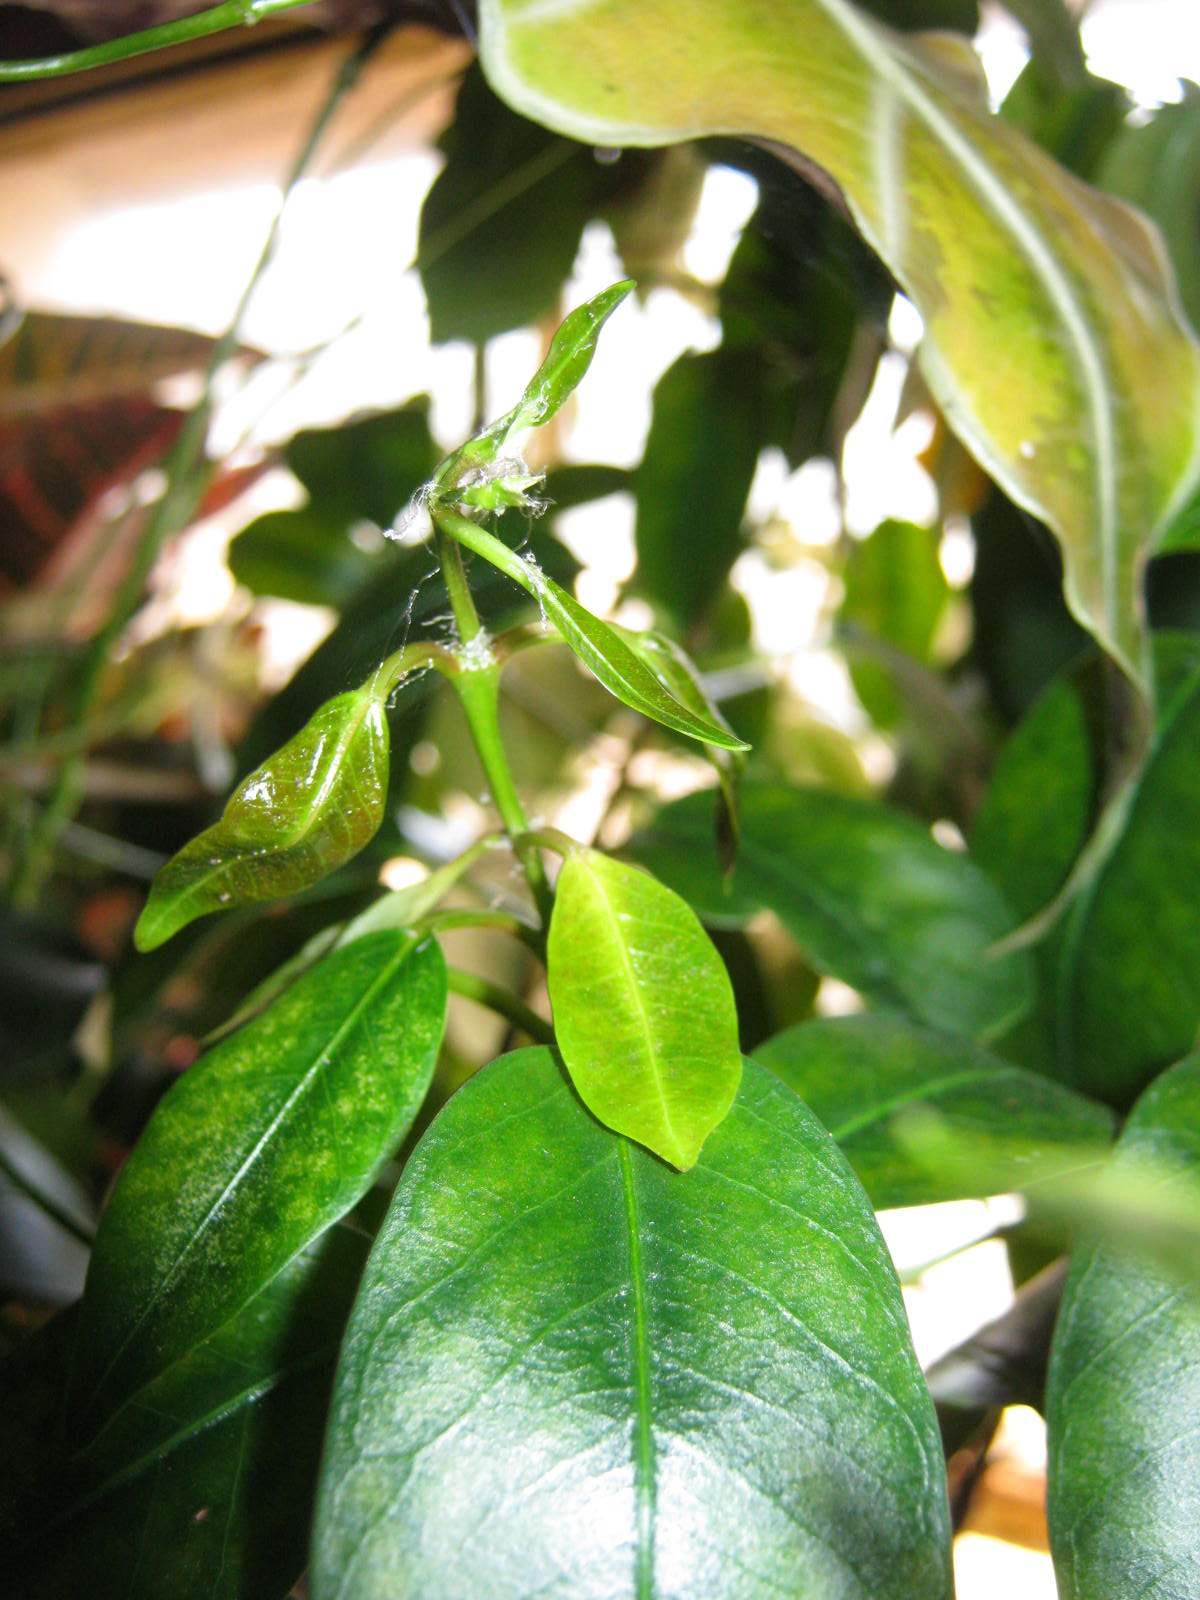
This week I noticed some yellowing leaves on my Mandevilla Vine. Because I have had problems with spider mites in this area of the basement in the past, they were tops on my list of possible pests. Instead of peering at each stem individually, I used my quick and easy solution. I sprayed the entire plant with a mister. Sure enough, the webbing the spider mites leave behind on the leaves caught the droplets of water and glowed in the sunlight. Since I want to keep all my pest control organic, I have found that the best approach to controlling spider mites is to spray the plant with water every day. This keeps the spider mites under control until it is warm enough for me to take the plant outside and really douse it with a hard spray of the hose. Daily sprays of the hose for a week or two will obliterate the spider mite colony. This technique also works on aphids. The only other solution is to spray with dangerous chemicals or toss the plant in the garbage heap.
Spraying the infected plant with water will allow you to see how badly infested your plant has become. It is a good idea to spray all your houseplants to see if there are any errant mites on surrounding greenery.

At this time of year many of us are bringing houseplants indoors from their ‘vacation’ time on porches and the great outdoors. Unfortunately, when we do so, we often bring in a few hitchhikers in the form of mealy-bugs. Here’s a timely repost of a few tricks to control houseplant pests organically.


While watering my succulents I noticed the dreaded white fluff of a Mealy Bug. Oh no. I have had experience with these pests in the past and know they can become a full-blown infestation. I wasted no time in treating the infested plant.

I like to use organic products and things I already have around the house. For Organic Mealy Bug Treatment Isopropyl Rubbing Alcohol is a good choice. Using a Q-tip I touched the saturated tip to the back of the mealy bug. As I checked the plant I saw a few more of his family residing along the stems and treated them too. Further down there were more, oh no, it was beginning to look like an infestation, time for more drastic measures. I filled an atomizer with some of the alcohol and sprayed the entire plant. I left it on for a few moments and then washed all the foliage in tepid water. Most organic pest control sites recommend watering the alcohol down first, but for a hardy succulent, straight out the bottle did no harm. If I was treating one of my african violets I would definitely water the solution down before using.

I knew I had to check all the plants that were in the same room with the infested succulent, and sure enough, on one coleus I found the beginnings of more mealy bugs. Hopefully the intervention with rubbing alcohol has eradicated the problem.


It’s time to begin a few indoor gardening projects. At the top of my list is growing a sweet potato plant with my grandchildren.

Growing a sweet potato is easy. Buy a good-sized sweet potato or yam from a farm or organic market; they are less likely to be treated with chemicals to prevent sprouting. Insert three or four toothpicks around the widest circumference and place the bottom in water. A flower vase with a slender neck is the perfect container to choose.
The tuber grows quickly and develops a large root system. In just over a month it will be ready for planting in a pot of soil.

I left a portion of the tuber above the soil line. I think it adds a bit of interest to the look of the plant. I also like the way the tuber mirrors the golden-orange brown of the pot’s ceramic finish.

Growing a sweet potato is a fun and easy project for Autumn or Winter.


How much fun is this? The project was easy. I held black construction paper just below the eyes of each portrait, and lightly drew a mask shape to match each face. After cutting out the masks, I applied Elmer’s Glue stick…one of my very favorite craft tools, and attached the finished masks to the glass. Elmer’s Glue stick (washable variety) washes off and is easier than tape to remove. When Halloween is over I can easily pull off the paper masks and bats, wipe away the glue with a damp rag, and then Windex. Spooky and easy!


The meadow at Longwood Gardens.

I posted this for the first time in 2012, but it’s a good reminder now that Autumn is here once again, and I thought it was worth a repost. It’s fun to collect colorful leaves to press or use in projects, but there are still some plants to be aware of as you collect.

Many adults and children collect colorful Autumn leaves for projects and pressing, but beware, poison ivy is still growing, and it’s leaves are now cloaked in a gorgeous array of crimsons and golds. The urishol oil stays active on the leaves and vines. Picking up even one leaf for pressing can cause a nasty rash. When the poison ivy leaves fall off the vine, they fall solo, not in groups of three. This makes it impossible to follow the wise proverb of, “Leaves of three, let it be.” It is much harder to identify poison ivy when it has fallen off the vine. One thing to look for is an oblong shape, and many of the leaves have a notched appearance. Take a good look at the veining on the leaf in the above picture…that’s a good clue too.

If you see a leaf that might be poison ivy, take a look around to see if you can spot a vine with berries that look like the sample in the photograph above. If you see these berries, don’t pick up or brush against any of these vines or leftover leaves.


Cranberries are available again in the produce section. I love to use dried cranberries throughout the year, but I am very allergic to the sulfite preservatives sprayed on them. So…I did a little research on the Internet and dried my own.
First I sorted through the berries, keeping only those that were firm and dark red in color. I carefully washed them taking care not to bruise them. While I was doing this I boiled about two quarts of water. I placed the clean cranberries in a large bowl and poured the boiling water over them.


They started sizzling and popping right away. When it appeared that all the cranberries had at least one large crack in their skins, I drained them in the colander. I let them sit for about a half hour to dry.

I placed the cranberries on a cookie sheet covered with parchment, sprinkled them with sugar, and froze them for two hours. After their chill-down was complete, I put them into a preheated 350 degree oven for ten minutes, and turned the oven off for several hours as the directions instructed. The berries didn’t seem to be drying out though, so I turned my oven back on to the lowest temperature. It seemed to do the trick, within a few hours the cranberries had turned into craisins.

The directions I followed recommended freezing them on the same sheet and then bagging them for storage in the freezer. I can’t wait to make cookies, breads and muffins with my delicious and nutritious dried cranberries.
Check out this link for good directions for drying cranberries: In-Depth Article on How to Dry Cranberries
I was so pleased with my dried cranberry success, today I dried bananas. They were even easier, slice them, dip in citrus juice, I used lime, and dry them on parchment until they are dry. A good tip I found is store them first in a glass jar for 7 – 10 days. If condensation appears on the sides of the jar, you will know you need to dry them for a bit longer in the oven. Shake the jar every day while you are doing the moisture checking. When the time is up and the sides of the jar are dry, you can store them in plastic bags or jars in a cool dry place. They will keep for several months up to a year. I had one problem though…

Can you see all the empty spots on the parchment? That’s because I couldn’t stop taste-testing the delicious, scrumptious, delectable and tangy banana slices before they were even finished cooking. They are FABULOUS. My husband is a very picky eater, and even he likes them very much. Hooray!


I love Jack O’ Lanterns of all types. I found this fun design on the Pinterest website. I love Pinterest, so many good ideas. I don’t have time to do them all, but the few I have created have been so much FUN!


It happened yesterday as I uploaded photographs for Cee’s Photo Challenge, the photos I was attempting to post became red-rimmed, and a dialog box informed me:
Looks like you have used 3.0 GB of your 3.0 GB upload limit. ~ WordPress Media Library
I knew I was close to reaching the limit, but now it is thrust upon me, and today I need to find some solutions and continue deleting posts and photos from past years. In the meantime, I thought as I search through the blog archives I would repost a couple of Autumn ideas that might be buried there.
Wish me luck as I slog through years of posts. I like the word slog, it almost has the ring of onomatopoeia to it. When I say or think of slog I imagine myself in a stinky swamp, shoes sticking in the muck, every step forward accentuated with a schlurping pop as I pull my feet out of soft, wet earth. “Onward!” I say, I won’t be stopped by a little blog housecleaning. To all my blogging friends…have the happiest of days.

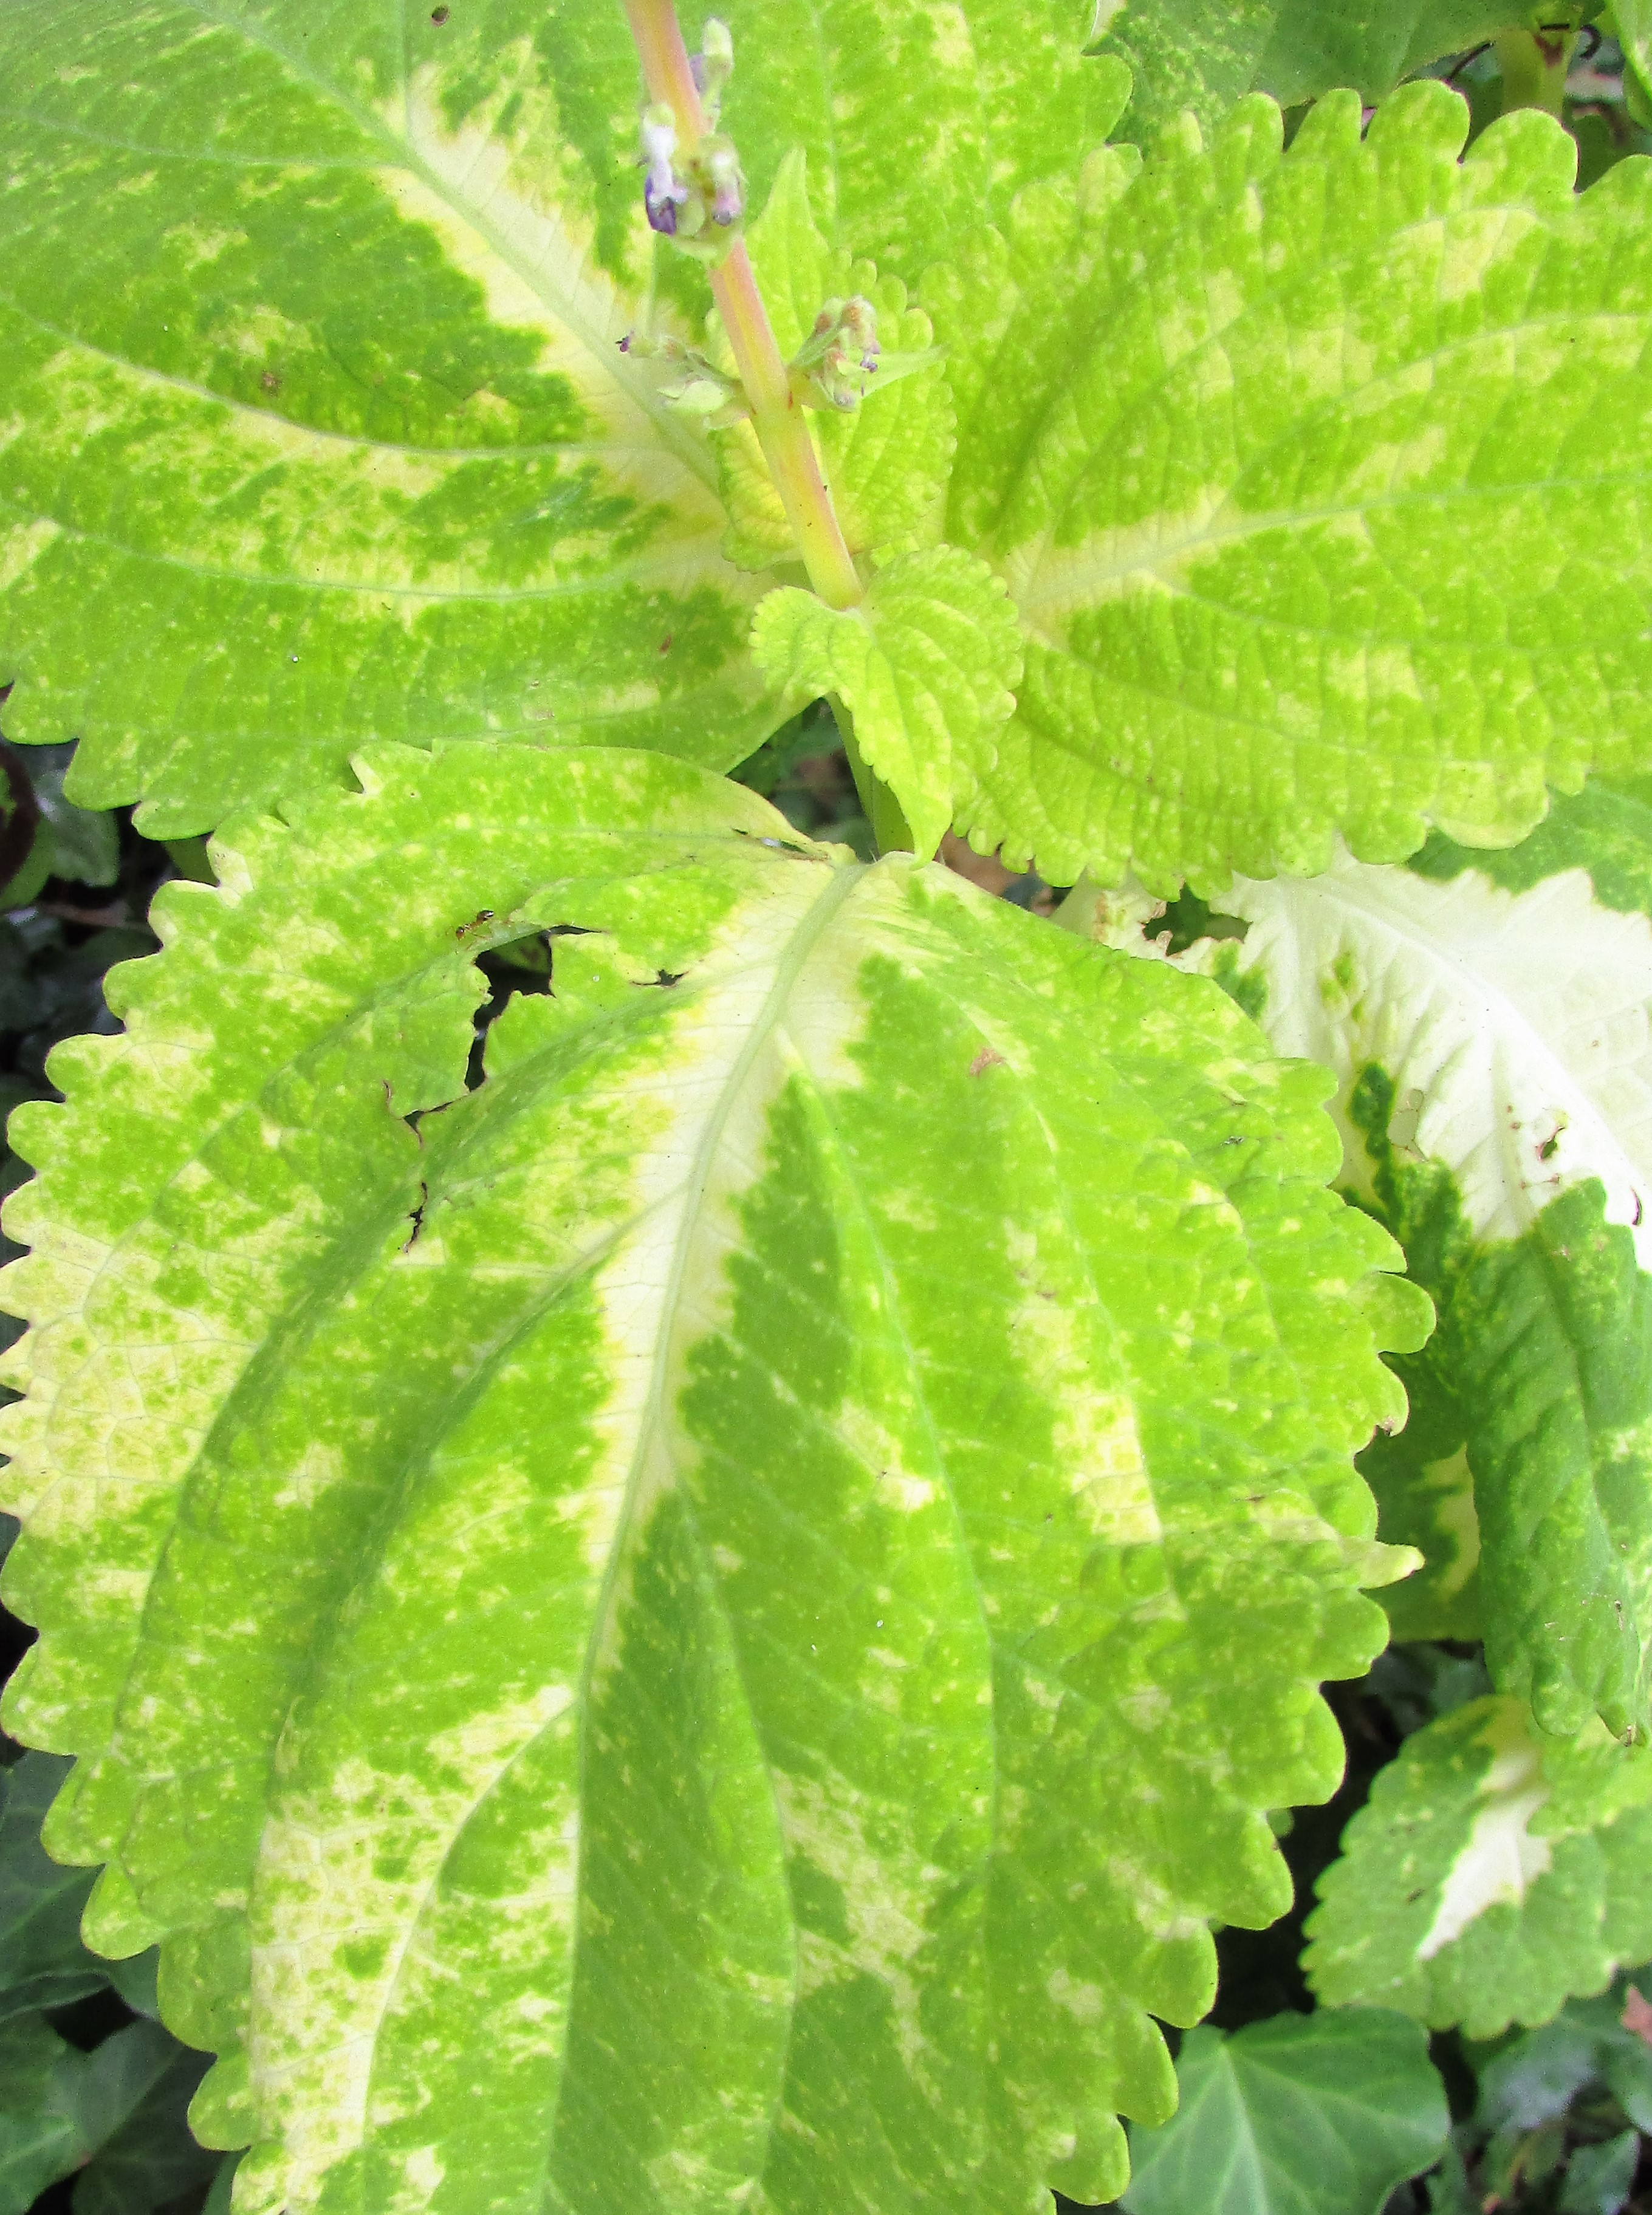
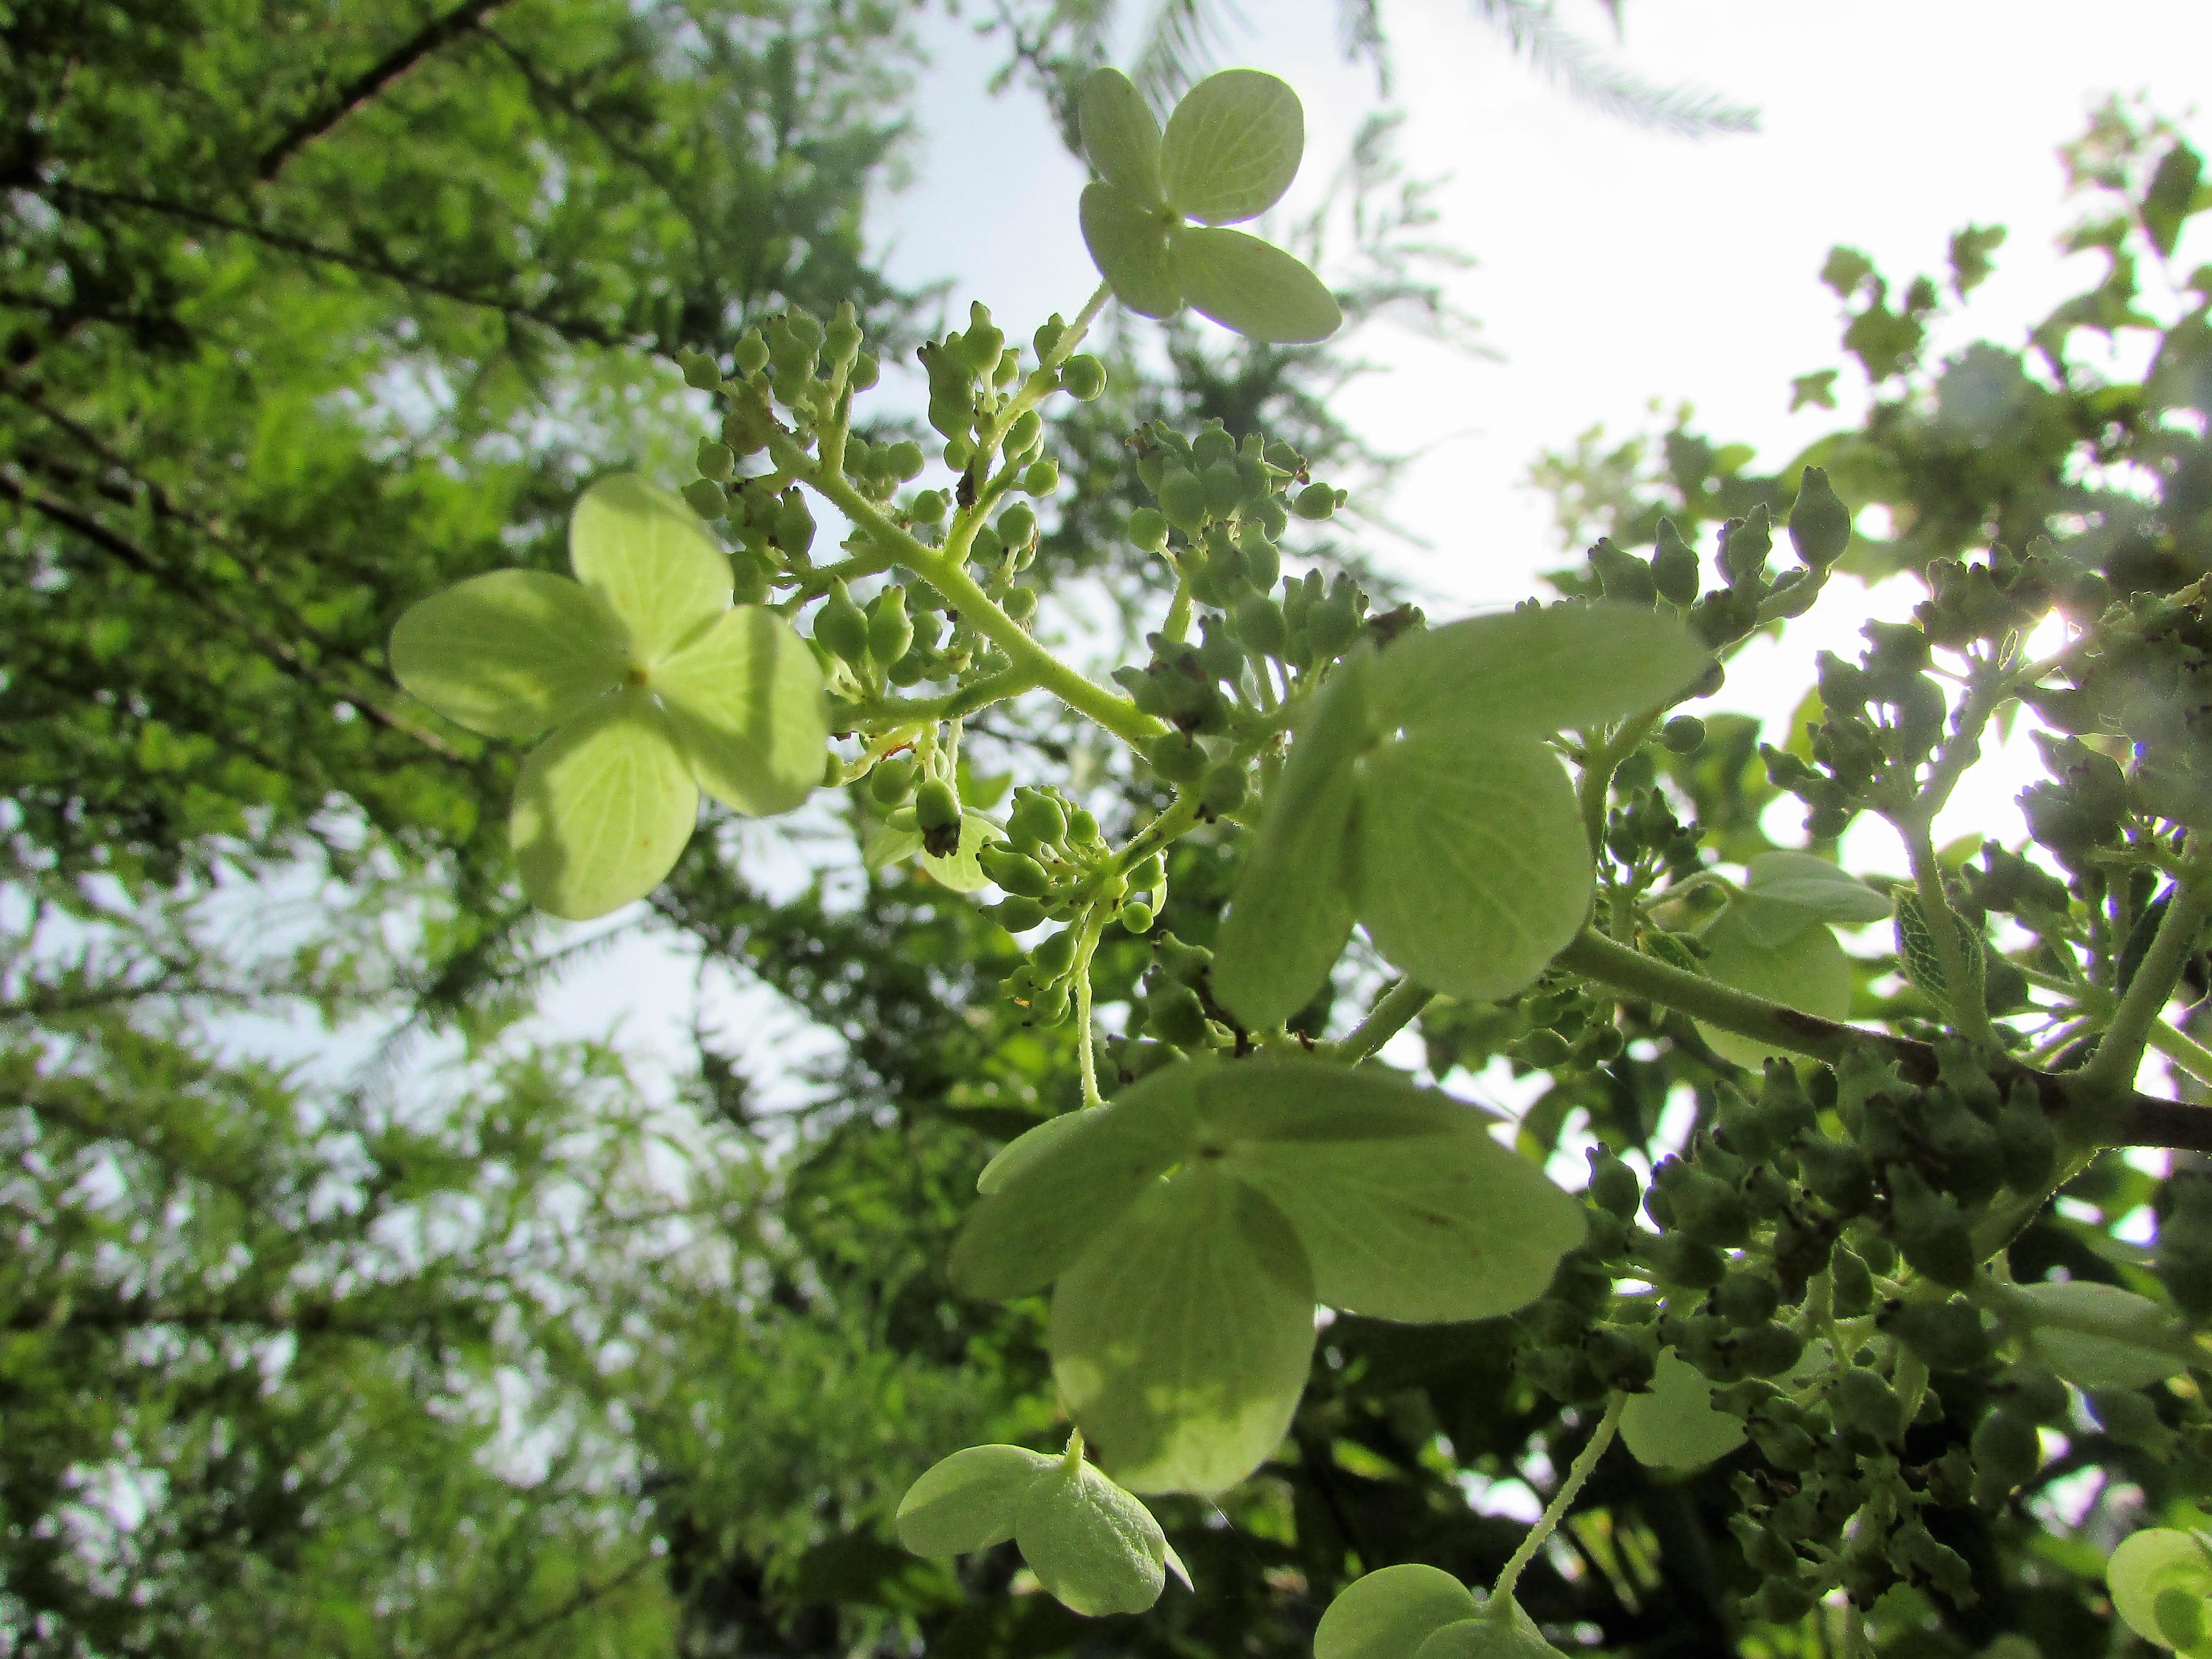
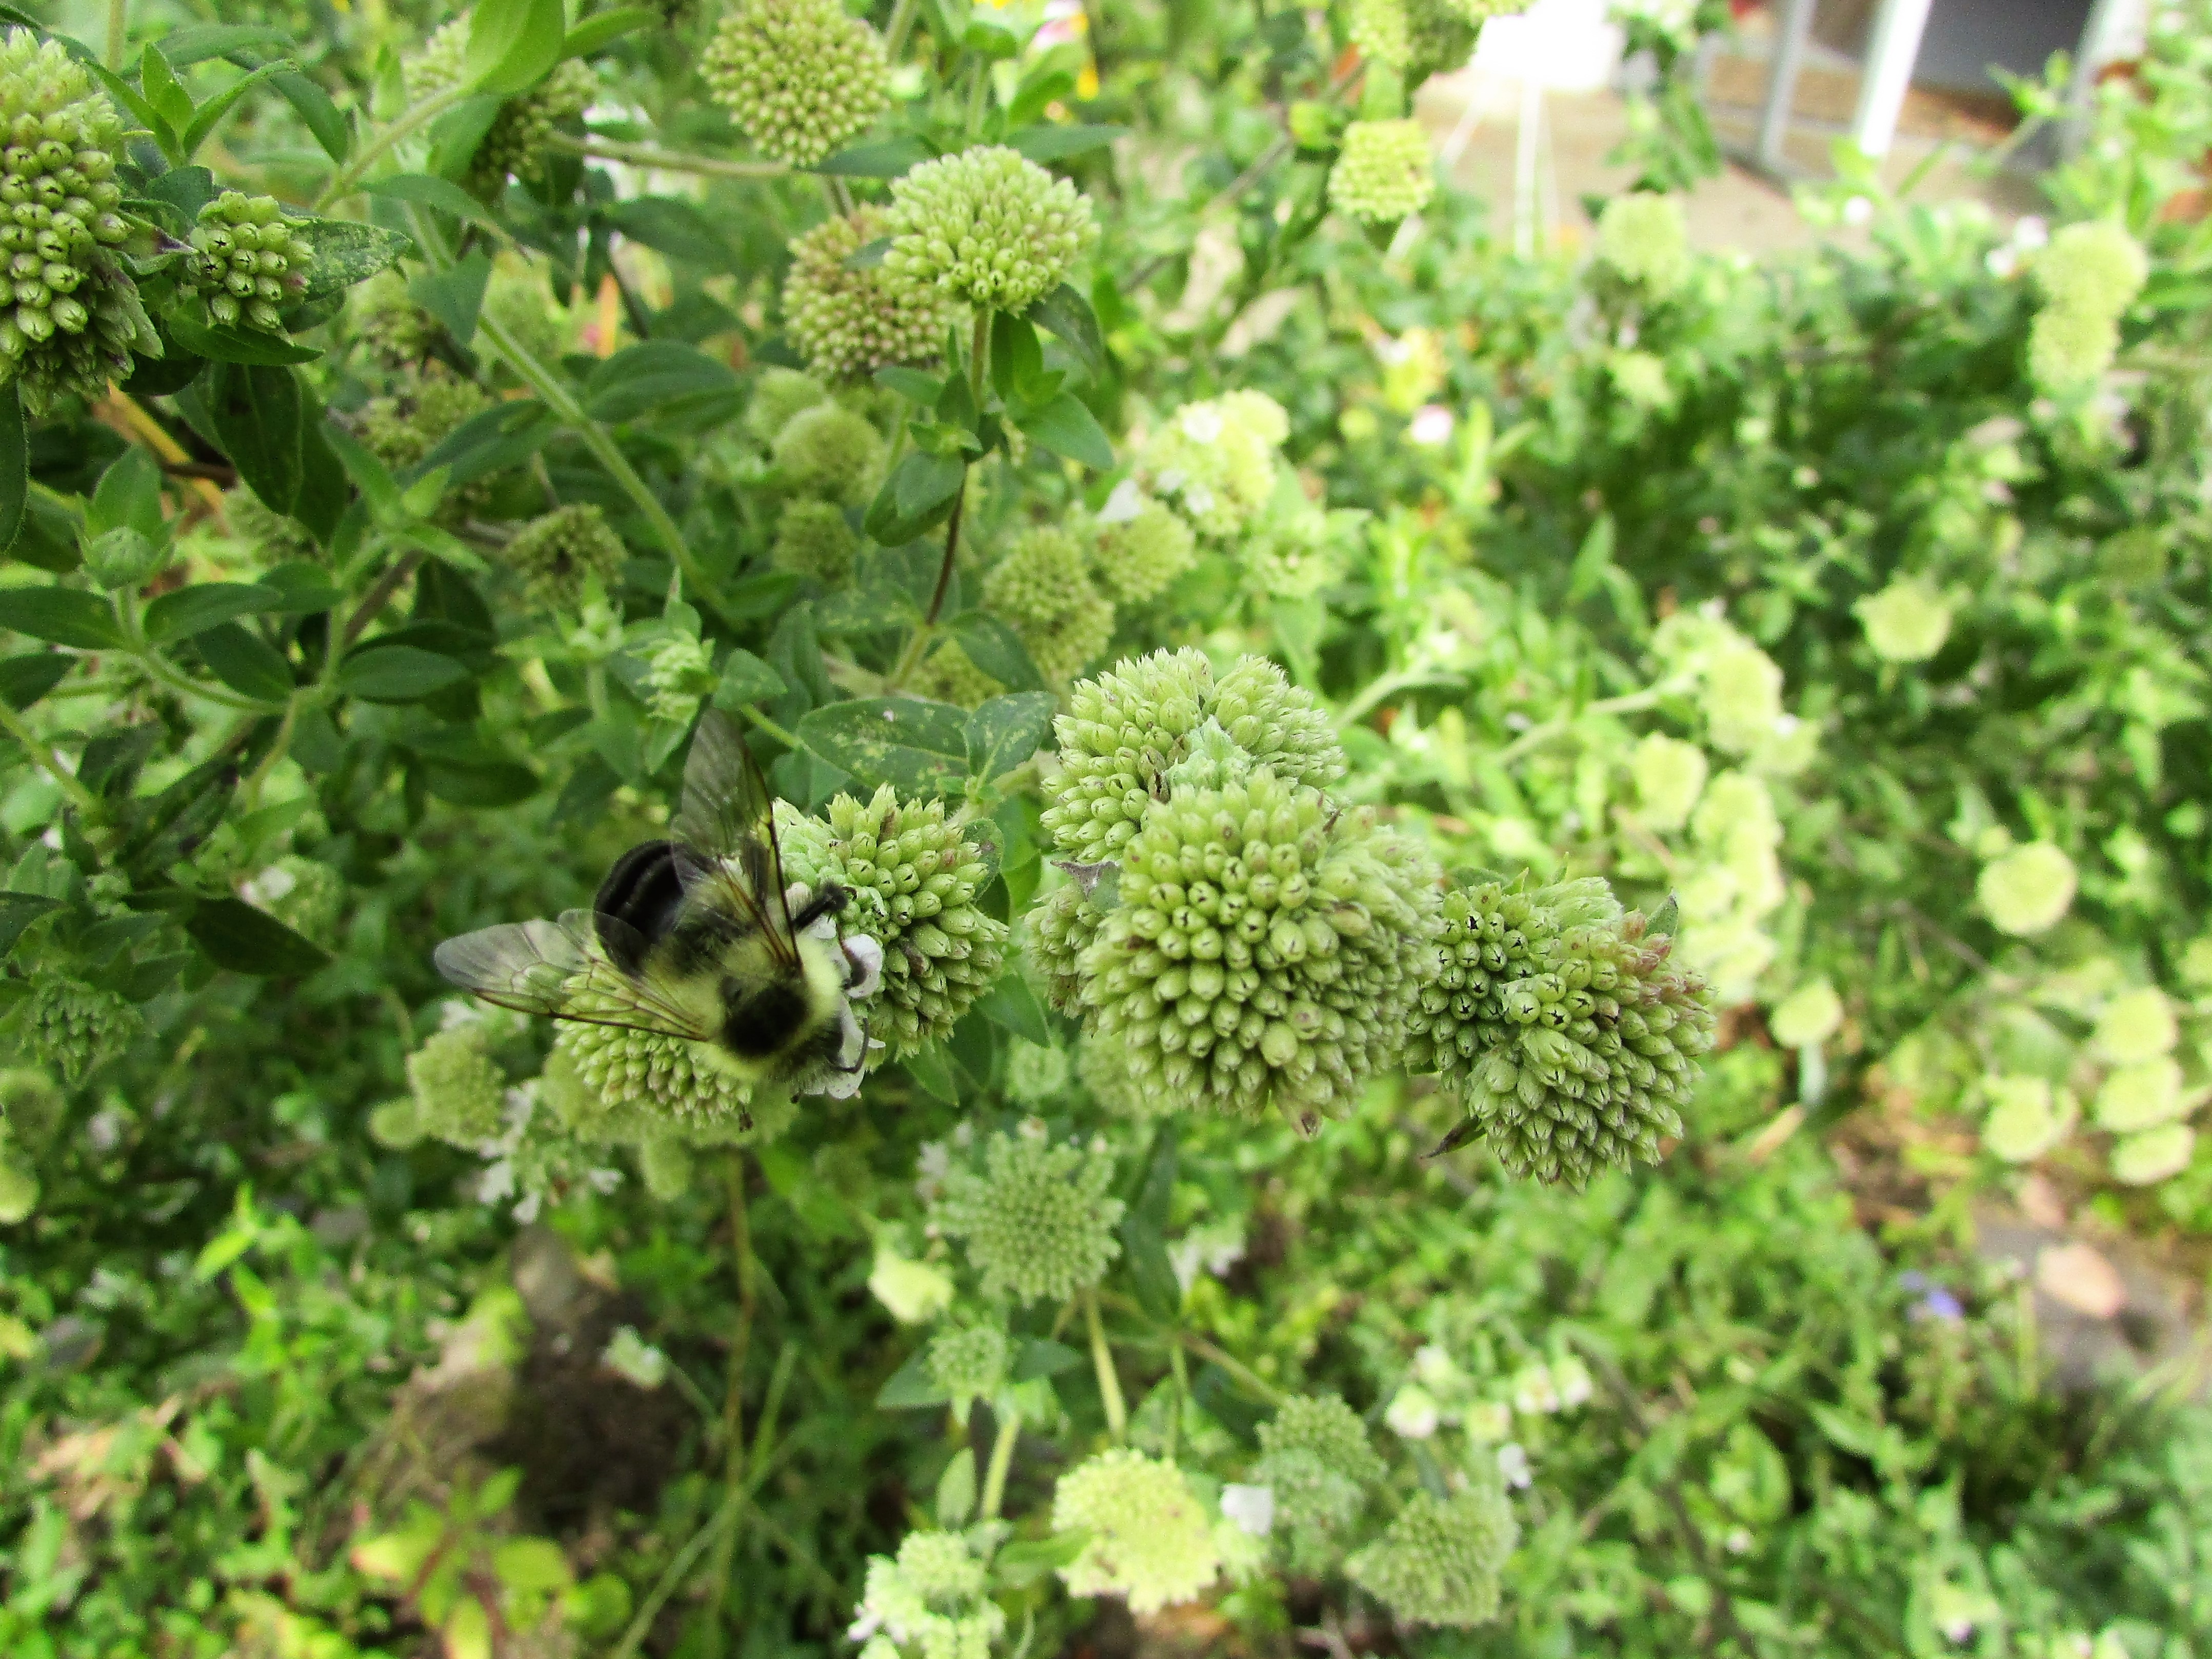
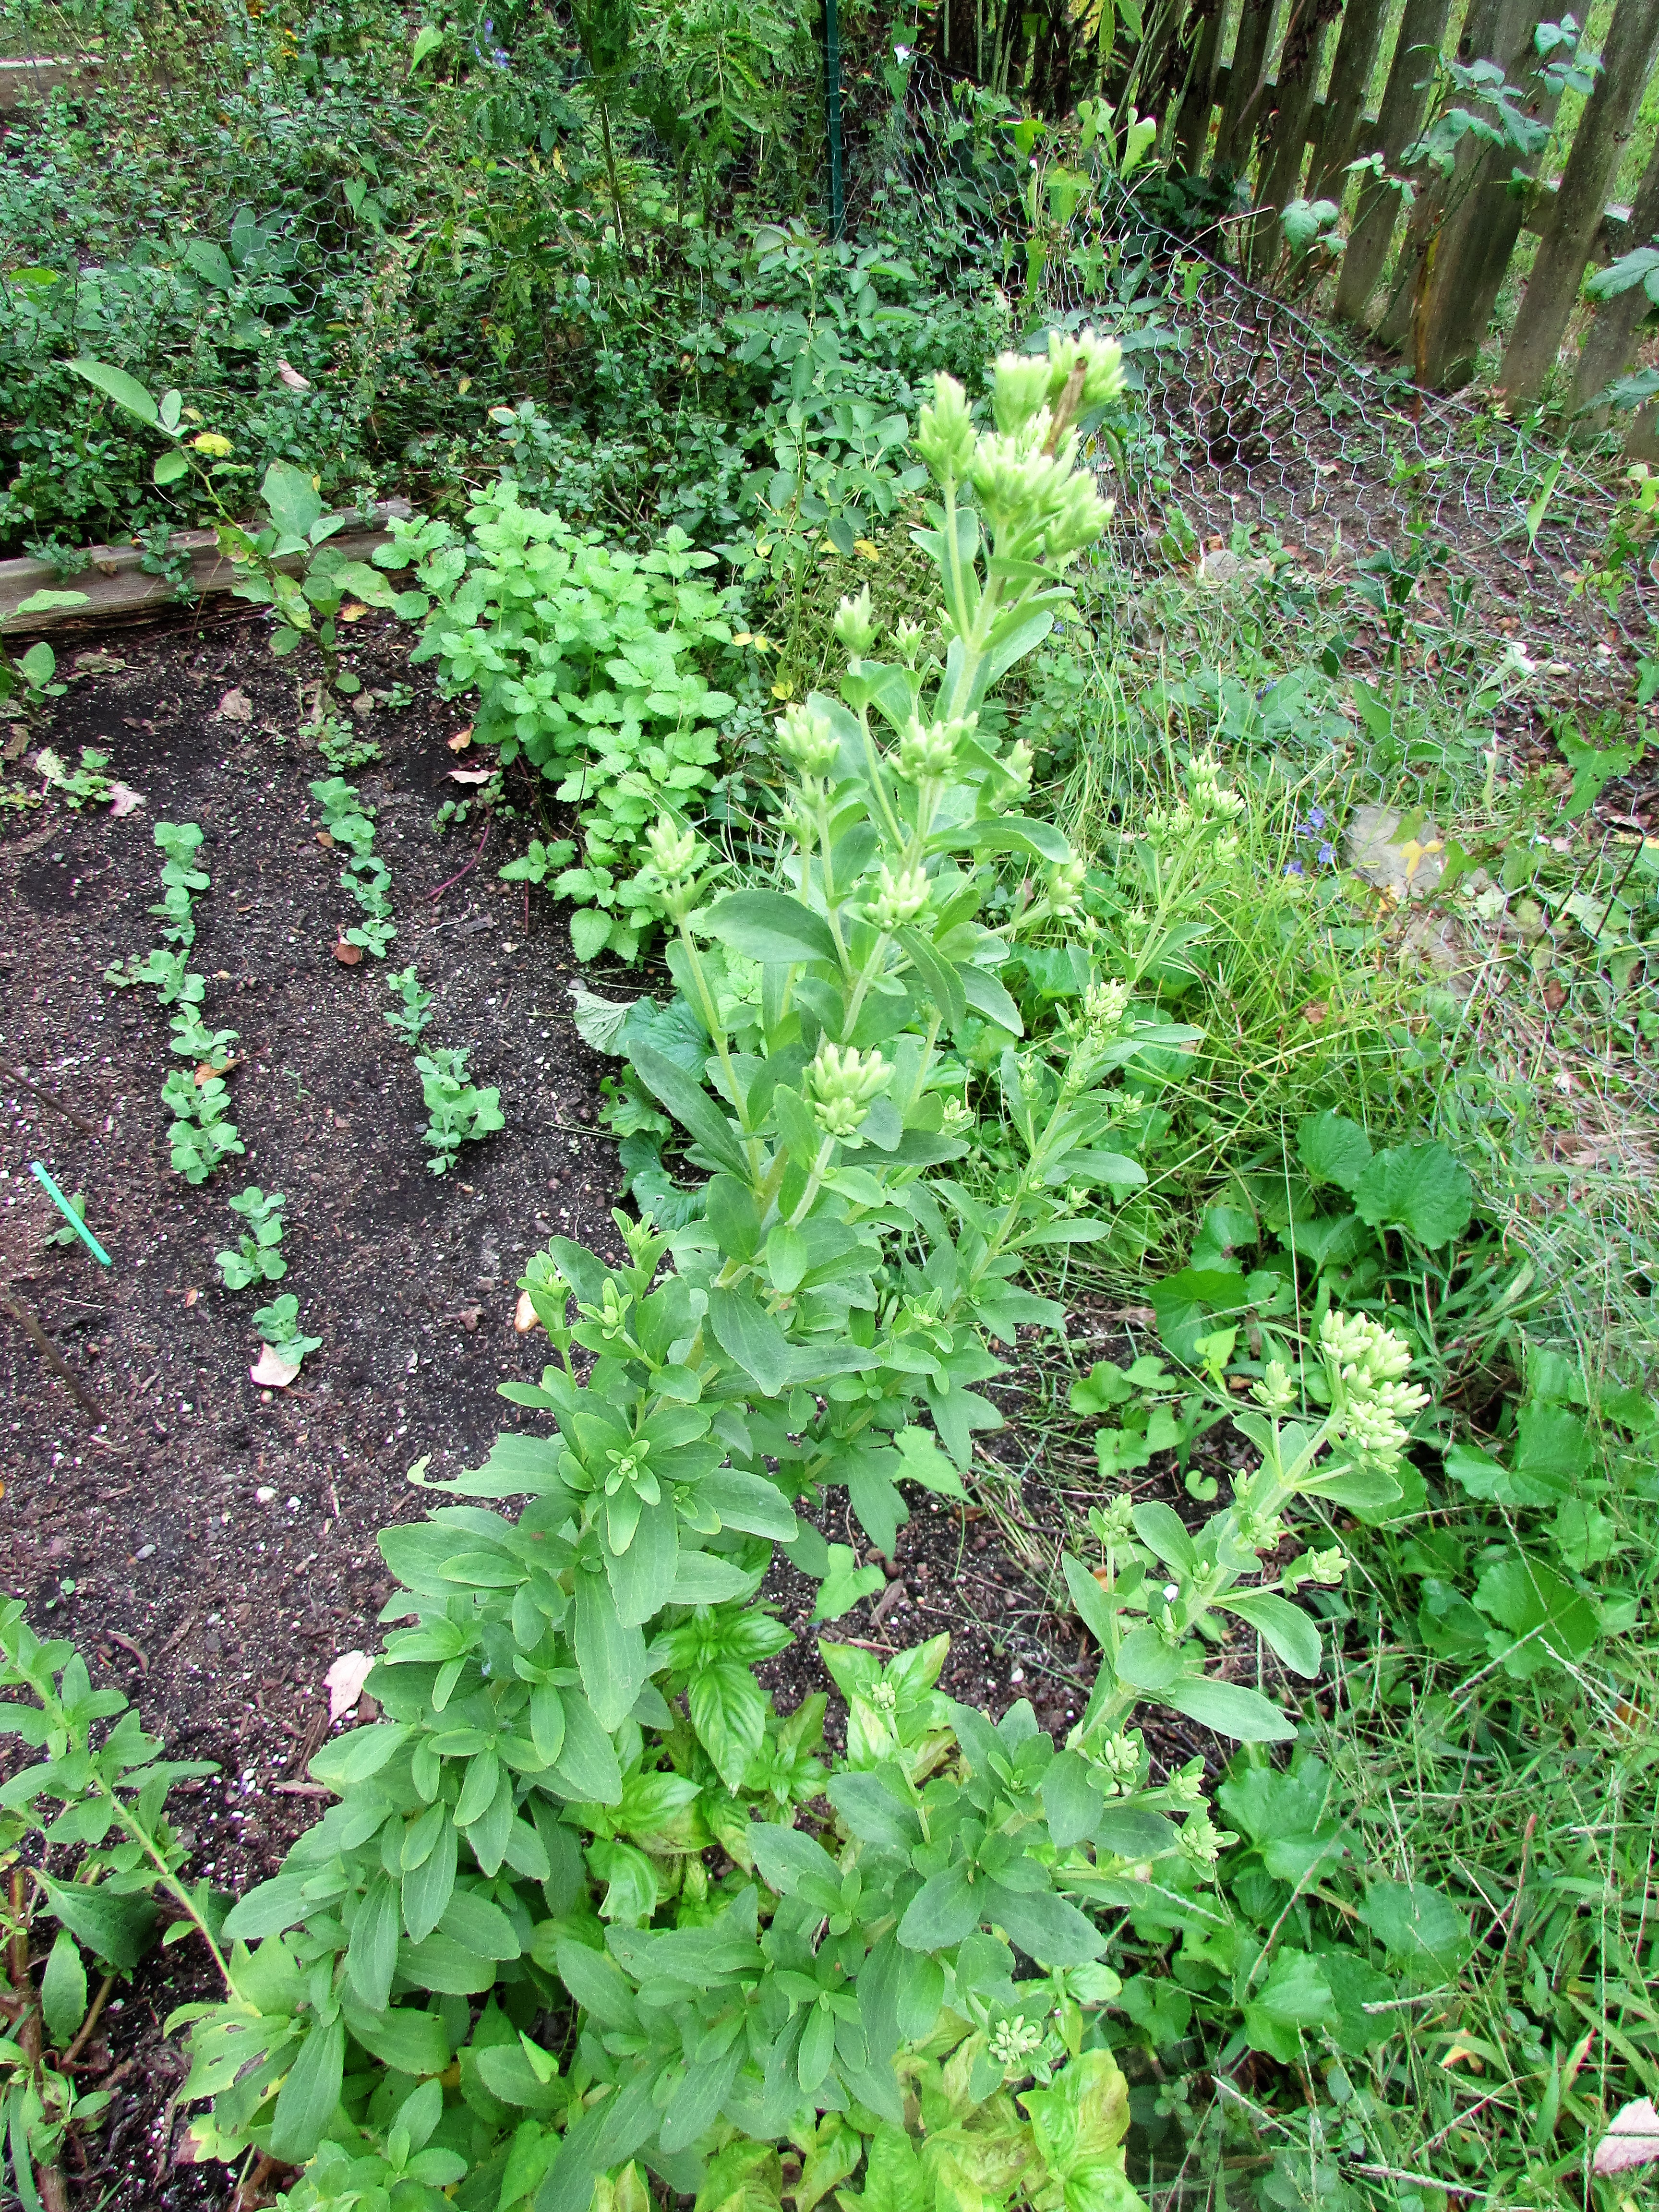
I enjoy taking part in Cee’s Fun Foto Challenges now and then. Since I have quite a few good examples of light greens in my garden today…the challenge was perfect. Here are a few examples of my Light Greens
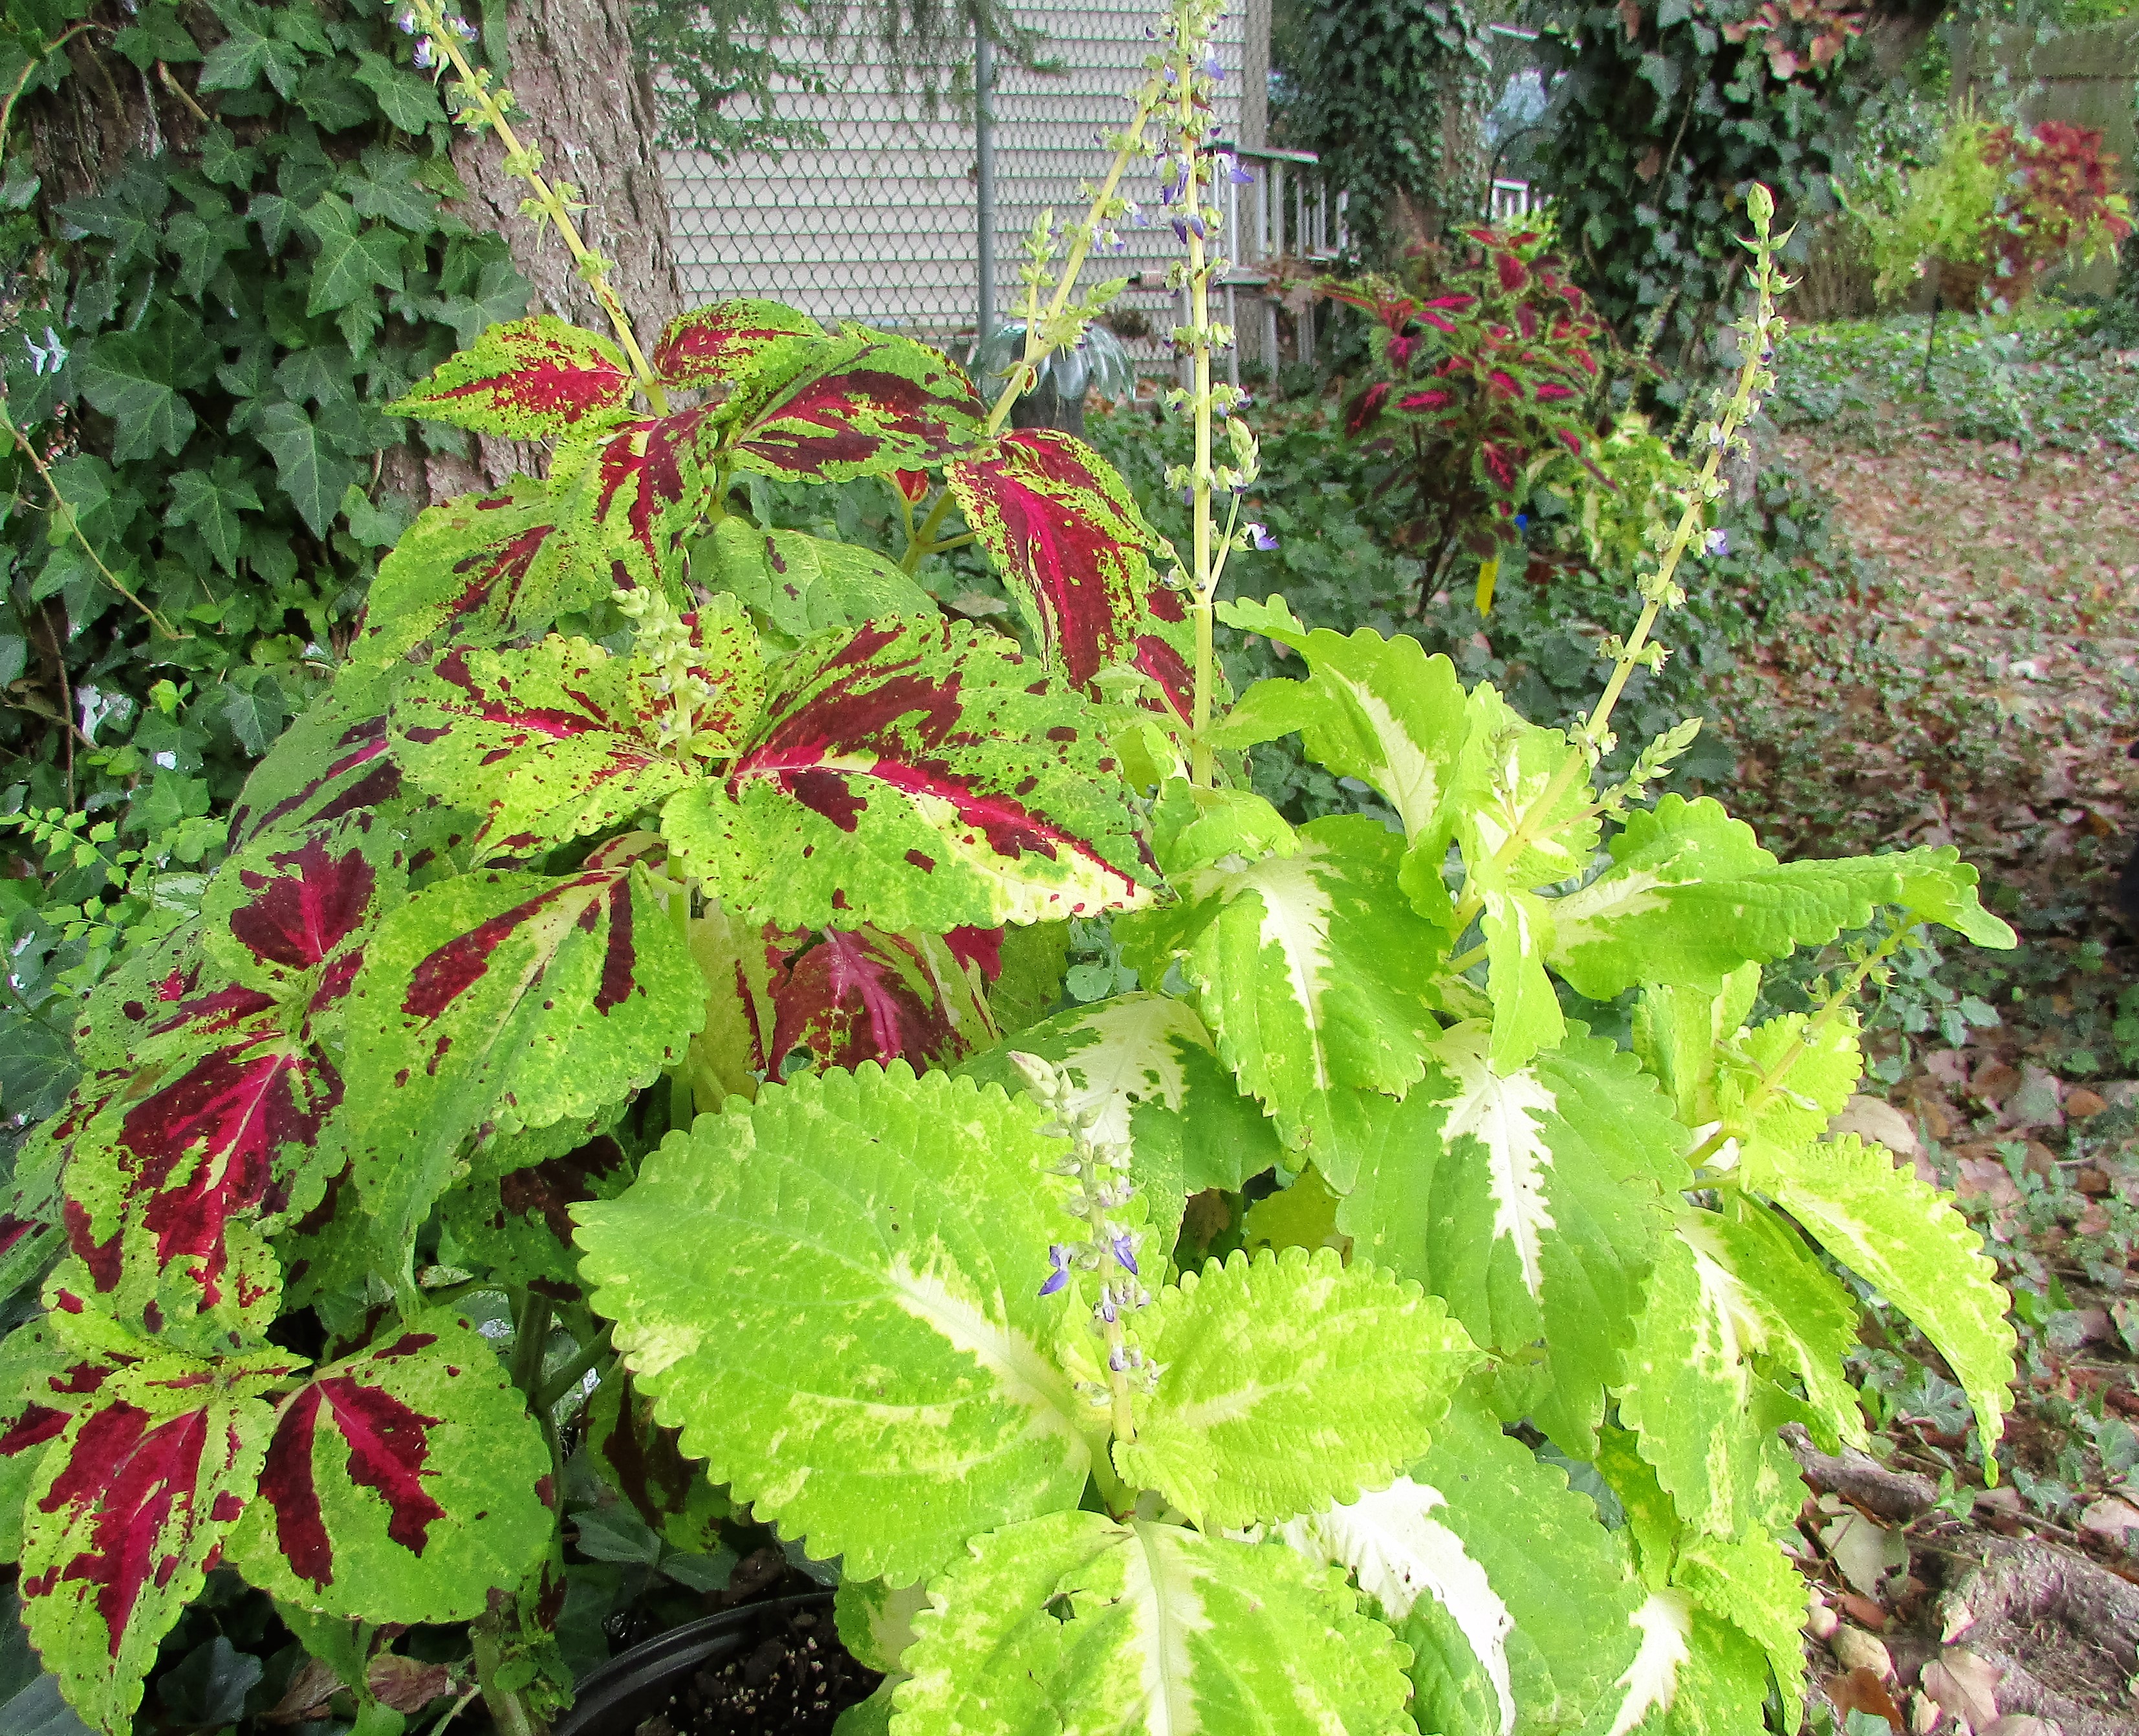
Many of my coleus are blooming, hopefully producing seeds for next year’s garden. I love the light green color on many of the leaves.

Hydrangeas are another good example of a plant with a beautiful array of green, the deep green of the leaves is the perfect backdrop for the flowers, aging from pink to light green before they fall.
I’m not sure what type of mint this plant is, but the bees don’t care about the name, they love the nectar and pollen they find in its tiny white flowers. When the bloom is finished the plant forms interesting, light green pods.
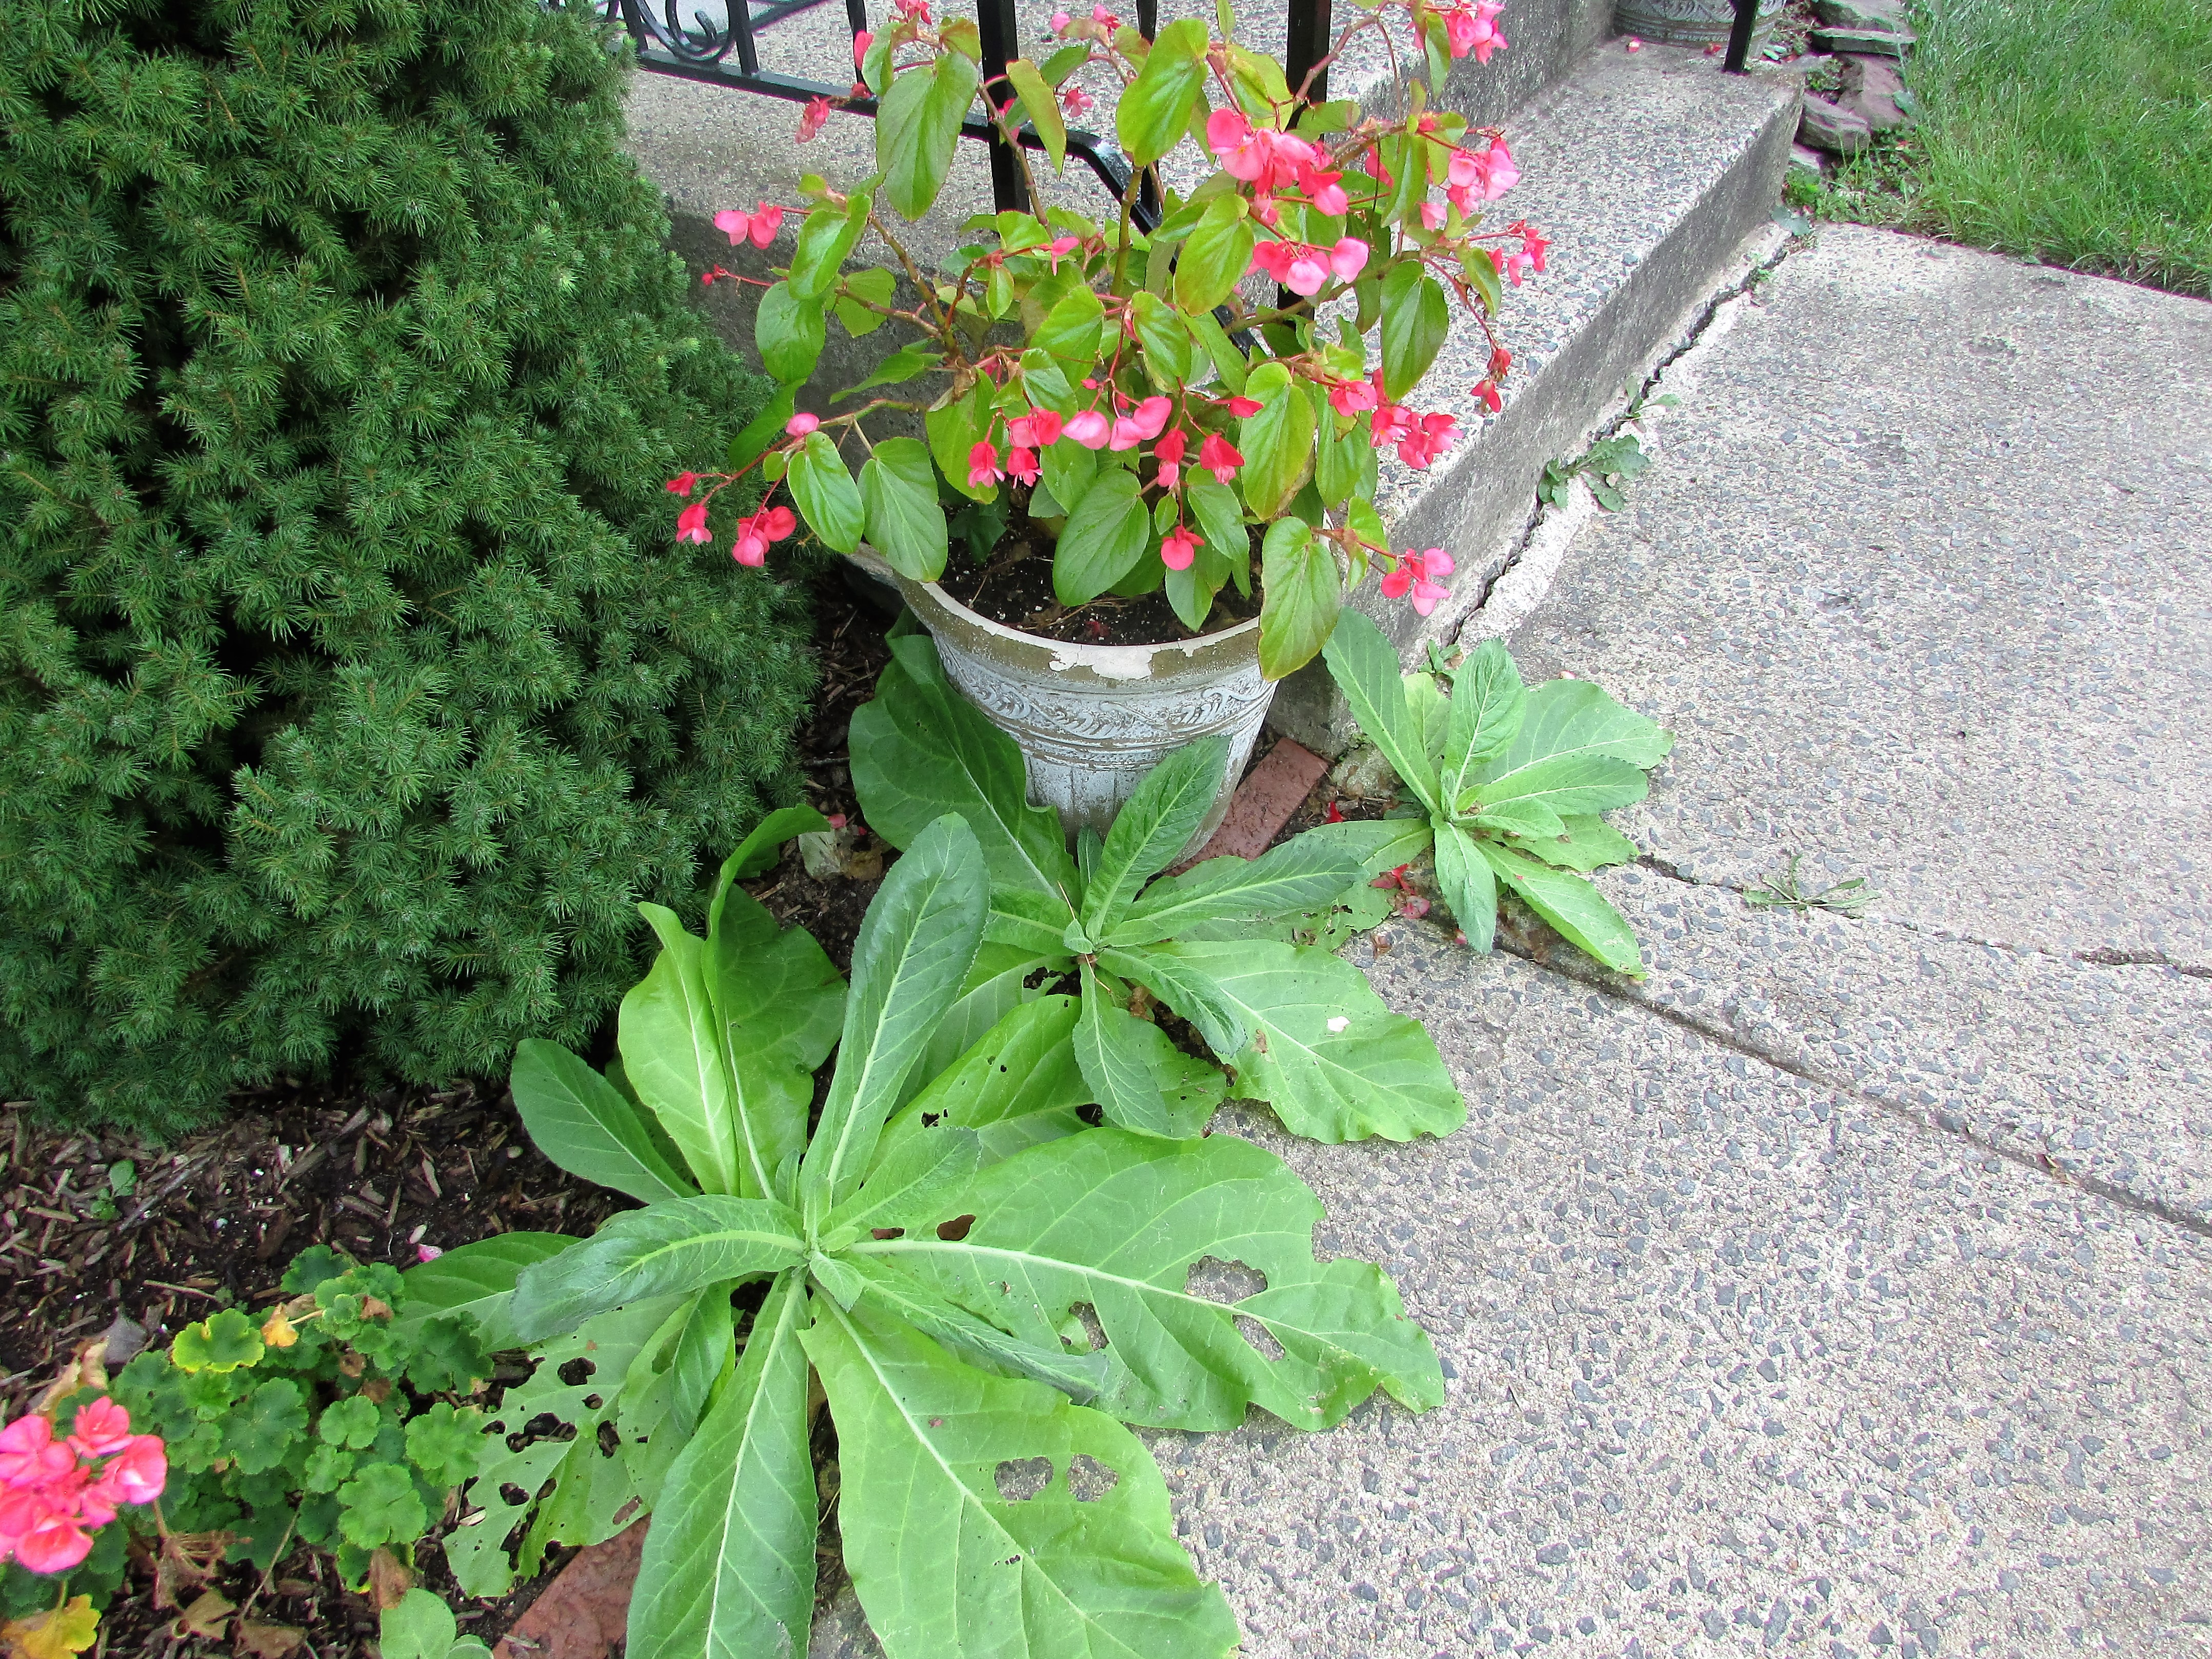
These gigantic Nicotiana plants are volunteers. Where they came from is a mystery, but I’m glad they decided to grow in the cracks of my sidewalk and along the edge of my garden. I love the brilliant light green of the leaves. They might not have time to blossom before first frost, but I have my fingers crossed.


This sweet doll with the wild and crazy hair is a My Buddy doll.
“The My Buddy doll line was a toy brand made by Hasbro in 1985 with the intention of making a doll to appeal to little boys and teach them about caring for their friends. My Buddy is one of several dolls said to be the inspiration for Chucky, the evil doll from Child’s Play, along with That Kid and Robert the Doll.” ~ Wikipedia
My youngest son asked for, and received, a My Buddy doll for Christmas, somewhere between 1985 and 1990. I know we have one of the original Hasbro dolls because the clothes are removable. Playskool made later versions of the dolls with non-removable clothing.
Recently, My Buddy moved back to our house. After three decades, his hair was an unmanageable version of its former self, more like a punk rocker, than a sweet childhood friend. A good tip for getting a doll’s hair under control is fabric softener. Doll hair is more akin to fabric than actual human hair, fabric softener works wonders in taming the strands. Doll diaries has a good article on both soaking and spraying your doll’s hair. I know from experience fabric softener is great for smoothing Barbie hair, and other dolls, such as American Girl will benefit from the treatment too.
After soaking My Buddy’s hair for about an hour in a fabric softener solution, I rinsed it and was happy with the results, especially in the back.
The front, while smoother, was a bit of a lost cause. I could see after combing it down, someone had given My Buddy a shorter haircut. I like his new look though…definitely more modern than a Dutch-boy style.

One more quick tip: grime on the face can be gently washed away with a bit of toothpaste on a soft cloth. Take care around the painted features, as pressing too hard can remove the paint.

I think I will dress My Buddy up in a costume for Halloween, because yes, he does look like CHUCKY of CHILD’S PLAY.


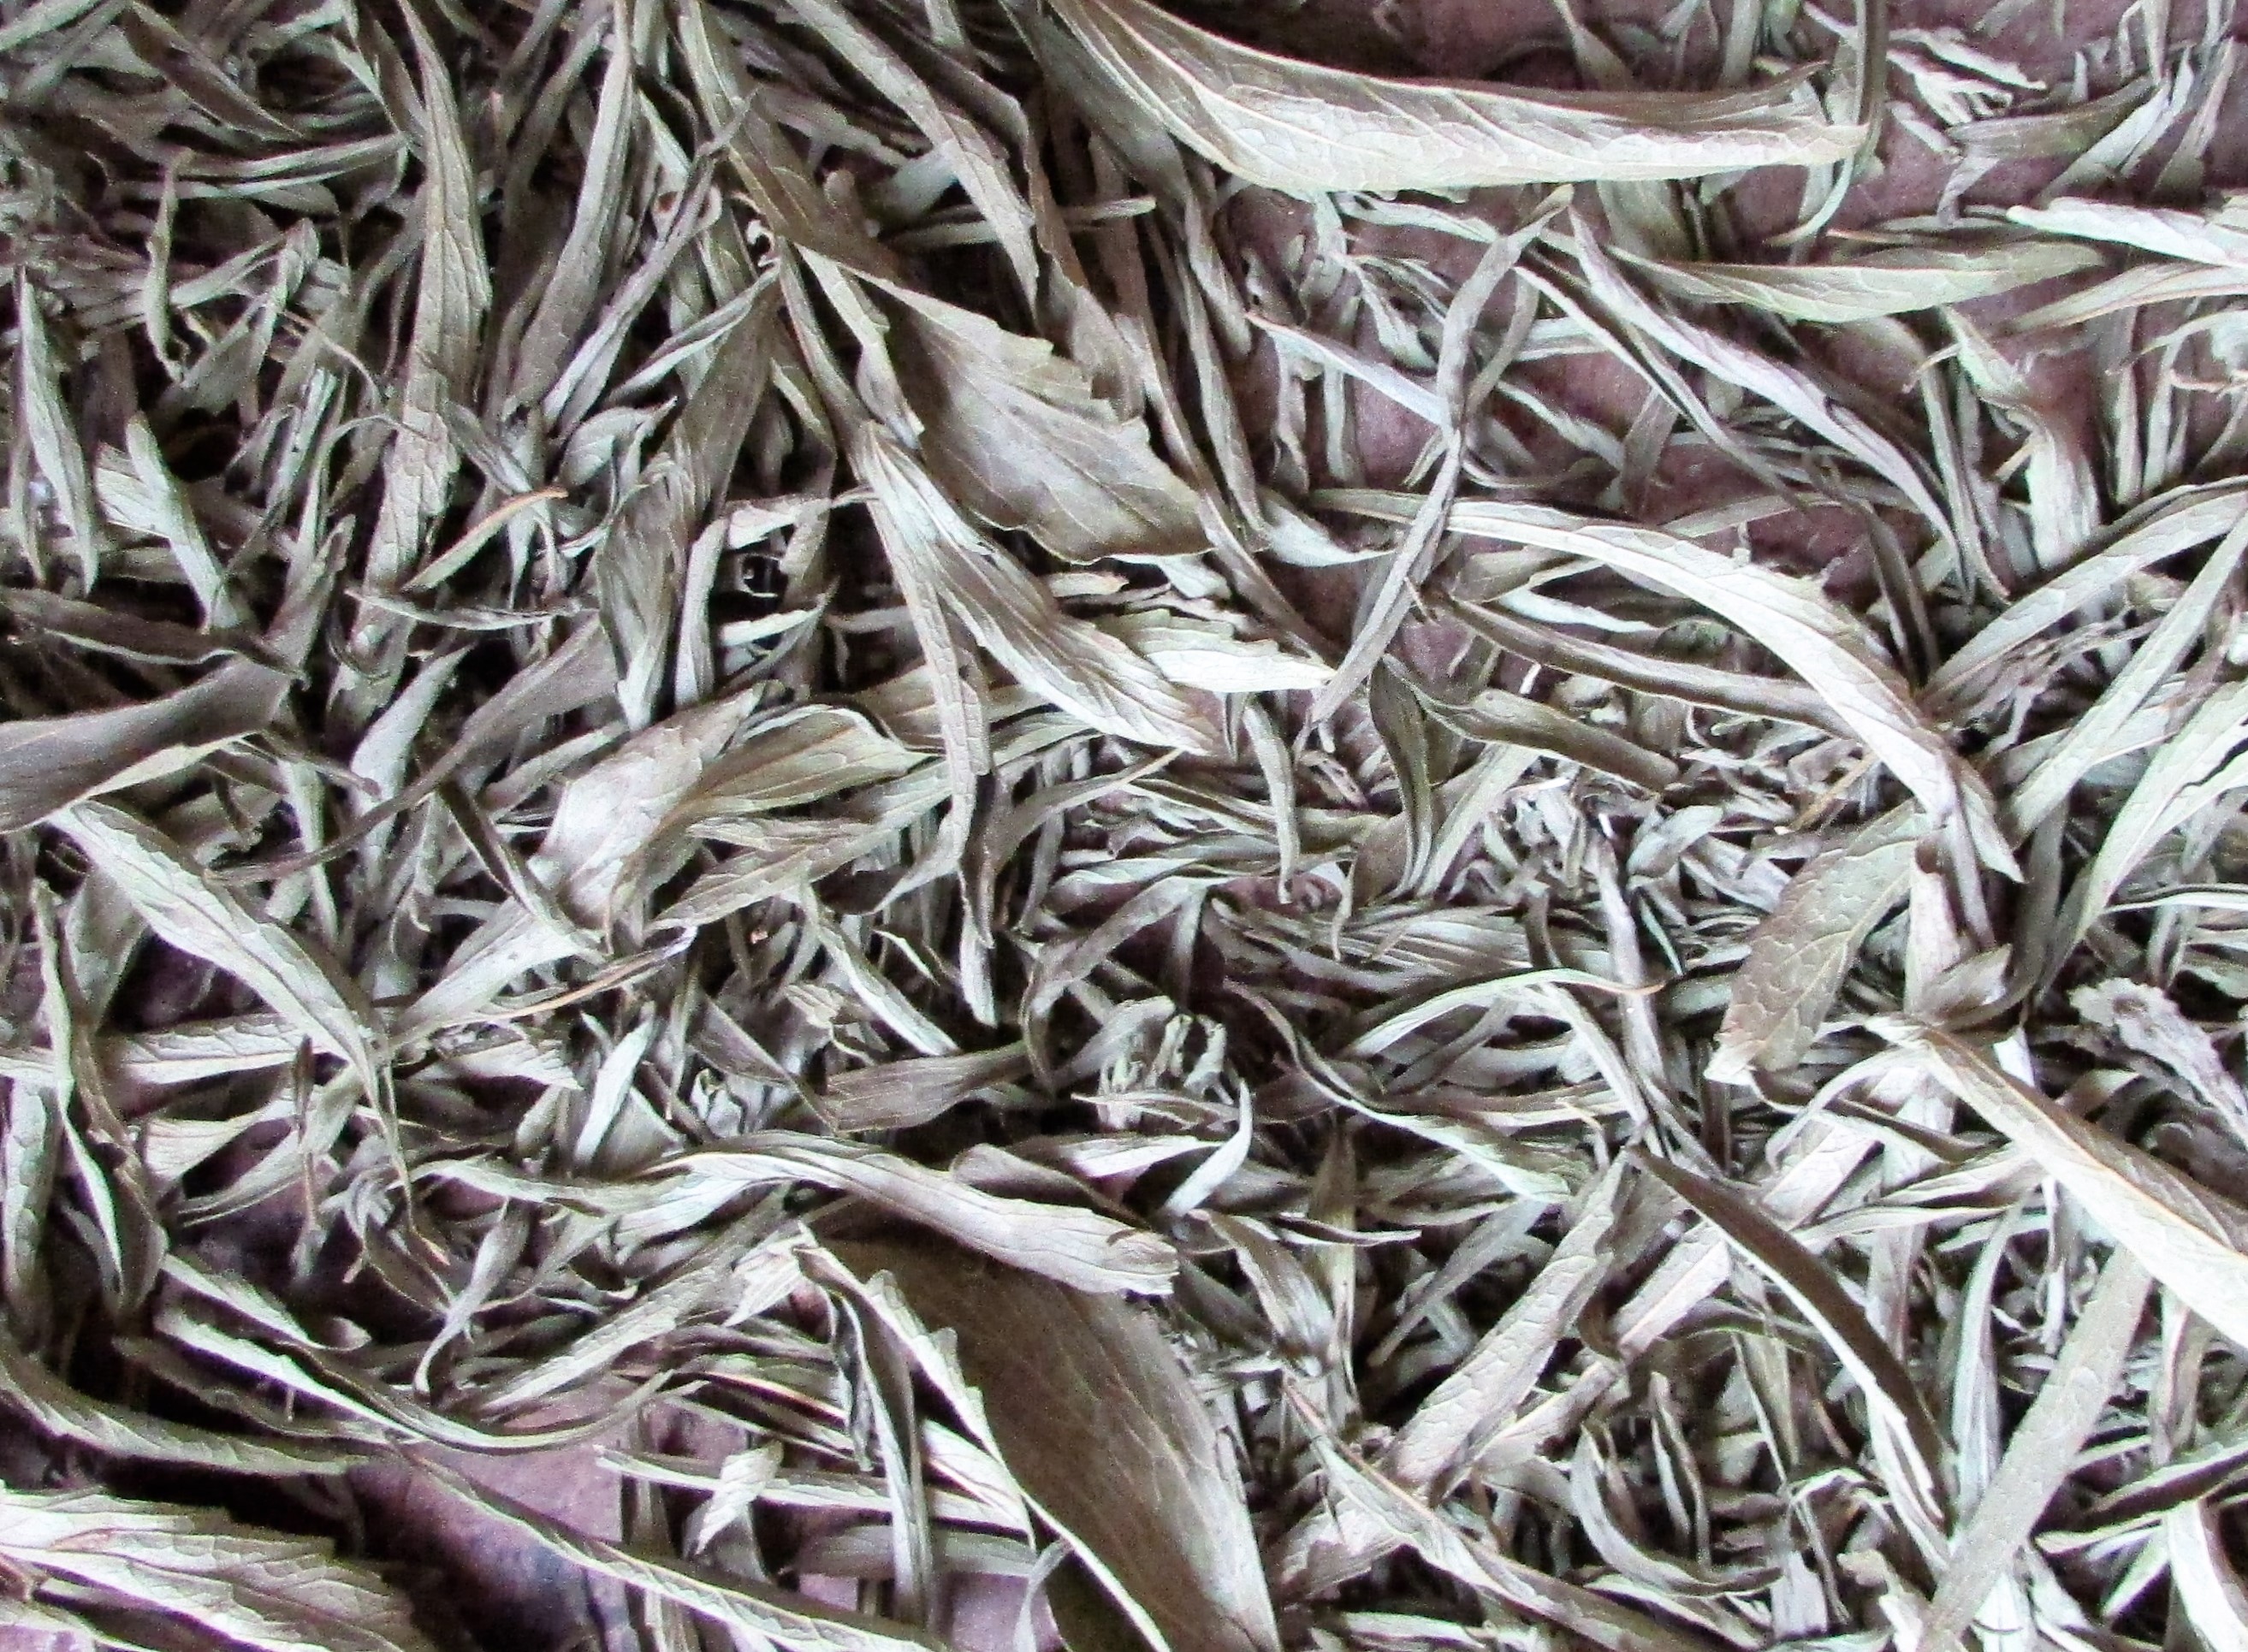
I grew Stevia this year in my Square Foot Gardens. The plant, purchased at a local farm market, grew into a beautiful, large plant. A few weeks ago I harvested the leaves by cutting entire stems and drying them on a tray inside my car. The summer heat and sun quickly dried the leaves to the perfect crisp texture. When dry, just a few crumbles from a small piece of a leaf filled my mouth with sweetness.
I will soon harvest the remaining stems of the stevia and take some cuttings to root and grow through the winter. Natural stevia has few side effects, but don’t confuse the plant with the Stevia-based sweeteners on sale in grocery stores. ‘Food Babe Investigates Stevia: Good or Bad’ is a good article that compares the natural plant with mass-produced product.
Another precaution is for those who have allergies:
In some cases, stevia can cause a severe allergic reaction called anaphylaxis, but this is a relatively rare occurrence. According to the New Health Guide website, however, those with pre-existing allergies to chrysanthemums, marigolds, ragweed or daisies are at greater risk of a stevia reaction. ~ Livestrong.com


