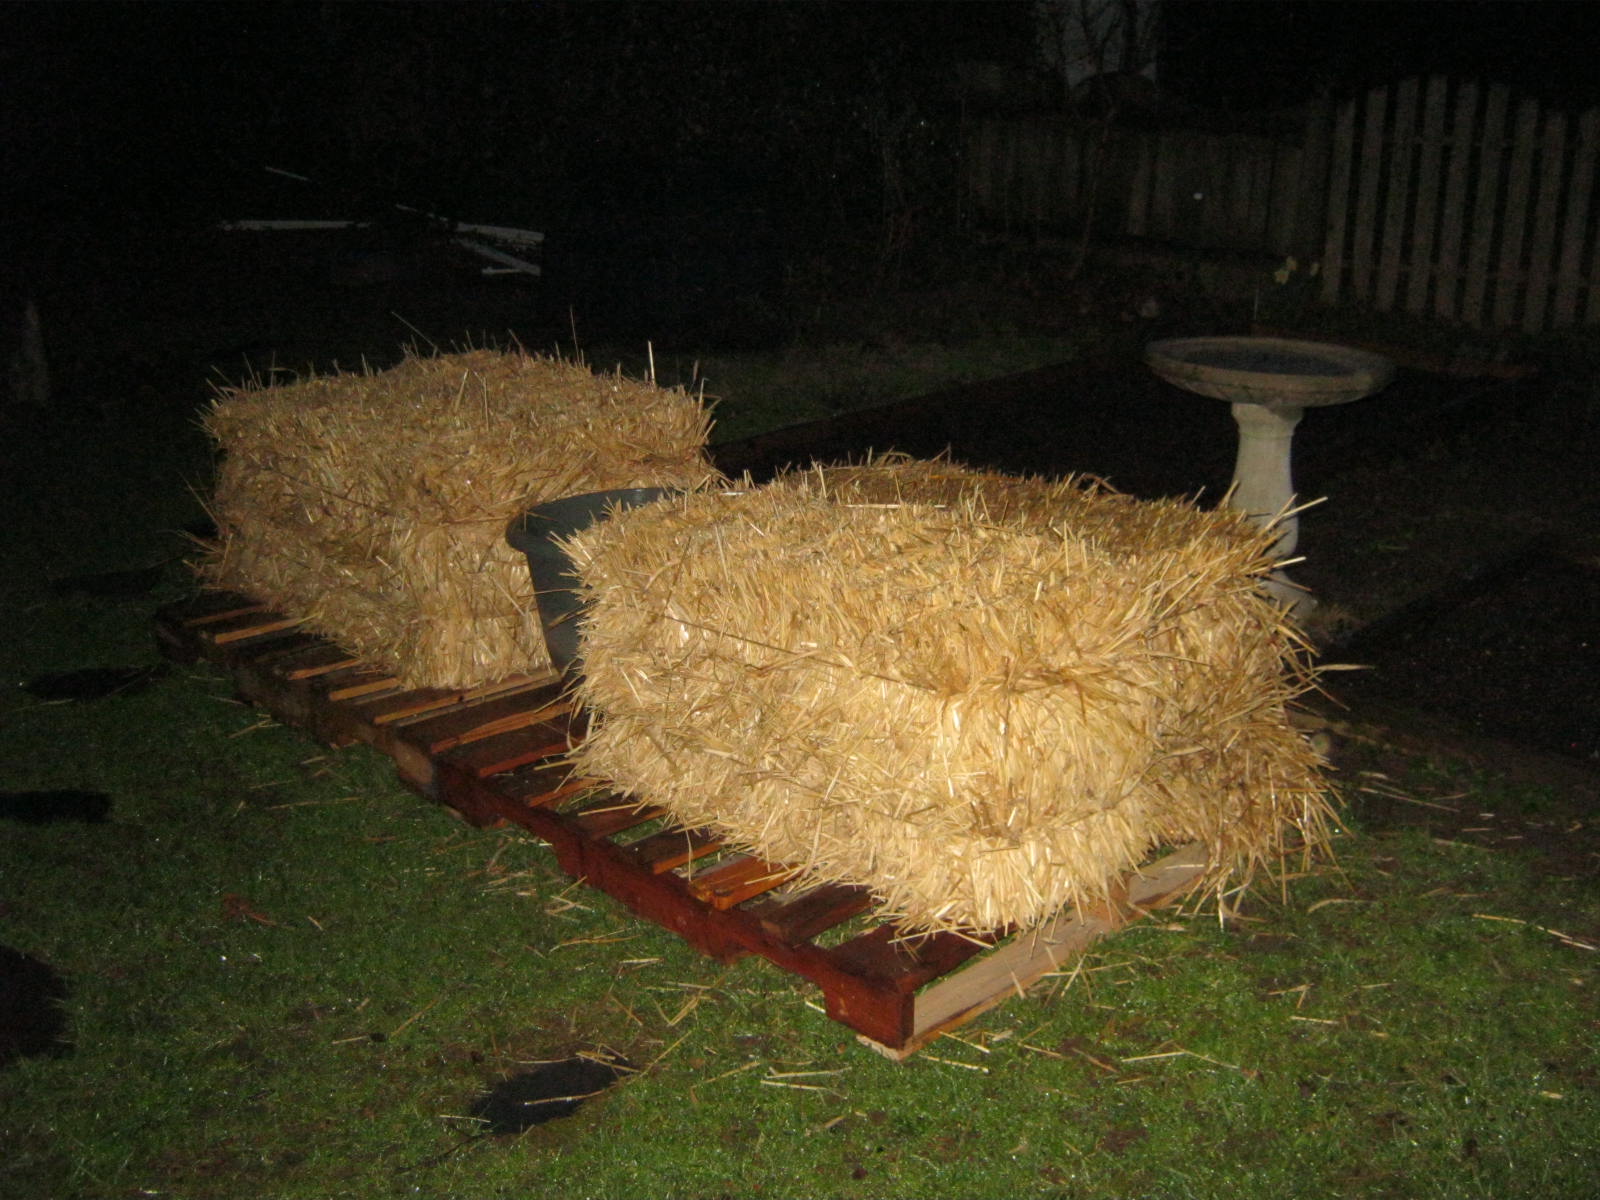
This week, in hopes of purchasing some straw bales, my sister and I drove in her flatbed truck to a local feed store. The price was right, about six dollars a bale; I bought four. I plan to grow tomatoes in the bales.
Please excuse the quality of this photograph. I realized before I published this blog post I had forgotten to take an accompanying photograph…so…long story short…ran outside in the dawn hours, tried not to slip on the rain-soaked grass, and took this photo. 🙂
Instead of placing the bales on newspaper, we opted to use wooden palettes to keep them off of the ground. The palettes add a little extra height. I’m thinking of growing the tomatoes without support, letting them cascade instead over the straw.
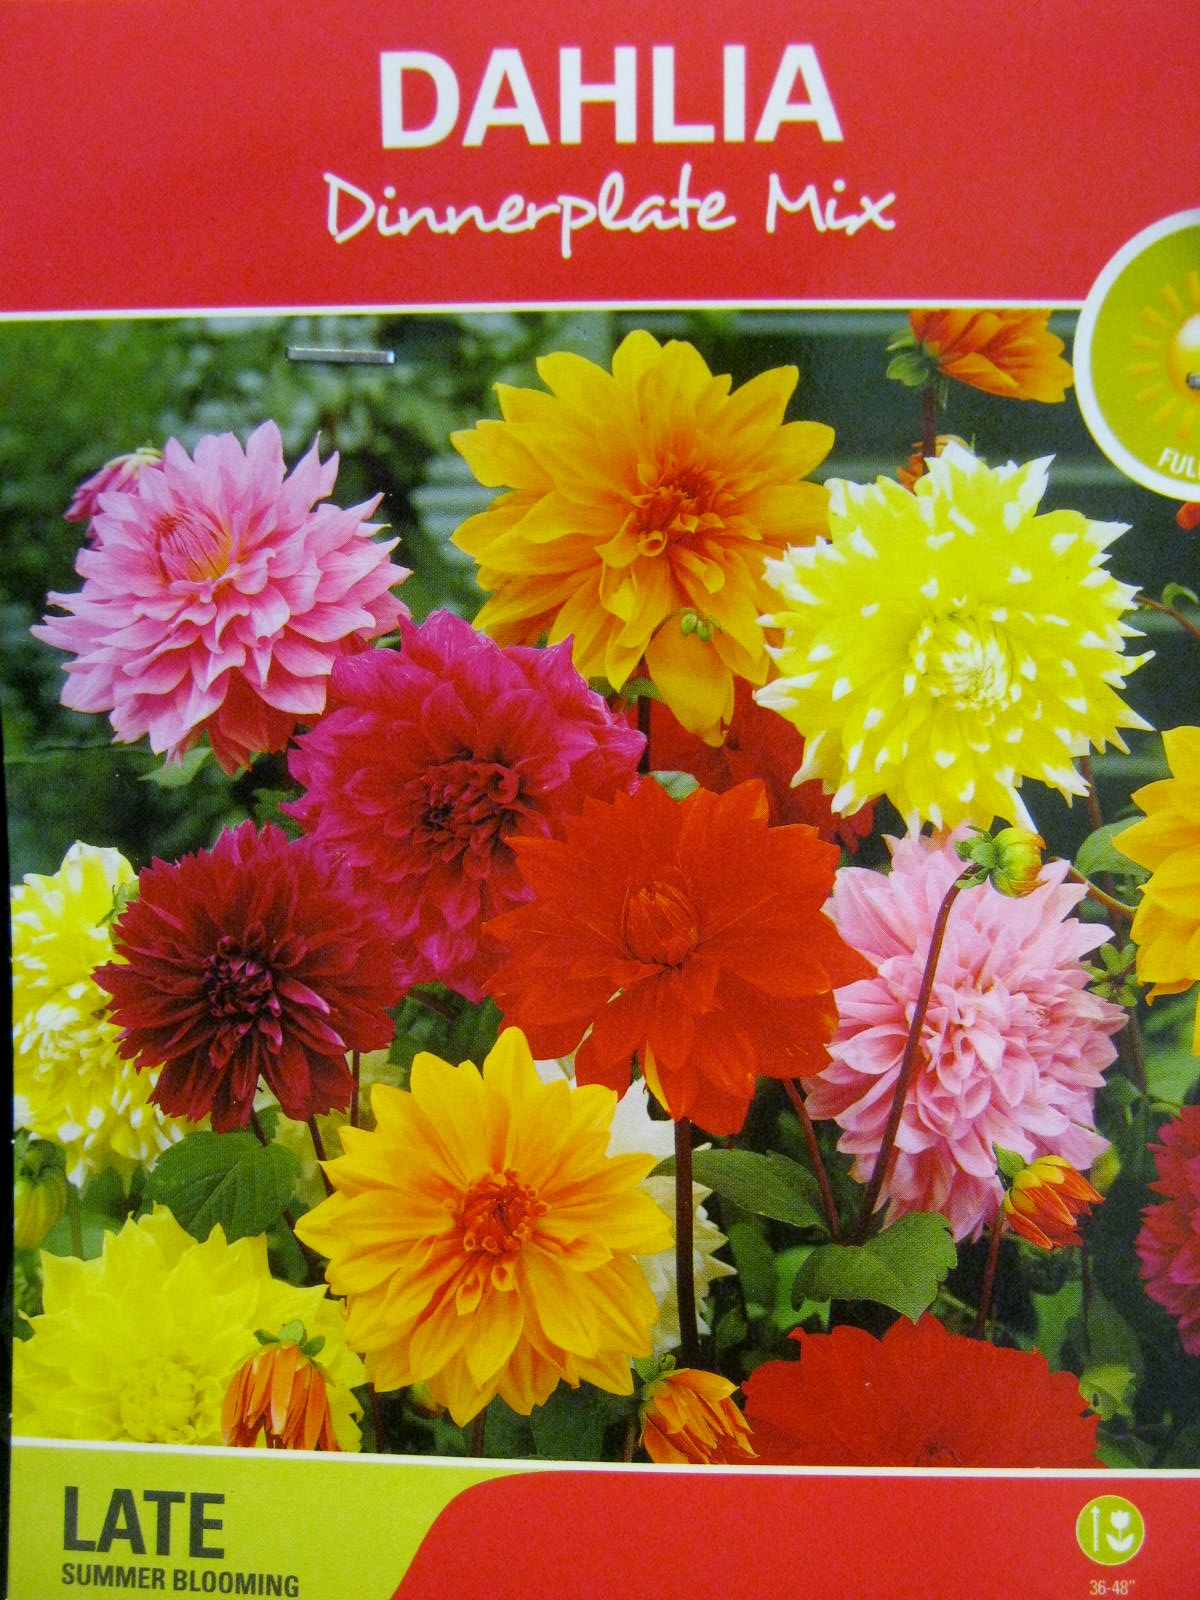
I often grow common dahlias from seed. They reach a height of twenty-four inches and bloom in August when grown in this manner. Dahlias are great for late-season color in pots and borders.
The larger dahlias, often called the dinner-plate variety, are best grown from tubers. These are available for purchase in almost all of the larger warehouse stores and garden centers. The tubers are placed in the ground, and bloom late in the season. The best luck I ever had with the larger dahlias was the year I bought a pre-planted tuber from a local nursery. This year I decided to start a few dahlias in pots to get a jumpstart on their blooming time.
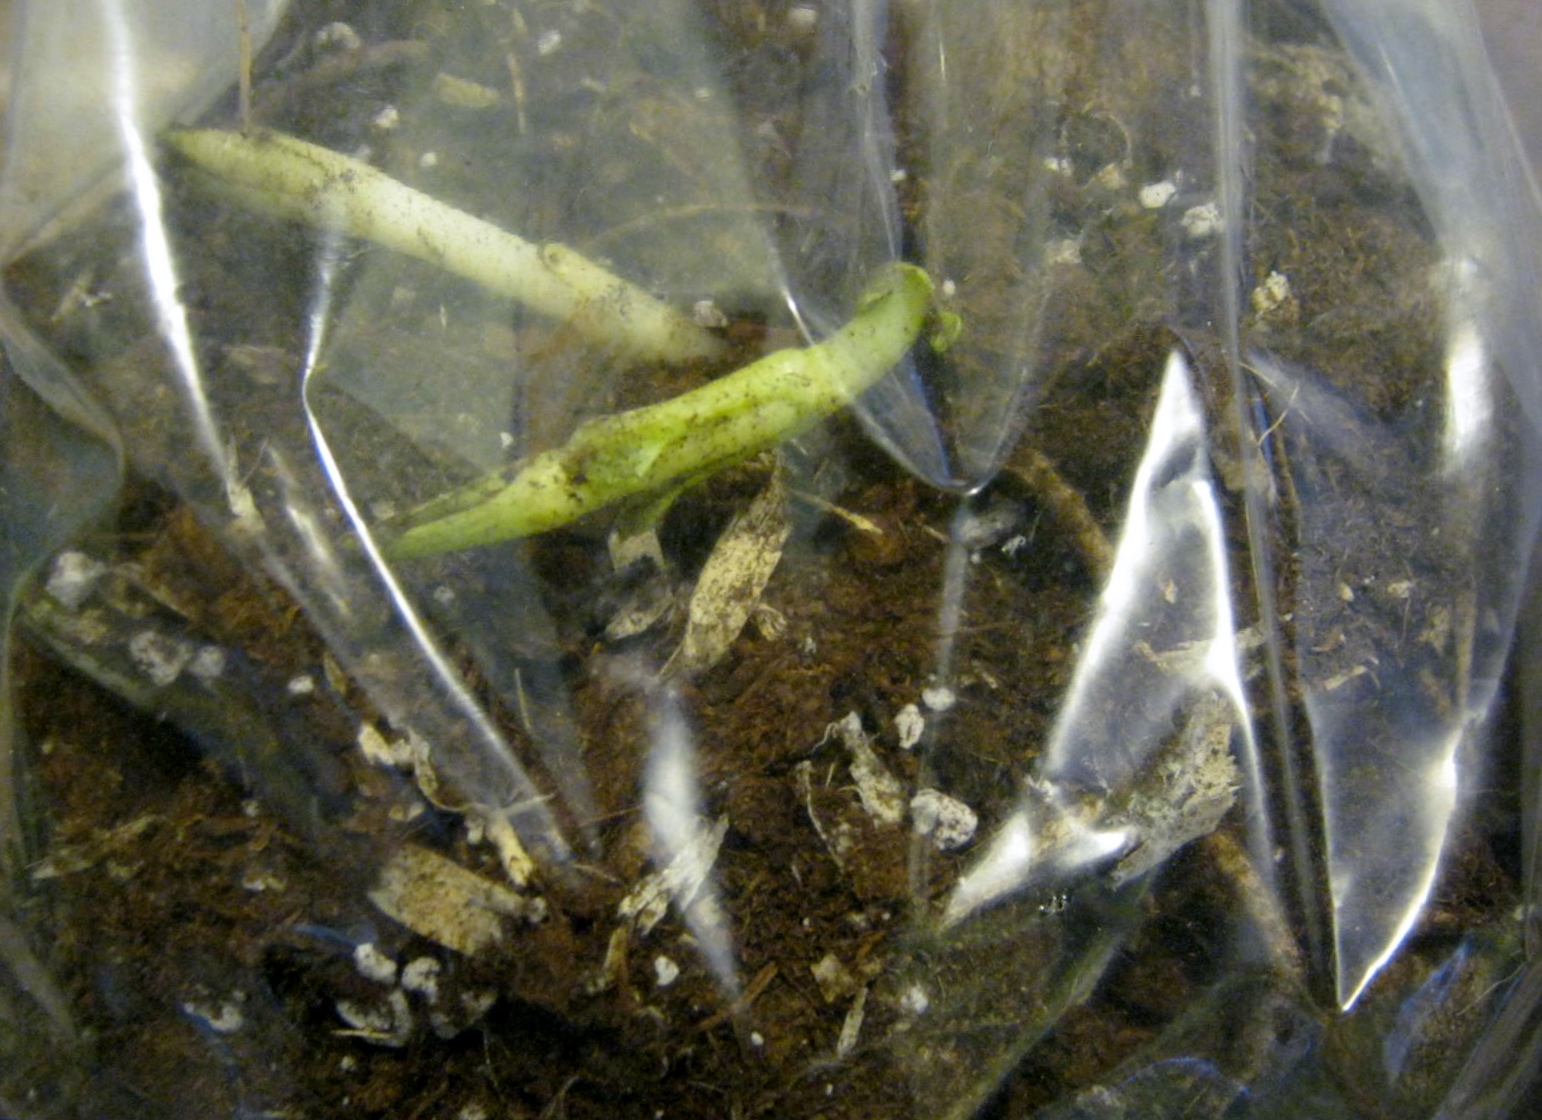
Dahlia tuber with sprout
Before I purchase a package of dahlia tubers I check to see that at least a few sprouts are visible. If there is no sign of life, I don’t buy the package.
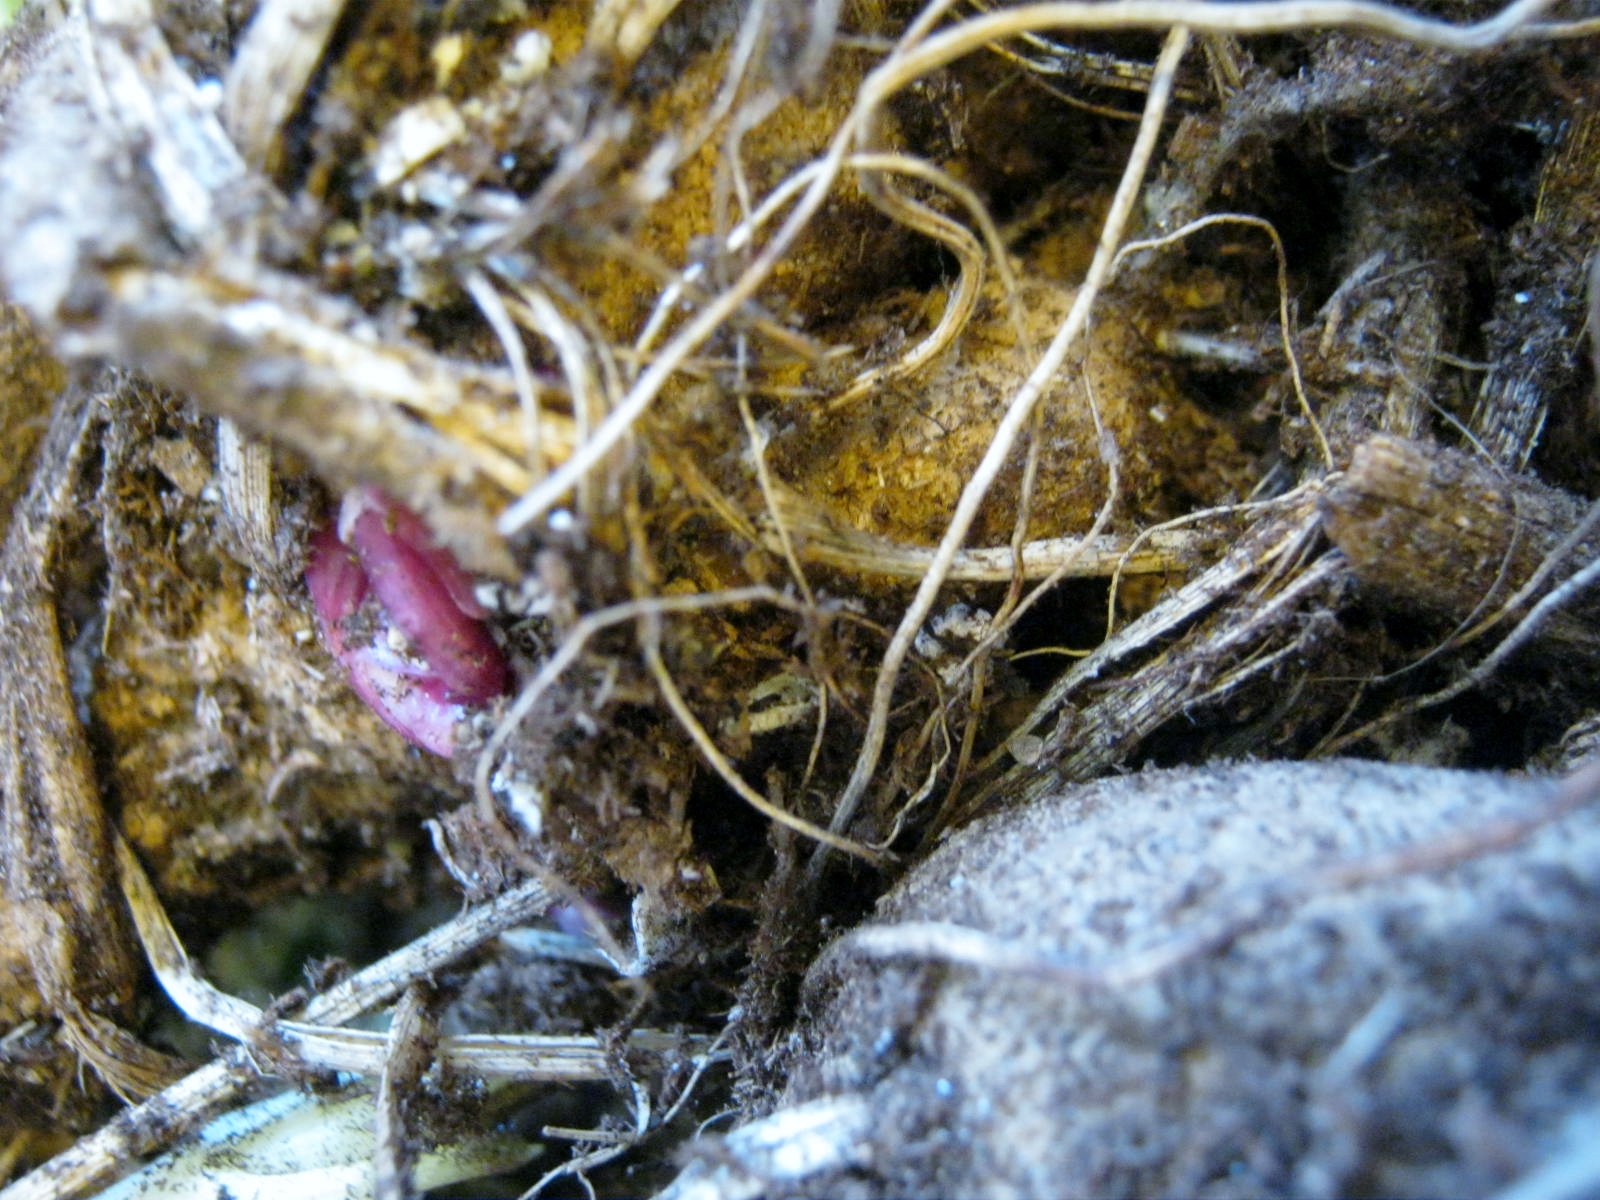
Dahlia tubers with buds
When I open the package I check to see that all the tubers are firm. Each should have a few purple buds showing, and hopefully some green shoots.
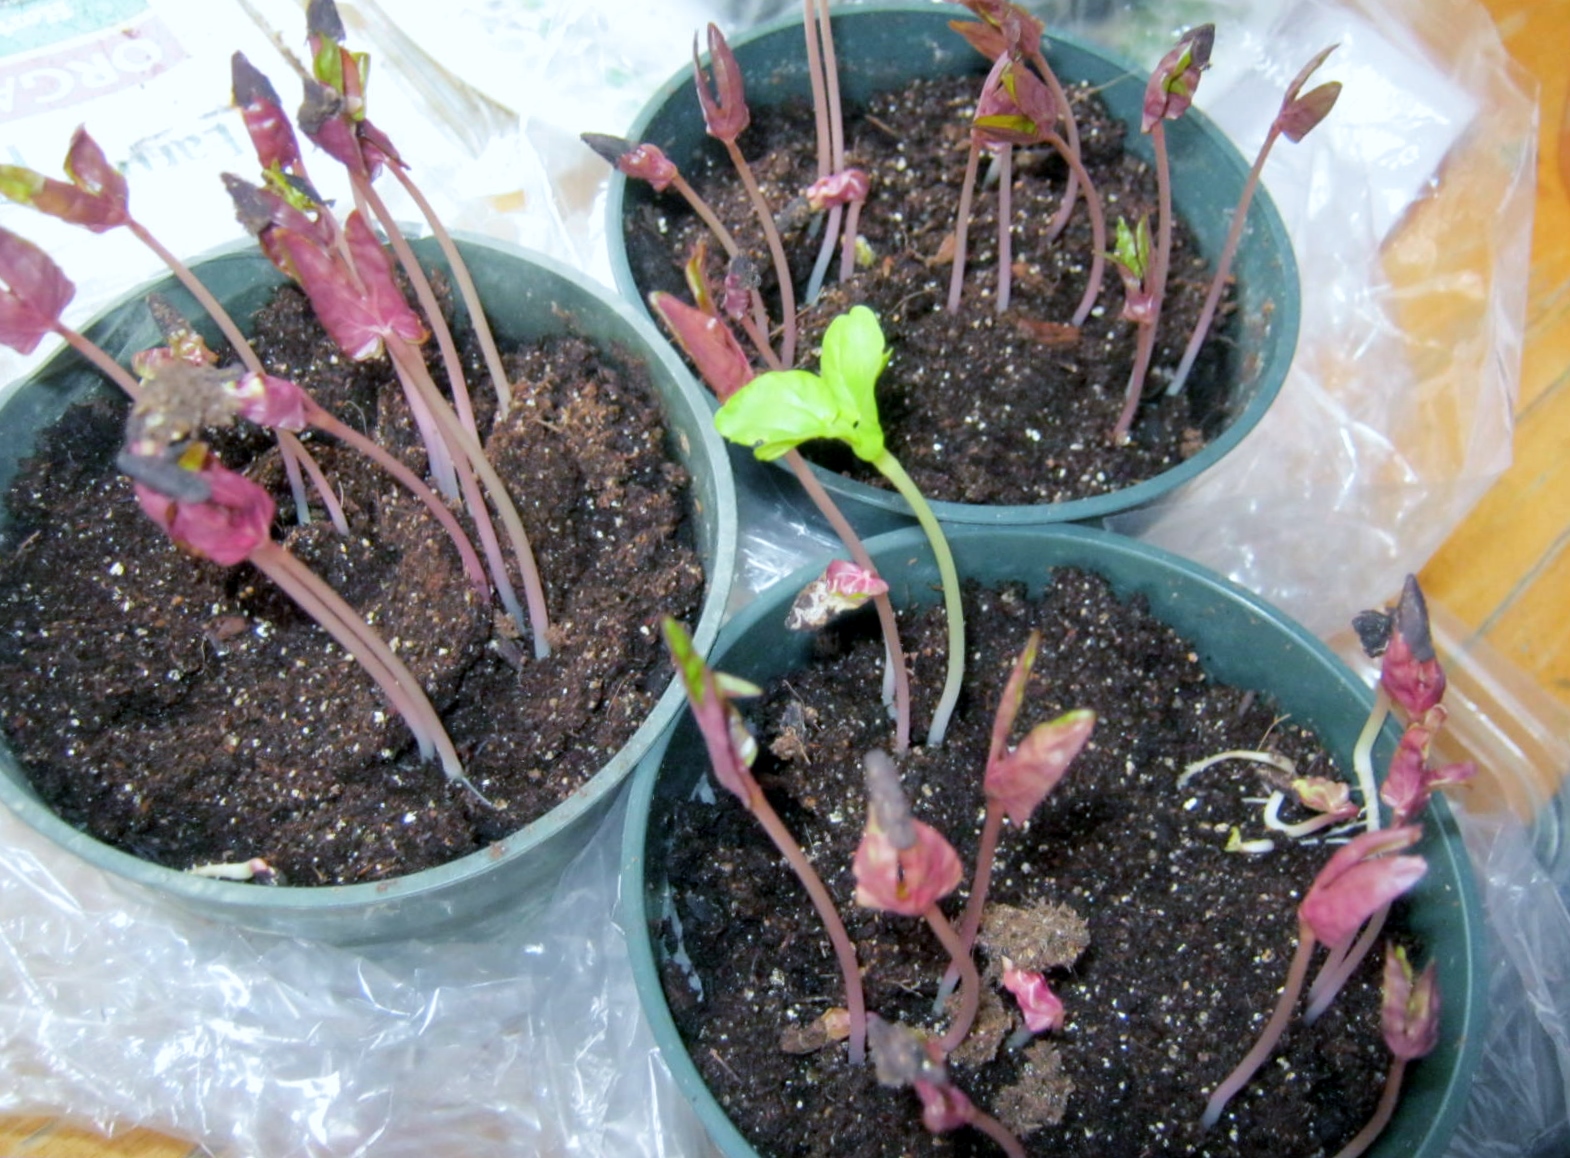
Dahlia tubers potted up.
I found six good tubers in my package. Instead of planting each in a separate six-inch pot, I planted all the tubers in one ten inch pot. When the tubers begin to thrive and grow steadily, I will replant each in a separate pot. When all danger of frost is gone I will plant them outdoors. Hopefully, the early start will mean early blooming. I will update their progress in a few weeks.
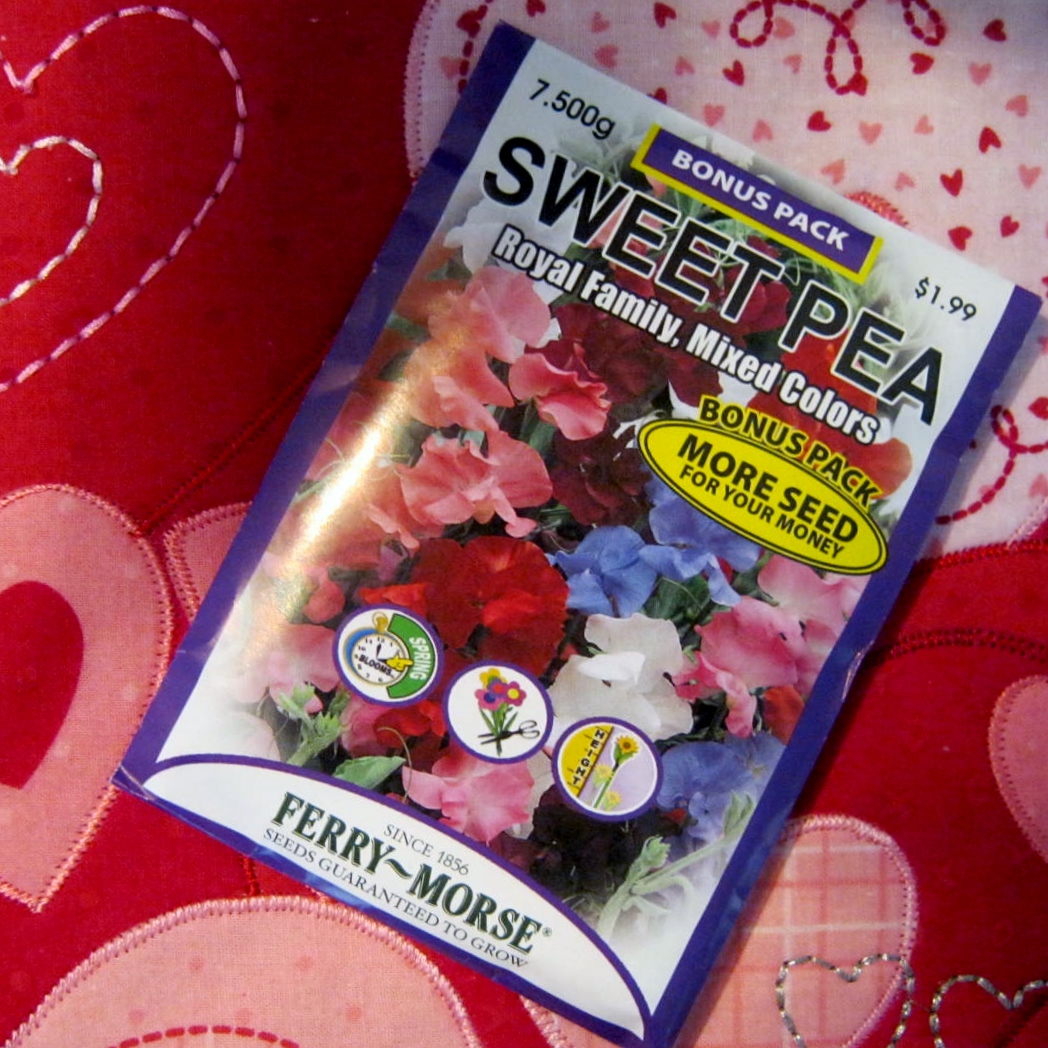
I’ve planted sweetpeas quite often over the years, but I have never been wildly successful. I manage to grow them, and love their sweet fragrance and pastel colors, but the vines have never been lush and produced as many blossoms as I have wished. Who knew I was supposed to be pinching the sprouts as they grew? How did I miss this tip? I certainly pinch out most seedlings to force branching; why didn’t I realize I should do the same with my vines?
I found a good explanation of why you should pinch sweetpeas quite by accident while browsing blogs and garden sites. Why Should I Pinch Sweet Peas?
“Pinch sweet peas for the first time when you set nursery plants out in spring. If you plant sweet pea seeds, make the first pinch when the seedlings are about 4 inches tall. Thereafter, pinch the vines throughout the season, whenever you think the plant will benefit from more bushiness or when the vines begin to look long and leggy or untidy.
The first pinching is most important, because early pinching directs the sweet pea’s energy to the development of strong roots, resulting in a healthy plant that is resistant to disease and pests. Pinching also forces the plant to branch out, creating a full, bushy, compact plant rather than a long, leggy plant. Each pinched vine displays new lateral growth.” ~ SFGATE
I usually soak my sweetpeas for twenty-four hours before I sow them. This year I am planning on using the winter-sowing technique for my sweetpeas. Updates will follow.
I am re-blogging a few of my “Winter-Sowing” posts. If you live in an area where winters are cold, winter sowing is for you. If you plant viable seeds and follow the directions, you will find success!
Winter Sowing is an easy way to start your own transplants.
Winter Sowing is the process of planting hardy and half-hardy seeds in clear or translucent containers (milk cartons or kitty litter jugs) The containers are sealed with duct tape and placed outdoors in the winter weather. This method of sowing seeds has been attributed to Trudi Davidoff.
Over the next week or two I hope to Winter Sow more of my perennial seeds, and later in the season some of my vegetables, annuals and herbs. A good source of information and discussion about Winter Sowing can be found on the Gardenweb Winter Sowing Forum.
STEPS FOR WINTER SOWING (My own technique, might differ slightly from how others winter sow.)
1. Poke holes in the bottom of your container with a sharp tool or a hot screw driver. A soldering iron works too, but most folks don’t have one.
2. Cut the container in half, leaving a small tab to keep the two halves connected.
3. Add an inch of potting soil, add about two inches of seed starting mixture to top of soil. Moisten all, let water run out the bottom. Plant seeds. Label the outside of the container with permanent marker. You might need to go back over the labeling before planting time. Even a permanent marker fades in the sunshine.
4. Tape two halves together with duct tape.
5. Place outdoors in a sunny spot. DO NOT KEEP CAP ON TOP. The top needs to be left open for moisture.
6. Check periodically for sufficient moisture.
7. When temperatures warm up, open container in the daytime. Be very careful to check daily that the soil is moist after opening. Soil and seedlings dry out quickly.
PART II
I’ve added to my cache of winter sown containers. The warm springlike weather of the past weeks helped many seeds sprout. As they are HHA (Half Hardy Annuals) and cold tolerant vegetables, I’m not worried about the possible onset of colder temperatures through the next weeks. The plastic containers work as mini-greenhouses and protect the seedlings from frost. The cold will strengthen them and keep them from becoming leggy and outgrowing their containers. I’ve had a lot of fun with this project. I also set aside a portion of each type of seed so that in the event that some of the containers fail I will have a back-up.
A view of some of the sprouts inside their containers. The above photos show my recycled orange juice bottles. These mini-greenhouses are light in weight. To windproof them I wedge them in amongst the heavier milk jugs. (I don’t use small containers anymore, they dry out too quickly. I try to use gallon-sized or larger containers.)
A bird’s-eye-view through the top of a milk jug. The seedlings inside are asters.
Two of my mini-greenhouses had indications of the dirt drying out. I placed these inside a plastic shoebox filled with water, a perfect fit, and let them soak up a little moisture through the drainage holes in the bottom. This worked and within a half hour they were watered.
PART III
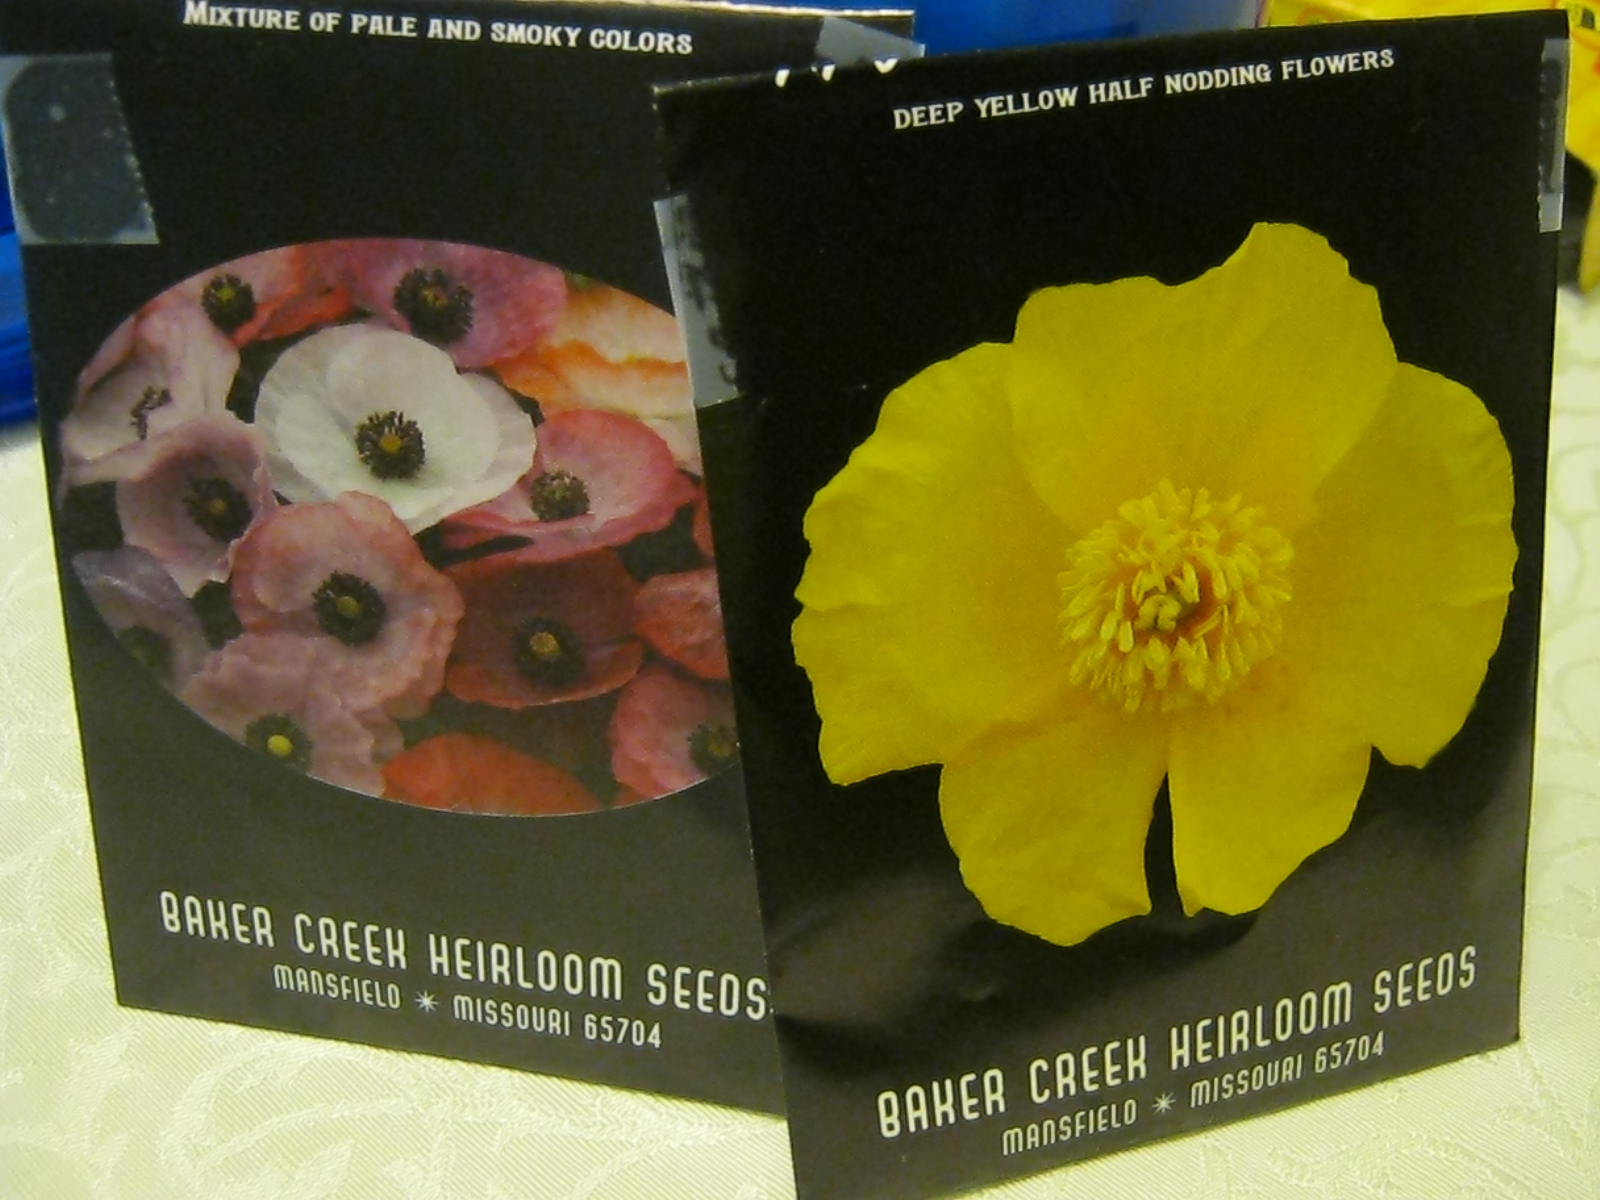
Poppies! I LOVE poppies, but I have some problems with poppies too. Number one on my list of loves is the way poppies develop big, luscious looking pods. When the pods begin to widen and split to reveal the color of the flower inside, honestly, I must admit I run out into the yard several times a day to see if the silken petals have opened. There is something magical in the wispy crown in the center of each flower too. Often there will be a splotch or two of contrasting color at the base of each petal. The foliage of many poppy plants glows in beautiful bluish green tones. Yes…I LOVE poppies.
One of the major drawbacks of poppies, at least in my opinion, is how hard it is to grow them from seed. For years I followed the advice on the back of the packets and on the pages of reliable gardening books and sowed them directly in the ground. This NEVER worked for me. Heavy spring rains ALWAYS washed my poppy seeds away before they could sprout. If they did grow, the delicate small seedlings would be beat into the ground by that same rain. The “experts” say poppies don’t transplant well. I agree if they are grown in the house, but I have found a way to get a head start on poppies and that method is winter sowing.
I am also including a post that shows the results of my winter sown poppies: Poppies
If you want to grow poppies this year, and have a milk carton or two on hand, give winter-sowing a try. It only takes a few minutes to create a miniature greenhouse to place outside in the sunshine. Happy Gardening!
This post is definitely a bit later than most. I have a good excuse. I live in New Jersey and already the snowflakes are falling, only the beginning of what they are saying could be a record-breaking snowfall. Hopefully, we will get only about a foot of the white stuff. Are you gasping in disbelief? Only a foot! Am I crazy? No, I’m just glad I don’t live further north where they are forecasting near thirty inches will fall before the blizzard is over. When you compare twelve inches to thirty, twelve certainly seems better!
I was one of those crazy people who drove to the Supermarket at 8:00 this morning. I have a gallon of milk, I have bread in the freezer, but wouldn’t you know it, I needed cat food and the orange juice bottle was empty. I ventured out. In the rush of the crowds, comparable to the eve of a major holiday, wouldn’t you know it, I forgot eggs. Grrrrr….
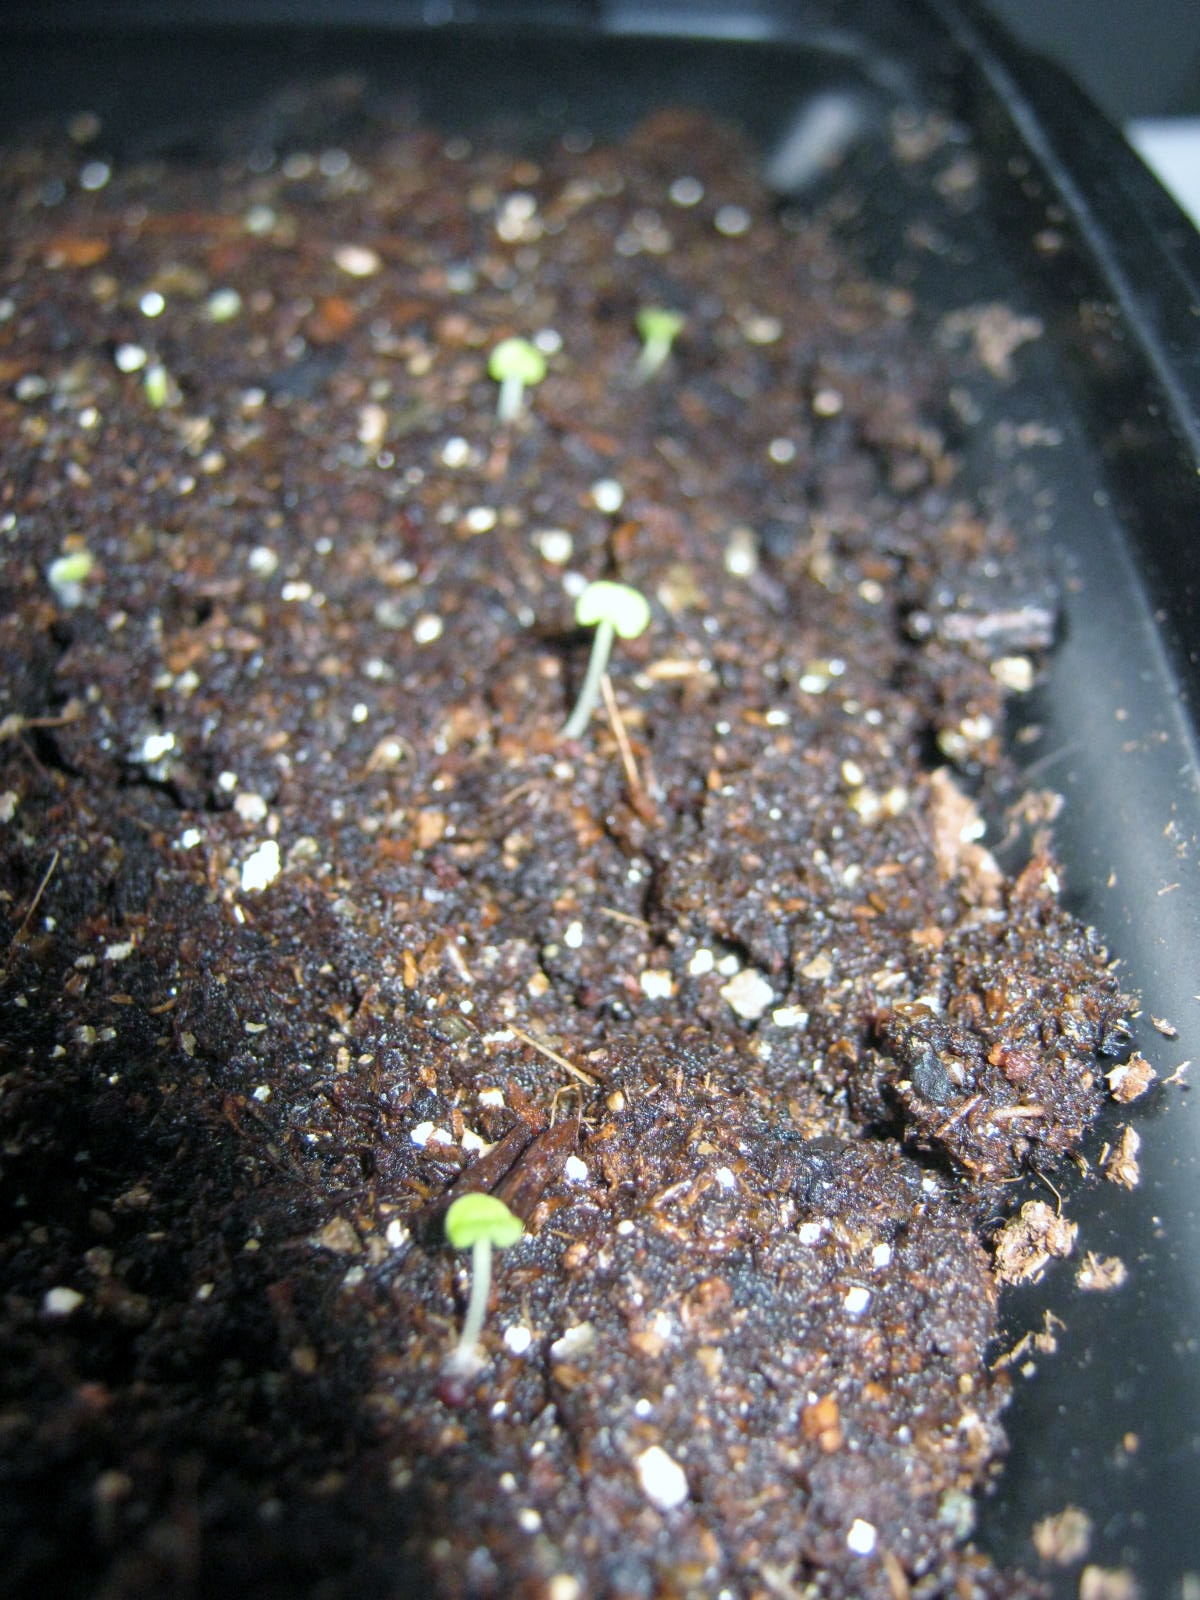
Anyway, it’s a good day for a quick update on my recent plantings. All are doing exceptionally well. The Heavenly Blue Morning Glories sprouted in less than a week. Hooray! If you look closely at the picture you can see I have a “sport.” One sprout a little different than the others. I will definitely keep this one growing. Who knows? It might turn out to the best morning glory ever grown. I can hope!
Some of the coleus seeds have sprouted too. They grow slowly. It will be weeks before there is a hint of color in the leaves.
The Meyer Lemon Sprouts are still erupting from the soil. As of now, I have eleven sprouts, but there are a least two more seeds ready to burst into leaf. O Happy Day!
The 2015 seed displays are in place in many garden centers and box stores. The first packet I purchased was Heavenly Blue Morning Glory. I love morning glories; I have grown them every year for as long as I have gardened.
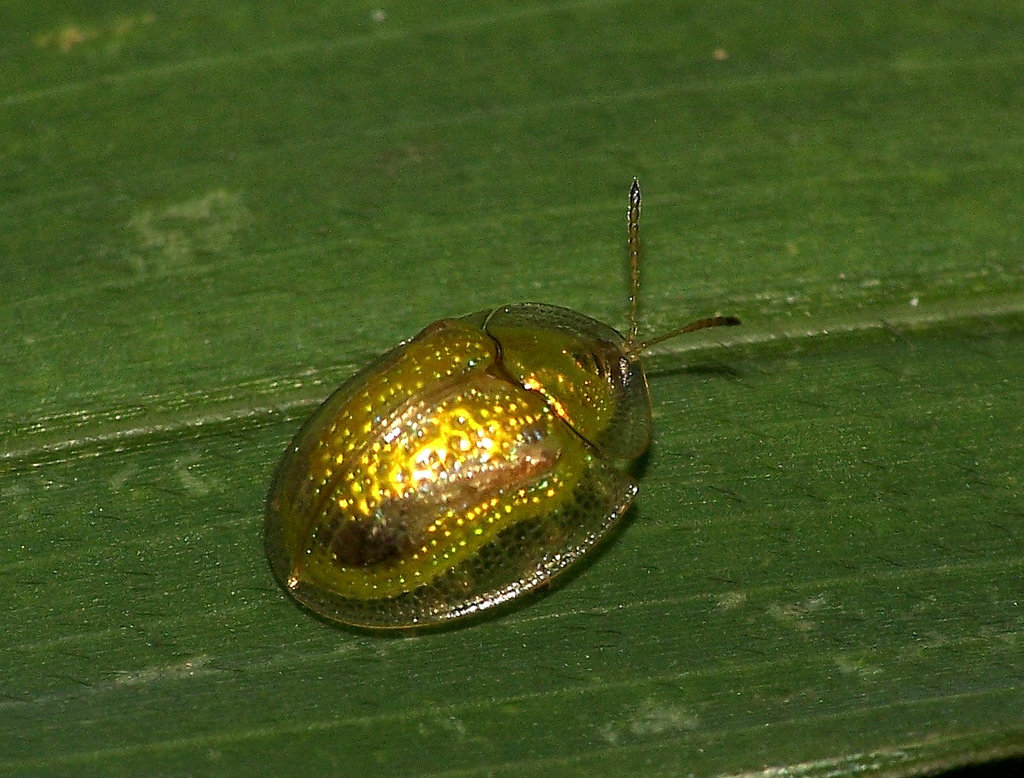
I plant dozens of morning glory seeds around my front porch. Each year they start off great, develop oodles of buds, and DO burst into bloom, but…they also draw Golden Tortoise Beetles that decimate the leaves, turning all the foliage into shreds. I use only natural pesticides, and since this pest dines on the underside of the hundreds of leaves, it is impossible to handpick them.
Some people think the golden tortoise beetle so beautiful; they don’t mind the bug eating their plants. That might be fine if my main morning glory display was in the back yard, but the vines twine around my front porch. This year, I don’t want to cultivate the swiss cheese effect again. Instead, I’ve decided to grow my beautiful Heavenly Blue Morning Glories in the house this year, and allow them to twine themselves around my sunniest window frames.
The first step in growing morning glories is to soak the seeds in water for 24 hours. The next day, drain the water away. You will notice their hard shell has split and they are double in size.
I prepared the plastic pots for planting by placing a coffee filter in the bottom to keep the dirt from spilling out.
In the bottom 3/4 of the pot place regular potting soil, for the top 1/4 use seed starting soil. This technique gives the seed a good medium for starting, but also provides more nourishment when the roots extend into the soil. This enables the seeds to grow for several weeks without the need to repot several times.
When the seeds are sown cover them with a plastic bag. The bag acts as a small greenhouse. Place the pots near a heating vent or on the top of your fridge. I will update the progress of mine as they grow.
It’s that time of year again…my coleus seeds need to be planted now if they are to reach a decent size by the end of April. Below you will find a re-blogged post on how I plant small seeds. It may seem tedious, but it keeps the small plantlets separate and drastically cuts back on damping-off disease.
I have collected seeds from my coleus plants for well over ten years. Each year I plant the offspring of the previous year, the seedlings grow, are cross-pollinated by the bees, and new seeds are harvested in the late Autumn. I start my coleus very early, the seeds are small, quick to sprout, but slow to grow. I don’t sow them thickly into the flats. Seedlings sown too close together tend to get damping-off disease.
I found these great lidded containers made by Solo this year. They are the perfect coleus incubator/flat.
I sow the seeds sparingly using the sharpened point of a pencil. I dip the pencil point into water and touch it to one seed. The dampness grabs hold of the seed. I touch the seed to the wet seed starter mix in the flat, and the seed adheres to the wet soil. I repeat this process between sixty and seventy times per flat.
I use wire garbage bag ties, marked in segments with magic marker, to guide me in the placement of the seeds.
After I sow a row of seeds I remove the wire guide so I don’t double plant a row.
The next step is a gentle spray of water to seal the seeds to the wet soil.
I cover the flat with the lid. It is gratifying to observe it instantly steam up with warmth and humidity.
I place the planted flat of coleus seed on top of my refrigerator or near, but not on, a heating vent. I’ll update the progress as the seeds sprout and grow.
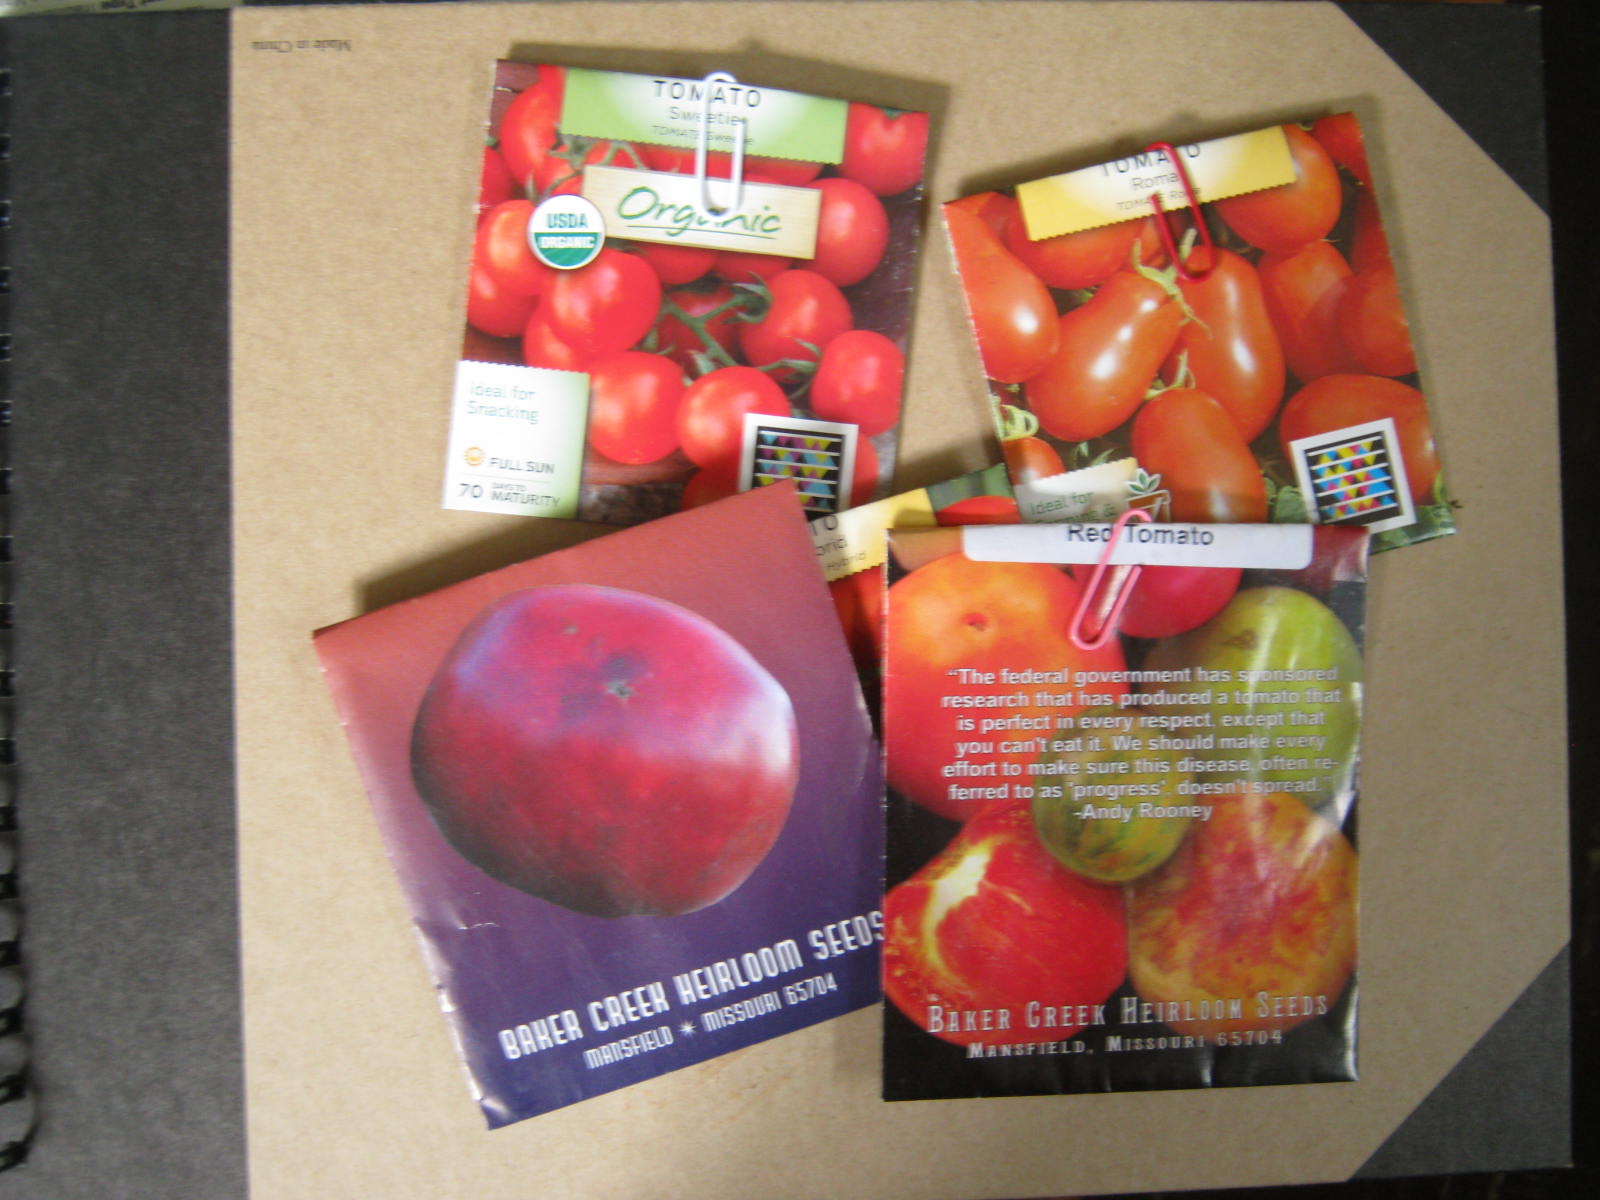
My all-time favorite seed catalog has arrived. There is no mistake that I photographed the catalog on top of pillows and an afghan; this is the perfect entertainment for a cold night. The long, dark evenings of Winter pass quickly when you curl up in a comfy chair and dream of what you will plant come Spring. Baker Street Heirloom Seeds is a 350+ page masterpiece of seed offerings, how-to articles, history and gorgeous photographs. I purchased this version of the catalog. You can also order a 200+ page free version, but it does not have the articles and tips contained in the larger version.
Baker Creek Heirloom Website is definitely the first site you should visit if you order your seeds online. Happy Gardening!
The post below is a timely re-blogging of one of my favorite winter gardening activities: Sowing and Growing Microgreens. I have grown Microgreens for several years and have never been disappointed. Give them a try.
In winter I love sprouting microgreens. The seed companies listed in this post are very reliable. The seeds I bought a year or two ago are still near 100 % viable. I have flats of microgreens growing in my sunniest windows at this time.
Sowing seeds and indoor gardening seem to be dominating my blog posts. I am starved right now for green, tired of the bare branches of trees silhouetted against the sky. I have been sowing seeds in hopes of harvesting Microgreens. Microgreens are harvested from seeds sprouted through the early leafing out stage. I am using seeds from Pinetree Garden Seeds. This is my first attempt at this type of gardening.
I am growing the Microgreens on my windowsill in plastic throwaway containers from cookies and other snacks.
Gather supplies: antique pots to look pretty, throwaway plastic from cookie containers, corn holder for poking holes in the plastic.
Make sure the containers would fit inside my chosen pots before I added the dirt.
Poke holes for drainage in the plastic with the corn holder.
Fill the containers with organic soil.
Water containers of soil and let them drain.
Space the pea seeds out in rows.
Sow the Kitchen Sink Mix en masse.
Cover with one of my favorite kitchen tools, Glad’s Press ‘n Seal.
The seeds are already up…they sprouted in less than two days.
My Microgreens are up and growing fast. I can’t wait to try them in a salad.
Oh My! The Microgreens look terrible…what happened to my lush crop? I’m afraid to say I have already eaten most of it. I pop off the tops of the pea sprouts and eat them like candy. This is reminiscent of the peas I grow outdoors in the Spring. They never make it to my table. Warm afternoons usually find me standing in the midst of the pea patch eating the fresh peas out of the pods. Actually, the microgreens are a complete success. I am really enjoying growing them and most of all eating them. The best use for them so far was garnishing my turkey and Swiss cheese sandwich with a row of them. Oh Happy Day!
The kitchen sink variety is also thriving and perhaps today I will start grazing on them too. Moo!
I might have mentioned in an earlier post this summer that my spring-seeded lettuce plants had all bolted to seed. The usual method of dealing with this is to pull the remaining plants and reseed the area with a summer vegetable. This year I decided on a different course; I let a few of my Black-seeded Simpson lettuce plants go to seed.
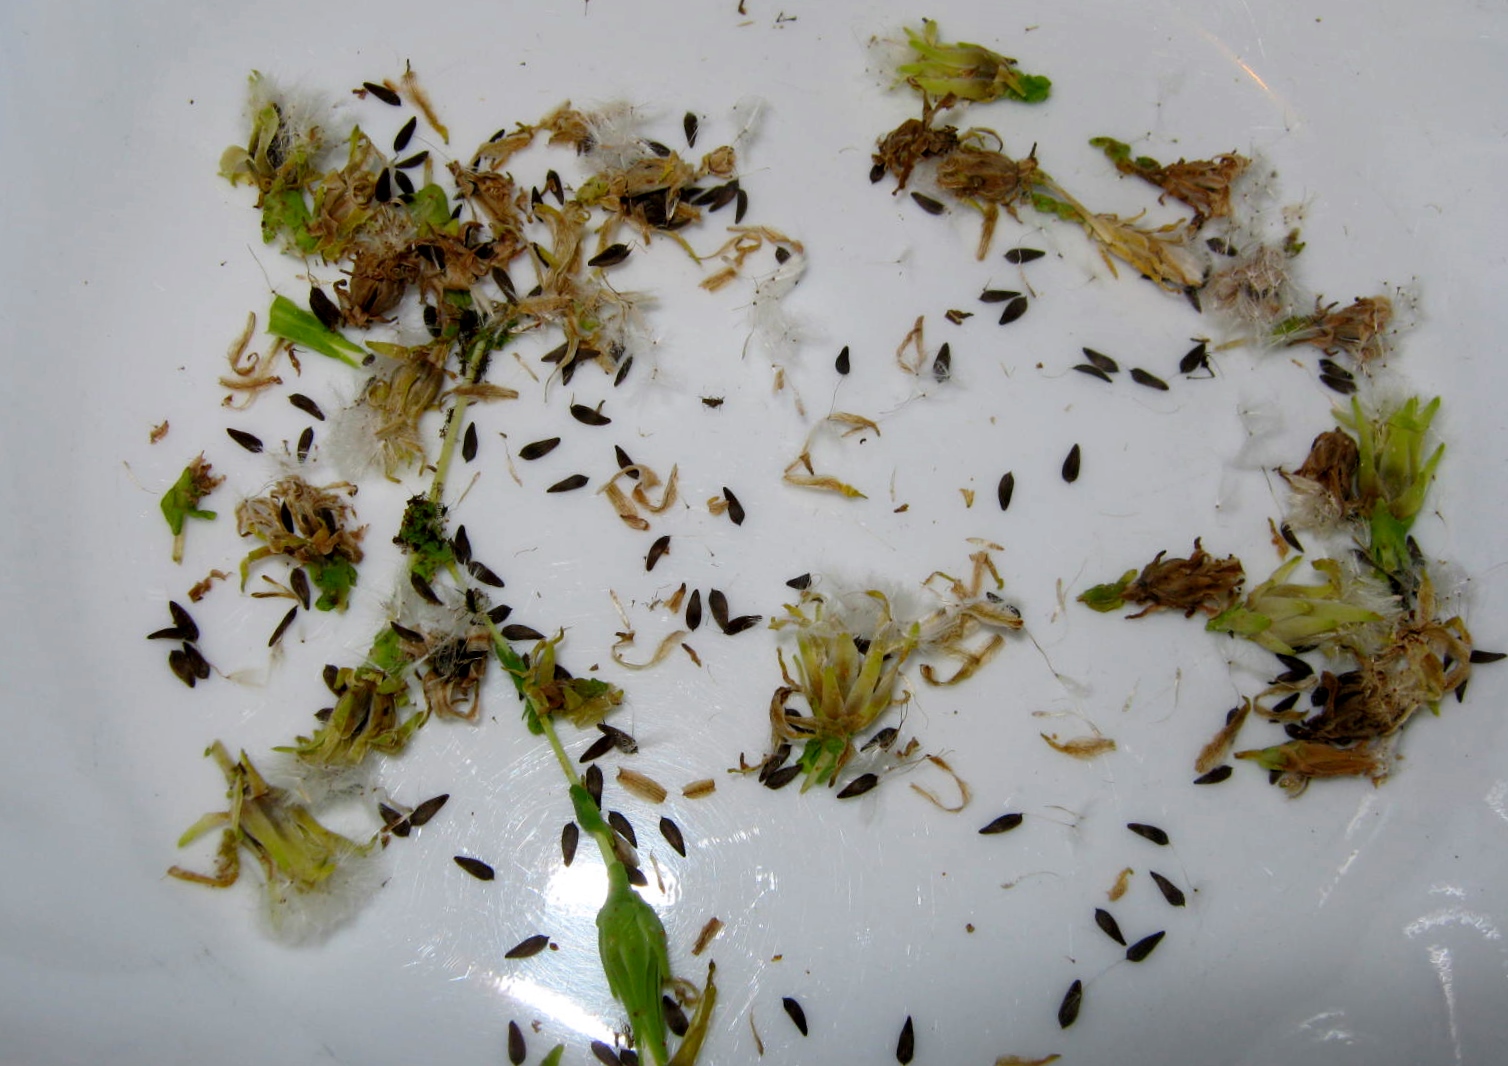
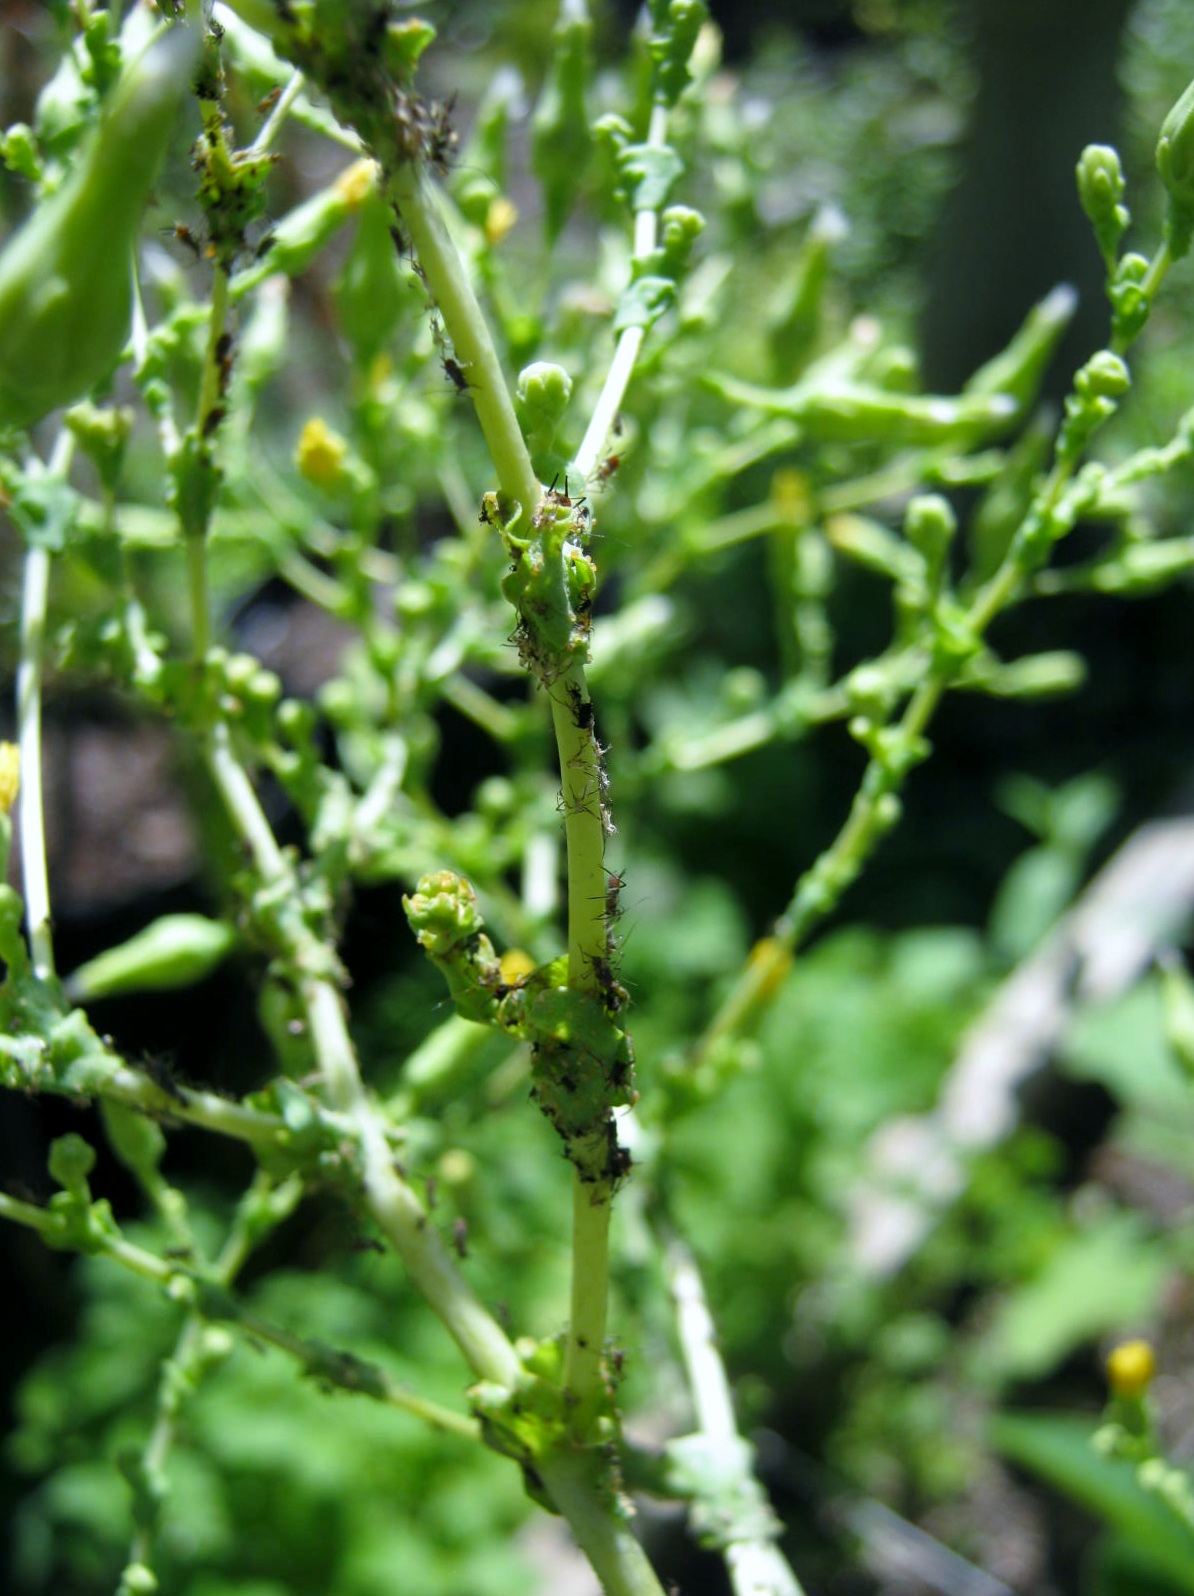
I’ve been quite surprised by how long it has taken the plant to set seed. After the initial seed stalk came up, rendering the sweet lettuce leaves bitter, it grew at a very slow rate. Finally, I noticed some little buds adorn the stem. They never opened into much of a flower, a little tassel of yellow fluff was all the bloom I noticed. These stringy flowers must have had some desirable pollen though…for suddenly the pod beneath swelled with seeds.
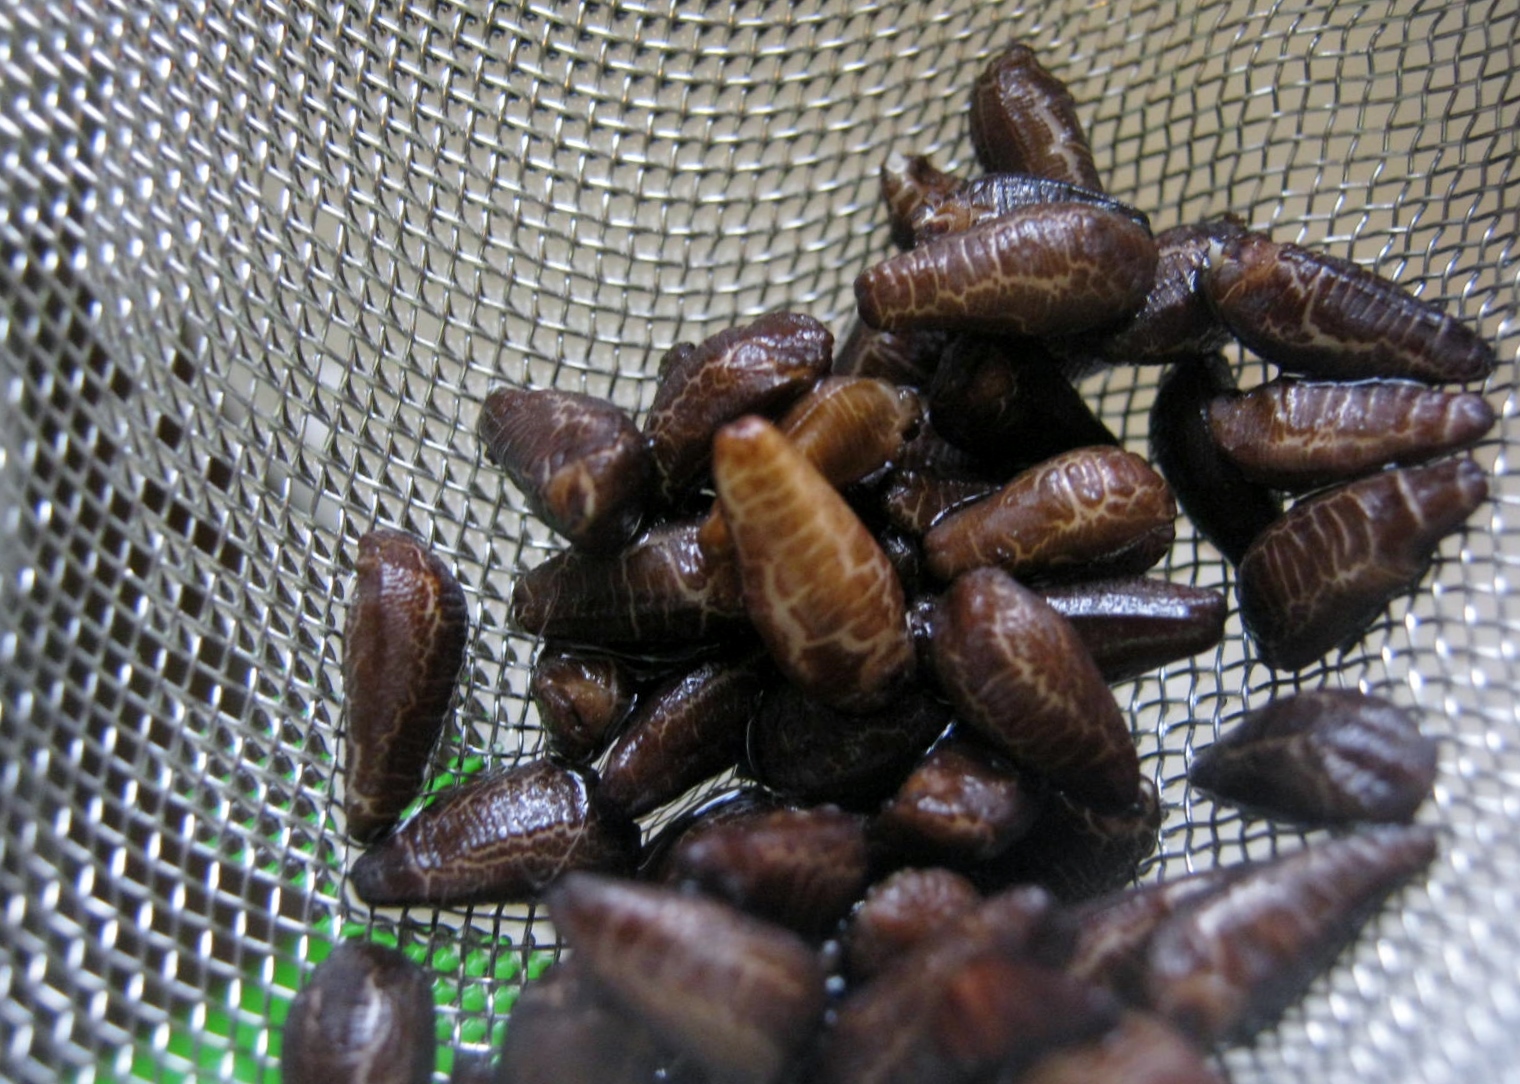
Knowing exactly when to harvest plants I’ve allowed to go to seed has always bamboozled me a bit. I’ll think the seeds are ready and pick the pod, only to find they are still green and useless. This time the plant itself told me when to harvest the seeds by the yellow tassels turning into white fluff.
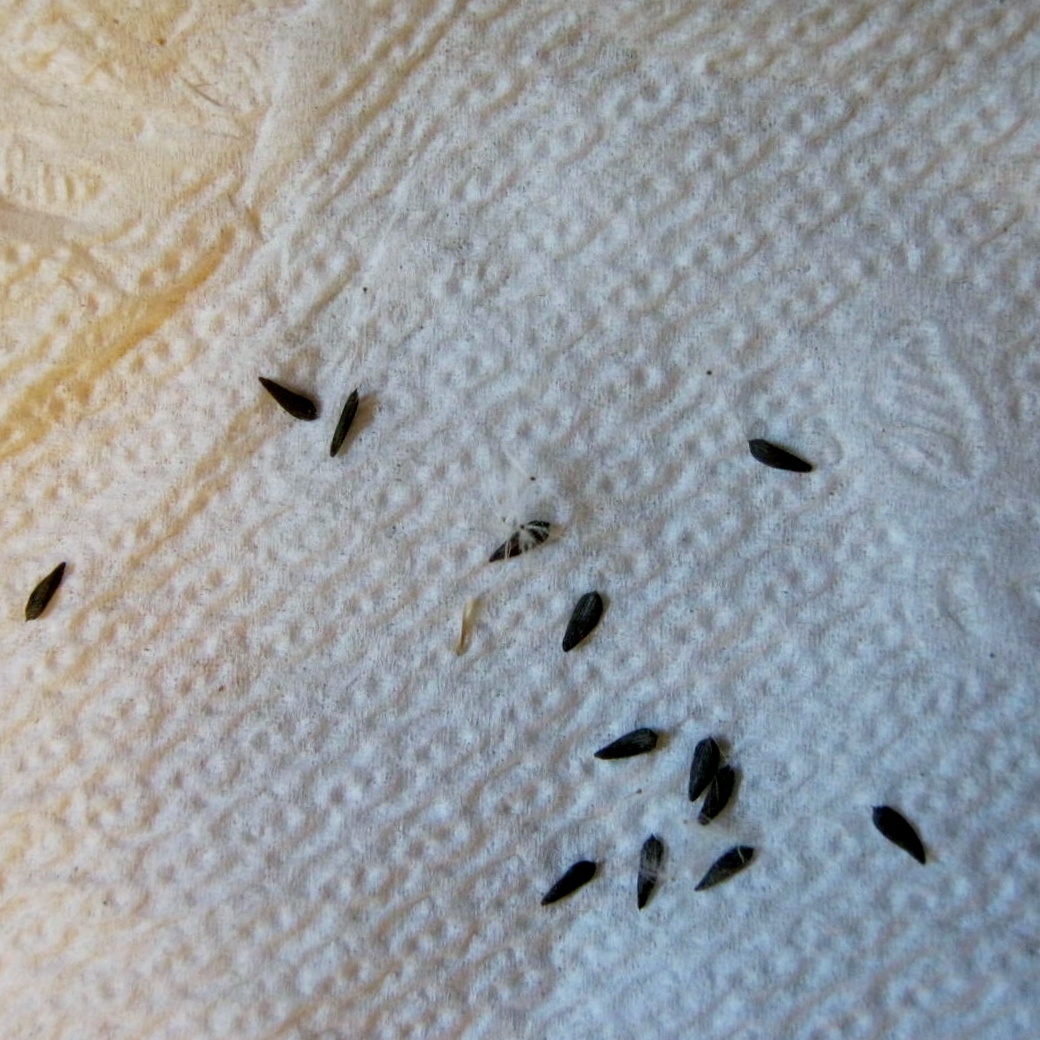
I picked every pod that was fluffy, rolled the pod between my fingers, and voila, lettuce seeds. Hooray! Even better, the lettuce plants are very prolific…dozens of pods per plant stem. The pods mature at varying rates, making it easy to pick and clean a few each day. Each pod seems to hold between eight to twelve seeds, sometimes less, but often more.
I am planning on growing lettuce indoors this winter as a microgreen. I also will save some for my Spring gardens. Black-seeded Simpson is one of my favorite varieties of lettuce.
One problem I encountered with the lettuce plants was an attack of black aphids on the stems. They don’t seem to do much damage, but hey, who wants to see all those little sap-suckers attacking a plant. A good dousing with the hose knocks most off the plant. Because of the aphid infestation I will store the lettuce seeds in the fridge to keep all bugs or eggs dormant.
I thought I’d update a few past posts. The microgreen seeds I recently sowed, dated 2011, did great.
The seeds were purchased from Pinetree Garden Seeds. I recently ordered more seeds from the company and had them within a week. The sprouts are now a pretty decent size, and I’ve been “grazing” on them as I pass by. They are clean and ready to eat since they are in pots and elevated off the ground. A few cabbage butterflies have laid eggs, and the cruciferous vegetable sprouts have suffered a bit, but most of the plantings are tasty and still whole.
The Black-Seeded Simpson lettuce that I allowed to go to seed has really surprised me. I didn’t know lettuce would grow so very high. Yikes! It is near three feet tall and still growing. It is beginning to set some yellow flowers so I think I’ll be able to gather quite a bit of seed from it in a few weeks. I enjoyed experimenting with the lettuce that bolted rather than pulling all of it out of the garden plots.
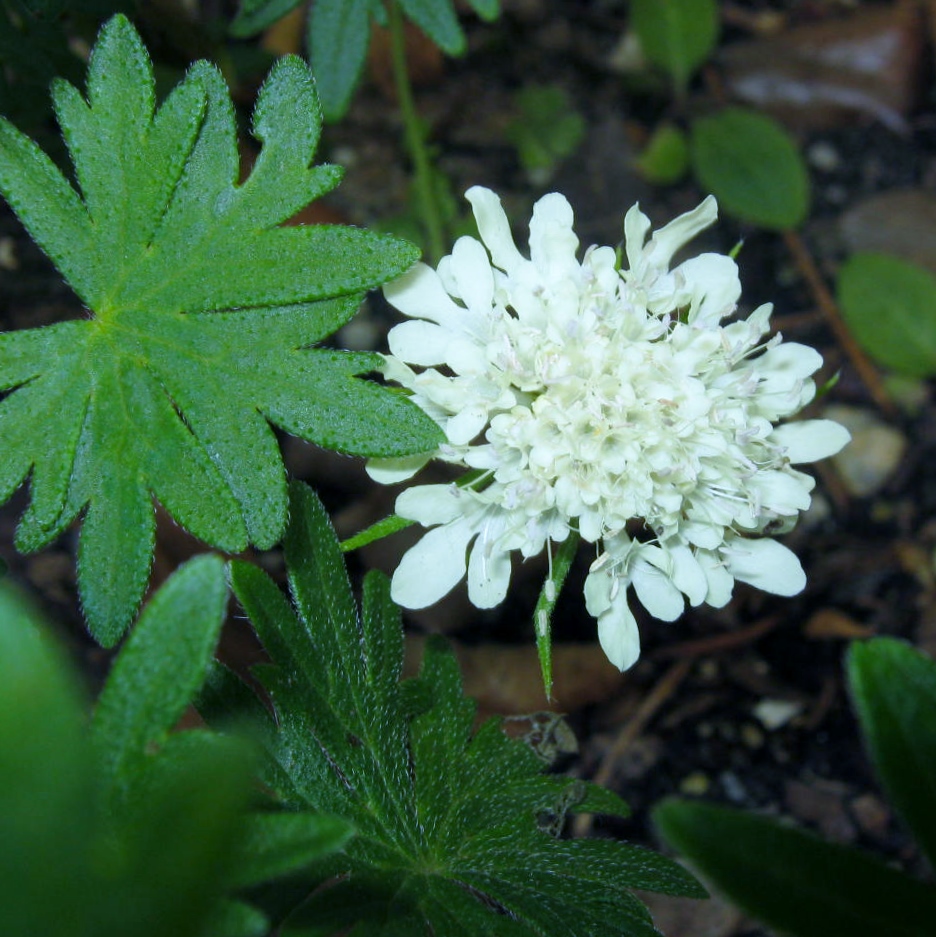
I am absolutely “Over the Moon” in love with this gorgeous sage plant that unexpectedly showed up in my wildflower garden. Oh the color…amazing periwinkle blue…a hard shade to find in summer garden flowers. I will absolutely allow this to go to seed and gather it in the Fall. I will also press a few of the florets in hopes that they will hold onto the beautiful color. I have been so surprised by how lush my wildflower garden remained. It is August, granted a cooler one than usual, but still…wildflowers tightly sown still doing well in August??? Amazing!
In the late months of Spring, I sowed several packets of wildflowers in empty areas of my garden beds. I’ve been thrilled with the results. The flowers are not showy, but the colors are vibrant and the variety of bloom quite interesting. I also added a few leftover zinnias, marigolds and cosmos from old seed packets I had saved over the years. They are also growing, and when the first wildflowers are spent, I am hoping they will begin to blossom.
Two weeks ago the grandsons and I sowed a few cactus seeds in plastic blueberry packages. The square plastic container is aerated with holes, top and bottom. All we needed to do was add some cactus soil, water, and sprinkle the seeds on the top. The cactus sprouted within a week and just fourteen days later are doing very well.
My tomatoes are beginning to set fruit and ripen. This is prime time for squirrels and other wildlife to begin taking a bite at random, ruining countless tomatoes over the course of the summer. My neighbor, a terrific gardener, told me the squirrels do this to quench their thirst when the weather becomes dry. I have a bird bath in the center of my Square Foot Gardens this year. Hopefully, the squirrels will use this rather than nibble at my beautiful tomatoes.
In case this doesn’t satisfy them, I have “belled” the plants with large Christmas bells I set aside in December. I have red ones to mimic the red fruit, a few greens to resemble the unripe tomatoes. If biting into a hard piece of metal doesn’t deter the squirrels perhaps the “ting-a-ling-ling” will scare them away. Another solution I will try if all else fails will be a few pieces of fresh garlic pushed inside the bell.
I’ve tried this same idea with plain Christmas balls in the past and achieved a bit of success mixed with a portion of half-eaten casualties. I am hoping the addition of what I think might be a “scary” sound to a squirrel will work even better this year.
I grow the type of garden kind people would label a “tapestry” garden. Acquaintances who are blind to the charms of my flower beds might call it a tad “unruly.” Those who are hard-hearted garden snobs would snort and pronounce my gardening endeavors as being in serious disarray, not well-planned or color-coordinated.
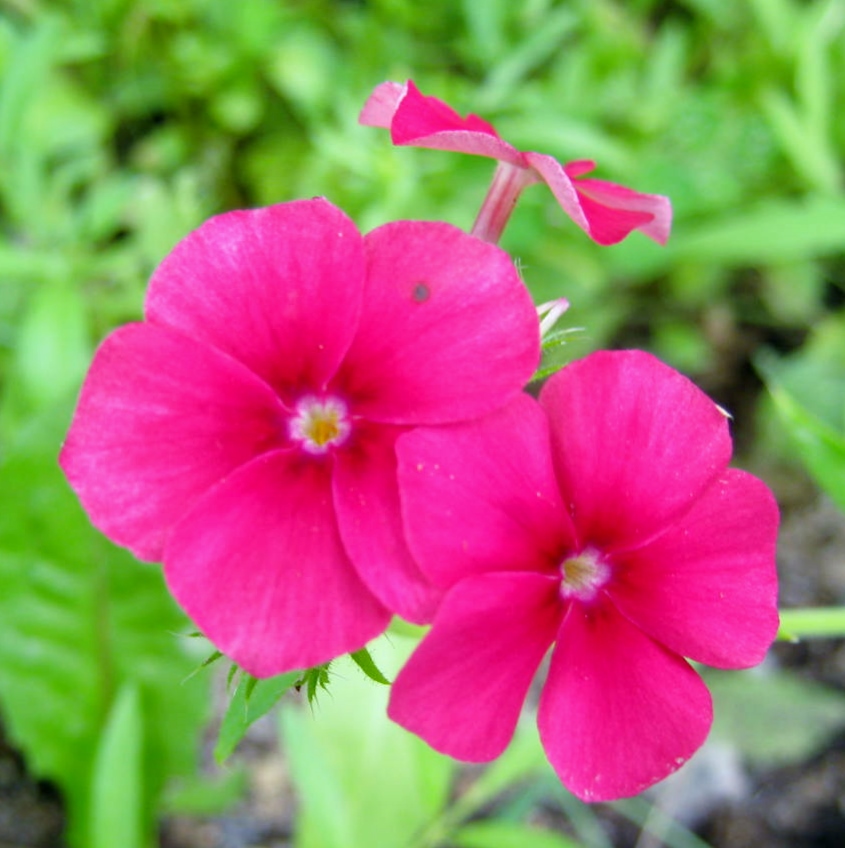
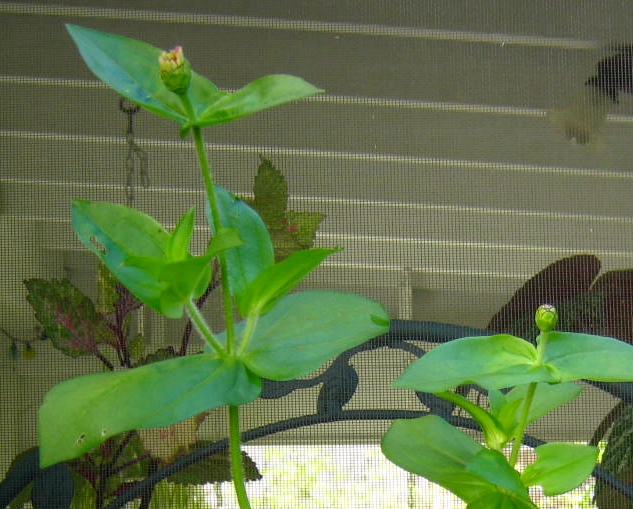
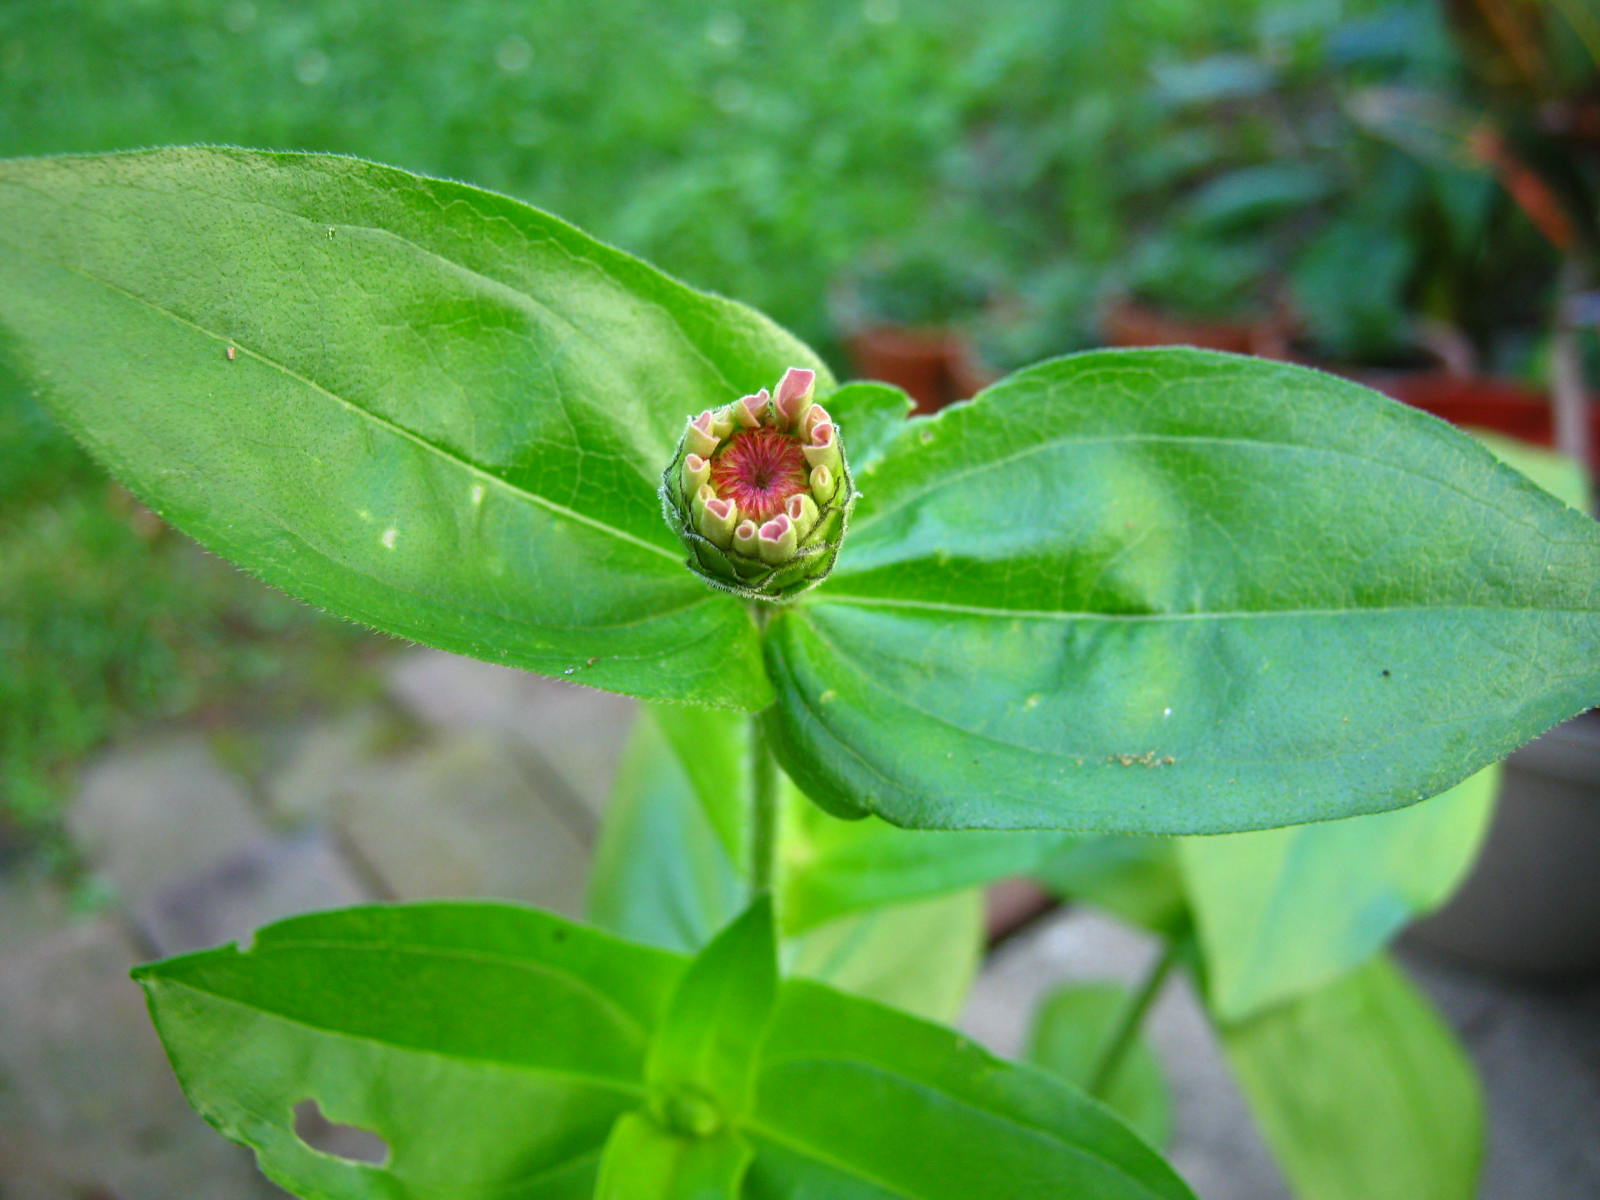
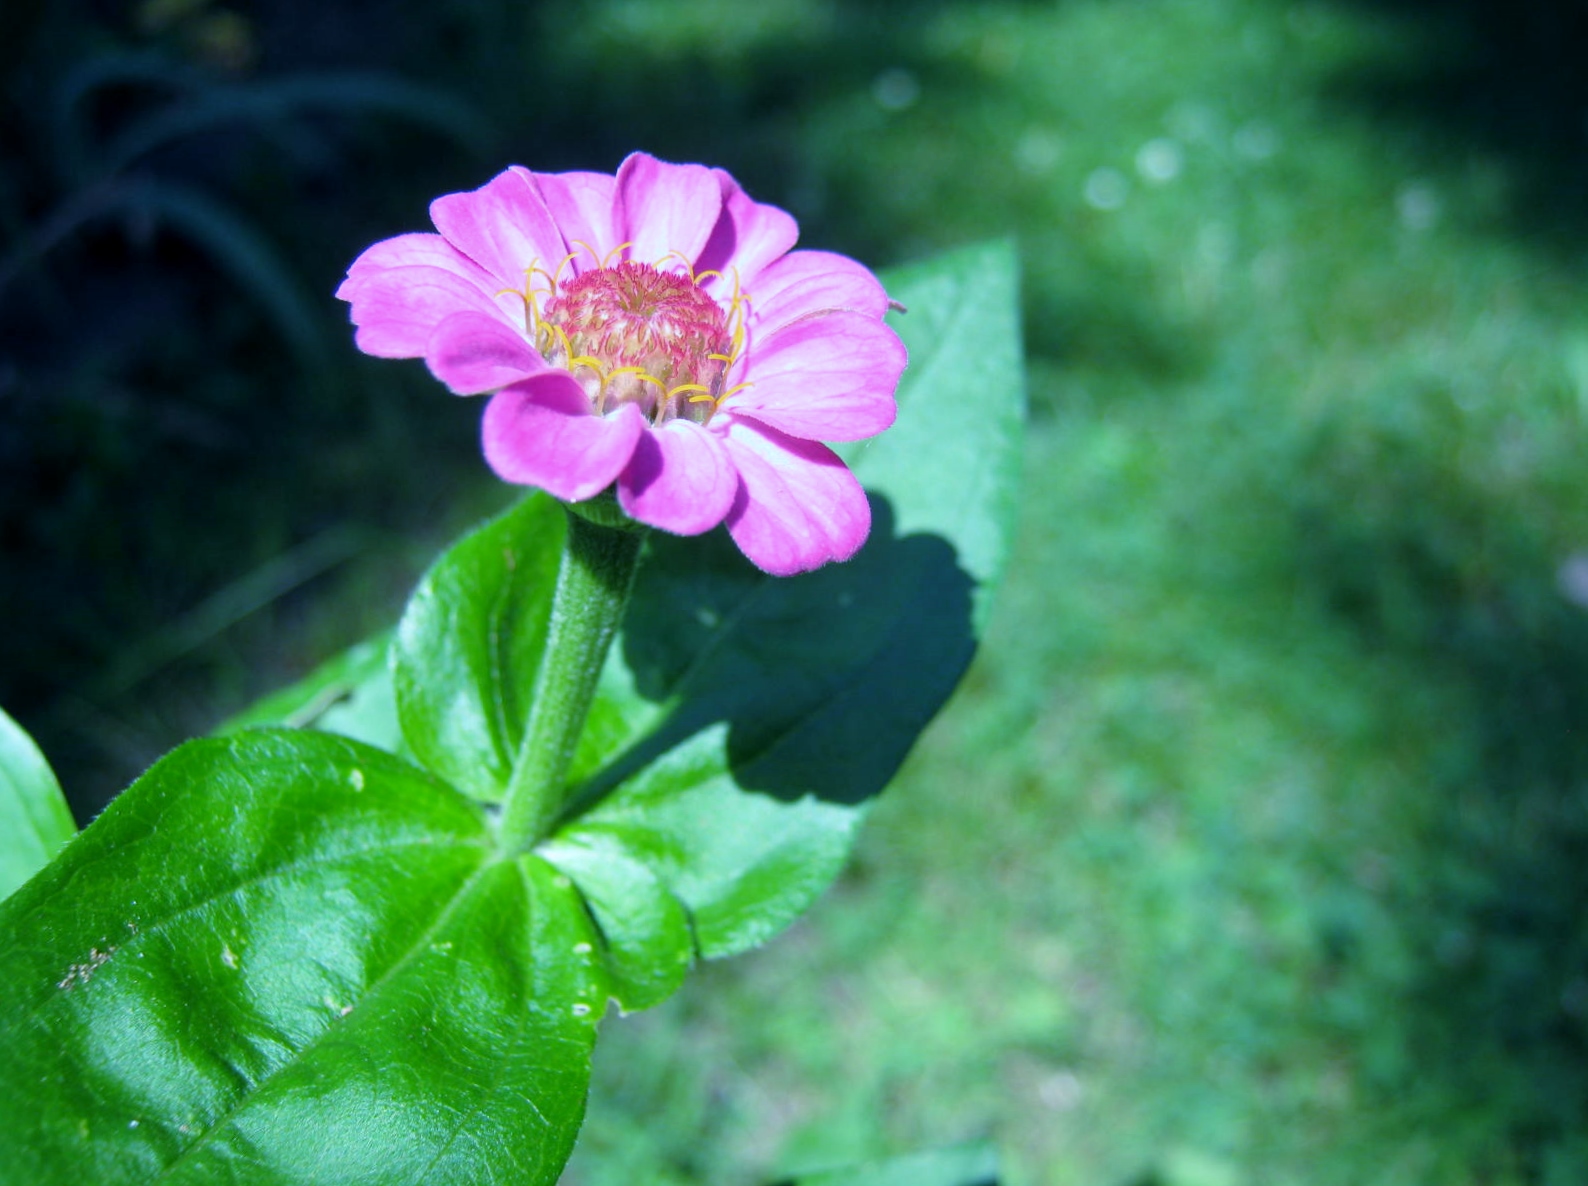
Perhaps all of the above are correct, except for the accusation my gardens are not well-planned. They are very well-planned indeed. You see, I LOVE not knowing exactly what color most of my annual flowers will be when they burst into bloom. Case in point, the zinnia in the photographs below. As the tips of the petals emerged, the joy and anticipation that filled me was intense. In a few days I knew I would see the color of the zinnia. I love a surprise! I wasn’t disappointed when the zinnia bloomed. What a gorgeous shade of pink. I’m thrilled for I have several weeks to enjoy watching annuals and wildflowers burst into bloom. Oh my…I could shout aloud a “Hallelujah!” for the joy of it. Happy Gardening!
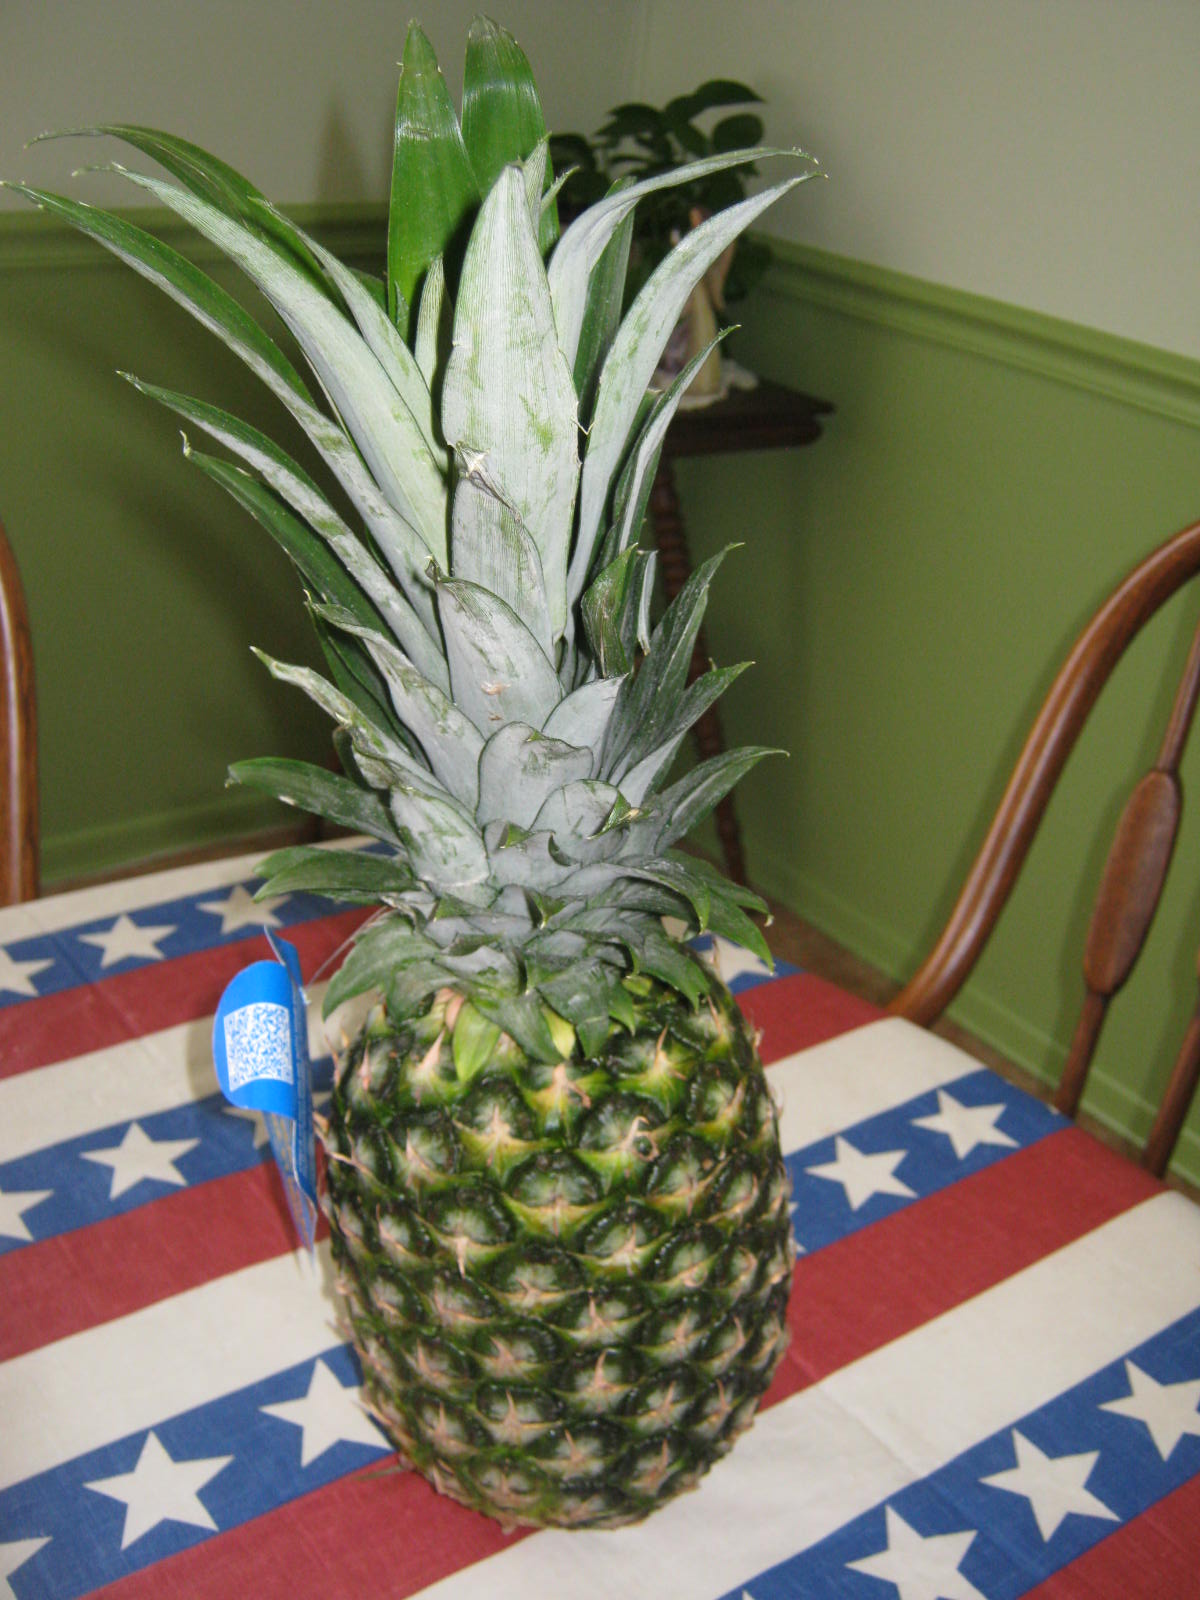
My older grandsons love planting different seeds and plants with me. I thought as a goal this summer we would try growing a seed, tuber or sprout from every fruit and vegetable we eat. A good fruit to start with is a pineapple. I bought a large and succulent beauty this week, on sale for $1.99 at the local grocery store.
For tips I went to Pinterest first and discovered a wealth of information. You can check out the many “pins” on pineapple planting here: Pinterest Search on Pineapple Planting
I found there are two ways to plant a pineapple top…directly in soil, and by soaking in water. Here are links to both ways:
We will attempt to plant in dirt first. This involves cutting off the bottom of the pineapple (eating the yummy fruit afterwards as baked pineapple casserole,) soaking in a bit of water, finally placing the stem end in potting soil.
I cut the top off and let the fruit dry for a day or two. The next step was to soak the dried out bottom in water. When I checked the progress a day or two later the fruity portion still left on the stem promptly fell off.
I soaked the bottom of the stem in water for a few more days.
When the time came to plant the stem my grandsons helped me remove more of the bottom leaves. PSHEW! There was a bit of a rancid odor when these leaves broke away. I think a bit of decay might have set in while the stem soaked in water. Perhaps I should have shortened the soaking time.
Denuded of bottom leaves, the stem had a promising look.
Now for the fun part, planting the stem in the potting soil. We used a big pot. The pineapple will grow very large and bushy. I want plenty of weight on the bottom to keep the plant from tipping over.
We were pleased with the finished appearance of the potted pineapple. Even without new growth it is an interesting plant. Updates to follow on the progress of our experiment.
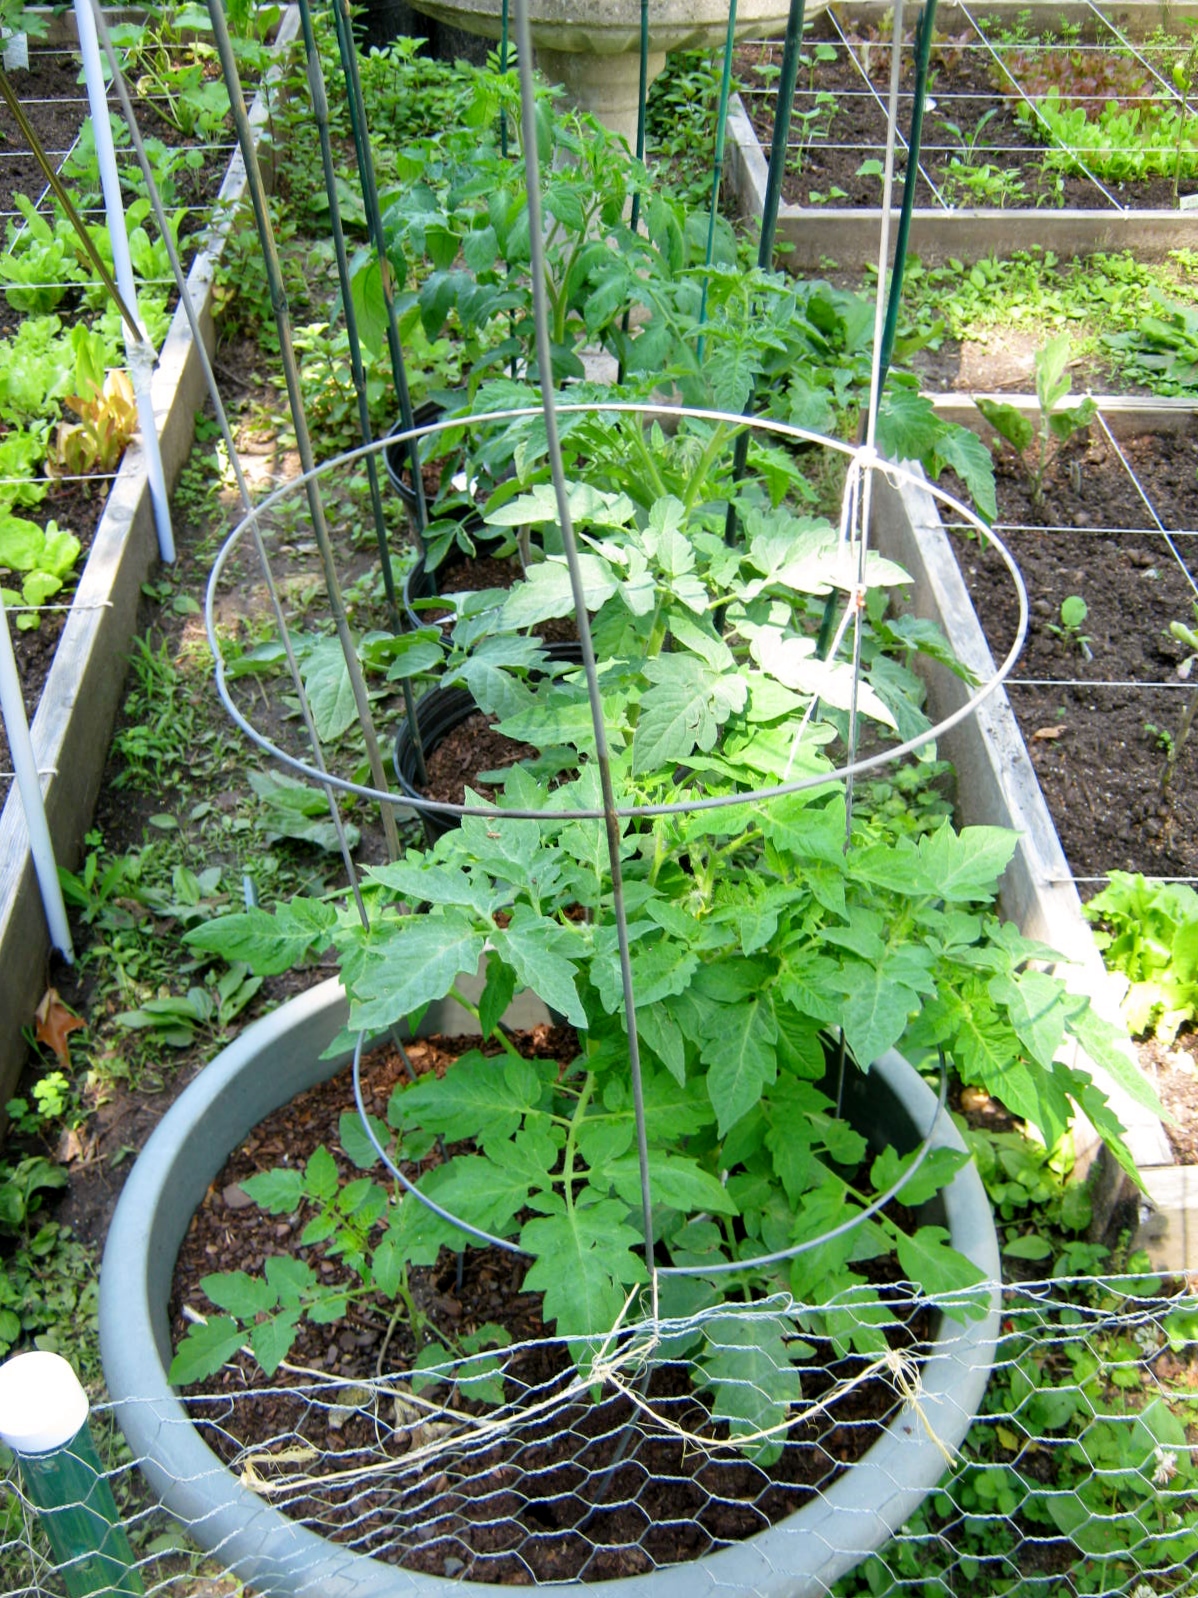
I have over a dozen tomatoes planted in my Square Foot Garden. I started them from seed in the house this year. The tomatoes are doing okay, but not producing growth to rave about.
The potted tomatoes were sown from the same seed packets, and grown in exactly the same conditions. The only difference is that these tomatoes are planted in pots of Whitney Farms Organic Potting Soil. This is a terrific soil loaded with natural fertilizers. OH MY! Compare the color of the leaves to the first photograph, and take a look at the size of the plants. The tomatoes in the pots are much greener and in some cases more than double the size. The potted plants are already setting blossoms. In hopes of helping them catch them up, I side-dressed the Square Foot Garden plants with organic fertilizer. I think in the case of the tomatoes I need to do a little bit more than the manual recommends. I’ll update in a few weeks.
To all the fine bloggers out there in Blog-World, I thank you. You never know when a post might absolutely consume one of your readers. In the case of this past weekend, that blog reader was me. I happened upon a post on the blog Over the Fence Urban Garden and was completely captivated by a Youtube video they had embedded in their post titled, “Tomato Fingers.”
A little of my history in regard to tomatoes: Until I was forty or so I detested the look, smell and taste of tomatoes. A sandwich with just one tomato seed accidentally placed upon it was, in my opinion, RUINED. I am not alone in this. I married a man who felt exactly the same way. We both loved tomatoes in the form of cooked sauce, but raw…”Phooey!” Then…the strangest of strange events occurred. Where once I abhored raw tomatoes, I suddenly could not get enough of them! (Unfortunately, my husband’s taste buds have stayed the same. 😦 ) I bought them by the pound, and became an avid grower of them too. Tomato plants have never done that well for me though. I assumed all I needed to do was plant tomatoes in a decent soil and location, and they would grow. No…I have found tomatoes need a bit of coddling.
I grow my tomatoes from seed. They quickly sprout for me in a sunny window. They don’t grow fast in the house, but they do grow steadily. This year I had great success with my tomato seedlings, many of them heirloom varieties, and hated to give up even one to the compost heap. (Please read important note at the end of blog post on the composting of tomatoes) Instead I planted as many as I could into the soil of my Square Foot Gardens. Since all but one of the varieties I grew were indeterminate, (vining) I was able to plant one to a square. I figured I would use tomato cages again for support, as I did every other year. Then I came upon the terrific youtube video posted on Over the Gate Urban Garden. Maybe I have never had good luck growing tomatoes because I have never “suckered” them or “strung” them.
I have spent the weekend “suckering” and constructing a trellis to “string” my indeterminate tomatoes. The video is a little long, but absolutely full of information you might not have heard in the past about how to grow the perfect tomato. More to come on my “stringing” adventures in parts two and three of my tomato saga.
* Don’t compost any foliage of tomato plants unless you are SURE they are free of disease. Tomato plant disease is easily spread this way. Smokers should also not touch tomato plants unless they wash their hands first as tomato mosaic virus can be spread this way.
Recharging…Resting…Rejuvenating… In the meantime, I’m re-blogging some of my best garden posts. Happy Spring!
My Square Foot Gardens are doing great. Except for a few empty squares in the second garden, most of the space is filled with seeds or plants and growing well. I have harvested many servings of lettuce already. In fact, I can’t eat it fast enough and have been taking handfuls to family whenever I visit. The lettuce comes in a wide array of greens, pinks and reds and pairs perfectly with the arugula and water cress I have growing in the herb garden. A new sowing of mesclun is thriving and will soon be ready to begin harvesting. The bread seed poppies are magnificent and I expect them to send up budding stalks any day now. The peas in the back of the garden are in need of quick staking, they are growing a few inches daily.
Here is a closeup of the earliest sown squares. Last week I sauteed a few pieces of kale with olive oil and garlic powder. Ah, so amazingly good; I wish I had begun this type of gardening years ago. This week I tried several leaves of the swiss chard. I chopped the stems and ribs and kept them separate from the leaves.
I gently boiled the chopped stems, and after about three minutes added the leaves along with a little Adobo spice mix, and gently simmered a few minutes longer.
Wow! The taste was beyond my highest expectations. I sprinkled the swiss chard with a squeeze of fresh lime, and “oohed” and “ahhed” with every mouthful. The best thing about both of these greens is they are still producing. I can’t wait to try my hand at cooking and eating them again.
Recharging…Resting…Rejuvenating… In the meantime, I’m re-blogging some of my best garden posts. Happy Spring!
I find squash and zucchini blossoms beautiful. Even better is the fact that a delicious vegetable will grow after the blossom falls away from the plant. Squash plants take up a large amount of room in the garden. Since I grow my vegetables in the Square Foot Gardening method I don’t want to give up many squares to one plant. I was happy this year to find some good information on Pinterest that led me to good articles on how to grow squash upright. Here are a few of my finds: