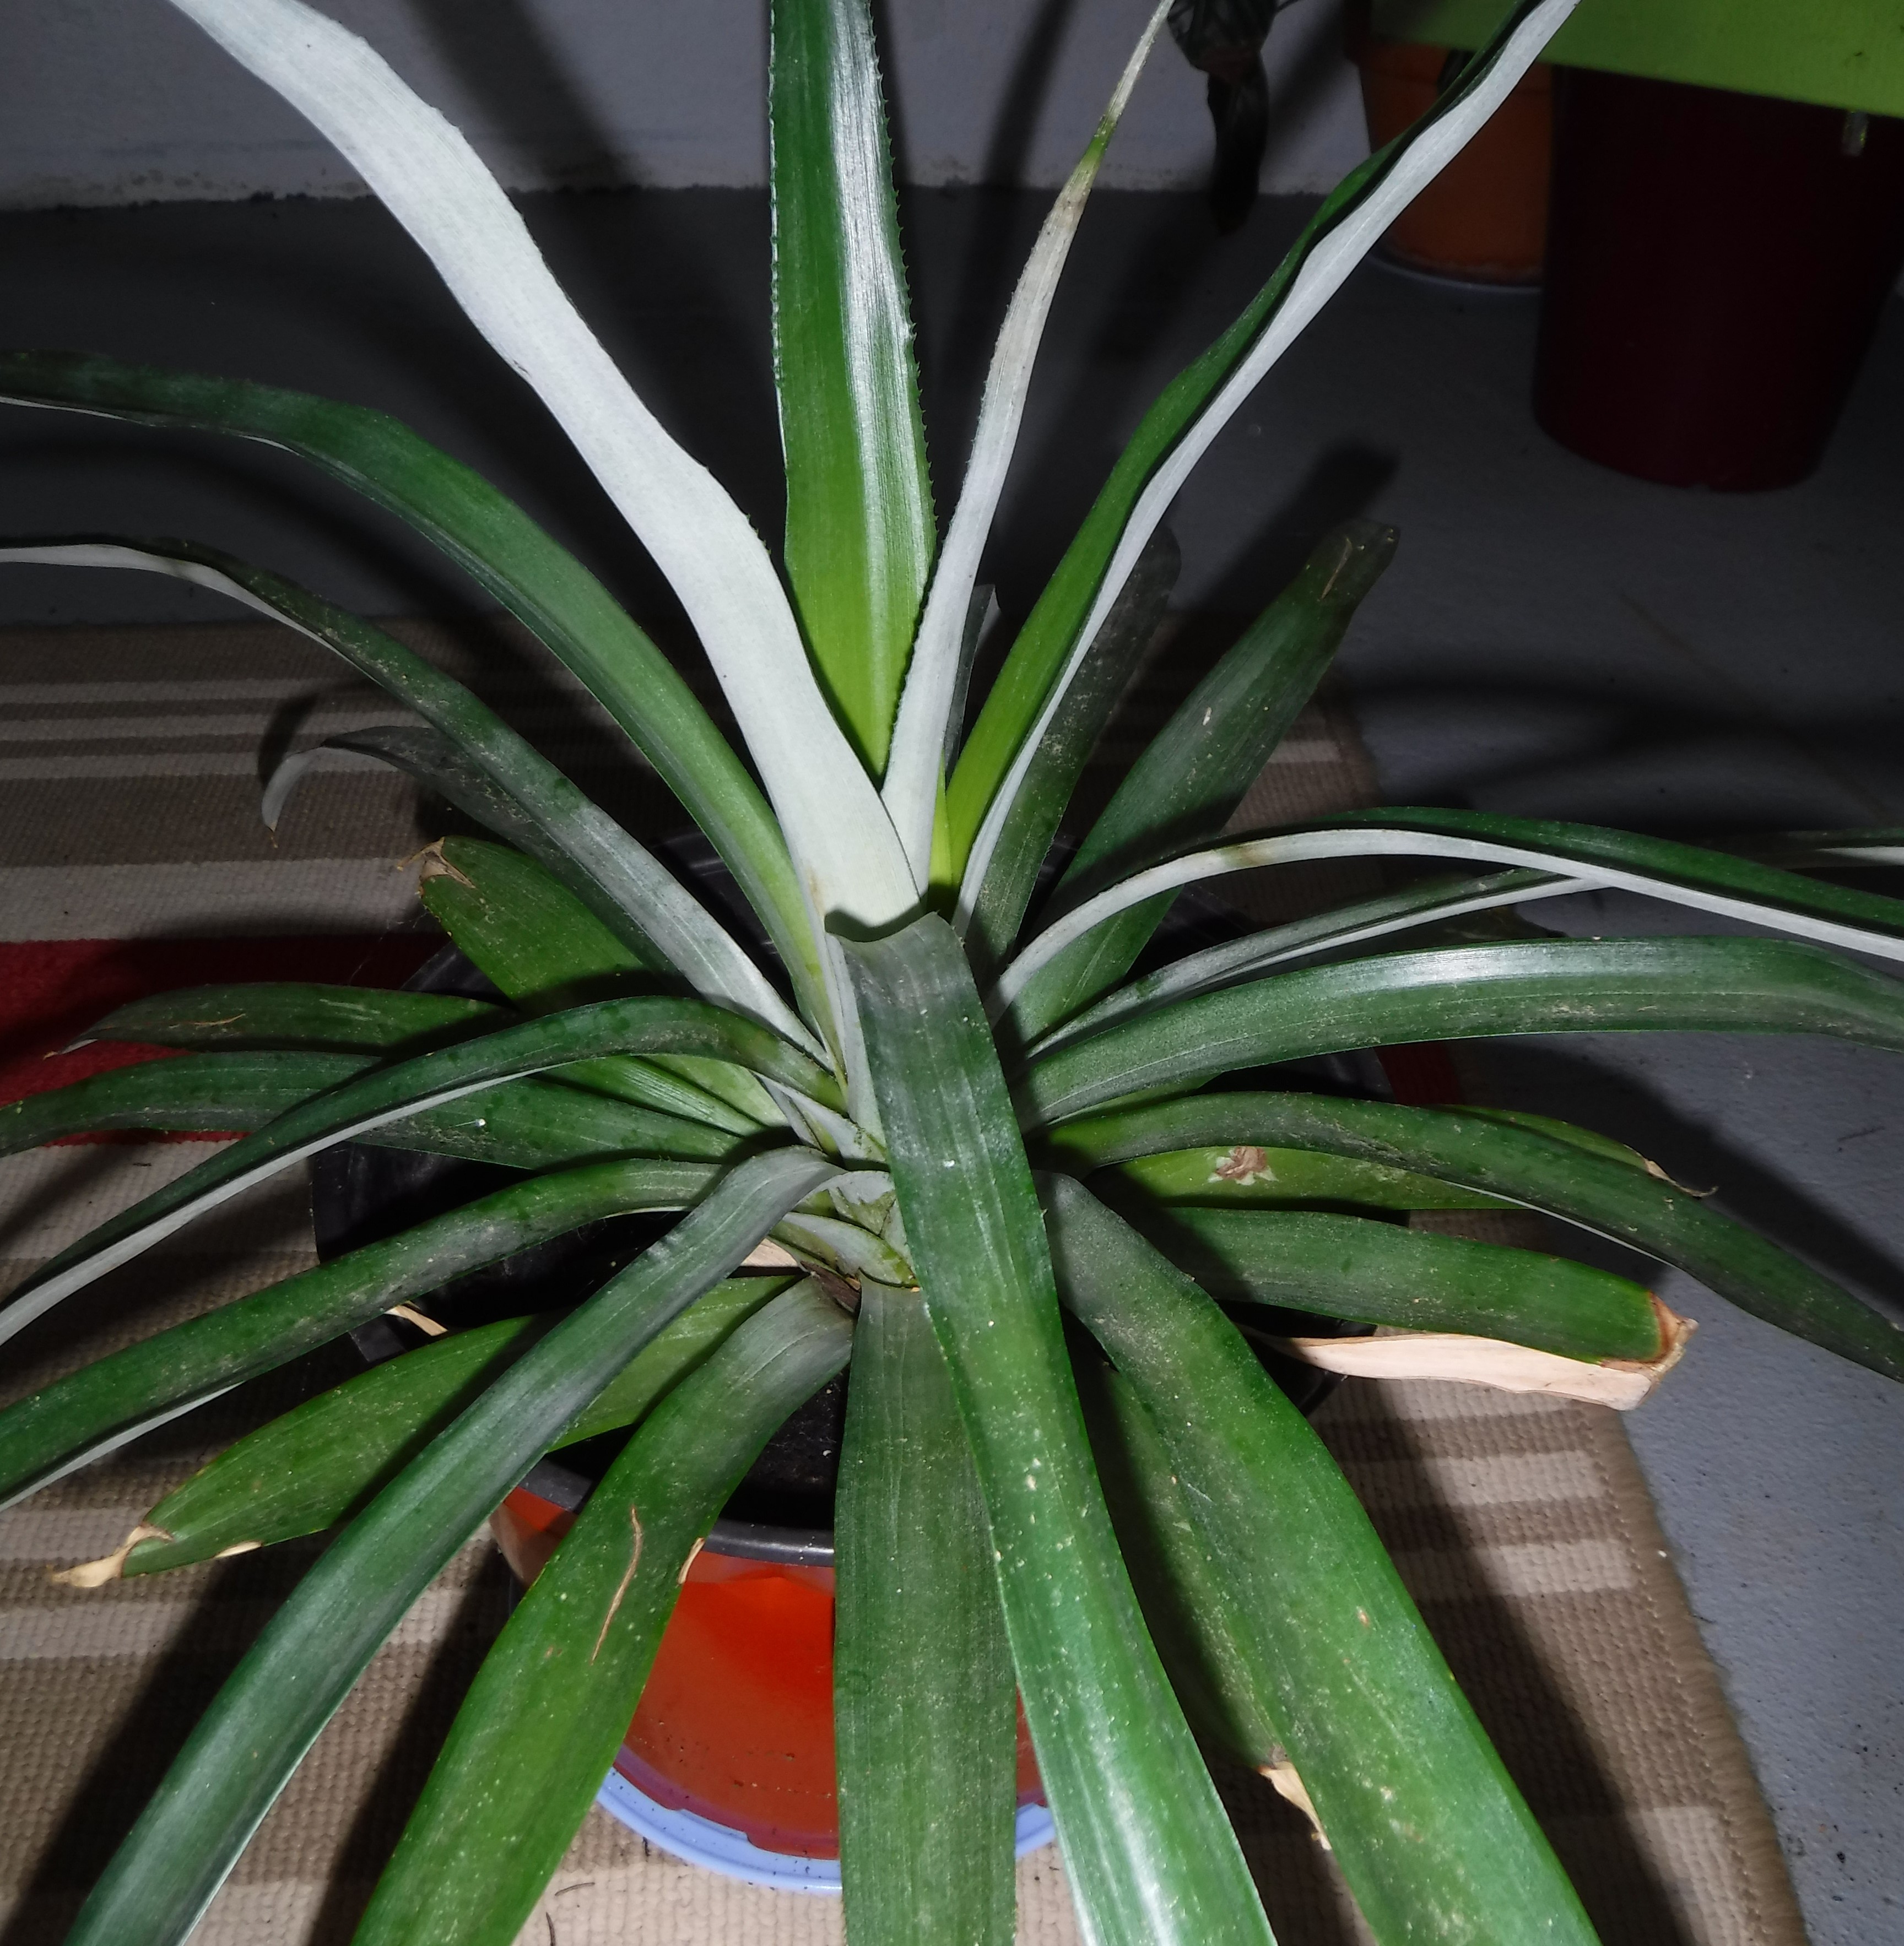
The plant in the photograph had its beginnings in the sparse leaves atop a pineapple. I have planted the tops of pineapple in two ways. The first, soaking the severed pineapple top in water didn’t work out well. The pineapple softened and rotted in the water and the plant never thrived. The second is a better method, cut away the top leaving about a half inch portion of the pineapple, dry for a few days and then plant in soil. The result is the large plant you see above. It has been growing about two years give or take a few months. Supposedly, pineapples grown like this will produce fruit atop a stalk and then die back. Pineapples are bromeliads.

Avocado pits grow well using two methods. One, suspend the pits in water using toothpicks. Leave the top half inch above the water line, the pointed end will be submerged in the water until you see roots and/or top growth. You can also plant the pit directly in the soil. Leave a small portion of the top above the soil. The key to growing avocados is having a schedule for pinching out the lanky sprout. There are many good articles on the internet about when to prune your avocado plant. Good directions can be found here: Pinching out an avocado.

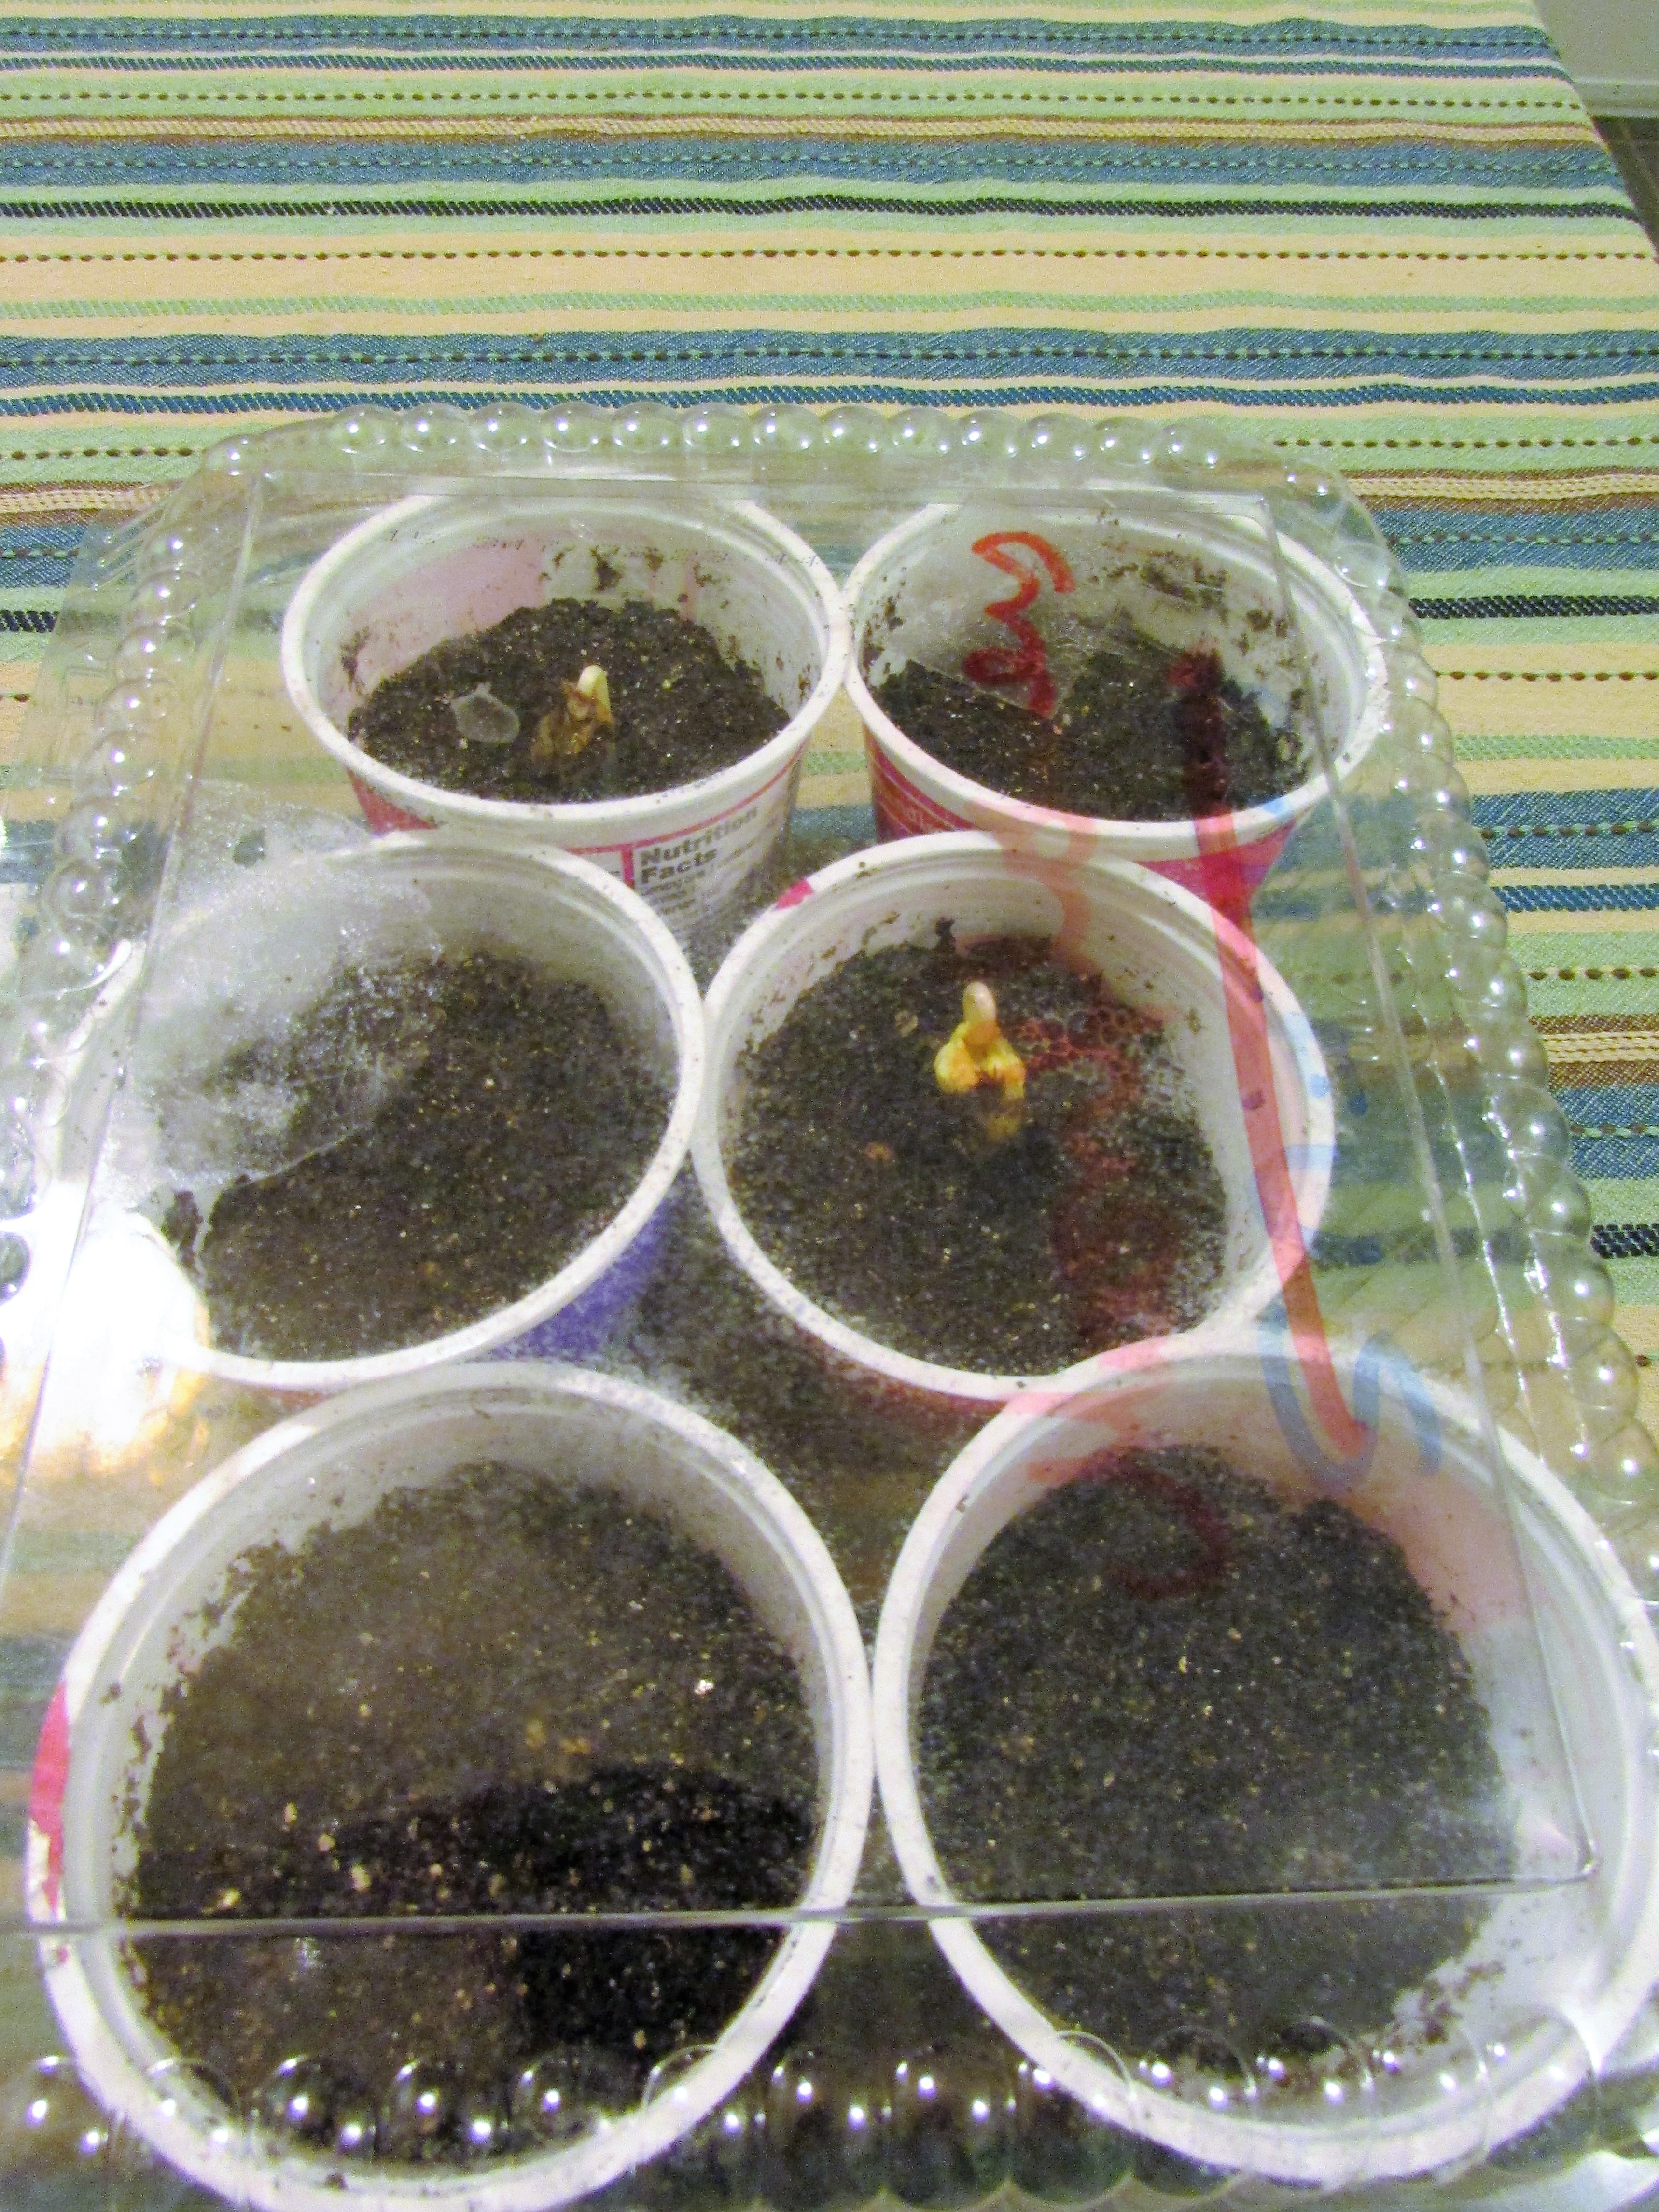
I guess it won’t come as a surprise that when my ginger suddenly sprouted I planted it in soil. Updates will follow in a few months.
Give growing ginger tubers a try: Growing Grocery Store Ginger
It’s the season of many fruits. What pits, seeds or sprouts do you have in your fruit bin? Children love these projects. Happy planting.
A good article on planting fruit seeds: Mother Earth News/Plant Your Fruit Seeds