I came across this little bit of “phun” and wanted to share it. The video is sweet, funny, and captures the essence of Christmas Joy and Merriment.

I came across this little bit of “phun” and wanted to share it. The video is sweet, funny, and captures the essence of Christmas Joy and Merriment.


Geometrics? Concrete? Yes, I’ve photographed actual concrete…house, steps of brick, shutters…rectangles with a few bushy circles. And then, smack in the middle of it all…the ABSTRACT! This globe full of stinging fire just doesn’t belong on the front of a house. Yikes! The vanishing point…anyone who rings that doorbell will “vanish” quickly. I know I’m taking some liberties with the challenge…oh well! Couldn’t resist using this as my “vanishing point.”
“WORDPRESS PHOTO CHALLENGE – Geometry in photography — shapes, diagonals, vanishing points — fascinates me.

A BLESSED THANKSGIVING DAY TO YOU.
“I waited patiently for the LORD;
And He inclined to me and heard my cry.He brought me up out of the pit of destruction, out of the miry clay,
And He set my feet upon a rock making my footsteps firm.He put a new song in my mouth, a song of praise to our God;
Many will see and fear
And will trust in the LORD.”Psalm 40:1-3
“And yet, along comes this idea called Grace to upend all that “as you reap, so will you sow” stuff. Grace defies reason and logic. Love interrupts, if you like, the consequences of your actions, which in my case is very good news indeed, because I’ve done a lot of stupid stuff.I’m holding out for Grace. I’m holding out that Jesus took my sins onto the Cross, because I know who I am, and I hope I don’t have to depend on my own religiosity.” ~ Bono

I recently took part in the WetCanvas Plant Parade for November. The category was rainbows and I chose the rosebud reference photograph to watercolor.

I used a piece of 5×7 Aquabord for this painting. I love Aquabord’s sturdy, non-warping background. I also am impressed by Aquabord’s easy release of watercolor. I “lift” paint quite a bit when I watercolor, and the Aquabord lets the paint loosen and lift like a dream. Unfortunately, this same asset can quickly become a nightmare. I never use Aquabord without a struggle to get my washes smooth. Often when I lift the paint, more is removed than necessary.
I enjoyed creating the background for this watercolor. The Aquabord stayed very wet and allowed the watercolors to blend beautifully. The same wet into wet blending also caused a bit of a problem…the paint ran over the outer edges of the rosebud.

No worries about losing edges when painting with Aquabord. A stiff brush, a little water, and I wiped and dabbed the watercolor off the rosebuds petals and stem.

One day, I hope to use Aquabord for a large watercolor, but right now I’m content to learn on smaller versions of this interesting watercolor board.

The best news of all about Aquabord is that it does not need to framed under glass. A light spray of clear matte acrylic and your painting can be hung without the glare of glass to distort its shape and colors.


Doesn’t that look like a yummy appetizer. Believe me…it is delicious! It’s called “crack” bread. Now, I don’t know if it is called crack bread because you cut diagonal slices in it, thus forming “cracks,” or, could it be that it is totally addictive and hard to stop munching once you start? Whatever the reason for the name, it is easy to make, inexpensive and enjoyed by young and old alike.
I found a terrific recipe at Recipe Tin Eats. If you like pieces of garlic in your recipes then please take a look at this recipe. If you are like my family, perhaps you will prefer a softer version of the garlic butter and use Adobo seasoning or garlic powder to flavor your spread. In any case, please check out Recipe Tin Eats blog page.

Flickr Photograph courtesy of Robyn Anderson – Creative Commons license
Here is my adaptation of the recipe.
Ingredients
1 crusty loaf of bread
¾ cup shredded Mozzarella cheese (or other melting cheese)
(optional) 1/4 cup fresh grated Asiago Cheese
Garlic Butter
1 stick unsalted butter, softened
1 tsp Adobo seasoning or garlic powder (not salt)
1/2 tsp salt
1 tbsp fresh parsley, finely chopped (more or less works fine, also a lesser amount of dried can be used, but fresh is definitely better)
3/4 cup fresh grated mozzarella cheese
I used a round bread, next time I’ll go for a more oblong shape. Make several one inch diagonal cuts with a sharp serrated knife, turn bread and slice up the other side, creating diamonds. Slice almost through, but not quite. Place bread on a piece of heavy duty foil. Melt butter, careful not to burn, and add garlic powder or Adobo. Spoon butter in between cracks.
After you’ve filled each crack with a bit of butter, stuff in some cheese, sounds easy, but it is a little tedious and time consuming.
Wrap in the foil. Bake for 15 to 20 minutes in a 350 degree oven. If needed, you can refrigerate for a few hours until ready to bake.
Now here is where I had the BIG problem, and the reason why I can’t show you the finished loaf. When I unwrapped my cheesy bread, the whole thing fell apart when I tried to place it on a serving platter. I think I sliced the diagonal cuts too far down. So instead of my finished loaf, I am showing you a Flickr photograph courtesy, of Robyn Anderson.
Delicious!!! And the bonus…it reheats easily in the toaster oven and tastes even better. Happy Crackin’

The post below is a timely re-blogging of one of my favorite winter gardening activities: Sowing and Growing Microgreens. I have grown Microgreens for several years and have never been disappointed. Give them a try.
In winter I love sprouting microgreens. The seed companies listed in this post are very reliable. The seeds I bought a year or two ago are still near 100 % viable. I have flats of microgreens growing in my sunniest windows at this time.

Sowing seeds and indoor gardening seem to be dominating my blog posts. I am starved right now for green, tired of the bare branches of trees silhouetted against the sky. I have been sowing seeds in hopes of harvesting Microgreens. Microgreens are harvested from seeds sprouted through the early leafing out stage. I am using seeds from Pinetree Garden Seeds. This is my first attempt at this type of gardening.
I am growing the Microgreens on my windowsill in plastic throwaway containers from cookies and other snacks.

Gather supplies: antique pots to look pretty, throwaway plastic from cookie containers, corn holder for poking holes in the plastic.

Make sure the containers would fit inside my chosen pots before I added the dirt.

Poke holes for drainage in the plastic with the corn holder.

Fill the containers with organic soil.

Water containers of soil and let them drain.

Space the pea seeds out in rows.

Sow the Kitchen Sink Mix en masse.

Cover with one of my favorite kitchen tools, Glad’s Press ‘n Seal.
The seeds are already up…they sprouted in less than two days.

My Microgreens are up and growing fast. I can’t wait to try them in a salad.


Oh My! The Microgreens look terrible…what happened to my lush crop? I’m afraid to say I have already eaten most of it. I pop off the tops of the pea sprouts and eat them like candy. This is reminiscent of the peas I grow outdoors in the Spring. They never make it to my table. Warm afternoons usually find me standing in the midst of the pea patch eating the fresh peas out of the pods. Actually, the microgreens are a complete success. I am really enjoying growing them and most of all eating them. The best use for them so far was garnishing my turkey and Swiss cheese sandwich with a row of them. Oh Happy Day!
The kitchen sink variety is also thriving and perhaps today I will start grazing on them too. Moo!


I live in the Northeast portion of the US. At this time of year the Sumac trees turn a brilliant red and their berries deepen to magenta. There are many uses for sumac trees. The articles I’ve linked to share some history and some ways to use sumac. Eat the Weeds – Edible Sumacs

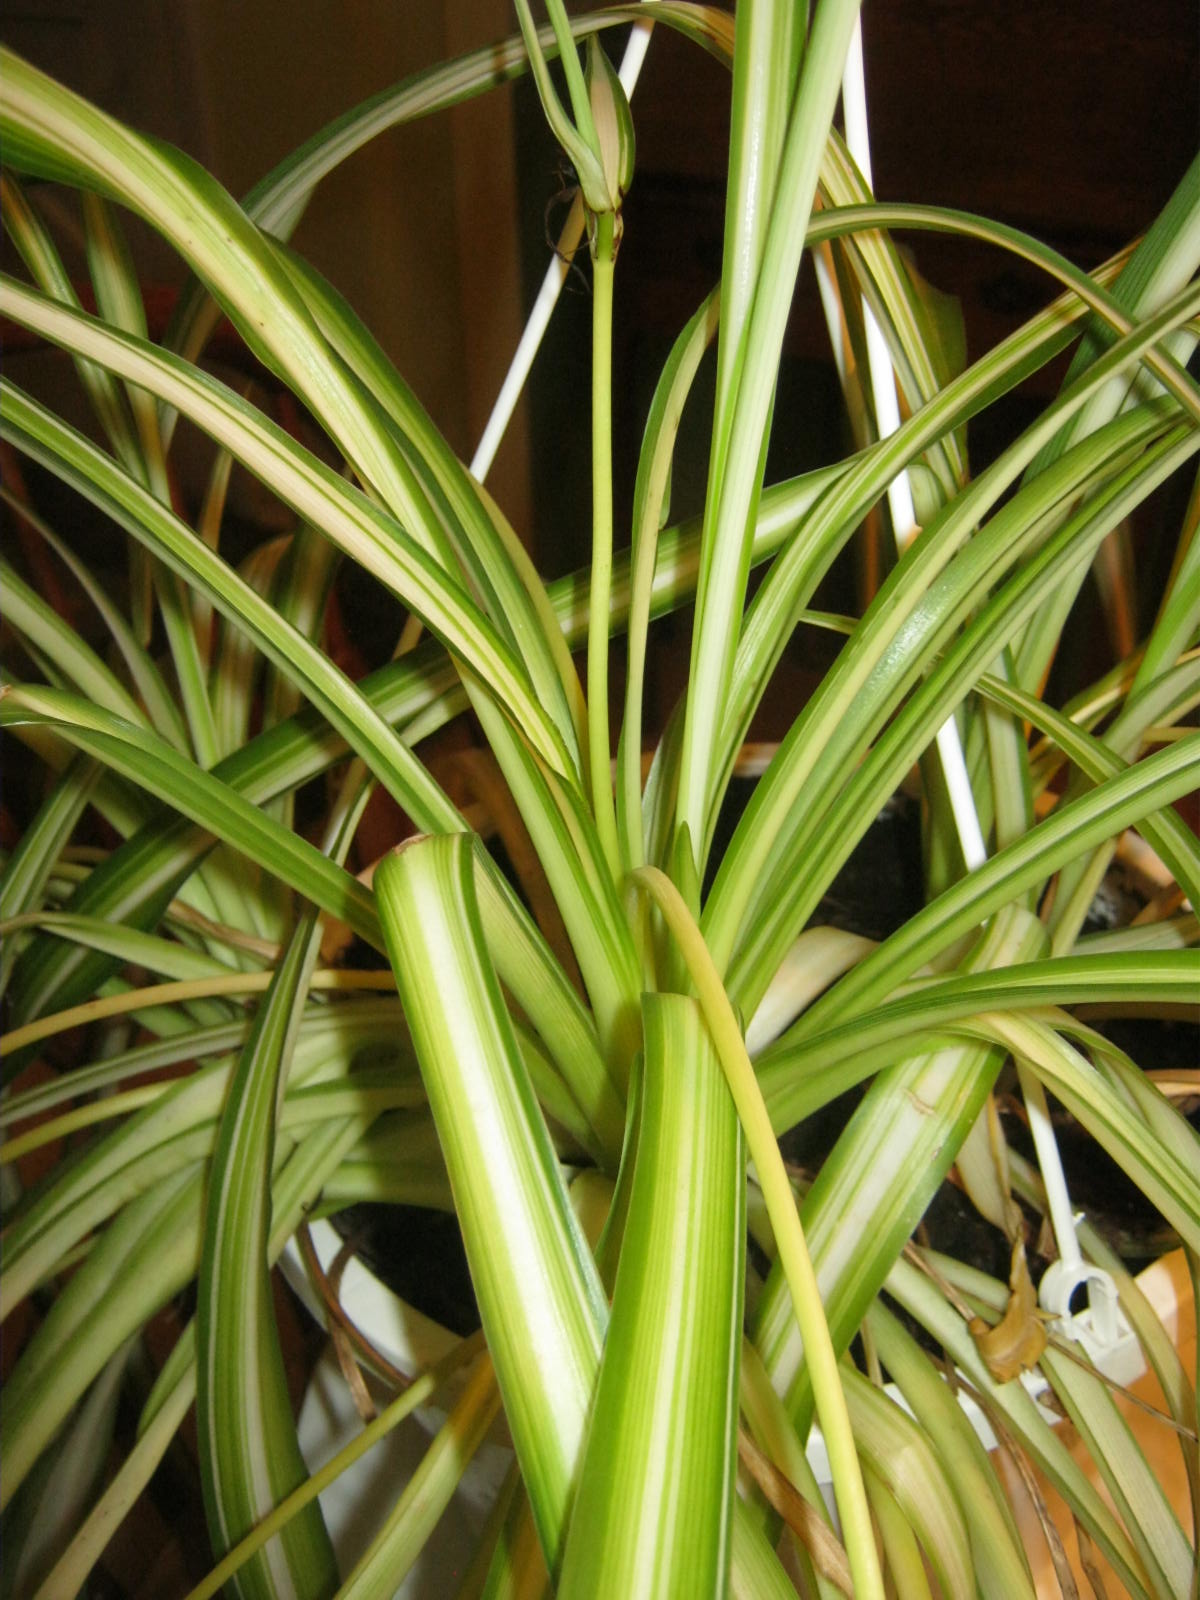
I have many spider plants. They are a favorite for hanging on my porch in the summertime. In the colder months of the year, according to Nasa’s Clean Air Study, they are one of the plants you can grow to remove toxins from indoor air.
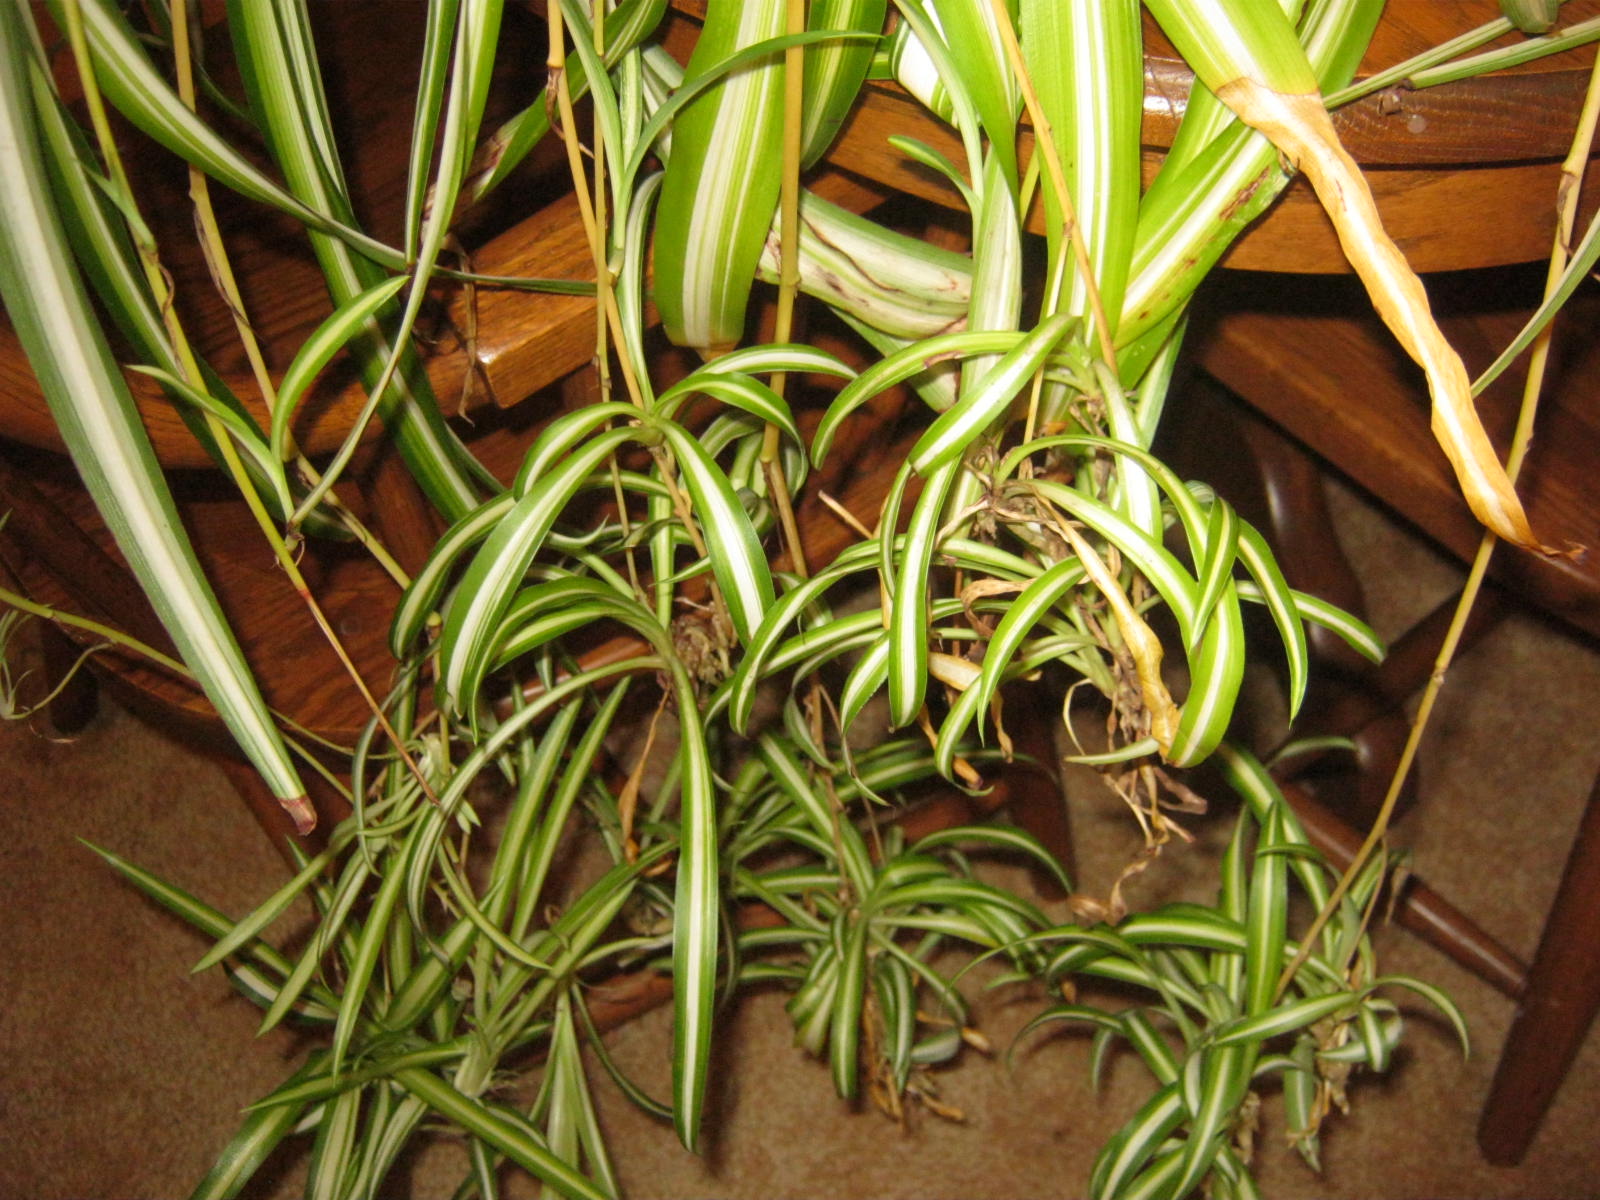
I have always been entranced by the babies spider plants produce on the end of bouncy offshoots. Each one of these babies can become a new plant. Two of my large spiders are children of the original plant I purchased.

Over the course of the summer, I lost a portion of one of my spider plants. This loss left an empty space in the pot. No worries…I can easily fill in the plant with one of the babies. Because the plant is potbound with roots, I don’t want to dig into the soil and possibly cause damage. Instead I will bend one of the shoots upward and “peg in” a baby with a unbent paper clip.

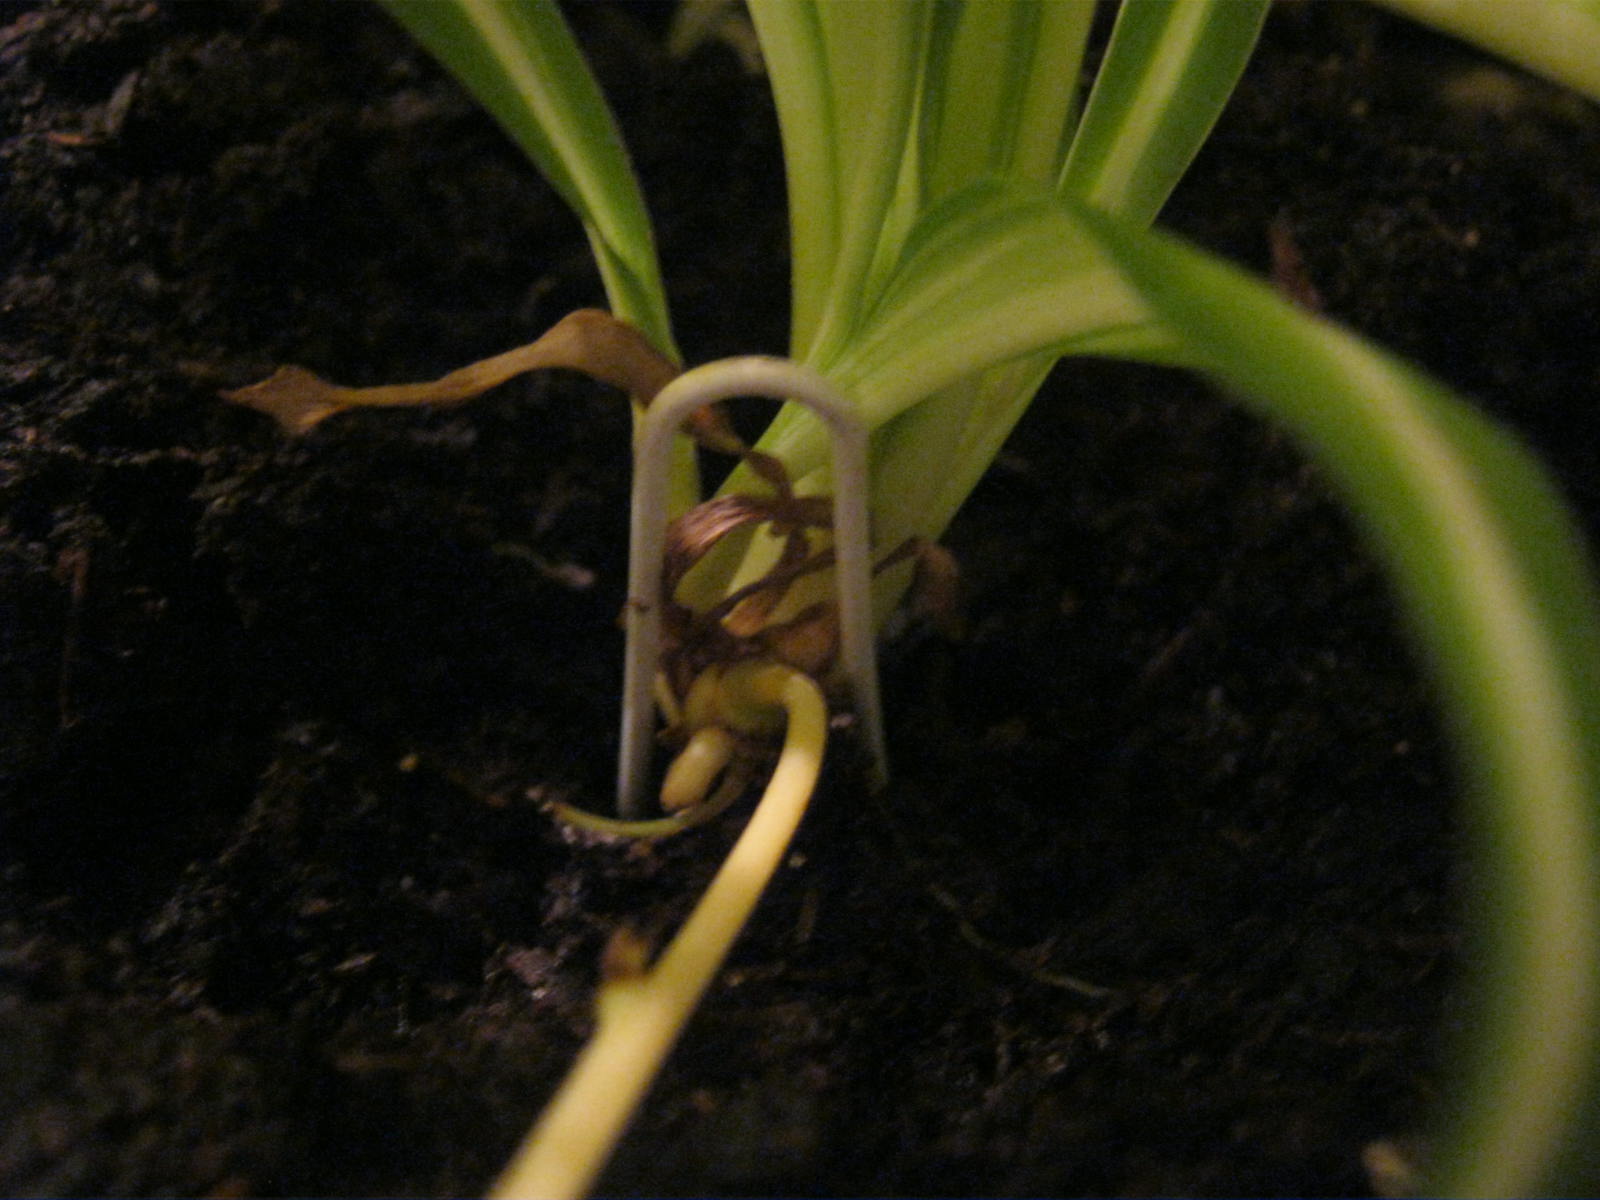
In about six weeks, roots will have developed and anchored the young plant into the pot. I will be able to remove the paper clip and cut away the offshoot. Filling in the pot in this way will save the remaining plants from possible trauma.
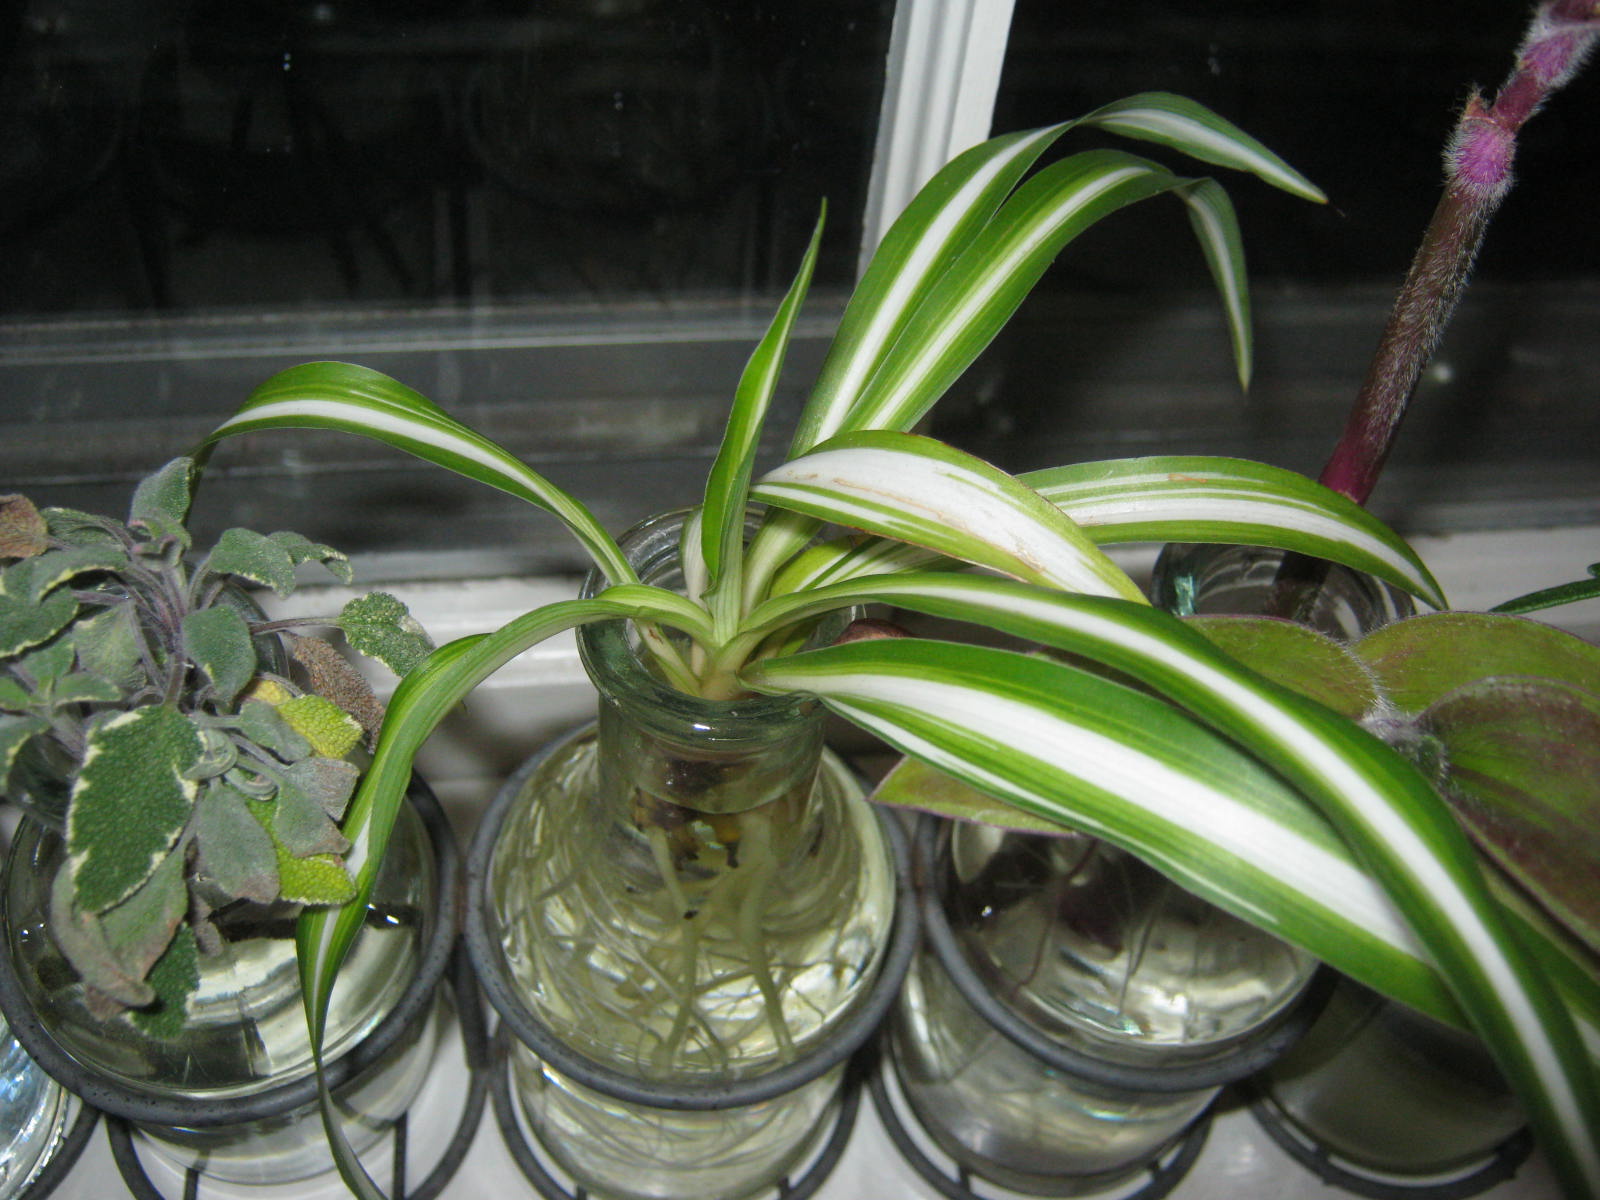
Spider plants also propagate very easily in water. This is the best way to start a whole new pot of plants. Spider plants produce their classic cascade of baby offshoots when the plant is crowded and potbound. In the case of spider plants, you want to crowd them in. Happy planting! 🙂

Angular – Not to put too fine a point on it, though this week, we challenge you to show us what “angular” means to you.

Angular Challenge – These photographs were taken in Treasure Beach, Jamaica. Boats in the water always appear sleek and swift, out of water, they appear angular and cumbersome.


“The morns are meeker than they were,
The nuts are getting brown;
The berry’s cheek is plumper,
The rose is out of town.
The maple wears a gayer scarf,
The field a scarlet gown.
Lest I should be old-fashioned,
I’ll put a trinket on.”
– Emily Dickinson

Who among us hasn’t signed a greeting card for a loved one or friend, addressed the front of the envelope, and then, when we try to insert the card for mailing, find we have brought home the wrong-sized envelope. “Arrggh!” Or, even worse, addressed the card and completely botched up the address. Last week, I had just such an incident with a greeting card envelope. In this case I placed the return address label in the place where the postage stamp was intended to go. Double “Arrggh!”
What to do? I didn’t want to go out and buy a whole new card just for the sake of the envelope. So, I did what we all would do…I searched the house for an extra envelope. I found what appeared to be a likely candidate only to discover it was a fraction too small. I had no other choices, so I made the envelope do by extending its dimensions. Did you know you can do this? It was the first time I had been desperate enough to try. If the card is less than a 1/4 inch too big this will work…any bigger, you will need to create some extensions with paper to make your envelope larger.
Here’s a step by step illustration.
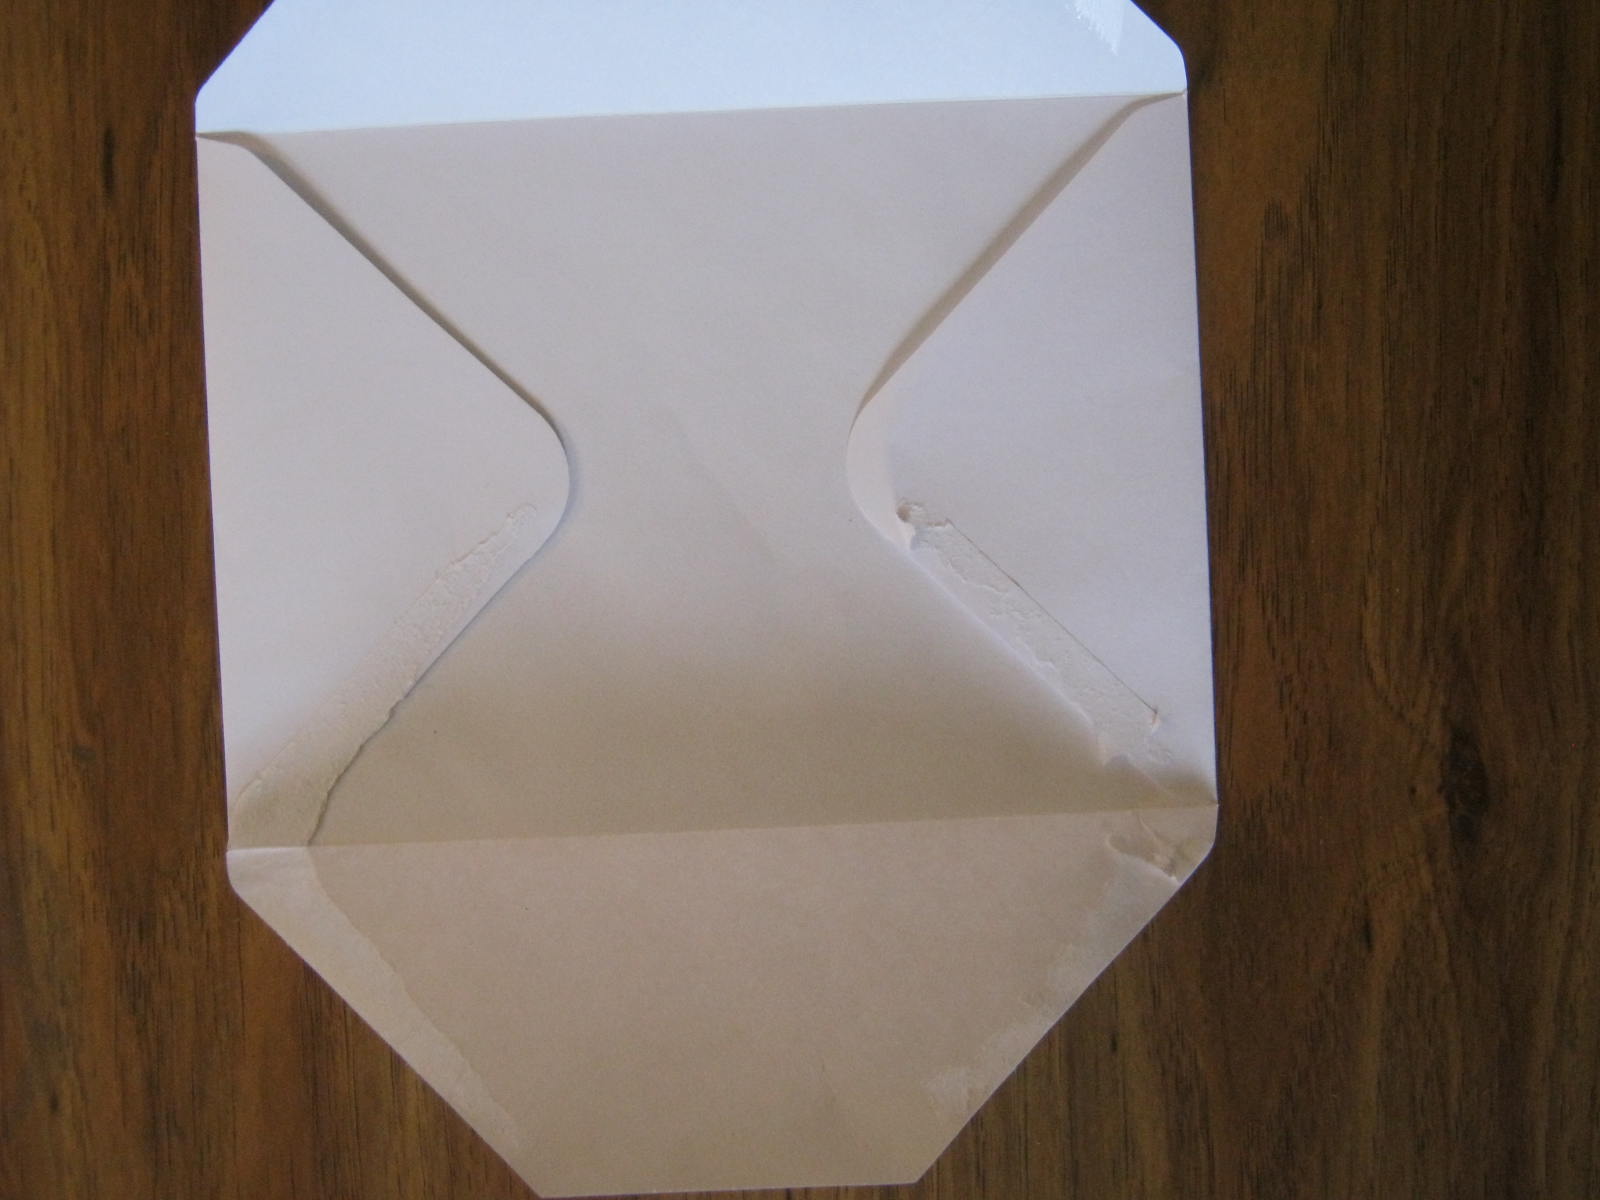
Open the envelope. You will find the bottom corners seem to have the most glue. I got around this by sliding a trusty scrap of old credit card between the layers.

Your envelope will now look like this:
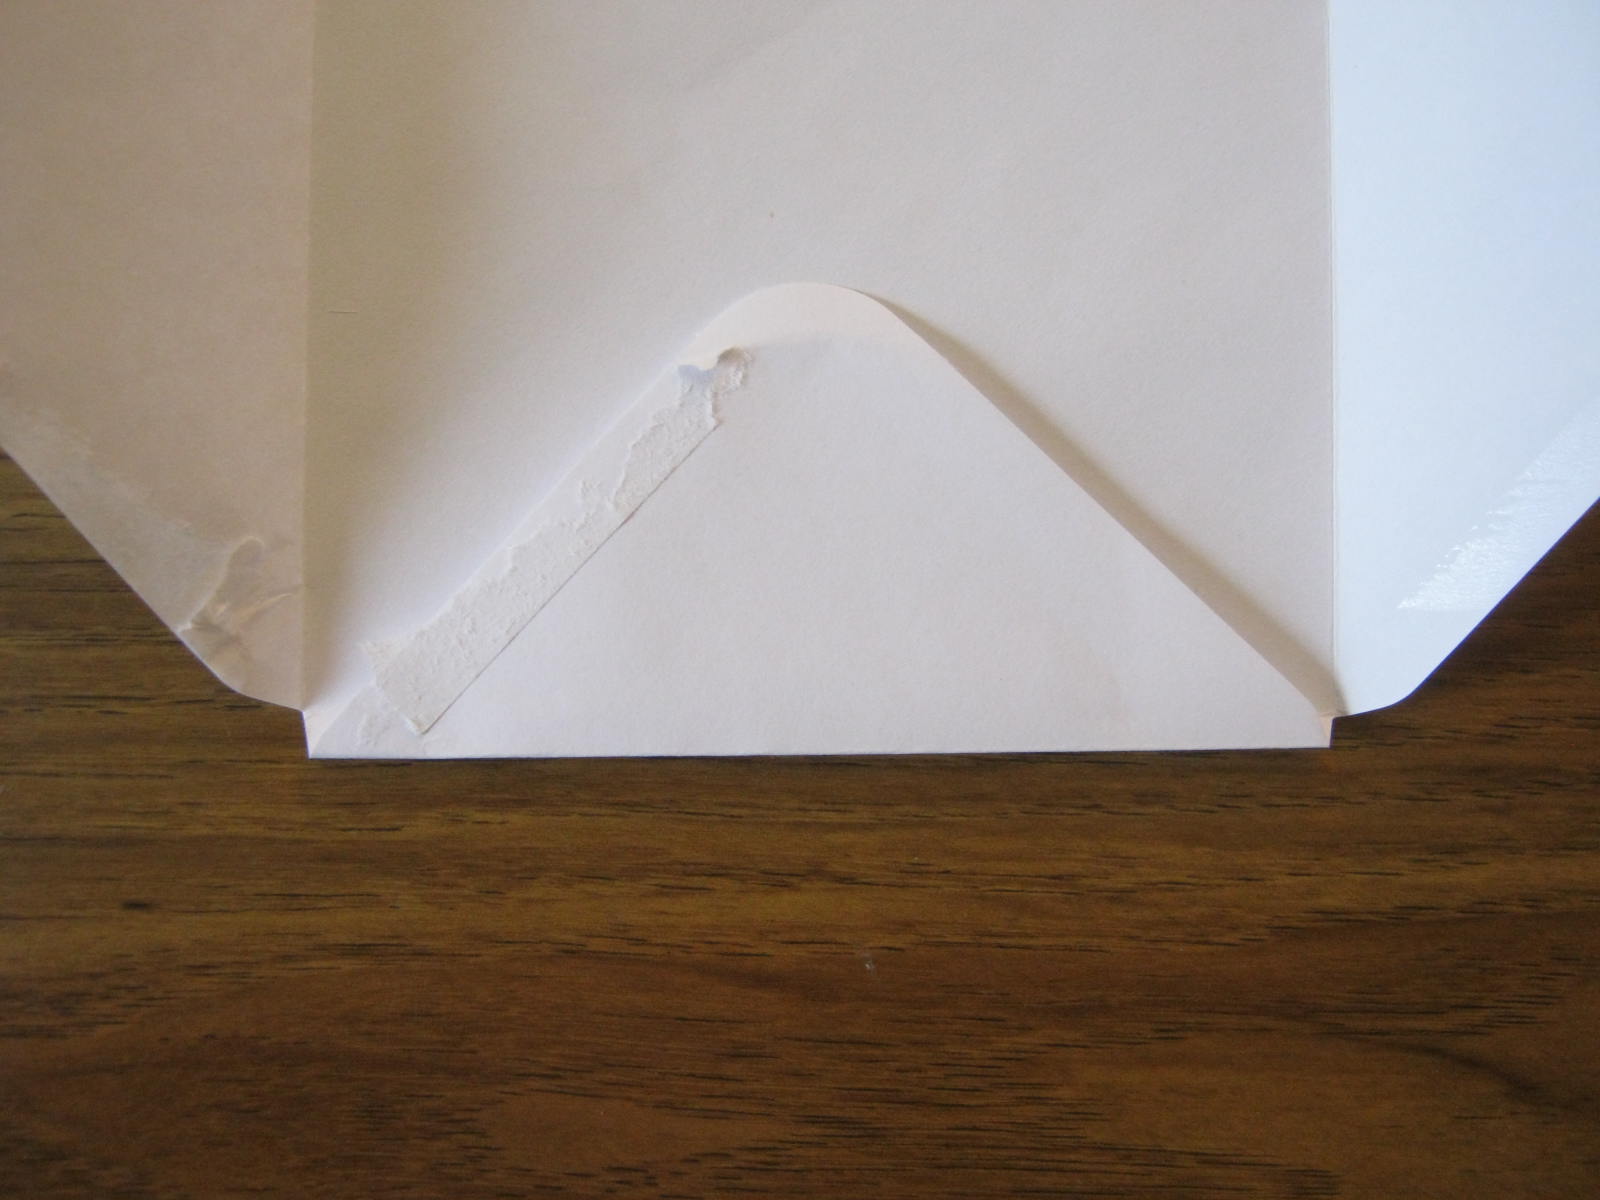
Fold one side again, extending the edge a few fractions of an inch. If you need more room, fold out the opposite side too.
Glue…
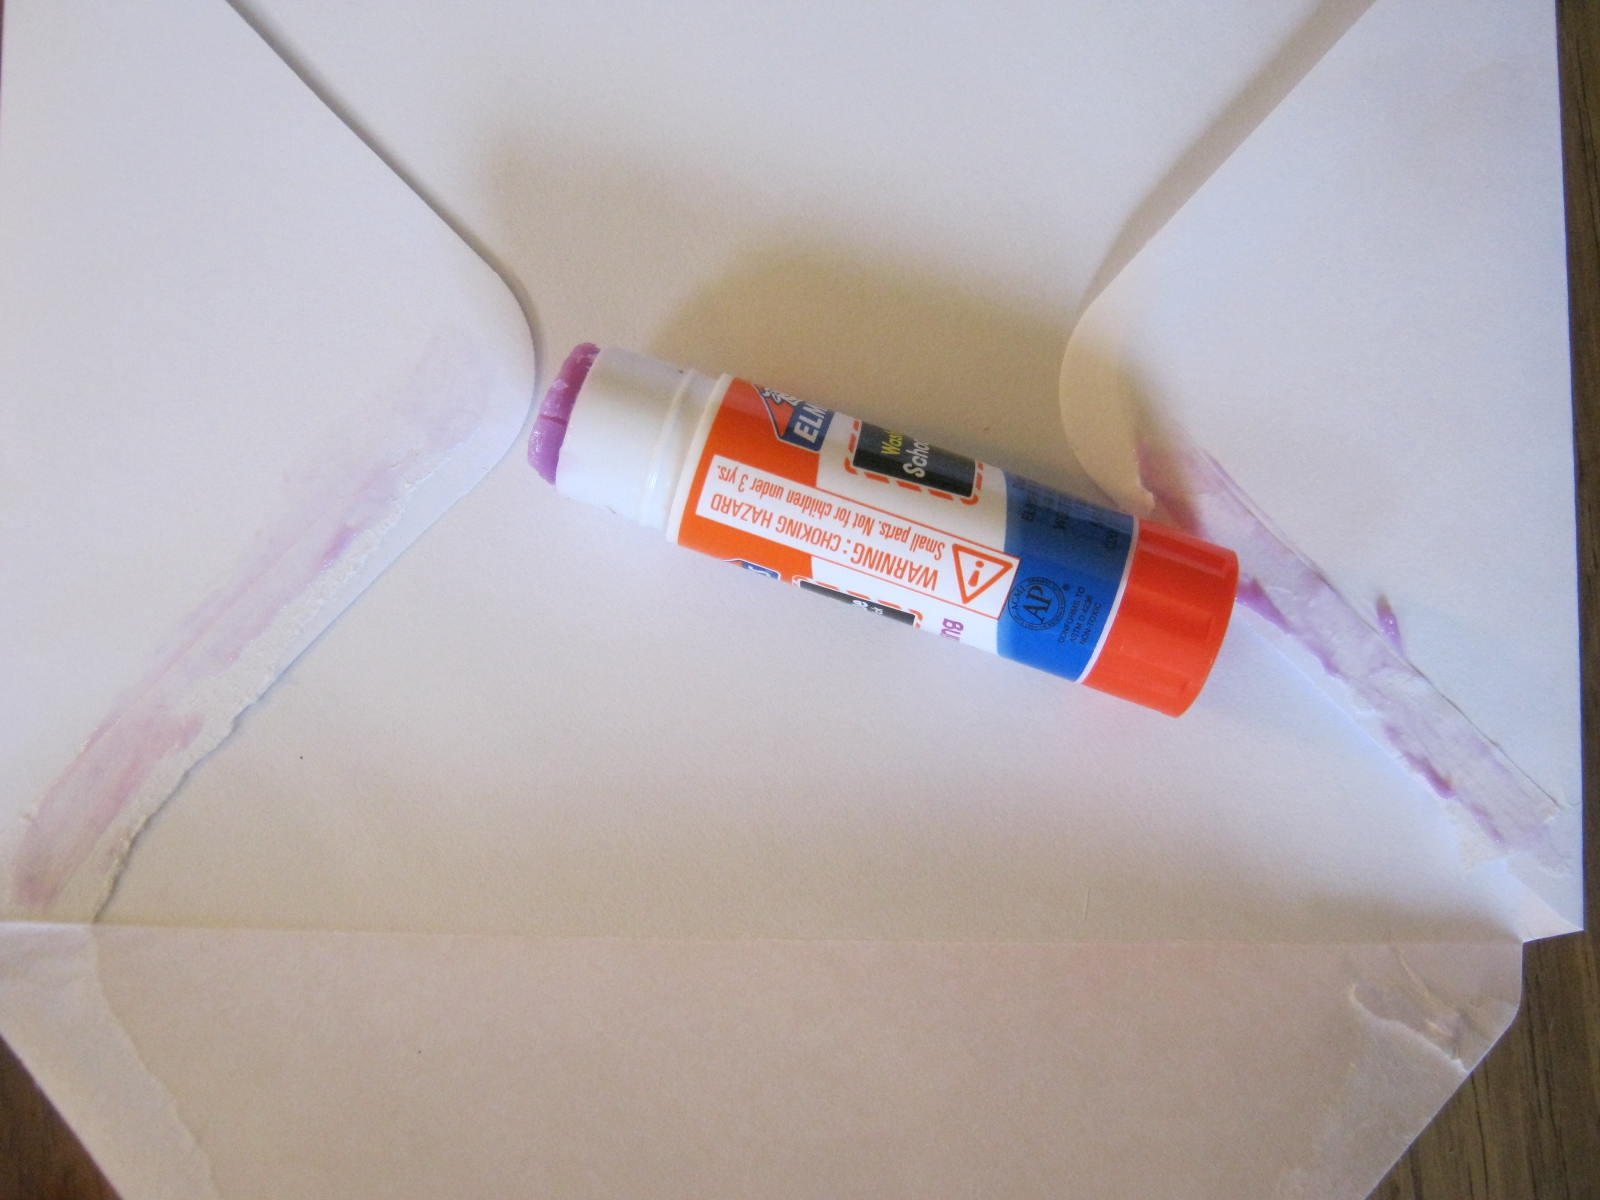
Tape…

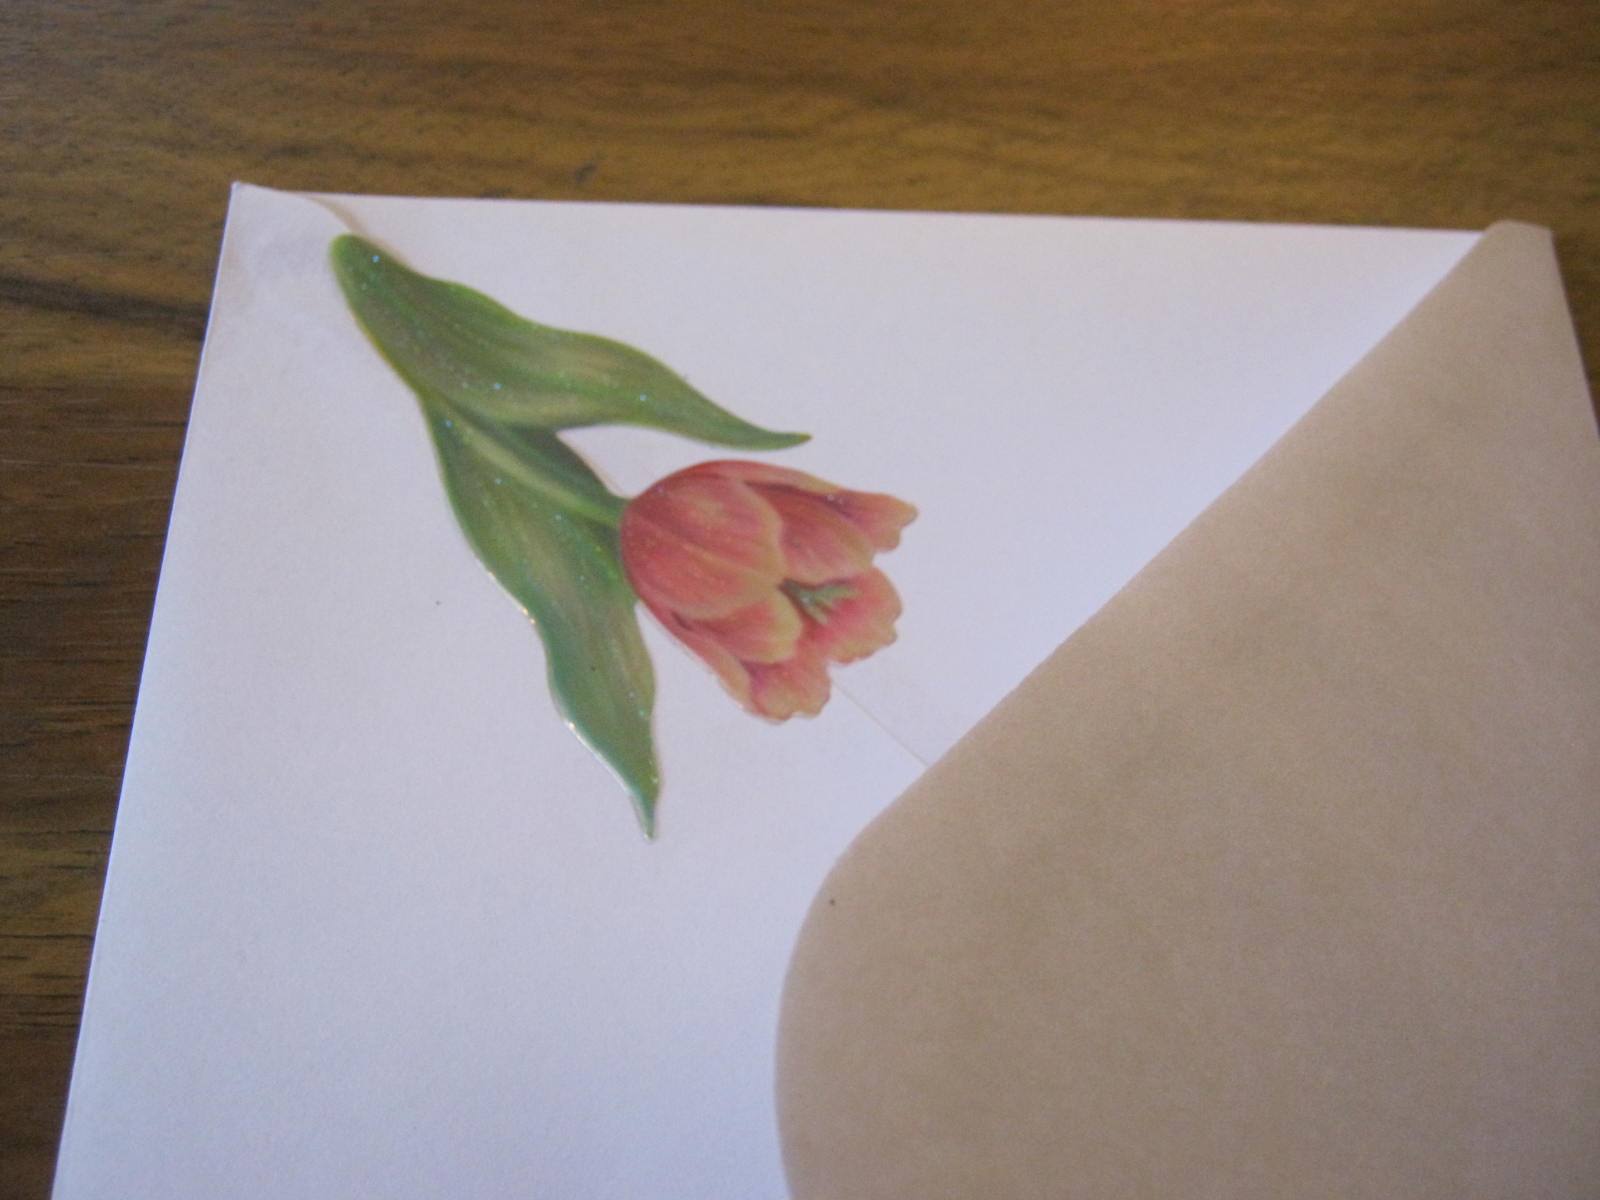
Or use stickers to firmly hold the edges down. “Voila’,” a larger-sized envelope. It doesn’t look perfect, but in the real world, who ever notices what the back of an envelope looks like before they open up the card?


I want to let you in on the secret of how I created the colorful background shown above. I used this image as the background for yesterday’s quote poster. The background is a scan of the inner recesses of a small shell (less the diameter of a quarter )I found on a beach in Jamaica.

How to do it: I scanned the inside of the shell, cropped it down, saturated the colors and cropped again to a standard size. I added the lettering in my “Paint” application, and then went to PicMonkey to frame it. I chose the Drop Shadow frame for this quote poster.

Create a few posters with your own favorite quotes as desktop wallpaper, or as a note of encouragement for a friend or loved one through email or Facebook. Quote posters are also great to insert in a blog sidebar. There are countless ways to use them. Happy quoting and creating!

“Present-day you meets 10-years-ago you for coffee. Share with your younger self the most challenging thing, the most rewarding thing, and the most fun thing they have to look forward to.”
Ten years I was on the cusp of becoming a grandmother. Yes, what you’ve heard is true…being a grandparent is one of the greatest joys in life, definitely rewarding and challenging, often in the same moment. The most fun…oh yes! It really is true, after the fun, you can give them back. 🙂
“Children’s children are a crown to the aged, and parents are the pride of their children.” Proverbs 17:6
What is a Deckled Edge – The ragged or feathered edge of the paper as it comes from the papermaking machine is the deckled edge. Deckled edges look terrific on journal pages and paintings that will not be framed. If your paper does not have a deckled-edge it is very easy to create this look by folding and tearing. Heavier, layered papers work best with this technique. Thin paper will not show as much “feathering.”
(2 x normal speed)

There’s some excitement afoot in the Square Foot Gardens; the seeds have sprouted underneath the newly built Hoop House. The peas and arugula are doing best, the lettuces (Mesclun varieties) are sprouting too, but at a slower rate. Hooray!
The Daily Post for this week is: Achievement.
“Have you just run 26.2 miles, finished a long-term project, or met a personal goal? This week, show us an achievement.”

Growing cold-season vegetables is not new, but it is a first for me. My new Hoop House is everything I had hoped. Yes, I consider my vegetables sprouting in mid-November’s very cold temperatures quite an “Achievement.”


“What’s the best present you’ve ever received that was handmade by the giver, not store-bought? Tell us what made it so special.”
I have been blessed by gifts created by the hands of family throughout my life. The beautiful baby dresses in the photograph were hand sewn by my grandmother and great-aunt. I had to include the red dress my father bought for his new little girl too. It’s not handmade, but it was chosen by him for me.

One of my recent handmade gifts is this unique journal my cousin gave to me on a recent visit. I treasure it and the goodwill and love shown to me by her gift.

Years ago, when I married, another cousin gave me a notebook filled with her hand-written recipes. You can see the evidence of a well-used recipe by the remnants of sugar cookies across the pages.

Sometimes the presentation of a gift is graced with a handmade treasure…as in the case of this Christmas tag crafted by my mother. The portrait is of her great-aunt Bridget Cavanaugh McCue, a beautiful lady who lived at the turn of the century.
My life has been filled with handmade treasures: quilts, clothing, afghans, furniture, what-not boxes, dolls, doll clothes…the list is so long I could never recall it all. I am blessed.
The greatest blessing these handmade treasures have instilled within me is the desire to create gifts that are handmade and contain a bit of my spirit. I have been blessed by the love of my family since the earliest days of my life.

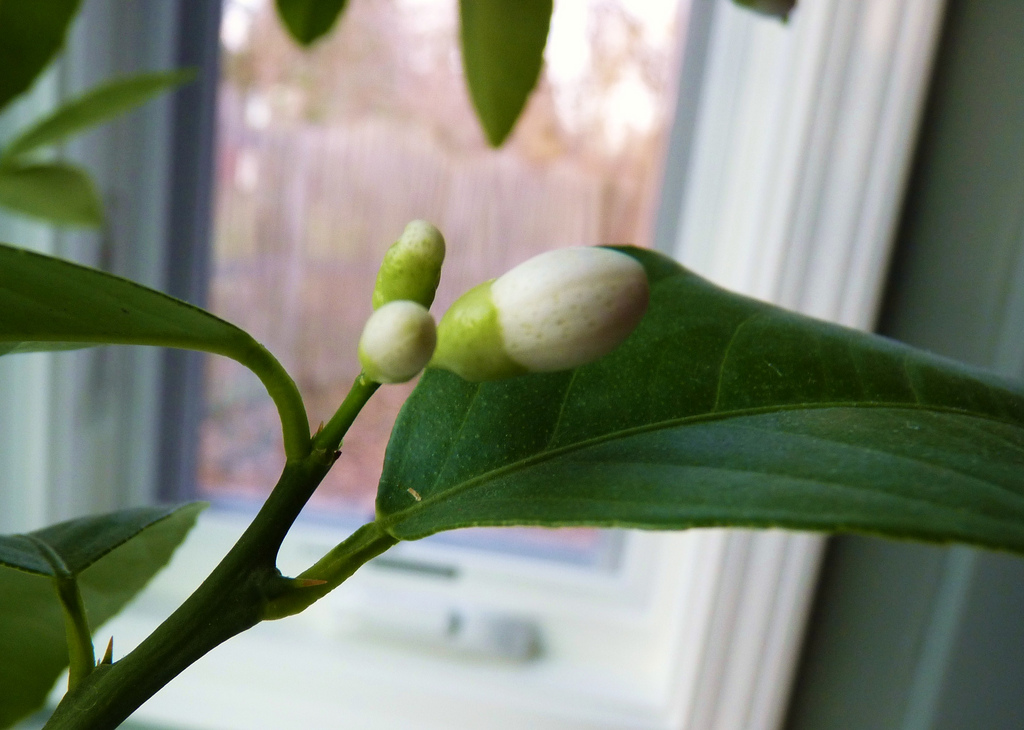
I am planning on growing a Meyer Lemon Tree from the seed. I will place the seeds in a pot with organic potting soil, enclose the pot in plastic bag to create a greenhouse effect, and watch for sprouting. I have read that Meyer Lemon blossoms have a sensational fragrance, and they also will produce lemons while growing in a pot. I MUST give it a try! It sounds like a project my grandsons would enjoy too.
Here are a few photographs I found at Flickr that illustrate the results you can get from growing Meyer Lemon seeds.
Baby Meyer Lemons – Photograph Courtesy of Jenny Levine @ Flickr

Meyer Lemon Blossom – Photograph courtesy of 200,000 views @ Flickr
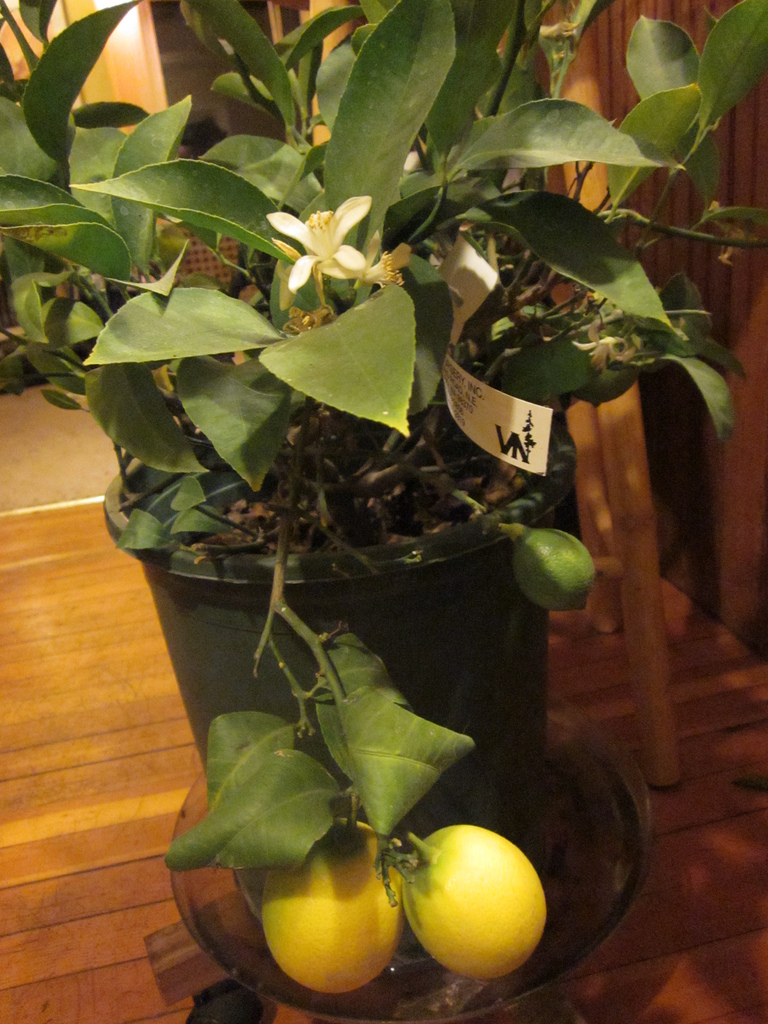
Lemon Tree in Pot – Photograph courtesy of Lauren @ Flickr


Finally, after years of reading and hearing about the superiority of Meyer Lemons, I finally spotted a display of the elusive citrus fruit in my local supermarket. Perhaps they have been there before, and I passed right by them, thinking the yellowy-orange fruit were unripe tangerines, but this time the sign over them caught my eye. I snapped up three of the beauties even though they were steeply priced at 1.00 each.
What did I do with them? Well first, being me, I created still life compositions for photographing all over my house.

The next thing I did was search out a good recipe to use them in. I found the winner at Tutti Dolci All Sweets Blog: Meyer Lemon Cloud Cookies. I followed the directions as written. The cookies were easy to mix up and bake, and delicious as a lemony cloud…really! The one thing I would change would be to double the recipe. Why make only twenty cookies when forty cookies would be just as easy and almost as quick?
The cookies would most likely be scrumptious using a regular lemon too. Happy Baking!


I have long admired the anthurium plants displayed each year in the Longwood Garden Conservatory in Kennett Square, Pennsylvania. I have a small anthurium with red heart-shaped flowers, although in reality, according to horticulture experts, what we call a flower is a spathe.

I’ve always hoped to run across a pink and green Anthurium, and recently I was lucky enough to find one to purchase. The plant is lovely and growing well in my living room. It receives strong morning sunlight and seems to be adapting well to life in my home.
Give Anthuriums a try for a bit of tropical beauty indoors.


