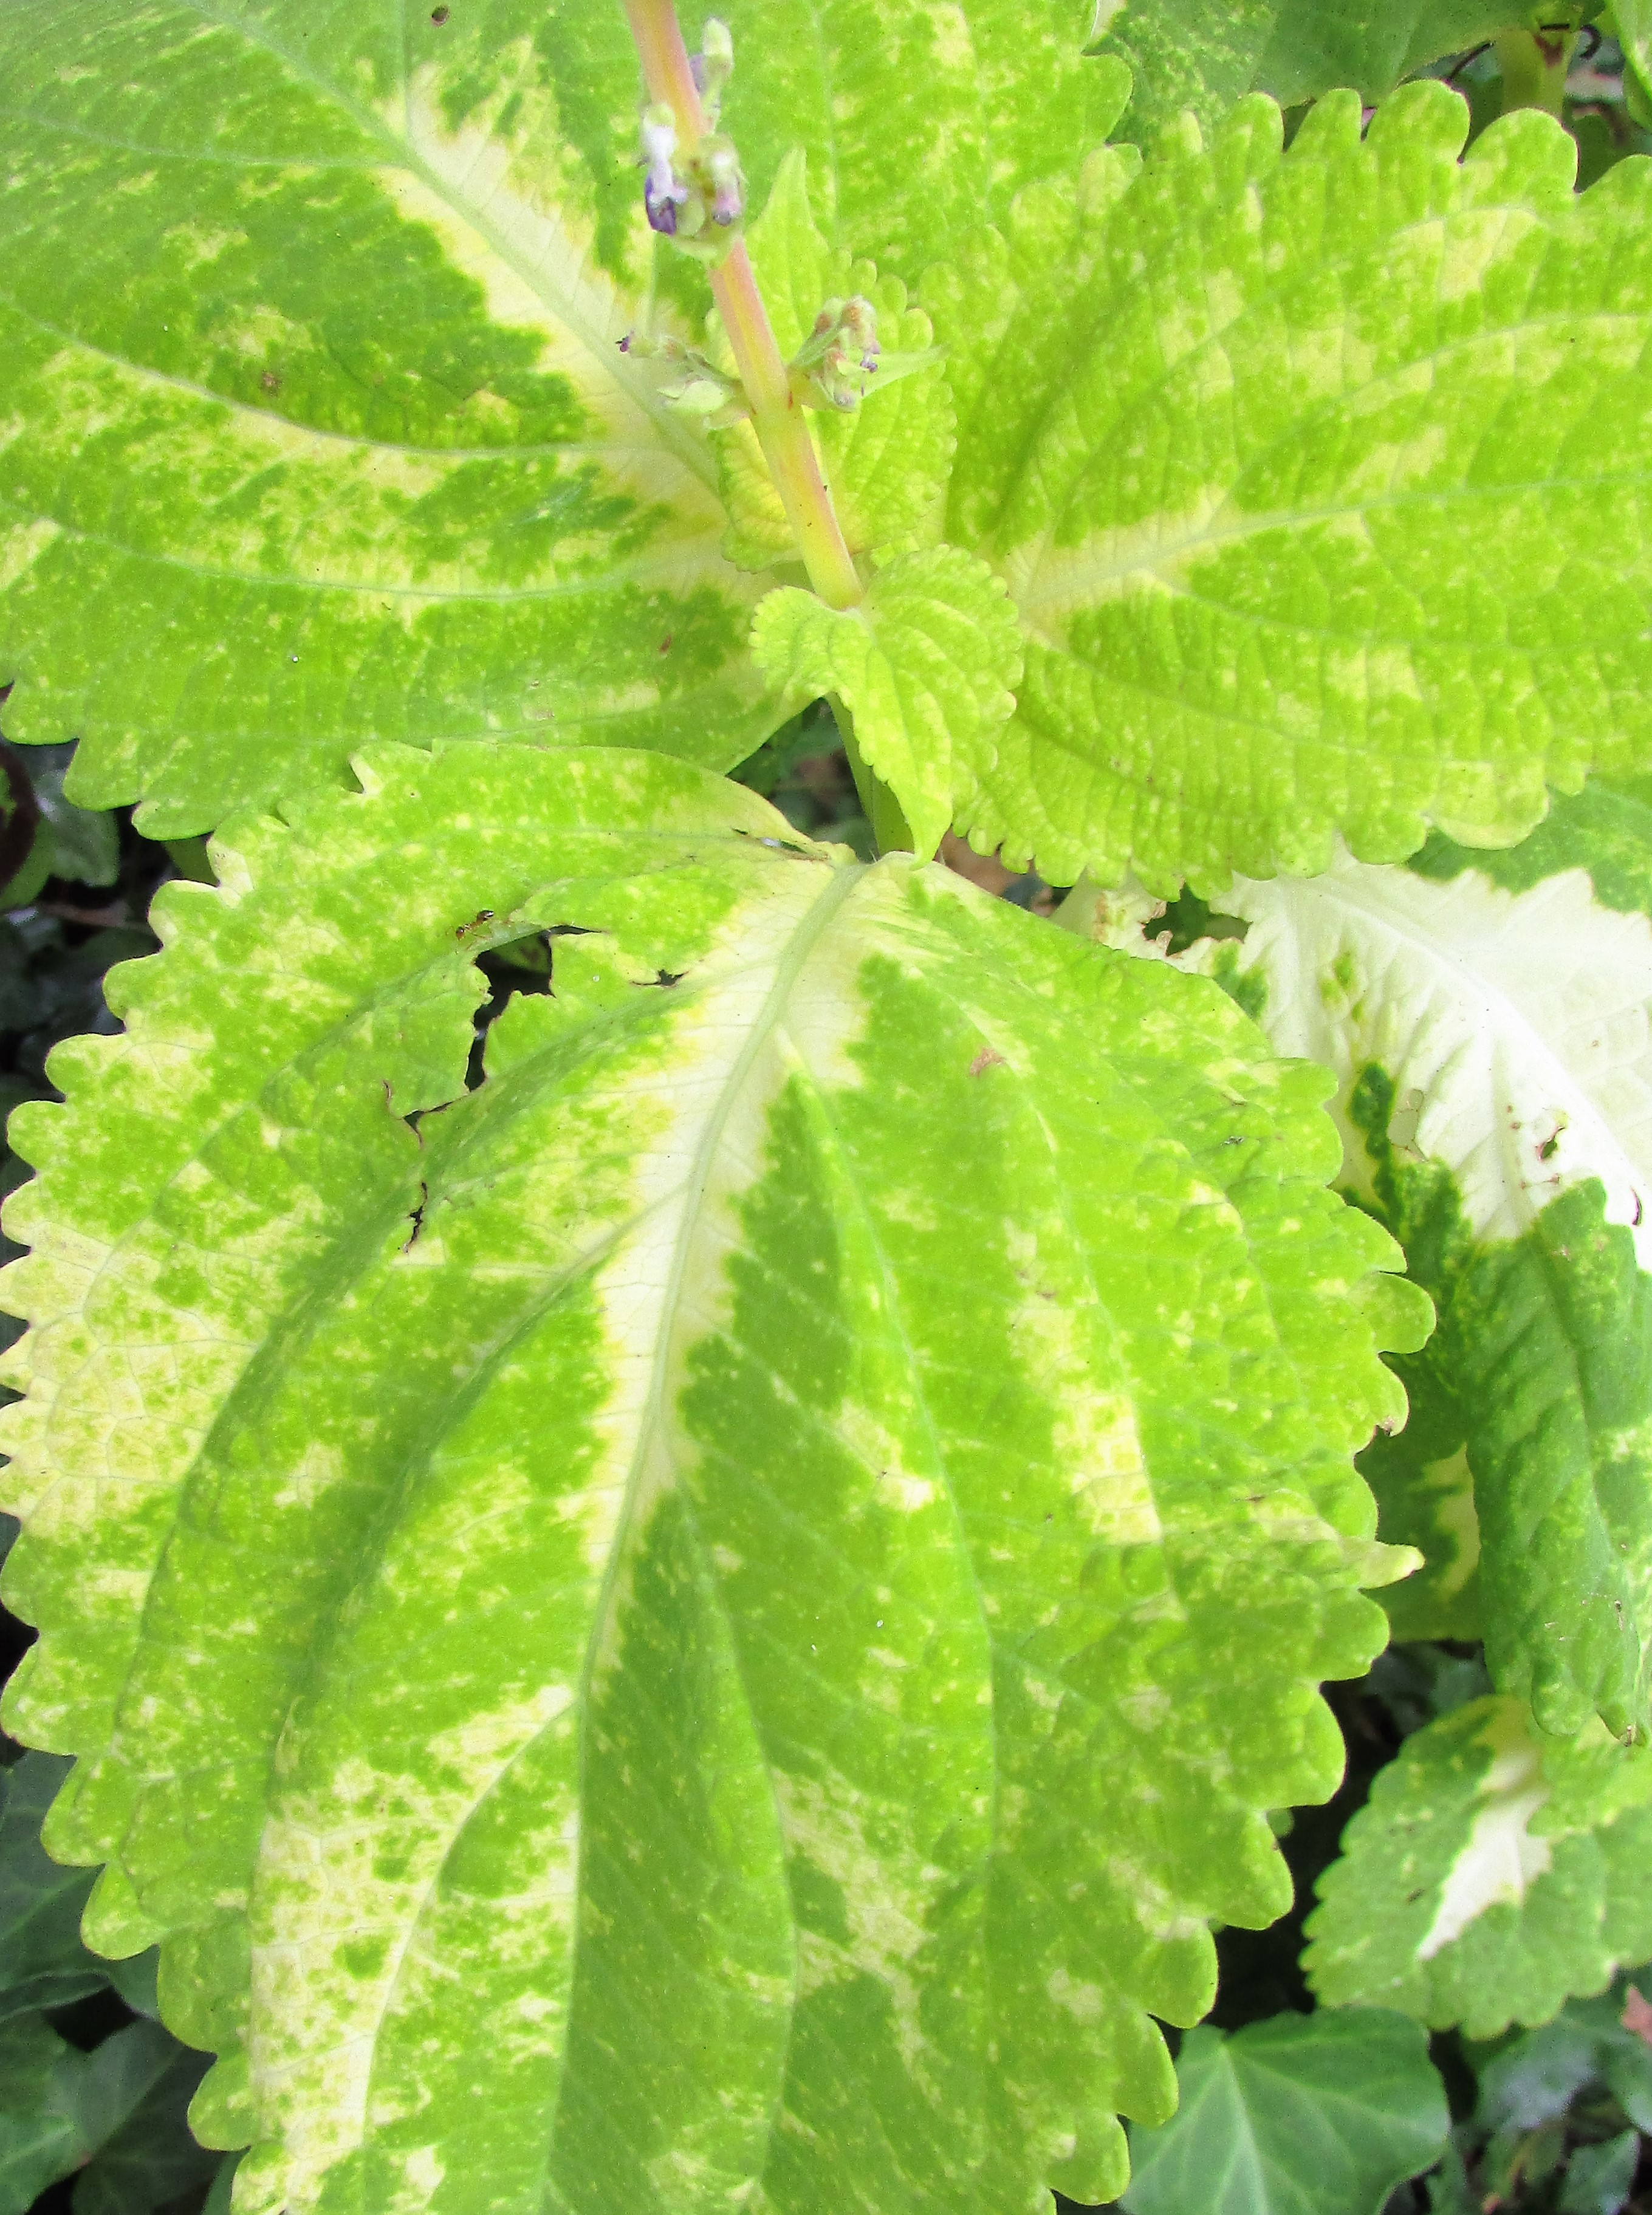
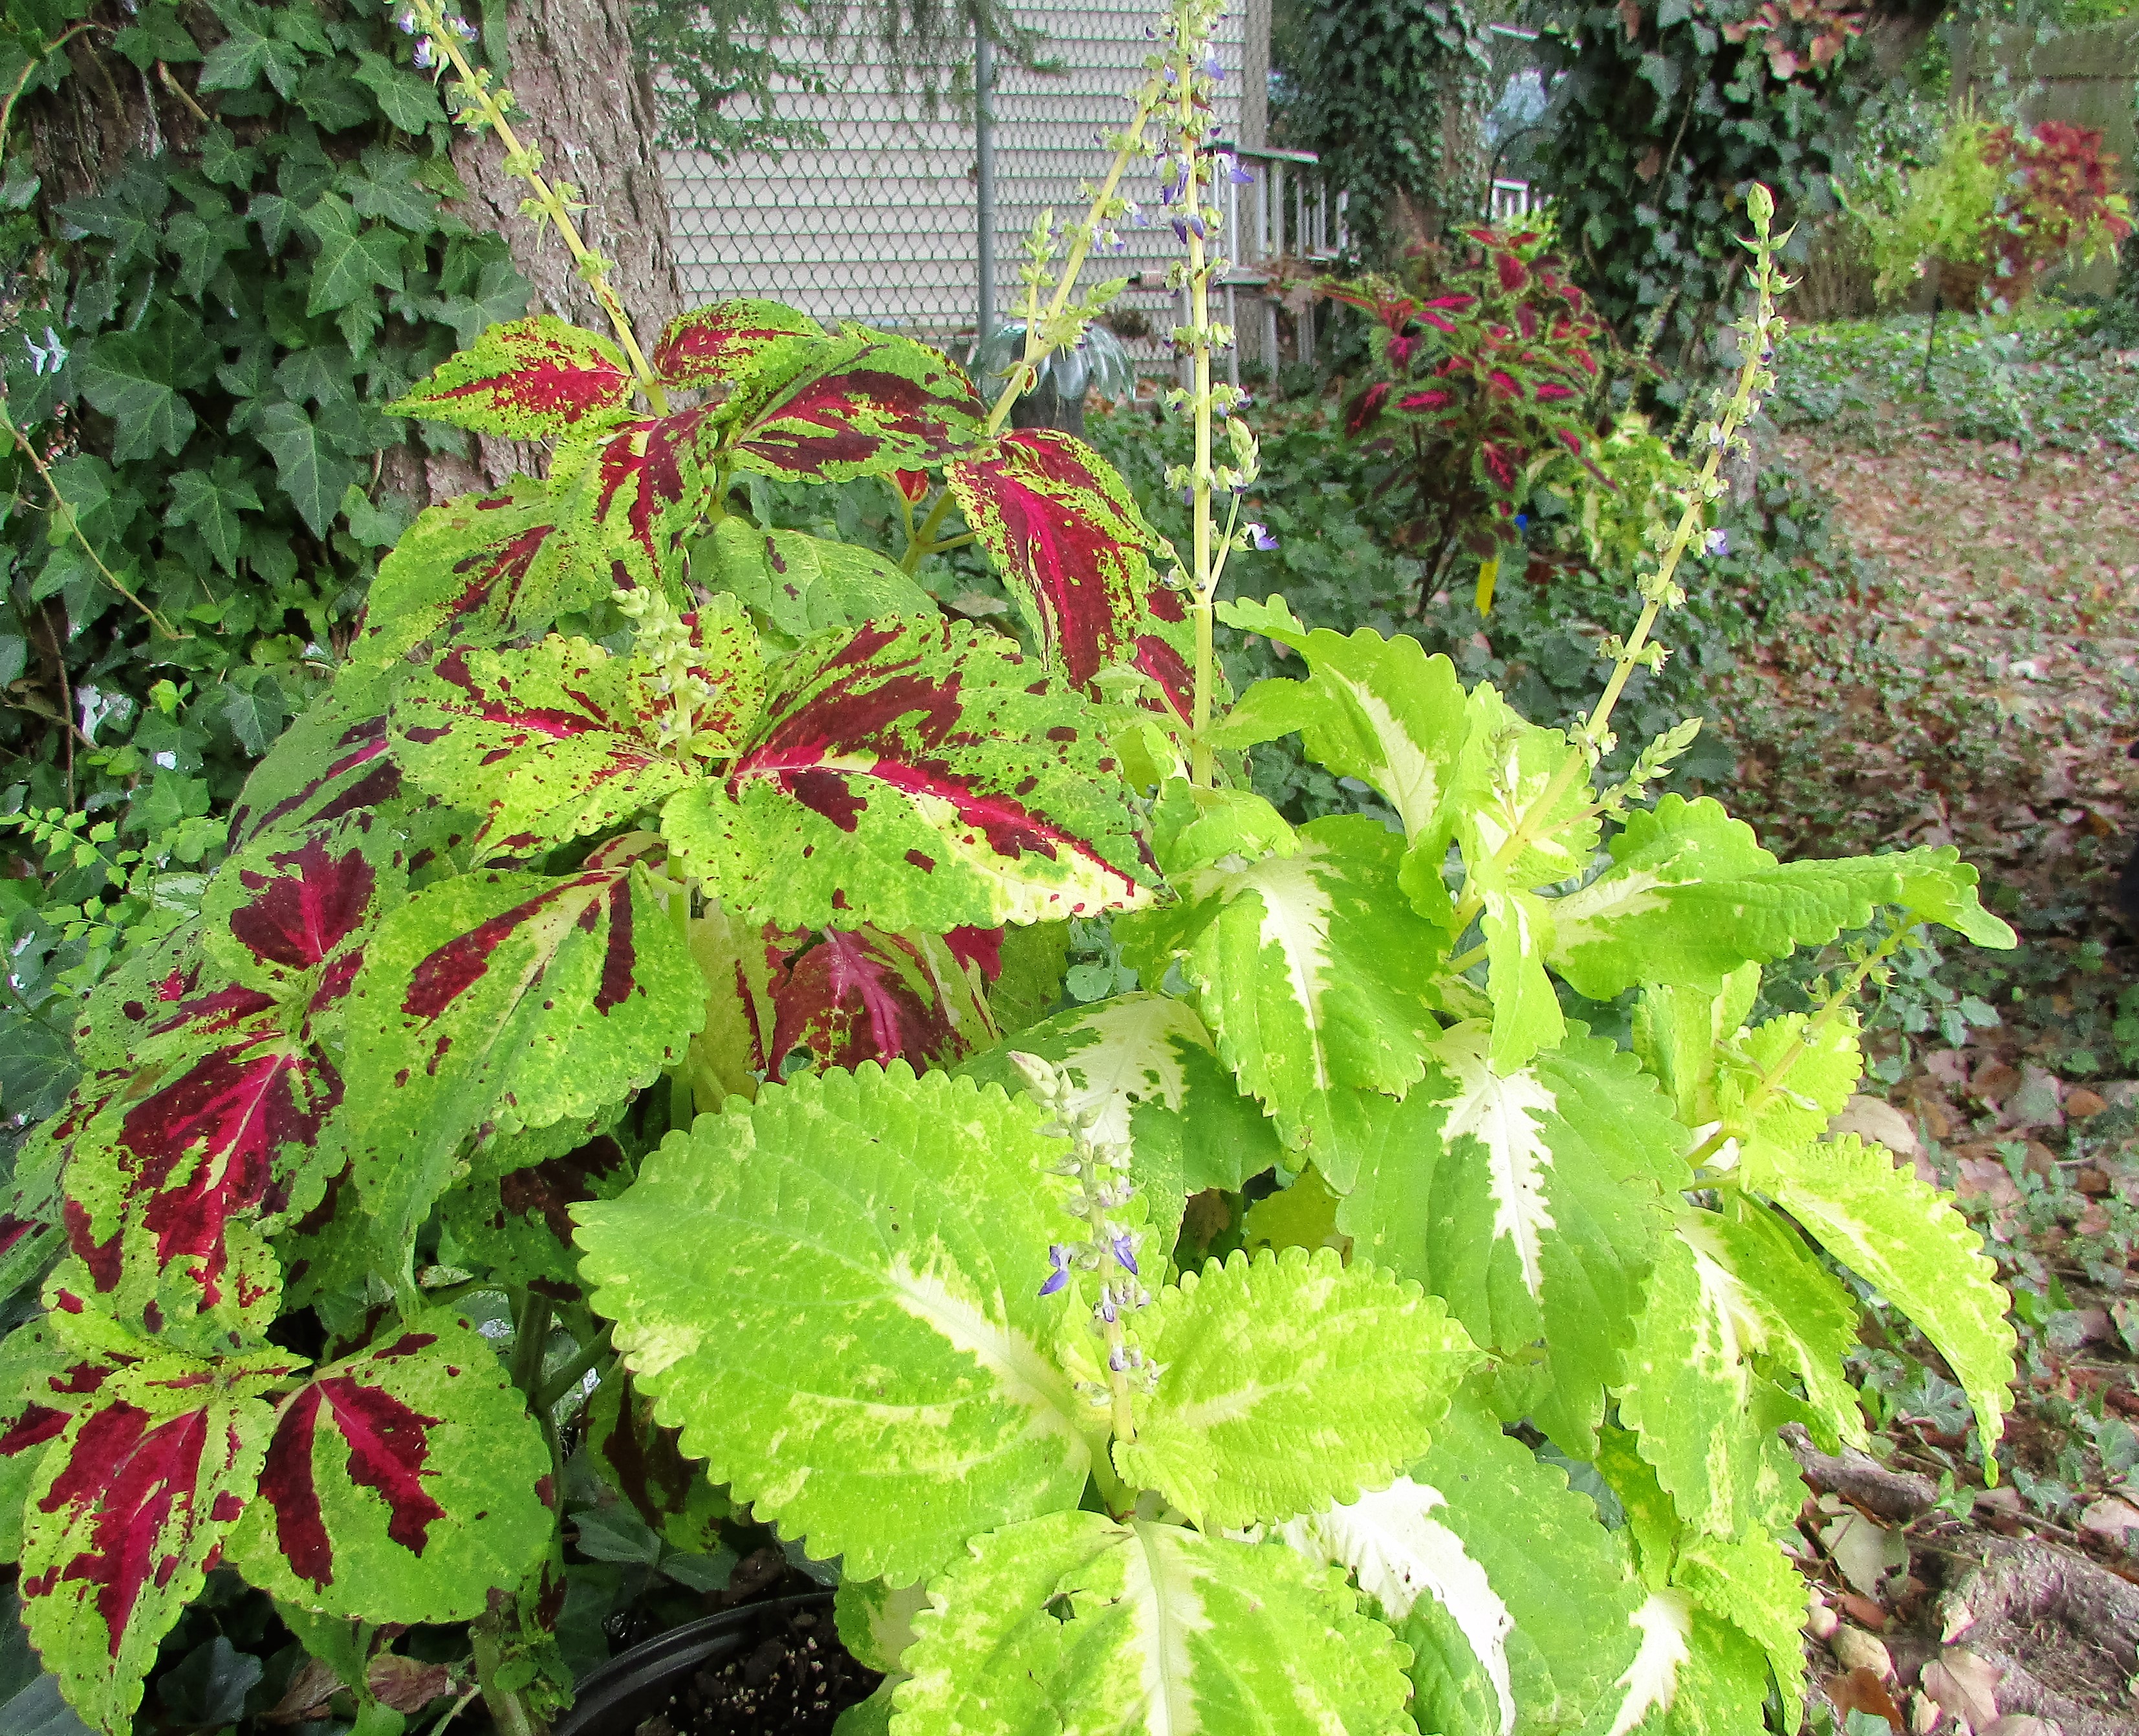
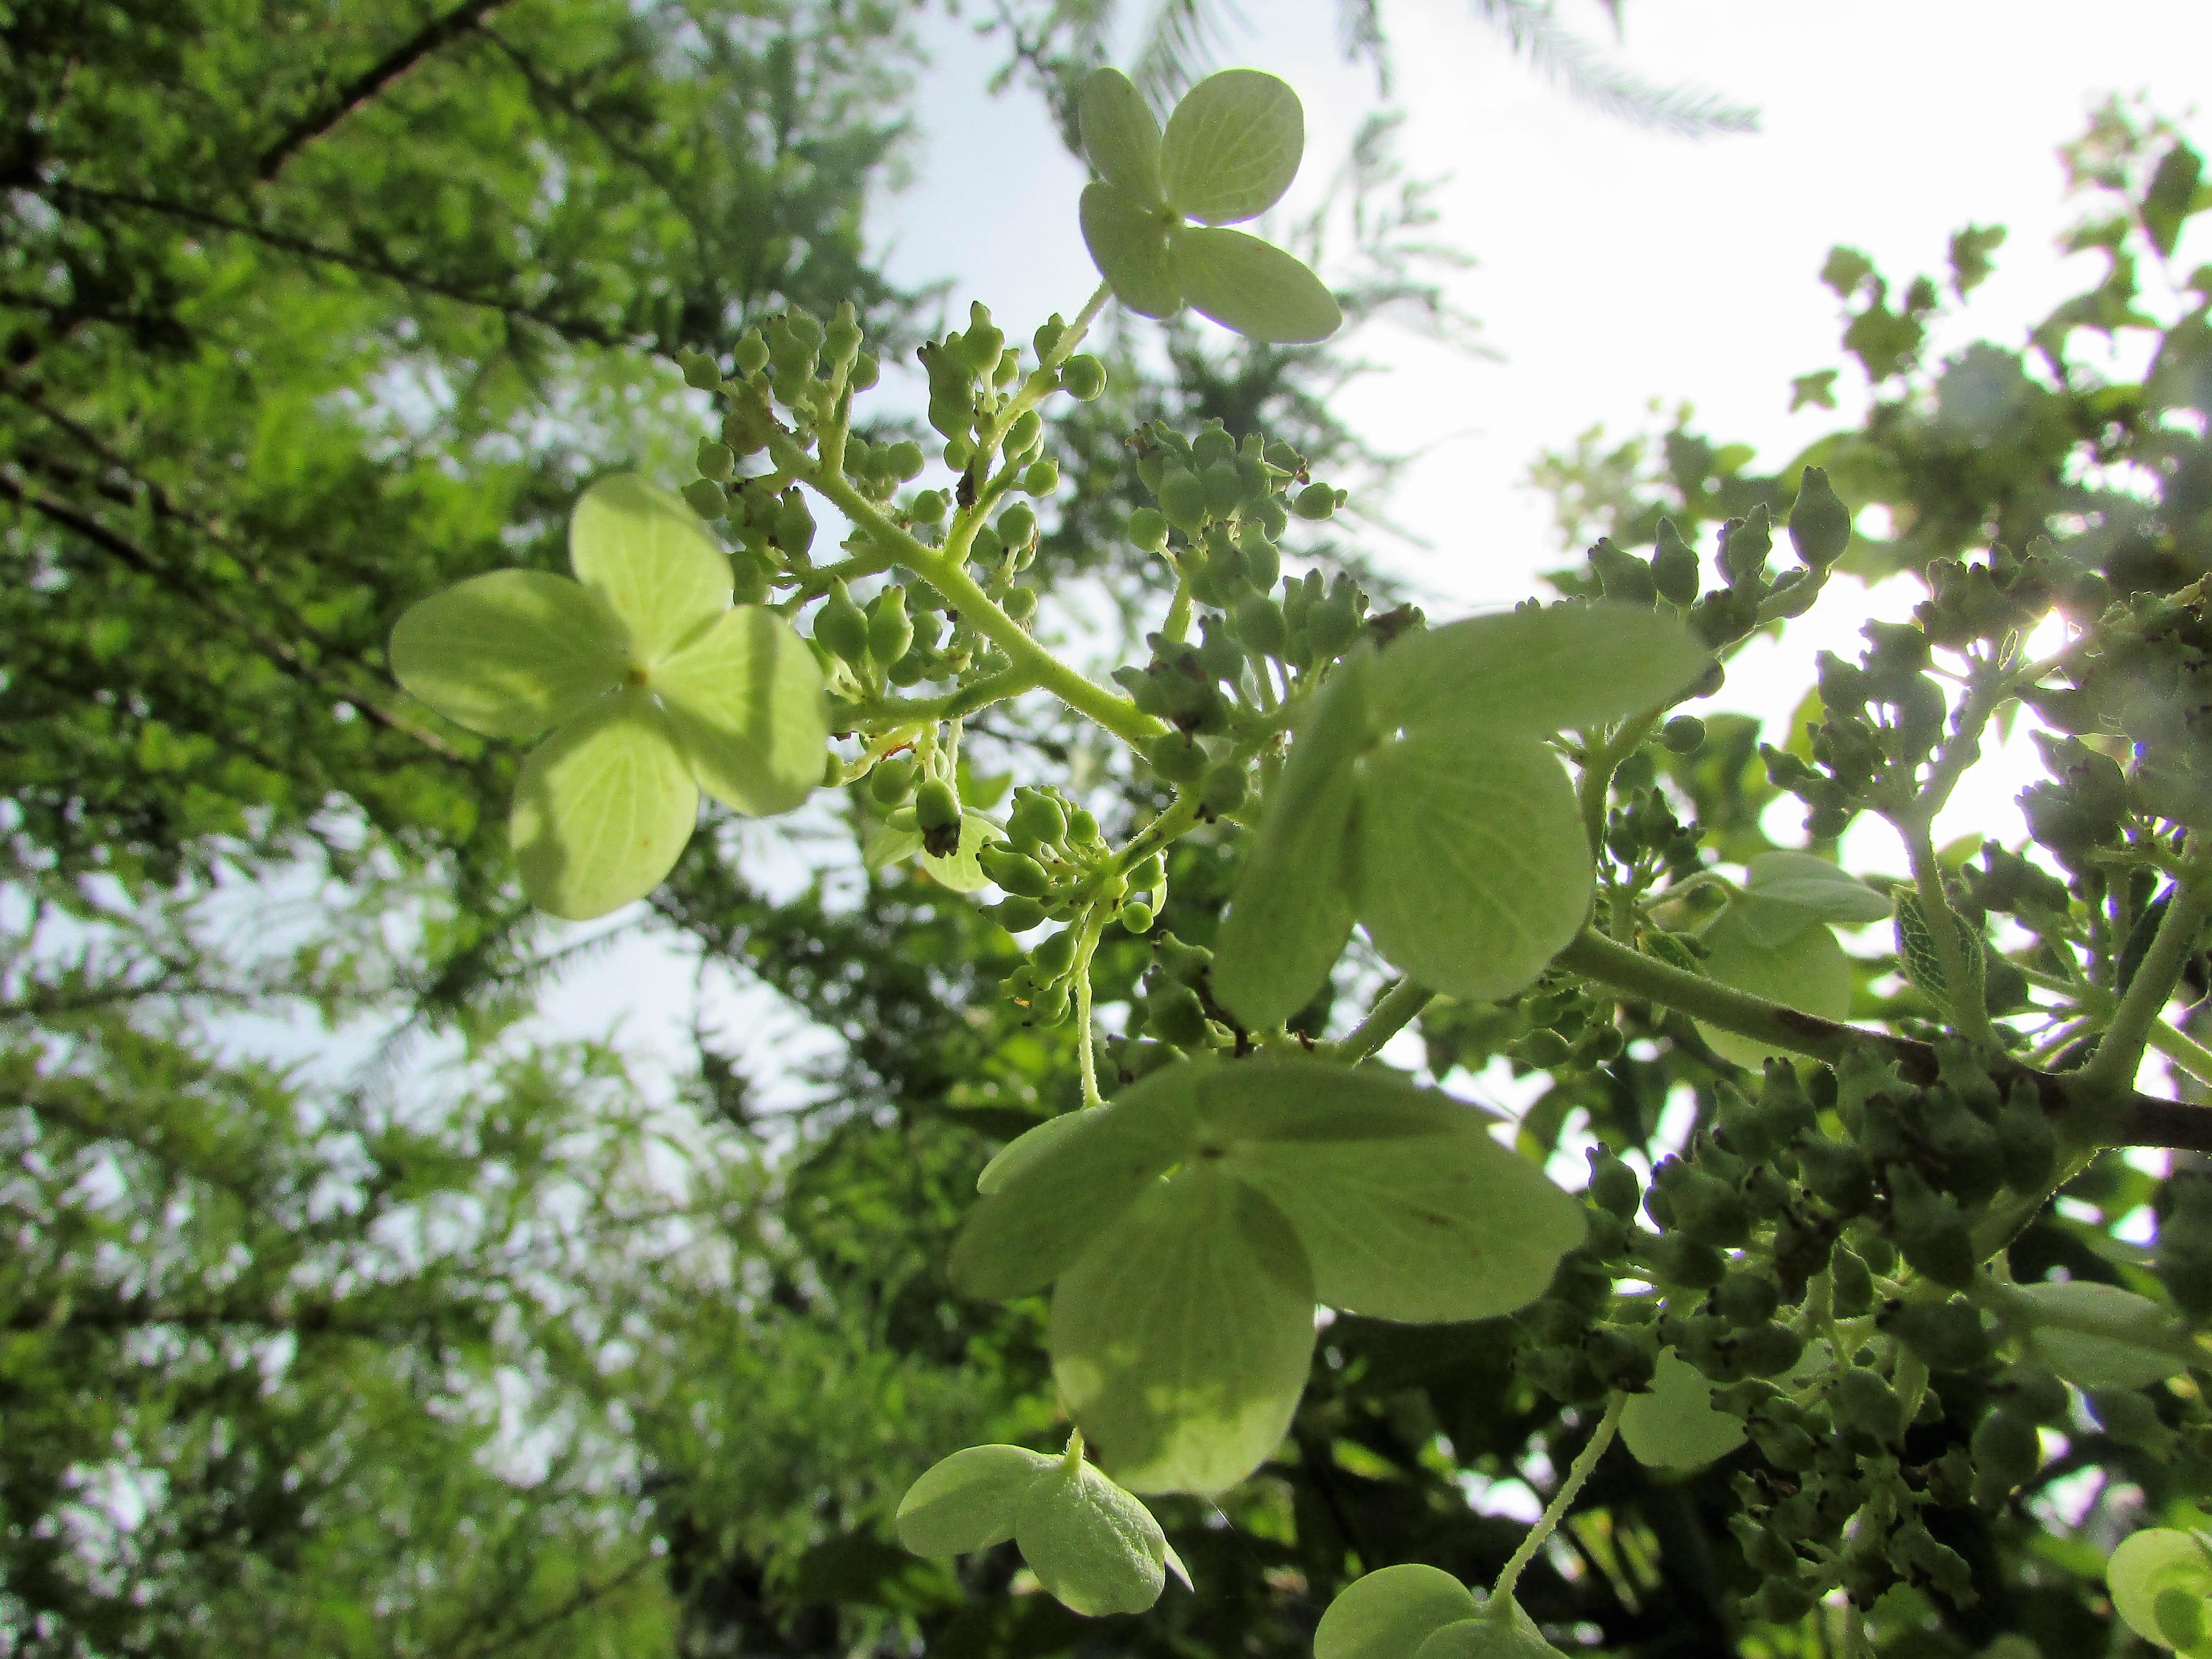
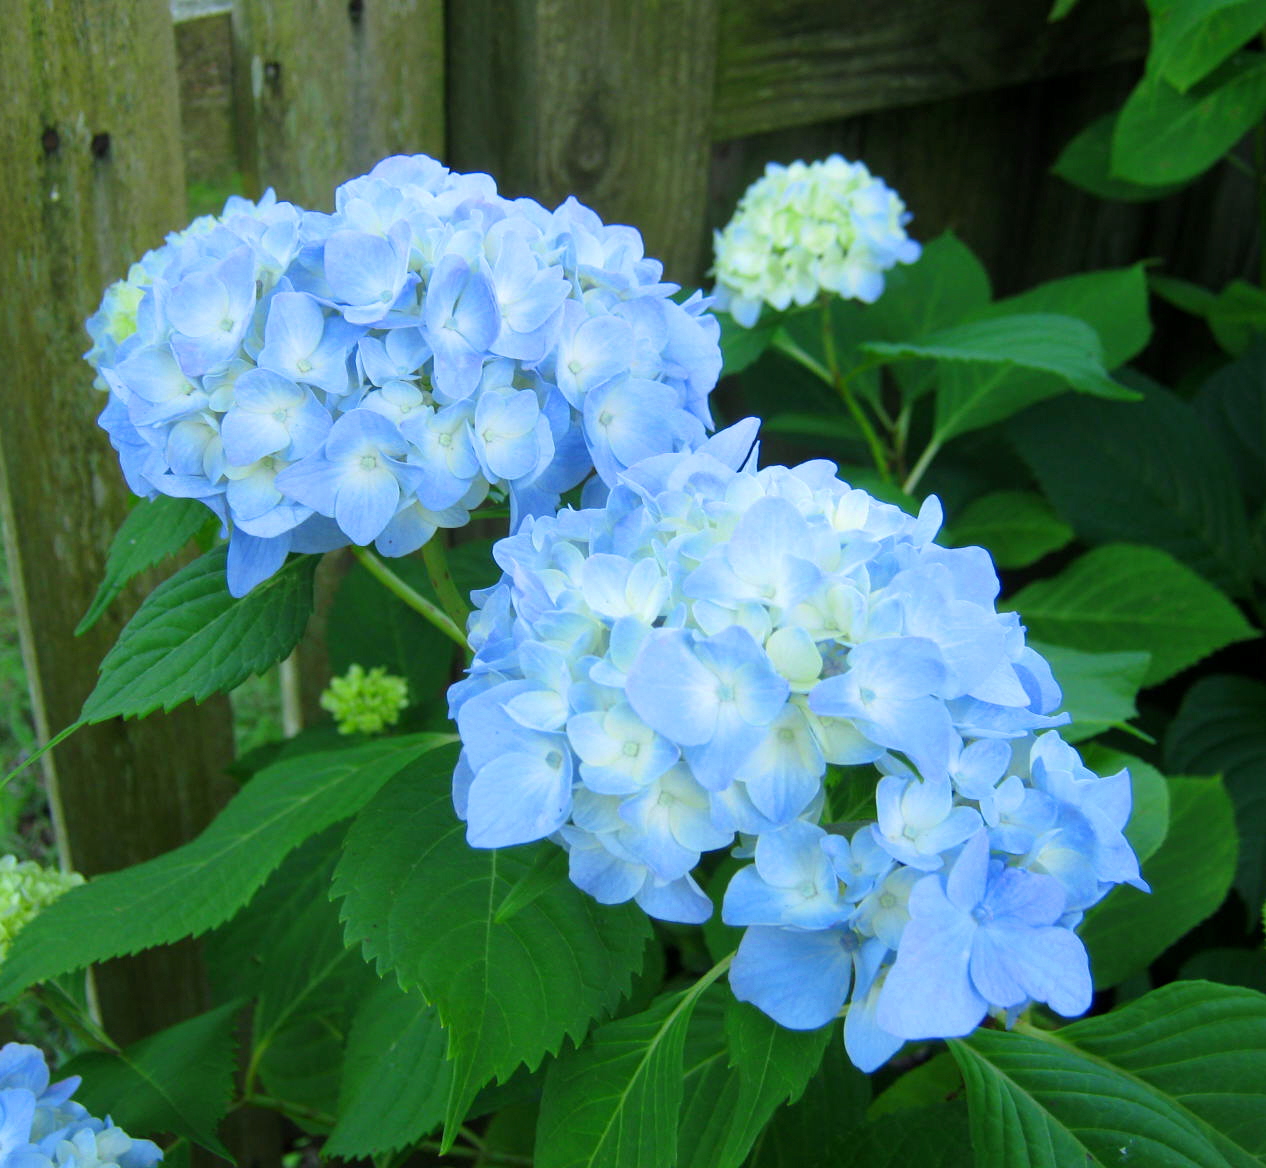
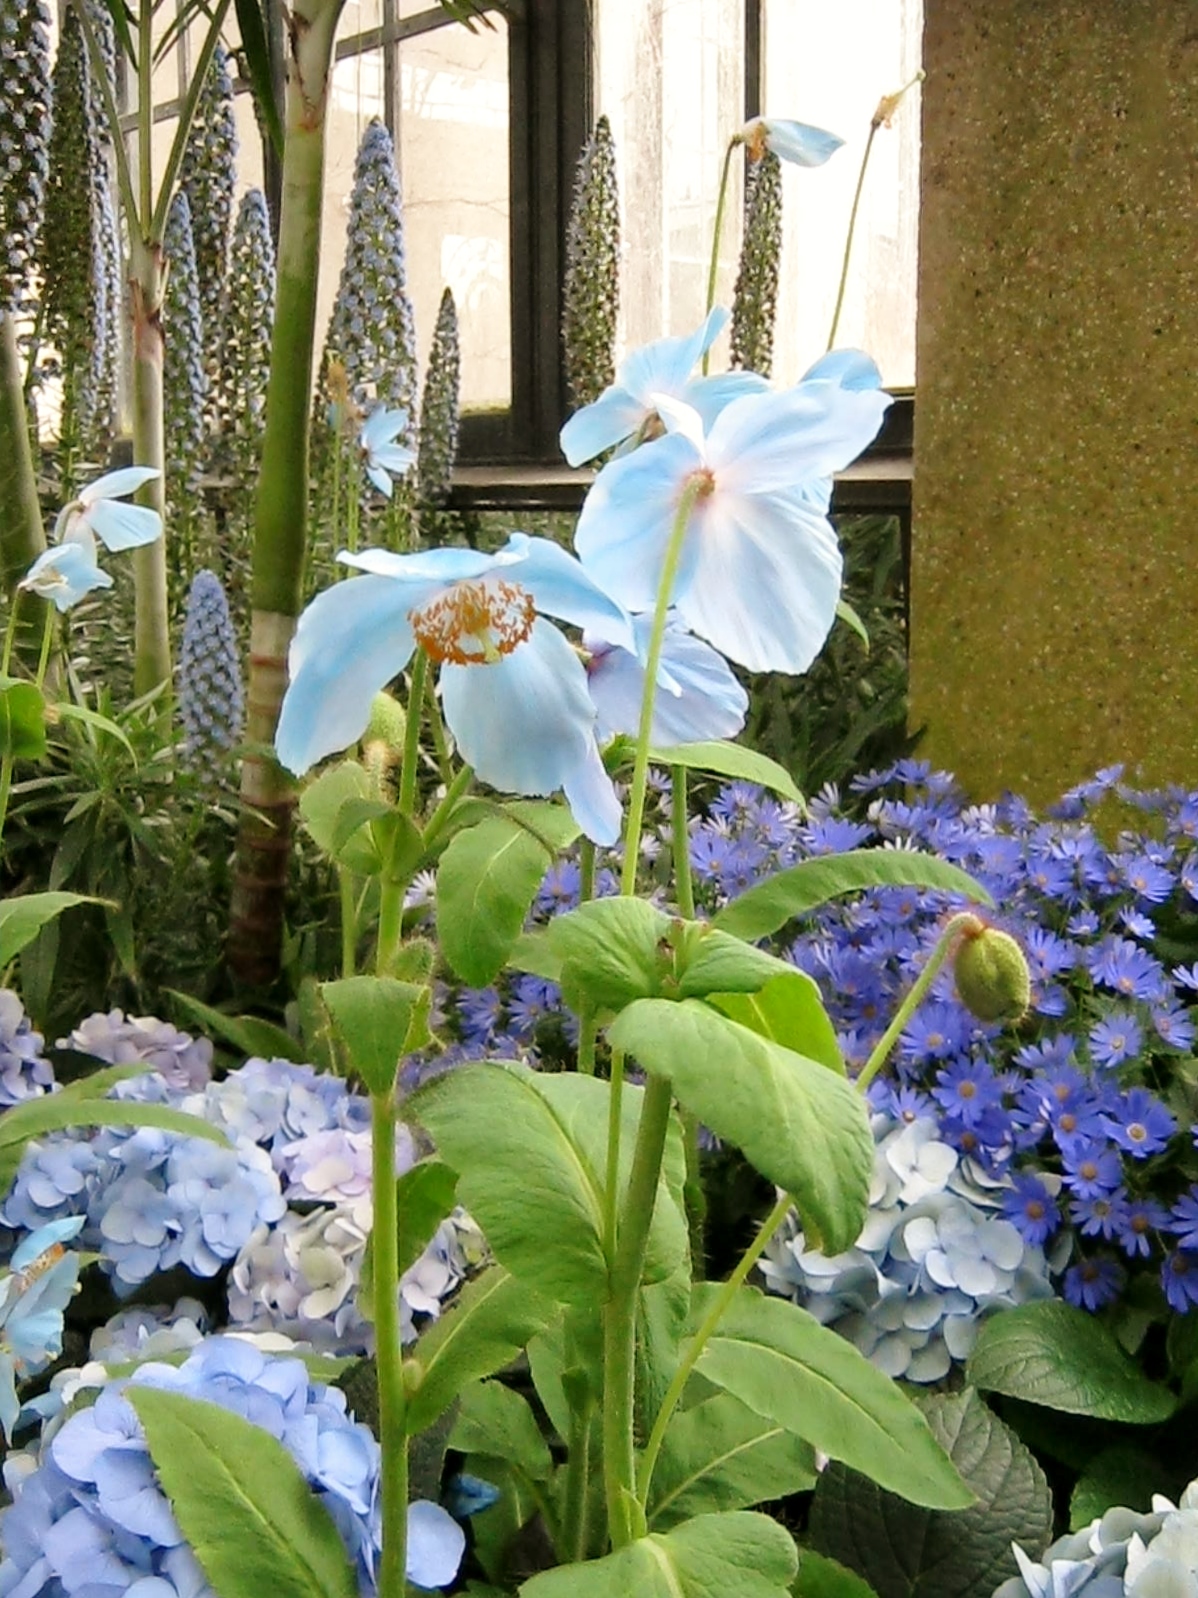
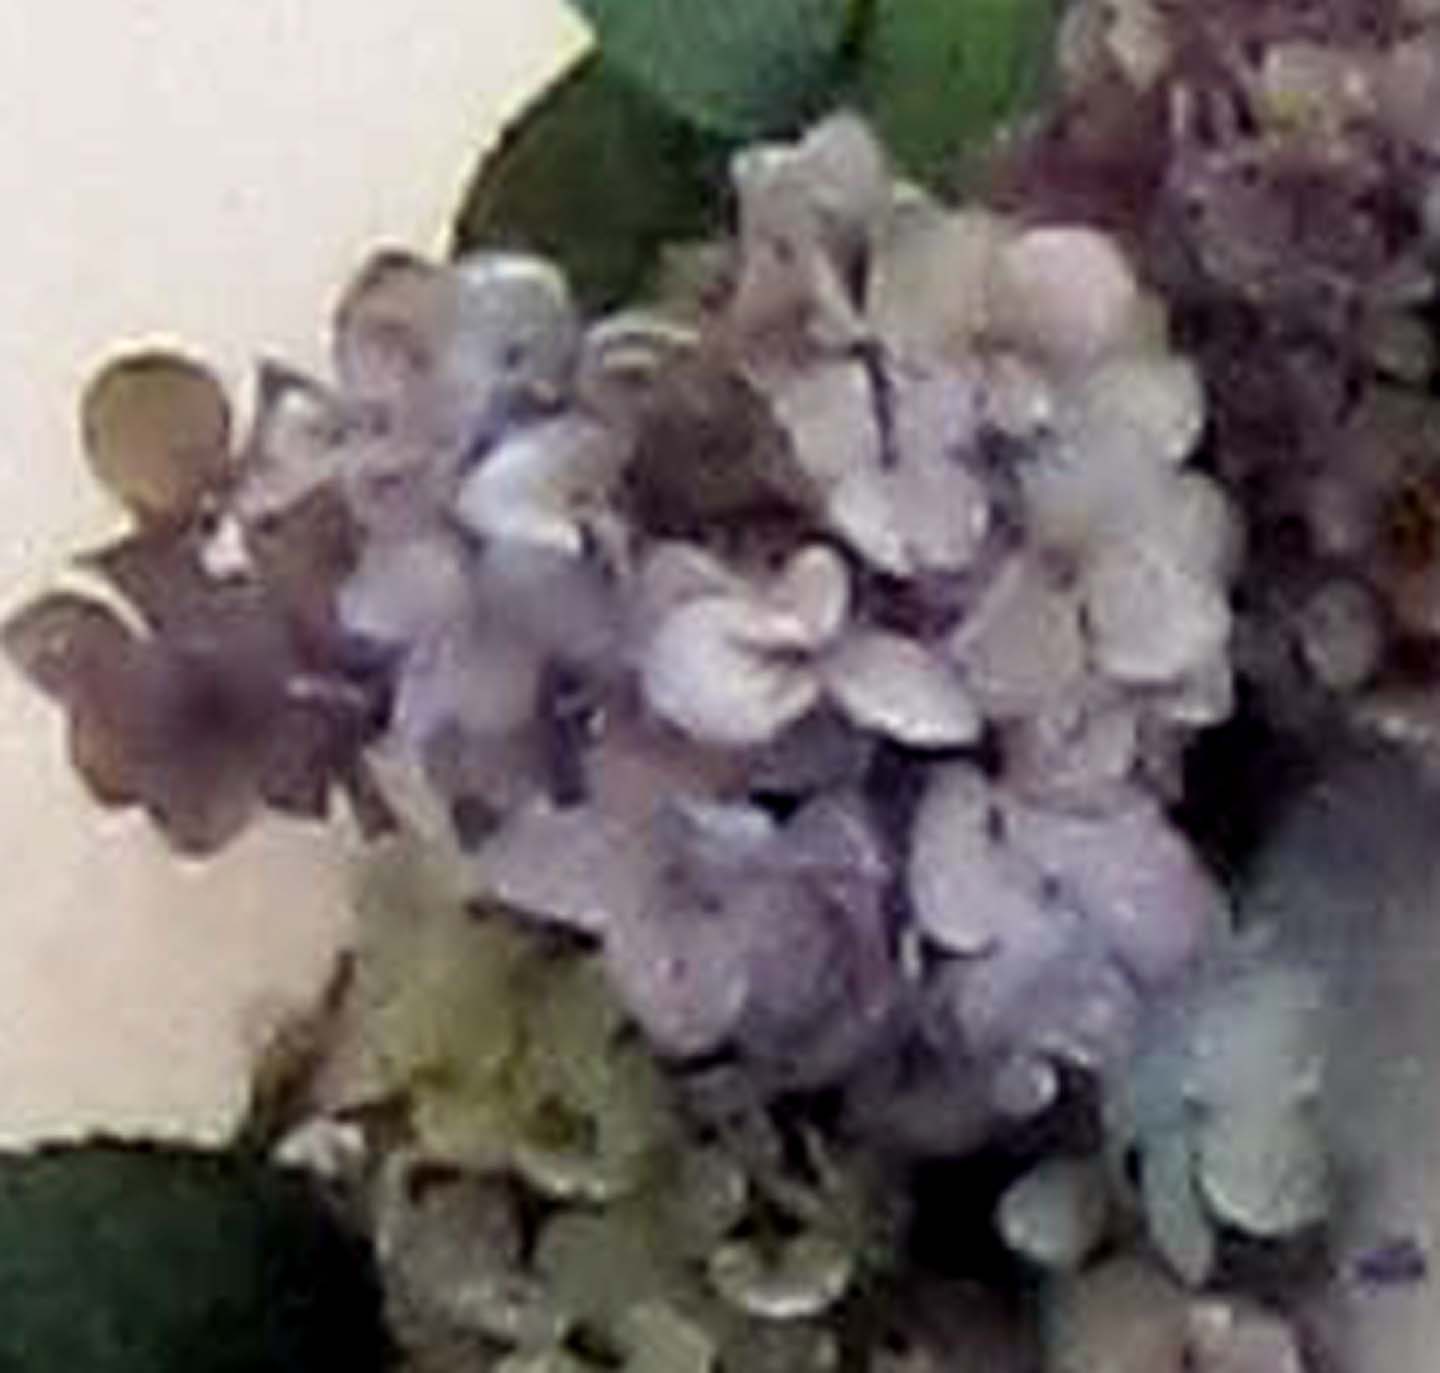
Posies – Creating a Large Bouquet

Creating a large bouquet for special occasions (Hint – Mother’s Day is coming!) can be easy, if you choose the right flowers. I used hydrangeas and roses for this simple-to-assemble bouquet. You will need a large vase, 10 – 12 inches tall, for this arrangement. Remove all foliage from the stems that will fall below the water line. Fill the vase with water 3/4 full. Add flower food if your flowers come with a free packet.

Place your hydrangea stems in the vase first. These are heavy duty stems with beautiful leaves. Hydrangeas are temperamental. I didn’t do anything to condition mine and the blooms on one of them wilted overnight. A good way to condition hydrangeas is to burn the end with a candle. This seals the milky sap inside. A spray of water on the petals is also a good idea. I found an excellent in-depth post on how to condition these stems. If you are going to make the bouquet and use hydrangeas please check out this article first. Hydrangeas in the House-Tips for Making them Last!

The stems of the hydrangeas are strong. I used four and criss-crossed them within the vase to form a grid to hold the roses.

White roses are the next addition. They come packaged in packs of 12, but I used only eight in this arrangement. (I used the others for some corsages…the story of these will be told later in the week.) You could use any tall-standing flowers in place of the roses: lilies, carnations, spray roses, alstromeria, Dutch iris, etc. Cut all stems at an angle to allow them to draw up as much water as possible. Place the roses into arrangement within the criss-cross of the hydrangea stems. There you have it, an easy and beautiful bouquet for any special occasion.

Photographs – Cee’s Challenge/Light Green

coleus

I enjoy taking part in Cee’s Fun Foto Challenges now and then. Since I have quite a few good examples of light greens in my garden today…the challenge was perfect. Here are a few examples of my Light Greens

coleus1

Many of my coleus are blooming, hopefully producing seeds for next year’s garden. I love the light green color on many of the leaves.

hydrangea-2

Hydrangeas are another good example of a plant with a beautiful array of green, the deep green of the leaves is the perfect backdrop for the flowers, aging from pink to light green before they fall.

hydrangea

I’m not sure what type of mint this plant is, but the bees don’t care about the name, they love the nectar and pollen they find in its tiny white flowers. When the bloom is finished the plant forms interesting, light green pods.

mint

These gigantic Nicotiana plants are volunteers. Where they came from is a mystery, but I’m glad they decided to grow in the cracks of my sidewalk and along the edge of my garden. I love the brilliant light green of the leaves. They might not have time to blossom before first frost, but I have my fingers crossed.

volunteers

Project & Pressed Flowers – Valentine Tag Tree

IMG_4773

Ask most people what comes to mind when they hear the word, “February,” and they will answer, “Valentine’s Day, Love and Flowers.” I’ve combined these three themes into one, and created a Valentine Tag Tree. This project was very economical. The only item I purchased was the pack of tags. I had pressed flowers on hand, and the twigs were free, gathered during a Winter walk.

IMG_4784

I created the hearts out of maple keys. A few years ago I collected hundreds, small and large, in colors of green, beige, pink and red. I cut away the seed and pressed them within the pages of books. I love finding new ways to use the keys.

IMG_4761

I chose Winsor & Newton’s Iridescent Medium to add a bit of sparkle to the keys.

IMG_4762

The medium didn’t cover evenly, but I liked the rivulets and blots it created…they added more interest and sassiness.

IMG_4778

The maple keys were easily trimmed into half a heart shape, and glued together, creating beautiful and unique Valentine hearts.

IMG_4780

I glued on a few pressed flowers. Hydrangeas, while not as vivid as the day they were picked and pressed, still added a hint of blue or a green hue.

IMG_4777

I used a fine-tipped permanent marker in brown and added words of love and a few swirls on each tag.

Valentine Sampler

I enjoyed creating a Valentine Sampler with the finished tags. I was tempted to glue these down and frame them, but decided to stick with my original idea…a Valentine Tag Tree.

The base was easily constructed, a piece of floral foam, a bit of hot glue, and a ceramic urn. Spanish moss hid the mechanics of the container. A substitution for floral foam would be a grid of tape across the top of the container. Aluminum foil could also be used to wedge the twigs securely in place.

If you don’t have pressed flowers you can use bits and pieces of magazines, seashells, twigs, moss, heart shapes…there are so many choices for these tags. Most of all enjoy yourself.

Follow Me on Pinterest

Perspective & Phavorites – Blue Monday

Easter 047

A blue mood can sometimes take hold after the joy of a holiday. Today I am giving into the blueness and delighting in the many shades of azure I was able to enjoy in the Longwood Gardens Conservatory on Sunday. What an array of tones we found there, from the sky blue of Forget-Me-Nots and Himalayan Poppies, through the deep purple-blue of Spring Pansies. These blues lift my spirit. I hope they lift yours too!

Artists and Crafters: Please feel free to make use of these photographs as reference for painting, projects, etc.

Easter 088

This beautiful blue poppy is almost spent, but in it’s last hours the petals are at their most beautiful as they become tinted with softest pink before dropping from the plant.

Easter 087

I thought this bed of blue flowers was incredibly lovely, a gorgeous mix of hydrangeas, cineraria and Himalayan poppies.

Easter 089

I am always  entranced by the buds of the poppies too.

Easter 137

Who can resist smiling back at these joyful pansy faces?

Pressed Flowers – Using the Heat at Hand

We are having quite a heat wave here in the Mid-Atlantic states. I decided to take advantage of the heat at hand.

I picked quite a few of my hydrangea flowers last night. They are beginning to show streaks of contrasting colors as they mature. I have always had a hard time getting the hydrangea blossoms to dry without brown spots appearing. I have tried the traditional method of pressing in between pages of a book. I have experimented with the microwave. I have had no luck with either method. This time I am trying something new.

I pressed the hydrangea petals in between the pages of a book, and then I put that book in the back seat of my car, covered with another book and a weight, and backed up the car into the hottest part of the driveway. I’ll update the results in a day or two.

I also decided to use the heat to flash dry some parsley that is on the verge of going to seed. I lightly rinsed it and laid it upon a towel draped pizza sheet and put it in my trunk. The heat inside will quickly dry the herb, and the darkness will help retain the color…I hope.

I’ll update the progress in a day or two.

Follow Me on Pinterest

Plants – Hydrangeas

Ah, the simplicity and beauty of blue hydrangea blooms in a white vase. Lovely.

Blue Hydrangeas are at their peak in my New Jersey garden. I look forward to the bloom of these flowering shrubs every year. Best of all, they are long-lasting, and sometimes I manage to pick them at exactly the right moment to dry and enjoy all year.

Project – Hydrangeas, Drying and Tinting

I grow several hydrangea bushes in my gardens. Three of these produce flowers that dry well. When the petals thicken, and take on a greenish sheen, it’s time to cut them. I snip off a piece leaving six to eight inches of stem, vase bunches in a few inches of water, and set them on the top of my kitchen hutch. I occasionally check the water level, but other than that, I don’t do anything more. A few will wilt, but a good three-quarters dry in a few weeks.

Dried hydrangeas are lovely, the colors reminiscent of watercolors; pink, lavender and blues swirled together to create a hazy spring-like glow. The trouble is, in a few months the colors will begin to fade to a weary beige. This year I came up with a solution. In the past, to keep dried flowers and protect the delicate petals, I have sprayed them with hair spray. Why couldn’t I add a bit of acrylic paint to the hair spray and get a double advantage when I apply the protective film?

I bought a pump-bottle hair spray I knew was long-lasting and had a nice fragrance. (Aussie Brand) Your wreath will remind you of a hair salon for a few weeks so be sure the smell of the hair spray you choose is not something you find repellent. An unscented spray will also work. Next, I divided the spray into two jars. Into these jars I added cobalt blue acrylic paint, a few drops will do, and in the second jar a mix of cobalt blue/alizarin crimson paint to make a lavender. I use Golden Taklon Soft Body acrylic, but I think any brand that has decent coverage, and is not too thick, would work. Tube acrylics are not an option for this. I put the lid on the jar and shook for about thirty seconds to make sure hair spray and paint were incorporated.

The next step was to pour the paint/hair spray mixture back into the pump bottle (Don’t use a recycled spray bottle, such as Windex, etc. the spray is too heavy and the droplets very large) I covered the garage floor with newspaper and laid my dried hydrangeas out in a single layer. Away I sprayed with the Cobalt Blue mix. Eureka! The thin mist of tinted hair spray worked as I intended, enhancing the colors already present on the petals. Next I added a bit of Cobalt Blue and Alizarin Crimson to the second mix, a soft lavender/pink. I sprayed a quick coat of this on the flowers. Yes…they blended perfectly. Within a day they were dry. I hot glued the hydrangeas to a wreath and hung it on the wall. The natural colors will still begin to fade at some point, as all dried flowers tend to do, but this year the enhancement of the acrylics will keep them looking vibrant for a while longer.