Plant – British Soldier Lichen (Cladonia cristatella) Part I

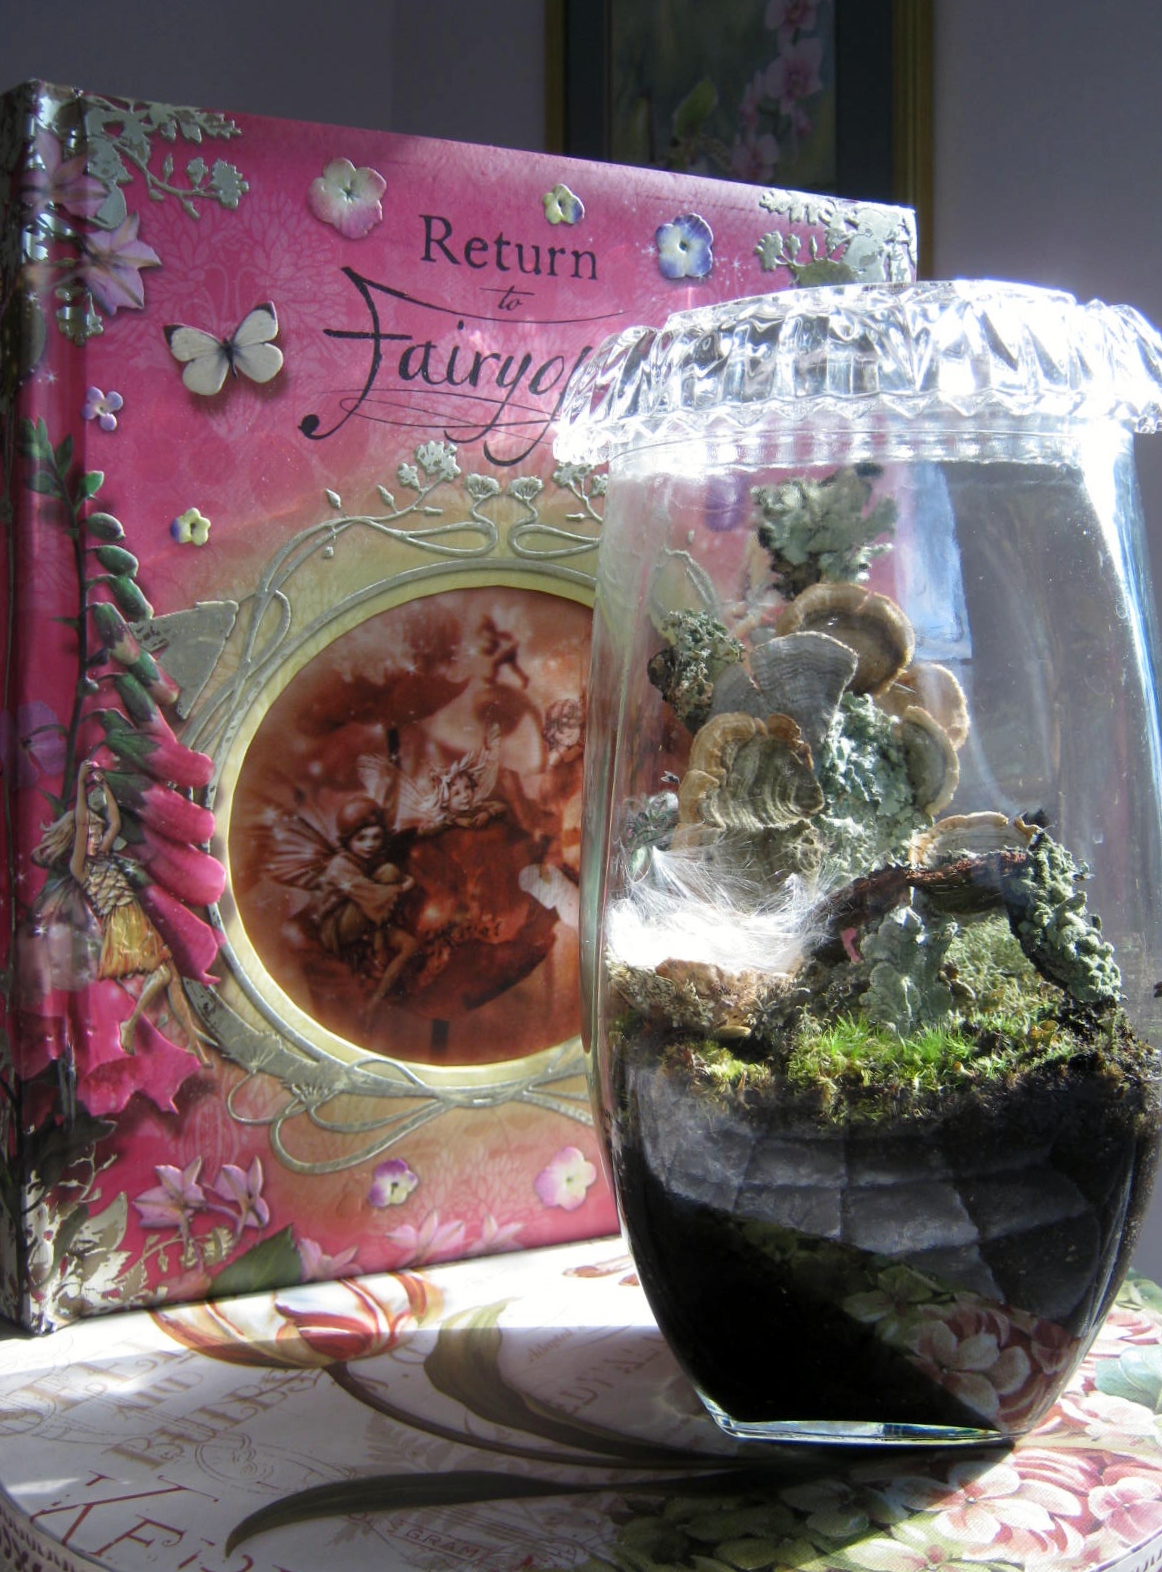
Would it seem odd if I labeled this post Throwback Thursday? Probably. I made my acquaintance with this small red lichen, Cladonia cristatella, better known as British Soldiers, years ago. In childhood, my friend Sherry, sister Susan, and I, would roam the fields near Sherry’s home in search of this small lichen to grow in terrariums. The lichen is a throwback to memories of earlier days.

I’ve been on quite a hunt for this plant, searching for it for weeks on end, I even know the date I began, August 31st. On that day we took Sherry, we’ve been friends for sixty years now, to the airport in Philadelphia, for her return trip home to the Dallas/Fort Worth area of Texas. I wanted to find a way to commemorate her trip to visit us, and also wanted a reminder of our decades of friendship. I envisioned an idea to use British Soldier Lichen, but oh my, what a time I have had finding it.

British soldier lichen, with its brilliant red caps, is named for the army of British “redcoats” who invaded colonial America. FloraFinder

I will write more about the use I am going to make of the lichen in Part II, this post is more about my search and where I finally found the lichen. I remembered as children we found the ‘soldiers’ growing along an abandoned roadway. I visited the same area and found nothing. I also rummaged around a broken-down fence that bordered a park near our home, I spotted the lichen there in the past, but nothing was found. I was near giving up, telling myself perhaps the lichen was seasonal and not growing in the area in late summer.

I had almost given up my great idea for a gift when on a bike ride, along the Glassboro-Williamstown bike trail, whizzing by a decaying split-rail fence, I spied a spark of red from the corner of my eye. I braked, threw down the kickstand, and shouted to my husband, “I found them!”

There were hundreds, more likely thousands, of the British Soldiers growing on the length of the railings. Need I say I was thrilled? I gathered a few, some for my project/gift, a few others to attempt growing over the winter. Parts II and III the blog posts on the British Soldiers will follow over the course of the next week.

Project – Terrarium Part II/The Stopper

img_4928

One of the pitfalls of creating a terrarium is finding the perfect stopper, or lid, that will not detract from the beauty of the planted jar or vase. I wanted to follow through on the natural theme, but also hoped to find something entirely unique to seal in the moisture. For the natural, I placed some double stick tape on the top of the vase, and wound several strands of dried grass around the rim.

img_4929

Next I glued a few pieces of dried moss to the rim.

img_4930

I finished off the natural elements with some skeletonized hydrangea flowers. These beautiful blossoms naturally lose their flesh when left beneath the bush through the winter. I find them beautiful, and they are not as fragile as they look. I always let a few strands of my arrangements behave in an unruly manner, in this case, a few pieces of grass and buds unfurling from side give the arrangement a bit of whimsicality and movement.

img_4932

Lastly, I placed a beautiful moss green Christmas ornament on the top of the vase to work as a stopper/lid. I love the way the color of the Christmas ball mirrors the color of the moss inside the terrarium.

img_4931

The arrangement/terrarium looks good from several angles, top and sides.

img_4935

The Christmas ball reminds me of the Gazing Balls that many have on pedestals in their gardens.


Planting & Project – Terrarium in Photos

img_4868-2

I chose a thrift store vase for this project. The bottom is heavy, a good choice since this will keep the terrarium from easily flipping over.

img_4869-2

A layer of pebbles…

img_4870-2

A layer of charcoal…

img_4872-2

A layer of potting soil…

img_4871-2

Moss and small garden cress plant dug up from outdoors…

img_4873-3

I rolled the sheet of moss into a tube to slip into the slender neck of the vase…

img_4874-2

A pencil tamped the plants in place…

img_4878-3

A bit of water from a slender tipped nozzle…a few seeds of alyssum…

img_4882-2

And a beautiful Block Island stone with a stripe running through it…magical! This post will be continued next week with a surprise upcycled stopper for the terrarium top.

Planting – Terrarium Creation

This is a re-post from a few years ago, but well worth repeating once again. If you have small outdoor plants you want to save from winter weather, they are the perfect candidate for placing in a terrarium.

1. Select Container/Add a layer of pebbles.

2. Add a layer of charcoal.

3. Add a layer of humus/soil.

4. Add plants and mosses.

5. Add lichens, rocks, and small statues. (Mine are elephants from Red Rose Teabag boxes) Water sparingly, rinse excess dirt off of sides. Cover with lid of some type. Enjoy your beautiful terrarium.

Care of terrariums: Mosses like gentle sun, morning light exposure is best for a terrarium. Try to lift lid each day to give terrarium fresh air. Your terrarium will self-water, if it develops a look of dryness water sparingly once again.

Plants & Projects – Terrarium Lids and Chairs

Terrarium with crystal lid

I’ve been experimenting with lichen covered branches and bark in an attempt to create a fairy chair that will actually be alive and growing inside a terrarium. I think I succeeded with the mossy concept when I crafted the chair shown above, but I am not happy at all with the appearance of the miniature replica. It has no fey appeal or magical delicacy. To my mind, it calls to mind a gnarly resting place for the local gnome or troll instead.

I do like the papery thin, empty insect pod I used as a fairy basket. It is filled with several pieces of milkweed fluff, which when tossed into the air become floating fairy wishes. I can just imagine a sweet woodland lady sitting down and spinning the soft strands into gossamer yarn.

Aesthetics aside, a good tip for covering a terrarium is to use a shallow glass bowl  or dish for a lid. This crystal lid fits nicely on top of my odd-shaped garden. I’ll keep trying to come up with a way to create the fragile, yet strong, fairy furniture I desire. Until then, “Calling all gnomes!”

Planting – Terrarium/Glass Block

blog terrariums 019

A few weeks ago I received a surprise package in the mail from across the country. I saw by the return address that the package was sent from one of my nieces. I opened up the package and felt a surge of joy rush through me. Not only were the contents of the box amazing, but my joy was multiplied many times because the gift was so suited to me. Over the years my niece had noticed who I was, and the gift said to me that she understands the person that I am. Isn’t that what we all need most…recognition of who we really are inside? Need I say my niece is a beautiful soul! Thanks Natalie!

blog terrariums 017

Whimsical and bright, these mushrooms are the perfect component for terrarium decor. This week while walking around my local AC Moore I found the perfect receptacle for my treasures…a sturdy, heavy-bottomed glass block. As an added bonus the block has a lid that that fits perfectly, and is easily opened to add a breath of fresh air to the plantings.

blog terrariums 024

The terrarium turned out really cute, and I still have half of the mushrooms and stepping stones to use outdoors in our fairy garden in the Spring.

blog terrariums 026

Plant, Pressed Flowers and Preparedness – Wild Cress

I have pressed flowers for years. I usually begin pressing in late winter or very early spring. One of the first pieces of foliage I press is a feathery little weed, which for years I have called, “My favorite weed.” Imagine my surprise and delight when it suddenly began to grow in the terrarium I created months ago. Recently my happiness was doubled when I found “my favorite weed” on a preparedness site and learned its proper name, Wild Cress. It turns out this little gem of a plant is not only perfect for pressing, but also is a wild edible, full of vitamins and nutrients.

Here are a few examples of my pressed flower cards using “My favorite weed,” Wild Cress

Wild Cress was eaten by early settlers to ward off scurvy in the winter. It has a peppery taste and makes a great salad green.

Wild Cress is a natural home remedy for many ailments. You can read more about it’s medicinal properties here: Wild Cress in Home Remedies

Wild Cress gone to seed will pop into your eye. I’ve pulled it out of my flower beds and closed my eyes while I’ve done so many a time. Read about this fact along with how to feed wild cress to rabbits here: Wild Cress/Popping Seeds

Wild Cress is easy to identify and is one of the most edible weeds. I doubt I would ever mistake anything else for Wild Cress after handling it for over twenty years. Great caution must be taken when eating anything growing wild. Some wild plants are deadly poison. Don’t eat anything wild unless you are absolutely sure  it is edible. Here are a few other edible weeds: Edible Weeds

Project – Birthday Terrarium in Five Steps

1. Select Container/Add a layer of pebbles.

2. Add a layer of charcoal.

3. Add a layer of humus/soil.

4. Add plants and mosses.

5. Add lichens, rocks, and small statues. (Mine are elephants from Red Rose Teabag boxes) Water sparingly, rinse excess dirt off of sides. Cover with lid of some type. Enjoy your beautiful terrarium.

Care of terrariums: Mosses like gentle sun, morning light exposure is best for a terrarium. Try to lift lid each day to give terrarium fresh air. Your terrarium will self-water, if it develops a look of dryness water sparingly once again.