“Perhaps the best Yuletide decoration is being wreathed in smiles.” ~Author Unknown

“Perhaps the best Yuletide decoration is being wreathed in smiles.” ~Author Unknown


Over the course of the past year I have discovered a brand of products I love; Bob’s Red Mill grain cereals have become my go-to breakfast even in the height of the summertime. My day starts off great with a little self-nurturing through a bowl of hot cereal. It doesn’t hurt the cause that the 10 Grain cereal I choose to buy reminds me of mornings at my grandmother’s home, waiting on her cracked wheat hot cereal.

The cereal takes 7 – 10 minutes to cook on the stovetop; the wait only serves to make my anticipation build. I’ve never been disappointed. I add a pat of butter and brown sugar to mine, and cool it with a splash of milk.

I experimented with the recipe for breakfast muffins I found on the back of the package. These would be good for breakfast on the go. They are a tad heavy and dense, but if you were flying out the door in a hurry, it would be wonderful to grab one for a nutritious breakfast. If I make the muffins again I might add some blueberries.
I’ve noticed there are also flour, grain mixtures, and additional cereals offered by this terrific company. I hope to try quite a few over the course of 2015. Give a package of Bob’s Red Mill cereals a try. They are economical and last a loooooonnnnnggg time. I store mine in the refrigerator after I open it. Happy Breakfast to You!


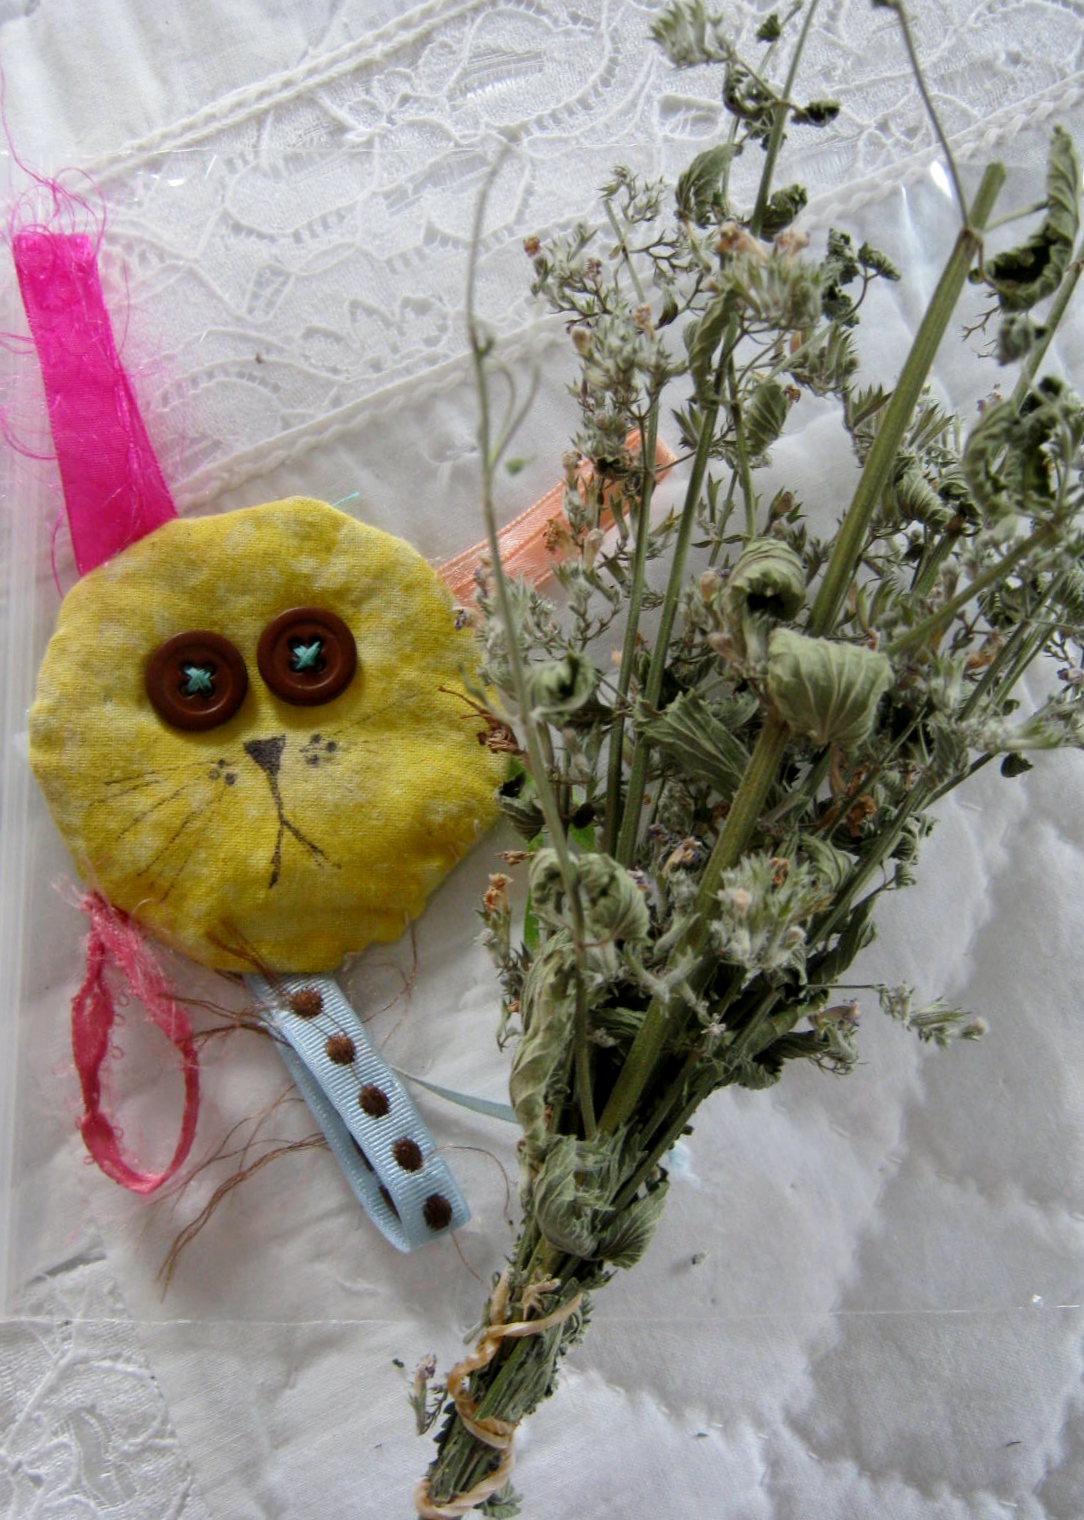
At this time of year, those of us with pets often think of them at Christmas, and purchase or make them a new toy. My pets have several catnip-stuffed toys I have crafted for them over the years. After several weeks of play, the smell and volatile oils of the catnip begins to diminish.
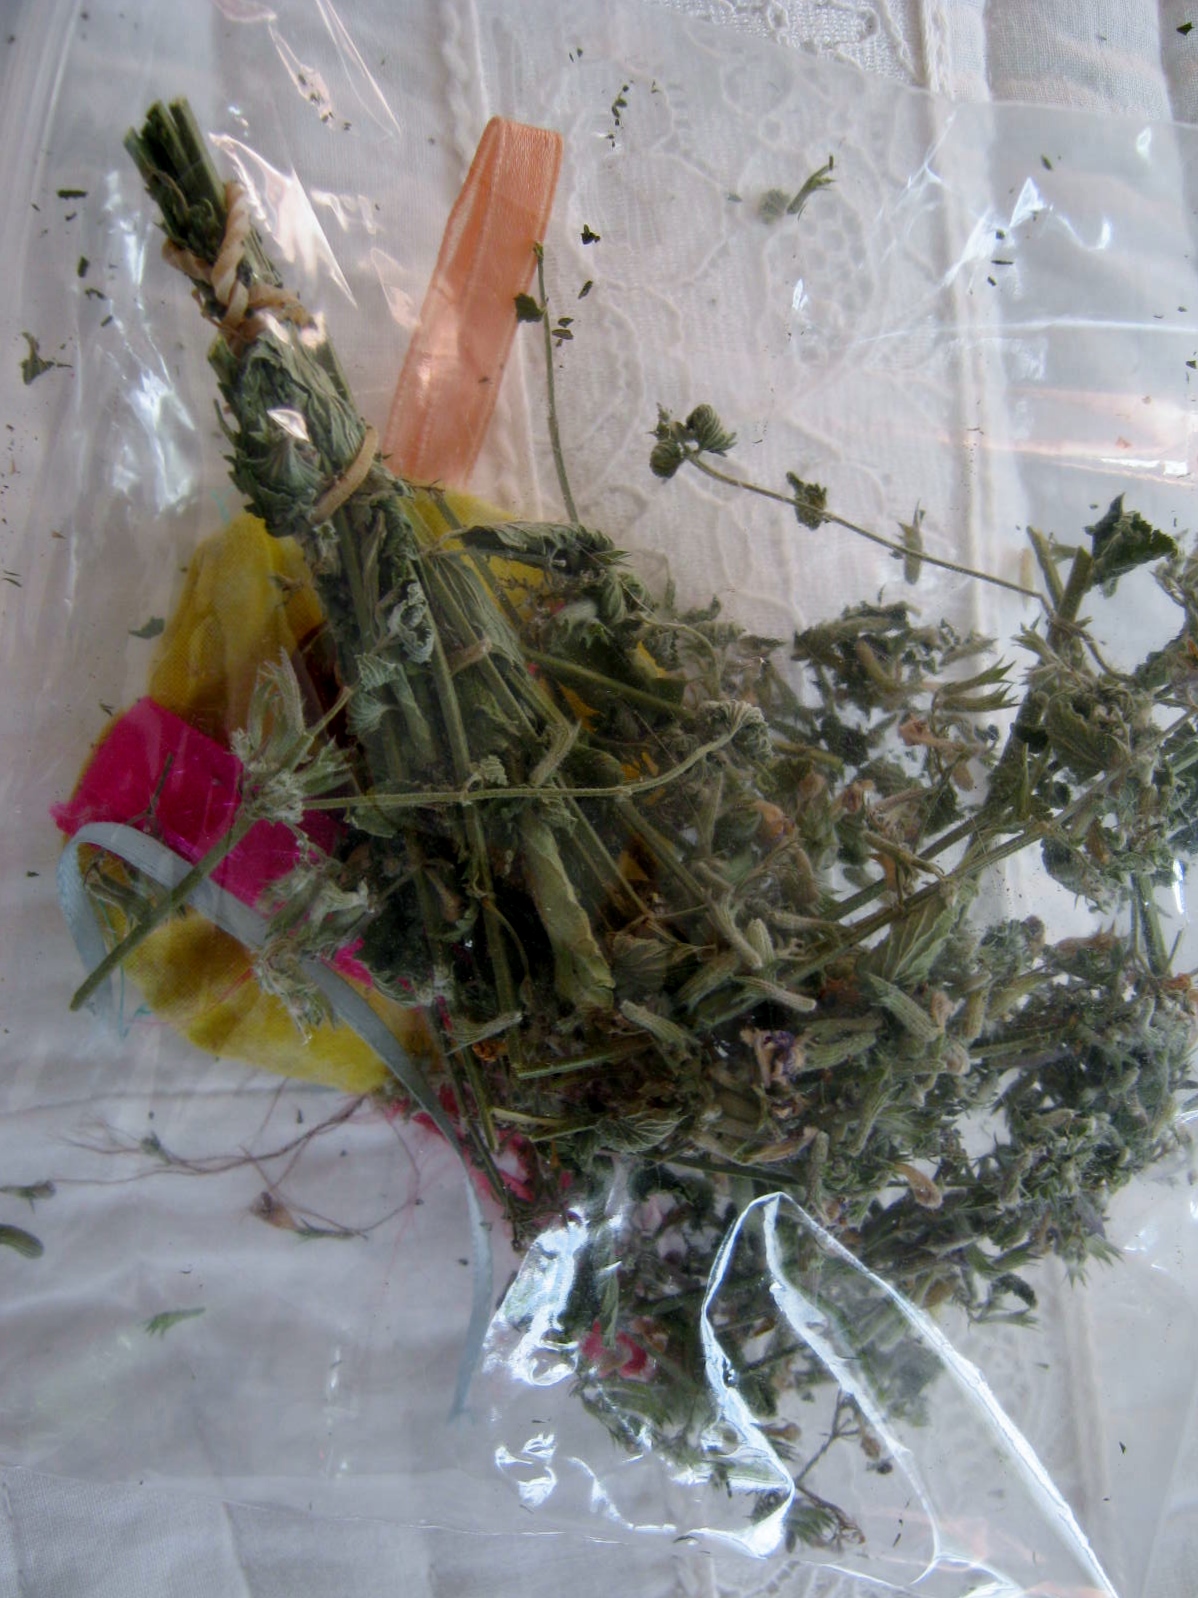
To remedy this, and refresh the toy with new catnip pizazz, I place the toy in a bag with a few sprigs of catnip and shake it up, also smooshing the catnip and toys together a few times, while in the bag, between my palms.

My cats are very appreciative of the little bit of additional catnip applied to the toy.
You can grow your own catnip and dry it to use all winter, or easily purchase catnip in pet stores or supermarkets.

“Away with the colors of Hanukkah, Christmas, and Kwanzaa. Show us what “Yellow ” means to you.” Photo Challenge at WordPress – December 19th

My first thought for this challenge was to choose a photograph of yellow flowers. I have dozens, hundreds, maybe thousands of flowers on disc. Many of the photos have been taken in my own gardens, others at local public gardens in the area I live.
I decided instead to combine a favorite flower, zinnias, with a yellow swallowtail butterfly. Perfect. I love swallowtails. Lately, the weather and environmental issues have diminished their ranks, but hopefully their numbers will rebound in our area soon.
I love zinnias, and especially am entranced by the yellow ring of flowers surrounding their center. I always give this ring of small flowers, technically called “disc flowers” my own whimsical name of fairy ring flowers. This is where the butterflies find the nectar that they drink.
Zinnias have “Heads composed of both disc and ray flowers, with disc flowers tightly packed together in the head’s “eye,” while enlarged ray flowers function as petals radiating outward from the eye.” Composite Flowers – Backyard Nature
Here’s a closer look at the yellow “fairy ring” of zinnia disc flowers, this time hosting a Skipper butterfly.

I loved this photograph so much I used it as a reference for a 5 x 7 watercolor, and posted the finished results on this blog: Skipper on a Zinnia

Another visitor to the zinnias is a bumblebee in a fuzzy yellow jacket. Gorgeous insects all!
This post is definitely a tad out of season, but perhaps you are like me, and at the threshold of winter enjoy being reminded that Spring is only three months away.


(This photo is terrific used as desktop wallpaper)
Christmas day is a week away. If you are like me, most of your shopping is complete, but perhaps you also suffer from the disease that takes hold of me at this time of year, “The Second-Guessing of Gift Choices,” disease.
“Will so-and-so like this color? Will this gift seem too thoughtless? Should I have given a ‘real’ gift instead of a gift card?”
I’m sorry to say that sometimes I give into the agonizing thoughts and run out to buy “Just One More Perfect Thing!”
This is the time of year when it is hard to maintain a gracious demeanor and mindset: terrible traffic, lack of parking spaces, rude and pushy shoppers, endless spending, too many cookies to bake, too many cookies begging you to eat them. (Did you know home-baked cookies are delicious even when eaten right out of the freezer?) This year, I’m going to audibly remind myself to be gracious and repeat the word ‘Grace’ until I can maintain it in the midst of stressful situations, even if I have to growl a little bit first: “Grrrrrrace! I think I can…I think I can…I think I can!
Here are a few wise words from Charles Spurgeon on grace towards other Christians, but we can easily substitute grace toward all mankind.
““We shall, as we ripen in grace, have greater sweetness towards our fellow Christians. Bitter-spirited Christians may know a great deal, but they are immature. Those who are quick to censure may be very acute in judgment, but they are as yet very immature in heart.
He who grows in grace remembers that he is but dust, and he therefore does not expect his fellow Christians to be anything more. He overlooks ten thousand of their faults, because he knows his God overlooks twenty thousand in his own case. He does not expect perfection in the creature, and, therefore, he is not disappointed when he does not find it.
~ C.H. Spurgeon


Vintage ornaments from my grandparent’s Christmas tree are displayed for the season, but also protected from inquisitive cats, in a crystal candy dish.
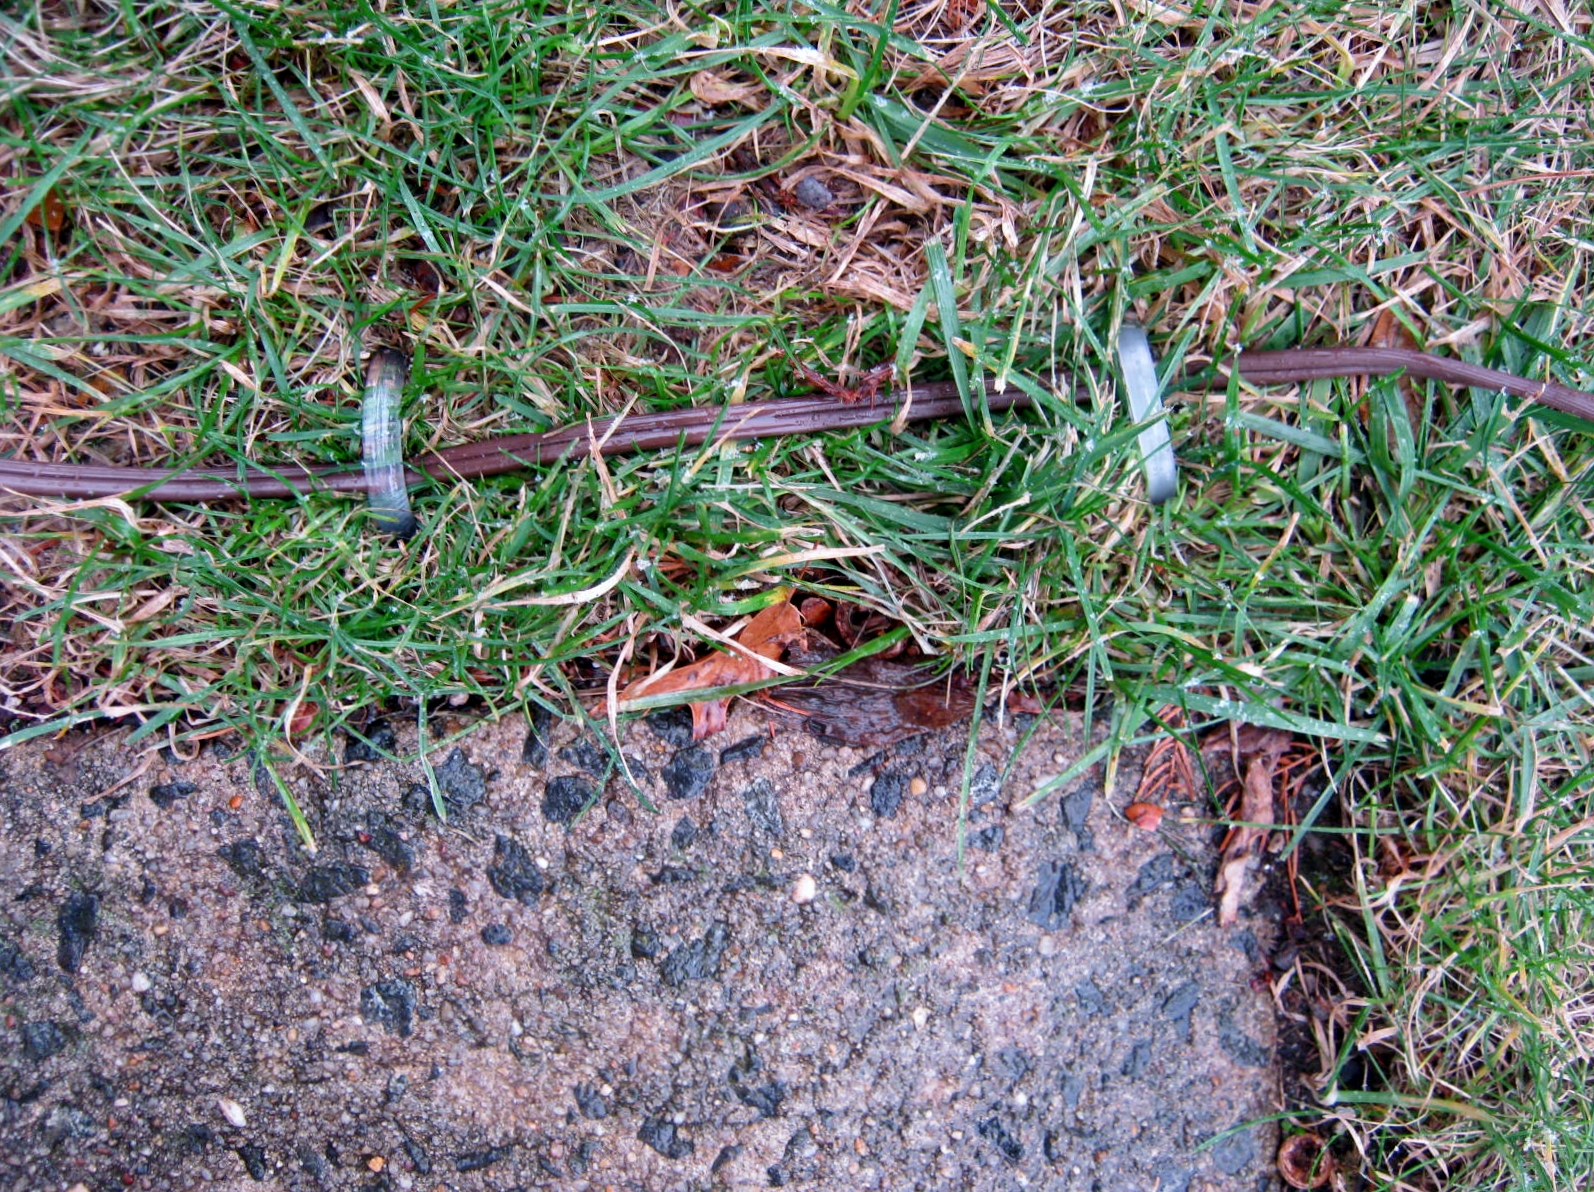
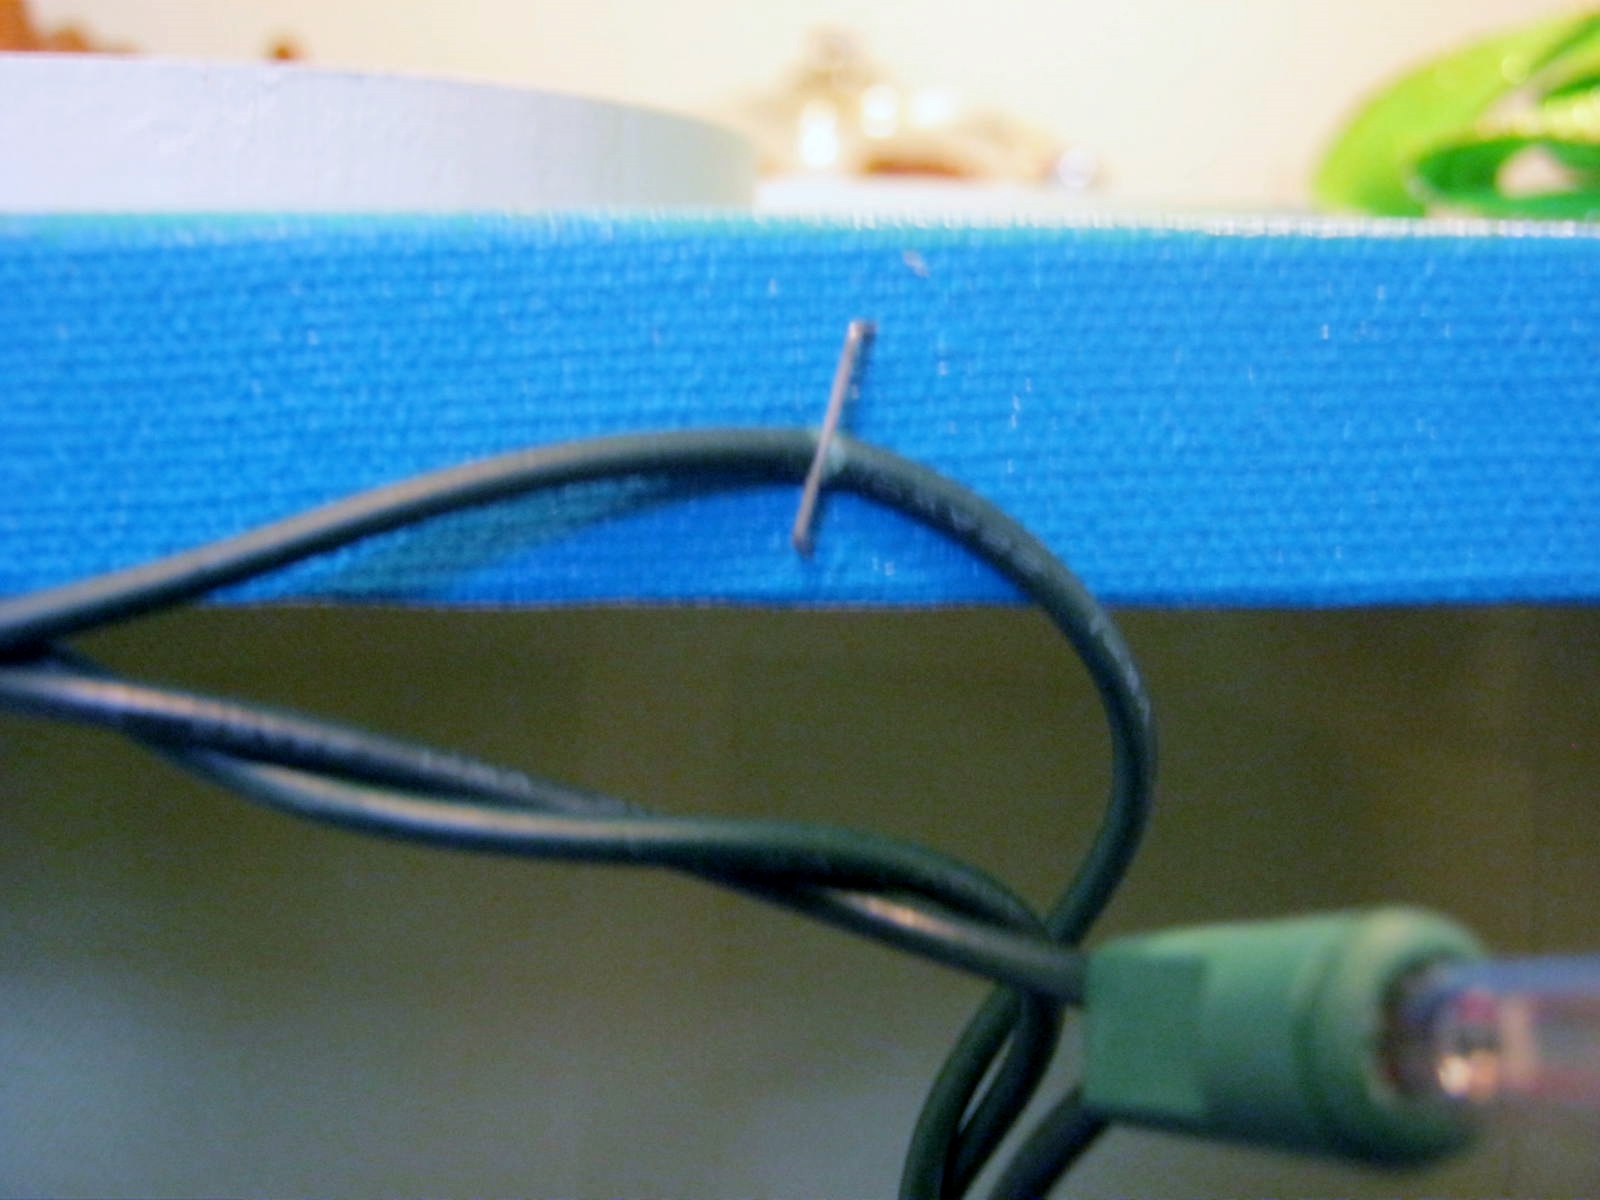
Outdoor light cords left loose can be dangerous if they are in the pathway of the mailman or other walkers.
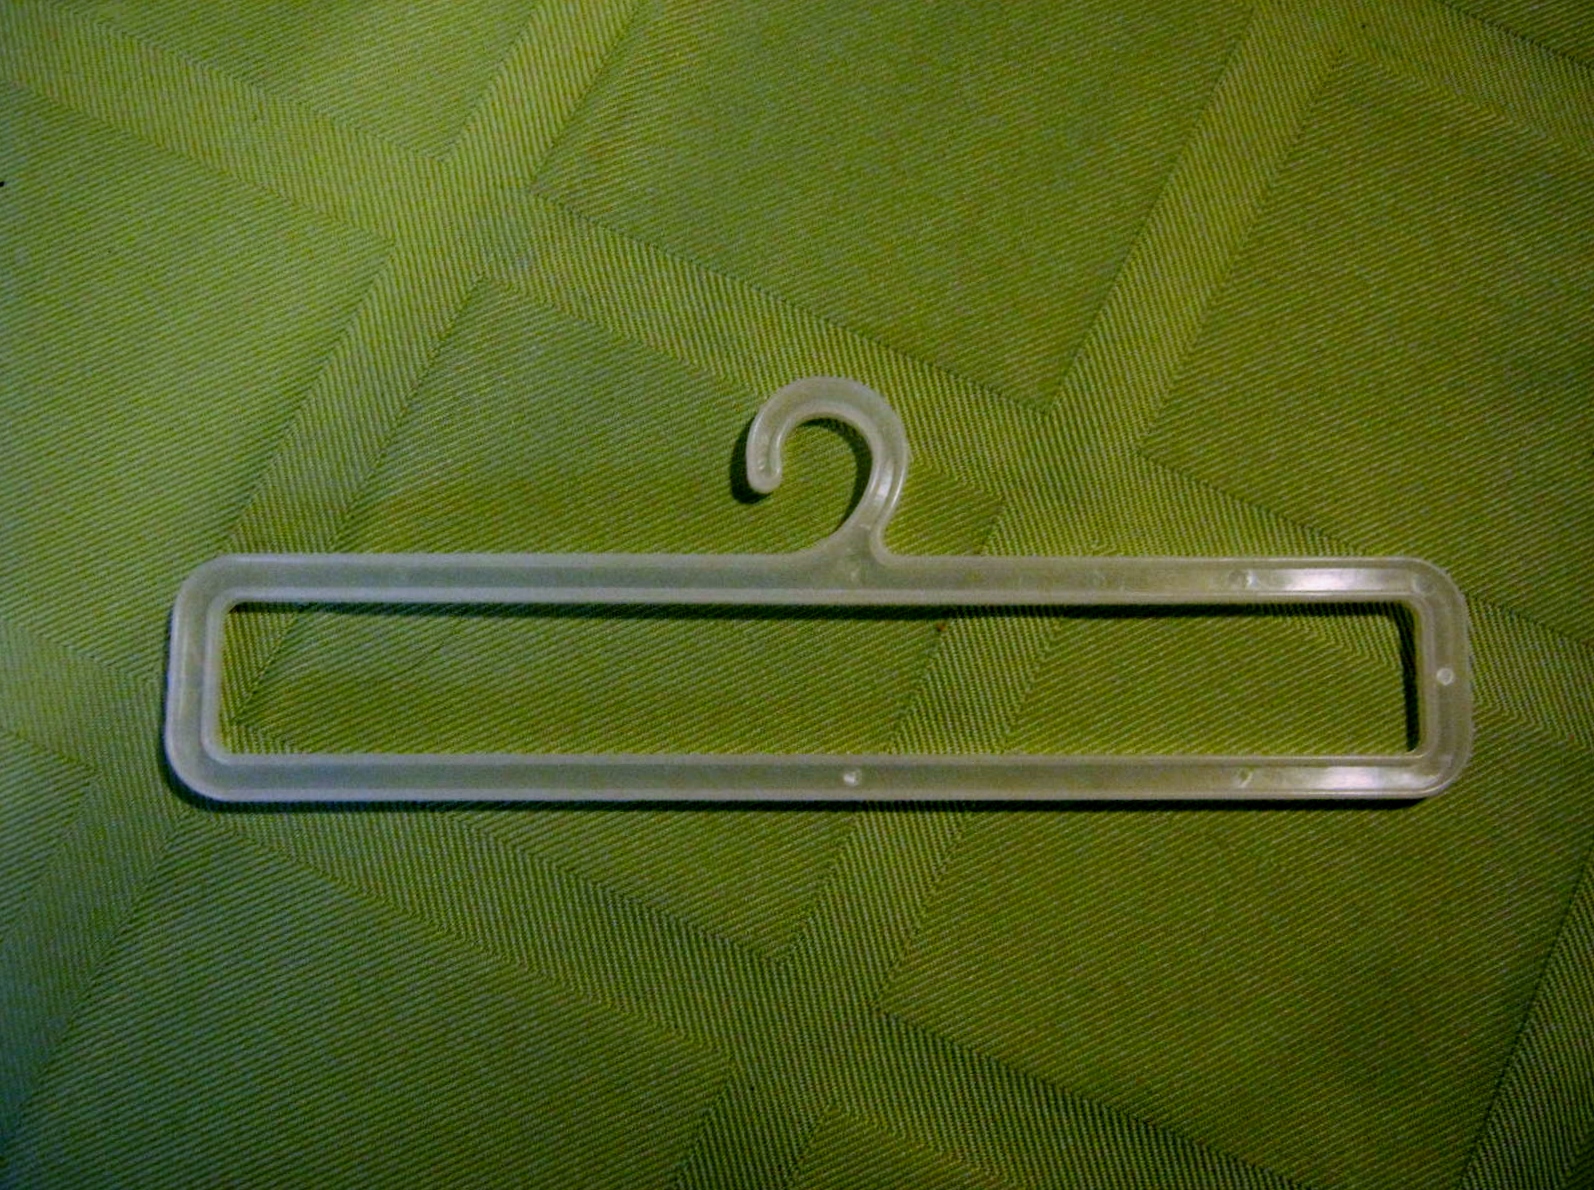
I keep all kinds of “trash” for purposes just like this…fastening down the light cord was the perfect opportunity to recycle a plastic linen bag hanger and some old shower curtain rings. I cut them in half with wire cutters and “Voila,'” free cord stakes. They work great too! Best of all they were free.

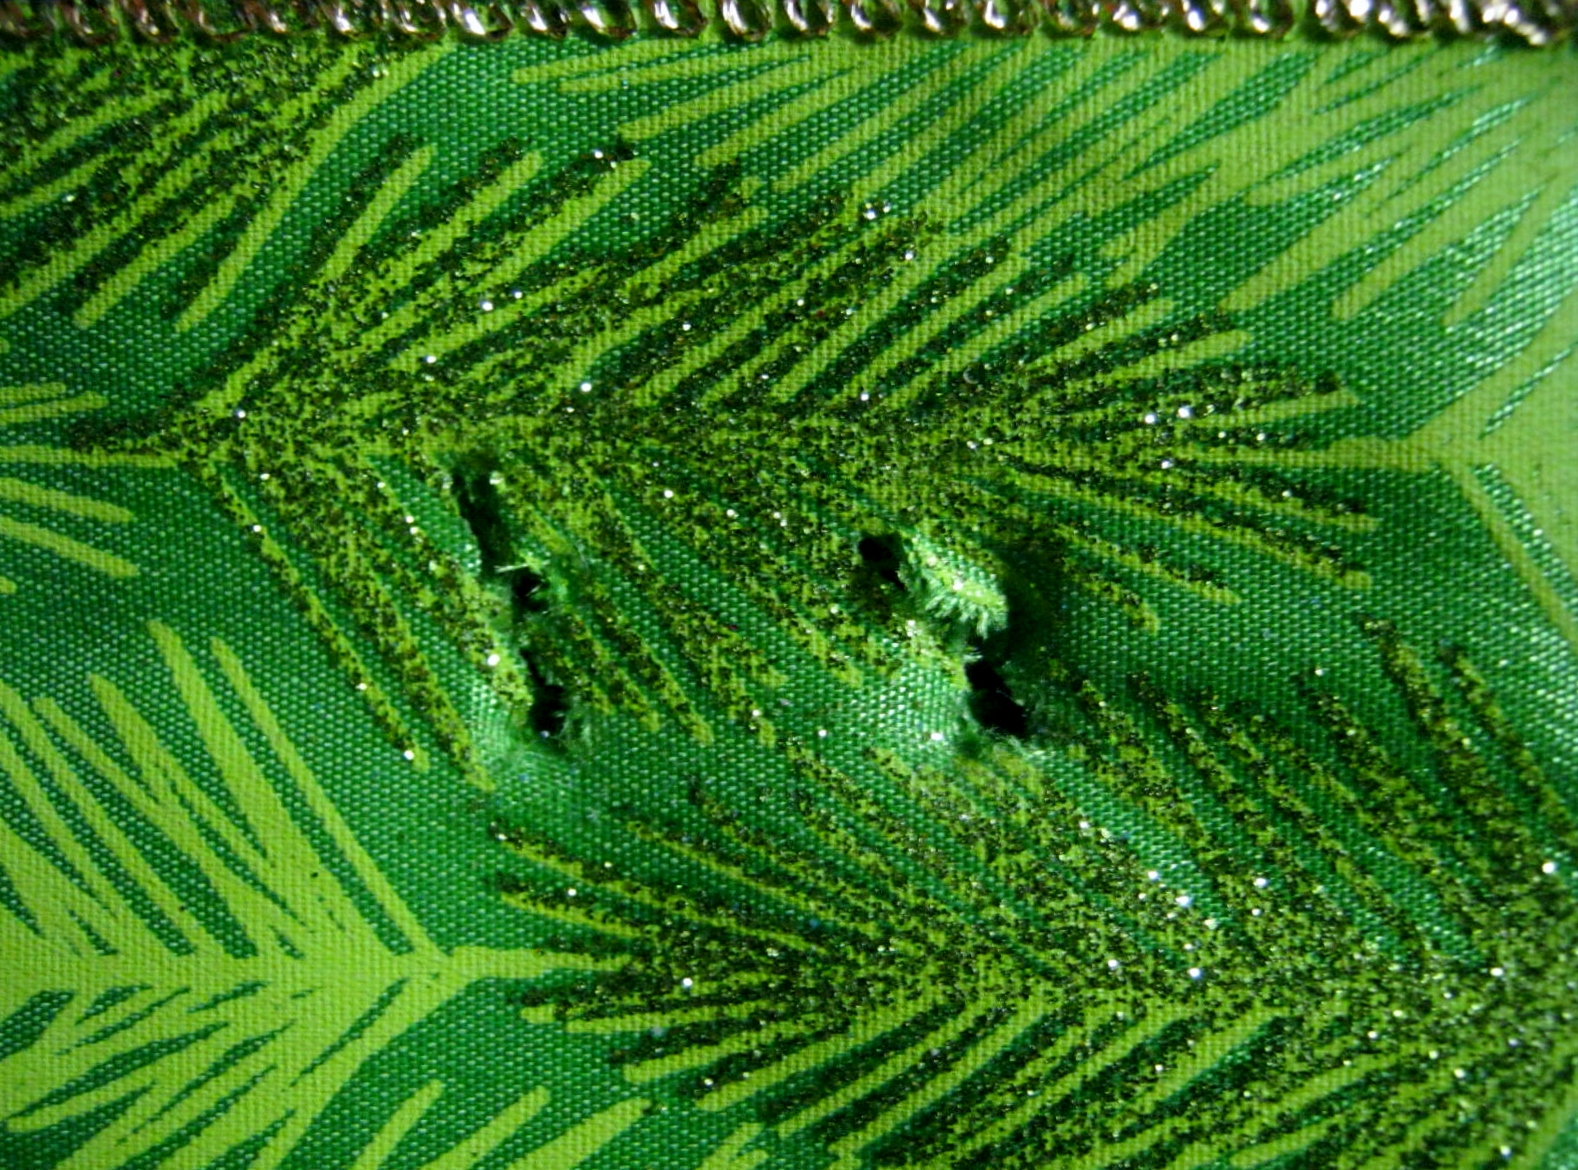
If you are using acrylic paint and want a touch of glitter, sprinkle the glitter on while the paint is wet. When the paint dries it acts like a glue and keeps the glitter in place.


I thought this would be a great time to share my favorite red/spaghetti sauce recipe. (Recipe at bottom of post) Years ago, I began experimenting with a good recipe I had found on the Internet. My family rated it a thumbs-up. Over the last decade I have adapted and changed it many times, until the recipe is my own.
The brand of tomatoes, jarred sauce and tomato paste has little to do with the finished recipe. Use your favorite brands, or what is on sale. If my local supermarket has a $1.00 a can sale on crushed tomatoes, I will buy as many as a dozen at a time. You see, the secret for my sauce isn’t in what brand I buy; the secret is in the onions.
I live with a husband who absolutely will not eat much of anything that has chopped pieces of onion in the recipe. I’ve learned how to cook without having pieces of the “offensive” onions in the finished dish. Sometimes that means using onion powder, or in the case of my spaghetti sauce, pulverizing the onion.
First, I chop the onion and “sweat” it. I’ve found that cooking the onion down in oil adds a harsh taste none of us likes. Although it goes against most advice on how to sweat an onion, I use water instead of oil. I gently heat the chopped pieces on a very low setting, in a non-stick pan, with a lid on to keep the moisture in. Stir often until the onions are translucent and soft.
In the meantime, add all sauce ingredients to a LARGE crock pot or an equally large cooking pot. The ingredients will almost reach the brim of the crock pot. You can cut easily cut the recipe in half, or even in thirds. I like to use fresh herbs, but dried will do just as well.
While you’ve been mixing the ingredients the onions should have softened. Remember to lift the lid and check them during the sweating. You don’t want them to have too many crispy edges. Excessive browning will add a bitter taste to the sauce.
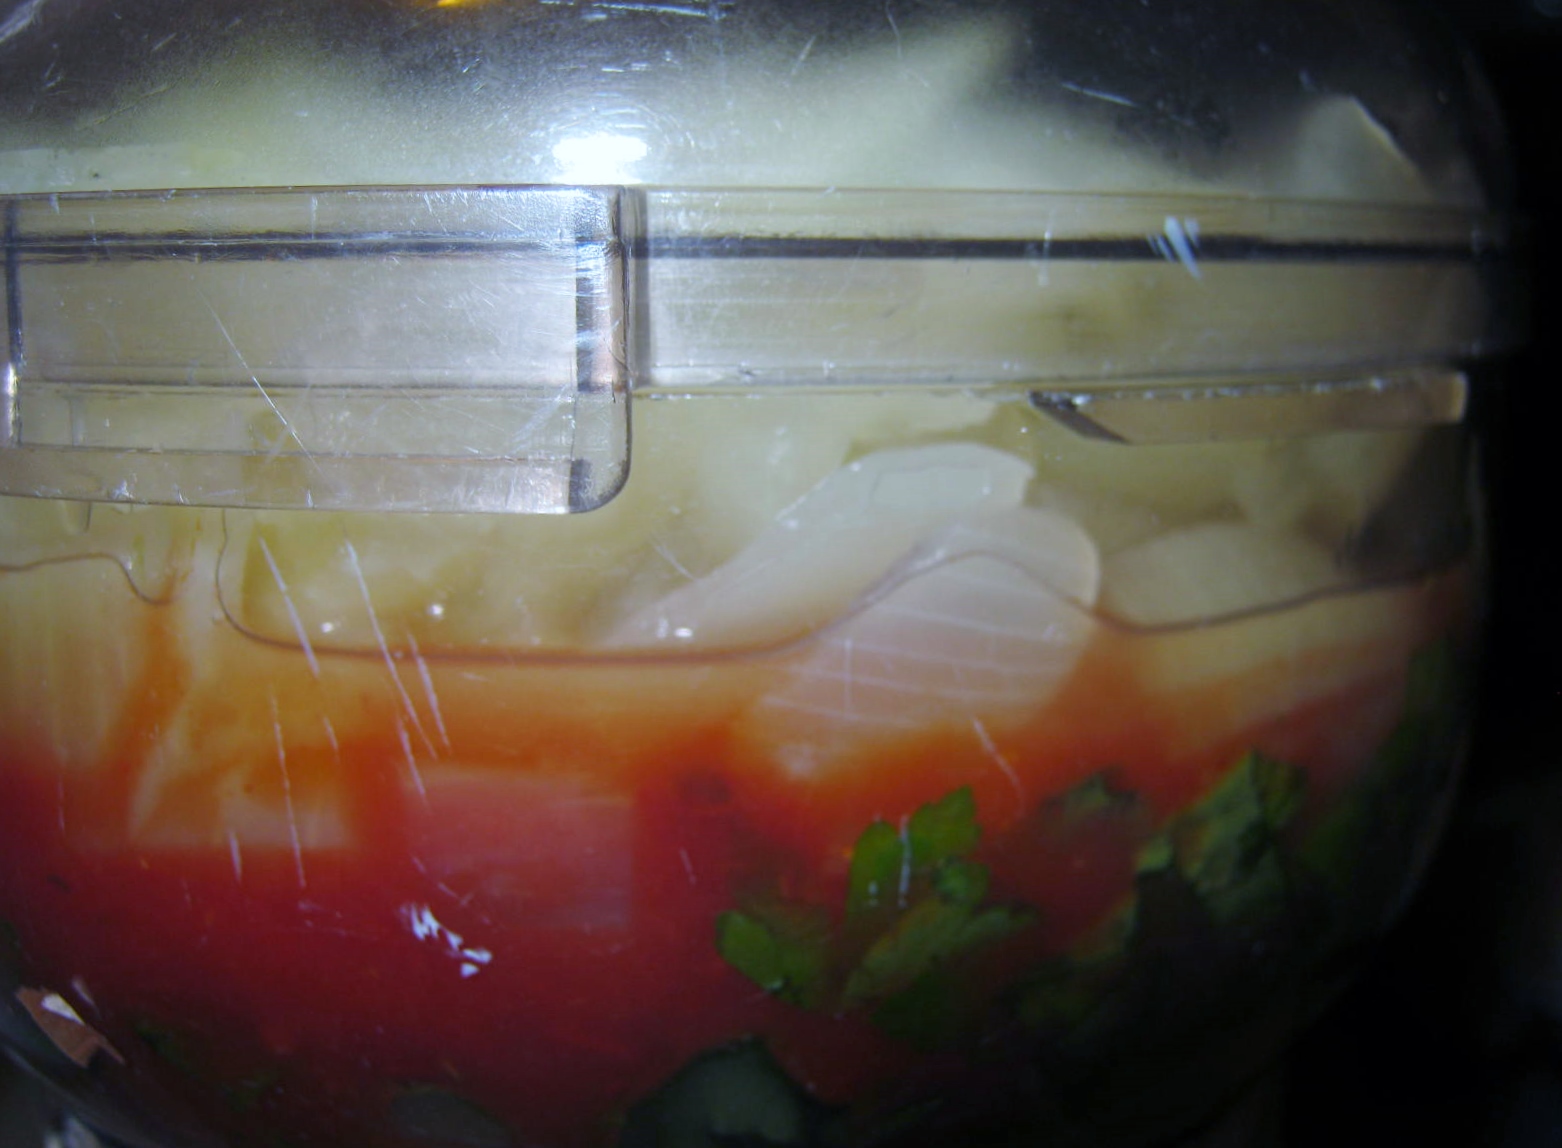
Place cooked onions inside a food processor, add a cup of the sauce you have mixed. Blend them until they are completely liquified. This is the secret! The onions exude sweetness and flavor into the sauce when they are blended. Add this mixture to the sauce and whisk together.
Now simmer the sauce for 2-3 hours on low in the crock pot, or at the lowest temperature possible on the stove top. When the sauce is finished I FREEZE* it in quart sized jars or in BPA free containers. The mixture usually makes 6 – 8 quarts. If you like meaty spaghetti sauce, add up to 3 lbs browned hamburger to the sauce after you blend and add the onion mixture. I prefer the sauce without the meat.
*Frozen liquids expand. Leave at least a 1 1/2 inch cushion of space at the top of your containers.
RED/SPAGHETTI SAUCE RECIPE
2 large or 3 medium onions chopped (sweated until soft and blended
with sauce in food processor)
3 29 ounce cans crushed tomatoes
3 24 ounce jarred spaghetti sauce
3 6 ounce cans tomato paste
3/4 C sugar
3 tsp garlic powder
3 tsp dried basil, or several leaves fresh chopped
1 1/2 tsp black pepper
1 1/2 tsp red pepper flakes (more if you like very spicy sauce)
1/1/2 tsp salt (You can add more as you adjust the taste)
1 1/2 tsp Italian Seasonings (or a blend of fresh oregano
parsley, marjoram)
* Optional 3 lbs browned hamburger for a meaty sauce.
(If you add hamburger, red sauce mixture must be heated 1/2 at a time.
The amount of sauce will be too large for one crockpot to handle)
Mix together, heat for 2-3 hours on lowest temperature. See directions & tips above.
(This recipe easily reduces by half or thirds)
6 – 8 quart canning jars. Freezes well.


My all-time favorite seed catalog has arrived. There is no mistake that I photographed the catalog on top of pillows and an afghan; this is the perfect entertainment for a cold night. The long, dark evenings of Winter pass quickly when you curl up in a comfy chair and dream of what you will plant come Spring. Baker Street Heirloom Seeds is a 350+ page masterpiece of seed offerings, how-to articles, history and gorgeous photographs. I purchased this version of the catalog. You can also order a 200+ page free version, but it does not have the articles and tips contained in the larger version.
Baker Creek Heirloom Website is definitely the first site you should visit if you order your seeds online. Happy Gardening!


“I will exalt you, my God the King;
I will praise your name for ever and ever.
Every day I will praise you
and extol your name for ever and ever.”
Great is the Lord and most worthy of praise;
his greatness no one can fathom.
Psalms 145:1-3 (NIV)
.


I love the Christmas canvas art I have seen in stores this year. I decided to create one in favorite colors with a theme word that matches my mood this year – JOY
Here’s a quick step-by-step in pictures.
Choose your canvas size, and three bottles of acrylic paint that are in the same color family. Have on hand paper plates or bowls for mixing, and three foam paint applicators. I used two large-sized applicators and one small one because that is what I had on hand. Next time I create something so large, I’ll make sure ALL my applicators are large.

I swished the colors on with the applicators, light color, darker color, light on top. I followed no special pattern or design. I wanted the finished color to have a bit of depth, which is why I chose to use three colors. You can use one, two, three or more if you are so inclined. Your choice is what makes the project special.
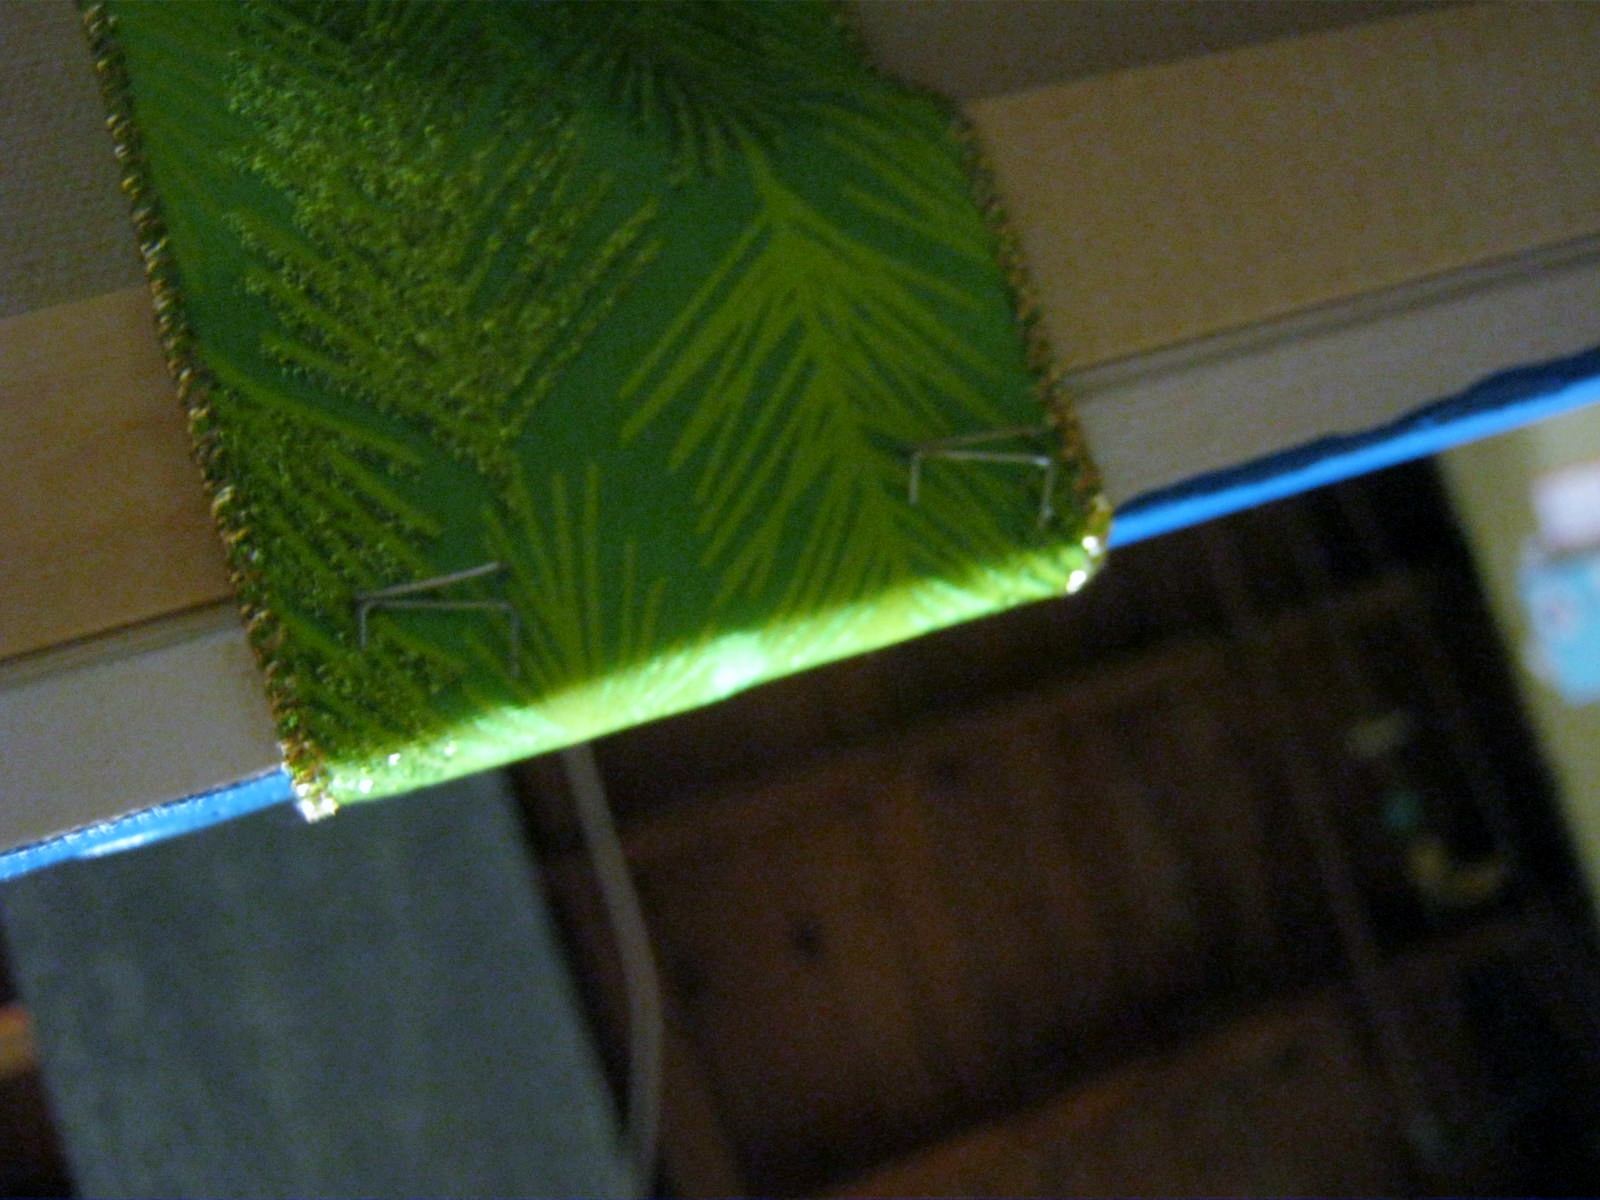
At this point I left the canvas alone for several hours to dry. When it was dry to the touch (watch those wet sides when you check it) I Crafted A Bow and tied it off with a piece of floral wire. (I had thirty feet of ribbon for this project) I ran two lengths of ribbon across the front to mimic a tied package. I stapled the ends of the ribbons behind the canvas on the wood stretcher bars, and then with a box cutter poked two holes where the ribbons crossed to insert the floral bow wire.

My letters of Joy were next. I used Gorilla glue for this project. If it was a canvas for indoor use I would have used my glue gun. My experience with glue guns is that in cold temperatures the glue releases its hold. Gorilla Glue, although good for outdoors, is touchy too. Here’s a whole youtube video I found on what NOT to do with Gorilla Glue.
Gorilla Glue expands double, maybe triple, beyond where you place it. Beware of this tendency. I ran a very thin line of glue in the center of each letter and put them in place. I let everything dry overnight.
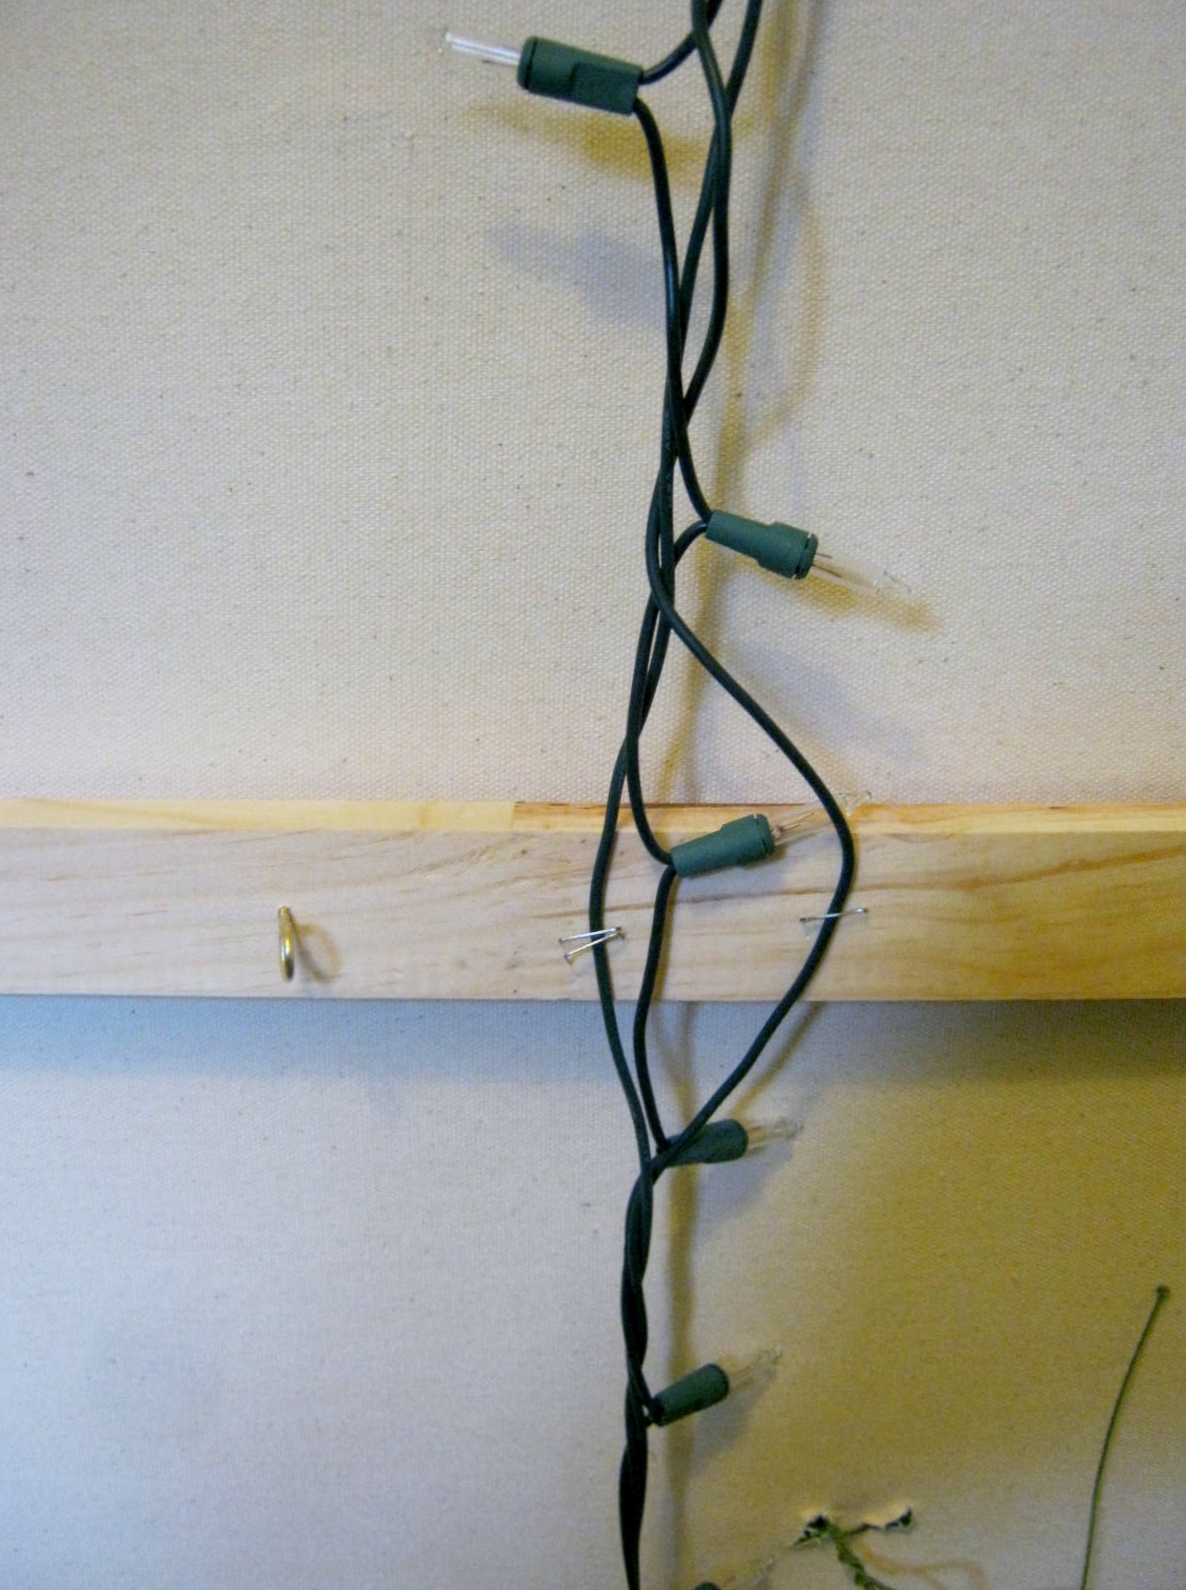
The next day, using the staple gun again, I attached a string of lights around the edge of the canvas. I had some extra, so I ran that bit up behind the canvas.
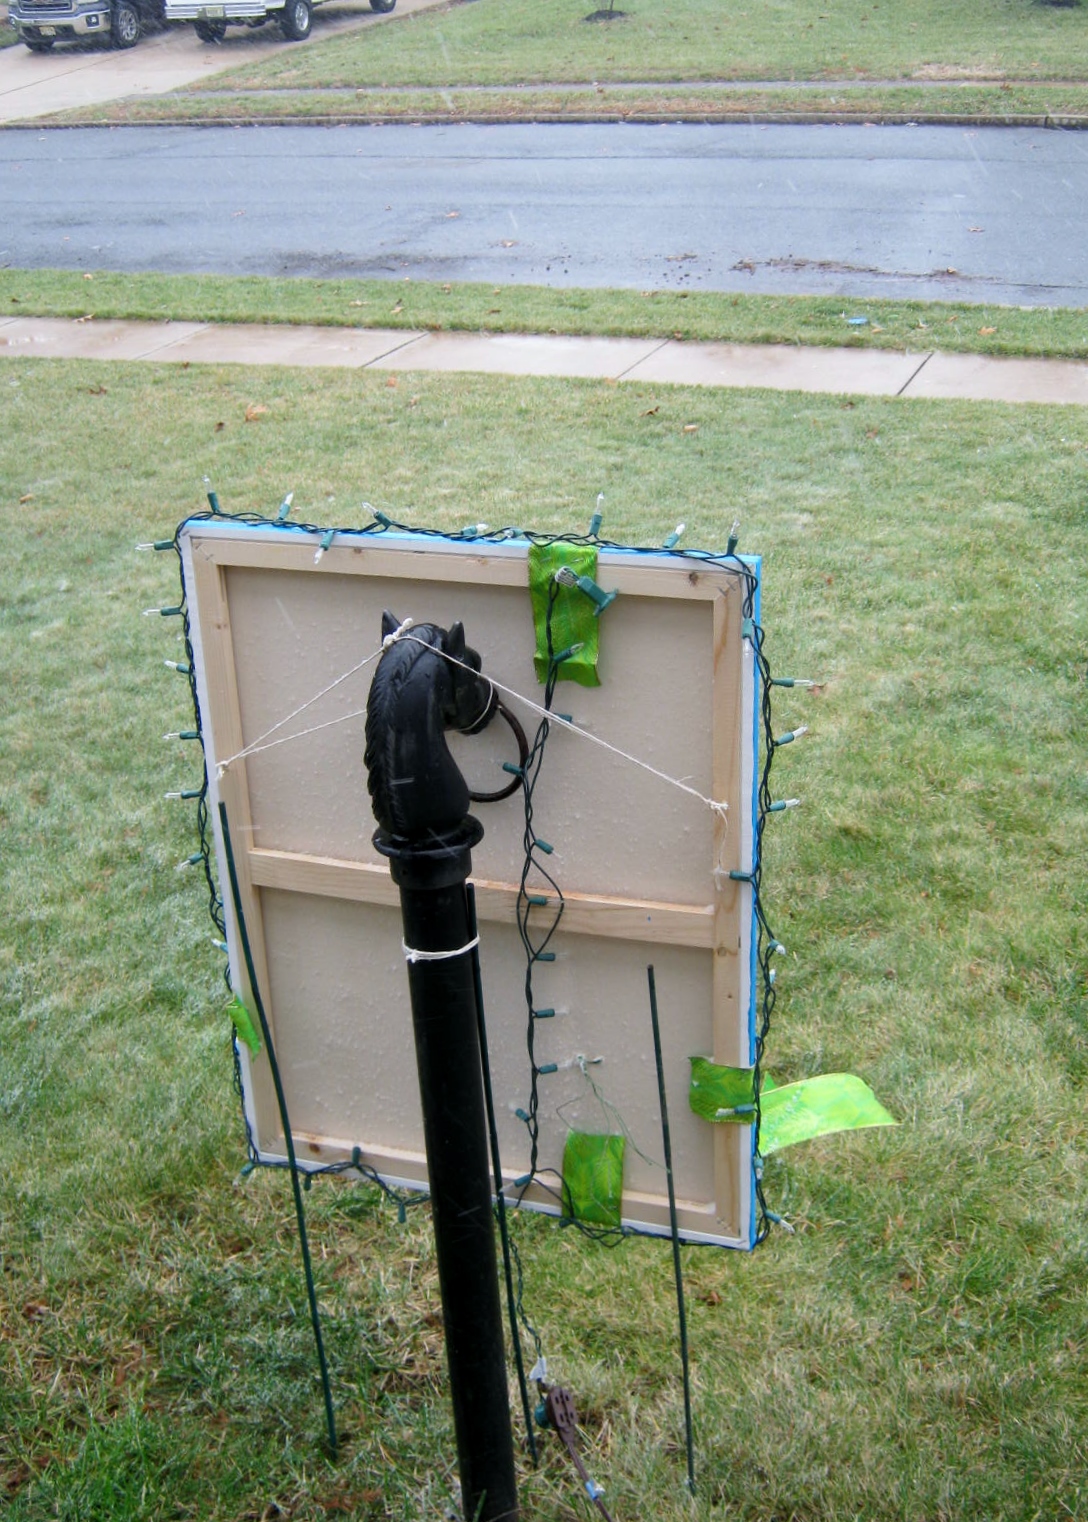
Hanging it was a challenge. My first choice was on a Shepherd hook. No good! Even stabilized from the ground with string and anchors the canvas caught and swirled in every breeze.
My final solution was the horse hitching post by my front porch. The sturdier, lower post was perfect for hanging. The ears and large pole formed a good anchor for many, many strings. Next year when I hang my canvas, I will think ahead and cover the back to hide the mechanics. But hey, the only people who will see the back are the mailman and those who leave my home. Hopefully, they will stay until dark and not notice!

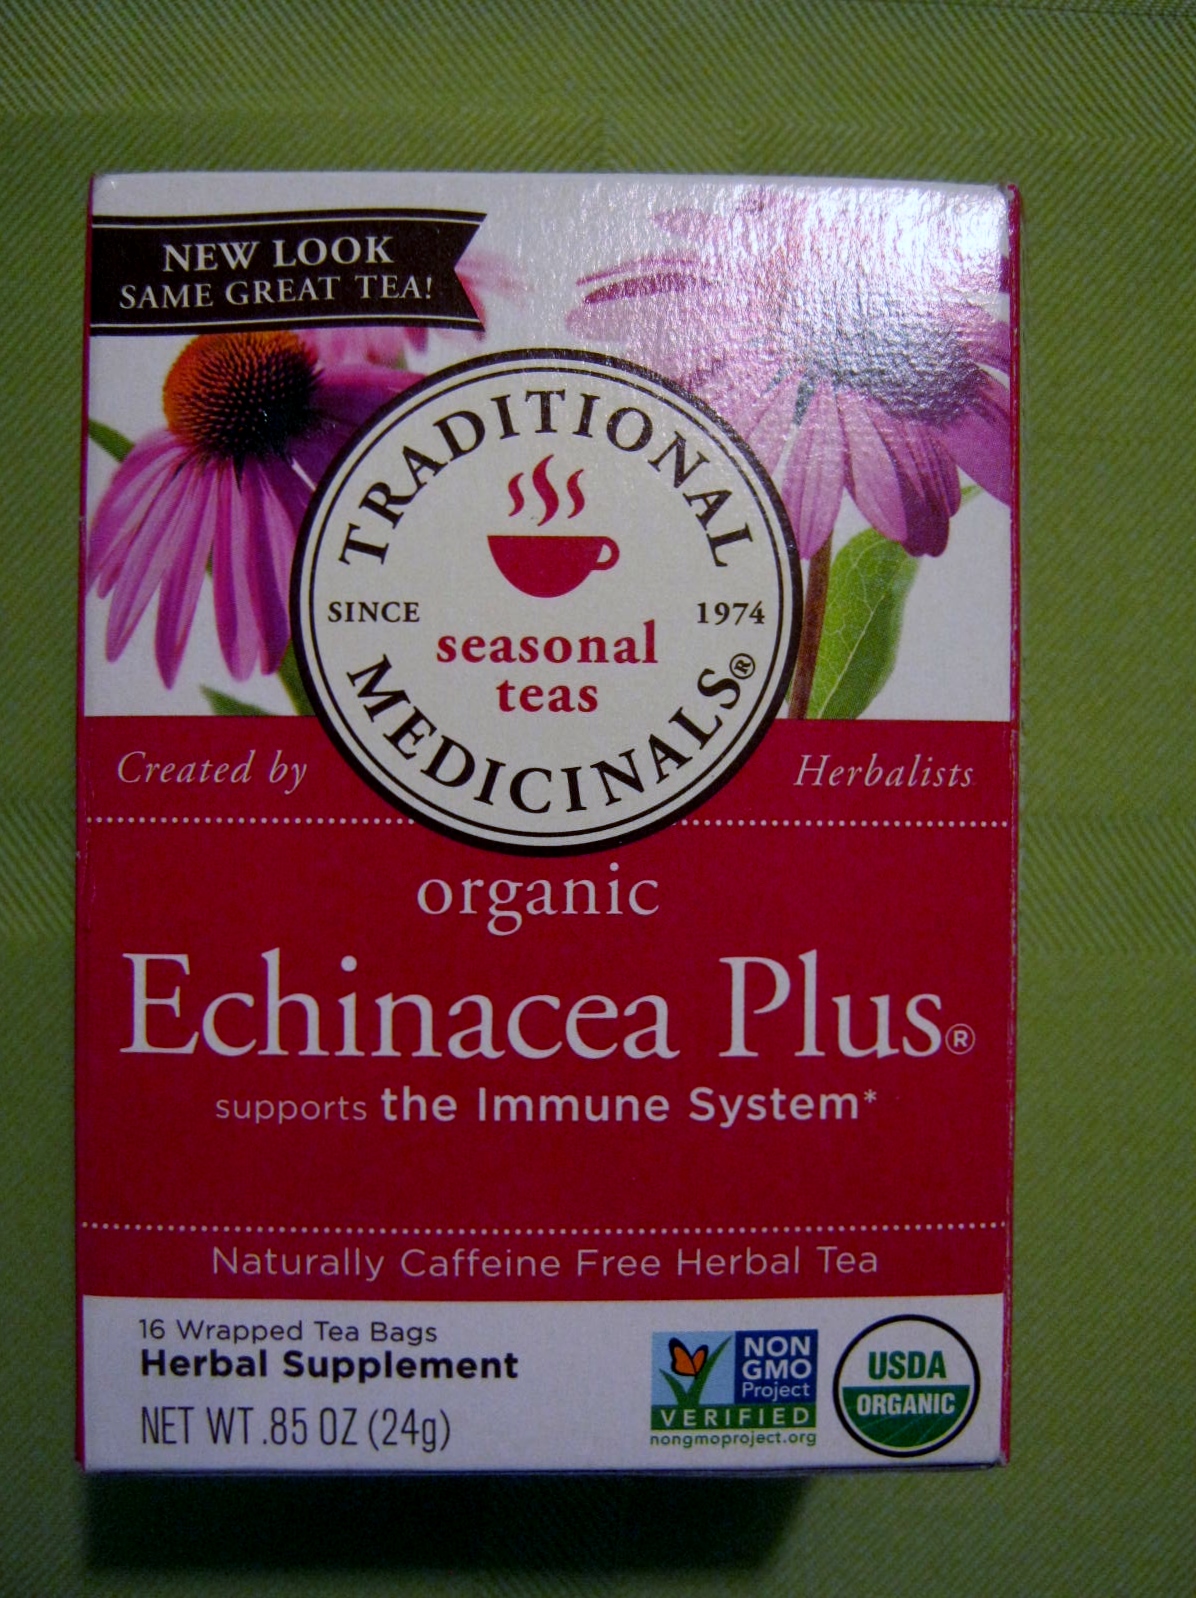
Echinacea is a terrific supplement for enhancing your immune responses. I like to use Echinacea in tea form. The warmth of the brew seems so much more conducive to believing you are being boosted than popping a supplement. The taste is rather nondescript, so to enhance and cool the tea, I add a splash of my favorite fruit juice.
There are some precautions on who should take Echinacea. The University of Maryland has a good article on the do’s and don’ts of using Echinacea.
Echinacea is also a terrific garden plant, and one of the workhorses of my gardens. Not only are they beautiful when cloaked in their summertime blossoms…

They also form attractive seedpods that help supplement the diet of local birds all through the winter. I think they are beautiful dappled with yesterday’s light snowfall.

My Echinacea grows best in 6 -8 hours of sun per day. Planted near the birdfeeder, the plant provides both a meal and a resting place for birds throughout the entire year.


Broccoli sprouts are a superfood. Part of the cruciferous family of vegetables, broccoli packs quite a nutritional punch as a cancer prevention, respiratory health enhancer, and decreaser of triglyceride levels. “Sulfaraphane-rich broccoli sprouts may be the key to lowering your risk for heart disease,” says an article at Healthy Eating. “Young broccoli sprouts contain up to 50 times more of the antioxidant sulforaphane than broccoli.
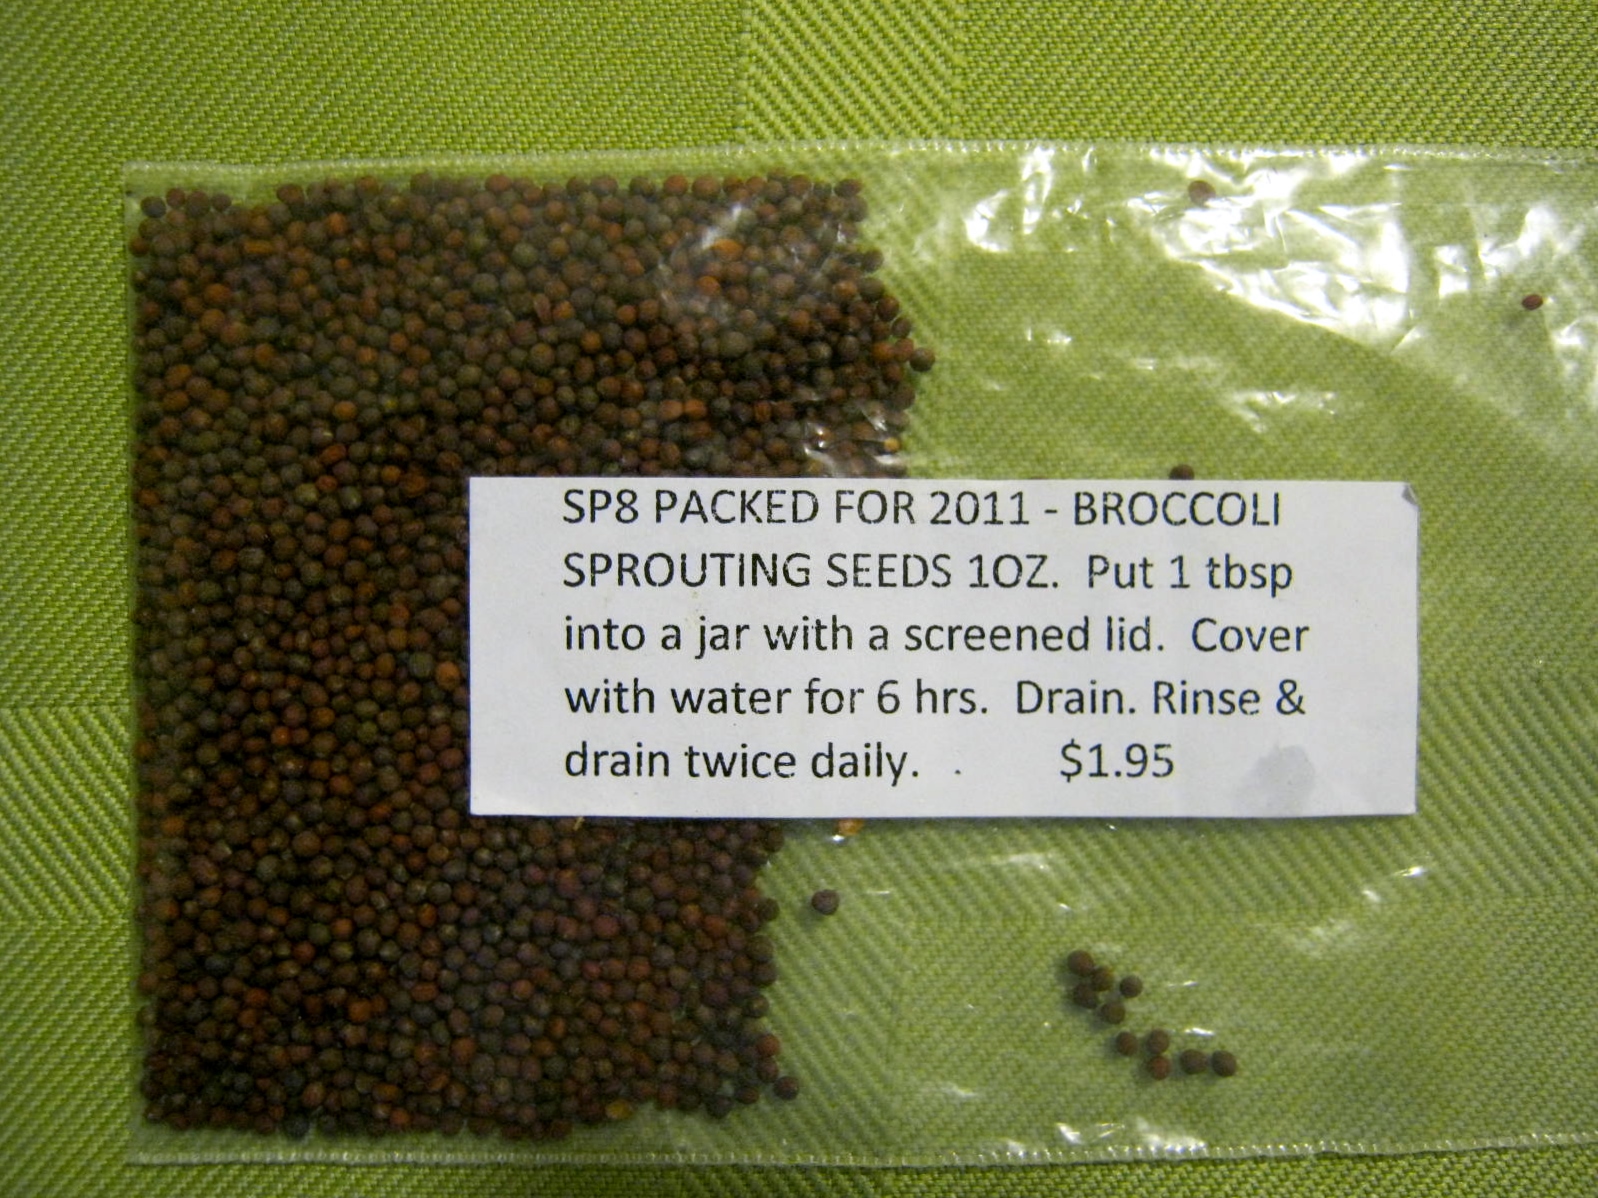
Five to seven days ago I found an old packet of broccoli sprouting seeds that I’ve had since 2011. I wasn’t sure if the seeds were still viable, but rather than waste them, I put them in water to soak for 24 hours. When the time came to drain the water, I covered the glass with a sprouting lid and drained the water away. For the next few days I rinsed the seeds with water twice a day and let the glass drain upside down at an angle. Even though the seeds were not fresh, most sprouted for me.

If you don’t have a sprouting lid, there are many other alternatives: cheesecloth, netting, I’ve even used old pieces of lace rubber-banded around the top of a glass or jar.

To remove the spent seed hulls I soak the sprouts in a bowl of water. The seed hulls float and gather at the sides of the container. I remove these by running a finger around the edge, depositing the hulls in the sink to wash down the drain. Any seeds that don’t sprout usually drop to the bottom of the bowl, making for easy removal.
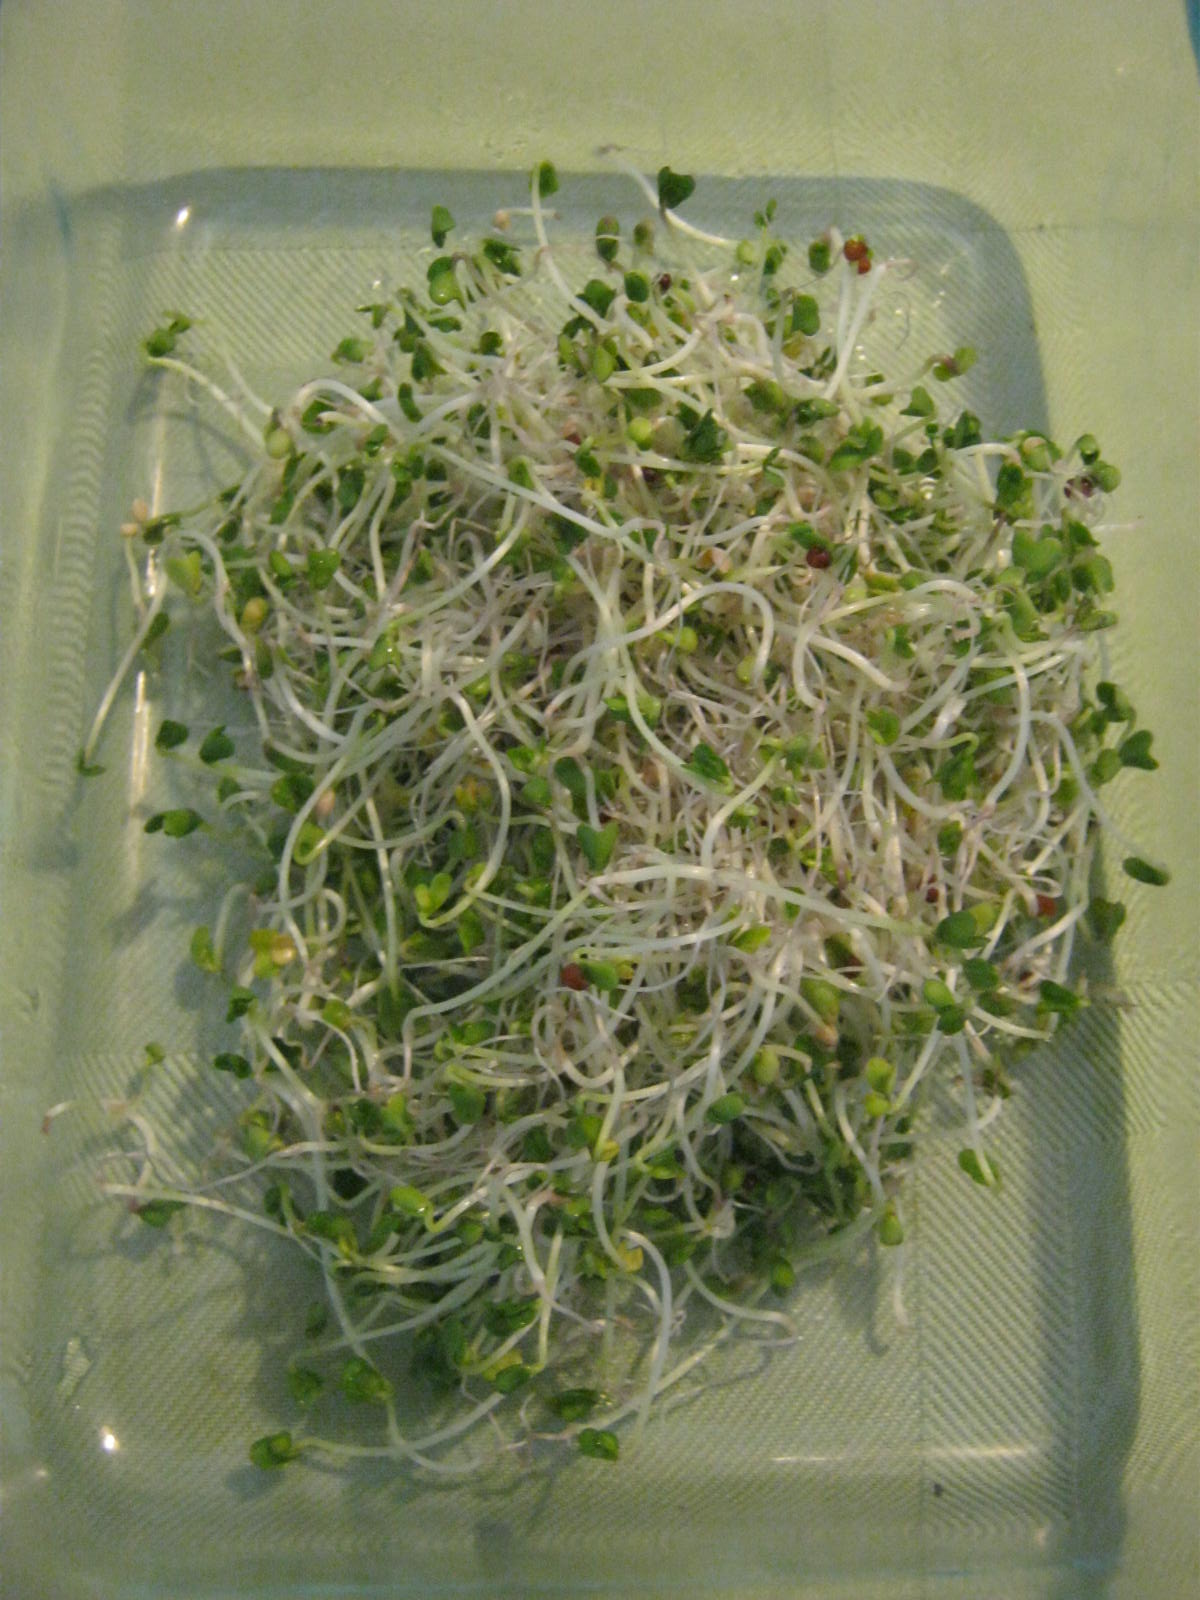
If you don’t eat your sprouts immediately please refrigerate them. They will stay fresh for several days stored in a chilly environment. I use my sprouts on sandwiches, in salads…once I even used alfalfa sprouts in a meatloaf, trying to sneak in extra nutrition for my family…problem was the small plantlets stayed a brilliant green…well, you know the story about some people and eating “GREEN FOOD!”
My favorite source of sprouting seeds and microgreens is Pinetree Garden Seeds and Accessories. I find them very reliable, the seeds they sell stay fresh for me for years if stored in a cool, dry place. Give sprouts a try…your immune system will thank you.

Photo Challenge – Gone But Not Forgotten – Strathmere, NJ – X Marks the Spot
Show us something that is lost, but not forgotten.

My husband, our children, and our children’s children all love the beaches at Strathmere. The trouble is Strathmere beaches are prone to erosion.

I’ve always loved this picturesque grouping of pilings that form an X on the beach. I will joke with my husband and say, “There is buried treasure under there.” Several years ago these same pilings were covered over in a beach replenishment project. Strathmere beach, for a time, was a wide, smooth stretch of fine white sand and nothing else. The Atlantic Ocean had other ideas though, in just a few years, the pounding waves, and N’or Easters, much like the one we are experiencing this week, uncovered the pilings once again.

The ocean is fickle though, and just as easily could throw a blanket of sand back over the pilings during a wicked storm or hurricane. So these pilings, and this beach on the Jersey Shore, were the perfect answer to this week’s WordPress Photo Challenge.
More information about Strathmere beach erosion can be found at Philly.com. Erosion – and what to do about it – worries Strathmere homeowners

These are three of my favorite Christmas films. Without fail, I watch them every year. “The Nativity Story” is hands down my favorite. I have it on DVD, and even watch it throughout the year.
“The Christmas Story” is also a favorite. One or another channels usually plays this all day long on Christmas. We have no problem dropping in and out on Ralphie and his family throughout the day. It doesn’t matter that we have seen it over and over again for years…we still laugh at our favorite parts. Flick licking the frozen pole never fails to make us laugh and wince at the same time.
“A Christmas Carol” starring a favorite of mine, George C. Scott, is also required viewing in our home. I think it the best version, but perhaps you have a different favorite of this timeless tale.


I found this small kitchen gadget while shopping for Christmas presents in my local Target store. I picked it up, took a look, and immediately decided this was a present for myself. I use fresh herbs weekly, if not daily, in my cooking. I grow them on my kitchen windowsill in the Winter, in the outdoor kitchen/herb garden in the Spring, Summer and Autumn. One problem I have, especially with the smaller leafed herbs, is removing the foliage from the stem without driving myself batty. When I cook up soups/stews the stem is fine for adding to the broth, it can easily be removed when the stewing is complete, but I don’t want to have pieces of stem in salad dressings and other non-cooked foods. This small gadget perfectly strips leaves away from the stem and drops them in the bowl of the spoon, or as in the case of the oregano in the photo below, forms a sweet rosette within the confines of the stripping hole.

I wish I had thought of using this technique throughout the years I’ve relied on fresh herbs. If you can’t find this amazing little gadget, priced under three dollars, you might be able to whip one up yourself using a measuring cup or spoon. I think if you drill or create graduated holes around the top of a plastic cup you will be able to strip herbs as easily as with this terrific little kitchen tool.


This is a repost of a favorite party bite of my family and friends. Try it! Very easy to make and guaranteed to please.
This remains one of my favorite recipes for a treat. Everyone loves the delicious bits of pretzel, chocolate and pecan. Try them…they are super-easy!
crop")
Rollo Pretzel Bites are a great recipe for the absolute perfect bite. There are only three ingredients involved: Square waffle type pretzels called “Snaps.”

Rollo candies, a bag or a roll. A bonus with the roll type is you do not have to unwrap each piece of candy.

The third ingredient is pecan halves.

I used my toaster oven set on a very low temperature, around 275. I arranged the pretzels on the pan.

A Rollo candy is placed on top of each pretzel…

Then I put the pan in the toaster oven and watched until the bottom of the Rollo began to spread out and melt. It only took a few minutes.

To finish them off I laid one pecan half on the top, smooshed it down gently, and there I had it…in just a few minutes…the perfect bite. Yum!
They are a bit pricey to make since pecans are so expensive right now, but definitely worth it.


I am always entranced by branches covered with lichen. The frilly growth, the lovely greens…the possibilities…oh my. This type of lichen forms on decaying wood. I usually find them scattered on the ground after a drenching storm. The heavy winds and rain carry them to the ground. These lichen are known as foliose lichen
One problem I needed to deal with before I used the lichen branches was the bits of dirt and insects embedded in the wood. Some nature craft books recommend baking pine cones, branches, and other naturals in the oven to kill insects and/or their eggs. I didn’t want to destroy the beautiful softness or green color of the lichens, and the branches were larger than the dimensions of my oven; the solution: I soaked them in my laundry tub. This seemed to work for flushing out any stowaway insects. I weighted the branches down with plates, because of course…they float. Now I must come up with a project worthy of their beauty.

TERRIFIC WISDOM !!!
This two minute Youtube video was created by a church in Grand Rapids, but if you look around the community where you live you will find churches that have the same message as those expressed in this outstanding presentation.
