Problem-Solving – Gone to Seed Part II

IMG_2028

My Black-seeded Simpson recently went to seed due to the heat. Instead of pulling all of it out for the compost heap, I am leaving a few squares to grow on and form seeds. This will allow me to use the lettuce seeds they produce as microgreens and also give me plenty to sow in next year’s garden. A square of Cimmaron lettuce and some Arugula are now in the process of setting seed too.

IMG_2029

On my potting bench I have set up a seed farm to make the most of the last of my microgreen seeds.

IMG_1691

Most of these seeds are dated 2011, but still sprouted for me within a week. I am especially fond of the sprouting peas on top of my salads. I will let a few grow on and set some seed to harvest.

IMG_2030

If you’ve never heard of microgreens check out this post: Minding My P’s with Q – Microgreens

IMG_2031

Another good article on the nutritional aspects of microgreens can be found here: WEBMD report on Microgreens

IMG_2032

Follow Me on Pinterest

Problem-Solving – Gone to Seed Part One

IMG_1937

Such a sweet and delicate pink flower…lovely to look at, but irritating if you are trying to grow a root crop from the plant. This blossom was not supposed to show up in my garden. It is atop a radish plant. Instead of a flower the stem was supposed to yield a large and juicy radish buried beneath the ground. This year, I only harvested a piddling few radishes and they were small, very small.

I don’t feel so bad, my neighbor, who I’ve mentioned before is a terrific gardener, told me he never harvests the large-sized radishes the grocer offers. Perhaps it was the cool Spring that jumped past warm into hot weather. Anyway, long story short, my radishes have gone to seed.

IMG_1939

Most gardeners would pull up the plants and resow another late summer crop. I will probably do that at some point, but until then I am nurturing the seedpods…why? Well that is tomorrow’s tale. Until then…

Pheathers – Catbird Antics

IMG_1900

I’m partial to catbirds and mockingbirds. I love the way they can sing the song of many other birds. Mockingbirds tend to sit on the highest of trees in my neighborhood. From the top of their world they serenade me with amazing tunes. The catbird has quite a melodic voice too, but what I love best about a certain catbird who visits my yard is his/her ingenuity.

IMG_1891

My catbird has discovered the suet cage I have hanging on a shepherd’s hook in my herb garden. The suet feeder is made for smaller birds, or woodpecker/flicker types that can cling to the bottom and peck out suet from that vantage point. The cage will not allow larger birds or squirrels to get to the treat. The catbird is able to glean a few nibbles from what falls to the ground, but it does not satisfy him, instead it incites him to want, “more, More, MORE!”

IMG_1896

“What’s a catbird to do?” Why learn to hover like a hummingbird of course. This past week I stood at my back window and watched in amazement as this brilliant birdie beat his wings so fast he managed to hover beneath the feeder long enough to grab snippets of suet.

IMG_1897

I had to laugh when he peeked around the side and glared at me as if to say, “Humph, I guess I showed you.” I love my catbirds!

IMG_1899

The Catbird’s Song

Public Video Courtesy of: YouTube – Donna L. Watkins

Posies – Garden Bouquet

IMG_1919

I’ve added a new widget to my blog sidebar – “Garden Bouquet.” I thought it would be fun to display an ever-changing bouquet of what is blooming at any given time. Right now, daisies are having their “hey-day” in my flower beds. This bouquet features Echinacea, a Gerbera, and a few Black-eyed Susans. I’ve also added a stem of Four O’Clock, Violet leaves, Vinca vines, and some sprigs of Lavender and Verbena bonariensis.

By the way, after I succumbed to the big writing “no-no” of using a cliche , I wondered where the phrase “hey-day” originated. According to English Language and Usage “hey-day” has its origins here:

Hey·day [hey-dey] noun
1. The stage or period of greatest vigor, strength, success, etc.; prime: the heyday of the vaudeville stars.
2. Archaic . high spirits.

Planting – Belling the Tomatoes

IMG_1826

My tomatoes are beginning to set fruit and ripen. This is prime time for squirrels and other wildlife to begin taking a bite at random, ruining countless tomatoes over the course of the summer. My neighbor, a terrific gardener, told me the squirrels do this to quench their thirst when the weather becomes dry. I have a bird bath in the center of my Square Foot Gardens this year. Hopefully, the squirrels will use this rather than nibble at my beautiful tomatoes.

IMG_1827

In case this doesn’t satisfy them, I have “belled” the plants with large Christmas bells I set aside in December. I have red ones to mimic the red fruit, a few greens to resemble the unripe tomatoes. If biting into a hard piece of metal doesn’t deter the squirrels perhaps the “ting-a-ling-ling” will scare them away. Another solution I will try if all else fails will be a few pieces of fresh garlic pushed inside the bell.

I’ve tried this same idea with plain Christmas balls in the past and achieved a bit of success mixed with a portion of half-eaten casualties. I am hoping the addition of what I think might be a “scary” sound to a squirrel will work even better this year.

Quick Tip – Remove Tarnish From Silver

IMG_1703

The very tarnished pair of earrings in the picture above went from dingy and dark to sparkling and bright.

IMG_1795

It’s easy to remove the tarnish, all you need is aluminum foil, a teaspoon of salt, a teaspoon of baking soda, boiling water and a glass bowl.

IMG_1702

Boil your water, gently crumple foil to fit bottom of bowl. Lay silver on top of foil. If there is more than one piece make sure the pieces touch. Pour boiling water into bowl to cover silver pieces. Add baking soda and salt all at once. It will bubble and steam, there might be a momentary strange odor. The tarnish will bubble off of the silver.

IMG_1704

My earrings were heavily tarnished so I repeated the process. I also buffed off a few leftover specks of tarnish with white toothpaste.

This is an environmentally safe way to clean tarnish from silver. It is also a fun experiment for children to watch.

Pheathers – The Flicker

flicker

Photo Courtesy of: Flickr Photos and Shared through Creative Commons by Kenneth Cole Schneider

A bird exactly like the one in the photograph above visited my yard in the past week or two. I was thrilled when I first spotted him, and became even more enthralled when he whimsically jumped aboard my old-fashioned swing. He hopped around the yard a few minutes and then took to wing.

I immediately went to the computer and typed all his characteristic markings into Google. Larger sized bird, purple/black crescent on chest, spots, and a red stripe on head. I searched through images that came up and soon identified my “pheathered” visitor as a Flicker.

IMG_1708

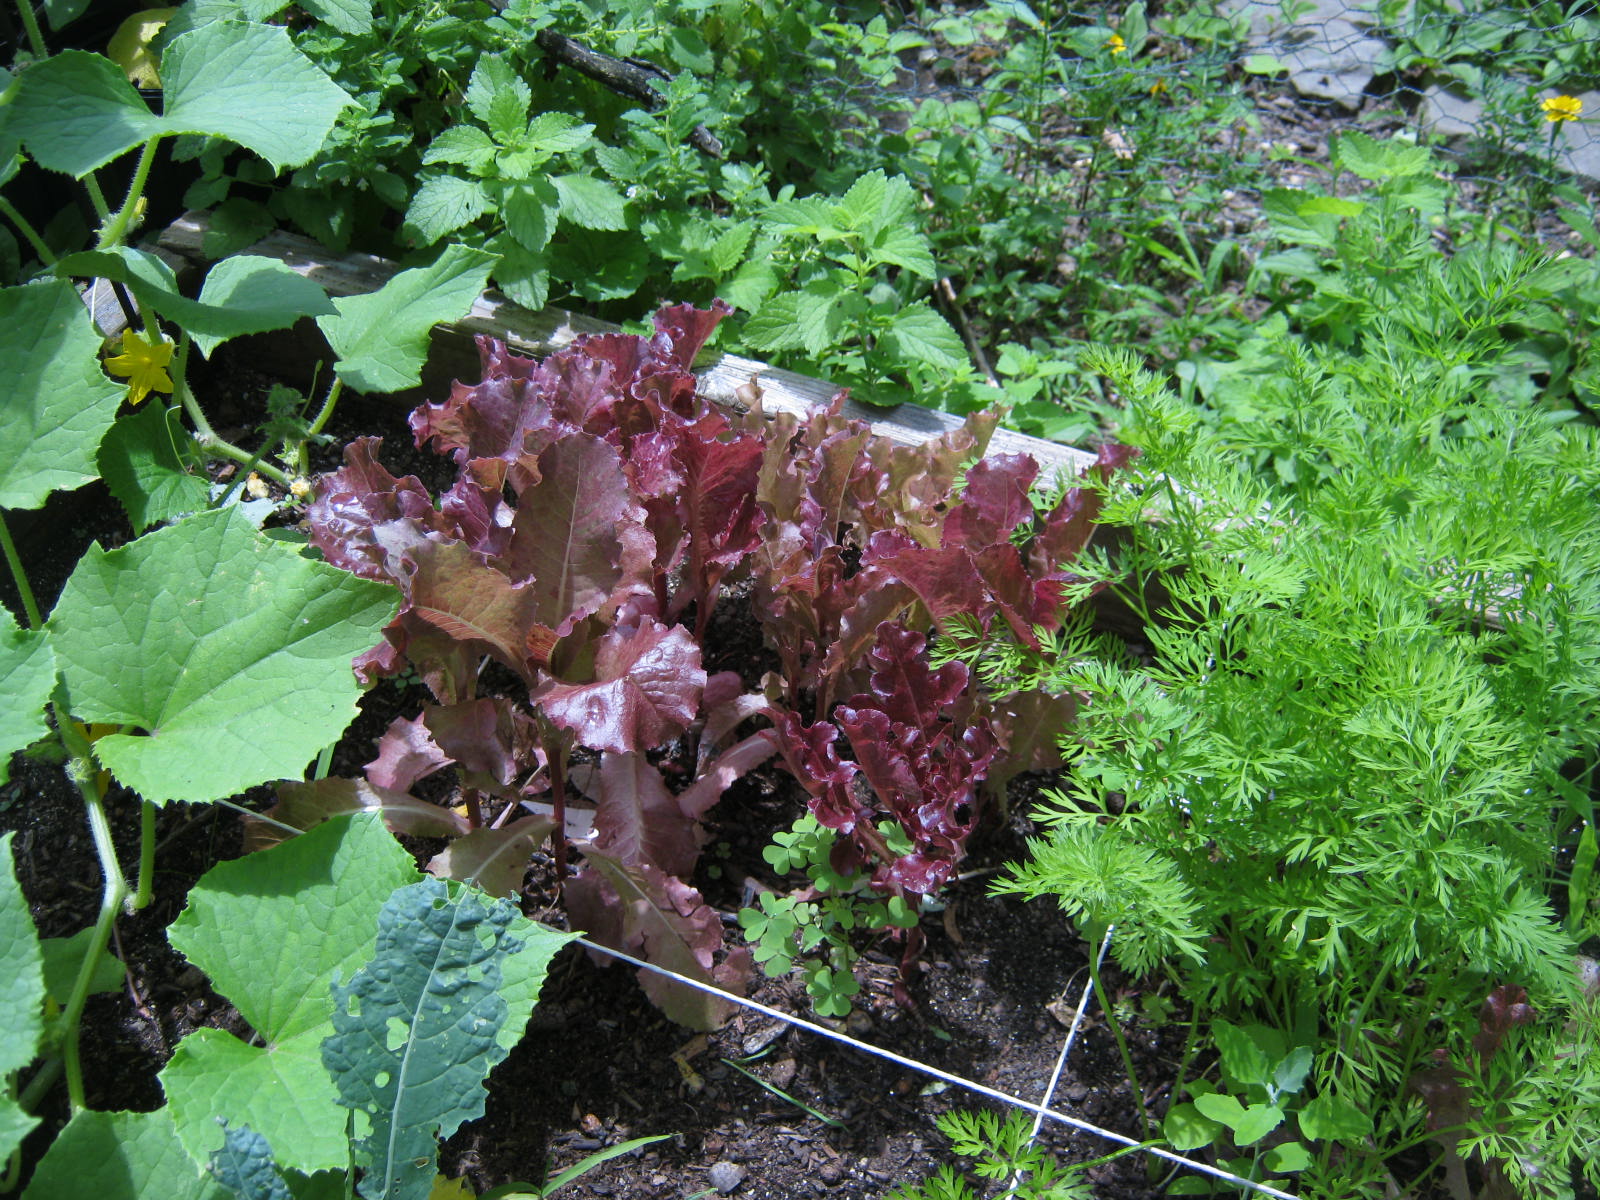
I have had a large variety of birds in my yard this year. I think it is due in part to this new/old suet feeder my father gave to me. It is protected from marauding squirrels by an outer cage, and seems to have drawn many more woodpeckers, flickers and other nuthatch type birds to the yard.

IMG_1709

I have two small bird baths, but this large-sized bath in the back garden is a popular place. I can look out all through the day and see birds drinking and bathing. I’m having a good time bird-watching this summer.

Here’s an addition to this post that I am re-printing here from the comment section. Thanks James!

IDEA:

“I took a plastic birdbath & drilled 2 small holes in it….1 in the base, & 1 in the dish.

I then took 2 couplers*(I think that’s what they are called) & inserted them in the holes(there are nuts & washers on both ends to tighten against the plastic).

I then used a small rubber type hose, to run from the base to the dish…secured each end of the hose with a adjustable hose clamp.

On the base, I added a converter so that I could hook up a garden hose to the bird bath.

On the piece that protrudes from the dish, I found(at a garden store) nozzle that clamps onto that piece….

now in the summer, when the birds need it most, they have a constant “shower” in which to bathe….and I get the honor of watching them as they do..

footnote:
where the couplers go through the plastic, I added a clear silicone sealant to keep out the weather & to keep in the gravel that I added to the base for ballast weight.
With this extra weight in the bottom, the bird bath is not so apt to get blown over during storms.
~~~~~~~~~~~~~~~~~~~~~~~~~~~~~~~~~~~~~~~~~~~
This DIY project may seem complicated to some, but it really isn’t hard at all, and it doesn’t take a lot of time once you get everything you need. & it’s cheap too!
I had most of what I needed, so it didn’t cost much…I think I spent $4 or $5 on the whole thing…but like I said, I had most of what I needed already.

I’m thinking about $10 for everything but the bird bath….maybe less.

*the couplers I speak of are hollow threaded tubes with a washer & a nut on both ends. these are made of steel, brass, or stainless steel.

stainless steel…….most expensive type, but the best quality
steel………………….moderately priced but cheapest quality
brass…………………cheapest cost but 2nd best quality “

Problem-Solving – Waiting for Perfect Conditions

“If you wait for perfect conditions,
you will never get anything done.”
Ecclesiastes 11:4

IMG_1796

I’ve read this verse in Ecclesiastes many times, but do I follow it’s perfect advice? Well, I’m sorry to say…not usually. And do I get anything done? Well yes, the things that matter, but do I reach for my dreams? Hmmm…sorry to say, sometimes yes, but more often than not I postpone them for fear conditions are just not right.

The cover of the scrapbook in the photo above was created by gluing squares of discarded watercolor paper to the front. Each piece is from a painting that I rejected after deciding it was just not good enough. I thought, and still think, that the effect of the squares is quite pretty. So pretty in fact that after years of having the book ready for scrapping bits and pieces of prose and art it still stands empty. I don’t want to risk messing it up.

IMG_1614    IMG_1615

I did have one or two pages inside devoted to my art, but I deemed them unworthy and pulled them out. WHAT am I waiting for? I am determined to start gluing and drawing and writing inside the pages of this book…this week…perhaps today!

Phlowers – Garden Lilies

IMG_1476

Lilies are blooming in the garden this week. I’m pleased with several of the new varieties I planted this year. I had quite a laugh over the lily in the photograph above. This flower grows near one of my bird baths. Within the petals I spotted a mulberry, left there by a resourceful bird as he bathed. I guess he was also a bit forgetful and flew away after his bath without the prize.

Here are a few of the garden lilies in bloom.

IMG_1595

IMG_1592

IMG_1593

IMG_1588

IMG_1475

Project – Fourth of July Windsock for Kids

Fourth 2

The Fourth of July is a week away. Today is the perfect opportunity to create a patriotic windsock.

Start with a coffee can, or substitute any other round and sturdy structure that can be spray-painted and decorated. Tear away any paper or outside covering. You need to add two holes on either side of the bottom about 3/4 of an inch down. This is not easy, and is definitely a job for the adult supervising the project. I tried punching a hole with a screwdriver first, and found it hard to break through the sides. The hole it created was also too big. A sharp, large-sized nail worked much better for me. A few taps and it punctured the side of the can and left a nice-sized hole. I placed the coffee can on a rug while I hammered to keep it from sliding around.

IMG_1572

CRAFT TIP

IMG_1571

To give a tin can more substance when punching holes with a nail or other sharp object, fill can with water and freeze. The frozen water gives the can solidity and keep the sides from collapsing. One note, the freezing water will also cause the bottom of the can to rise up a bit. This can easily be flattened out with a hammer.

Fourth 4

The can needs to be painted before you begin the decorating. We used spray paint…quick, easy, and when done outdoors there is very little to clean up. The sides and top needed two coats of paint. We did not paint the inside of the can. Acrylics, brushed on with a foam brush, will work also, but since they take longer to dry the can should be painted the day before the decorative touches are added. Another idea to try if you have plenty of time is to decoupage paper onto the sides with ModPodge.

IMG_1666

We used red, white and blue foam stickers. All the boys needed to do was peel the backing off and place them against the can. It was fun watching them work at creating a masterpiece.

Dollar store satin ribbon was the perfect choice for the long strips that hang from the bottom of the can. You could also use strips of fabric, yarn or string, anything that is light enough to blow in the breeze without tangling. A quick grab glue would work well, or a thick tacky glue. We didn’t have a lot of time, so we used a glue gun for speed. Since my glue gun is the “hot” type I glued the strips inside the can.

Fourth 3

We found gluing the ribbons into the can opposite each other helped us correctly space out the pattern. When the glue was set we wound two red pipe cleaners together, threaded them through the holes and hung the windsock on an outdoor hook. FUN!

Fourth one

Follow Me on Pinterest

Pots & Pans – Throwback Thursday/Patriotic Muffins

It’s the perfect time of year to reblog one of my favorite recipes. Fresh fruit is plentiful, and happily, for the Fourth of July blueberries and luscious red strawberries can still be found. I baked a batch of these up last night, and amid my family’s, “yums,” and “ahs,” knew it was time to post the recipe again. Enjoy!

Years ago, many, many years ago, when I was a new bride, my cousin Norma hand-copied dozens of her favorite recipes and put them in a binder as a wedding gift. I have cooked up many of these recipes, but my all-time favorite remains her muffin recipe. It is a very basic recipe that makes about 18 muffins. I have added all kinds of fruits and without fail the muffins turn out. Once in a while, when I am feeling in the need of cooking even healthier, I will use half wheat flour in place of the white. These muffins are good for using the harder strawberries the supermarkets often sell at a great price. The berries soften and the flavor is intensified when they bake. I’ve included Norma’s recipe at the bottom of the post. Happy Baking!

blog 004

Tempting Tip: Always slice a muffin vertically rather than horizontally. That way you get a bit of the muffin top in every bite. Delish! These muffins taste even better when lightly toasted and buttered.

blog 005

Norma’s Muffins (I think I have shared these in a previous post but the recipe is worth repeating)

3 Cups flour ( you can substitute half wheat flour, makes a heartier tasting muffin)

1 Cup sugar

4 tsp baking powder

1 tsp salt

2 beaten eggs

1 Cup milk ( can be 2%)

1/2 Cup salad oil

Mix all ingredients together. Do not over-mix. (causes toughness) The batter will be a bit lumpy. Bake at 400 degrees for twenty minutes. Makes about 18 muffins. The recipe can also easily be halved or doubled.

Plant & Problem-Solving – Campanula punctata

IMG_1453

I’m a little embarrassed to admit an error I have made for several years. My mistake? Cutting down and actually trying to root out the beautiful plant in the photograph above. The reason: I forgot I planted it, and the look of the foliage reminded me of a rampant weed that invades my garden. So of course, I worked hard each Spring to eradicate the intruder from my flower bed.

IMG_1455

This year the foliage returned, lusher and more determined than in past years. Because the extra-snowy winter we experienced had killed off many of my bushes and perennials, I decided the glowing foliage really wasn’t bad in appearance, and perhaps the green would be a good foil for the mandevilla plant I was growing in a pot nearby. Imagine my surprise when small buds began to form. I decided they were going to open into the insignificant flowers of a weed. Within a few days the buds became more interesting, opening a week or two ago into beautiful purple-flecked bells.

Oh my, I’m in love with this plant. I researched the flower image on the Internet and identified it as Campanula punctata, commonly known as a bellflower. Campanula punctata can be a bit invasive, but is also graceful, beautiful, and as my cutting revealed…very persistent in growth. Once again, I’m reminded to write every plant name and location down, and keep a permanent record of all my garden plantings.

IMG_1452

Here’s a bit more information on this lovely plant: Campanula Punctata

Pleasures & Plants – Volunteers 2014

In blog posts of past years you will find me praising the season’s “volunteer” plants. Volunteer plants are those whose seeds have slumbered in the earth through the winter. These seeds spring to life when the temperatures become warm. Volunteer plants are one of the top reasons I don’t mulch my flower beds. Besides being filled with unwanted chemicals and dyes, a heavy layer of mulch smothers any hope of volunteer sprouts seeing the sun.

IMG_1439

When I spotted the pink trumpet of this petunia growing in the crack of my front sidewalk I was astounded. How had the small plantlet survived the tromping feet of my grandchildren, the mailman, myself and my husband, and other visitors who come to my front door? I knew I had to try and save the petunia. It was definitely living on “borrowed time.” Sooner or later the sole of a shoe would smash it’s tender blossoms and leaves into the unyielding surface of the concrete.

I knew that pulling the petunia from the scant dirt between the sidewalk blocks would be doom. The roots that it had so steadfastly sent into the soil would be torn away and the plant would wilt and die within an hour. What was the solution? Perhaps I could loosen it a bit with a plastic knife, and then gently tug until I could pull it away from the confines of the concrete.

IMG_1440

IMG_1441

Happily, for both of us, the knife worked. The plant loosened its grip, I tugged, it left its first home. The small petunia is now planted in a bare spot in my front garden. After the passing of several days, it is still alive and thriving in the hot summer sun of June.

IMG_1444

I have dozens of volunteer plants springing up in my gardens. At times I let them grow where they have begun, but often I dig the sprouts up and move them to bare spots. Happy Gardening!

IMG_1450

IMG_1447

IMG_1460

Check out this terrific article on the Mother Earth News Website: Volunteer Plants: A Garden Bonus

Planting & Pleasure – Anticipation

I grow the type of garden kind people would label a “tapestry” garden. Acquaintances who are blind to the charms of my flower beds might call it a tad “unruly.” Those who are hard-hearted garden snobs would snort and pronounce my gardening endeavors as being in serious disarray, not well-planned or color-coordinated.

Perhaps all of the above are correct, except for the accusation my gardens are not well-planned. They are very well-planned indeed. You see, I LOVE not knowing exactly what color most of my annual flowers will be when they burst into bloom. Case in point, the zinnia in the photographs below. As the tips of the petals emerged, the joy and anticipation that filled me was intense. In a few days I knew I would see the color of the zinnia. I love a surprise! I wasn’t disappointed when the zinnia bloomed. What a gorgeous shade of pink. I’m thrilled for I have several weeks to enjoy watching annuals and wildflowers burst into bloom. Oh my…I could shout aloud a “Hallelujah!” for the joy of it. Happy Gardening!

IMG_1473

IMG_1472

IMG_1527

Photographs – Welcome Summer/A Bird’s Eye View

IMGP3737
Welcome Summer! I love this view from the bridge that crosses from Corson’s Inlet State Park to Strathmere, New Jersey.

IMGP3738