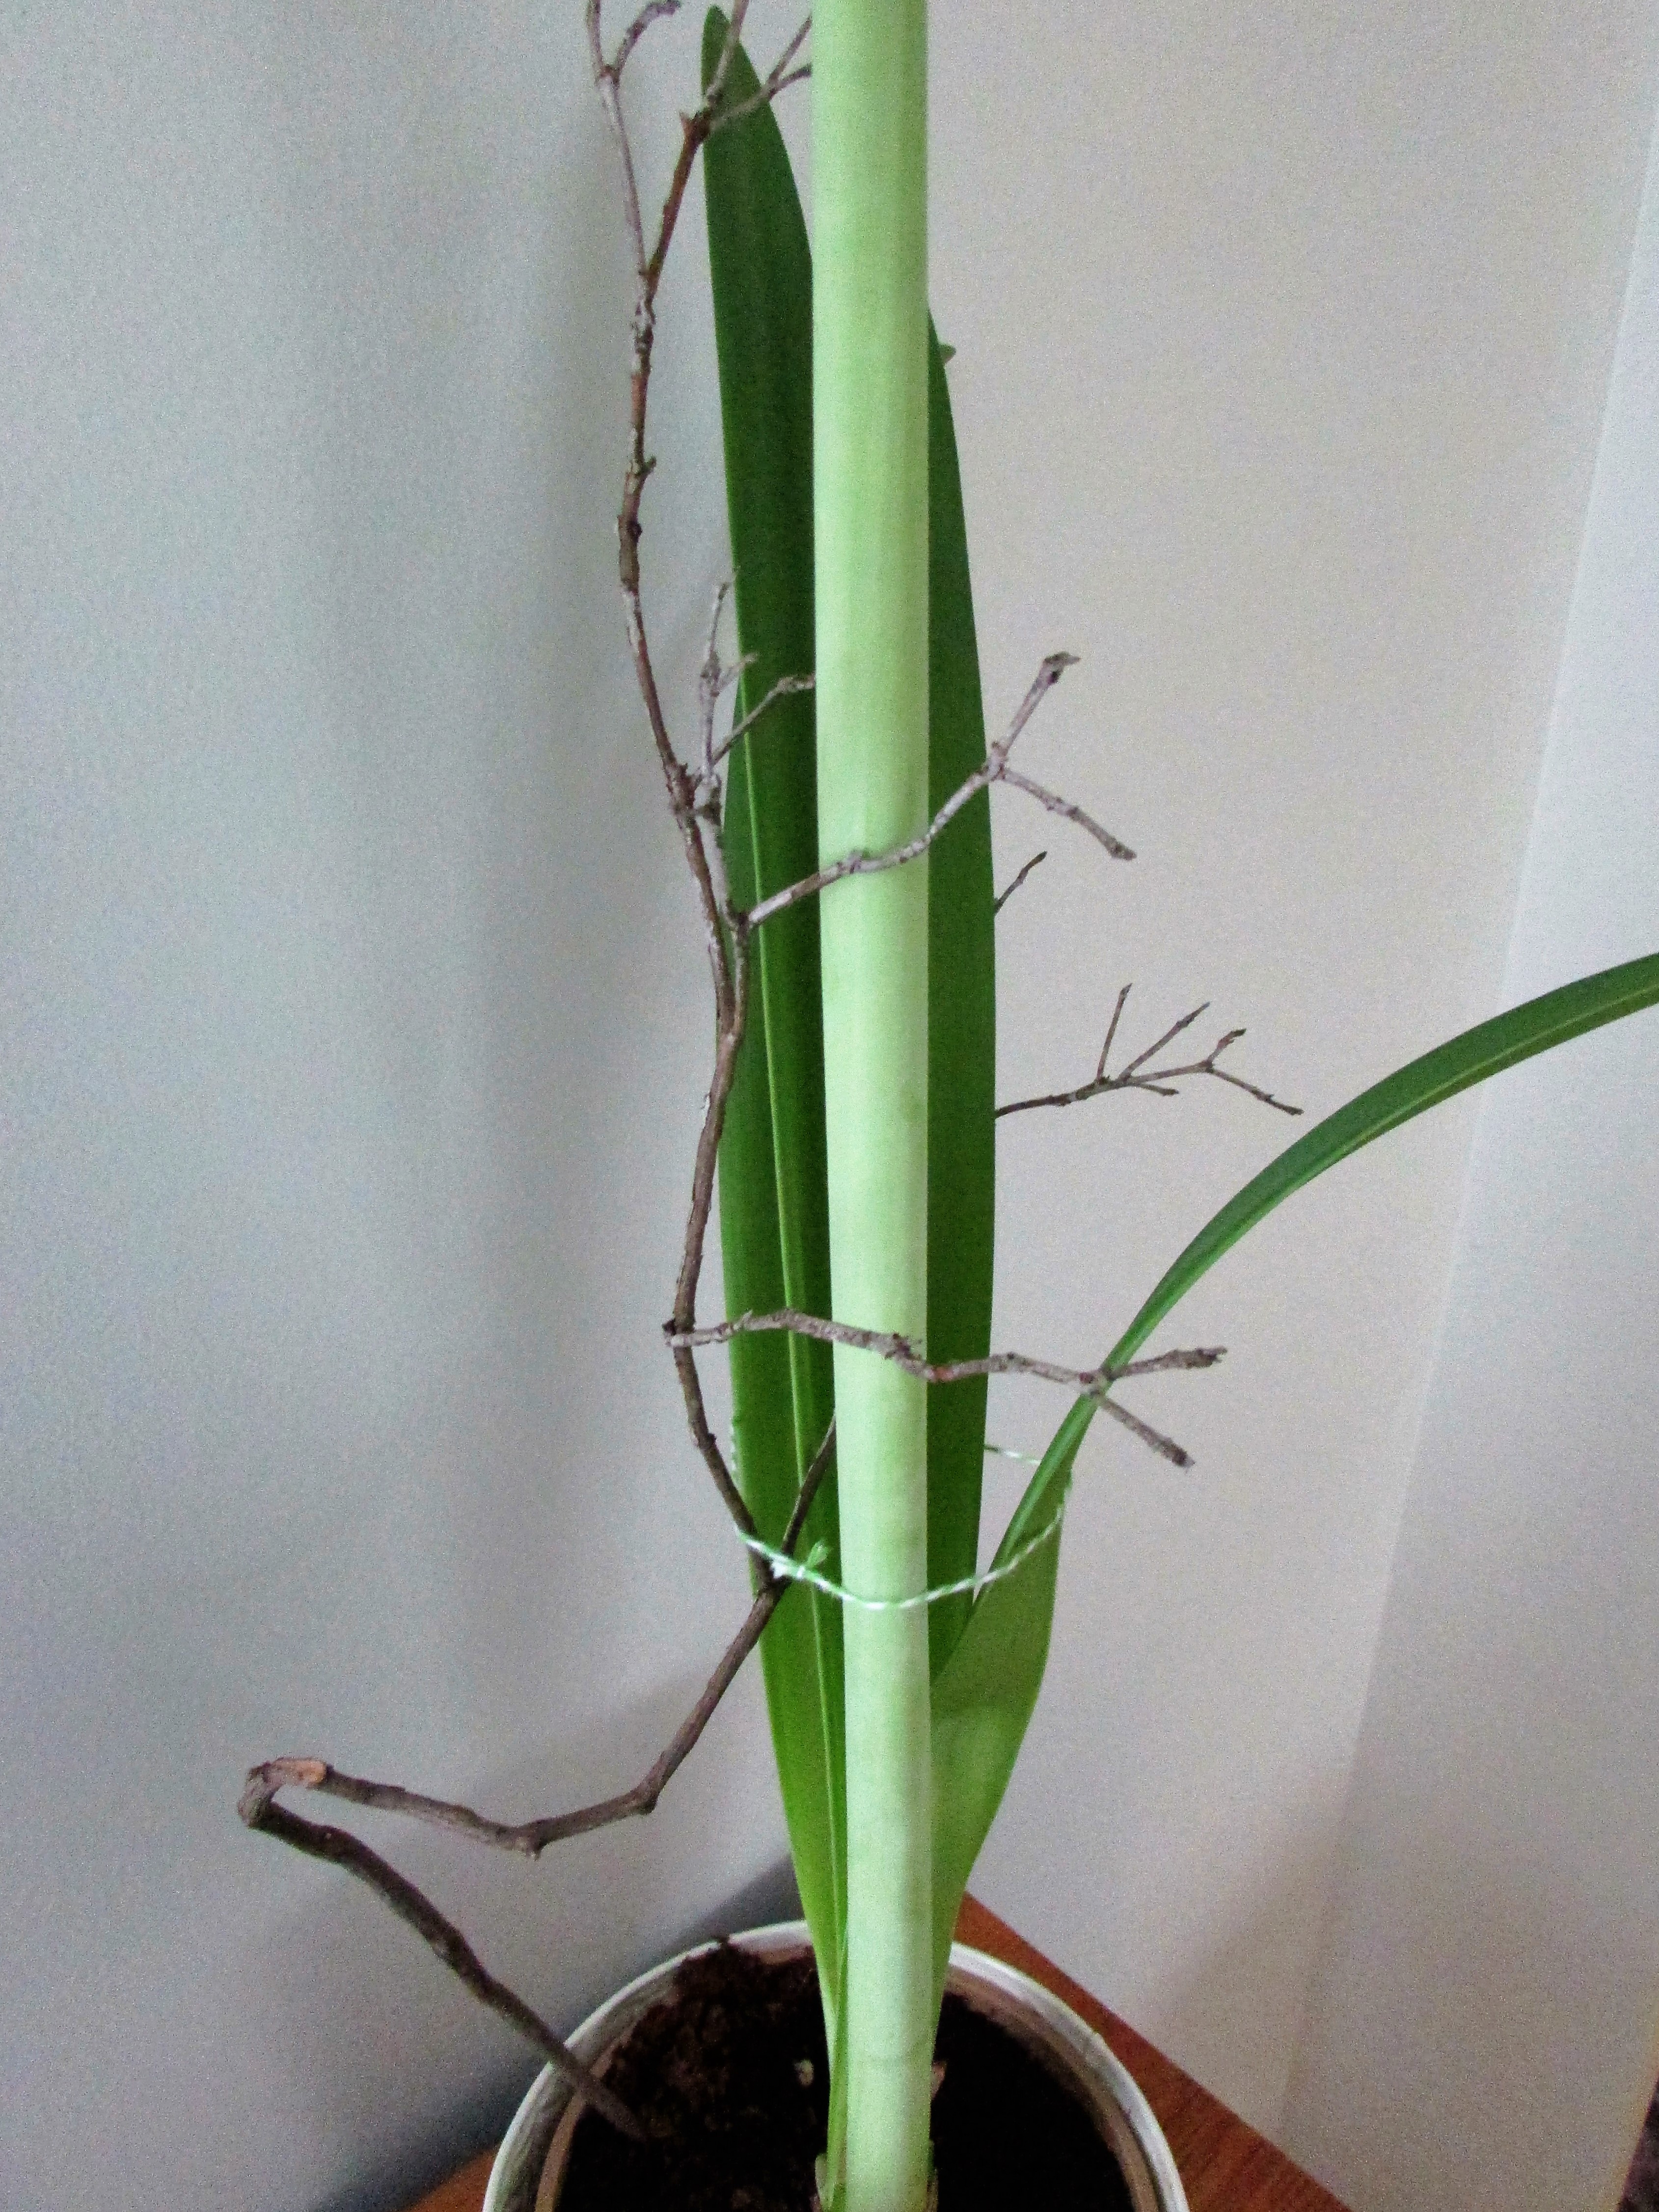
My amaryllis has opened, displaying white petals blushed with pink. Before the plant bloomed, the heaviness of the buds caused the stem to lean precariously to the right. A quick walk in the woods yielded a dead branch from a laurel bush. I prefer to use natural support for my houseplants. The curvy twig was the perfect helping hand for my amaryllis stem, and gives an artsy/woodsy feel to the flower display.
Category: Quick Tip
Quick Tip – Repelling Fruit Flies
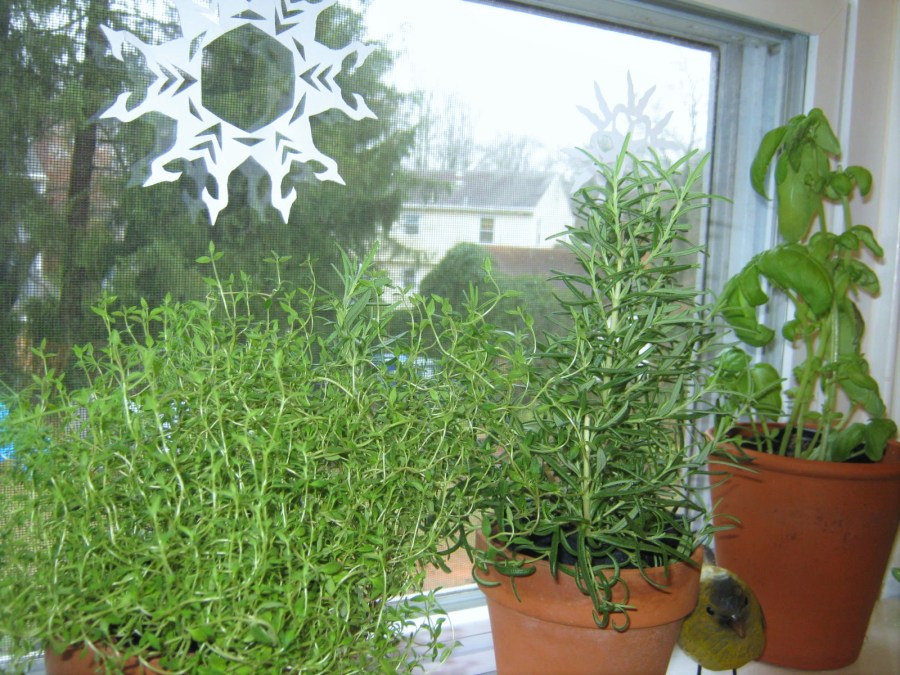
This year, the usual horde of fruit flies swarming our fruit bowl seemed non-existent. I realized this is probably due to the herbs we have on our kitchen windowsill. Strong-smelling herbs, oregano, rosemary and others, repel fruit flies. Even in winter months a few stray fruit flies make their winter abode in our home. To keep them out of the fruit bowl I’ve placed a piece of rosemary amidst the fruits.
Quick Tip – Mossy Pots and Collections Spotlighted
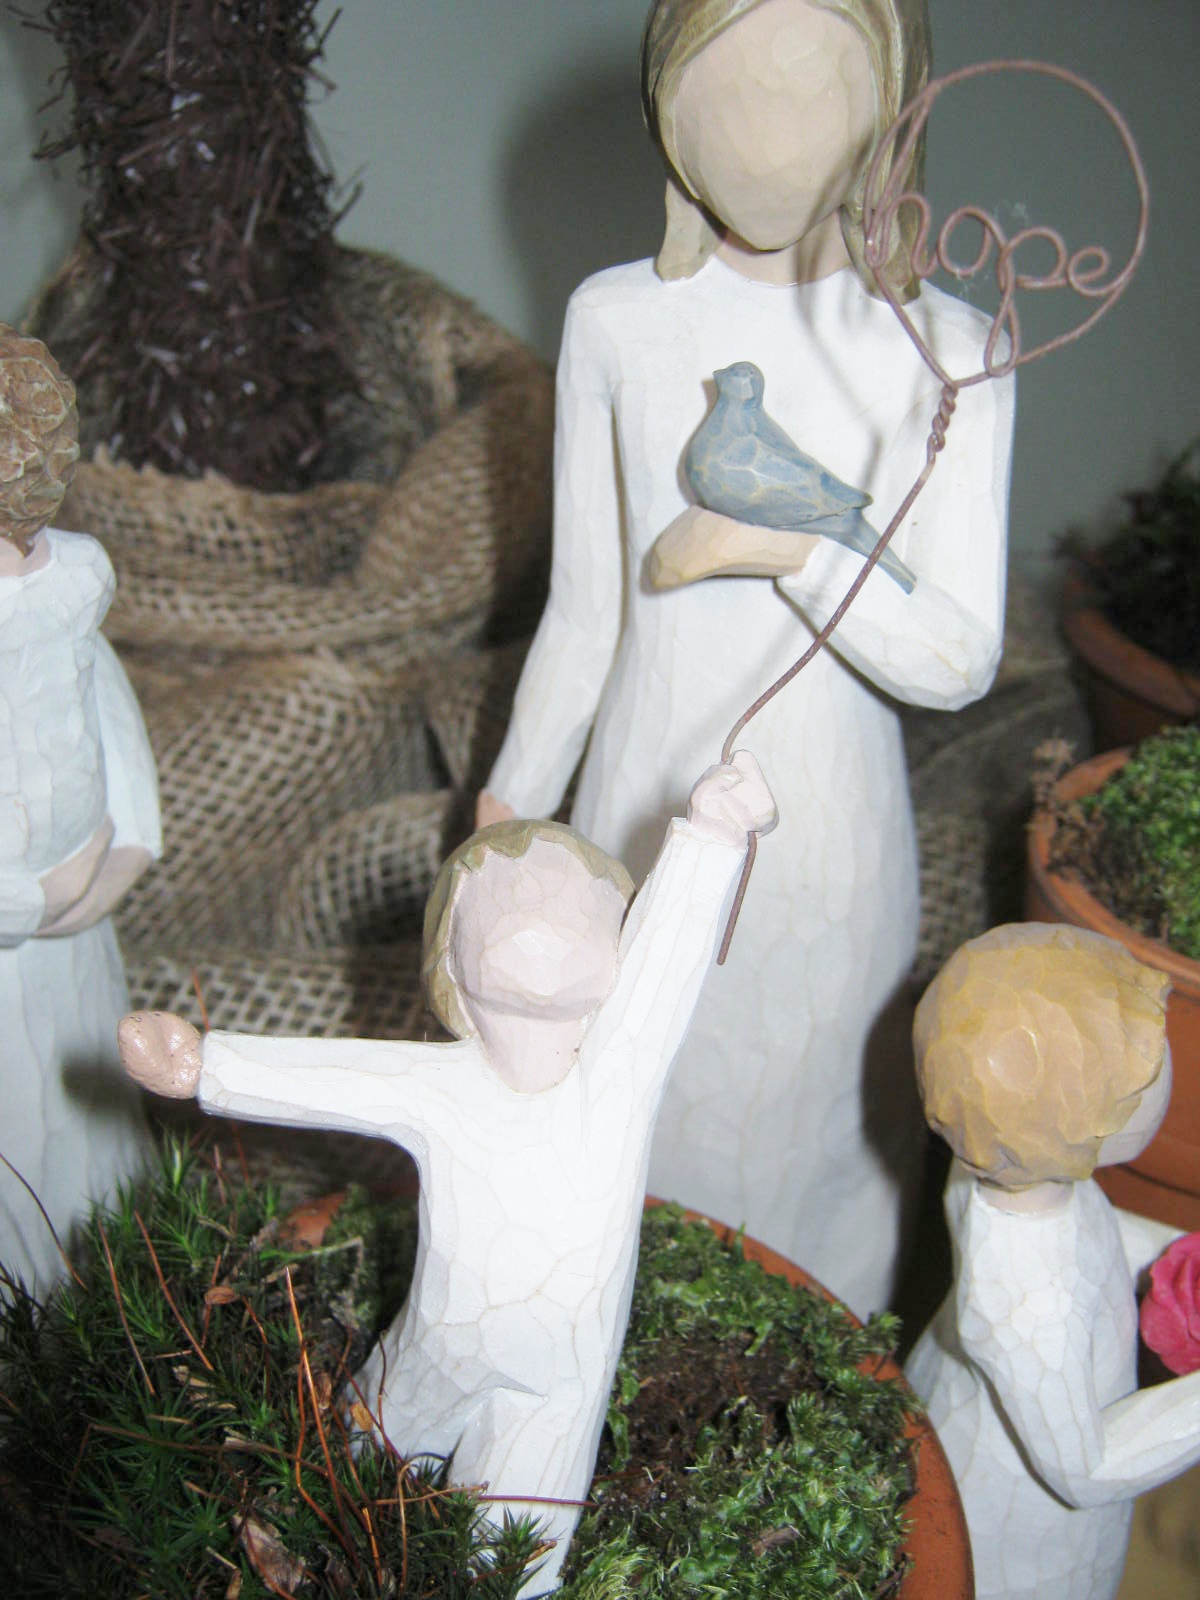
The natural route is the path I’m taking for my Christmas decorating this year. I don’t want to spend money on glitzy junk that I will use for a year or two, and then give away, or deposit in the trash. Instead, I am using a few of my collections, combined with treasured Christmas heirlooms, and adding a bit of nature to the mix.
My Willow figurines are displayed on a shelf year-round. Why not give them a place of honor beneath the tree for Christmas?
A few clay pots scattered throughout the grouping added just the right touch of “natural” to the collection.
You can use many different types of moss in one pot, or, if you are lucky, you might find a rounded hillock of green that fits perfectly within the rim’s diameter.
If, perchance, a figurine is knocked off a table or shelf, a quick repair can be made using bread dough. Repairing Willow Figurines
Quick Tip – Quelling a Queasy Stomach

It’s the season of stomach flu, digestive upsets due to over-eating or eating the wrong foods, and as in my case, ingesting too many chemicals/food coloring.
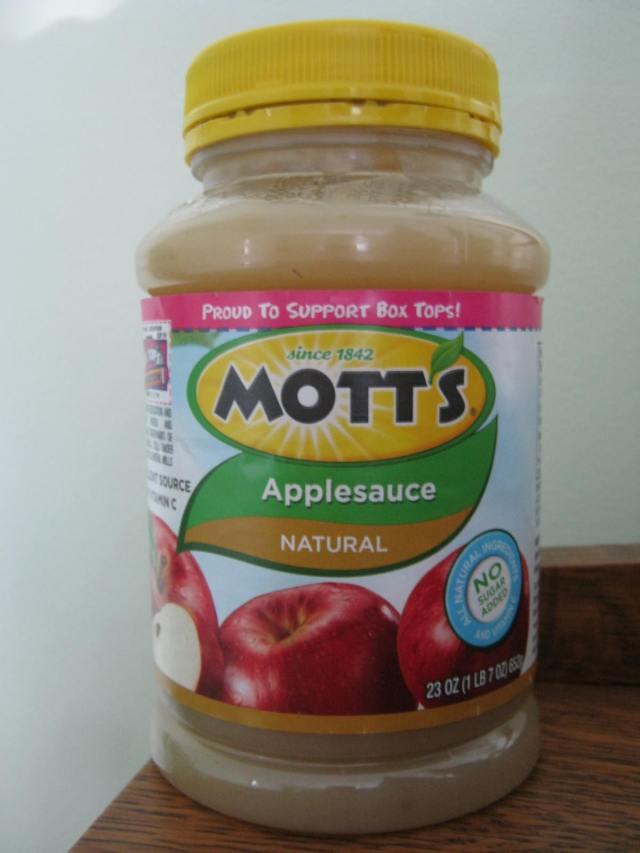
My husband is a victim of stomach flu today. He works in retail and comes in contact with many people in the course of day. Eventually, germs slip by even the most diligent hand-washing. I offered him a bowl of applesauce just a few minutes ago, and he was able to eat it. I think he will begin to feel better soon.
When I am feeling queasy, or wake with a sickly headache due to unwise eating, applesauce makes me feel better. I always choose a brand without sweeteners. The last thing I need when I am feeling poorly is a big dose of sugar or artificial ingredients.
Applesauce is an item in the BRAT diet for upset stomach. (Bananas, Rice, Applesauce and Toast) BRAT diet information.
Here’s some more great advice for quelling a queasy stomach. Thanks to Fatima for this great comment.
“When I was a child, my mum would grate an apple and add some orange juice for sweetening whenever we had a poorly stomach and didn’t feel like eating. Another one of her home remedies was to mash a banana with lemon and a bit of sugar: this really stopped runny tummies very quickly and I still use this remedy today. My son loved it too and it really works! Can’t beat nature for effective remedies!” ~ Fatima Saysell
Quick Tip – Soap Scum Removal Made Easy
I prefer not to use chemical-laden spray cleaners to remove soap scum. After I spray these products, I “taste” or “smell” the chemicals for days. Breathing in harsh cleansers is hard on your lungs. I’ve found a good tip for cleaning shower scum. Mix together equal parts Dawn Dishwashing Liquid and hot white vinegar.
Whisk the two ingredients together, very gently so you don’t create suds, and place in a dish scrubber. To use, take a hot shower and before you turn off the water, quickly wipe down the walls. Let the shower run a bit longer to rinse the solution off the walls. I experimented with this technique and the whole process only took a minute or two and was SO easy. Give it a try!
I’ve blogged this technique in the past and used a spray bottle to apply the solution. The dish scrubber makes the whole technique so much easier and convenient. I also think the steamy, hot shower stall facilitates the removal of the soap scum.
Quick Tip & Plants – Over-wintering Geraniums
I am overwintering my geraniums in cardboard boxes this year. If you have room in your garage or basement, consider saving your geranium plants too. I lift my plants from the ground with a spading fork and brush away as much soil as possible. After they are stored in boxes, I will check the plants each week to remove dead leaves. It’s also a good idea to inspect the geraniums every few weeks for the development of mold or mildew.
“Susan’s in the Garden,”video tutorial demonstrates two techniques for over-wintering your geraniums.
Quick Tip – Substitute Heating Pad
Preparing for our recent trip to Jamaica, I ran around like a madwoman packing, cleaning, watering plants, doing laundry, preparing pet meals. At 2 a.m. on our departure morning, as we left the house, I said to my husband, “My hip feels funny.” Uh-oh, little did I know much more than our destination was on my horizon.
We arrived in Treasure Beach, Jamaica, after a very bumpy, winding two hour trek over the mountains. No worries man…we were soon in the beautiful ocean. Wouldn’t you know it, a wave took us both down, and of course, you guessed it…down I went on the hip that was already feeling “odd.” Within twenty-four hours I was in extreme pain and could hardly move. I took over-the-counter pain relievers, and in the place of a heating pad we used the hottest hot water our room put out, wet a washcloth and placed it in a plastic bag. It worked wonders when placed on the injured area. The heat lasted quite a while and definitely soothed the pain.
We are at home now, and I am still feeling an occasional twinge. I’ve continued using the plastic bag and wet washcloth, but now I heat it with my microwave for about forty seconds. Be aware the washcloth becomes extremely hot, and cannot be placed on bare skin. Long story shortened: a hot washcloth in plastic is a good stand-in for a heating pad.
Quick Tip – Preparing Roses for Winter
If you are in the habit of cutting away your spent rose blooms, begin now to leave a few intact to stimulate the formation of rose hips. This signals the plant that winter is approaching.
Many more good tips on preparing rose bushes for winter can be found at Heirloom Roses.
Quick Tip – Using the Heat at Hand – Part II
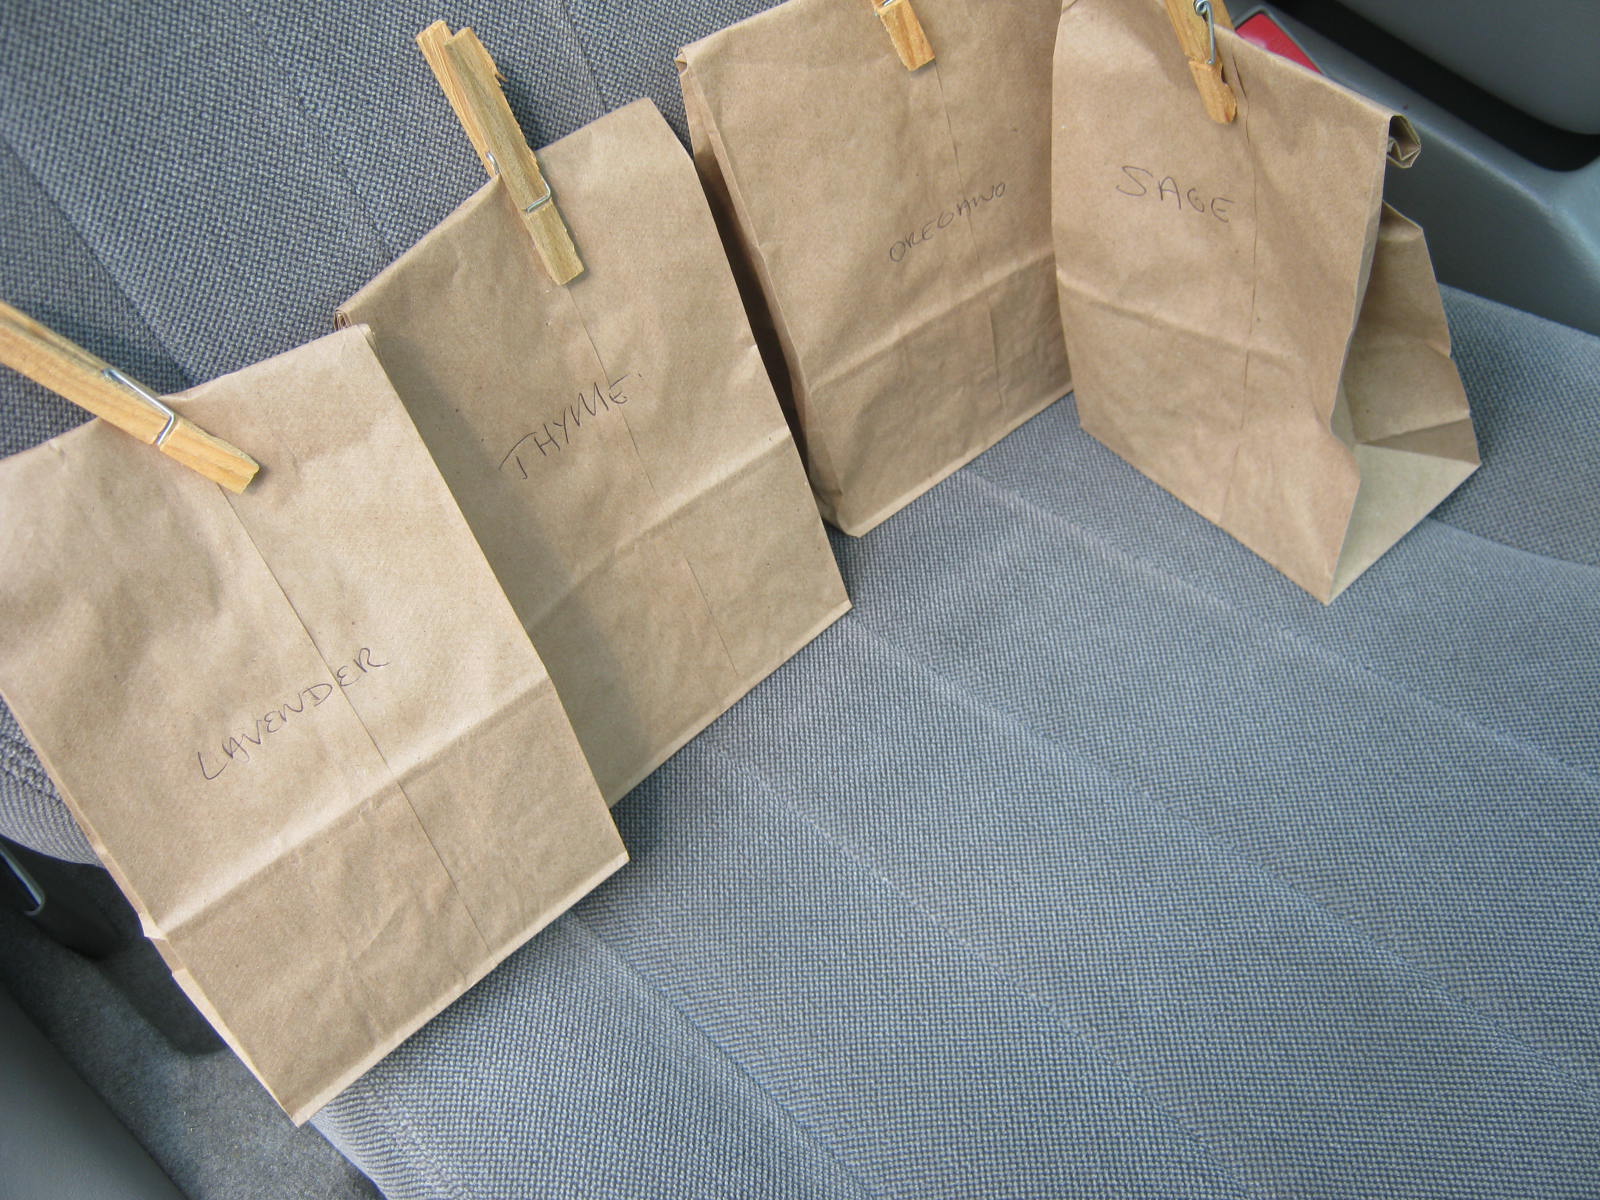
I’ve posted in the past about drying herbs quickly on a tray or towel in the trunk of my car. I’ve also pressed flowers in this way…the technique works. Recently, I’ve gone an even quicker route. I place clean herbs in brown paper lunch bags, clip the top shut with a clothespin, and leave them inside the hot cab of the car for a day or two. I then shake the bag a little, and place it in the top of a dark closet. Within a week, the herbs are ready to package up and use. Give this a try. Your car might smell a little like an Italian restaurant, but that’s not a bad thing at all.
Quick Tip – Feed the Birds
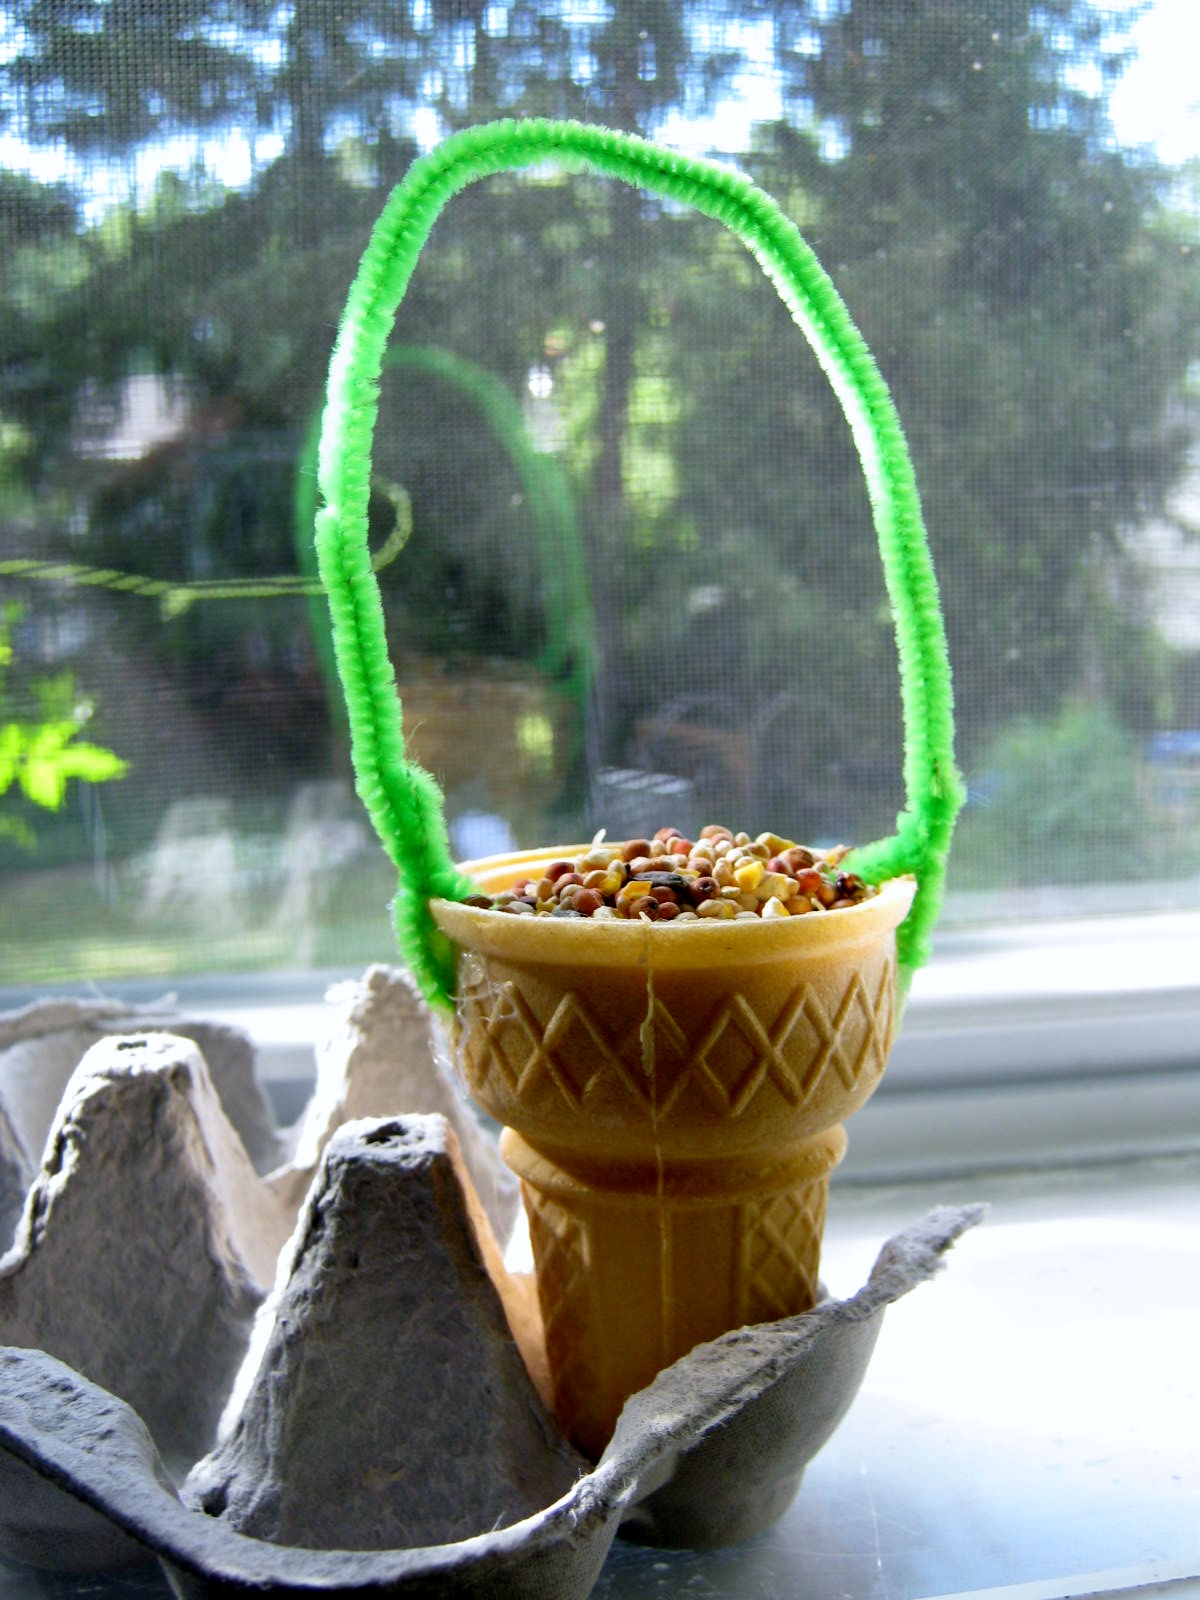
If you have leftover ice cream cones, thread them with a pipe cleaner or string, fill with bird seed, and place outdoors on a branch or hook. I added a bit of hot glue to the hole I punched in the side so that the hanger would not pull through. An egg carton makes a perfect tray to carry them home. This is a super-easy project to craft with toddlers or Pre-K children.
Quirky, Quick Tip – The Dragonfly Pick
On a recent hot day I found a dragonfly, lifeless on my front sidewalk. I took it inside and laid it on a piece of paper, waiting to see if it might still be alive, but it was not. What beautiful wings and perfect body, I marveled at the intricacy of the insect. I left it where it lay for a few days knowing it would dry out. Preserving the dragonfly as a plant pick was my way of paying homage to its magical beauty.
A small dab of hot glue and a cloth covered floral wire was all it took to attach the dragonfly to the wire.
I wrapped the opposite end of the wire around a small toothpick and inserted it into a fern. Beautiful. If you are squeamish about bugs perhaps you don’t see the beauty of my craft, but I am filled with awe when I gaze at the perfection of the dragonfly. This technique will also worked on other beautiful winged creatures. I have found quite a few large butterflies and moths perfectly preserved on forest floors and fields. Keep your eyes open for a winged creature who has succumbed to old age and find a way to extend its beauty for a bit longer.
Quick Tip – Removing and Using Volunteers
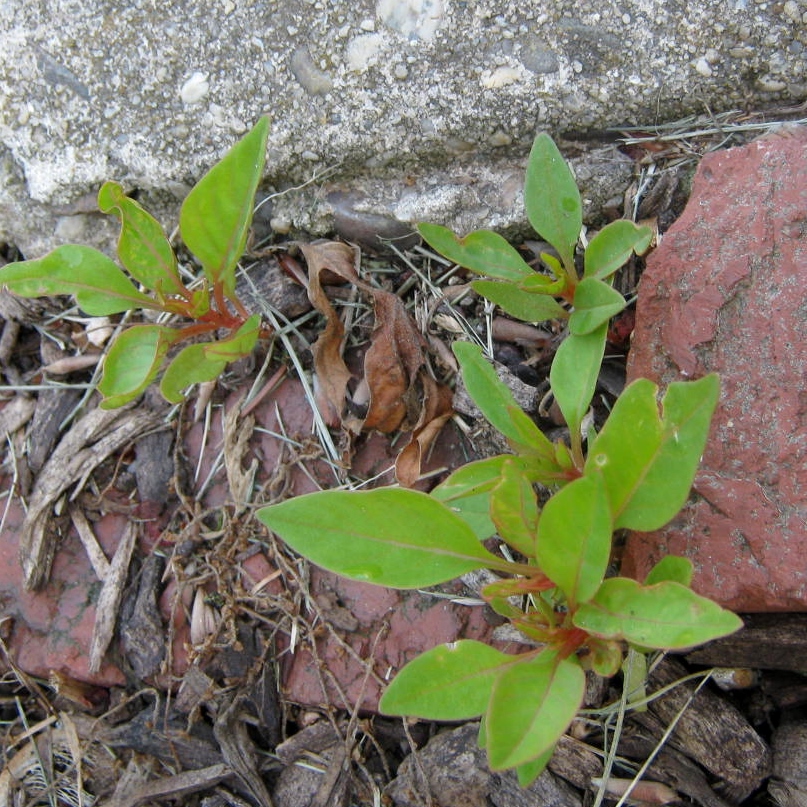
Over the years of blog posting, I’ve written many times of “volunteer” seedlings, small plants that spring up in early summer, self-sown by the previous year’s garden vegetables or flowers.
“Produce from volunteer plants is often bigger and tastier than are intentionally cultivated crops. After all, the plants have sprouted where they want to grow, as opposed to where you want them to. Like wildflowers, unbidden edibles usually appear wherever they’ll have the best chance to survive and reproduce . . . that is, where the soil has the necessary nutrients, the proper pH balance, and just the right amount of drainage to satisfy the needs of the plant in question.”
~ Mother Earth News
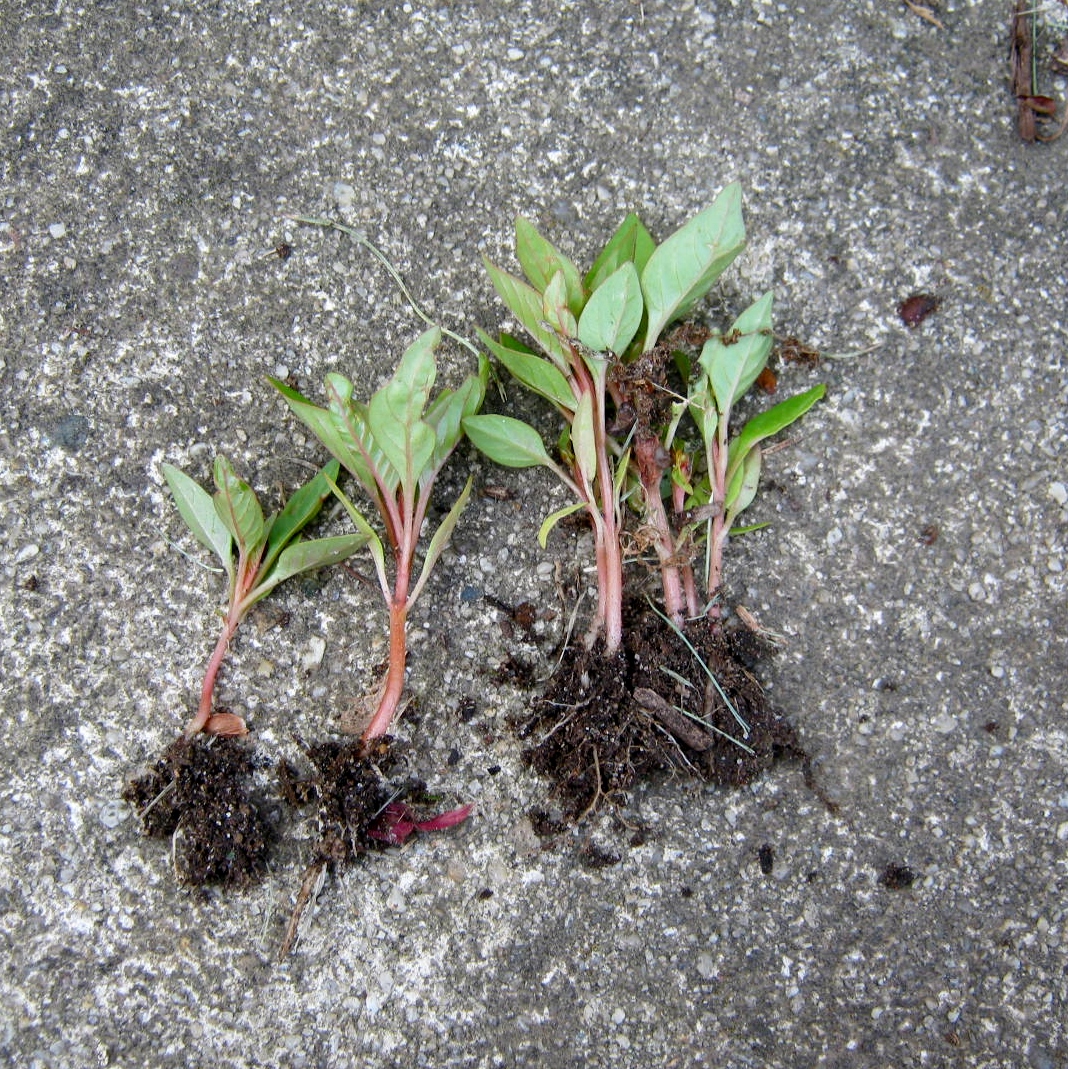
The warm temperatures of June have been a blessing, and volunteer seedlings are sprouting. Many are a perfect solution for the empty spaces in my flower beds. Unfortunately, the best sprouts seem to grow between the bricks and walkways, nurtured by the heat generated in the cement. I have found a way to get these small plantlets out and grow them on into full-sized plants. Pulling them, even very gently, never works; the roots will break away. Instead I slip a putty knife (or any type of slim metal) into the soil alongside the plant, keeping the blade pressed firmly against the cement. I do this on each side then carefully pull the plant out of its nesting spot. In most cases this technique works and the sprout can be removed with root and dirt intact.
I immediately place the sprouts in garden beds or holding pots and drench them with water. Over the course of a week or more I will water these new plants every day. Look carefully amongst the weeds in your garden beds before you begin pulling them out. You might have a treasure lurking there that will grow into a beautiful plant before summer’s end..
Quick Tip – Phaleonopsis Orchid
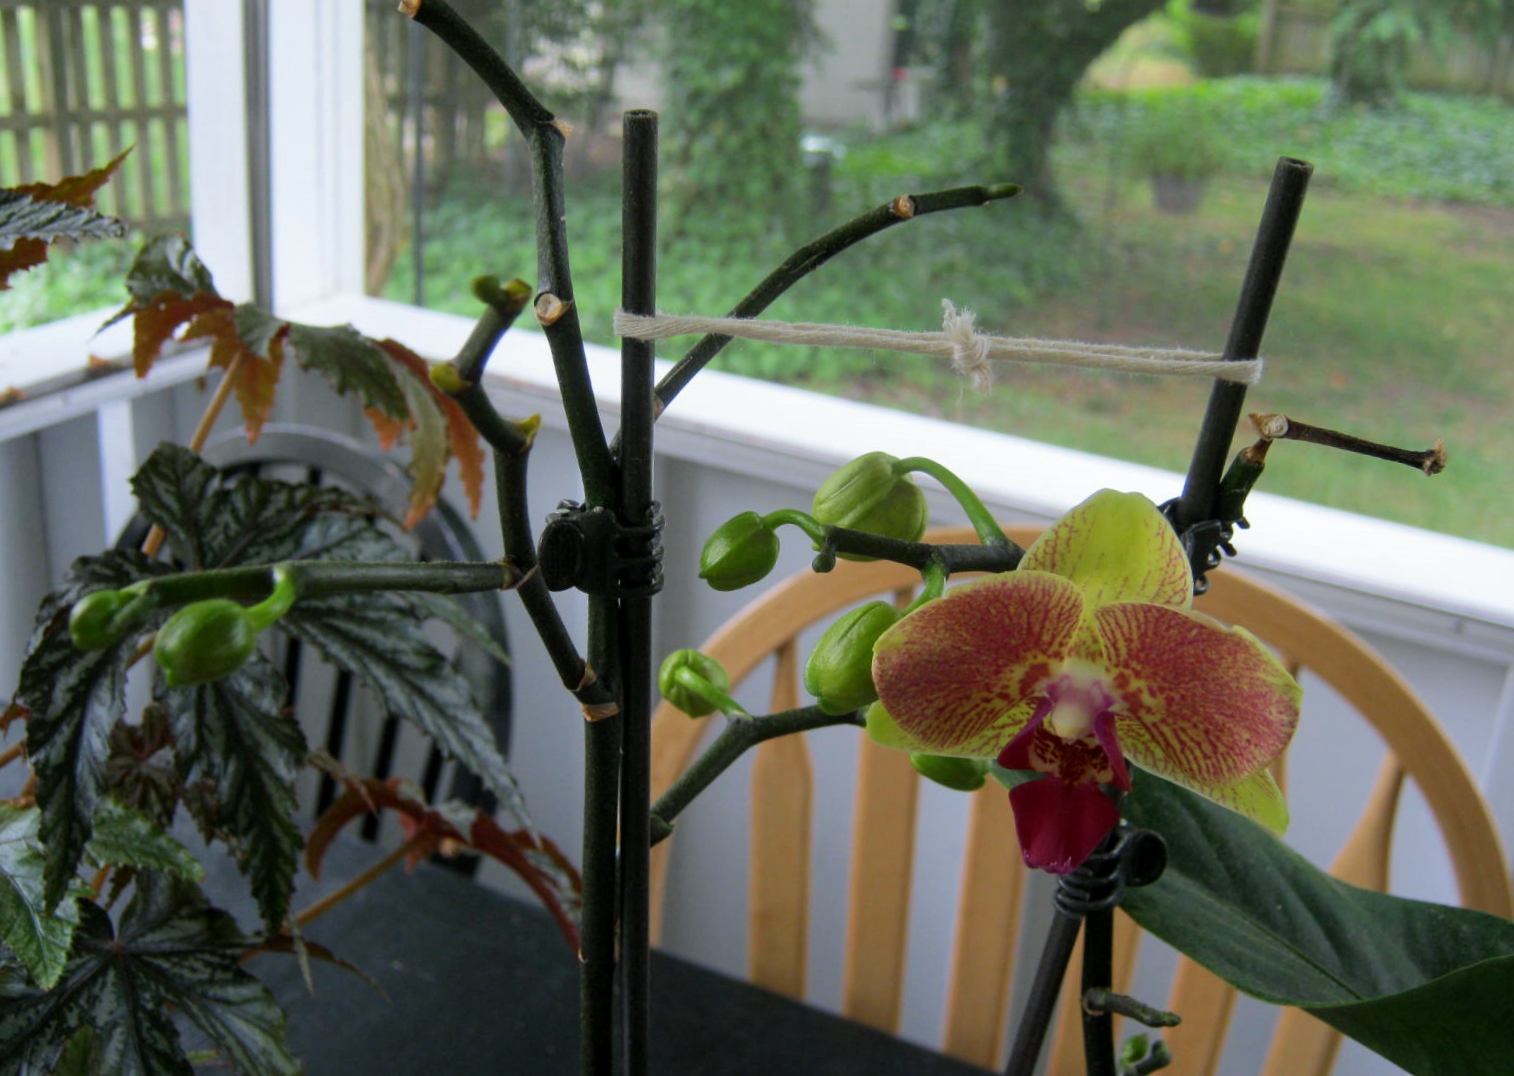
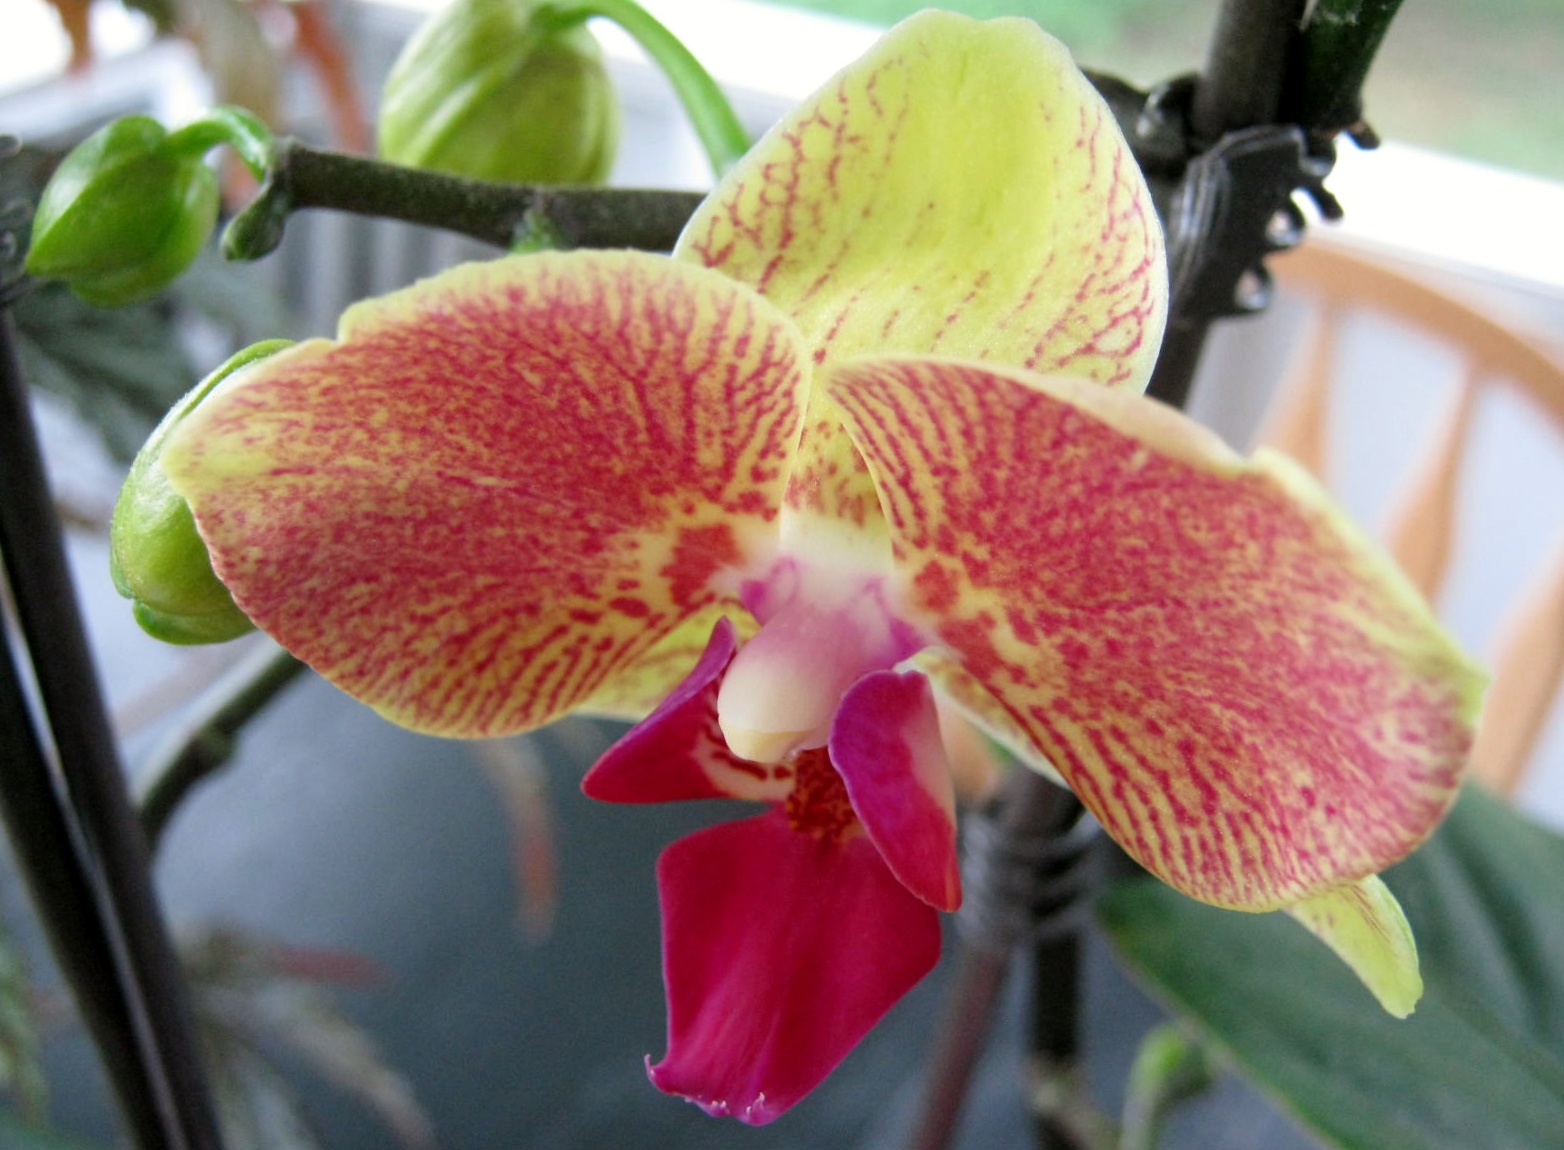
My Phaleonopsis Orchid rebloomed yesterday. I’ve been watching the buds develop for weeks. I love Phaleonopsis Orchids and they are readily available in most stores with a plant section. They rebloom easily if you remember one QUICK TIP: Don’t cut the entire stem away from the plant after the blossoms fall off. New stems and buds will grow from this first stem. If part of the stem becomes shriveled and is obviously dead, go ahead and cut that portion, but leave anything that is still firm and alive.
Here is a good video on the proper place to cut a stem for regrowth. I personally have never used a fungicide after cutting, but if I did I would probably use a dusting of cinnamon which is a natural fungicide. Using cinnamon as a fungicide.
Quick Tip – Snakes and Soap/Garden Pest Deterrents
Squirrels, chipmunks, rabbits and now a gigantic groundhog visit my yard with the intent of foraging for food. I know this is the way of nature, but I wish they would stick to the clover and other “weedy” offerings within the back yard.
My wish is never totally fulfilled. Although the bunnies munch at the clover, they also are partial to the tender new growth of emerging seedlings and transplants. Even the strap-like leaves of my lilies were bitten off this year.
I’ve tried many solution in past years, occasionally delving into the near ridiculous by bombarding the offending critters with water balloons. Water Balloons Deterrent
This year I’m putting a few dollar store snakes back to work. Purchased originally as a visual deterrent to pests, they ended up residing in the grandchildren’s sandbox. I dug them out a few days ago and draped them over the Square Foot Gardens. Every few days, I move them to new positions, in hopes of giving them the appearance of a live, dangerous snake.
Nothing in the square foot vegetable garden has been bitten off by the rabbits yet (they are still feeding off the tender growth of my perennials,) but oh my, the squirrels and chipmunks don’t seem to be frightened at all by the snakes. I guess they have figured out they are nothing but cheap rubber. Time to sprinkle more grated Ivory Soap around the borders. Hopefully, the smell and eye-watering power of the soap will keep those little rascals from digging out my newly planted vegetable patch.
The worst of my dilemma: the insect variety of pest is only now beginning to emerge. What’s a gardener to do? (Sigh)
Organic Pest Control Tips for your Garden
Quick Tip – Potted Plants Dressed Up
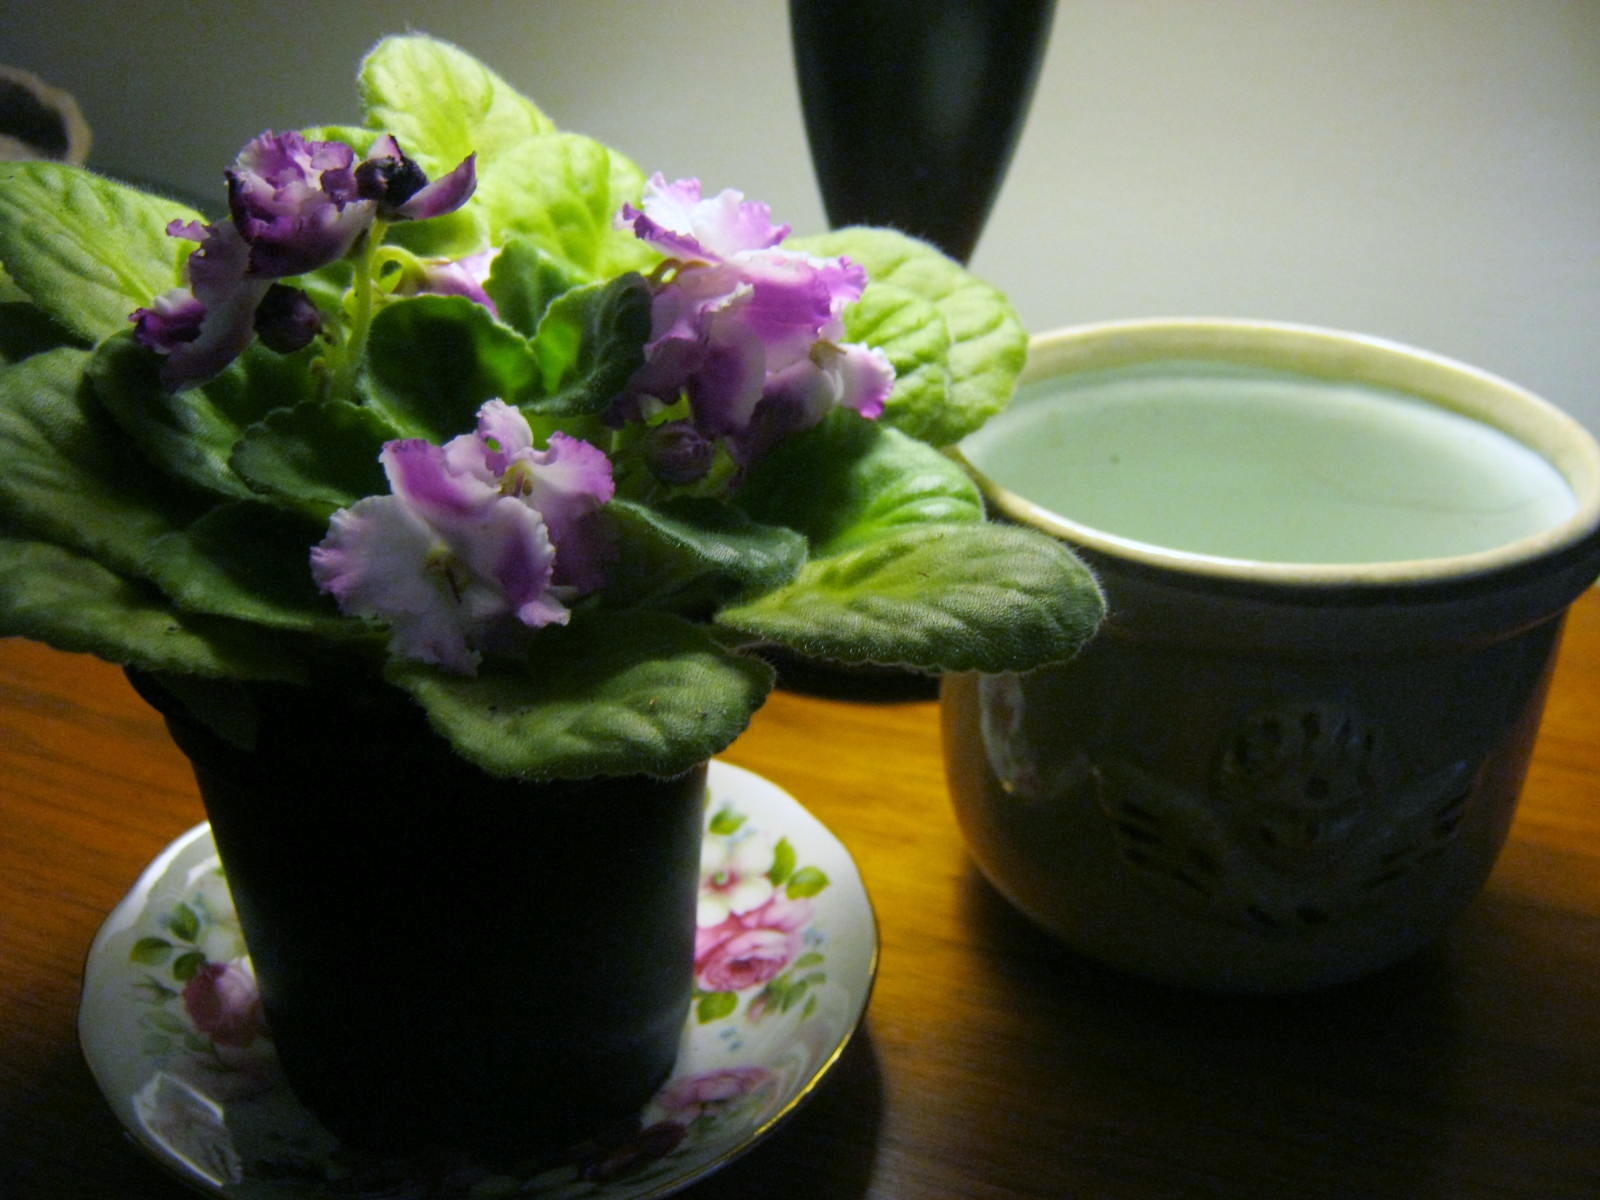
My African Violets (Saintpaulia) are beginning to flower. After spending the summer vacationing on the screened-in porch, they are rewarding me for the outdoor sojourn with many buds and blooms.
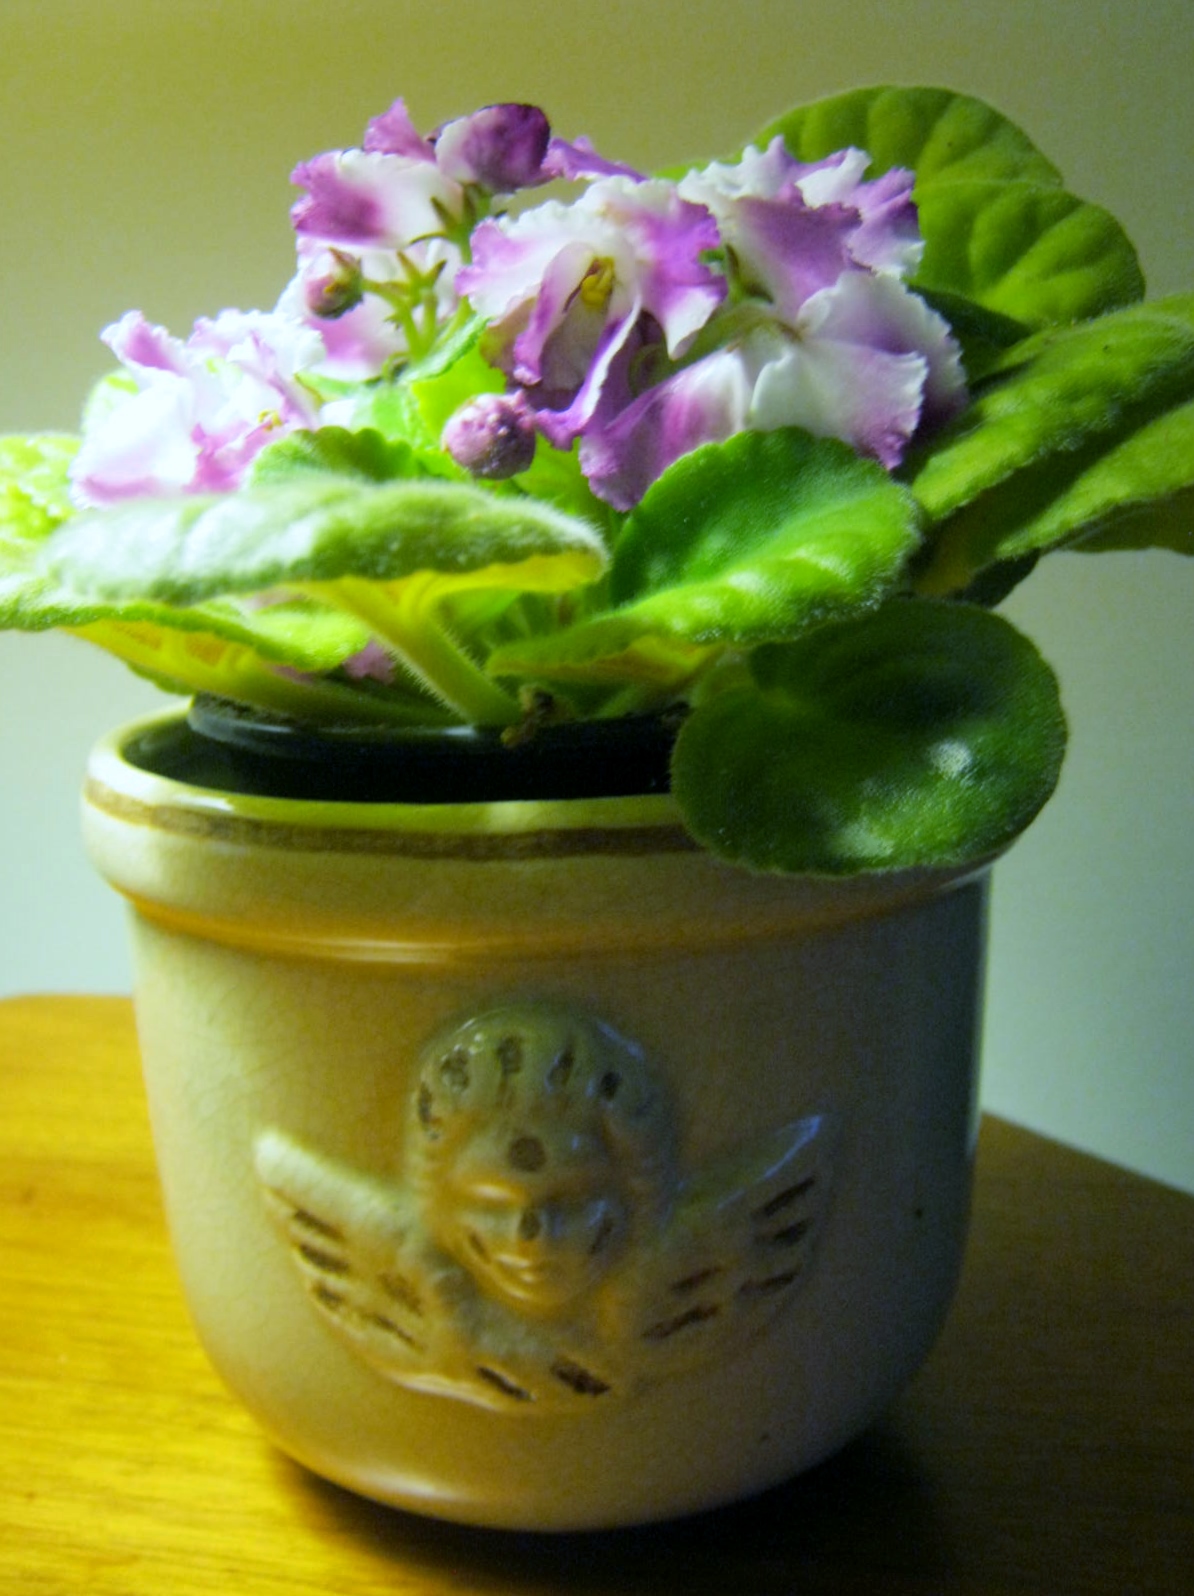
When blossoms cover the crown of the plant, I bring them into the living room to show off a bit. Since I grow the violets in ordinary plastic pots, I like to dress them up for their time in the spotlight by placing the plain pot in a fancy container.
One of the problems I often run into is the outer container is a bit too deep for the plastic pot. I don’t want to run the risk of breaking the brittle leaf stems against the upper edge of the pot so I try to find a way to raise the bottom of the pot an inch or two.
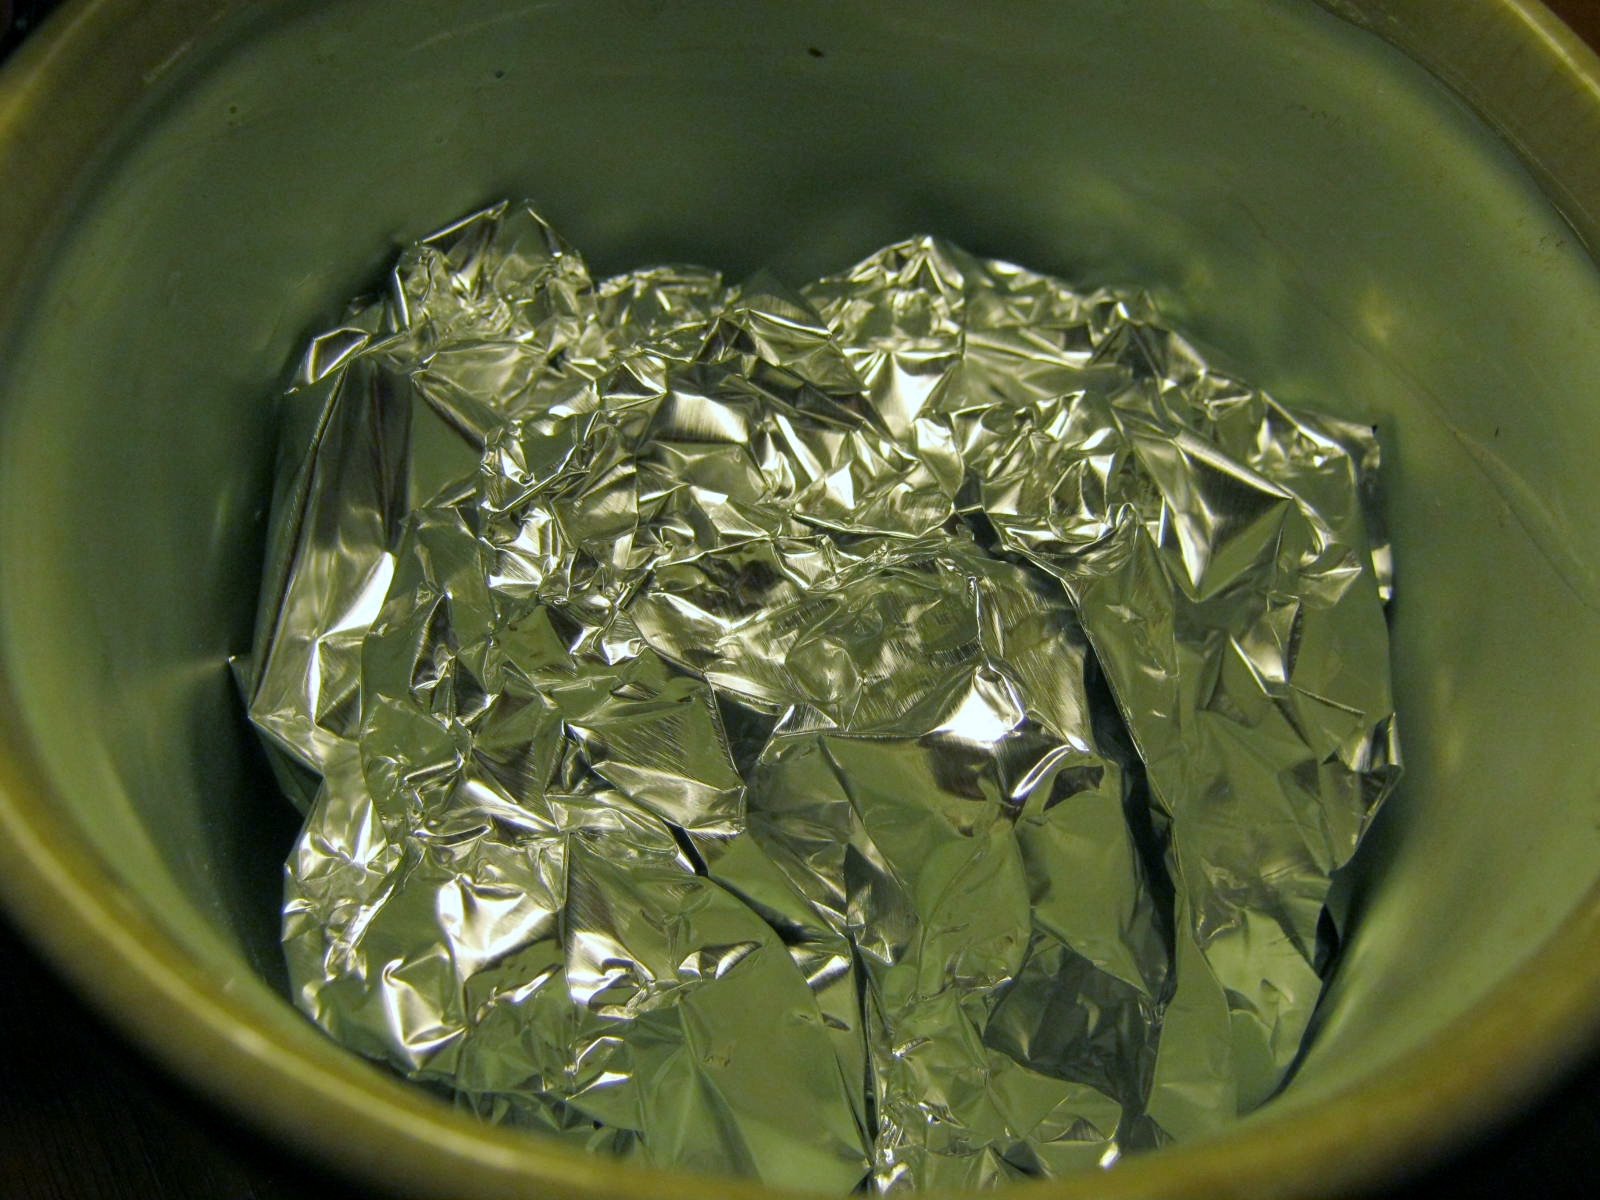
I’ve found the quickest, least expensive and easiest solution is to grab the roll of aluminum foil and crumble up an insert to fit in the bottom of the pot.
Voila’! The inner pot is now at the perfect level.
Pets & Quick Tip – Cat Toy Refresher
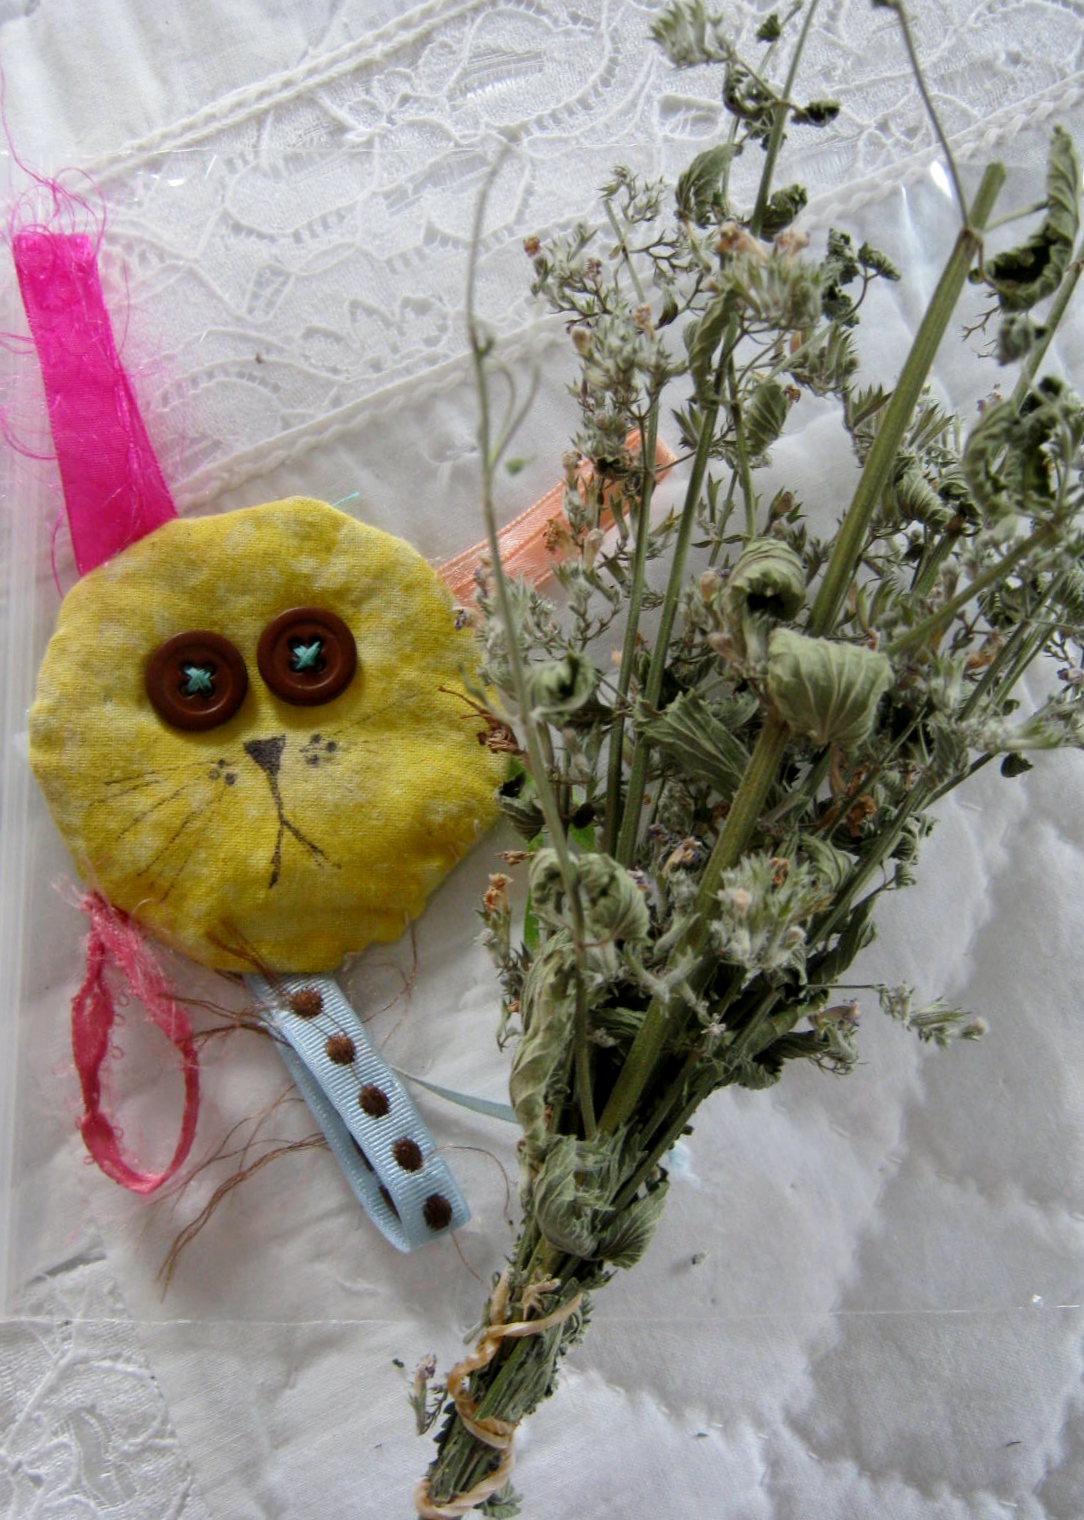
At this time of year, those of us with pets often think of them at Christmas, and purchase or make them a new toy. My pets have several catnip-stuffed toys I have crafted for them over the years. After several weeks of play, the smell and volatile oils of the catnip begins to diminish.
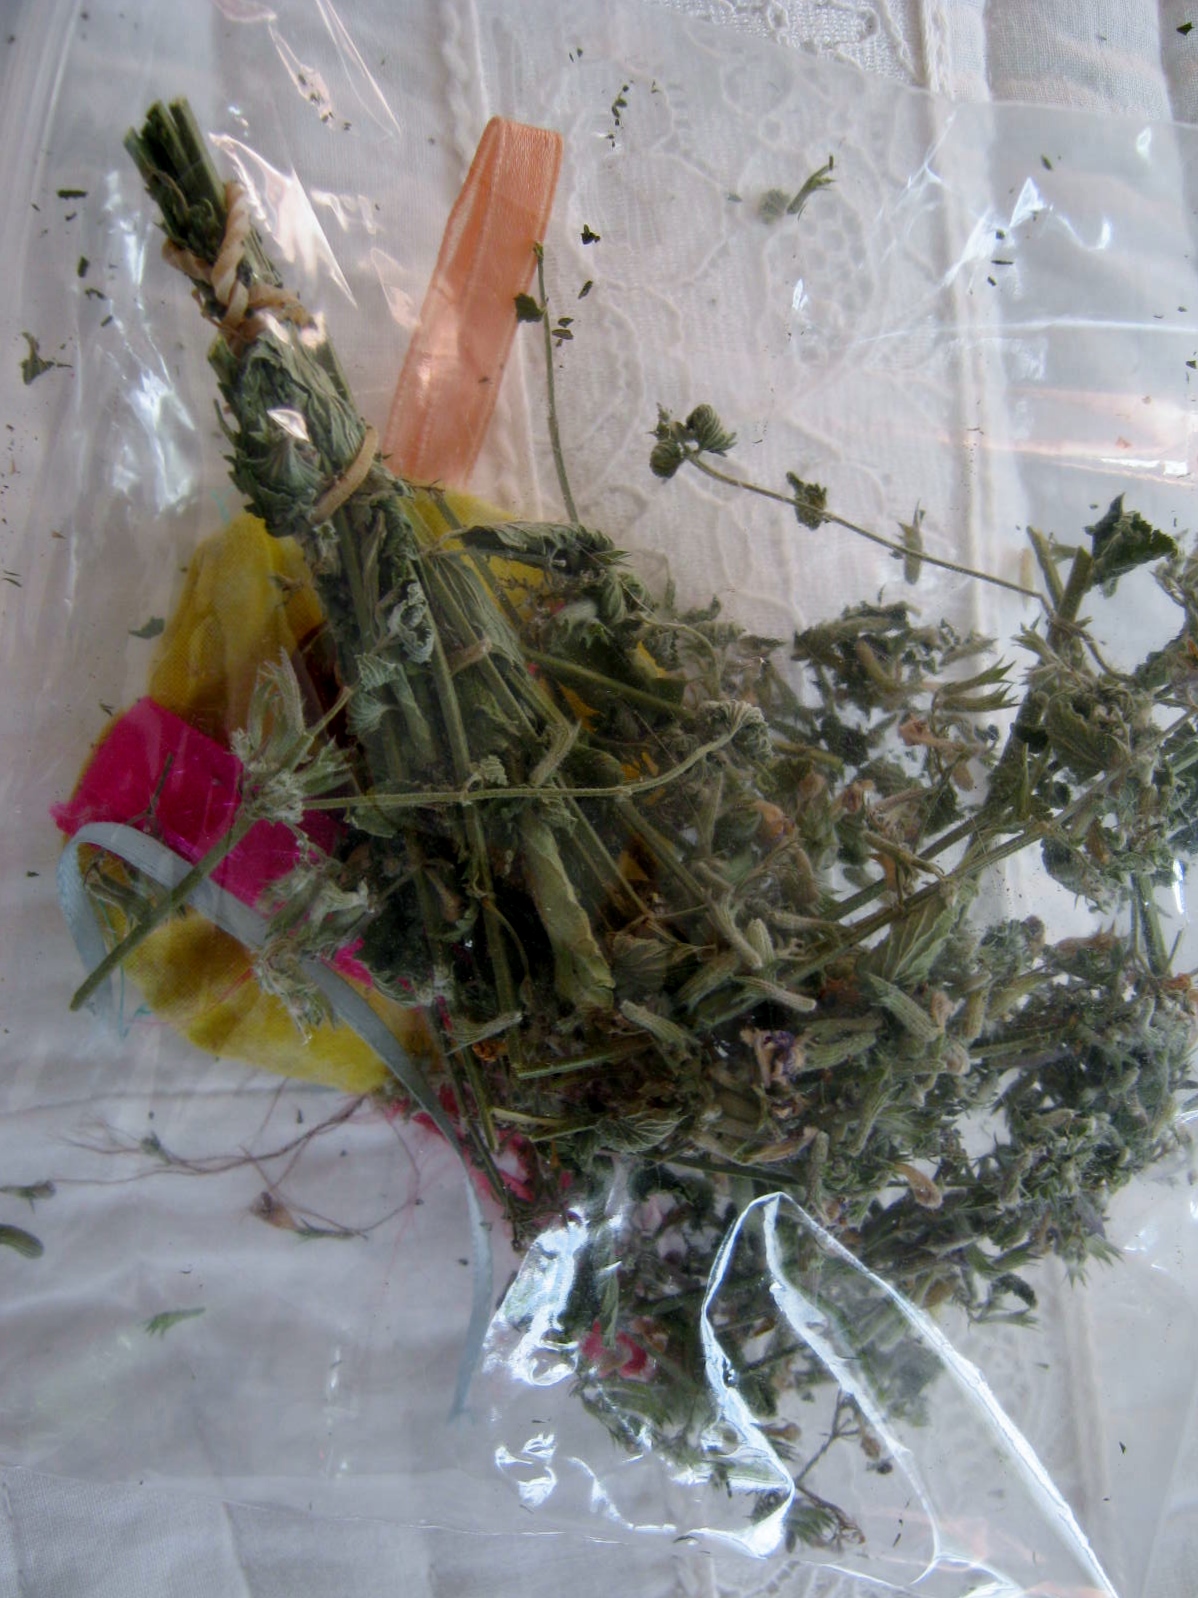
To remedy this, and refresh the toy with new catnip pizazz, I place the toy in a bag with a few sprigs of catnip and shake it up, also smooshing the catnip and toys together a few times, while in the bag, between my palms.
My cats are very appreciative of the little bit of additional catnip applied to the toy.
You can grow your own catnip and dry it to use all winter, or easily purchase catnip in pet stores or supermarkets.
Quick Tips – A Trio of Quick Tips
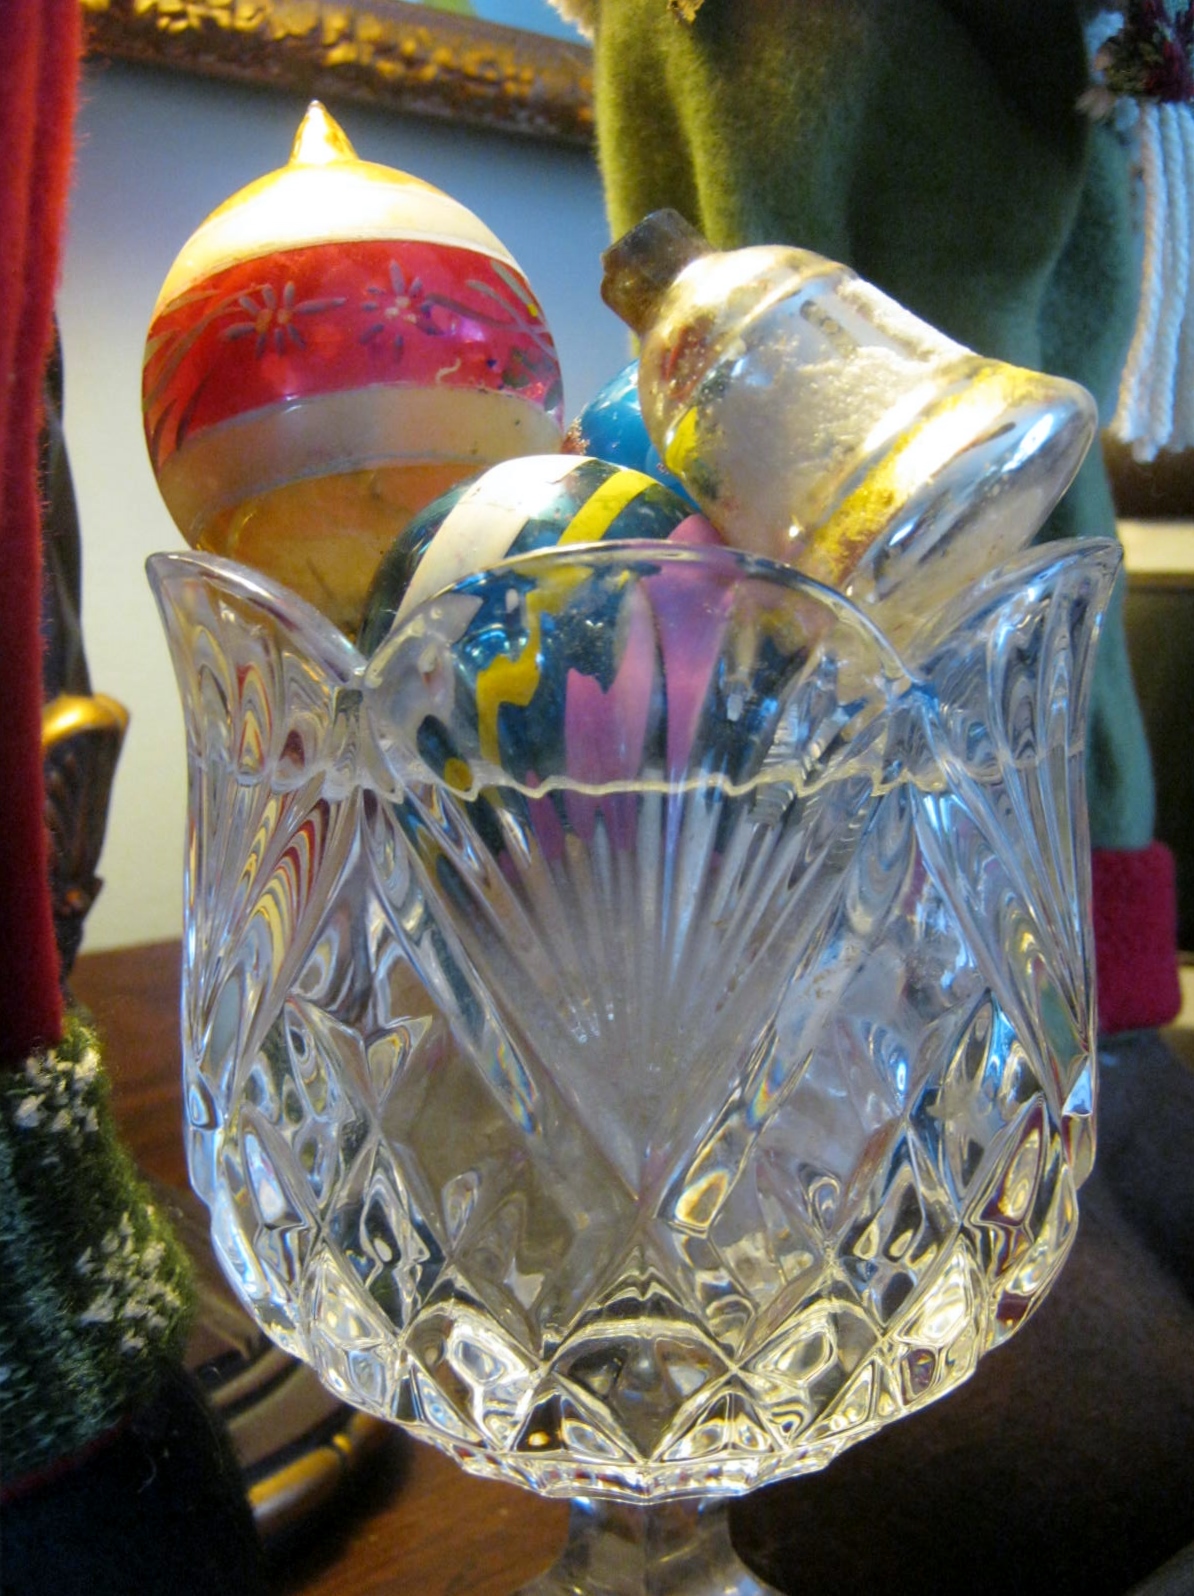
Vintage ornaments from my grandparent’s Christmas tree are displayed for the season, but also protected from inquisitive cats, in a crystal candy dish.
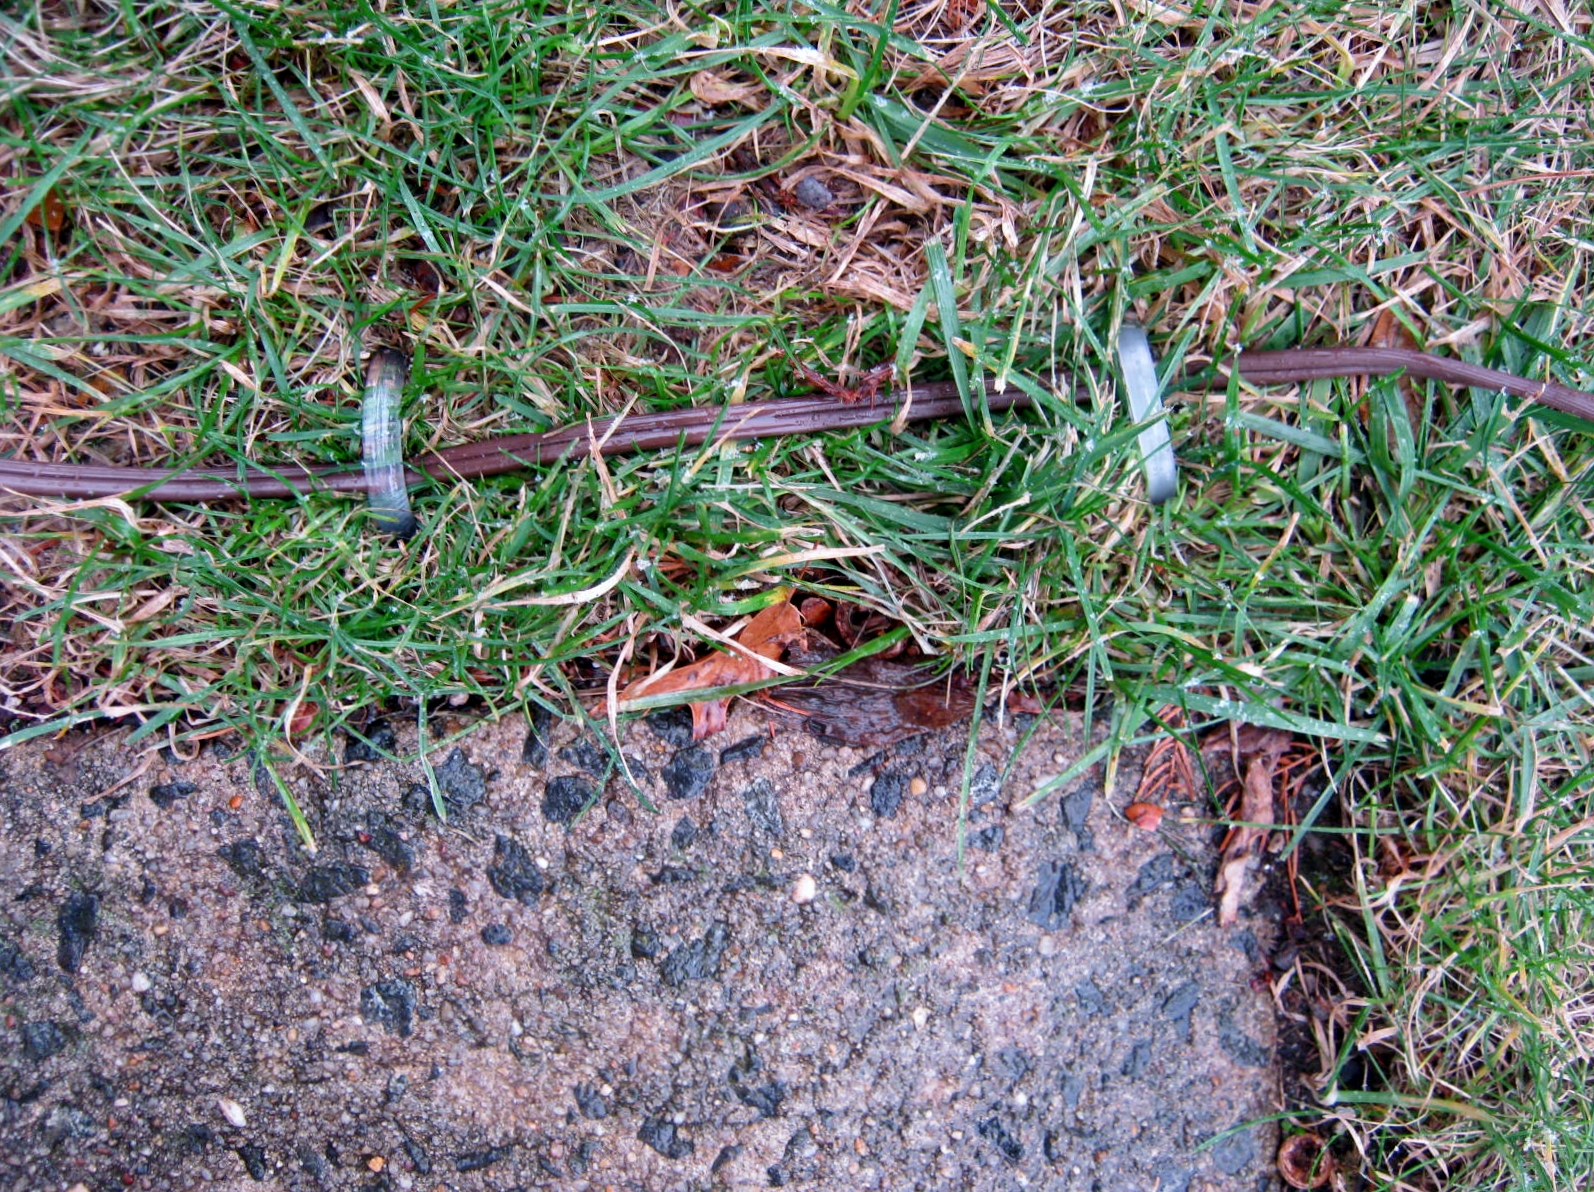
Outdoor light cords left loose can be dangerous if they are in the pathway of the mailman or other walkers.
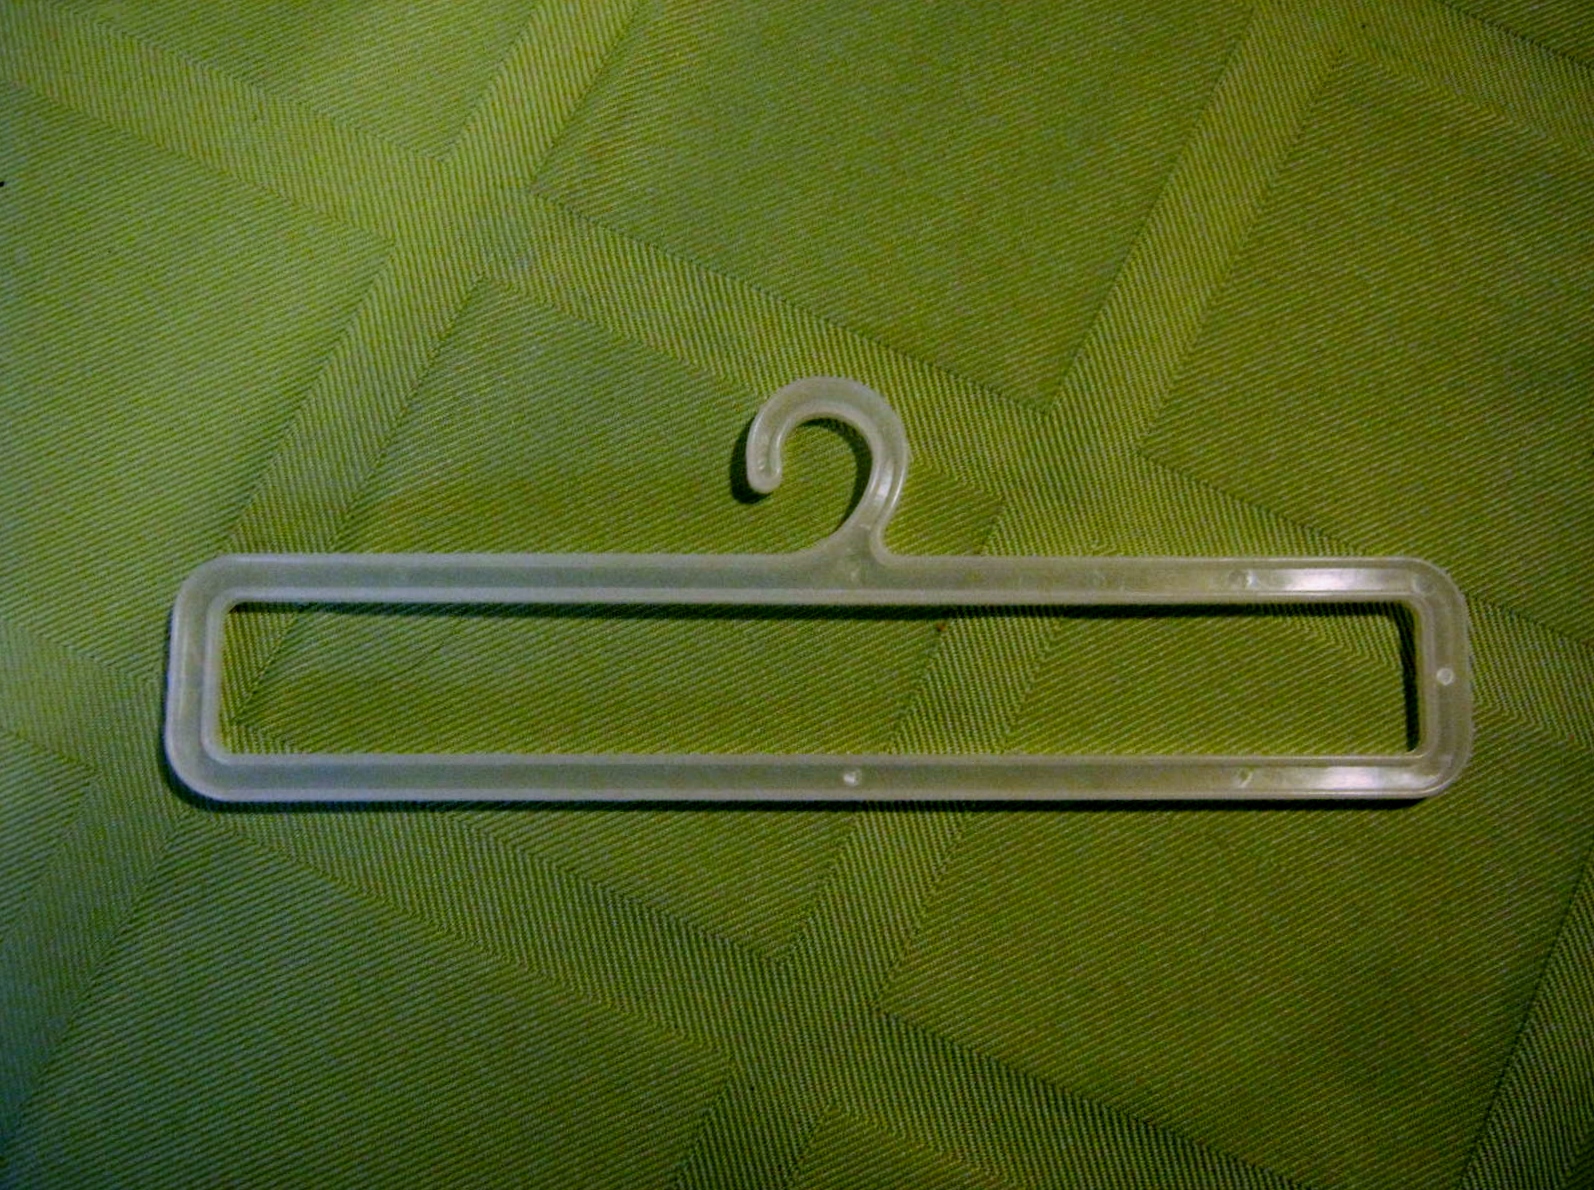
I keep all kinds of “trash” for purposes just like this…fastening down the light cord was the perfect opportunity to recycle a plastic linen bag hanger and some old shower curtain rings. I cut them in half with wire cutters and “Voila,'” free cord stakes. They work great too! Best of all they were free.
If you are using acrylic paint and want a touch of glitter, sprinkle the glitter on while the paint is wet. When the paint dries it acts like a glue and keeps the glitter in place.

Quick Tip – Extending an Envelope’s Dimensions
Who among us hasn’t signed a greeting card for a loved one or friend, addressed the front of the envelope, and then, when we try to insert the card for mailing, find we have brought home the wrong-sized envelope. “Arrggh!” Or, even worse, addressed the card and completely botched up the address. Last week, I had just such an incident with a greeting card envelope. In this case I placed the return address label in the place where the postage stamp was intended to go. Double “Arrggh!”
What to do? I didn’t want to go out and buy a whole new card just for the sake of the envelope. So, I did what we all would do…I searched the house for an extra envelope. I found what appeared to be a likely candidate only to discover it was a fraction too small. I had no other choices, so I made the envelope do by extending its dimensions. Did you know you can do this? It was the first time I had been desperate enough to try. If the card is less than a 1/4 inch too big this will work…any bigger, you will need to create some extensions with paper to make your envelope larger.
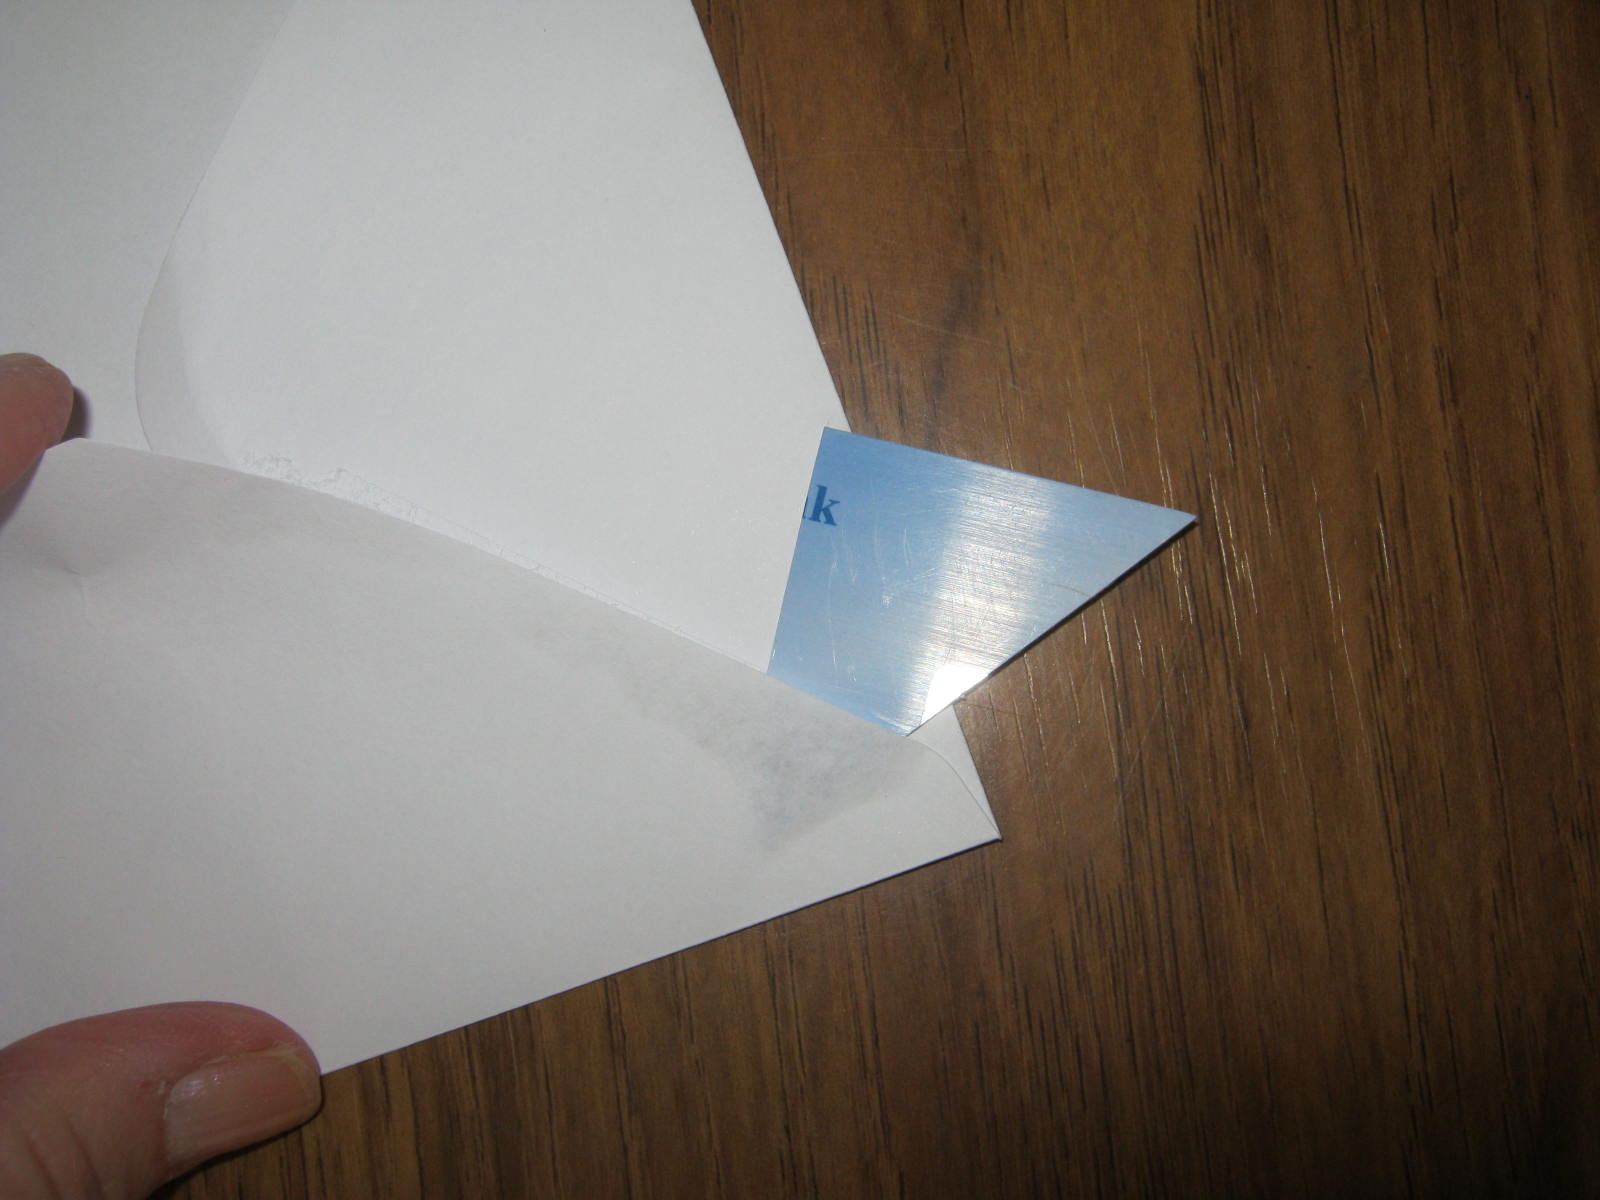
Here’s a step by step illustration.
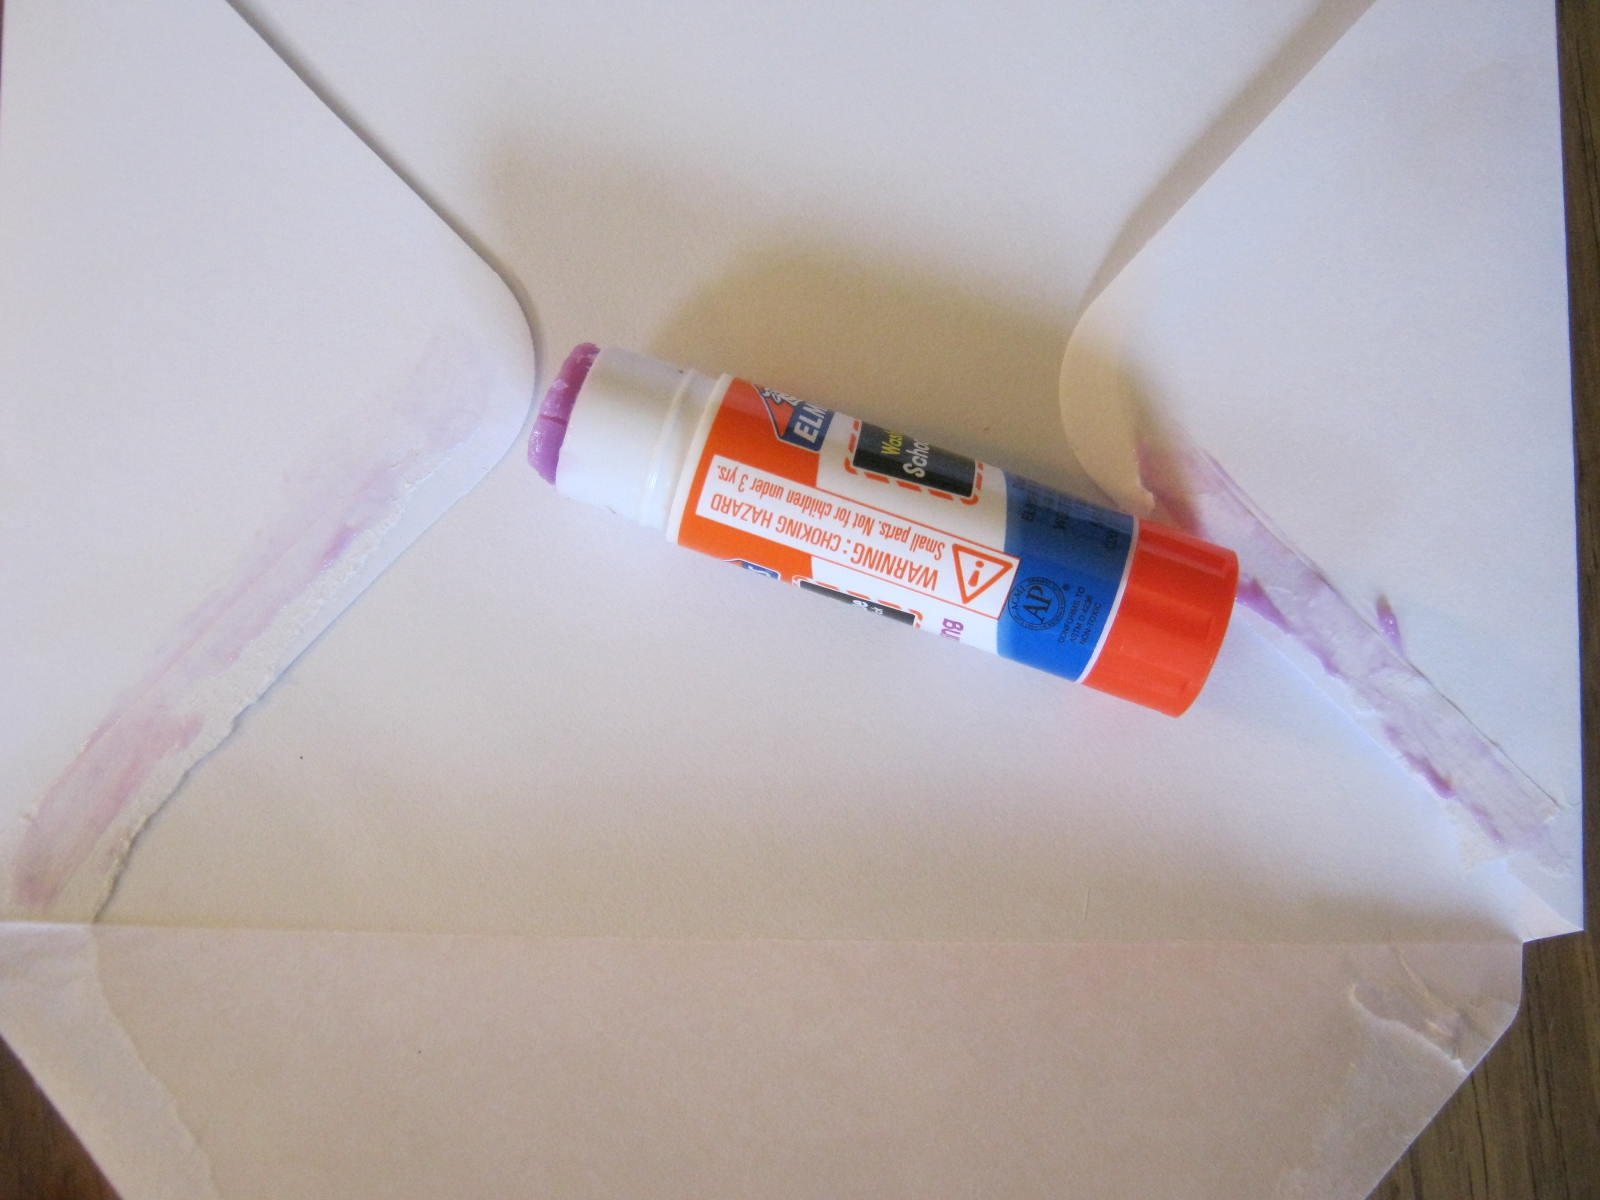
Open the envelope. You will find the bottom corners seem to have the most glue. I got around this by sliding a trusty scrap of old credit card between the layers.
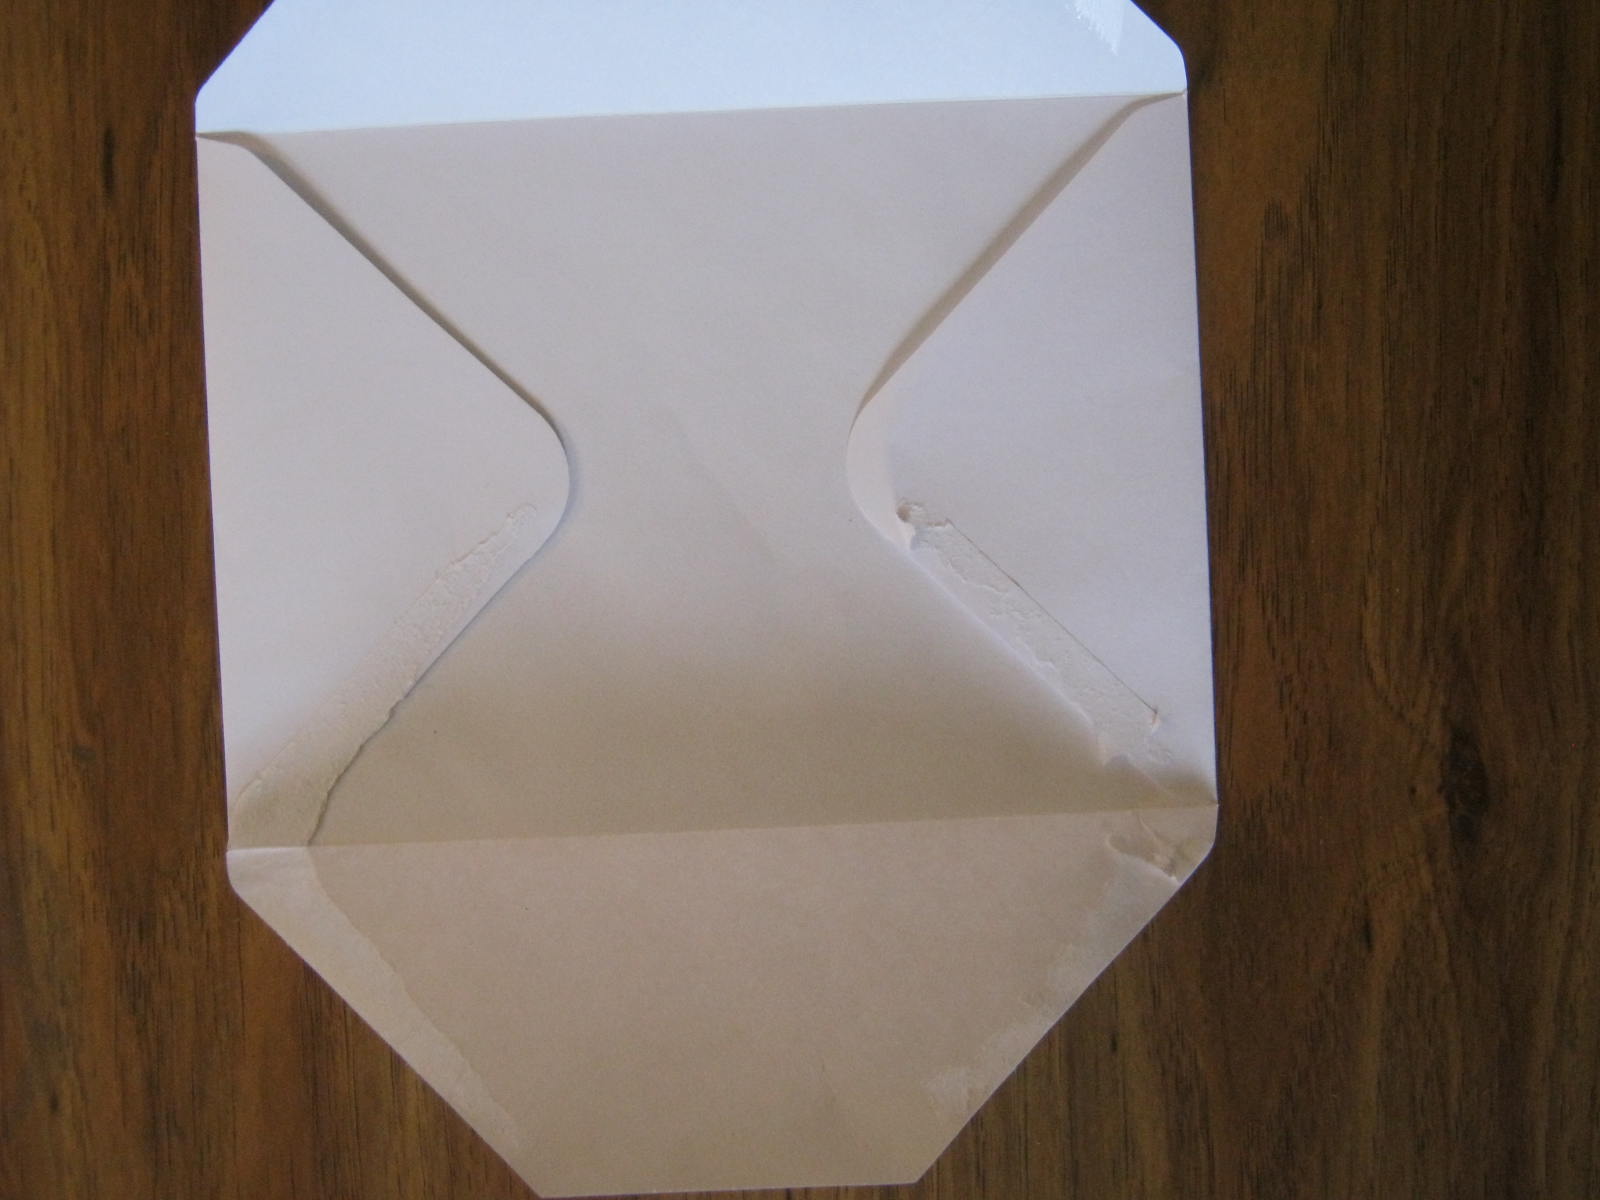
Your envelope will now look like this:
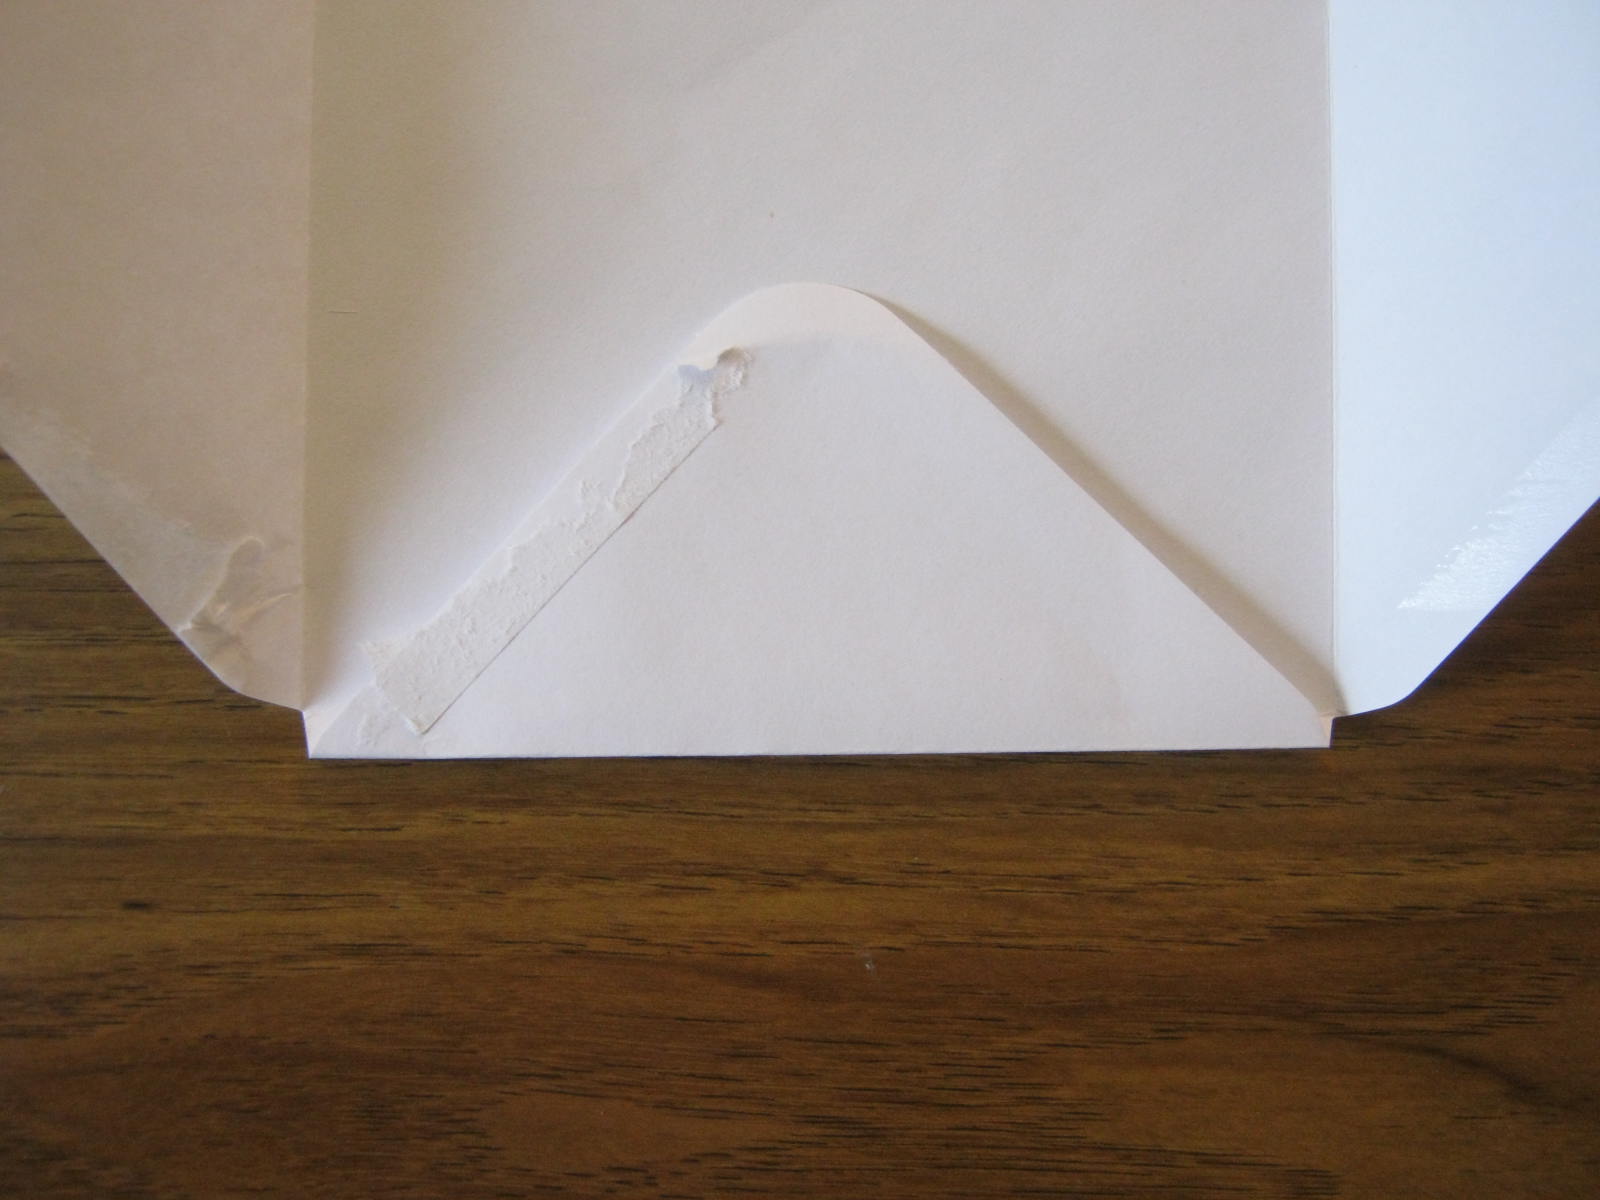
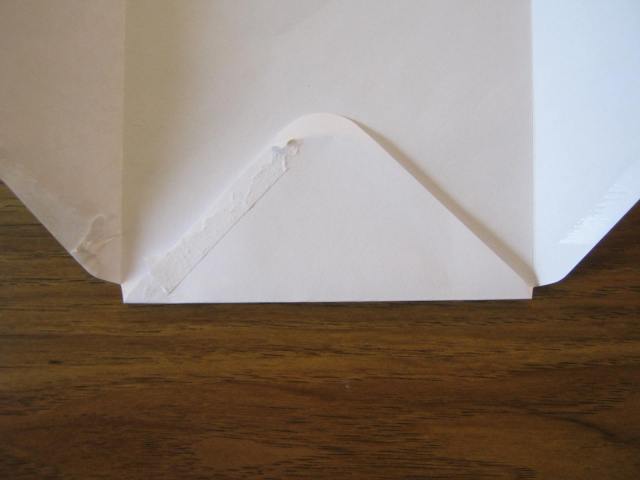
Fold one side again, extending the edge a few fractions of an inch. If you need more room, fold out the opposite side too.
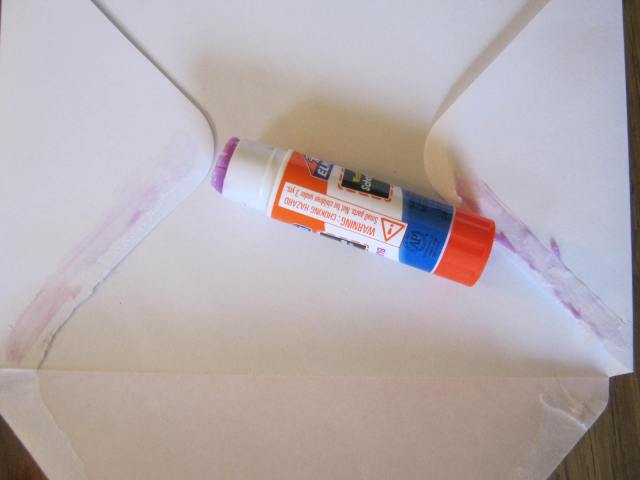
Glue…
Tape…
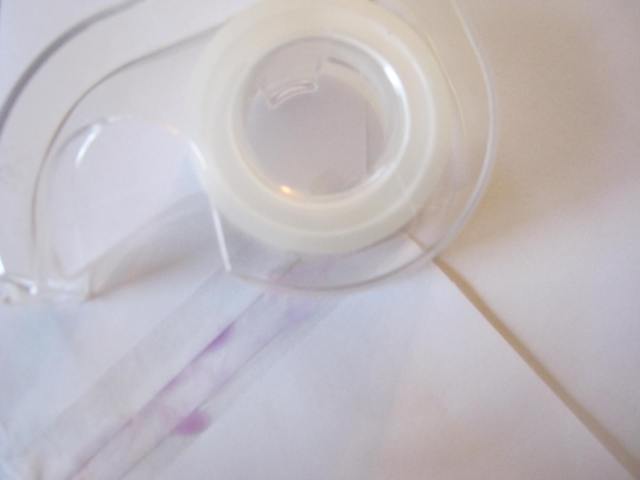
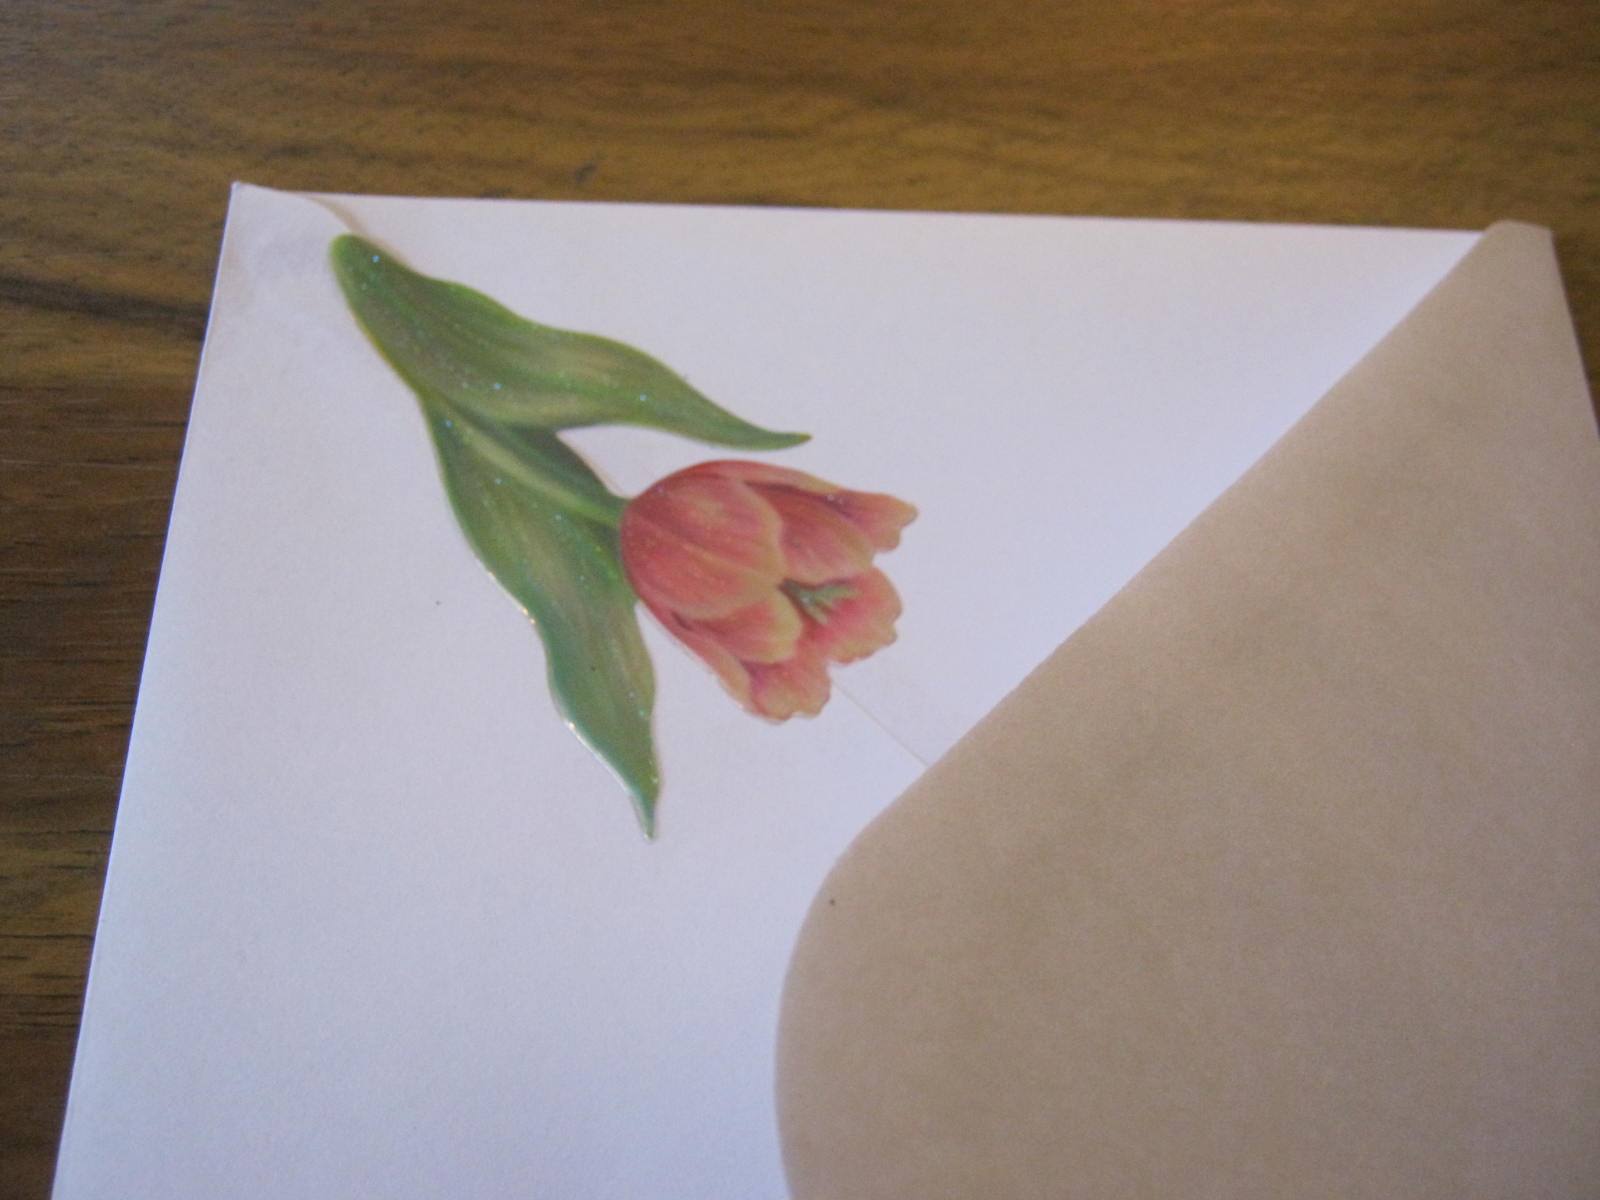
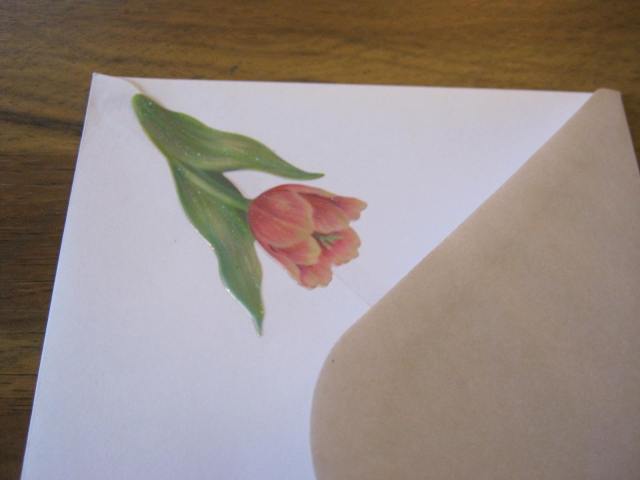
Or use stickers to firmly hold the edges down. “Voila’,” a larger-sized envelope. It doesn’t look perfect, but in the real world, who ever notices what the back of an envelope looks like before they open up the card?
Projects & Quick Tip – Making Martha/Halloween Sunglasses
What a clever idea! Why haven’t I ever thought of it?
Decorate a dollar store pair of sunglasses for Halloween.
I don’t dress up, but I decided it would be fun to try a few of the cute ideas in the October issue of Martha Stewart Living magazine. The Trick-or-Treaters might enjoy the look…or…maybe they will be SPOOKED!
It certainly wasn’t costly to create these glasses, and while they will probably only last a night; I sure had a good time creating them.
You can find more ideas here: Martha Stewart’s Sunglasses for Trick or Treating
If I have time I might glue a silk flower or two to an extra pair of sunglasses I found lying in a drawer.
Painting & Quick Tip – Two on Tuesday/Tracing with Ease
I know “How to Grid a Photo”. I have used the technique many times to enlarge a photo to a larger-sized canvas or paper. The finished results are usually acceptable and contain a lot of detail. The drawback is this method is tedious and chews up a lot of time. I work in watercolors and often don’t need a lot of detail in the initial sketch. For me, a quicker way to get results is to enlarge a reference photograph in a photo editor, remove the color, and filter with a “find edges” application. After I print this out, it becomes easy to trace over the found edges by taping the print to a window allowing the light to reveal the outline for tracing. A lightbox also works, but they can be expensive, and become one more piece of equipment I must store.
This method provides me with a basic sketch, saving hours of time, and allows me to add any detail or adjustment I need. This technique will work for journaling, poster making, lettering, any type of artwork that needs to be traced.