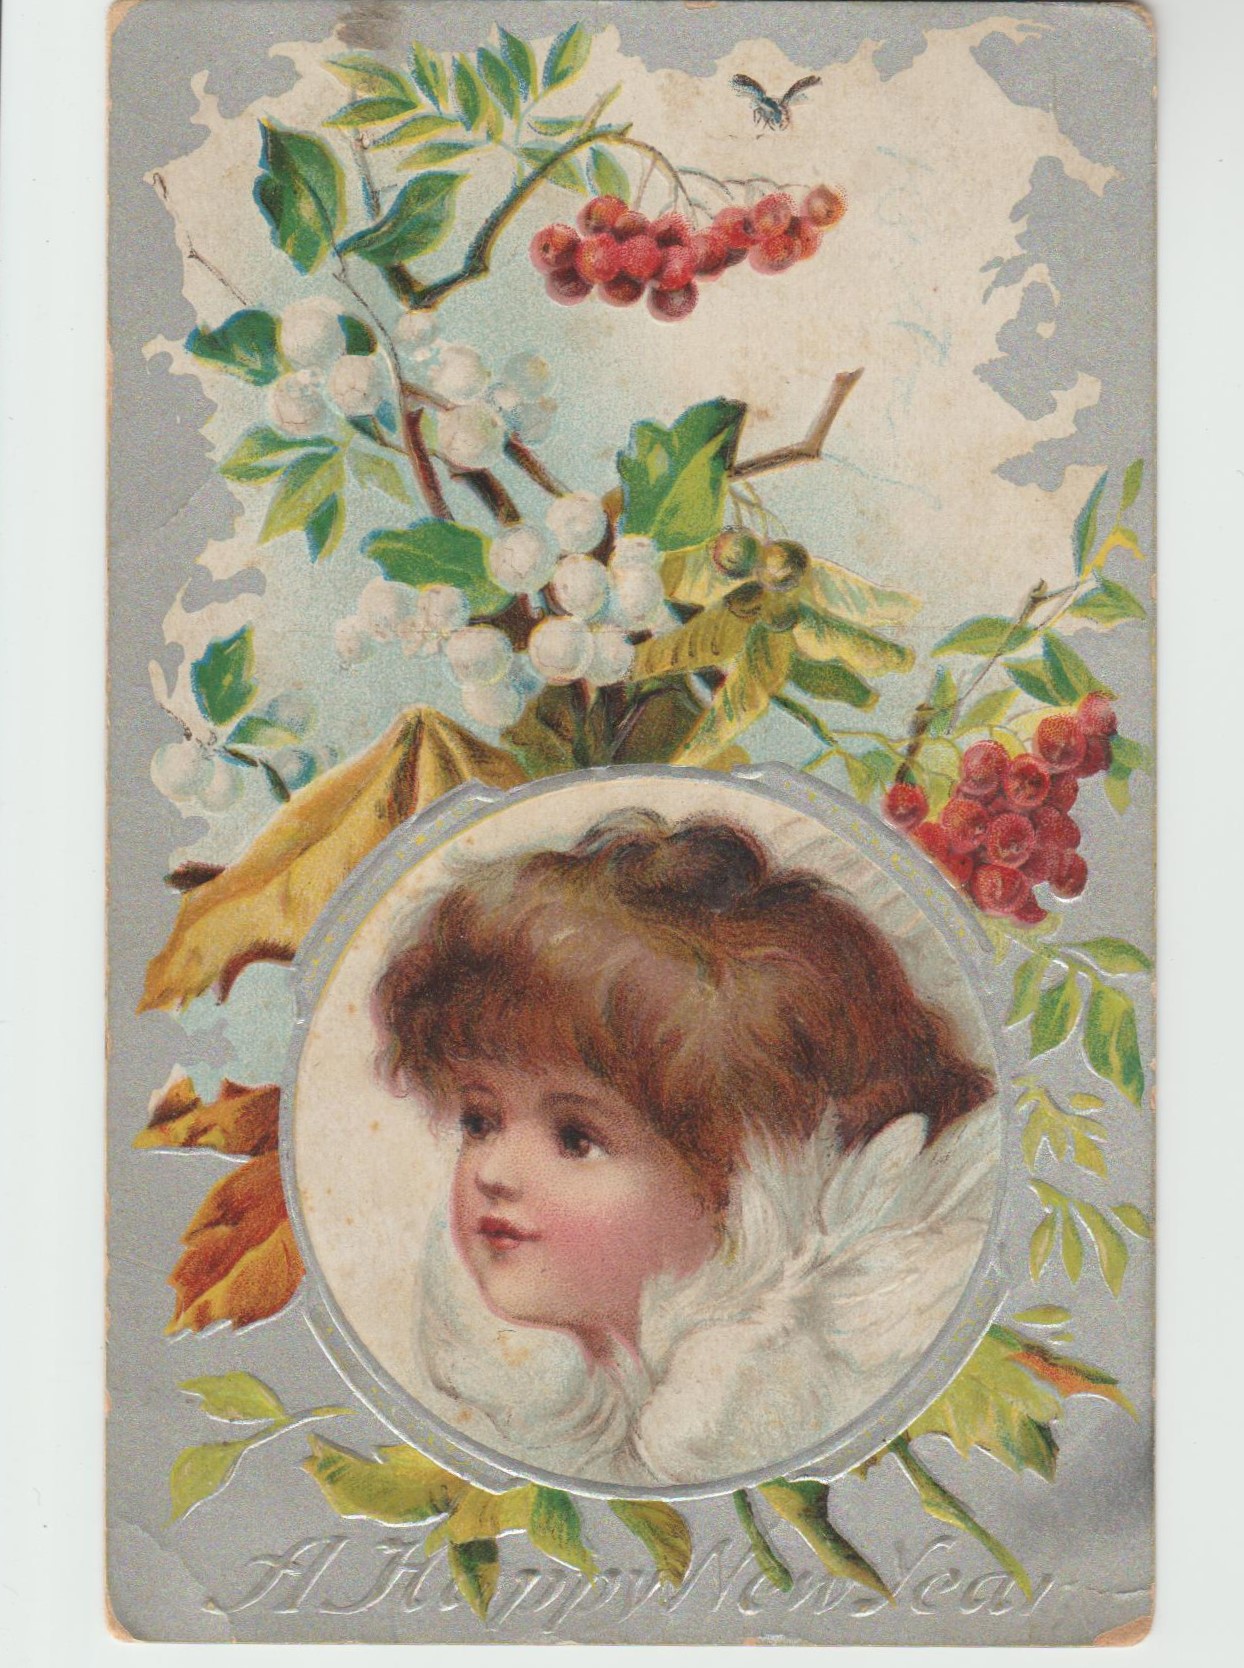
I’ve shared my love of vintage postcards in past posts…today I want to share a bit of photograph-tweaking using an old postcard. This beautiful postcard features a Victorian angel in feathers on the front. The postmark of 1911 is still visible on the back of the card. Postcards of this age are copyright free and available to use in artwork and designs.
I usually don’t use an image in a stand alone fashion when I use copyright free art. So, I tweaked the original through Adobe Photoshop and one of my very favorite sites, PicMonkey.
I treasure my little cherub, and even better, printing her/him out does not take a lot of printer ink. I am going to use this image for some gift tags and possibly in the future for baby shower gift cards. I enjoy the thought that this artist’s work lives long past the 100+ years ago it was created. Maybe our combined efforts in this altered version will live for 100 more. Thanks for looking!
This heirloom fold-out Nativity scene once belonged to my grandmother. A beautiful work of art, the scene is filled with wonderful details. Turned around, the reverse of the painting can be found on the opposite side. Amazing!
The Nativity was painted by Swedish artist, Helge Artelius (1895-1989).
I found many examples of Artelius’s work on the web, but there were few details about his life. If anyone can fill in the blanks about this artist please leave a comment. Thanks!
Postscript: When I wrote this post I thought the artist was a woman. If you read the comments below under the name of Anna Borsey you will discover amazing information about this artist.
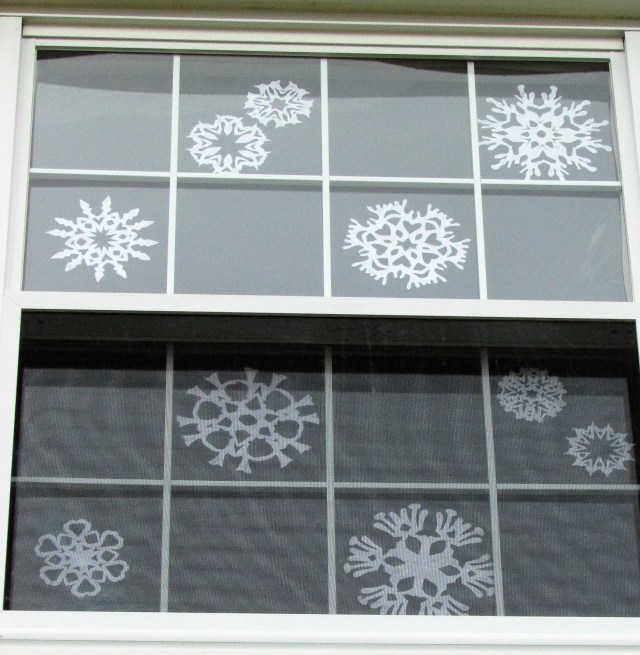
I have a brand new panoply of paper snowflakes on my window panes this year. Creating these inexpensive Christmas decorations is one of my joys. All it takes to make these lacy echoes of real snowflakes, is a bit of folding and snipping.
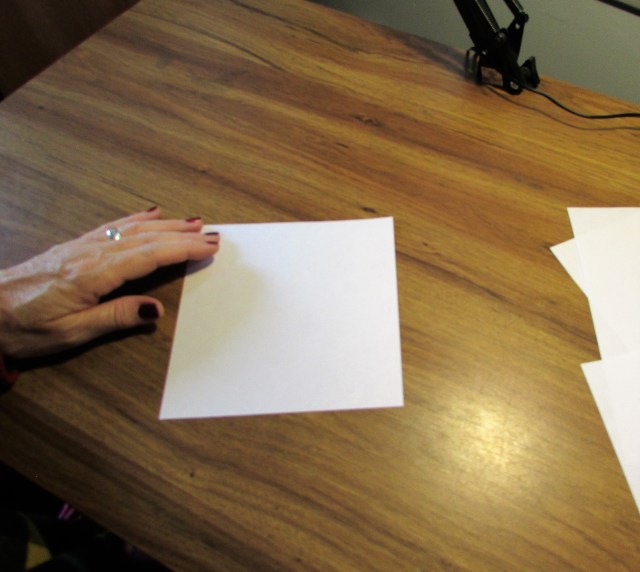
You will need squares of paper. Computer paper is a good choice for snowflakes. I use different sizes, eight, seven, six, five and four-inch squares. All of these sizes are fairly easy to fold and cut.
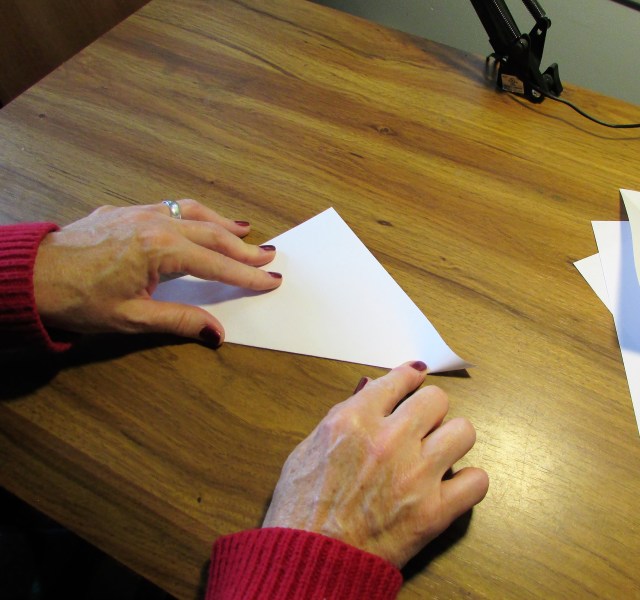
Fold the square into a triangle shape by matching catty-corners, or in more modern terms, opposite corners.
After the first fold is complete, using the corners on the long side of the triangle, fold the paper corner to corner once more.
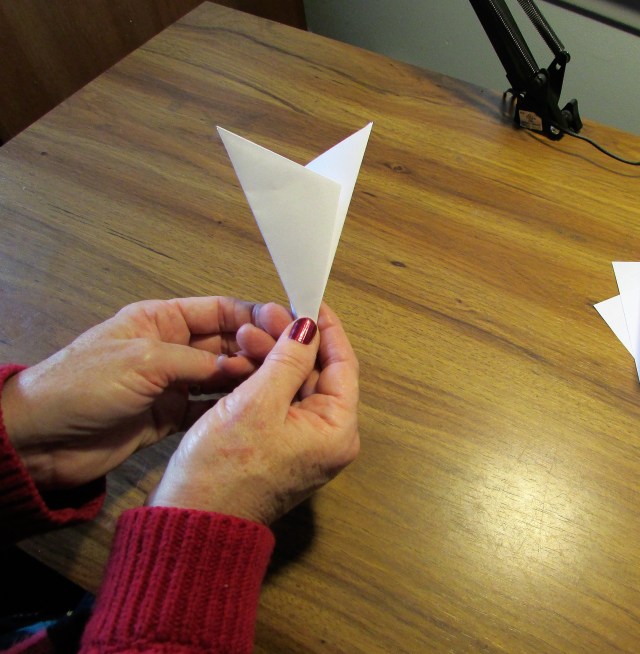
This next part is a little tricky. Let the longer side of the triangle face away from you. Bring up the right corner and fold it about a third of a way from the middle. Turn the paper over and repeat this step. You will have an accordion folded piece of paper with two bunny-type ears if you have folded it correctly. If this step is confusing watching the video at the bottom of the post will help.
After I fold the triangle into this shape, I trim the ‘ears’ off leaving a cone shape. This does not have to be perfectly rounded, you will be cutting into it.
* Important * You must always leave a bit of the folded sides intact to keep the snowflake whole. Don’t worry if you accidentally cut one and have it fall to pieces…it’s only paper after all.
Begin cutting your snowflake. Try to use both rounded cuts and straight snips. The combination of round and straight will give your snowflake a natural look. After cutting, open up, and prepare to be amazed by your beautiful handiwork.
I like to place the finished snowflakes in the windows of the house. Because the indoor heat causes condensation, the next step is especially important if you are using them on windows.
Iron the snowflakes between sheets of waxed paper. The layer of wax deposited on the paper will create a barrier against moisture. If you are using a good iron, protect it and the ironing board. Cover the board with an old cloth and use layers of newspaper beneath and over the waxed paper before you begin. The heat of the iron will penetrate the layers of newspaper and melt the wax onto the paper. You might need to change the newspaper several times. I use the waxed paper only one time, use a new sheet, top and bottom, for each batch of snowflakes. * Important * Have a lot of newspaper on hand if you are using a good iron.
I remove the waxed paper immediately after ironing by pulling the two pieces apart. The snowflakes are ready to glue to your windows.
Glue??? Yes, you read right. I recommend Elmer’s Disappearing Purple School Glue. Unless you want to spend hours and hours peeling and scraping tape residue from your windows, use a washable glue stick. A glue stick does leave a bit of residue when you take down the snowflakes, but it’s easy to remove with a wet rag. A spray of window cleaner and you would never know glue had been on your windows.
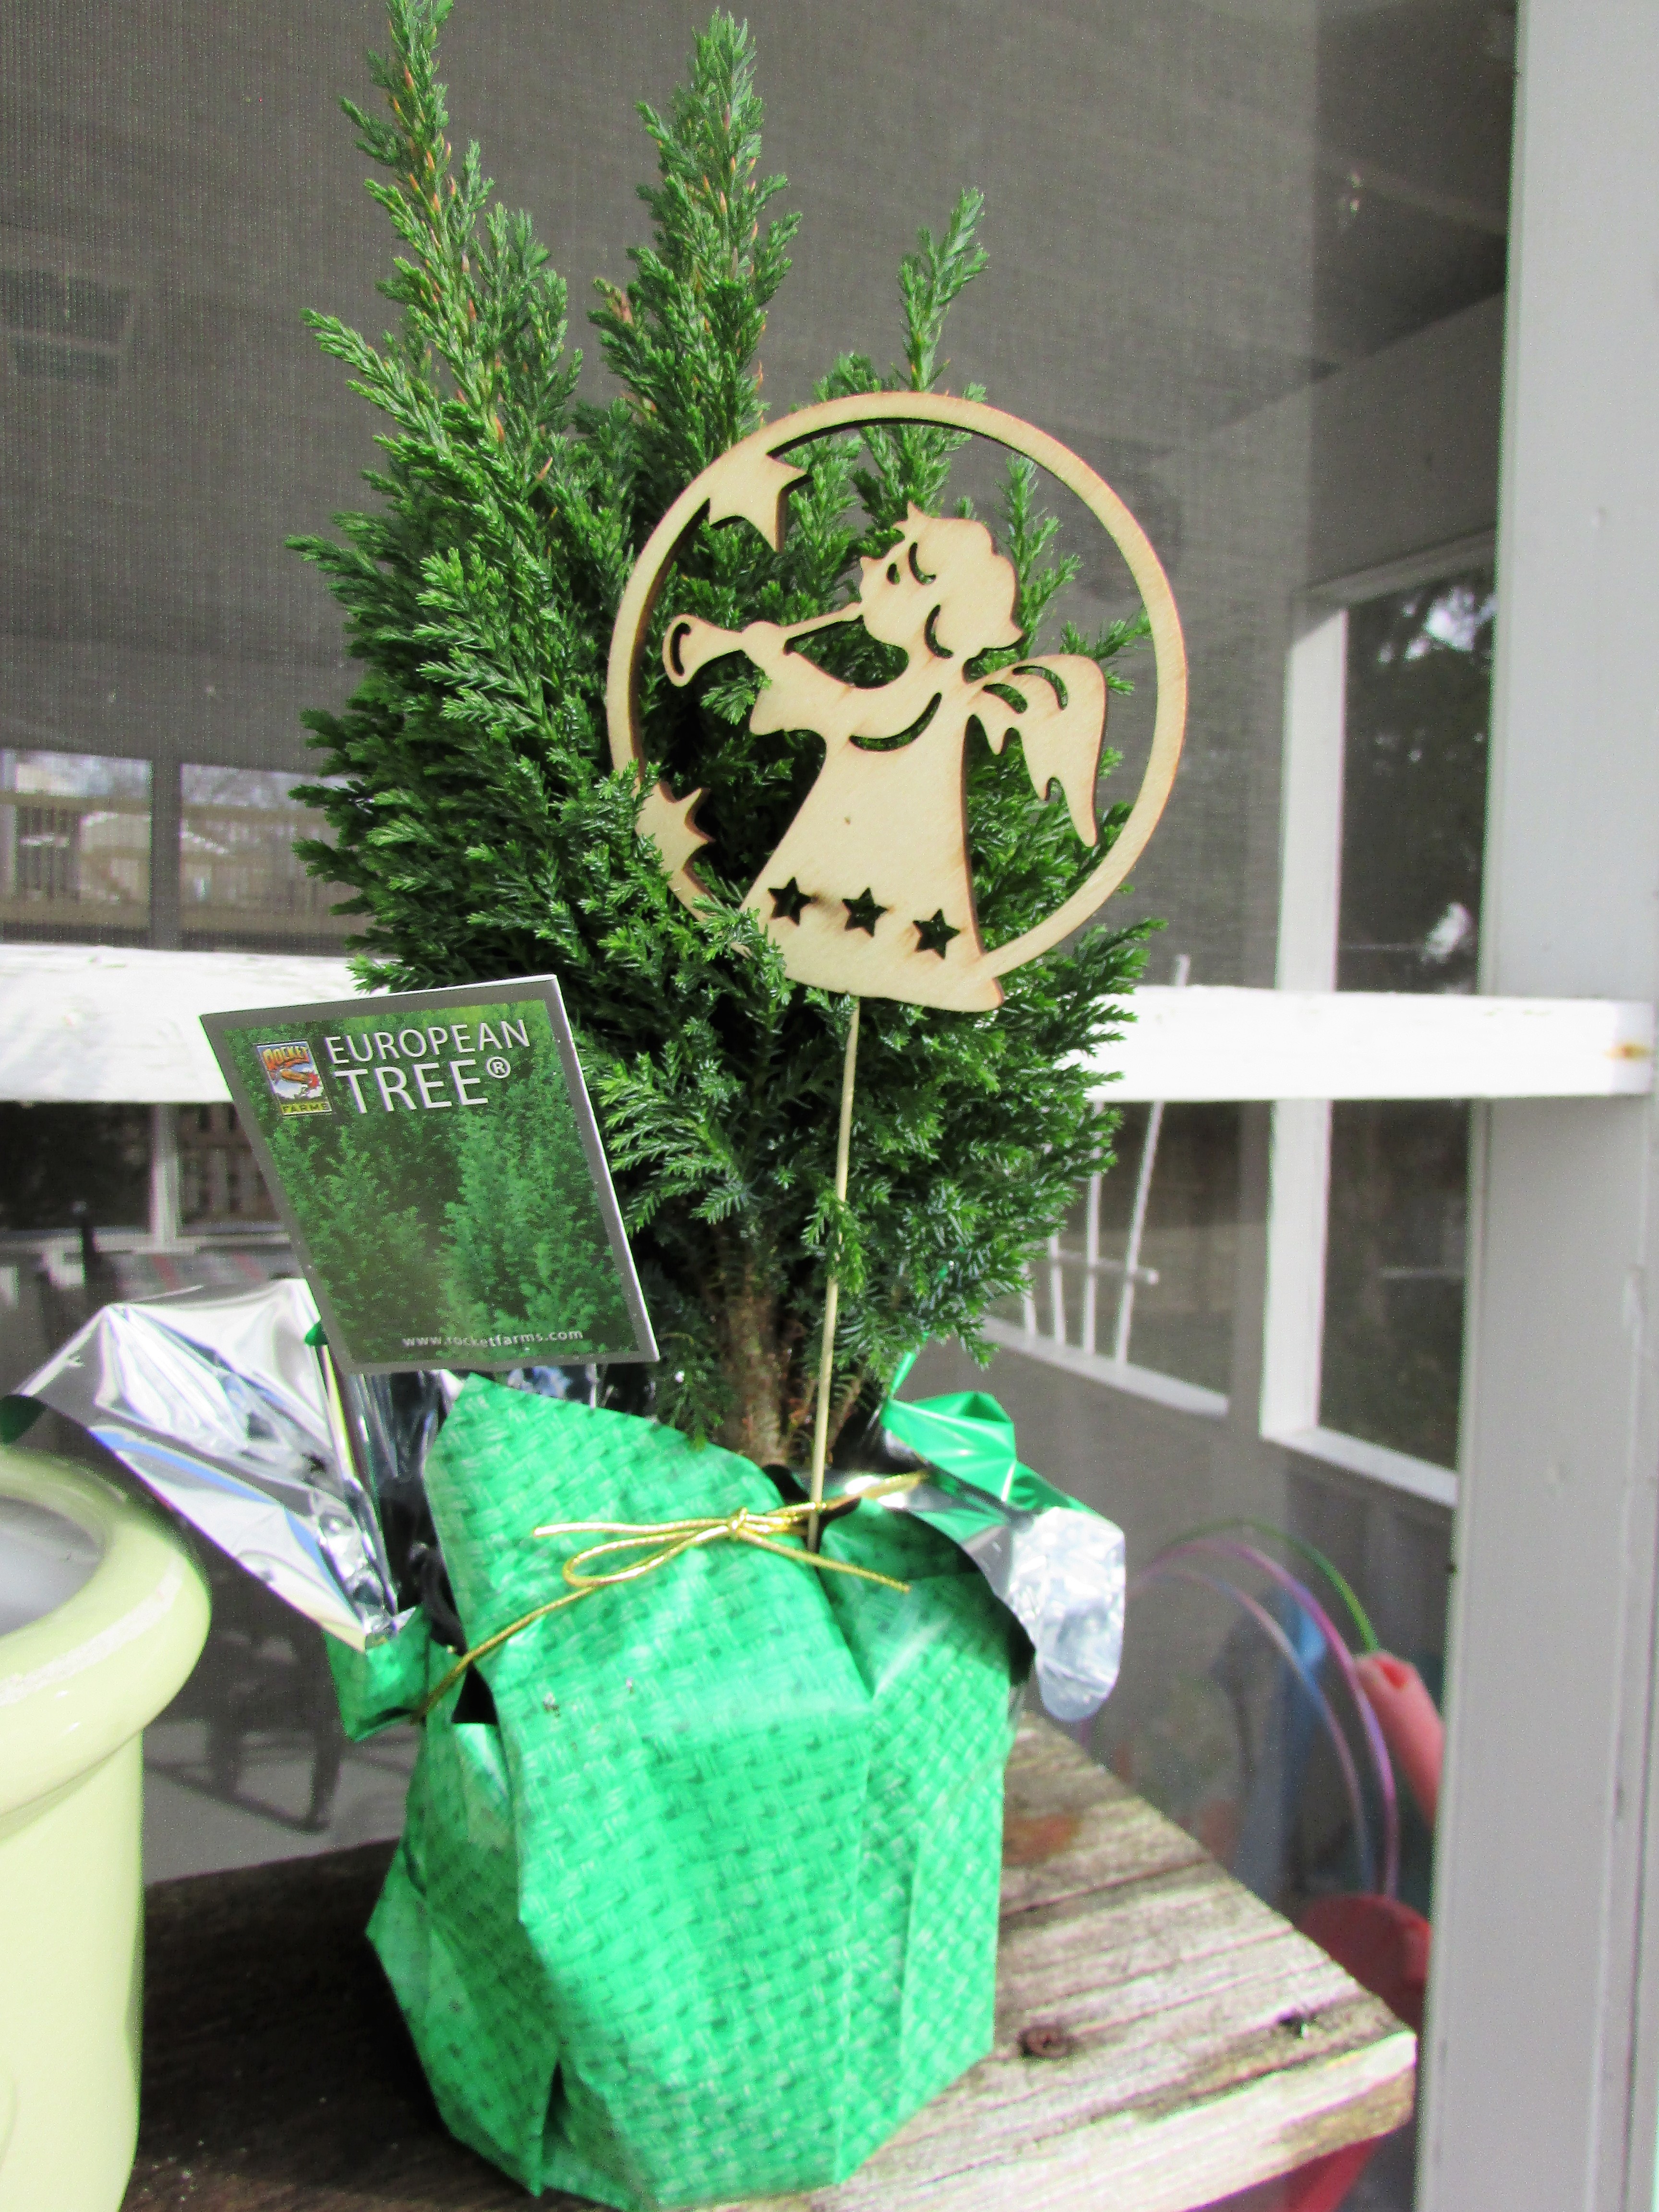
Miniature Christmas evergreens are abundant at this time of year. The small trees are good buys, usually under $5.00. They are attractive in their cellophane paper, but they are even prettier dressed up a bit in ceramic and moss.
I kept mine in the pot it came in, placed it in a ceramic pot, and added a bit potting soil to keep it steady. I topped it off with a bit of moss. I think the tree is lovely. The ornament it came with was the perfect finishing touch, or you could add a special ornament of your own.
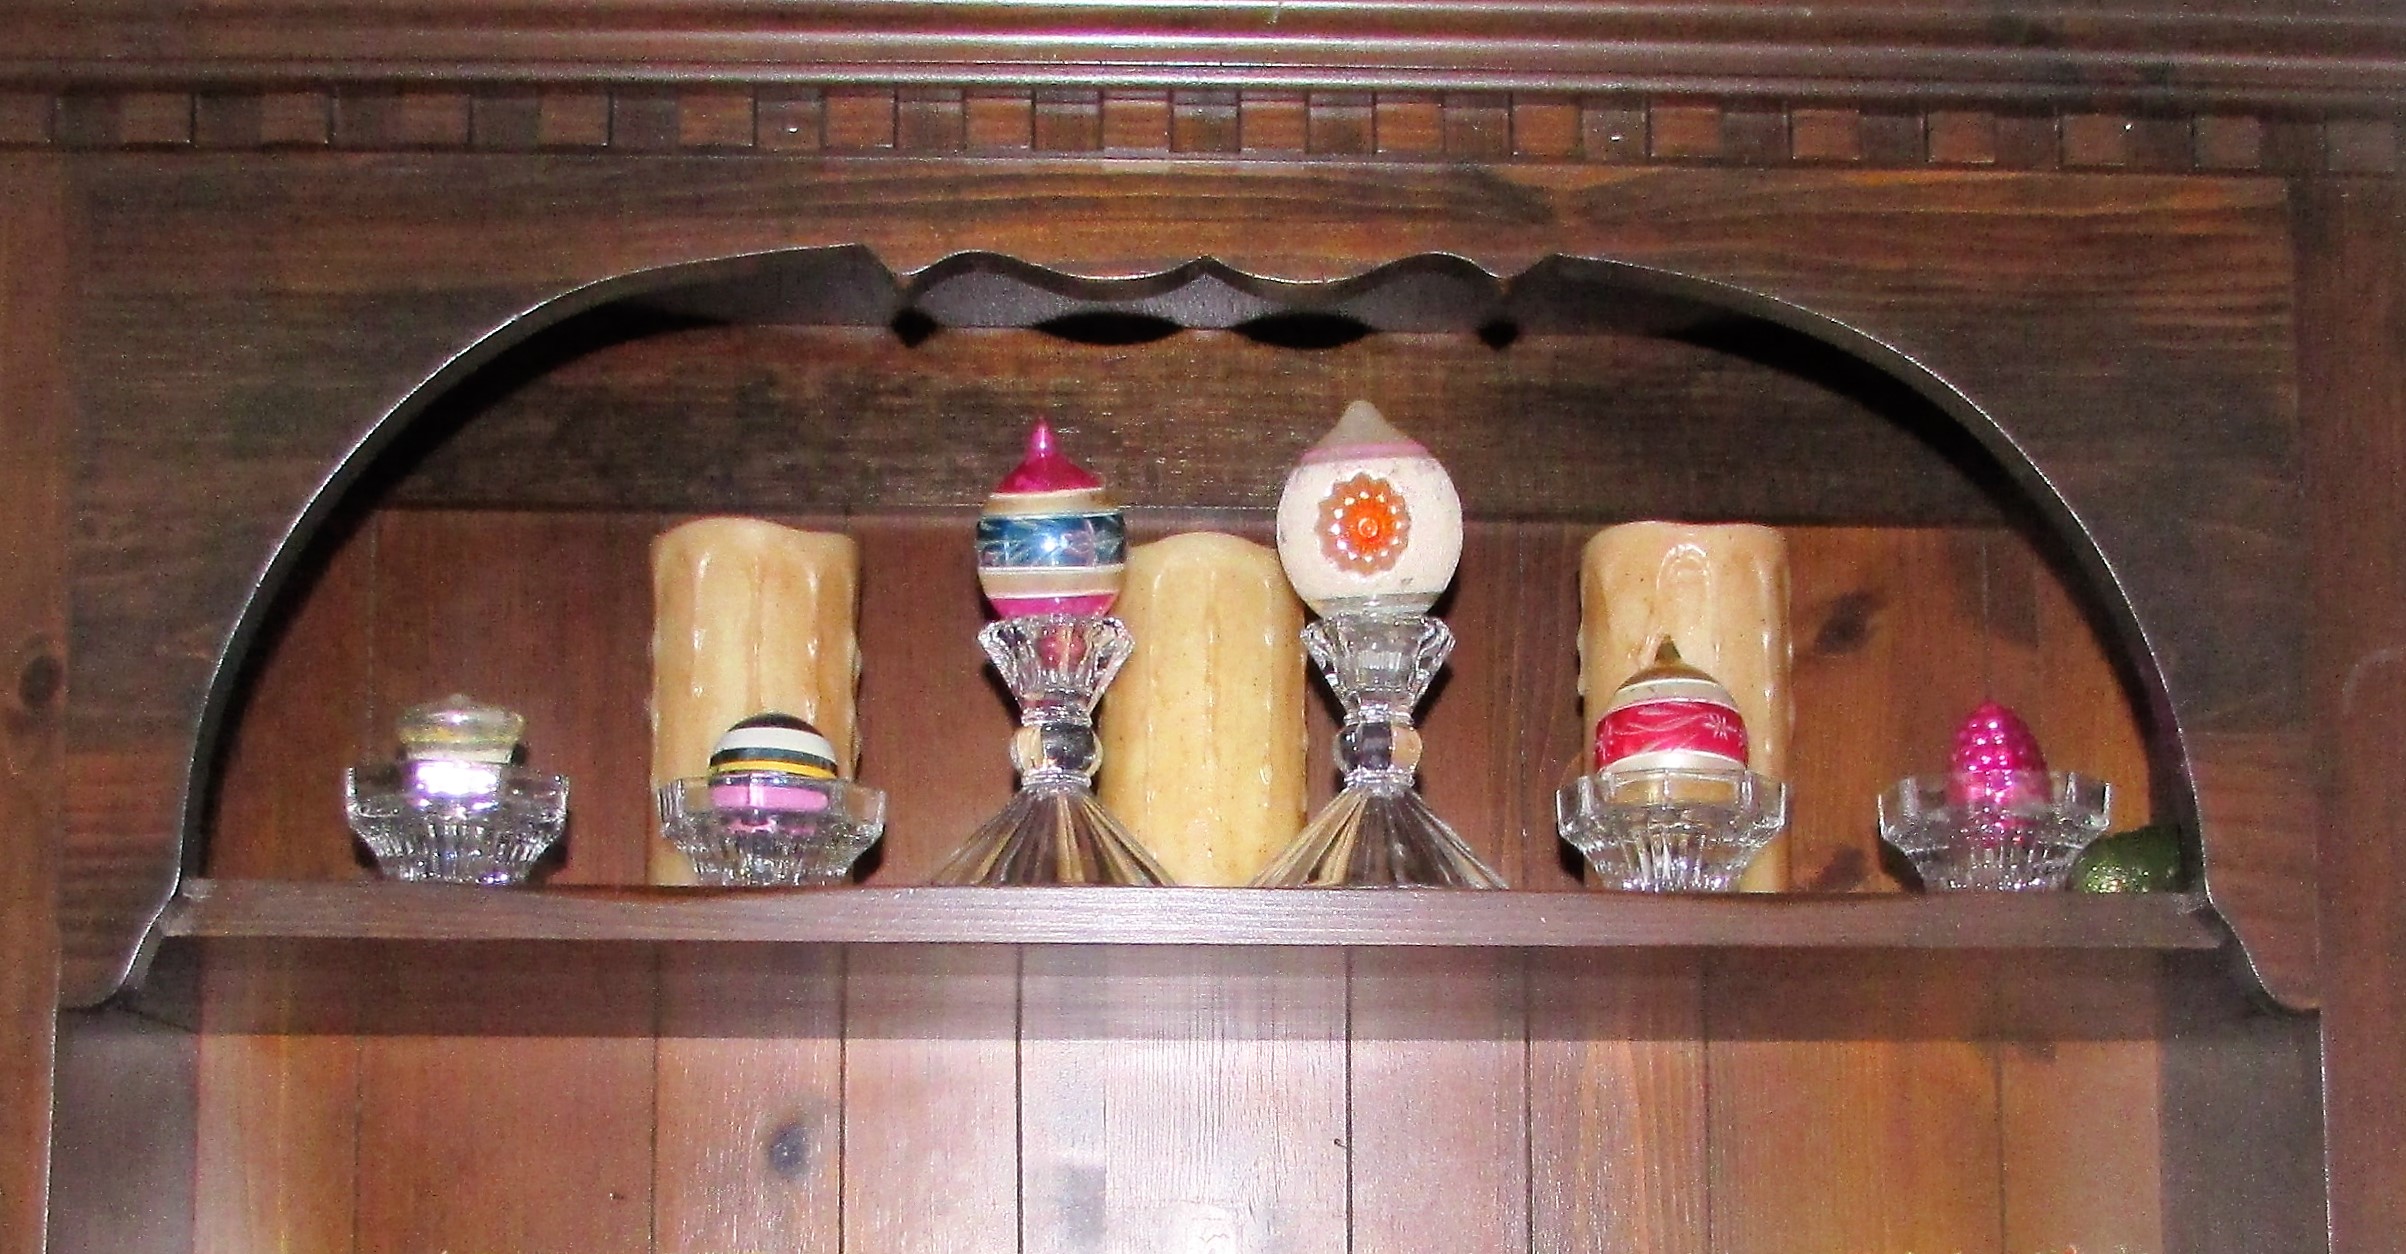
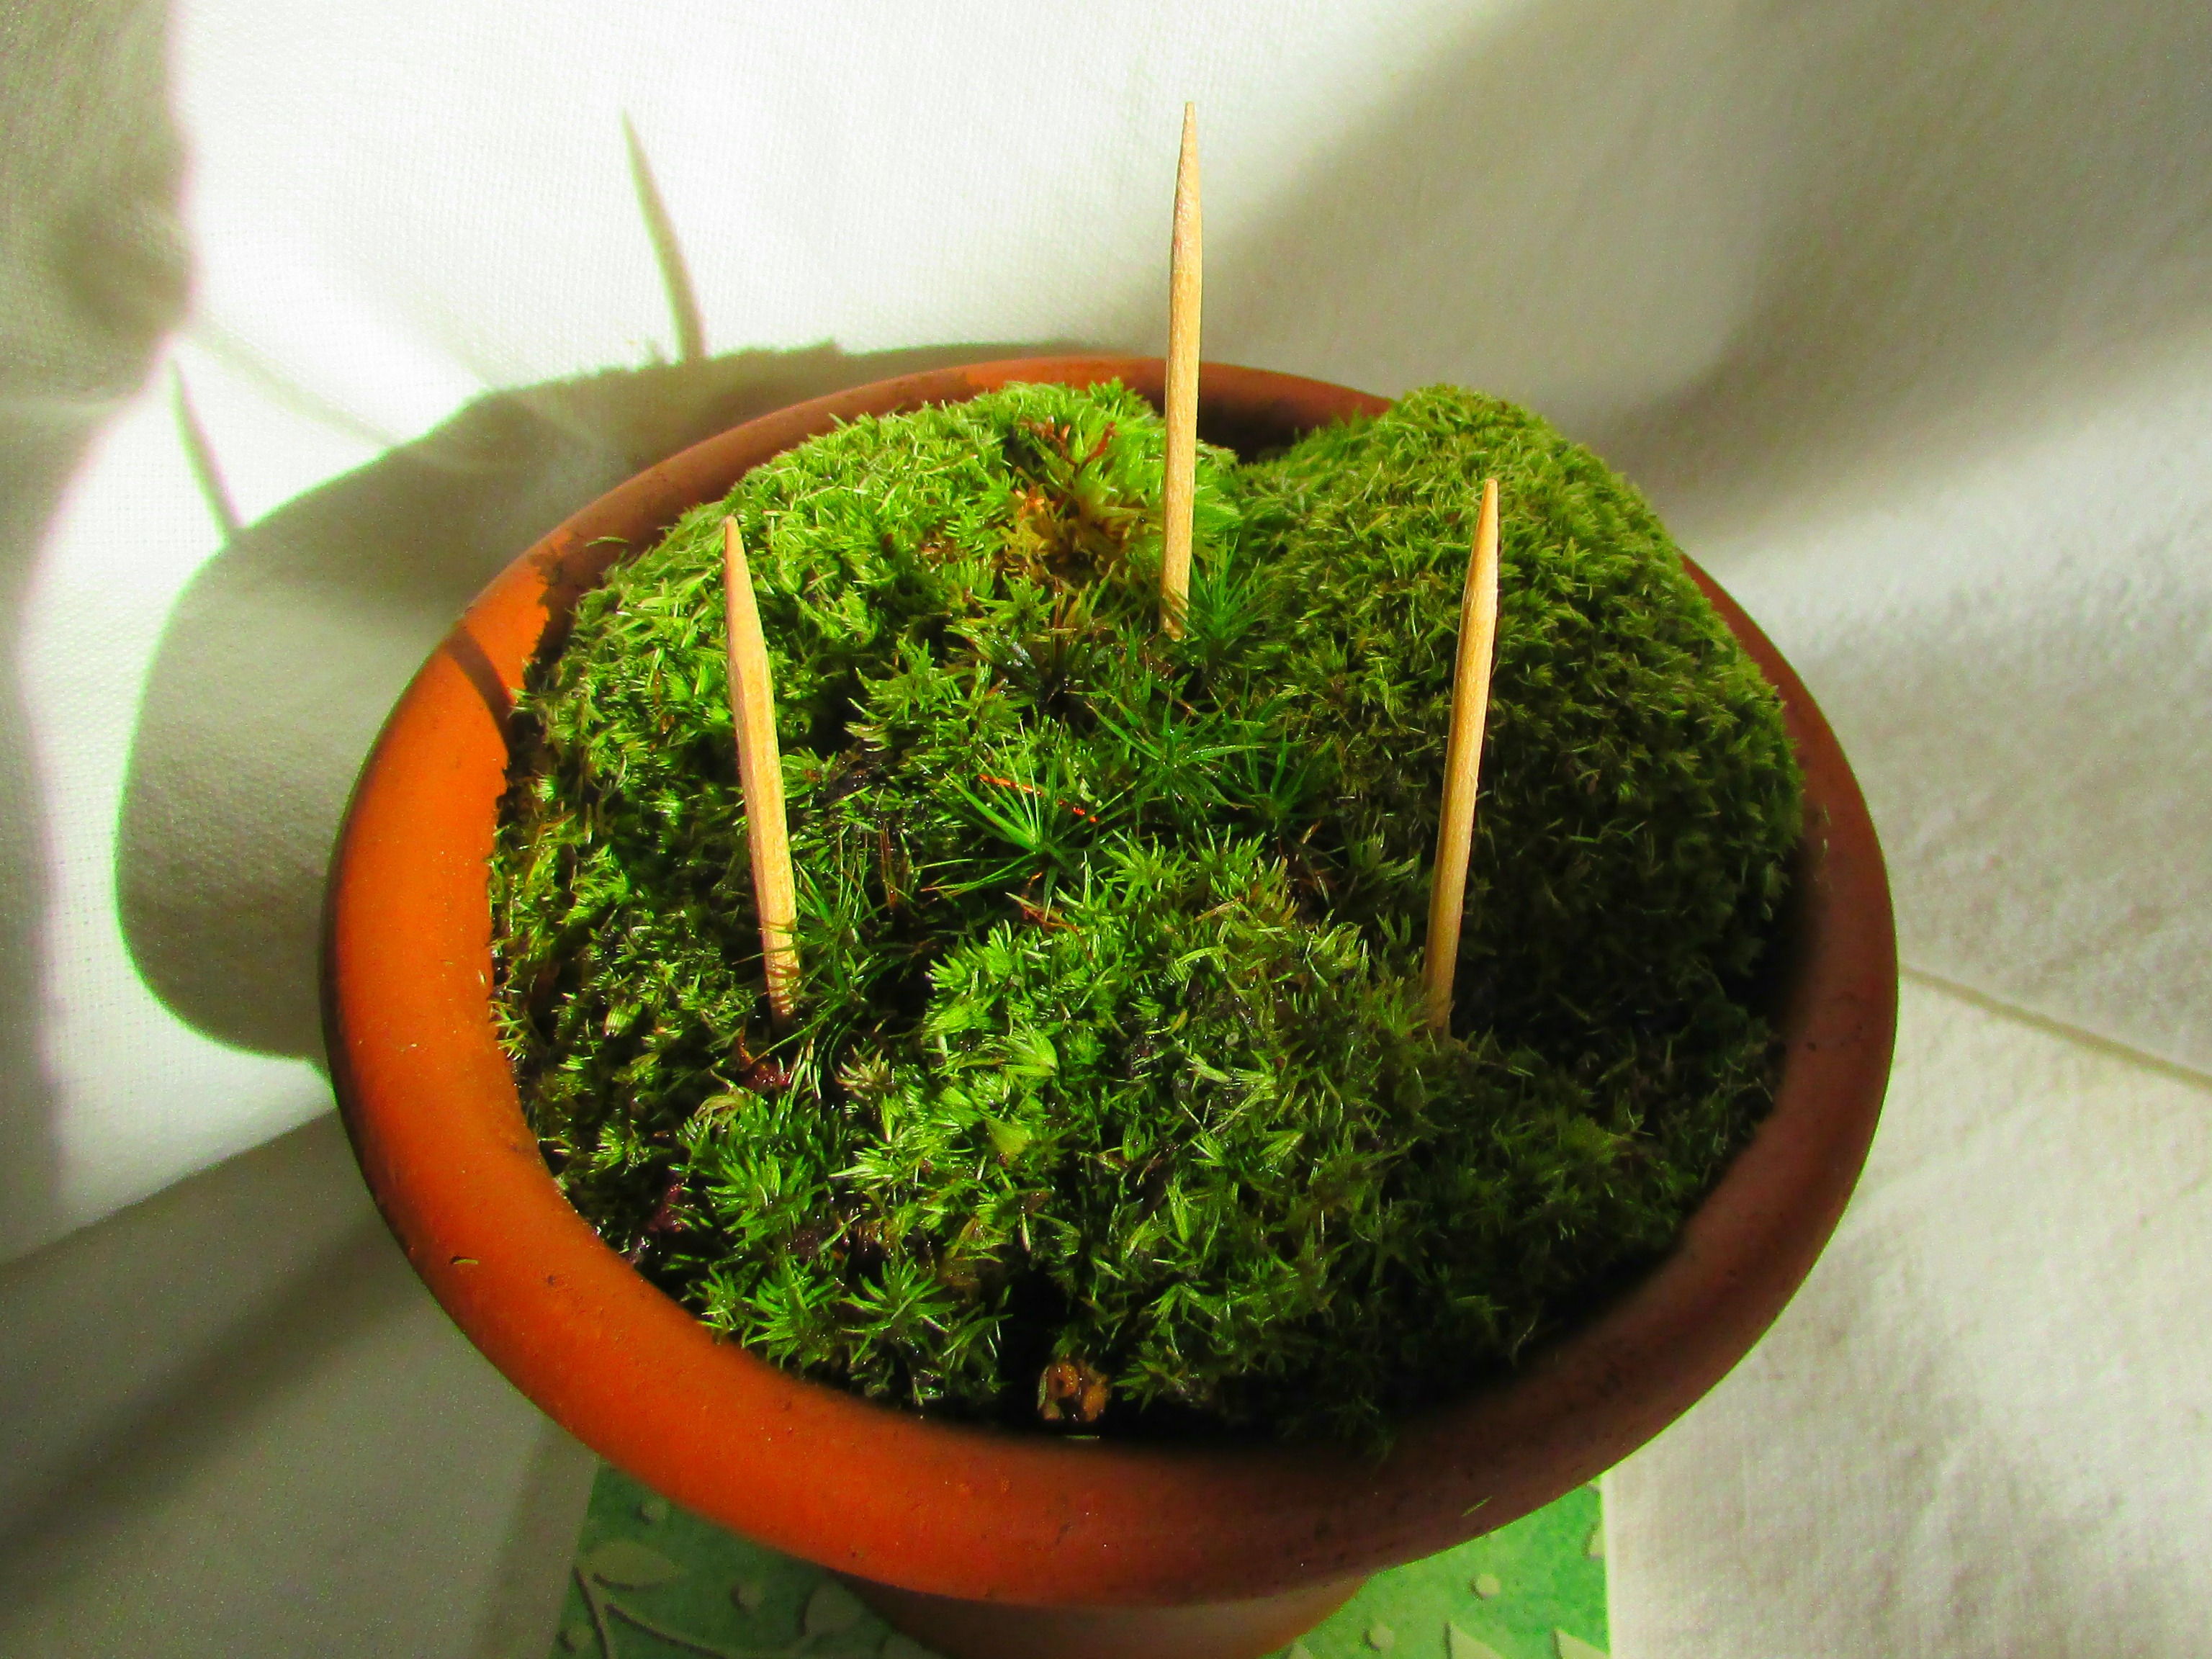
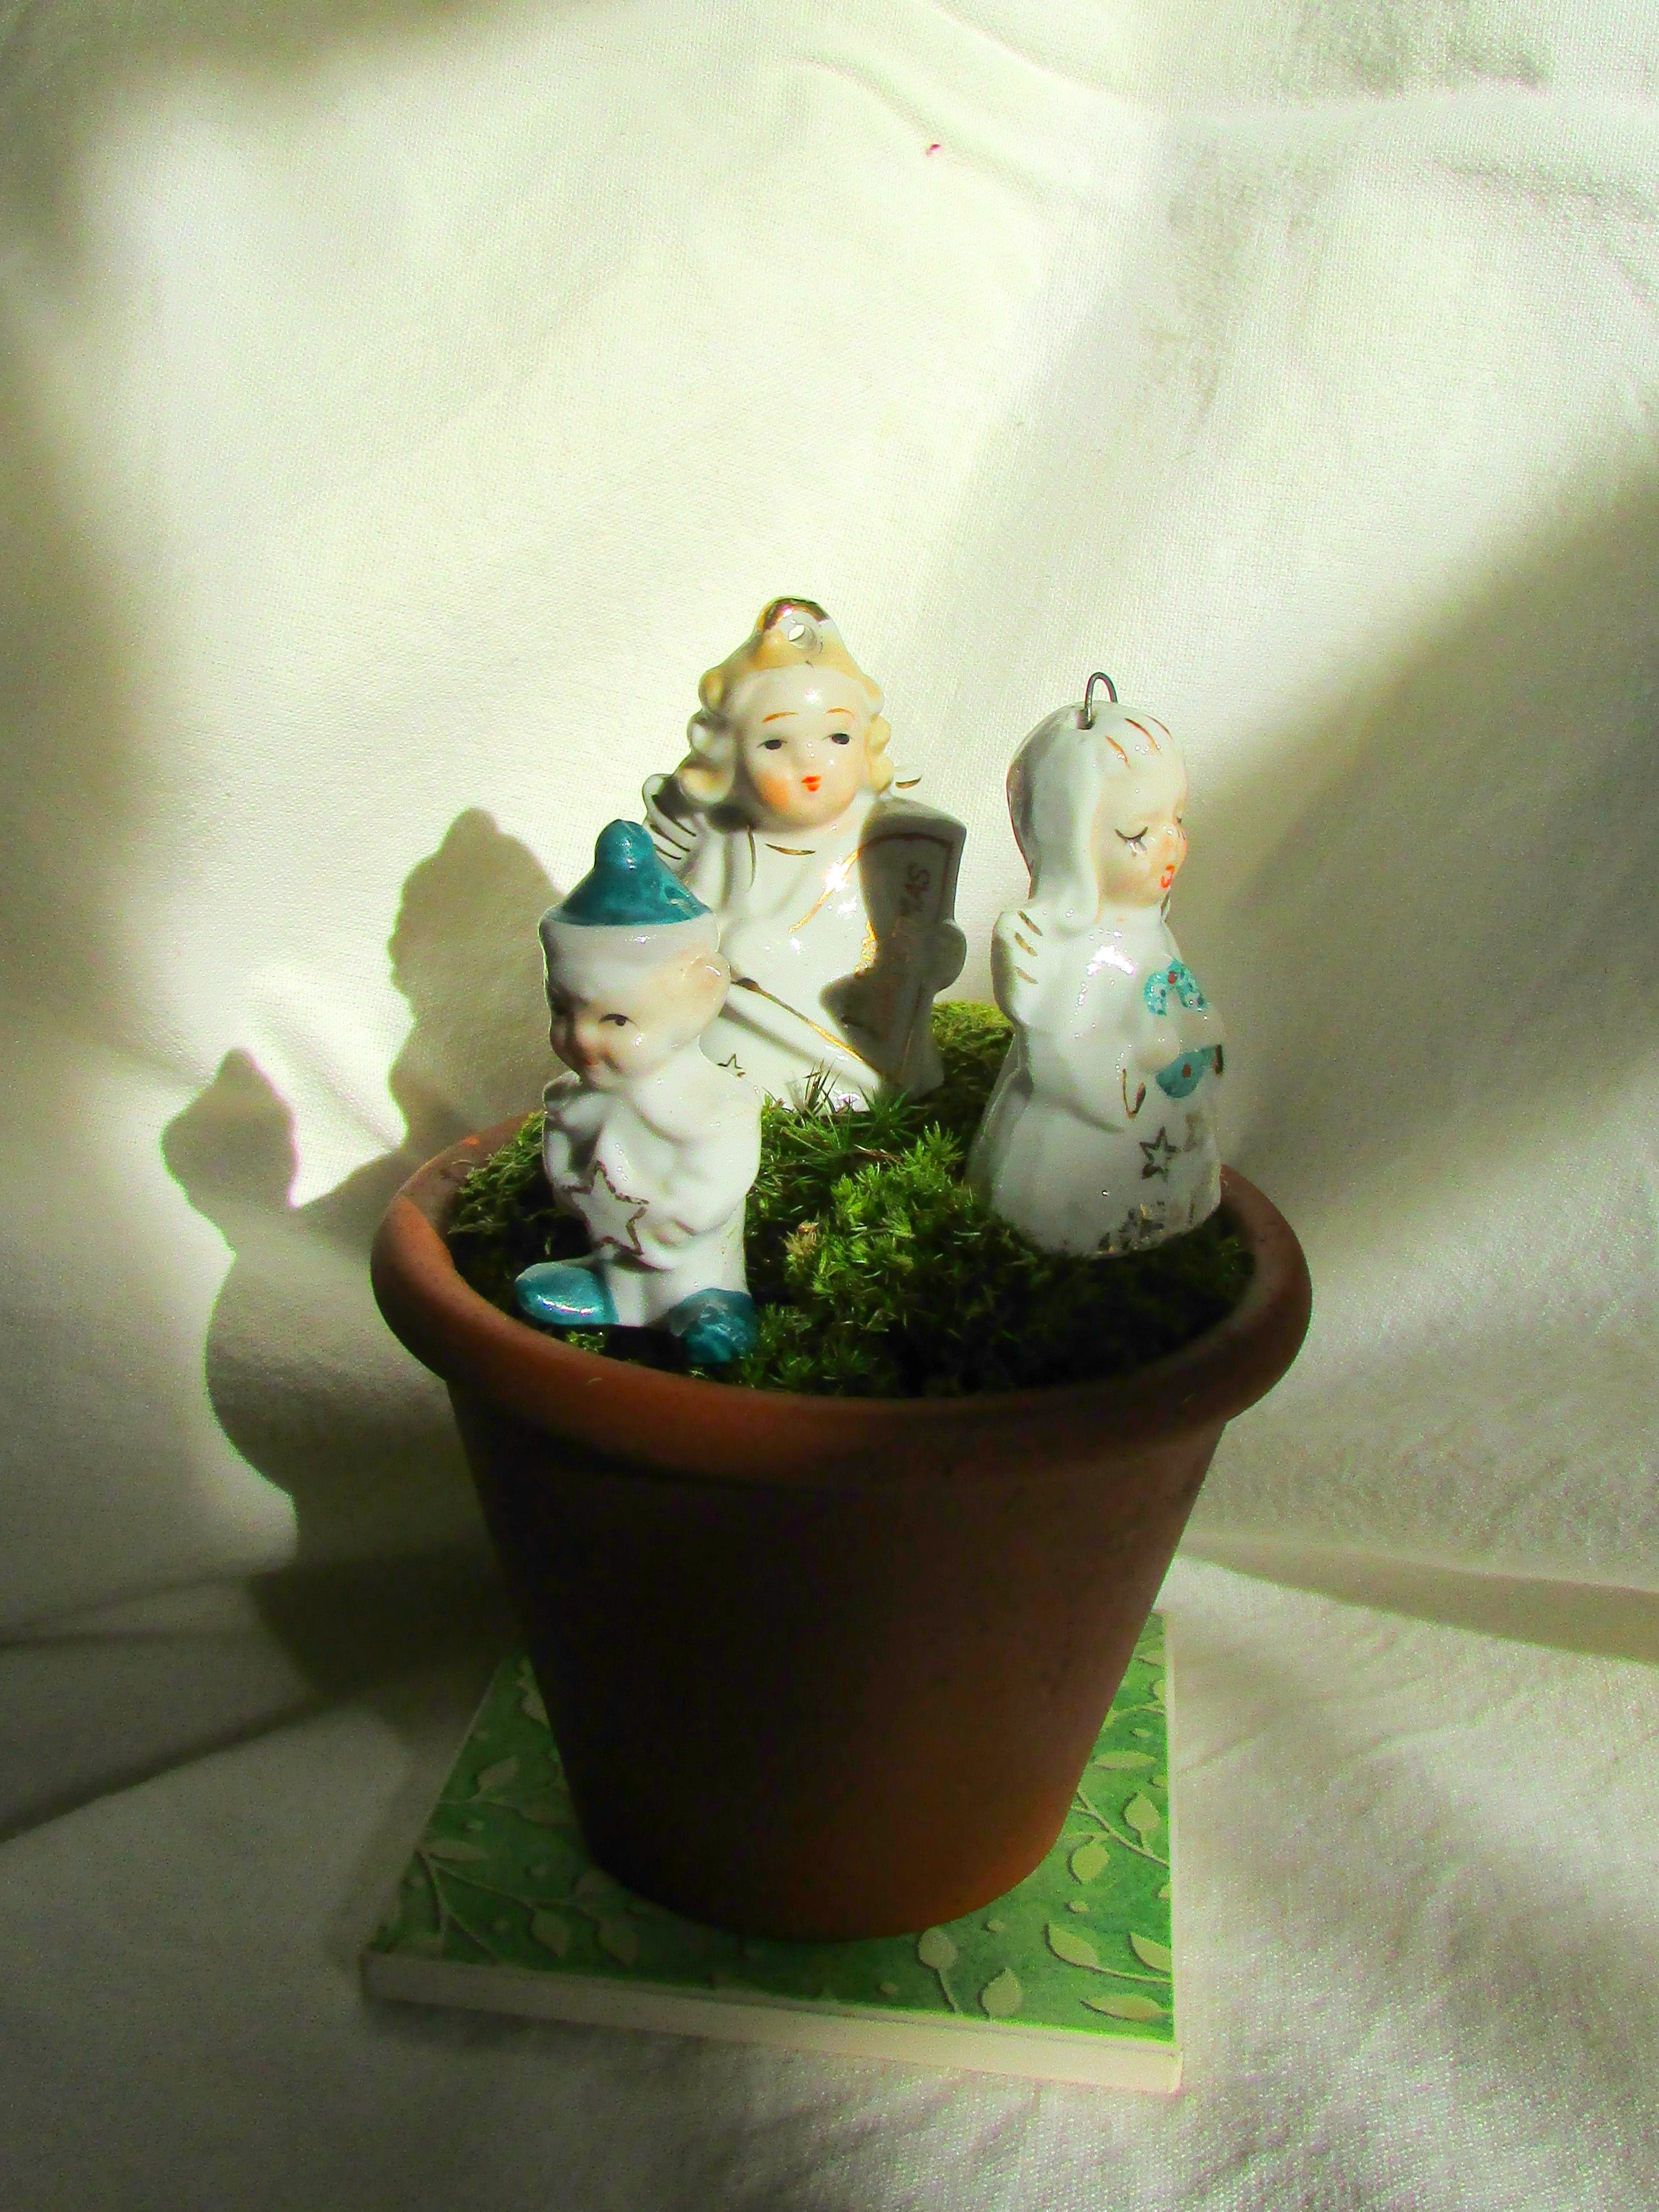
I had some moss left over. I didn’t want to waste it so I place it in a terracotta pot, added some toothpicks, and used it to display vintage ornaments.
One of my blogging promises has been to post on projects or plans that don’t work as planned. Yesterday, after hanging my newly crafted plaque, I looked out the window to see an empty hook. The plaque was lying topsy-turvy on the front lawn, the wire I used to hang it broken and frayed. Hmmmm….my plaque was behaving more like a windmill than a sign of peace. What was the solution?
I tried taping first…electrical tape, duct tape. My next idea was a shepherd’s hook positioned directly beneath the plaque. None of my solutions worked. Finally, the answer dawned on me. I needed to keep the plaque steady by stabilizing more than just the center of the hanger, which by the way I replaced with a sturdy leather lace.
Success!!! After moving the plaque closer to the house to block some of the wind, I found two hooks worked to keep the plaque from wildly swinging, and my “PEACE ON EARTH” stayed firmly in place through a very windy night. The moral of my tale: Sometimes two hooks work better than one.
Creating this simple ‘PEACE ON EARTH’ plaque was easy and inexpensive. A scrap piece of wood would work just as well as a purchased plaque. I used FolkArt artist pigments for the best possible coverage. Because I wanted the wood to look rustic I only gave it one coat of Napthol Crimson.
The Napthol Crimson alone was a little brighter than I expected; I used Liquitex Transparent Burnt Umber Ink to antique the plaque. It worked perfectly. Quick Tip: Use a disposable brush to apply the ink, wipe off quickly to remove the majority of the color.
I chose a font and printed out letters in the size I desired for the plaque. I was lucky, you can see I almost ran out of ink. To transfer these letters to the plaque I colored over the back with a piece of children’s sidewalk chalk.
Taped onto the front of the plaque with painter’s tape, I was able to trace around the edges of these letters with a ballpoint pen and transfer the chalk to the plaque. The outline is easy to see, yet any residue left behind after painting can wiped away when the paint is dry.
I used a gold acrylic paint to fill in the letters. A swipe of black paint along the right sides gave the letters a bit of shadowy dimension.
PEACE ON EARTH TO ALL MY BLOGGING FRIENDS! A BLESSED DECEMBER TO YOU.
I’m excited about December and Christmas this year. I’ve decorated, most presents are purchased or ordered, and I have a few good ideas for dinners and get-togethers with family and friends.
The weather hasn’t exactly been smiling with me in anticipation. Our skies have been dreary, but the rain that’s been coming down was needed; I am thankful for it. Dusk begins early in December; the darkness can creep into your attitude if you let it. Birds, like this perky robin, bring me a lot of cheer throughout the winter. Robins were once a sign of spring in our area, but now, like the flocks of geese, many seem to overwinter here. I’m grateful for them, and the sweet, “Cheep, cheep, cheerio,” of their song.
I kid you not…I have pinned thousands of items on Pinterest. If I live for another 300 years I still would never have enough time to do all the projects I’ve pinned.
Last night, through Pinterest, I came upon a recipe for headache salve from the blog Confessions of an Overworked Mom. Her recipe and instructions are easy and the salve turns out great. Combine coconut oil and a few drops of essential oils in a glass bowl and gently heat over a bowl of hot water. The gentle smell of the salve is comforting. Massaged into your temples when you have a headache, or an overload of stress, would bring some natural, non-chemical relief. Check out Overworked Mom’s post for step-by-step instructions.
I combined making the headache salve with a project. I upcycled an old Altoid tin I had on hand into a pretty container for the salve.
Before you make the salve, prepare your container. Wipe out an Altoid tin with a soft cloth or napkin. You will also need a thin piece of cardboard and a picture or design of some kind. I used a page from an old Mary Engelbreit calendar.
Trace the shape of the tin top onto a piece of thin cardboard. I used a piece of an old tissue box.
Cut out the cardboard, about an 1/8 of an inch smaller than the traced line. I wanted the pretty color of the Altoid tin to frame the finished picture.
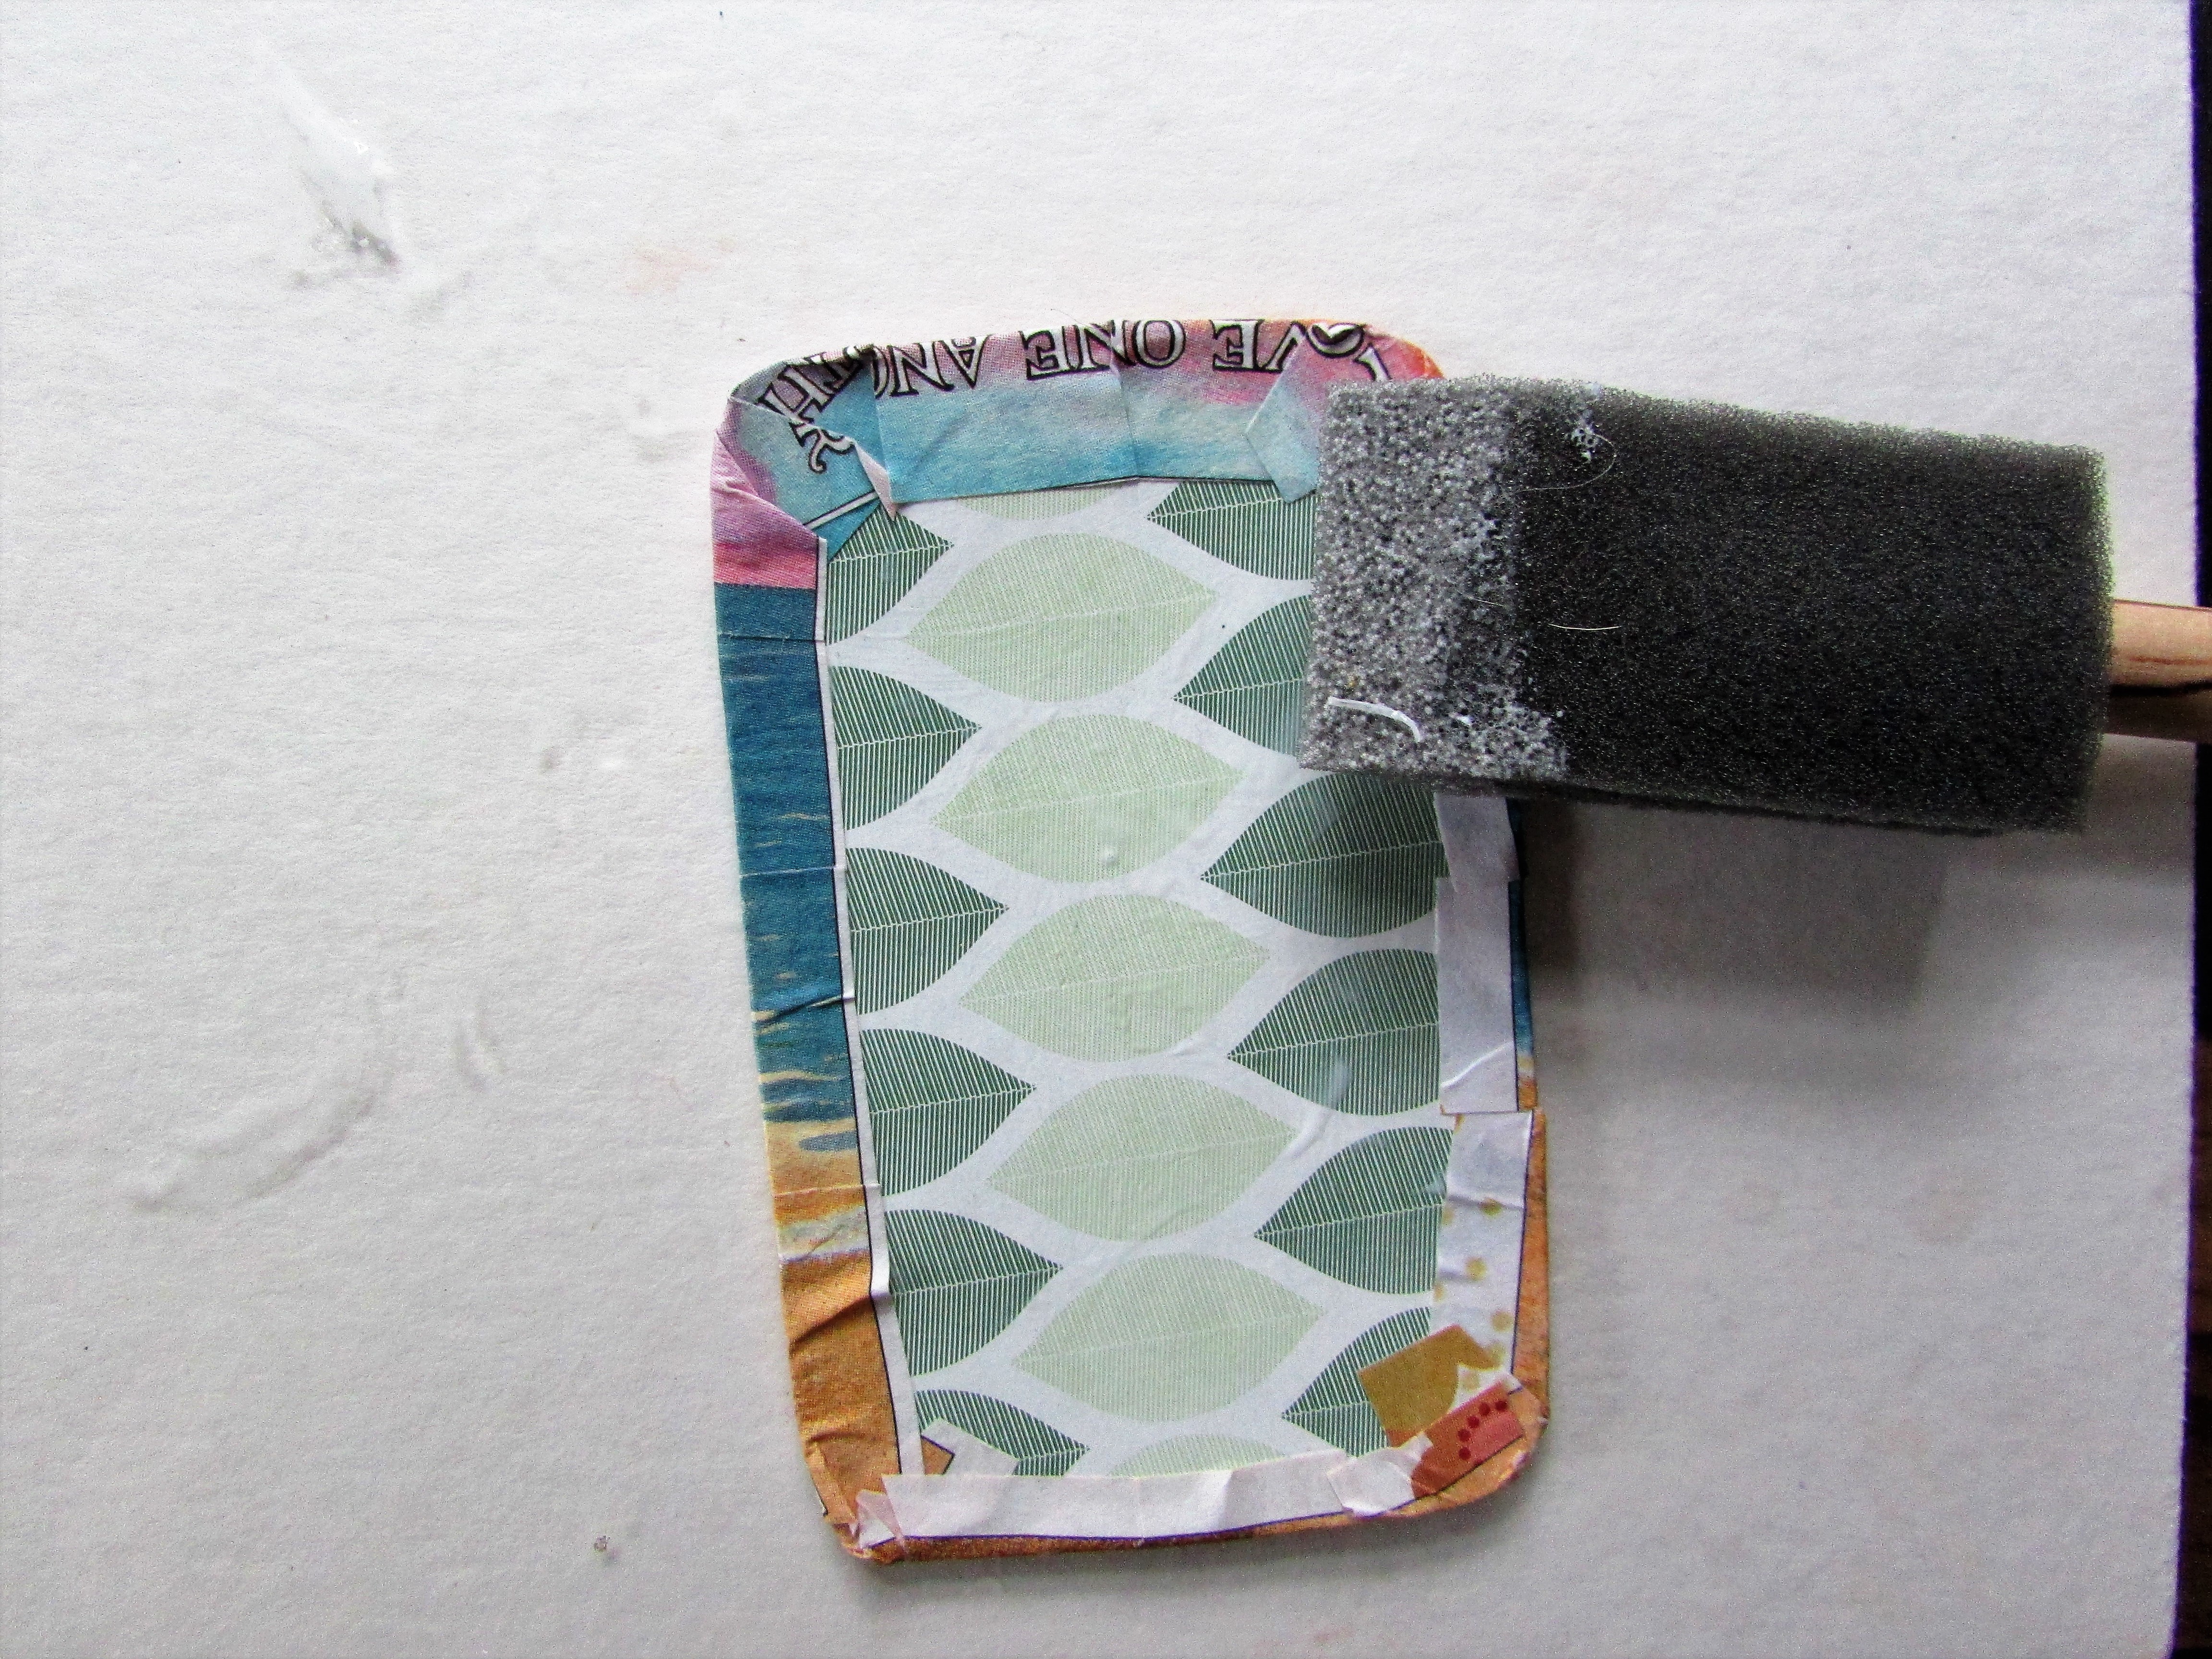
Trace cardboard shape onto the back of the picture or design you have chosen to use. Make sure you have half an inch of extra paper for wrapping around the edge of the cardboard.
Clip the edges of this excess paper to the line you traced. I used Mod-Podge to glue the picture to the cardboard, wrapping the excess paper around the sides and gluing them to the back of the cardboard.
I used non-toxic glue to attach the picture to the top of the tin, and applied a thin coat of Mod-Podge to the picture to waterproof it. Let tin dry completely before adding salve.
I filled the tin with the liquefied headache salve. In the coolness of the house it quickly hardened. In the summertime you will need to store the tin in the refrigerator. Coconut oil liquefies in the heat of the summer.
I’m pleased I finally got around to making use of one of my Pinterest pins. Give the salve a try. You don’t need to make a fancy container, any tin or jar will do.
The salve would make a nice Christmas present for someone who appreciates handmade gifts. One caution…if the coconut oil becomes warm it WILL liquefy again. Keep in a cool spot. A little dab is all you need to massage into your temples.
* Look up upcycling altoid tins on Pinterest if you want to be amazed and inspired. You will quickly realize why I’ve pinned projects by the thousands. Oh the fun you can have with what others consider a piece of trash.
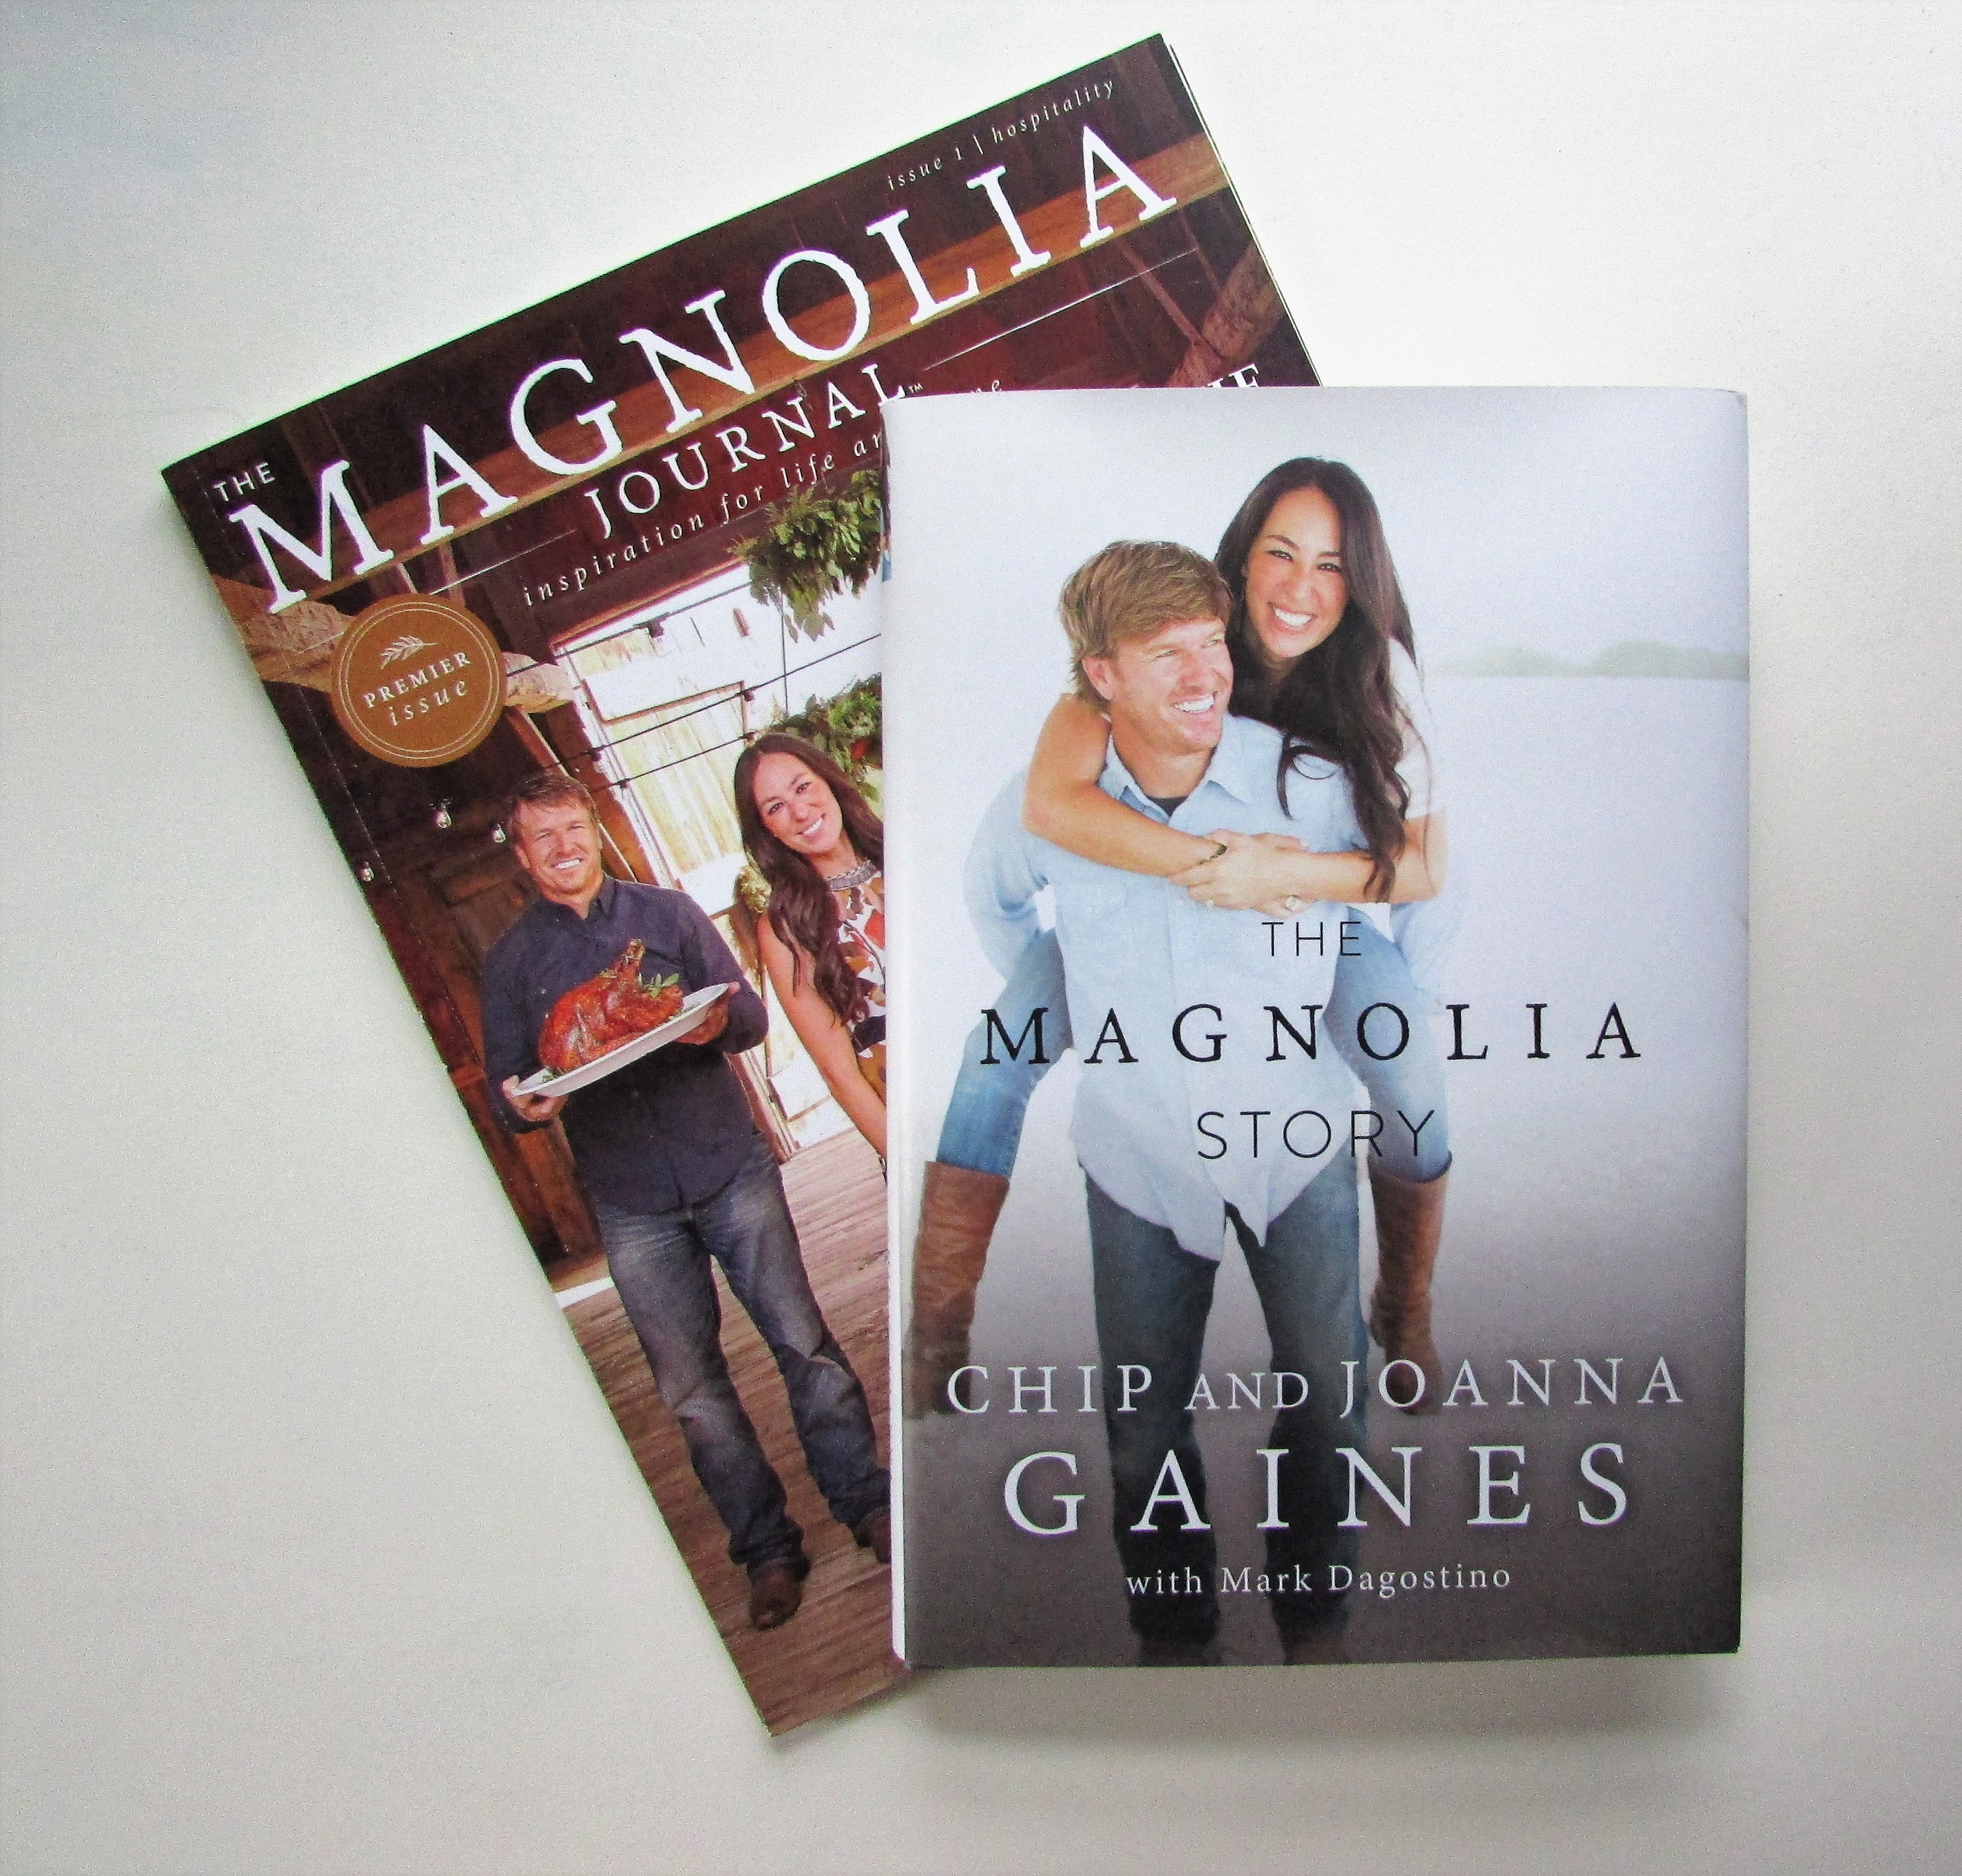
Season Four of ‘Fixer Upper’ premieres tonight on HGTV at 9:00. I’m looking forward to another season of watching Chip and Joanna Gaines transform shabby houses and yards into unique and beautiful homes and landscapes.
If you have a chance take a look at their new magazine and book, just out this month on newsstands and in bookstores. The book can also be found on their website Magnolia Market.
Yesterday was a “glitchy” day. Anyone who uses technology, whether it is a computer, cell phone, tablet, etc., has had a day when you suddenly hit a technological brick wall. I walked away, eventually resetting my computer. Thankfully, I don’t think I lost any of my files.
In the midst of the computer aggravation, and the setting to right of the house and kitchen after the holiday feasts; I found myself at a loss for a Sabbath Day post. I gazed out the back window at the dreary weather and spied this little Junco perched in the wind-swept branches of a backyard pine, at rest, regardless of the strong winds wildly swaying the boughs. His stance was the perfect object lesson for my moment of turmoil. I’ve made up my mind, that today, and hopefully in the next few weeks too, I’m going to be as serene as that small bird no matter what blows my way.
A perfect reminder for finding rest is in this wise quote of C.H. Spurgeon, a well-known preacher in the 1800’s. Here is his quote again, a little easier to make out than craning one’s neck to read the words around the photograph.
“Rest time is not waste time.
It is economy to gather fresh strength…
It is wisdom to take occasional furlough.
In the long run,
we shall do more by sometimes doing less.”
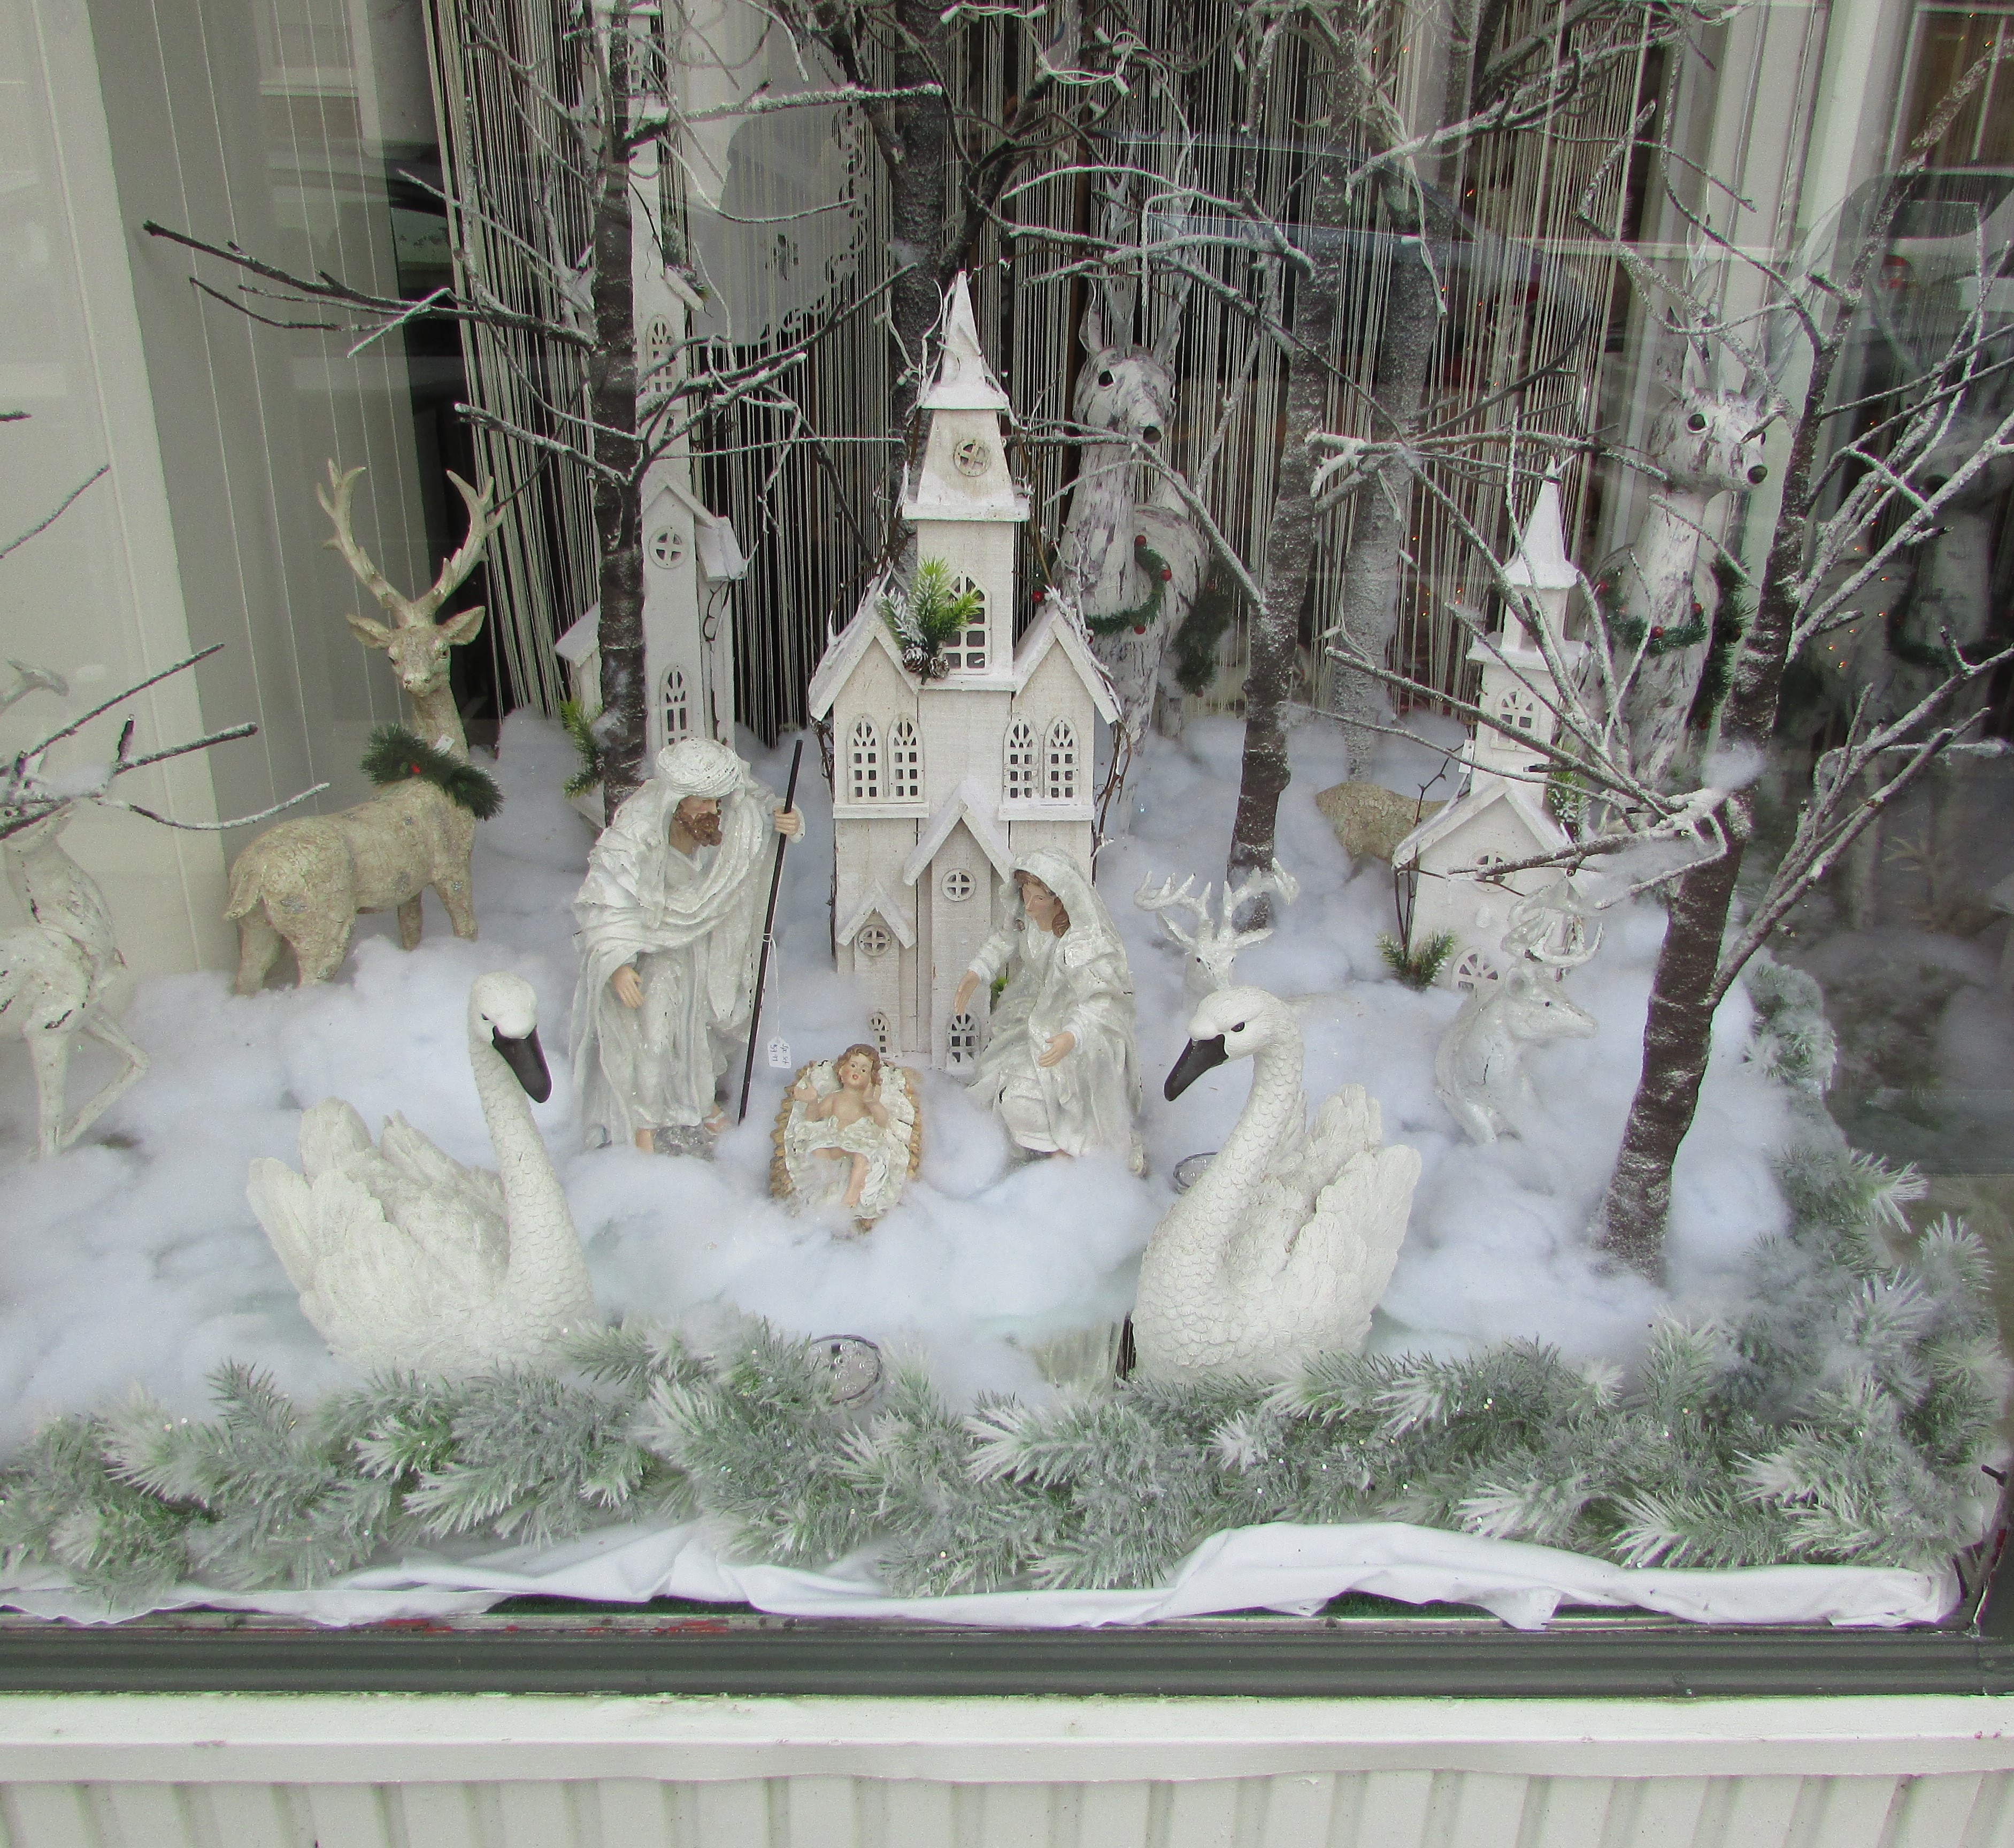
Small Business Saturday is a great idea that should practiced more than just once a year. We strolled the sidewalks of Pitman, New Jersey today, and found a few unique Christmas decorations to purchase from small businesses.
I’ve been to the store yet again this week, gathering, gathering, gathering what I need in anticipation of the dinners I’ll be preparing tonight, Thanksgiving Day, and the day after. I’m excited at the prospect of having those I love at our dinner table.
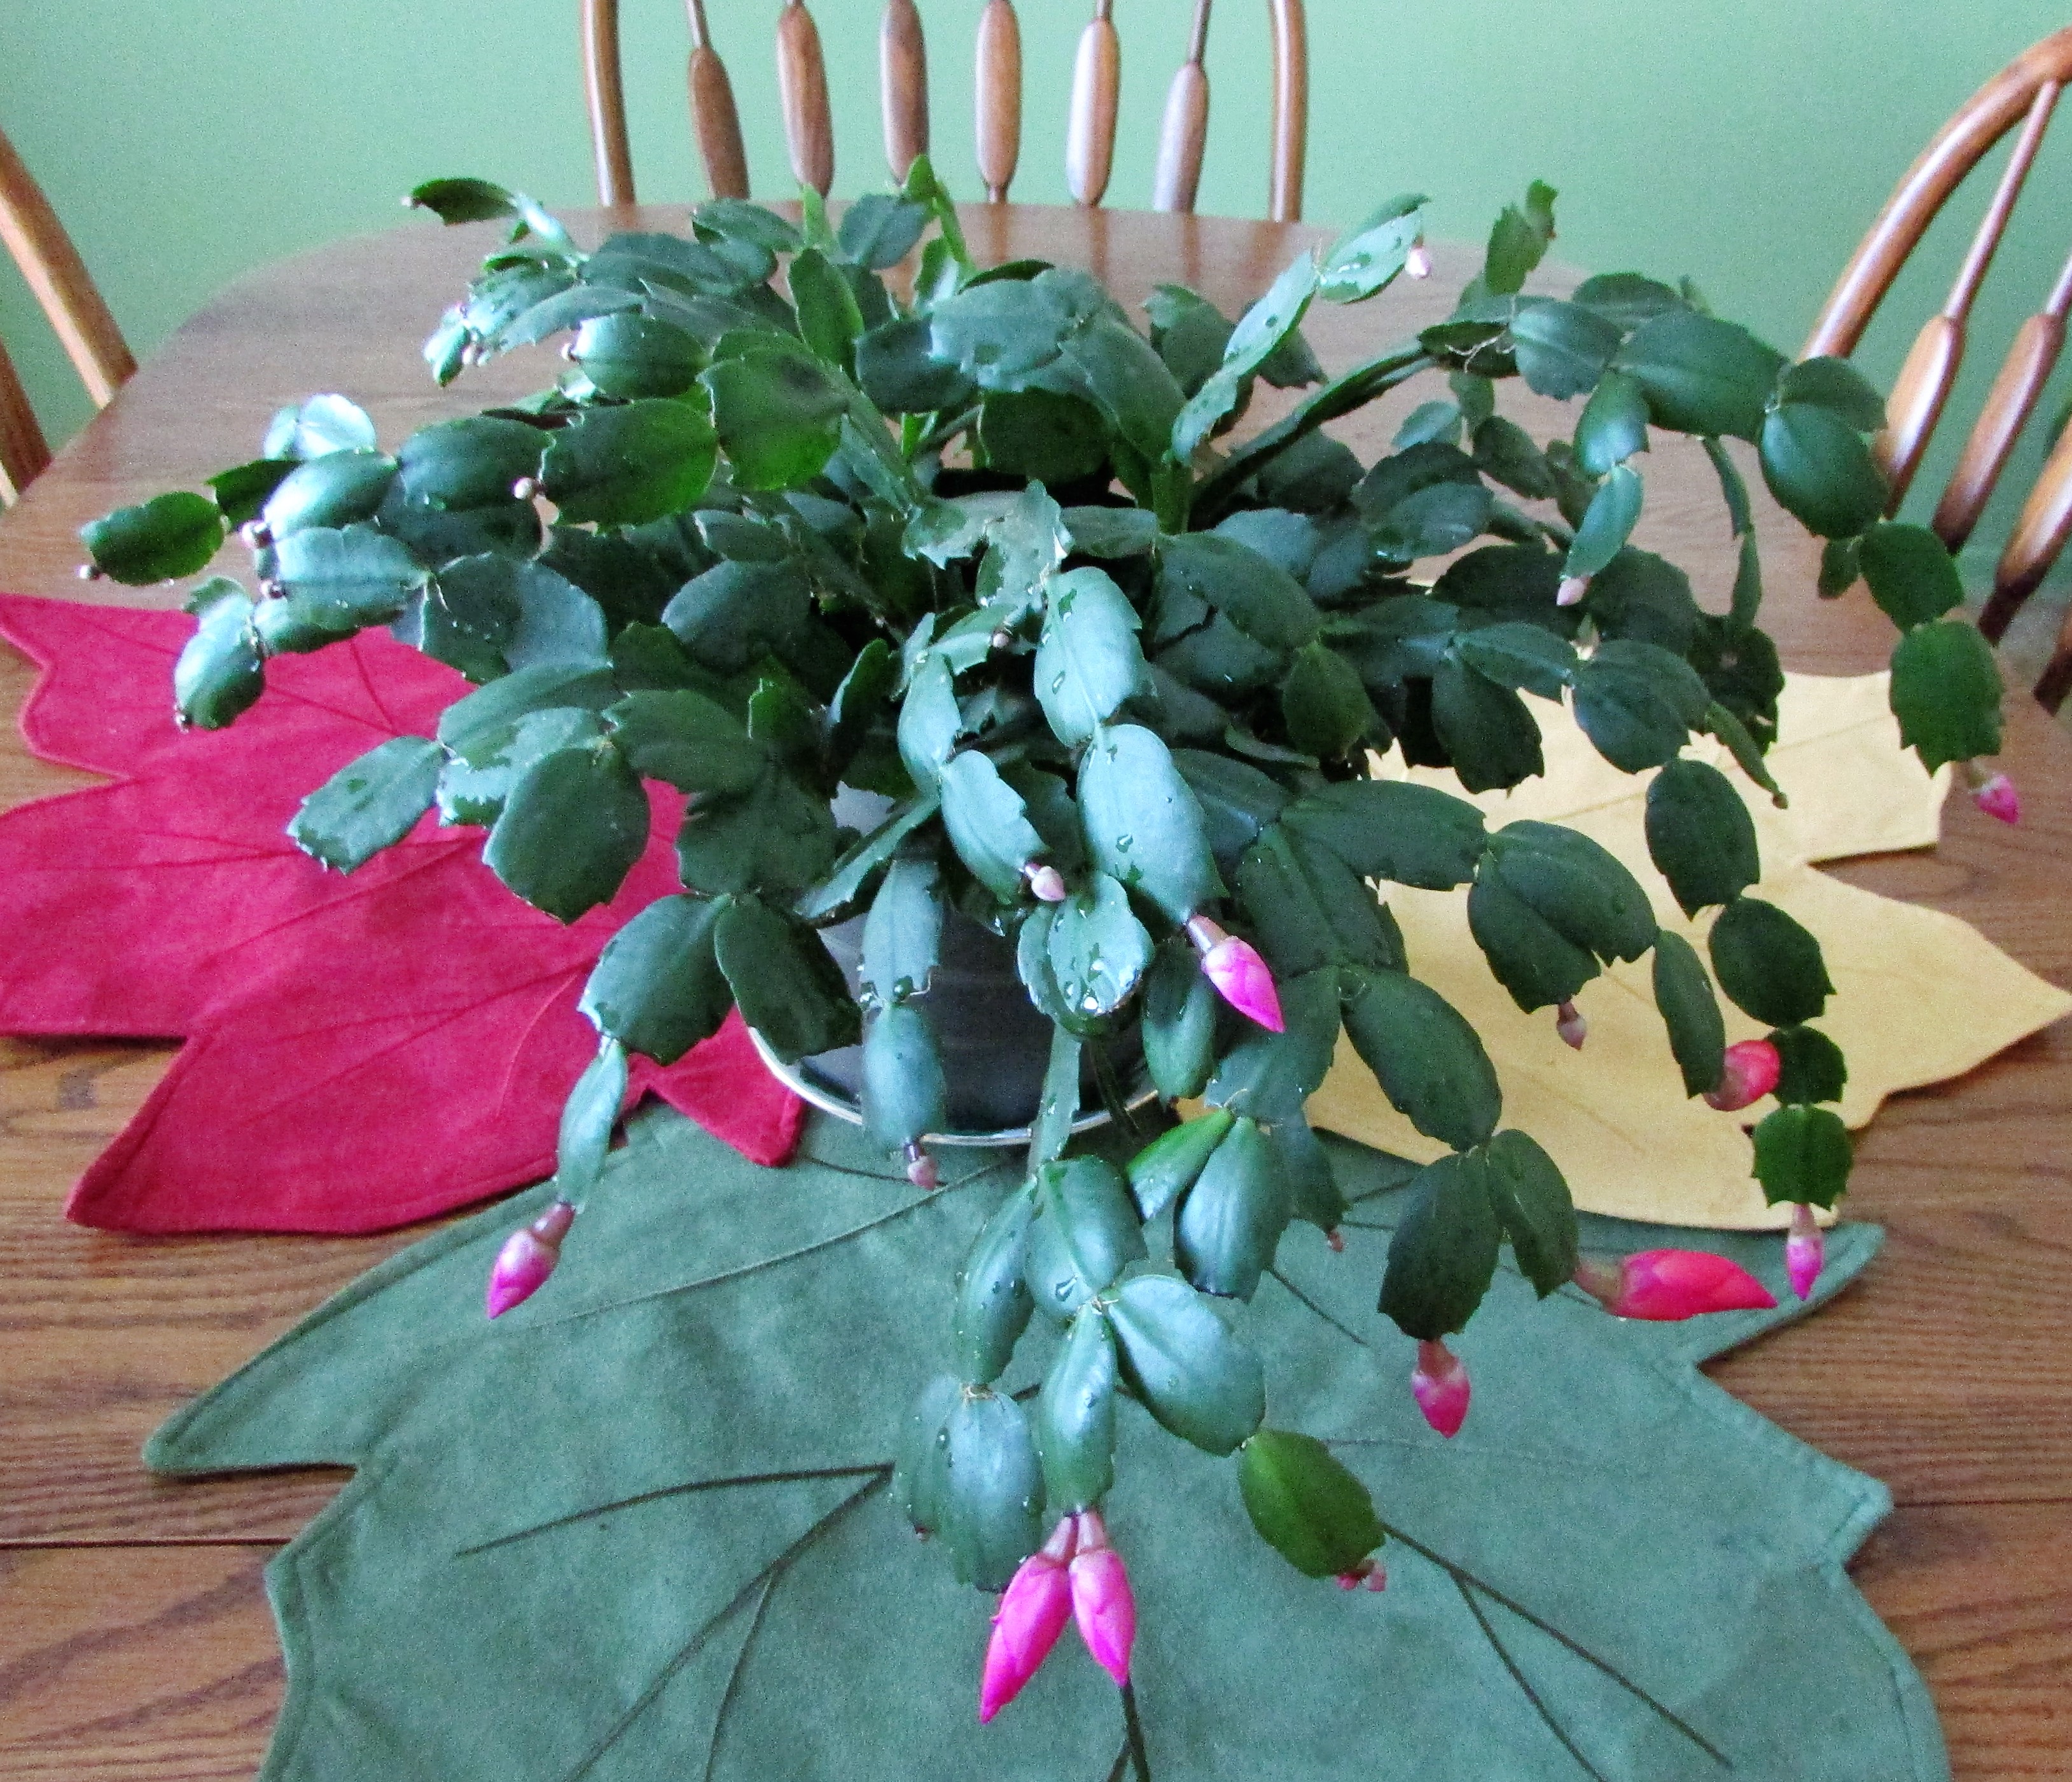
I’ve brought my Thanksgiving cactus upstairs from its usual home in a bright basement window well. The plant will be the centerpiece for my dining-room table. Throughout the summer months the cactus thrives on the screened-in porch. I water this plant once every three weeks. Too much water will doom the succulent leaves to a soggy death. Better to underwater than overwater succulent plants. The cactus is rewarding me for my near-neglect with many buds. I will enjoy its blossom time over the next few weeks of the holiday season.
It is the week of Thanksgiving. A good time to dwell on the aspects of life that fill your heart with gratitude. Always, first in my thoughts of gratitude is the indwelling of God’s Spirit within me, and the gift of salvation he has given me. Another gift I am grateful for is my family and home. I also want to express gratitude to the people who visit my blog and add another aspect of goodness to my life. One of these is my friend Susie, writer of the blog Susieshy45.
I started the day having a good conversation with Susie through the blog comment section, and then visited her blog, and found inspiration for today’s post by being a bit of a copycat. Susie wrote today of nurturing a stray cat, and it reminded me of a sweet little stray I met in Jamaica. The adorable little kitten lived in a grated window well near our room. It fills my heart with thanksgiving to know that all around the world there are people like Susie, who have good hearts, and who, through blogging, I have met and consider my friend.
I am filled with gratitude for all of you who visit my blog. Thank you!
Winter arrived Saturday night here in southern New Jersey. We had watched the forecasts, knew she was barreling toward us, and sure enough we heard the knock of her wind right before we went to bed. Sunday morning dawned cold and blustery. Our mailbox was a casualty, knocked off our porch, we found it on the neighbor’s front lawn.
Gardeners, like me, are probably mourning the end of the season. The good news is the first of the seed catalogs has already arrived at my house. At this time of year, I also appreciate my sprout and micro-green seeds. The nutrient-packed food they produce is not only good for my body, but an excellent remedy for the grief the gardener in me feels when outdoor planting and harvesting comes to an end.
If you have leftover vegetable seeds from the garden, many of them can be grown as microgreens.