“I am able to do all things through Him who strengthens me.” ~ Philippians 4:13
We often visit our favorite seashore towns the week after Christmas. Winter and summer ocean-scapes couldn’t be more different. You can almost feel the cold and hear the wind blowing when you study this photograph of the beach at Strathmere, New Jersey. In this view we are looking across the water to Corson’s Inlet and Ocean City. It takes a hearty and resilient attitude to walk along the ocean water on a cold, windy December day. It takes even more gumption to attempt kitesurfing in cold weather. I doubt I will ever kitesurf, but I’ve walked on a wintry beach many a time. Here’s to maintaining a resilient attitude toward every worthwhile goal, dream and task in 2017.
I felt immediate happiness when the Slinky song started in this YouTube video. I had a Slinky, each of my sisters had a Slinky at some point in time. Slinky did live up to the commercial hype and could walk down the stairs. The spring was fun to hold and set into the ‘up and down’ motion. The down side, Slinky inevitably became a snarled ball of ‘precompressed helical spring.’ It’s fun to read the history behind the popular toy. The History of Slinky.
When I recently came upon a package of Andes Creme De Menthe Baking Chips, I knew I had to come up with a cookie recipe to use them in. The back of the bag had a basic recipe for a drop cookie, but I wanted to jazz the chips up a bit.
I have a recipe for a Neapolitan cookie that is popular in my family, so I adapted the recipe to incorporate the Andes Chips and green food coloring. If you can’t find Andes Baking Chips, a few Andes Mints, chopped up, will work fine too.
This recipe requires four hours chill time in the fridge. Take that into consideration before you begin. I often mix it up and leave it in the fridge overnight for the layers to meld together, then slice and bake with ease the next day. This recipe doubles up easily.
CREME DE MENTHE NEAPOLITANS
Sift together and set aside:
2 1/2 C Flour
1 1/2 tsp. Baking Powder
1/2 tsp Salt
Cream together:
1 C butter
1 1/2 C sugar
Mix in:
1 egg
1 tsp vanilla
Add dry ingredients and mix until combined.
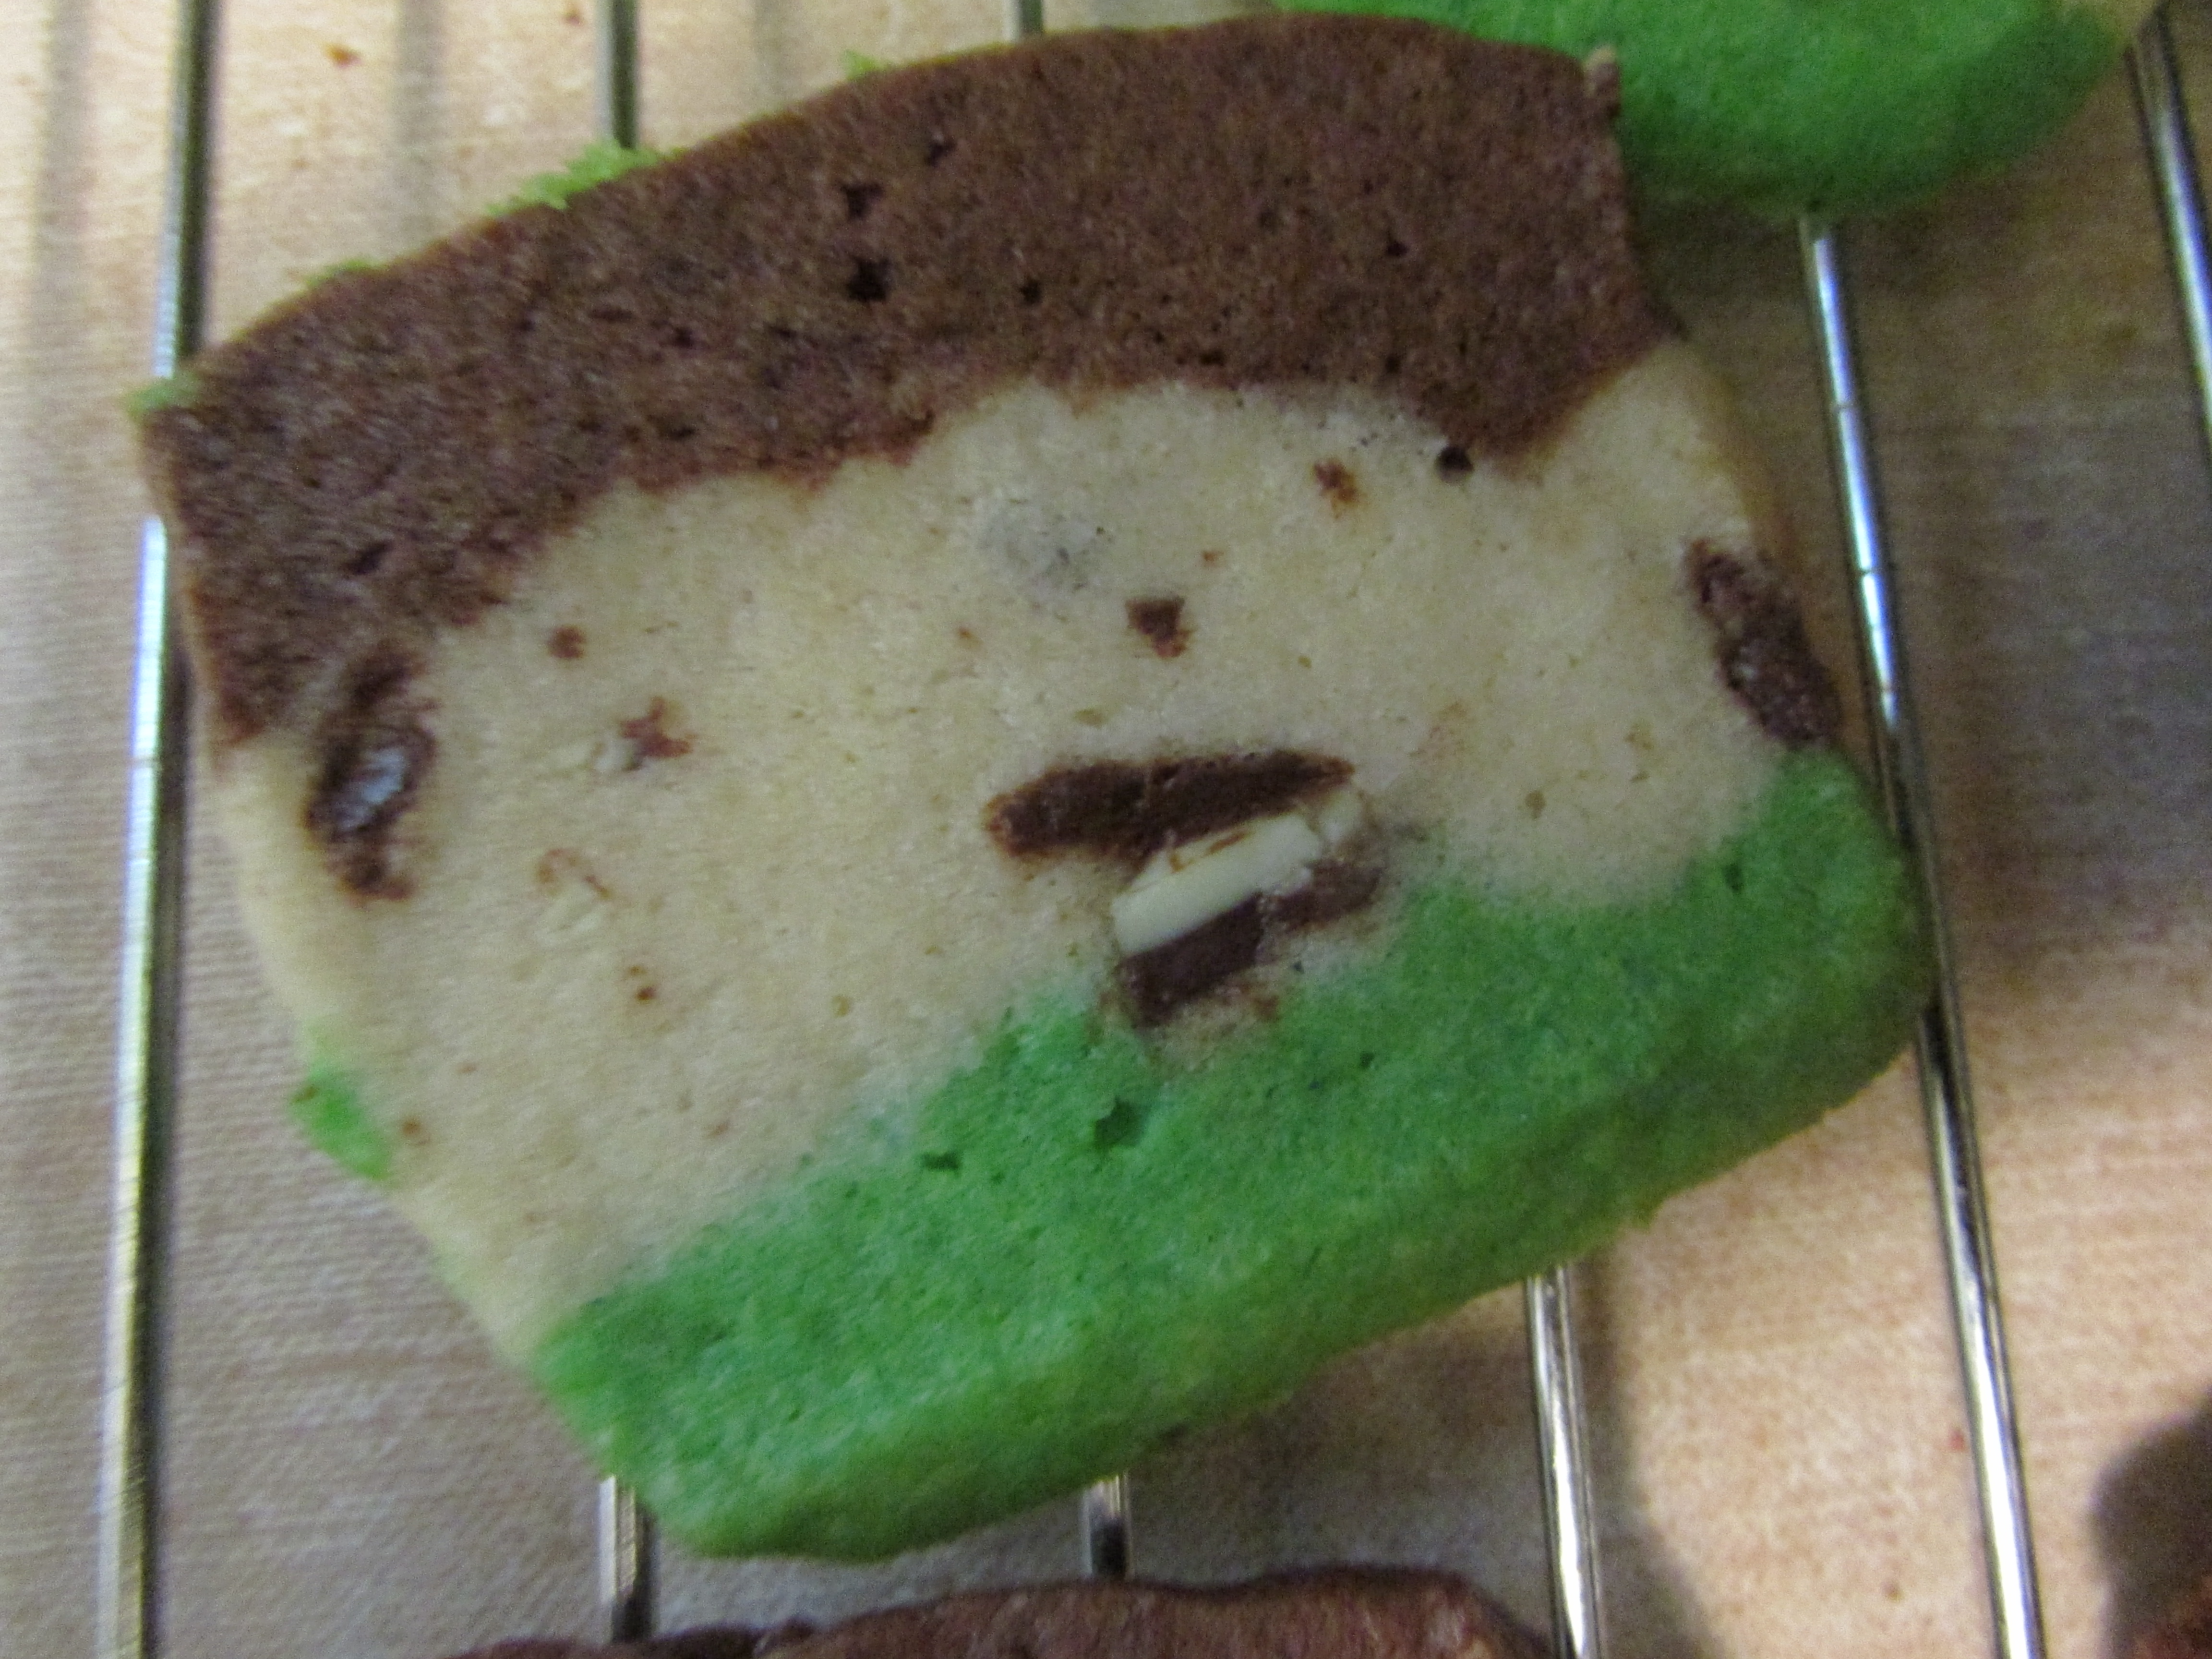
Divide the dough into three equal portions. Mix 1 square melted & cooled unsweetened chocolate (substitution = 3 tbs unsweetened cocoa and 1 tbs soft butter or oil) into one portion, a few drops of green food coloring into one portion, and 1/8 to 1/4 cup of Andes Baking Chips into the last portion. (I use the lesser amount because I don’t like the flavor of mint to be overpowering.)
Cover a rectangular loaf pan with enough wax paper to cover the bottom and hang over all the edges.
Line the loaf pan with the layers of dough in any order that you choose. Use the back of a large spoon or spatula, and the sides of the wax paper to help smooth and flatten the dough into shape. Cover the pan with foil and chill at least four hours.
Turn the dough out on to a cutting board. Gently pull away the waxed paper. I have cut these cookies two ways. Down the middle, dividing the dough in two long rectangles, or I cut it into three long rectangles. Either way works, and they cook at the same temperature and amount of time. Two rectangles make large cookies, three rectangles make a smaller size.
Cut each rectangle into slices, about a 1/4 inch thick. They don’t spread out very far, and stay neat and orderly, so I crowd them onto the sheets.
The cookies after baking
Bake in a 350 degree preheated oven for 9-10 minutes. Take out and let them sit on the cookie sheet an extra minute to firm up. Remove to cooling tray. Enjoy! Large cookies 5-6 dozen cookies Smaller cookies 7-8 dozen cookies
Quick Tip: I slice all the cookies at one time, but any sliced cookie dough not going directly into the oven should go back into the fridge to stay cool. The unbaked bars are easy to handle when they are cool, they become soft and sticky when they begin to warm up.
These cookies freeze well and are also great for cookie sales or exchanges.
A sample of unbaked Crème De Menthe cookies alongside a batch of the original recipe. Make the basic dough the same using red food coloring in the place of green and leaving one layer plain. I’ve also made these cookies in the colors of Autumn for social gatherings.
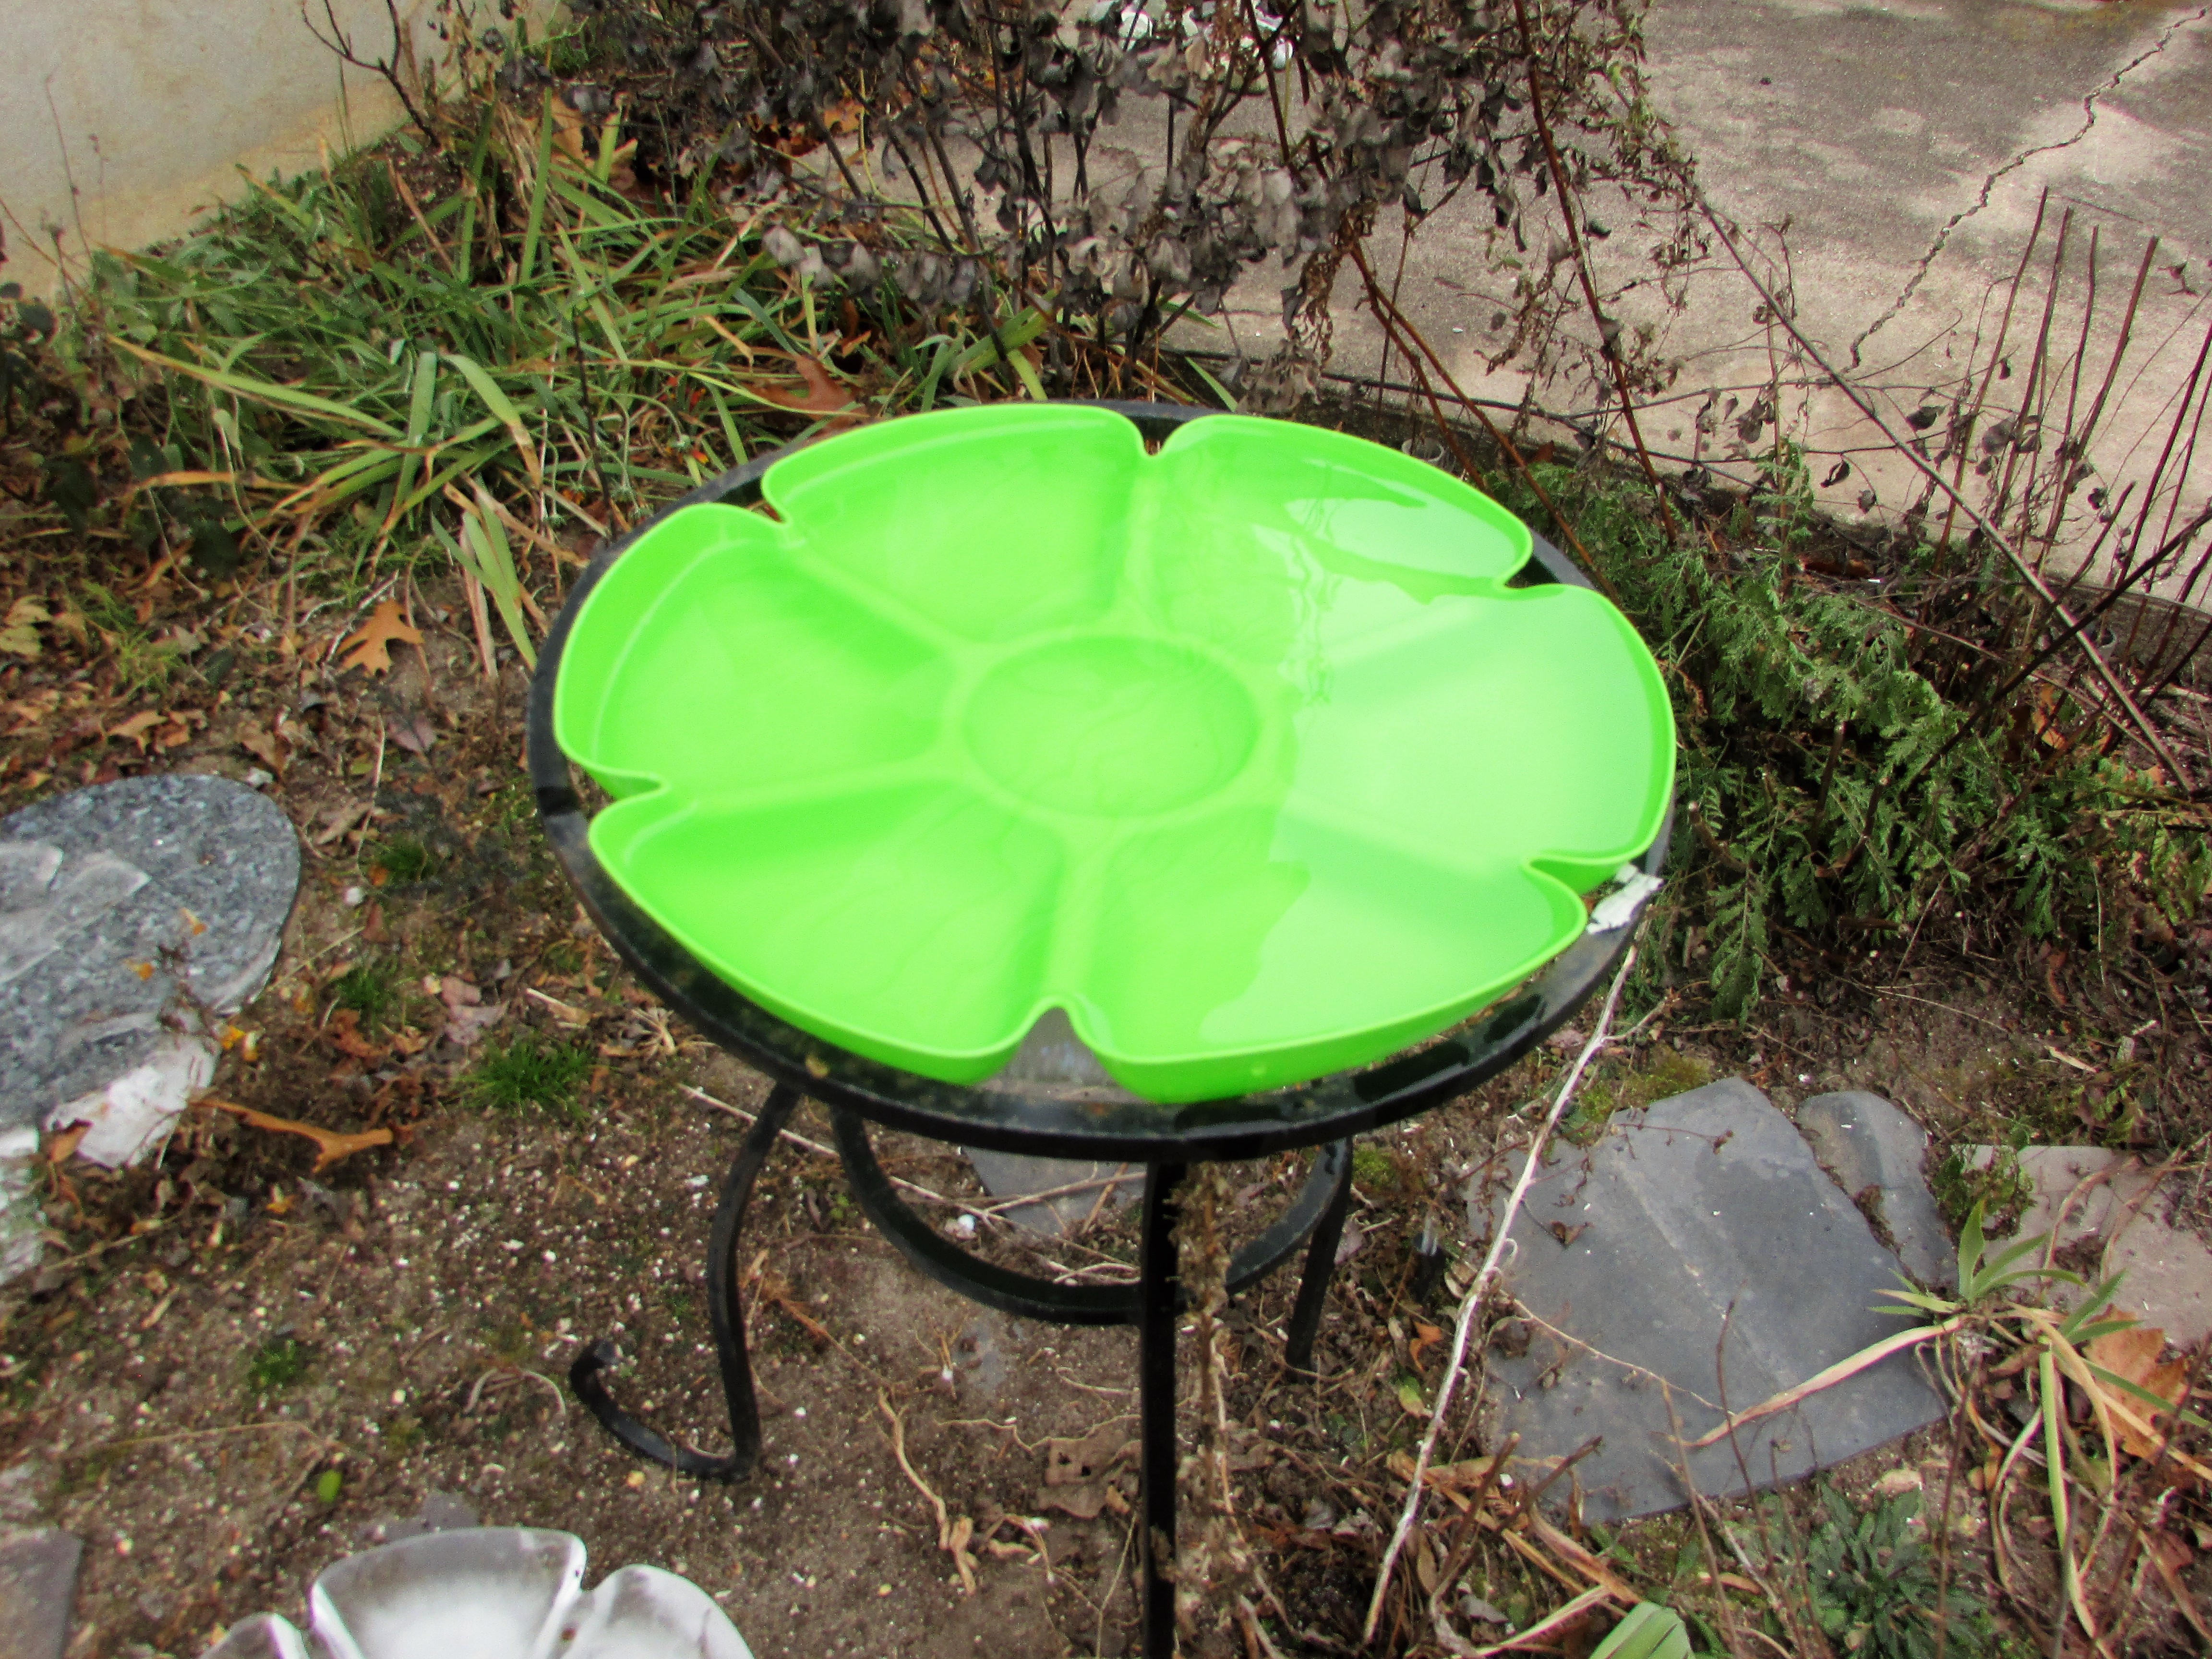
The backyard birds need water as well as food at this time of year. You can see from my photos how barren the landscape is in the Mid-Atlantic states by December. I put out a bit of food every day, and keep this stand-in birdbath refilled at least once per day.
A flexible plastic bowl from the dollar store works very well in place of my summer birdbaths. I’ve seen birds drinking and bathing in the water during this frigid weather.
Even though the water freezes solid overnight, the plastic has some give, and so far has not cracked. A concrete birdbath would likely crack and be ruined by the melt and thaw of wintertime water.
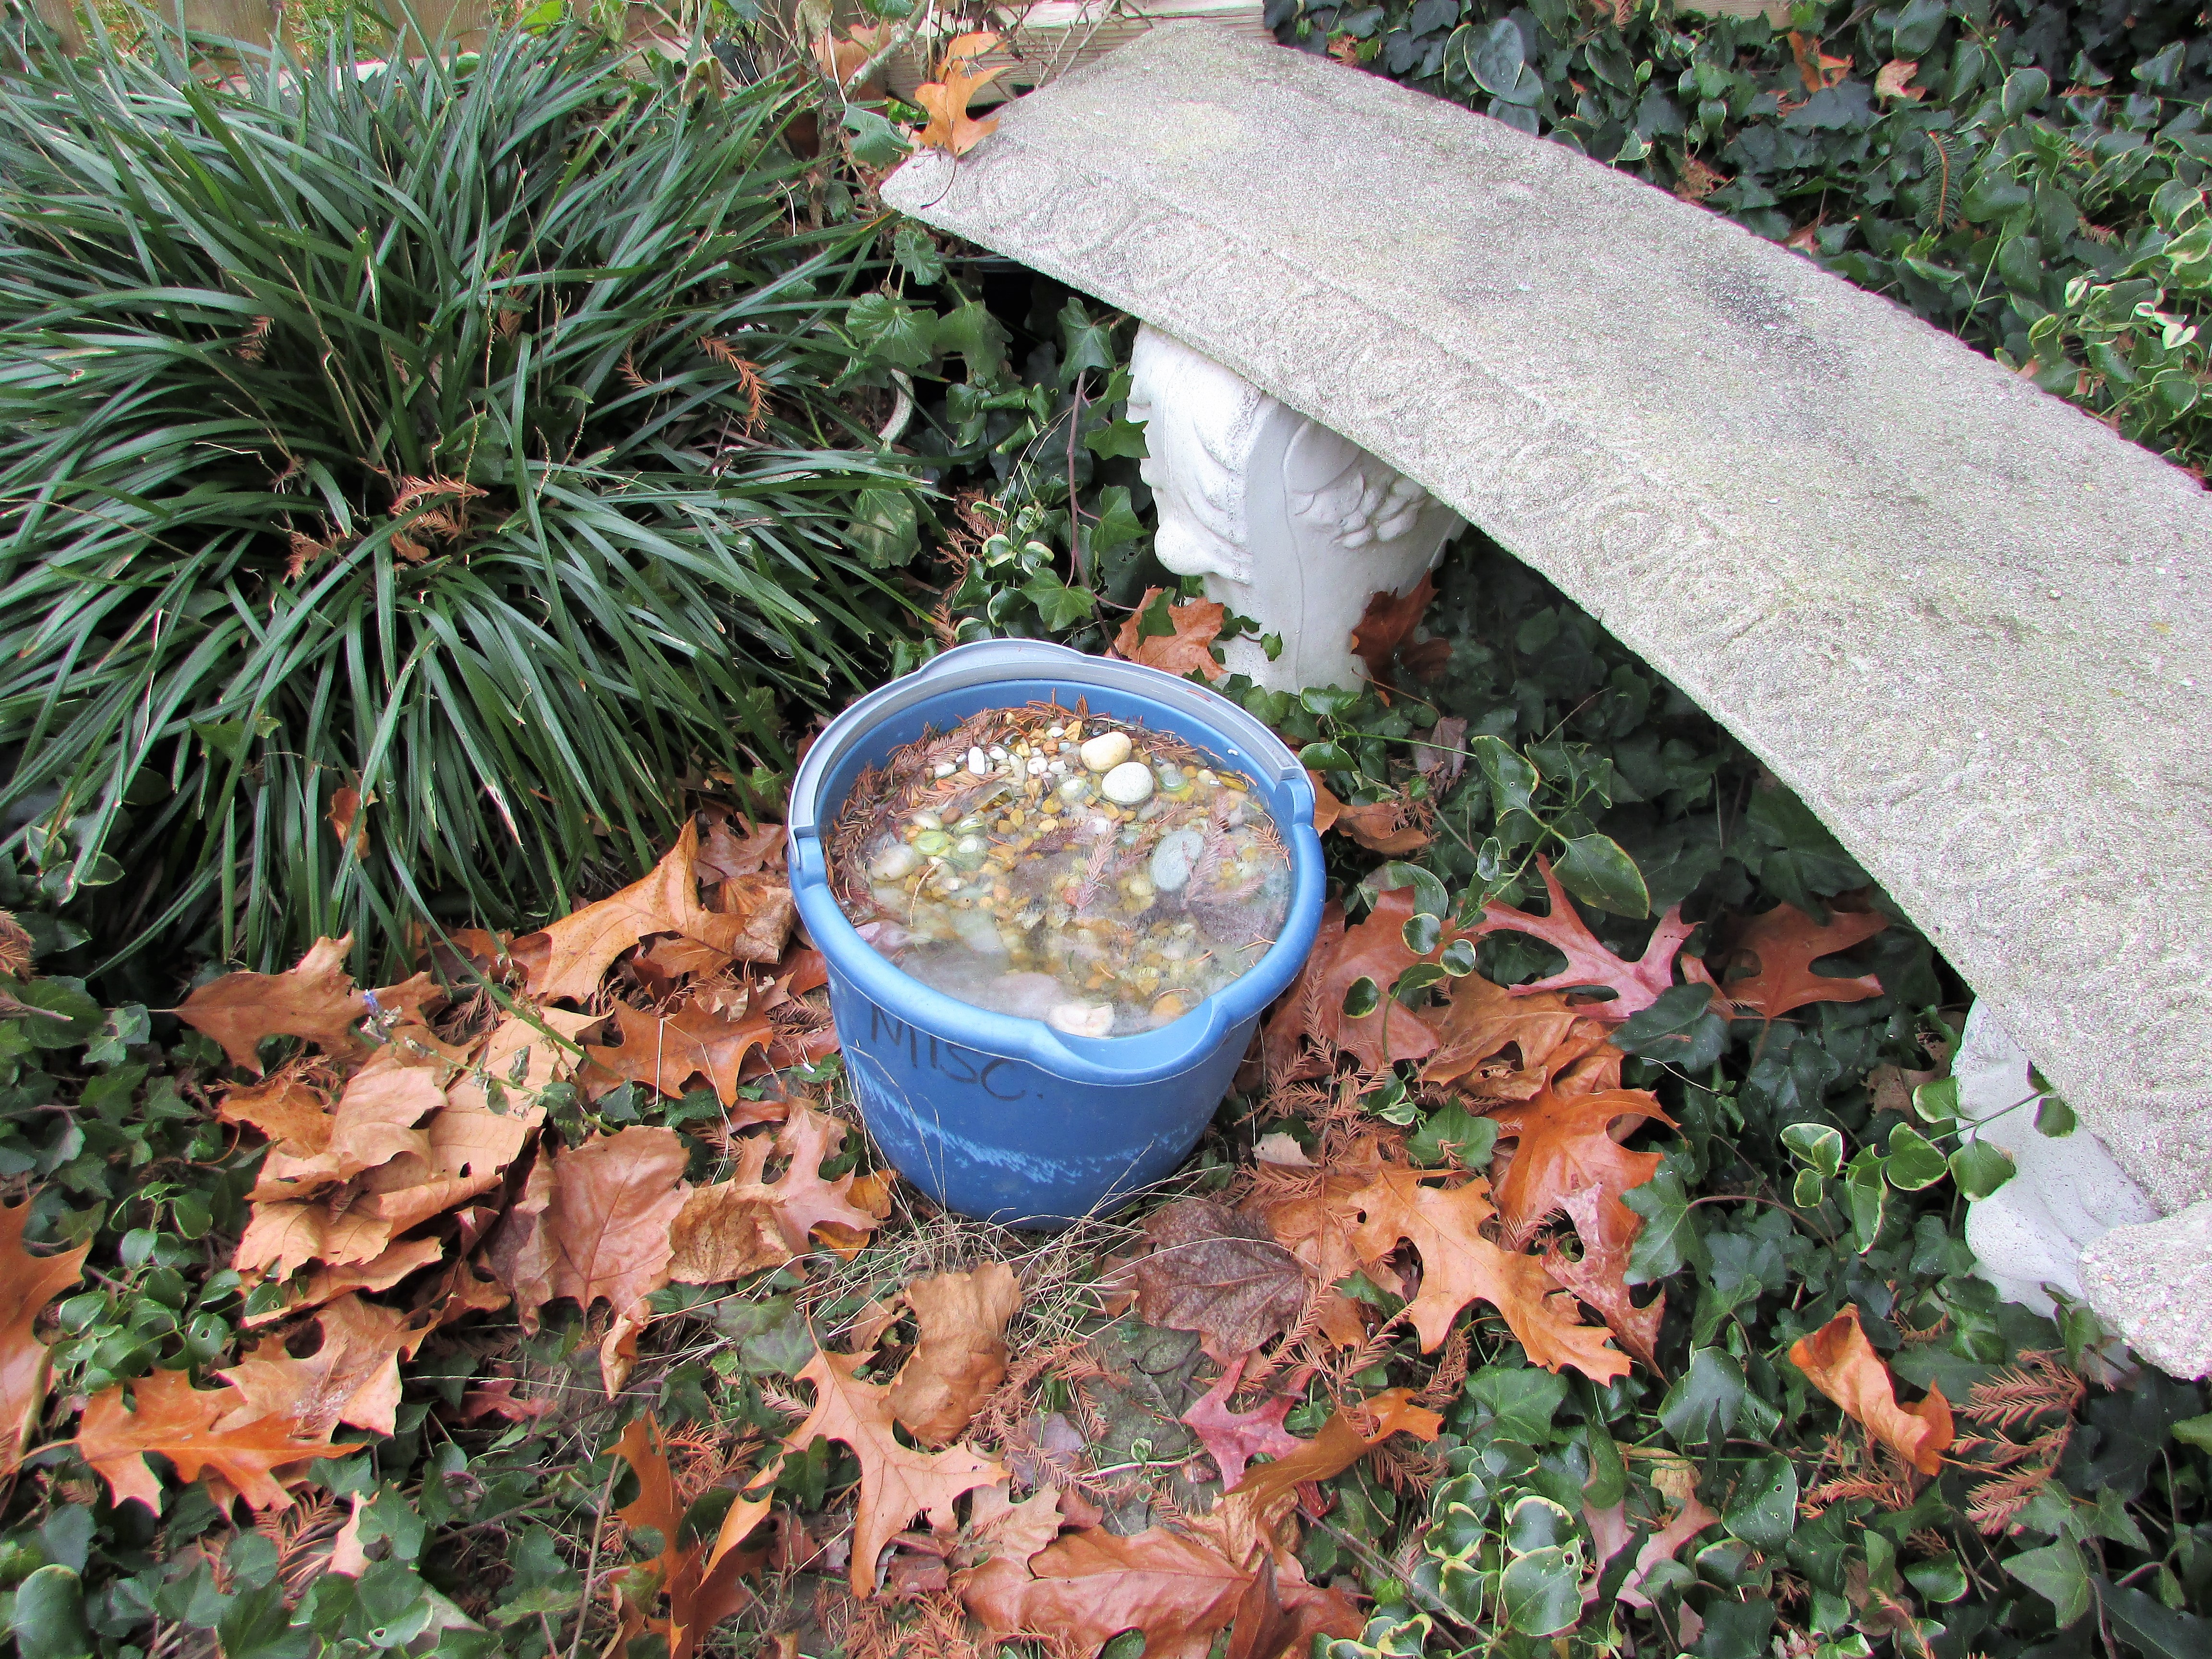
I accidentally created a birdbath by leaving a plastic bucket of gravel outdoors. This collects rainwater, giving small birds another place to drink.
When I was young we played several games in the car to occupy the time. One of these was ‘Padiddle.’ The rules of Padiddle are easy: If you spot a car with only one headlight, be the first to say, “Padiddle,” and earn a point. This game could only be played at night.
Another game my sons played, that sometimes caused spats in the backseat due to too much ‘ooomph’ given to the punch, was ‘Punch-buggy.’ A Punch-Buggy was a nickname for a Volkswagen Beetle. The first person to spot one would yell, “Punch-Buggy,” accompanying the shout with a punch in the arm for his/her seatmates.
A few other backseat games:
The Alphabet Game – finding the letters of the alphabet in order on roadside signs.
The License Plate Game – Trying to find all continental state license plates on long trips.
Do children/teenagers still play these games or are their eyes always focused on a phone or tablet?
Can you think of any other games such as these that you played in a car?
This week, tell us about a place that has helped shape who you are.
Pitman Methodist Campground, also known as Pitman Grove, is a favorite place for me to walk throughout the year. I walk down and around the twelve paths leading to the center meeting place, the tabernacle, in every season. During the summer, local churches each take a turn conducting Sunday night services in the tabernacle. I usually attend a few each year.
The town of Pitman grew up around the camp. Residents still hold dear the true meaning of Christmas. A few years ago there was quite an uproar in regards to a sign in the center of town. ‘Keep Christ in Christmas,’ was deemed controversial. The townspeople responded by placing miniature replicas of the sign on their lawns…yours truly included.
I still use this sign every year!
Yesterday I walked along the campground paths, taking a few photographs for what I intended to be a ‘Wordless Wednesday’ post. Hmmm….a lot of words written here for what was intended to be wordless. Smile.
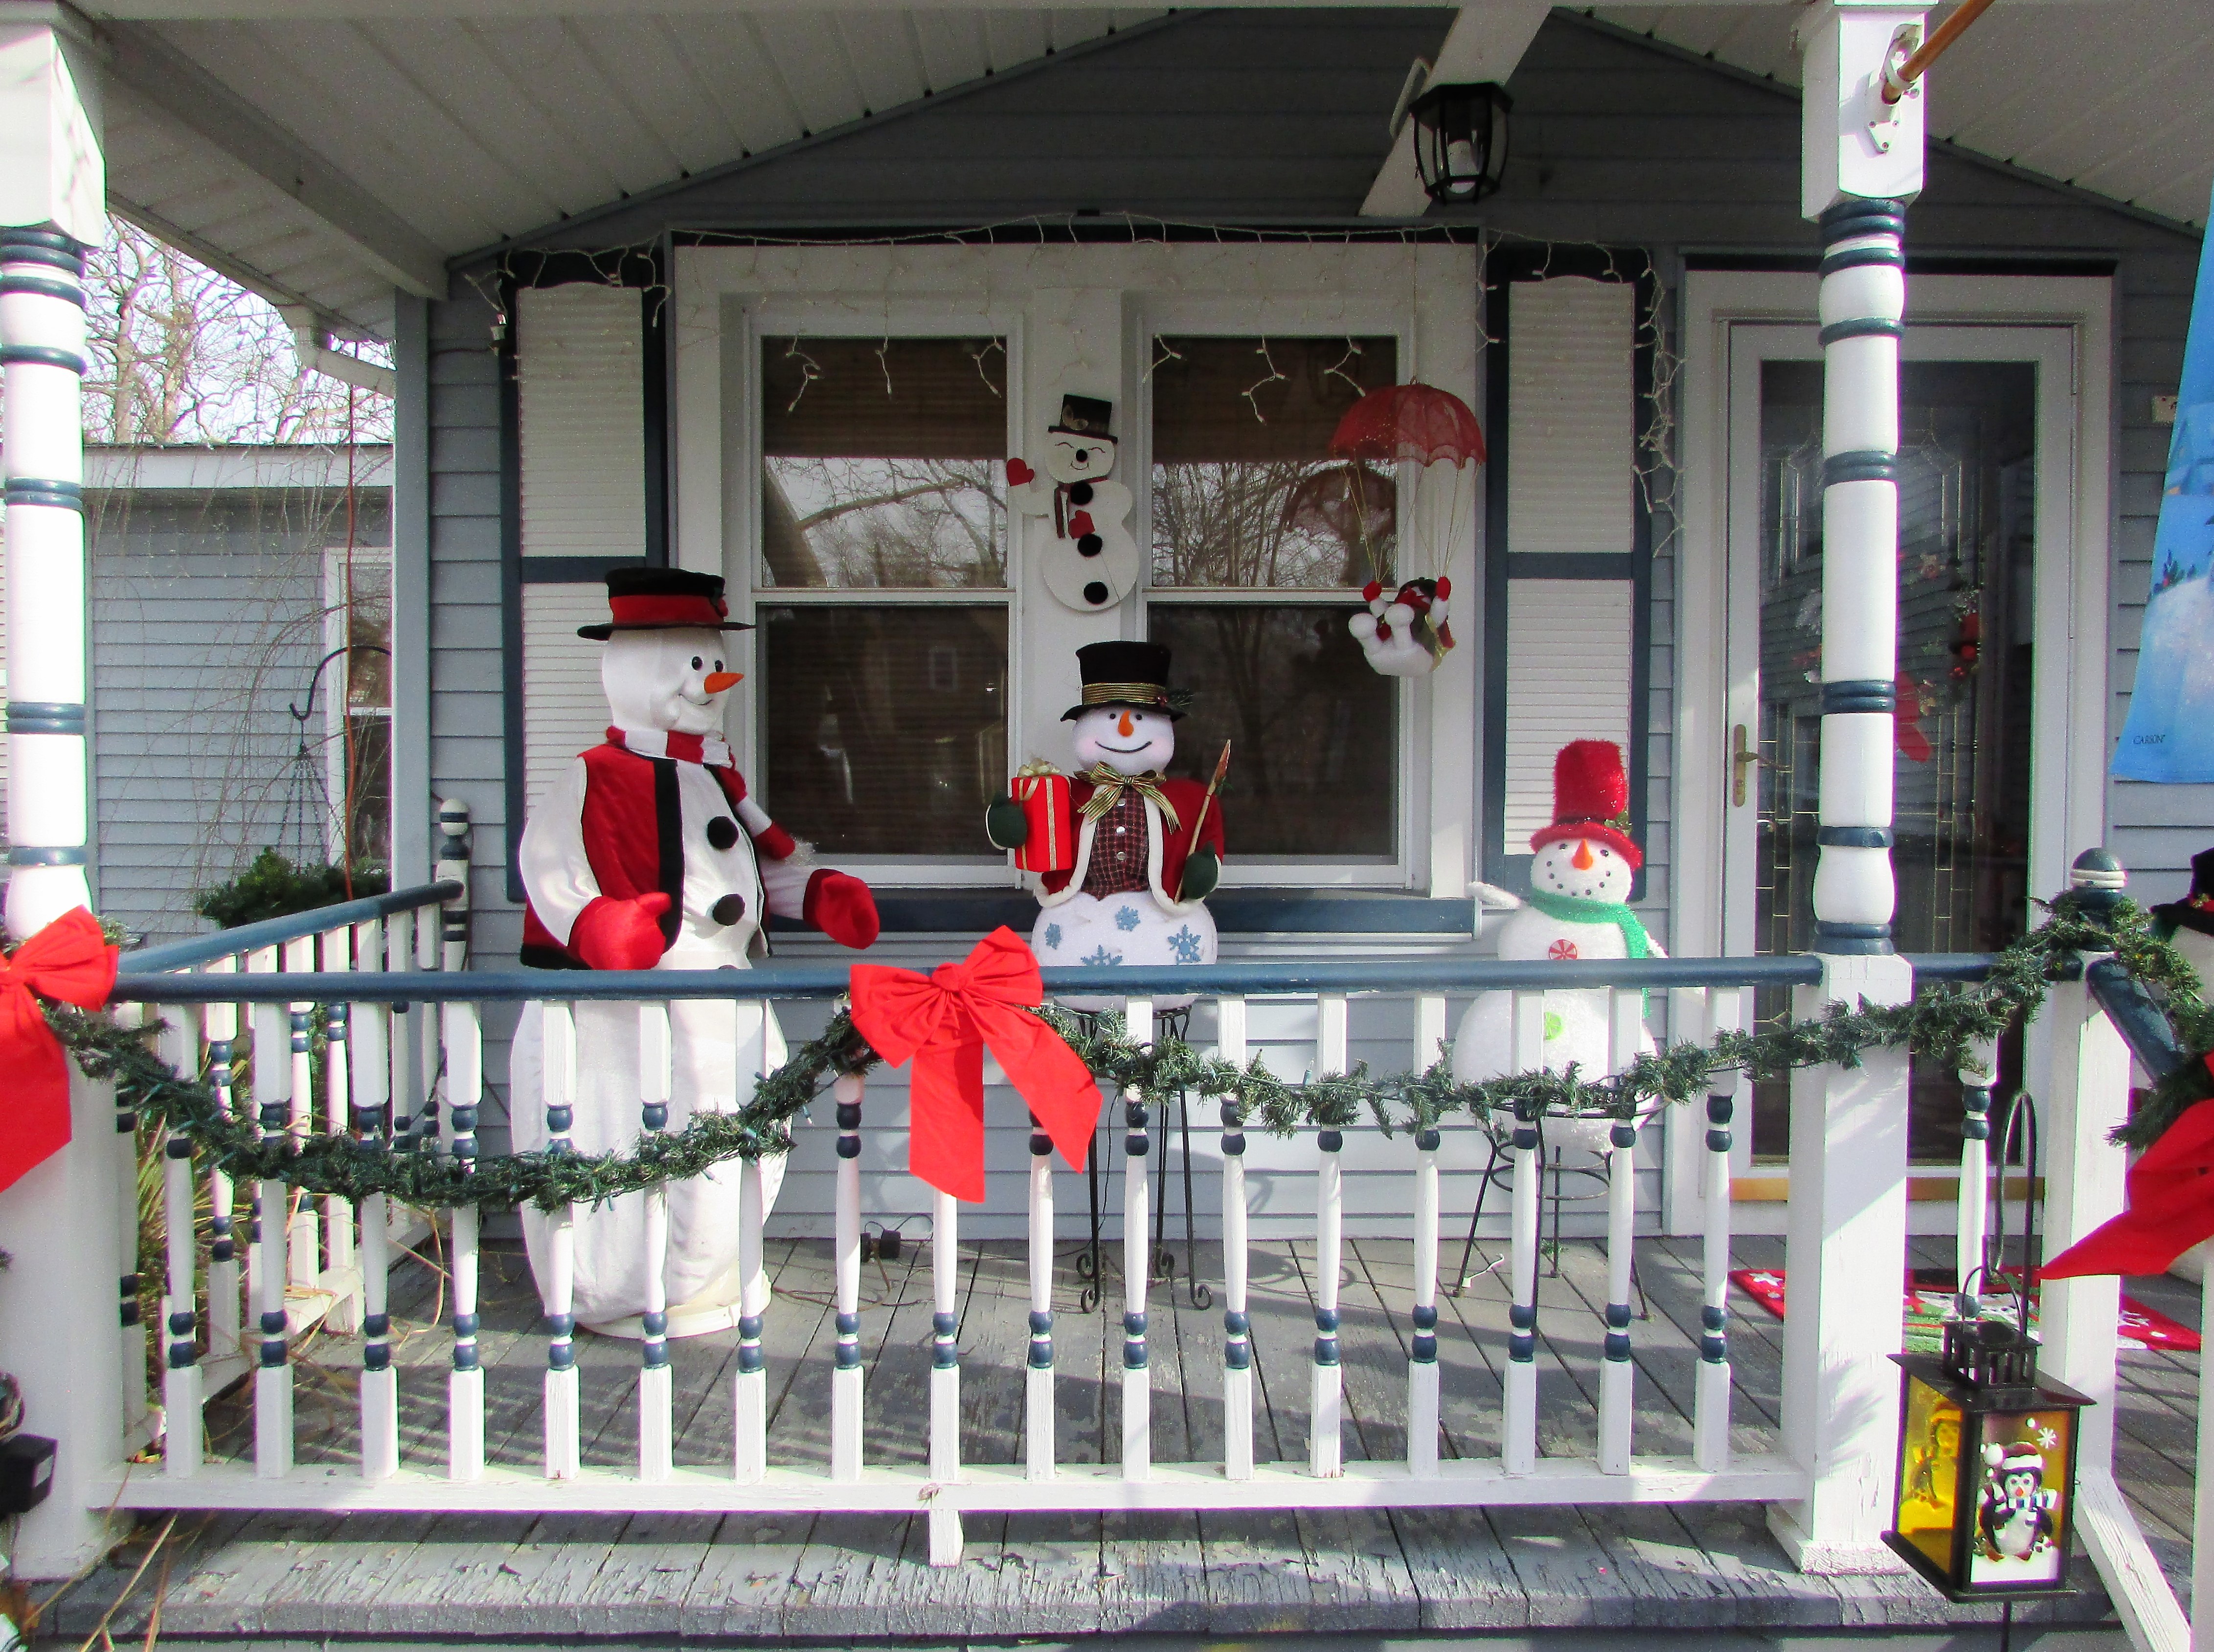
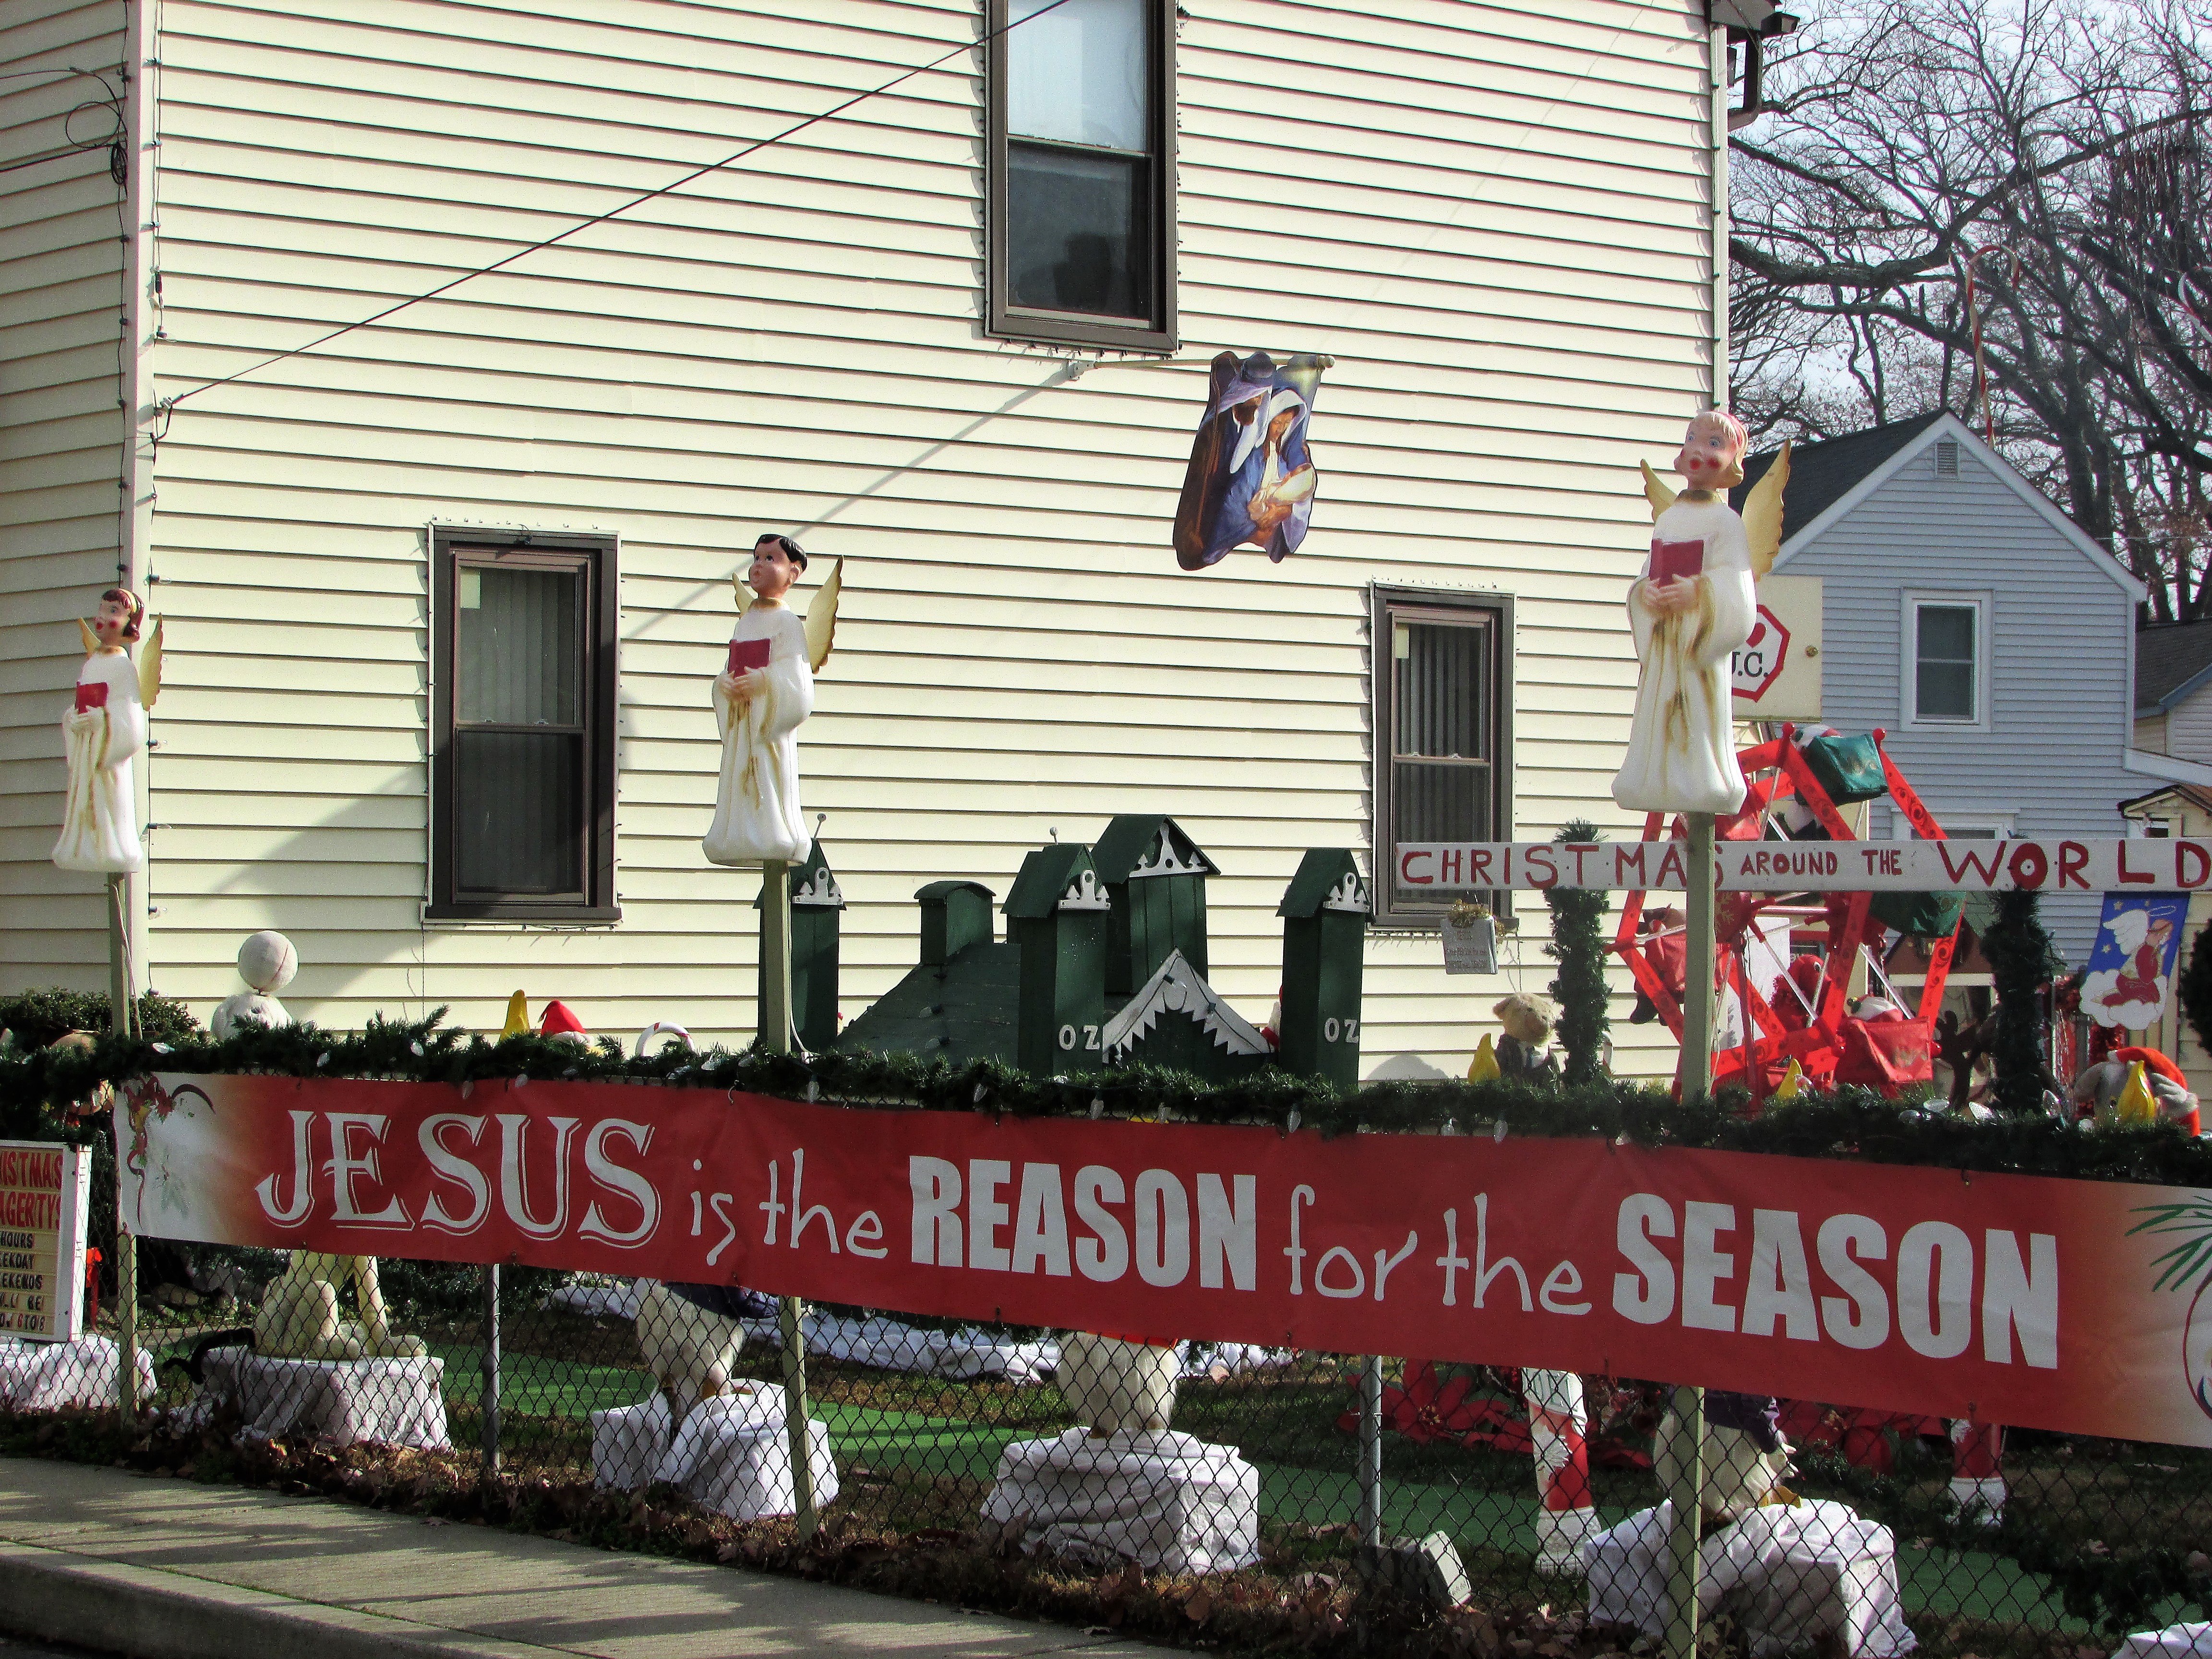
The Hagerty Family, residents who live in one of the original houses, set up a sensational Christmas display of lights every year to celebrate the season. The display attracts people from all over the area. I appreciate the banner they have across their property. Frank Hagerty knows best what spreads holiday cheer.
“It’s about sending his personal message of Christian faith to parents who walk through rows of displays including mangers depicting baby Jesus and the first Christmas.” Frank Hagerty quoted in the South Jersey Times
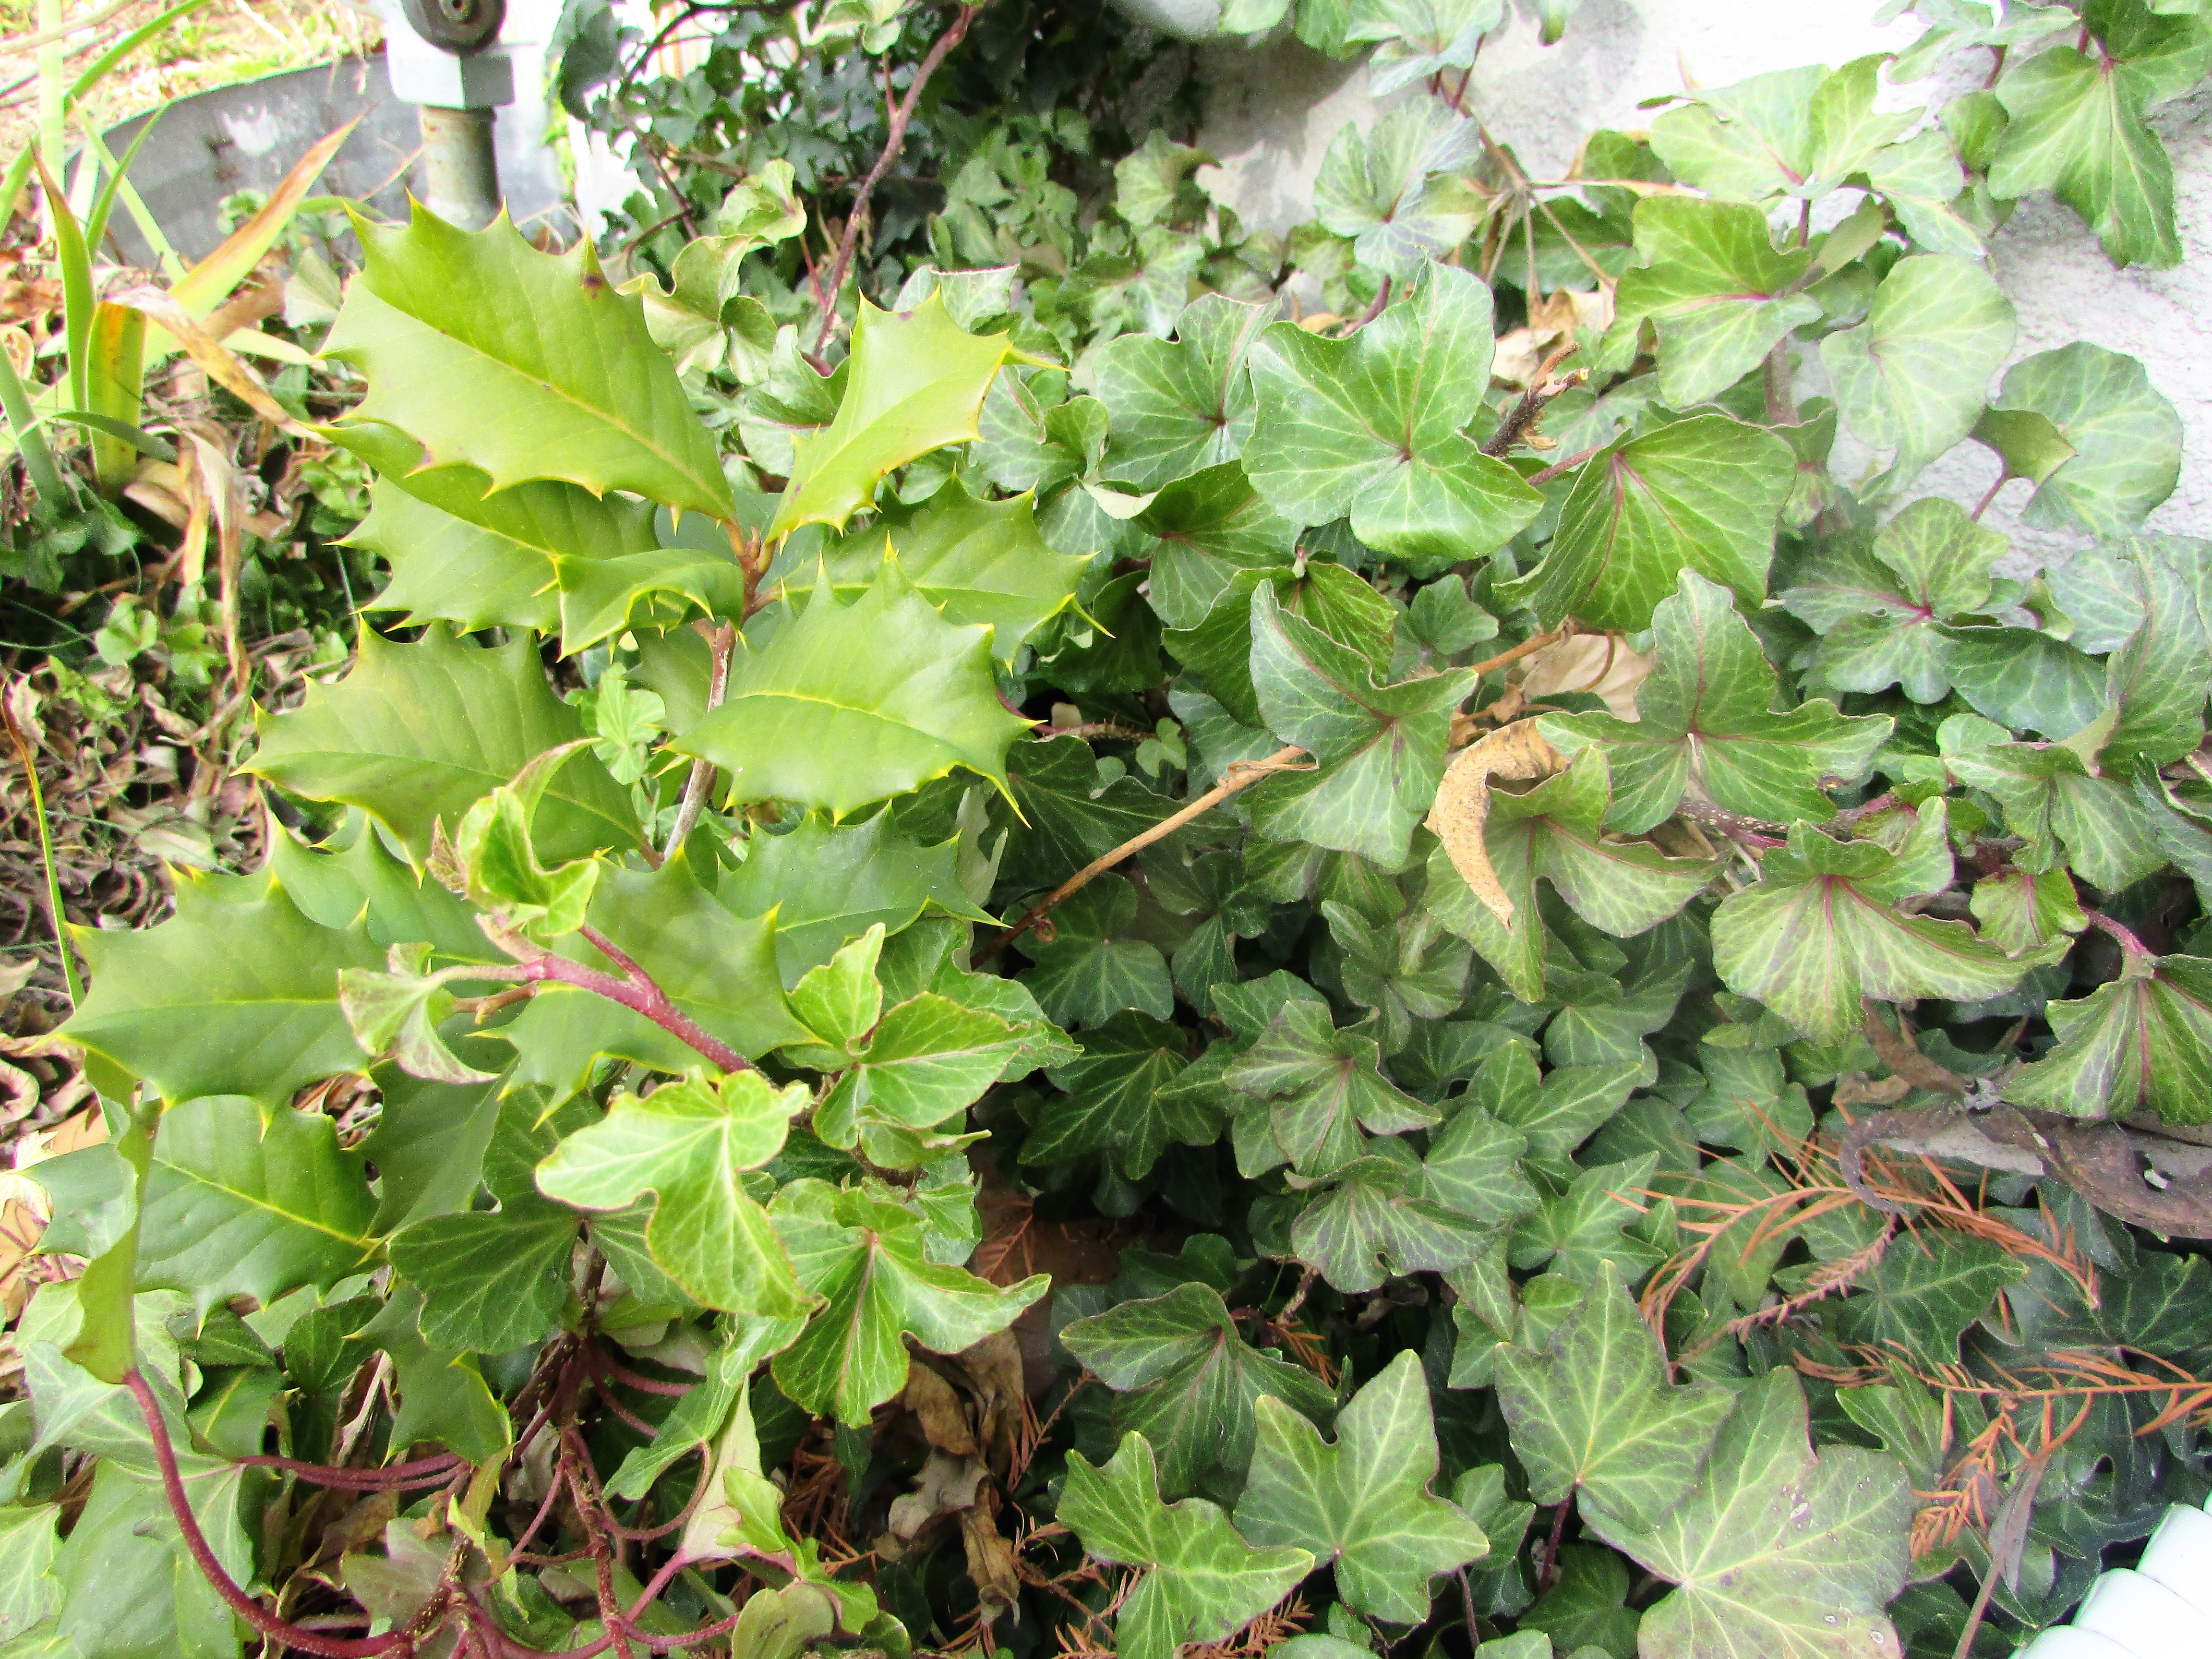
The forecast is calling for frigid air. The cold will soon send everything into a wintry dormancy. I picked some ivy today to root in water as a last of 2016 cutting. The tiny holly tree beside the ivy is a volunteer. I will soon have to decide what to do with it; the space it is growing in is in front of the gas meter and it will need to be moved.
Holly and ivy have been a mainstay of British Christmas decoration for church use since at least the fifteenth and sixteenth centuries, when they were mentioned regularly in churchwardens’ accounts. ~ Wikipedia
Ivy is an often overlooked Christmas Green.
The ‘Holly and the Ivy’ is an old Christmas Carol that tells the story of Jesus.
“The holly and the ivy,
Now both are full well grown.
Of all the trees that are in the wood,
The holly bears the crown.
Chorus
Oh, the rising of the sun,
The running of the deer.
The playing of the merry organ,
Sweet singing in the quire.
The holly bears a blossom
As white as lily flower;
And Mary bore sweet Jesus Christ
To be our sweet Savior.
The holly bears a berry
As red as any blood;
And Mary bore sweet Jesus Christ
To do poor sinners good.
The holly bears a prickle
As sharp as any thorn;
And Mary bore sweet Jesus Christ
On Christmas day in the morn.
The holly bears a bark
As bitter as any gall;
And Mary bore sweet Jesus Christ
For to redeem us all.
The holly and the ivy,
When they are both full grown,
Of all the trees that are in the wood,
The holly bears the crown.
I’m hoping to revisit an old horizon as a new horizon in 2017. I enjoyed taking photographs of a path into the woods in 2014. It was interesting watching the snow vanish. I eventually created a winter slideshow, set to music, with some of the photos. I want to choose a new spot for the coming year, and try to stick with taking a photo once a week. Do you have any new projects or plans in the works for 2017?
This is a short video of ‘The Path’ in the winter of 2014.
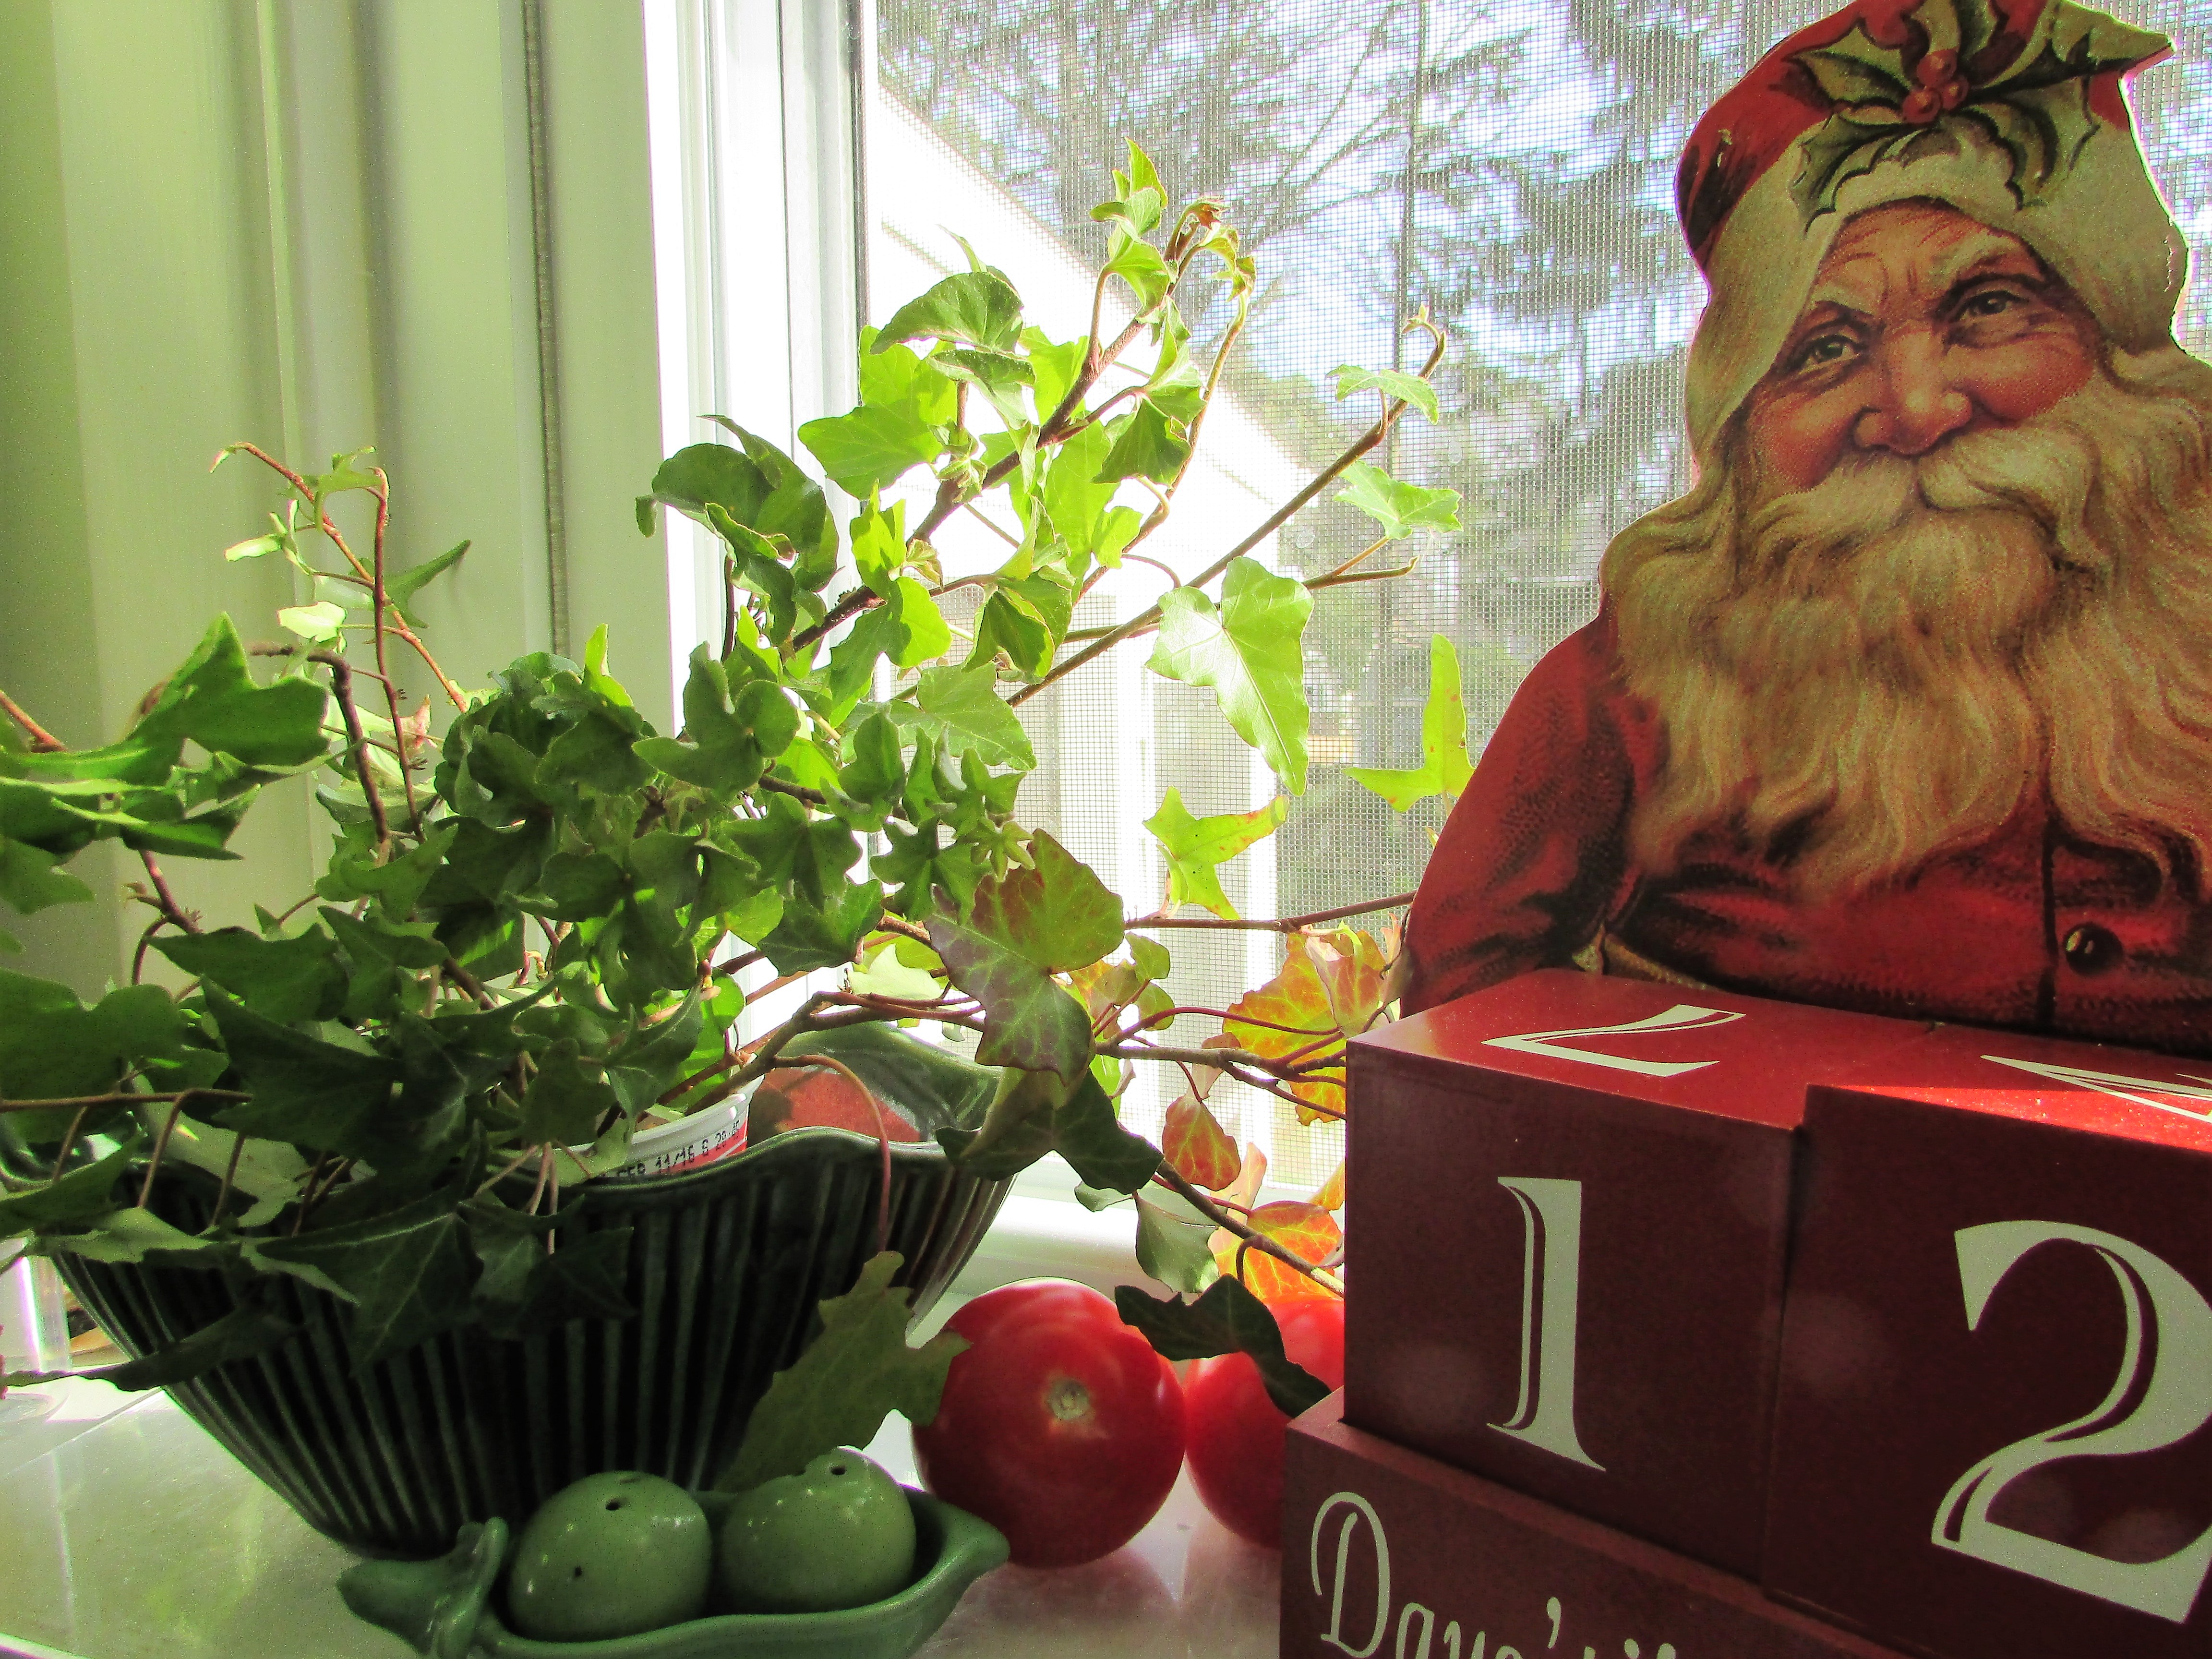
I delight in the Sabbath Day. I rejoice in worshipping God our Father on this day of the week he has set aside as holy. It is also a day he asks us to rest. I enjoy the day of rest by forgoing everyday, monotonous tasks and playing a little. Some of my favorite ‘playgrounds’ are the many sites around the web that allow for photo tweaking. The photo above started out rather tame as a still life of one of my Willow Tree Angels amid a patch of ivy in my backyard. The photo was tweaked through the free site LunaPic. I used one of their art filters to alter the appearance of my photograph. It’s easy to upload a photograph and play with it. Have a blessed Sabbath!
I miss the beauty of heavily foliaged trees, but bare branches often expose visual treasure. My husband spotted this beautiful hawk as it soared past our window yesterday. He yelled, “Hawk!”
“I grabbed my camera,
Quick as a flash
Ran to the window,
Pulled down the top sash,
Hung my arms out the window,
And started to snap!”
(With apologies to Clement Moore for mangling his perfect poetic rhythm and meter.)
I was able to zoom in and take these photographs of the hawk.
He was a large Red-Tailed Hawk. I captured his intensity of gaze just before he swooped and disappeared. I wonder if he caught his prey? What a beautiful bird. Winter has its own set of blessings for birdwatchers.
The WordPress Photo Challenge for this week is New Horizons, a challenge to get a jumpstart on New Year’s Resolution. One of mine will be to take part in even more bird-watching. For the most part it’s free, it’s fun, and it is a way to enjoy and thank God for the beauties of the world he created.
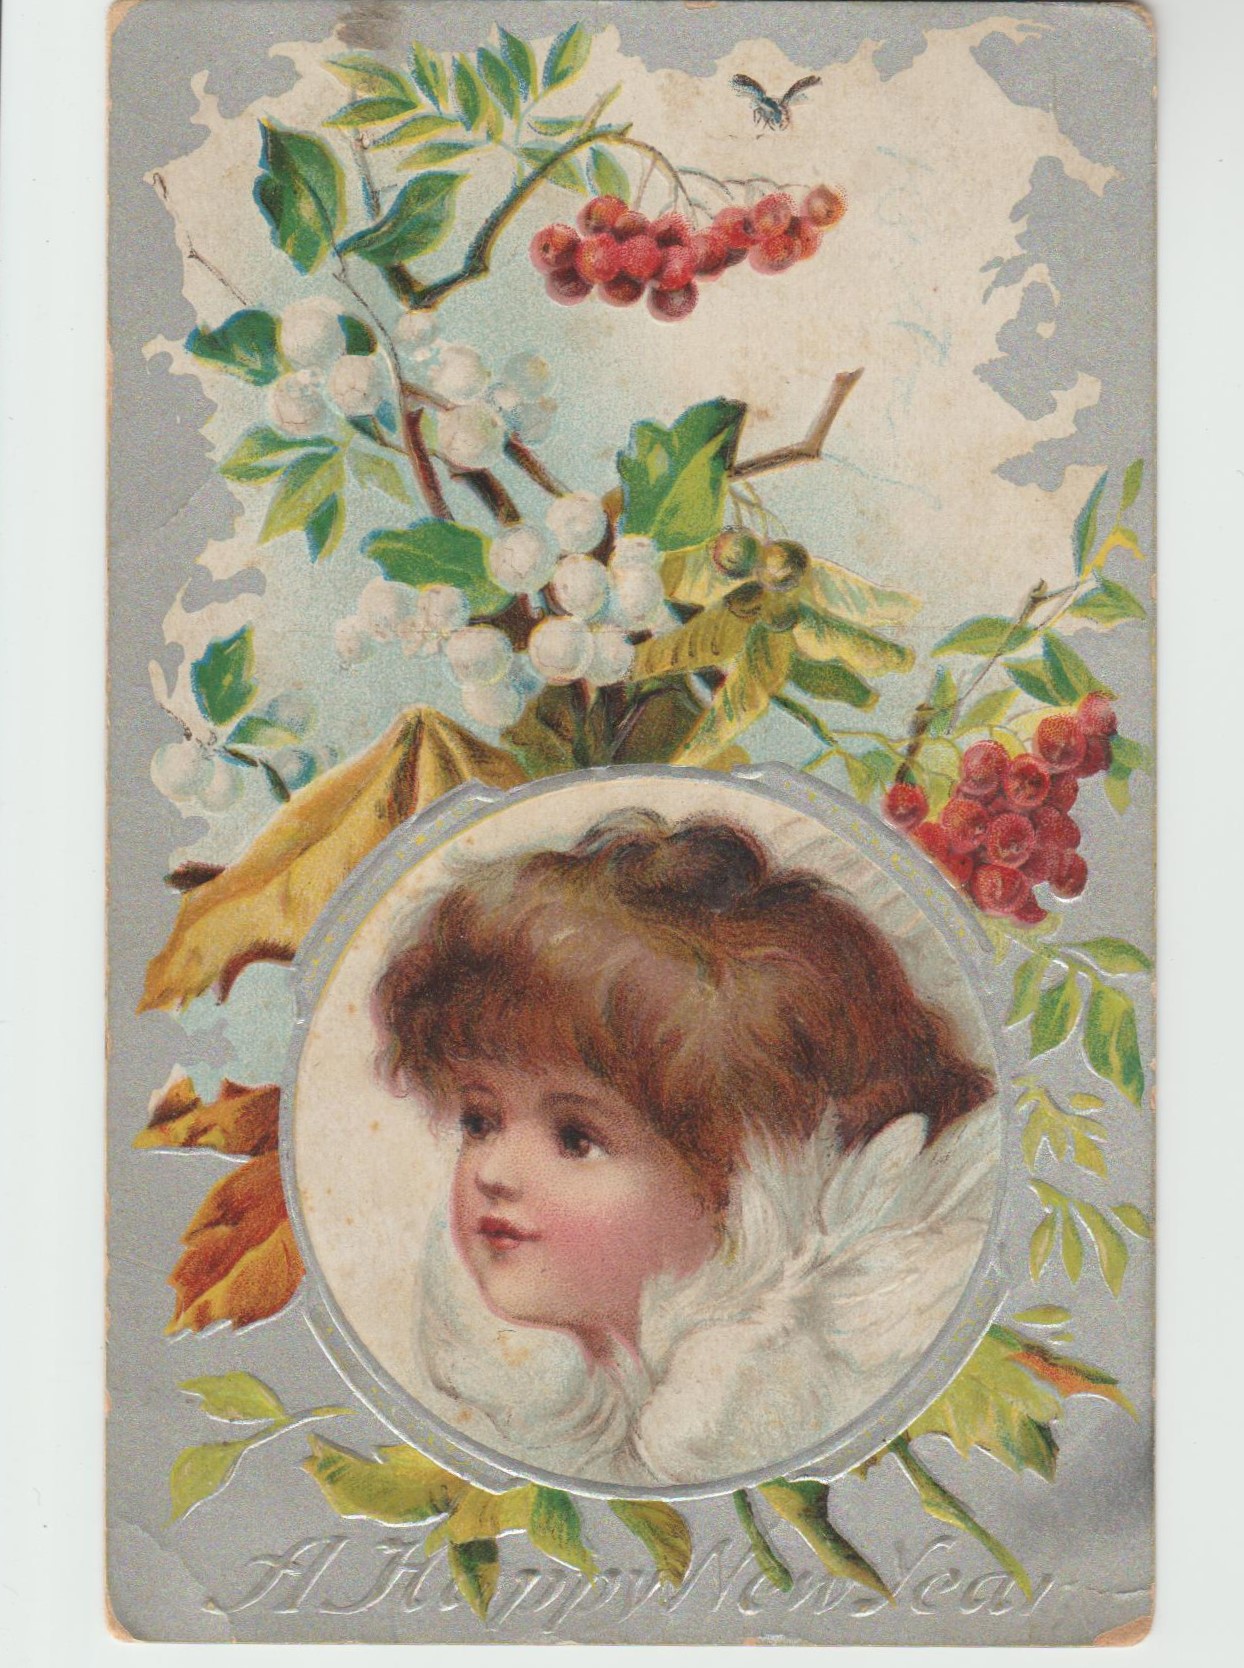
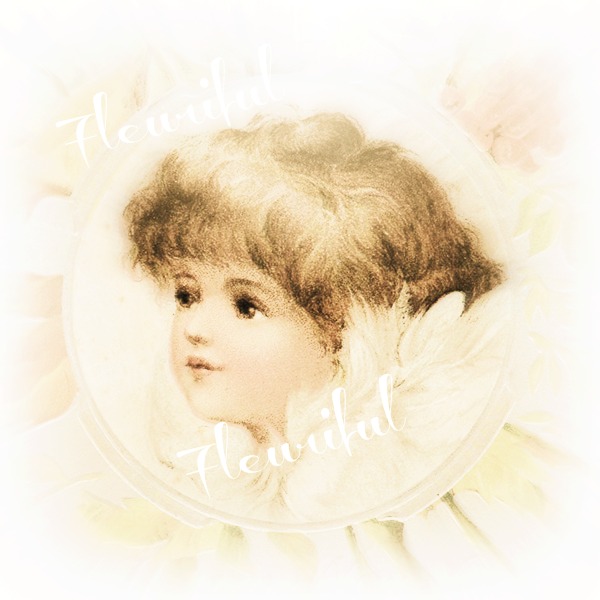
I’ve shared my love of vintage postcards in past posts…today I want to share a bit of photograph-tweaking using an old postcard. This beautiful postcard features a Victorian angel in feathers on the front. The postmark of 1911 is still visible on the back of the card. Postcards of this age are copyright free and available to use in artwork and designs.
I usually don’t use an image in a stand alone fashion when I use copyright free art. So, I tweaked the original through Adobe Photoshop and one of my very favorite sites, PicMonkey.
I treasure my little cherub, and even better, printing her/him out does not take a lot of printer ink. I am going to use this image for some gift tags and possibly in the future for baby shower gift cards. I enjoy the thought that this artist’s work lives long past the 100+ years ago it was created. Maybe our combined efforts in this altered version will live for 100 more. Thanks for looking!
This heirloom fold-out Nativity scene once belonged to my grandmother. A beautiful work of art, the scene is filled with wonderful details. Turned around, the reverse of the painting can be found on the opposite side. Amazing!
The Nativity was painted by Swedish artist, Helge Artelius (1895-1989).
I found many examples of Artelius’s work on the web, but there were few details about his life. If anyone can fill in the blanks about this artist please leave a comment. Thanks!
Postscript: When I wrote this post I thought the artist was a woman. If you read the comments below under the name of Anna Borsey you will discover amazing information about this artist.
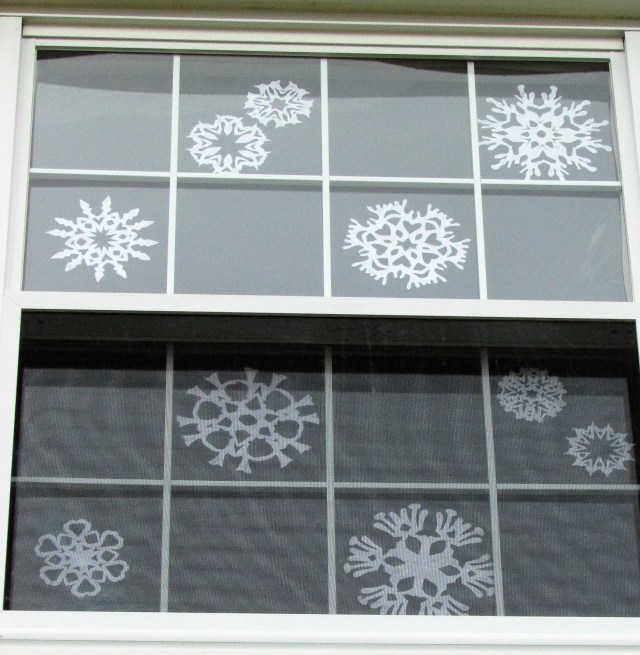
I have a brand new panoply of paper snowflakes on my window panes this year. Creating these inexpensive Christmas decorations is one of my joys. All it takes to make these lacy echoes of real snowflakes, is a bit of folding and snipping.
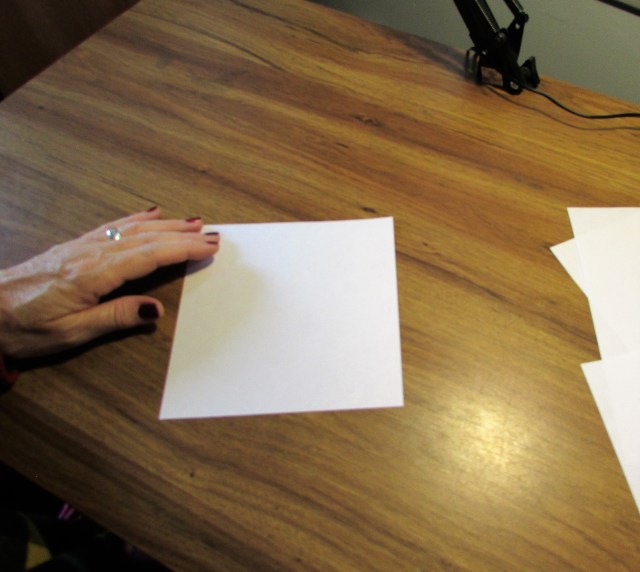
You will need squares of paper. Computer paper is a good choice for snowflakes. I use different sizes, eight, seven, six, five and four-inch squares. All of these sizes are fairly easy to fold and cut.
Fold the square into a triangle shape by matching catty-corners, or in more modern terms, opposite corners.
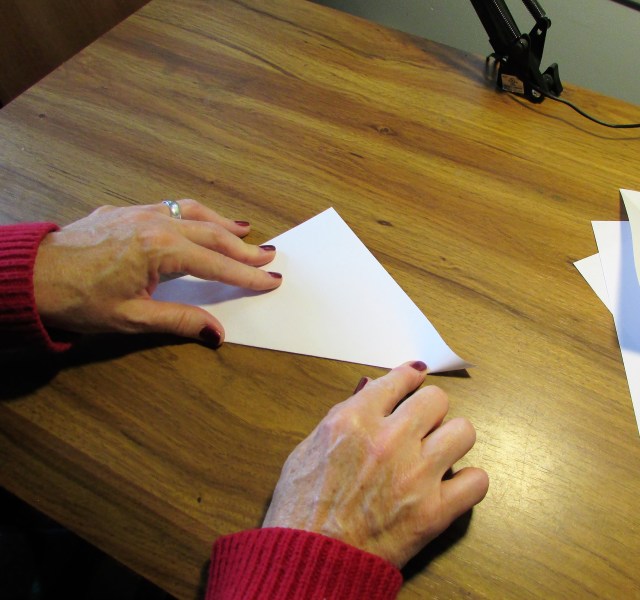
After the first fold is complete, using the corners on the long side of the triangle, fold the paper corner to corner once more.
This next part is a little tricky. Let the longer side of the triangle face away from you. Bring up the right corner and fold it about a third of a way from the middle. Turn the paper over and repeat this step. You will have an accordion folded piece of paper with two bunny-type ears if you have folded it correctly. If this step is confusing watching the video at the bottom of the post will help.
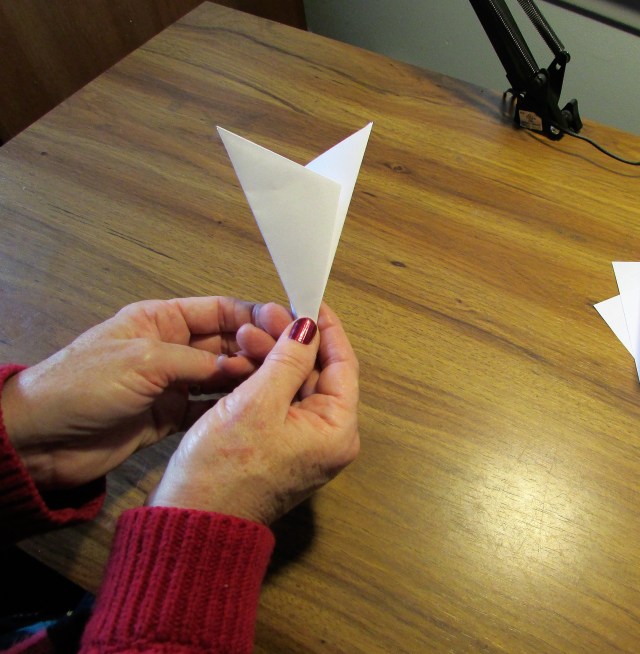
After I fold the triangle into this shape, I trim the ‘ears’ off leaving a cone shape. This does not have to be perfectly rounded, you will be cutting into it.
* Important * You must always leave a bit of the folded sides intact to keep the snowflake whole. Don’t worry if you accidentally cut one and have it fall to pieces…it’s only paper after all.
Begin cutting your snowflake. Try to use both rounded cuts and straight snips. The combination of round and straight will give your snowflake a natural look. After cutting, open up, and prepare to be amazed by your beautiful handiwork.
I like to place the finished snowflakes in the windows of the house. Because the indoor heat causes condensation, the next step is especially important if you are using them on windows.
Iron the snowflakes between sheets of waxed paper. The layer of wax deposited on the paper will create a barrier against moisture. If you are using a good iron, protect it and the ironing board. Cover the board with an old cloth and use layers of newspaper beneath and over the waxed paper before you begin. The heat of the iron will penetrate the layers of newspaper and melt the wax onto the paper. You might need to change the newspaper several times. I use the waxed paper only one time, use a new sheet, top and bottom, for each batch of snowflakes. * Important * Have a lot of newspaper on hand if you are using a good iron.
I remove the waxed paper immediately after ironing by pulling the two pieces apart. The snowflakes are ready to glue to your windows.
Glue??? Yes, you read right. I recommend Elmer’s Disappearing Purple School Glue. Unless you want to spend hours and hours peeling and scraping tape residue from your windows, use a washable glue stick. A glue stick does leave a bit of residue when you take down the snowflakes, but it’s easy to remove with a wet rag. A spray of window cleaner and you would never know glue had been on your windows.
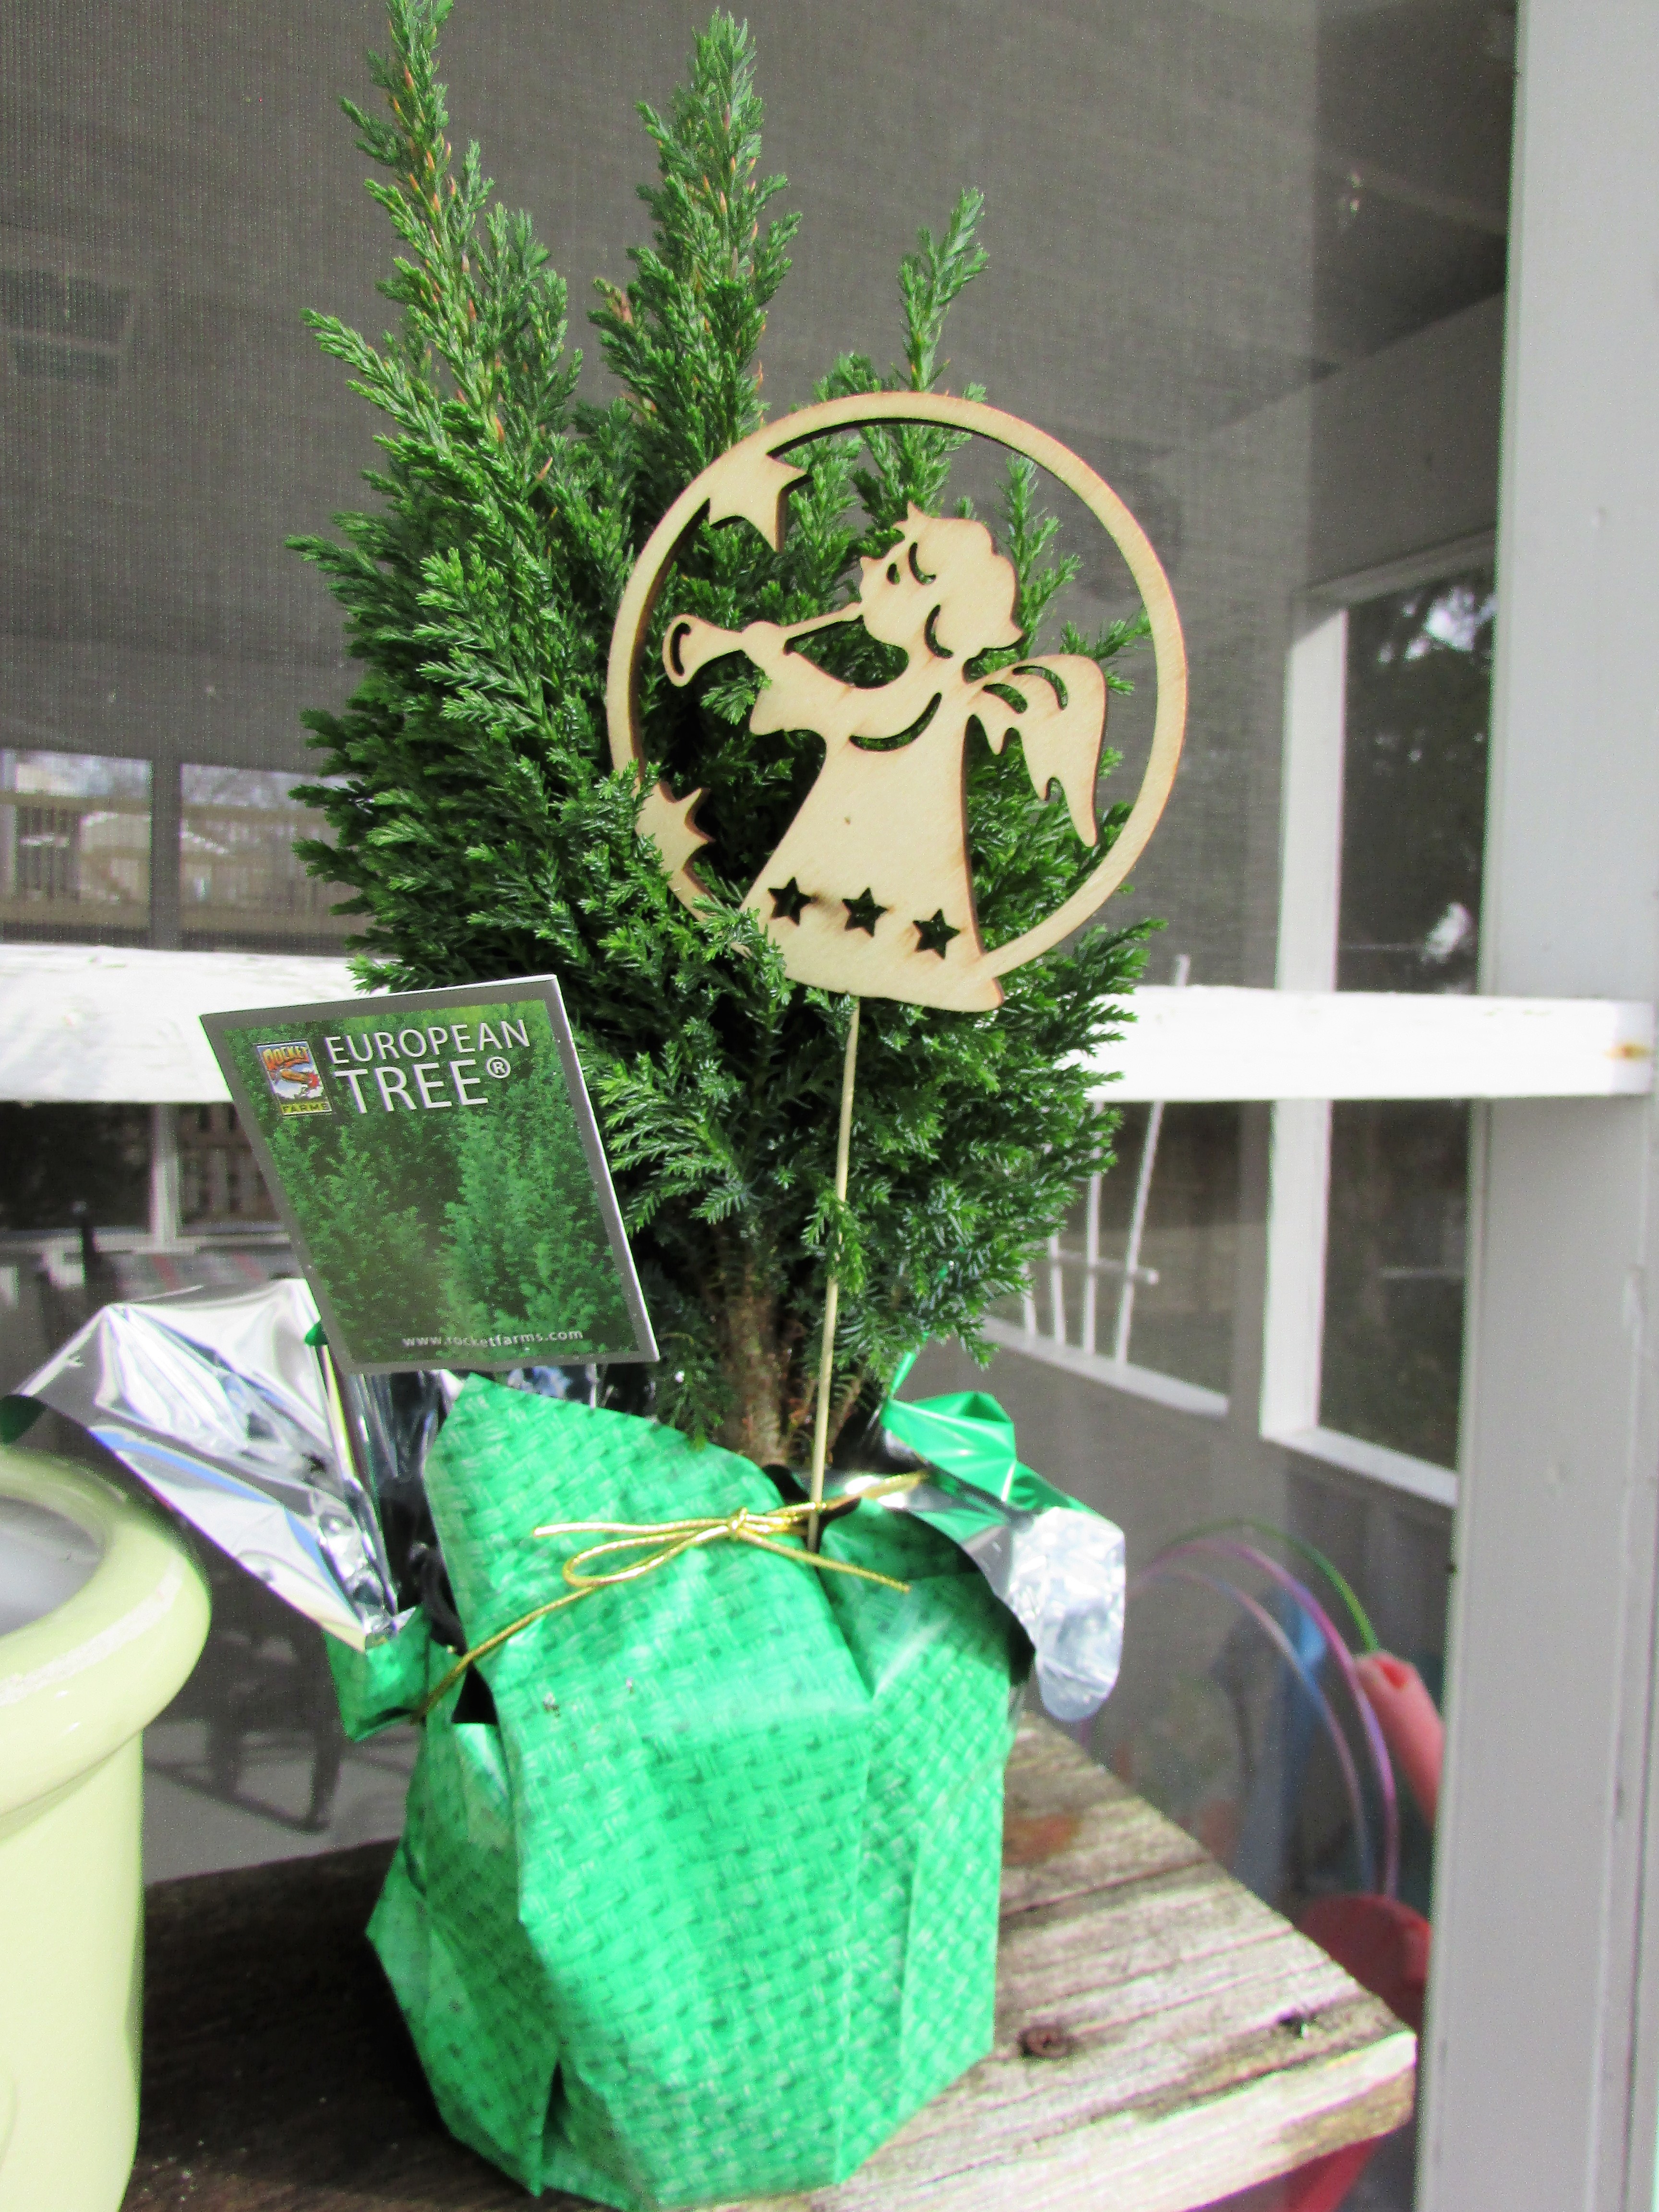
Miniature Christmas evergreens are abundant at this time of year. The small trees are good buys, usually under $5.00. They are attractive in their cellophane paper, but they are even prettier dressed up a bit in ceramic and moss.
I kept mine in the pot it came in, placed it in a ceramic pot, and added a bit potting soil to keep it steady. I topped it off with a bit of moss. I think the tree is lovely. The ornament it came with was the perfect finishing touch, or you could add a special ornament of your own.
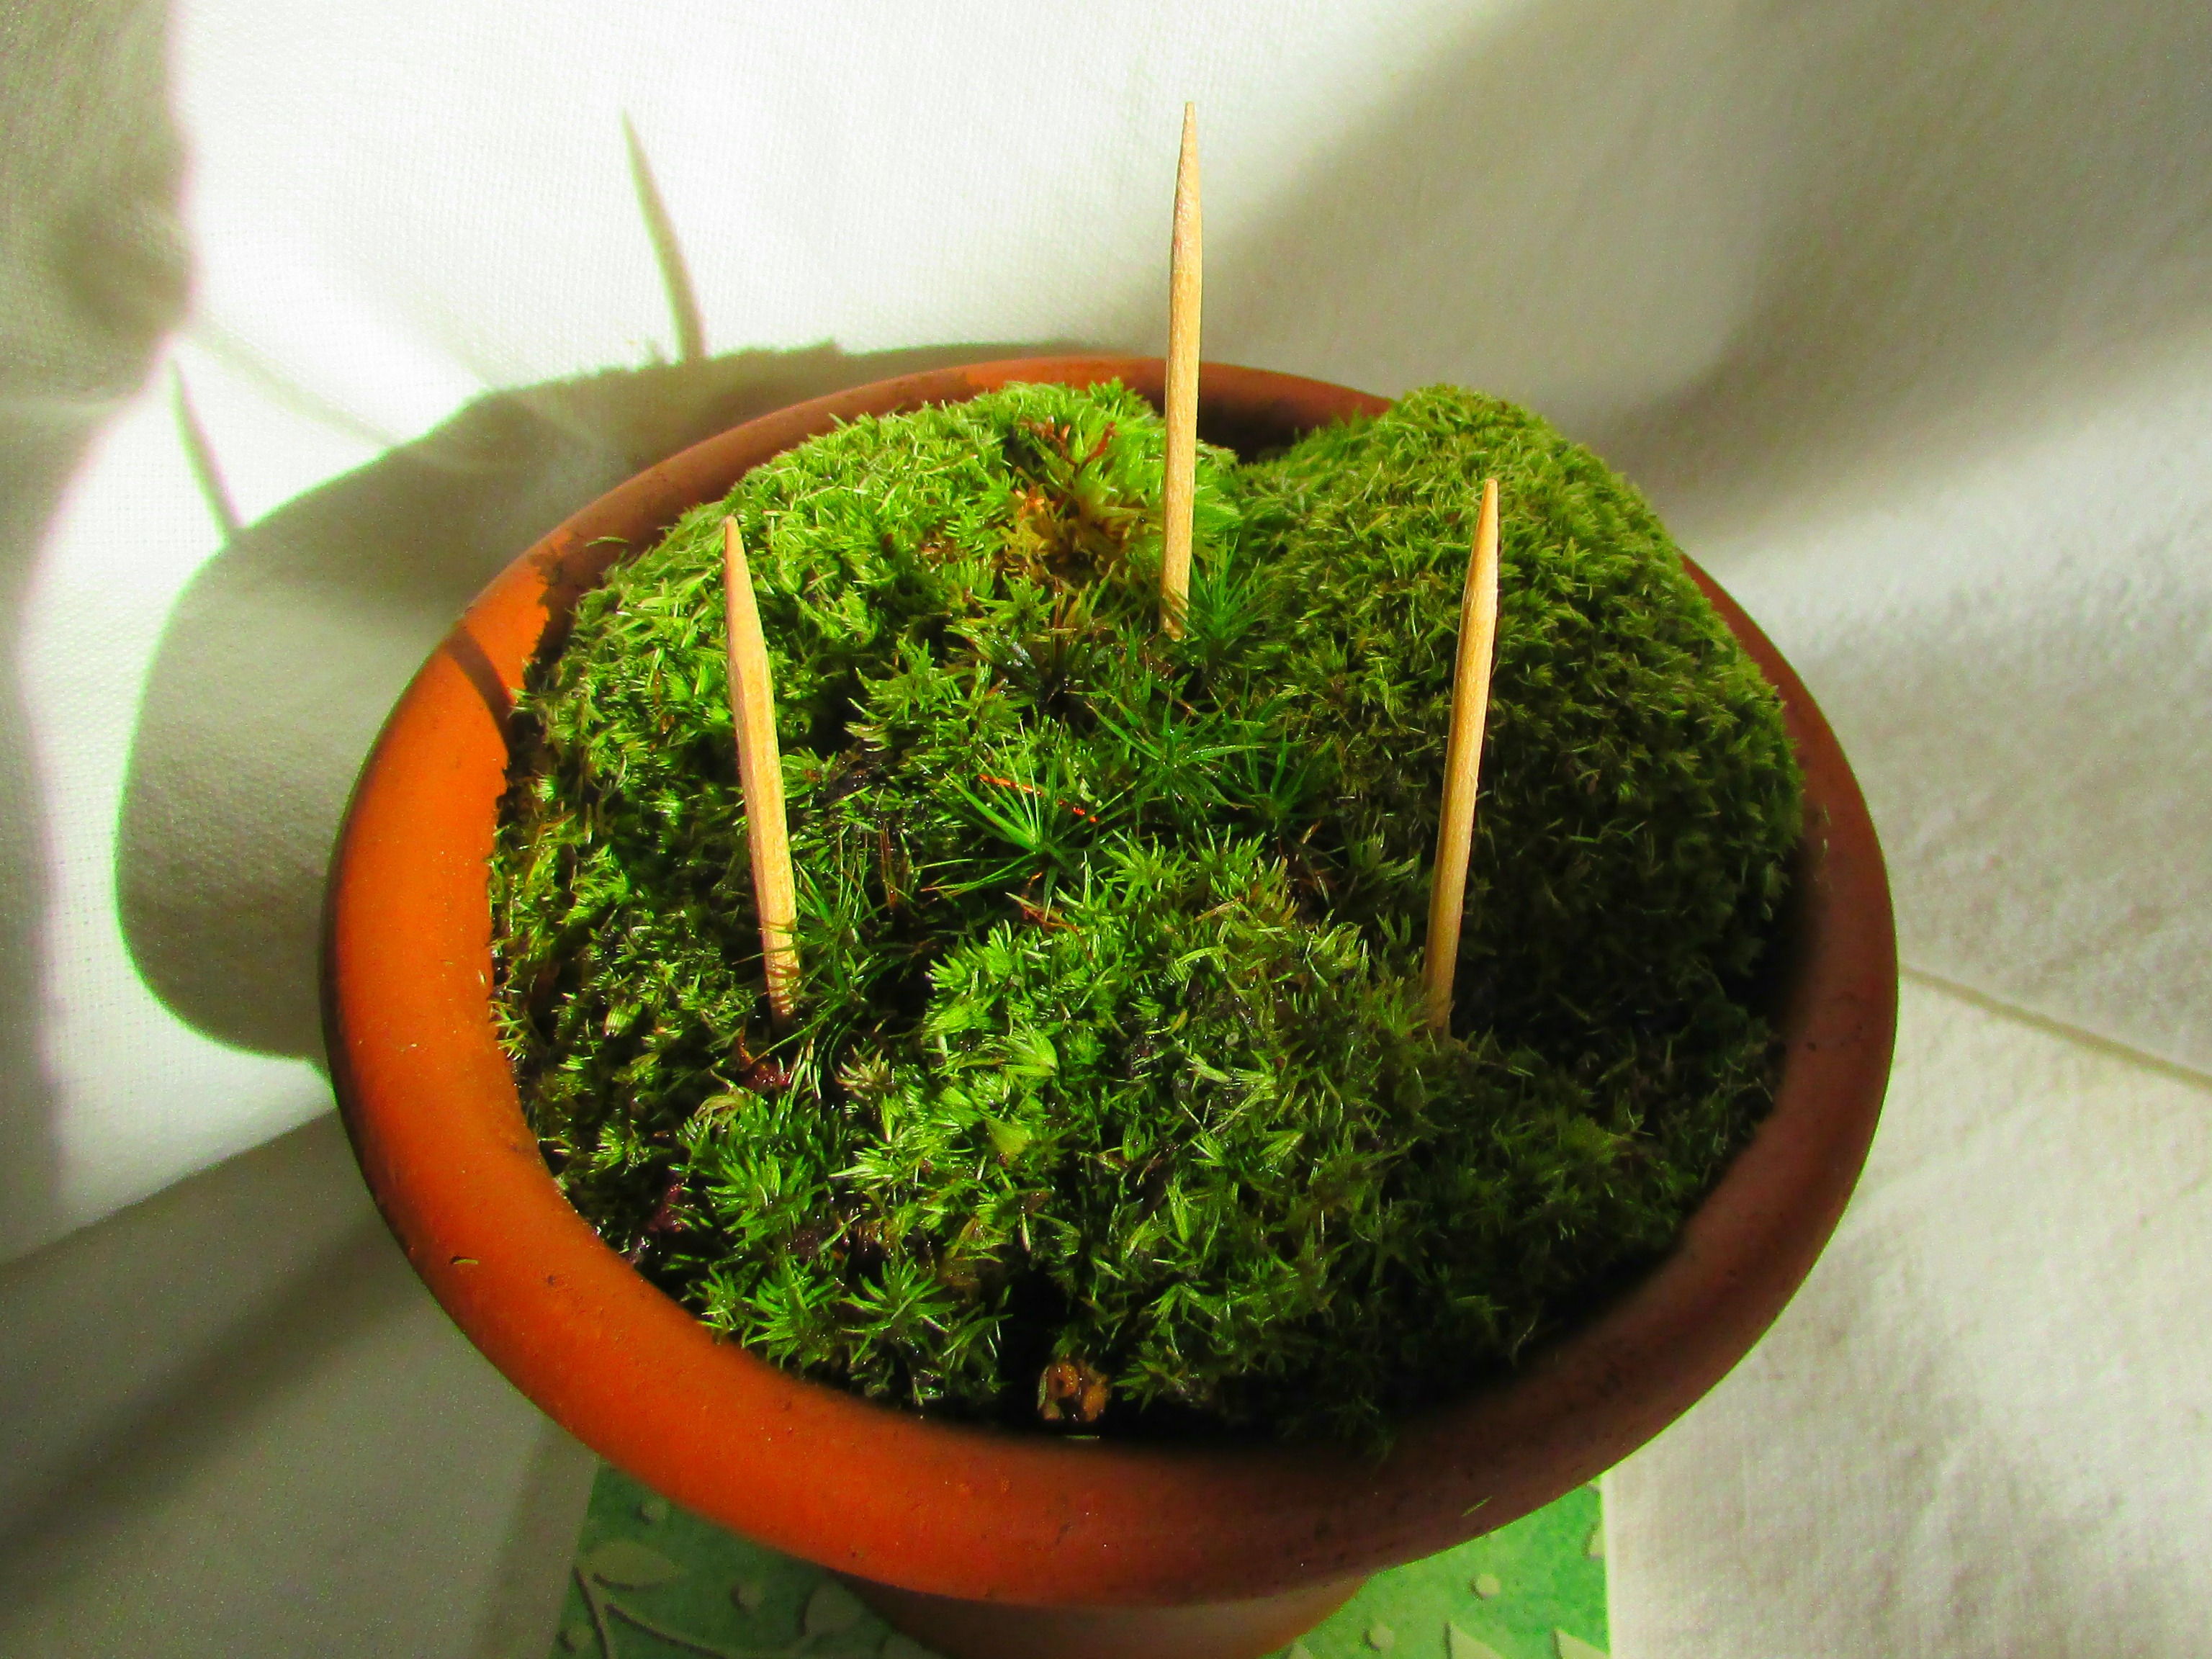
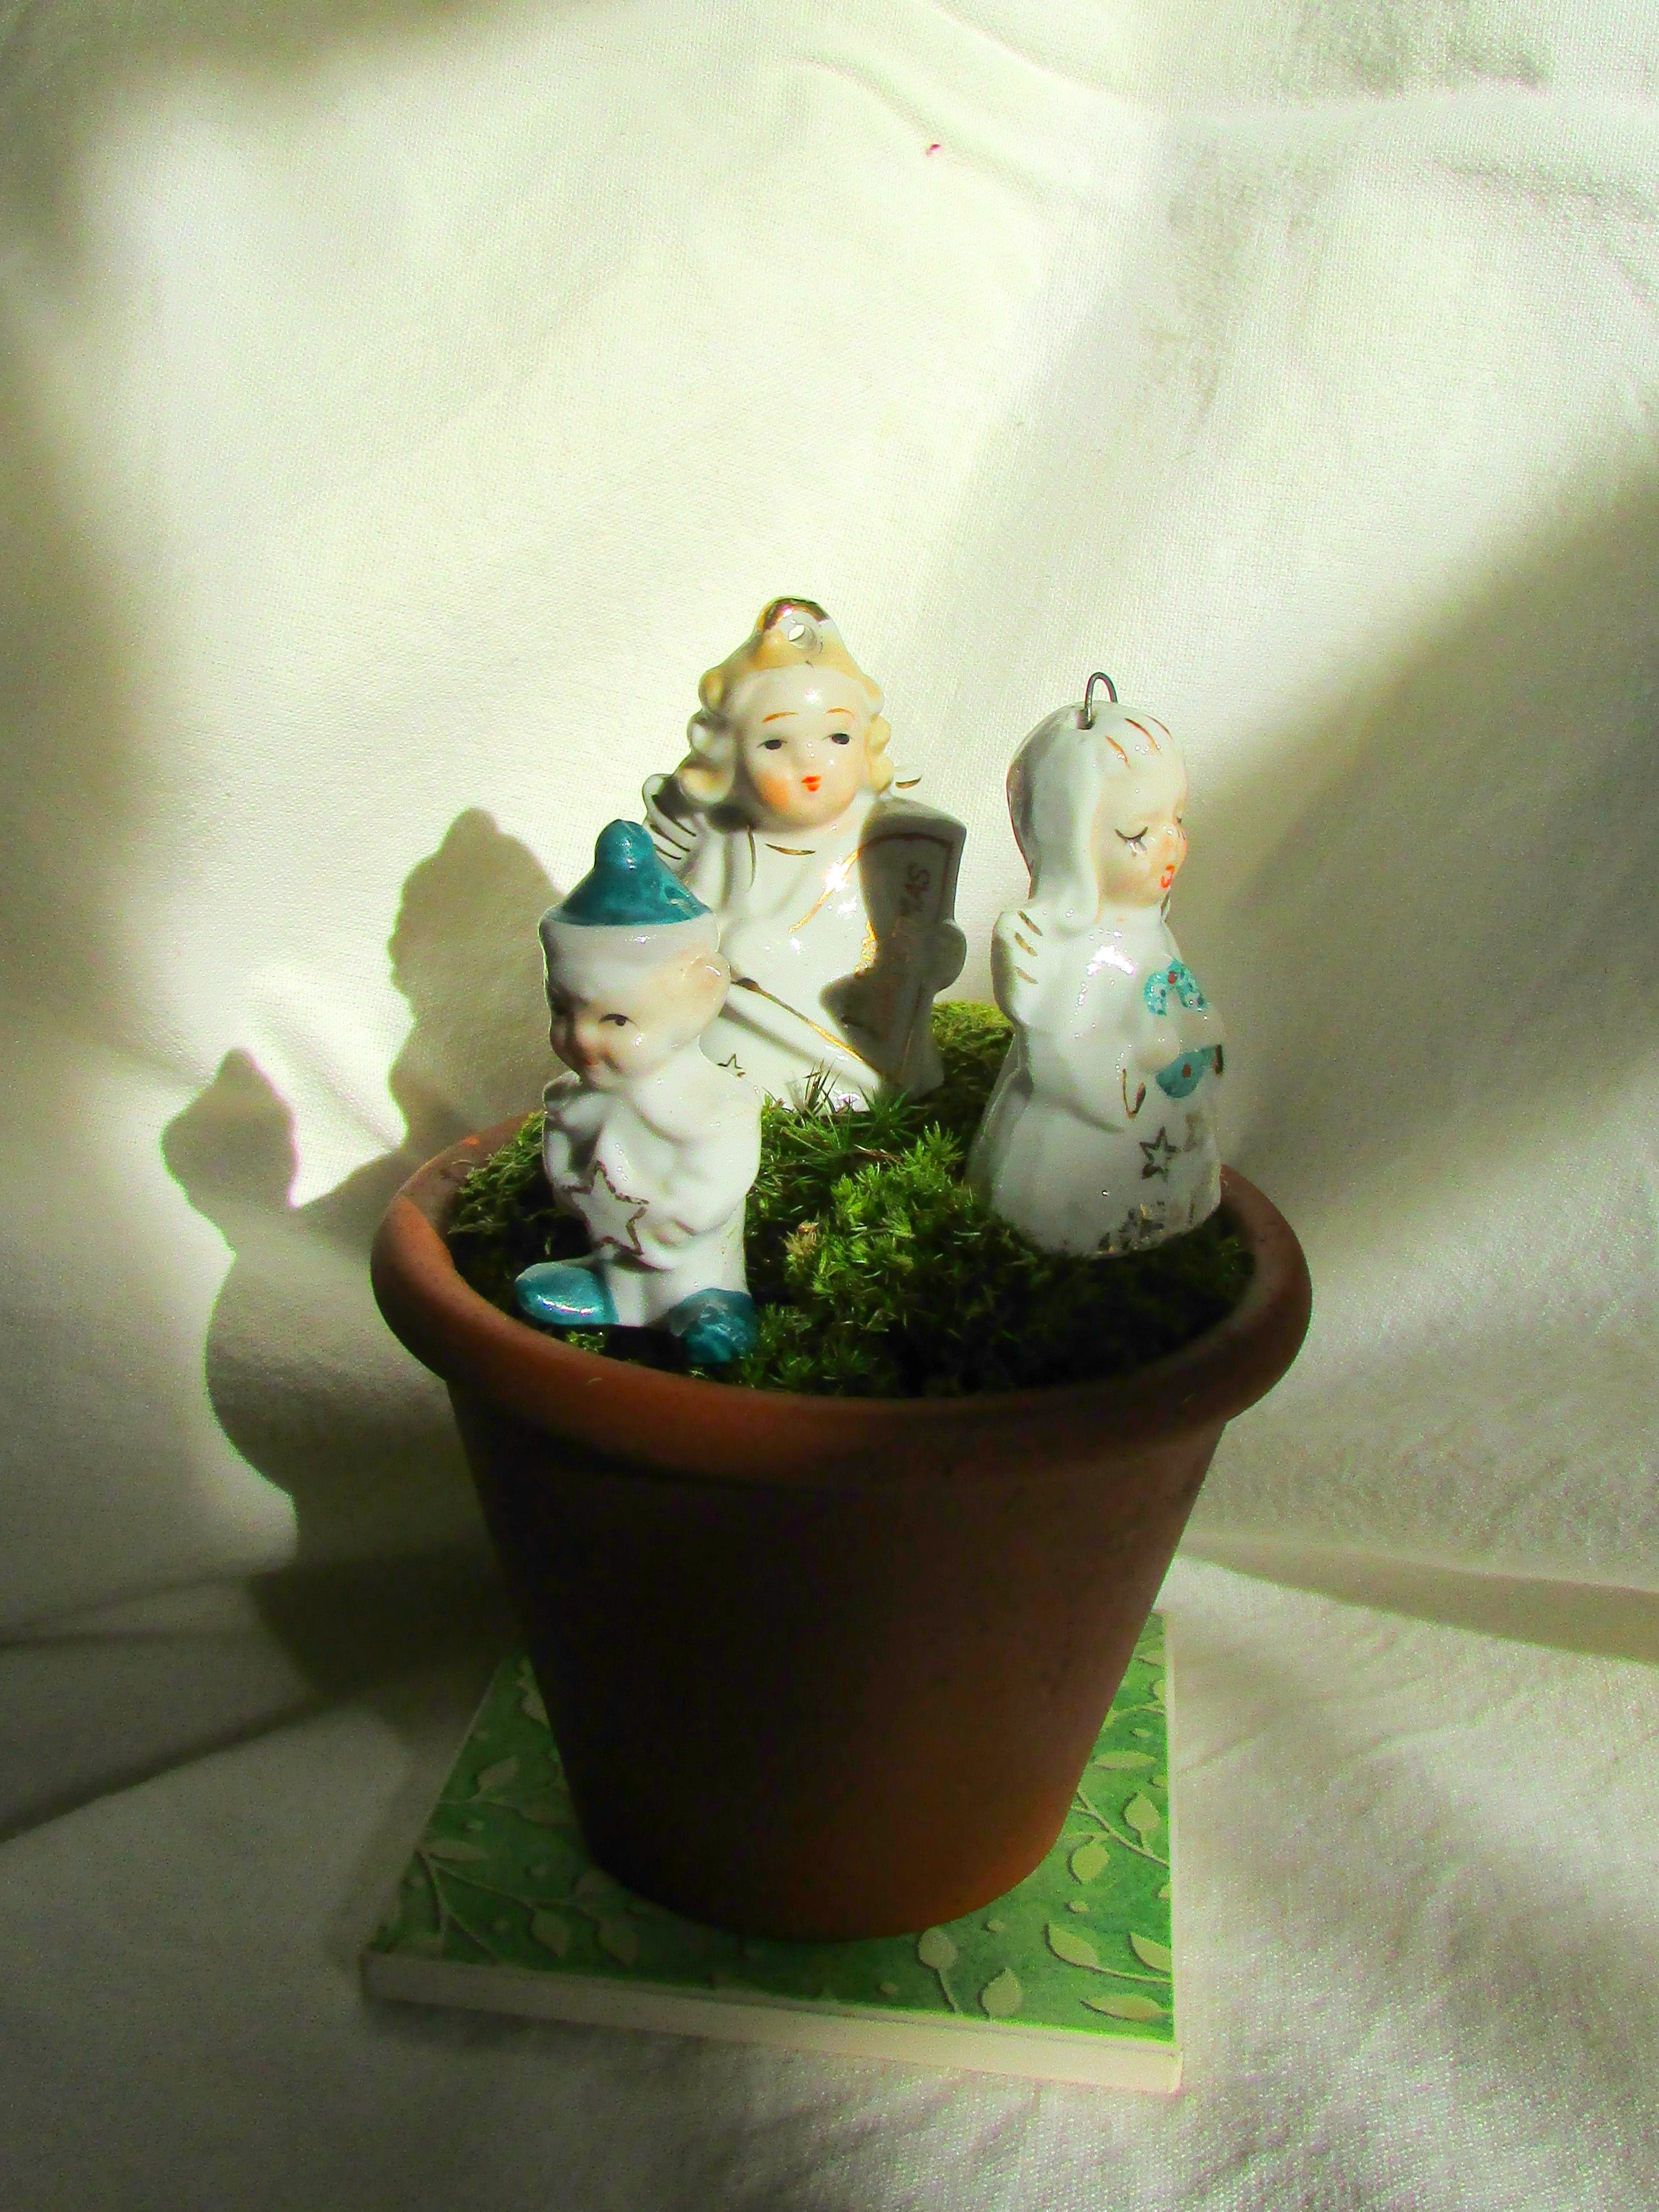
I had some moss left over. I didn’t want to waste it so I place it in a terracotta pot, added some toothpicks, and used it to display vintage ornaments.