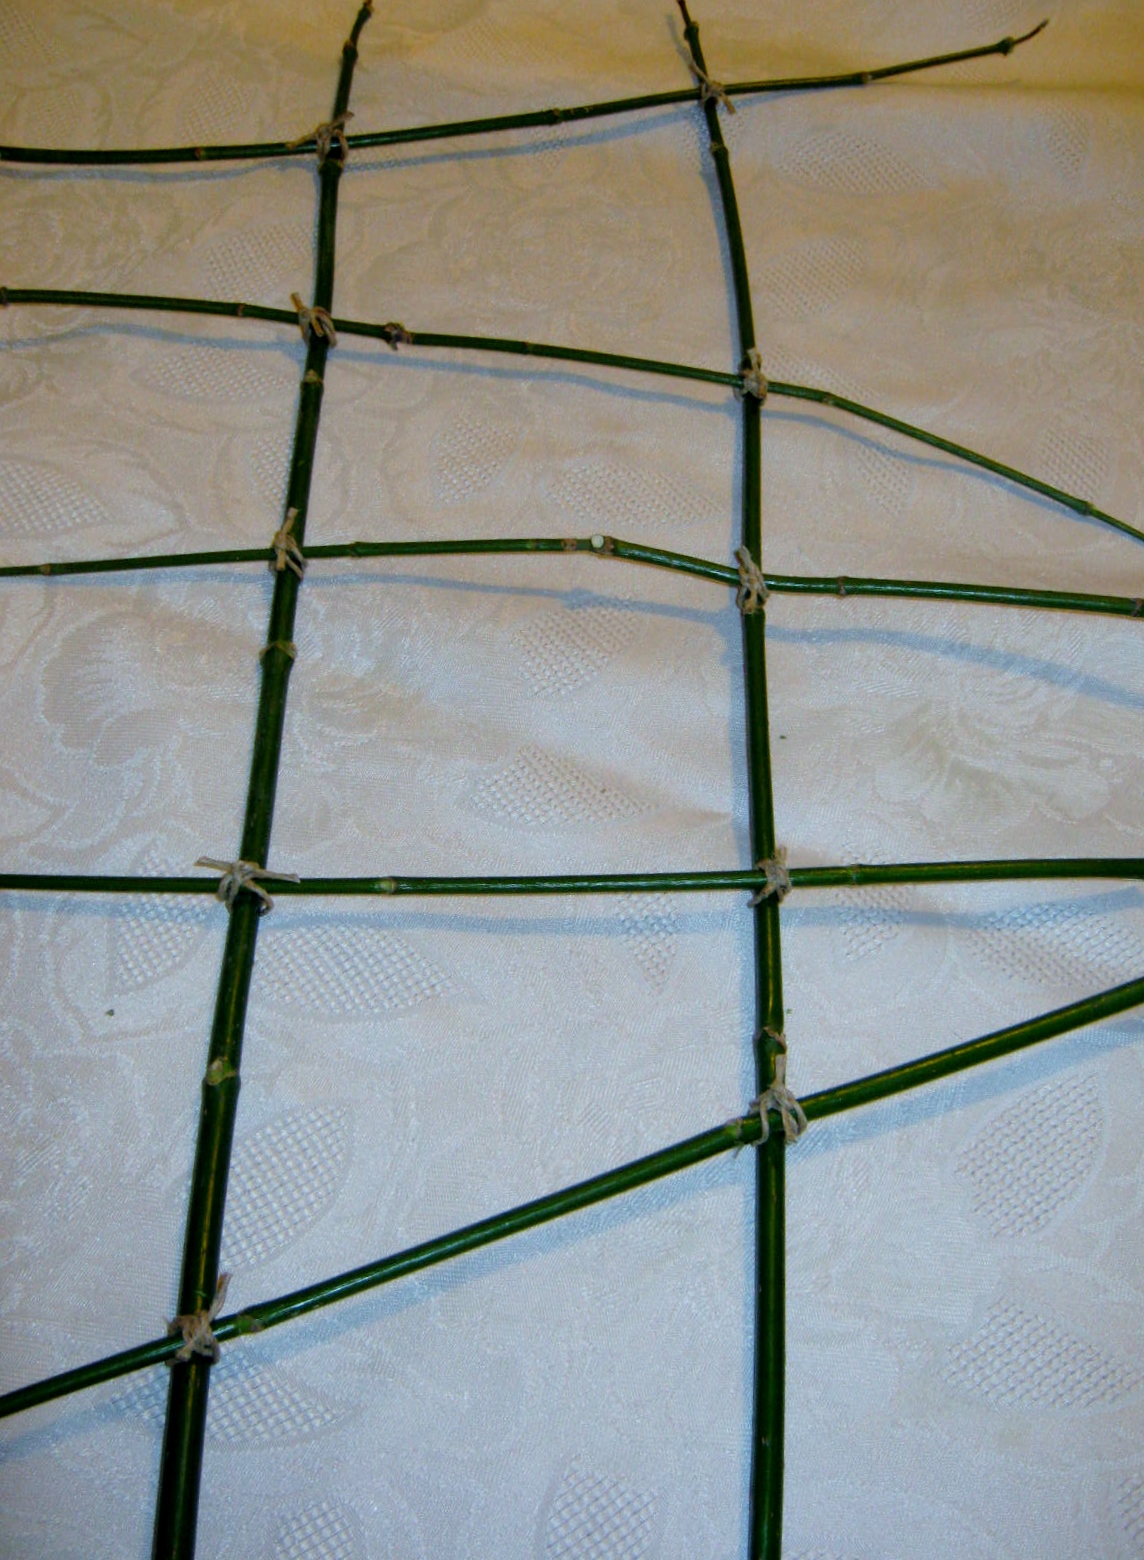
My indoor geraniums have grown very tall. The stems are not standing up beneath the extra weight the height adds; time to create some type of a stake or trellis for support.
I gathered up supplies: string and twigs. I also had some pipe cleaners on hand in case I needed something to hold the twigs in place while I tied the string.
I laid out the basic shape and then began tying the twigs together using a double cross-over knot. I used a haphazard pattern instead of trying to perfectly space each stick.
A quick trim of the excess twig length on the sides and the trellis was ready to use.
The trellis cost me nothing; the twigs were gathered, and I had the string on hand. I think the green sticks make a prettier and more natural-appearing support than the cheap plastic varieties I see available in garden centers.
I recently bought an apple gourd at a farm stand. In the Spring, I hope to make a new bird house out of it for smaller songbirds. The penny in the photograph will give you a sense of scale as to how large an apple gourd grows.
I found good information on How to Dry Large Gourds, but instead of drying for a week on newspapers, I am using a piece of bath scrunchy. (Bath scrunchies are made up of a tube of nylon netting.) I knotted the bottom of the tube, slipped the gourd inside, tied a knotted loop at the top, and hung the gourd on a porch hook. The weather is supposed to be warm next week, suspending the gourd will give the entire skin a chance to dry out.
When the first drying time is complete, I will bring the gourd indoors, wash in disinfectant, and hang it once again, this time in the dark basement. Hopefully, near Springtime, the gourd will be completely dry and ready to craft into a bird house. Large gourds of all types are widely available at this time of year in farmer’s markets and produce stands.
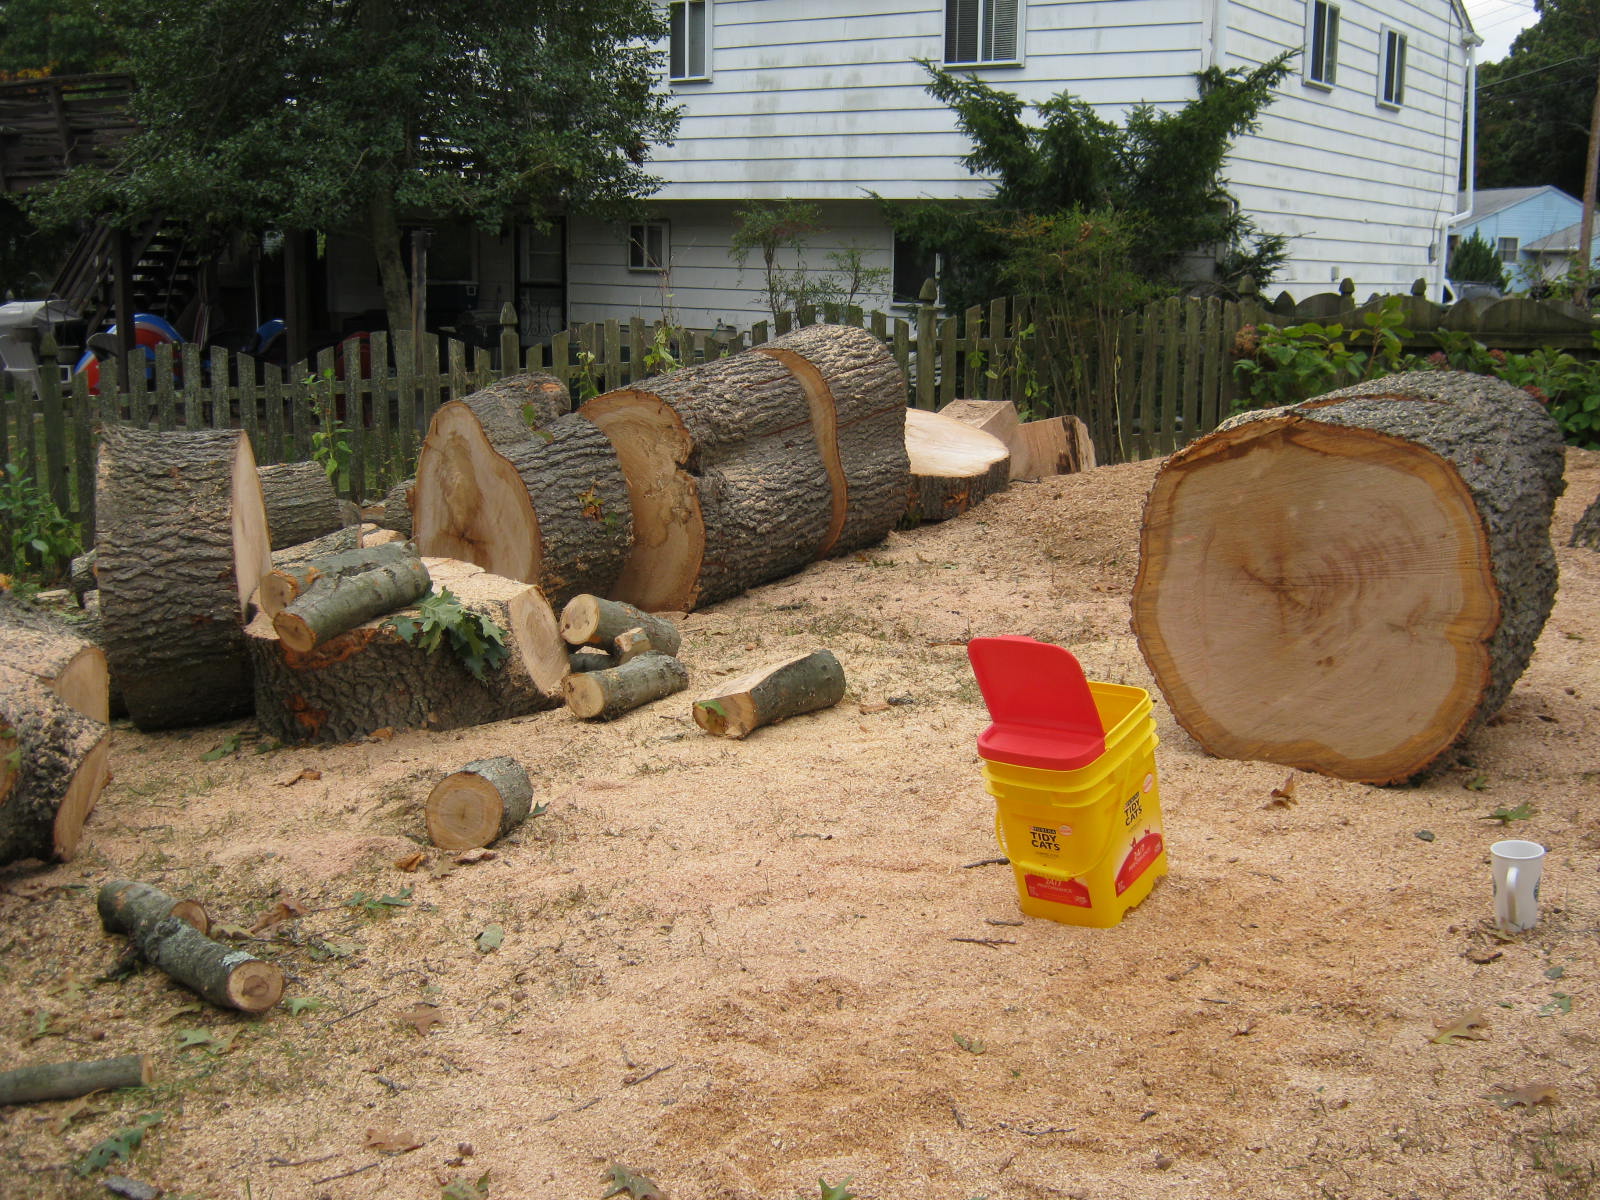
Our majestic oak tree was taken down while we were on vacation. I had resigned myself to its removal, but it was still a blow to see the empty space where it once stood. As we walked amid the fallen pieces, despite our untrained eyes, we noticed areas of danger due to splits in the main trunk. At some point the tree or large branches would have fallen. We did the right thing in having it removed before a problem or tragedy occurred.
We have decided to keep a piece of the stump for our grandchildren to build a fairy house on. I also gathered bins of sawdust to use for stuffing some fabric birds I intend to make. I will save a few acorns, plant them in a pot, freeze them for several months, and attempt to grow some progeny of my beautiful oak tree.
Coloring books for adults, I see them everywhere I go: craft stores, magazine stores, book stores, grocery store check-out lines, and online too. The art form, promoted as a way to relax and unwind, has created a booming new industry. If you have tried this old/new activity, perhaps you are ready to go one step further and create your own lines for coloring in. In that case, you might like Zentangles. Take a look at this amazing and informative video. I love the classical music soundtrack, and find watching the artist completely mesmerizing.
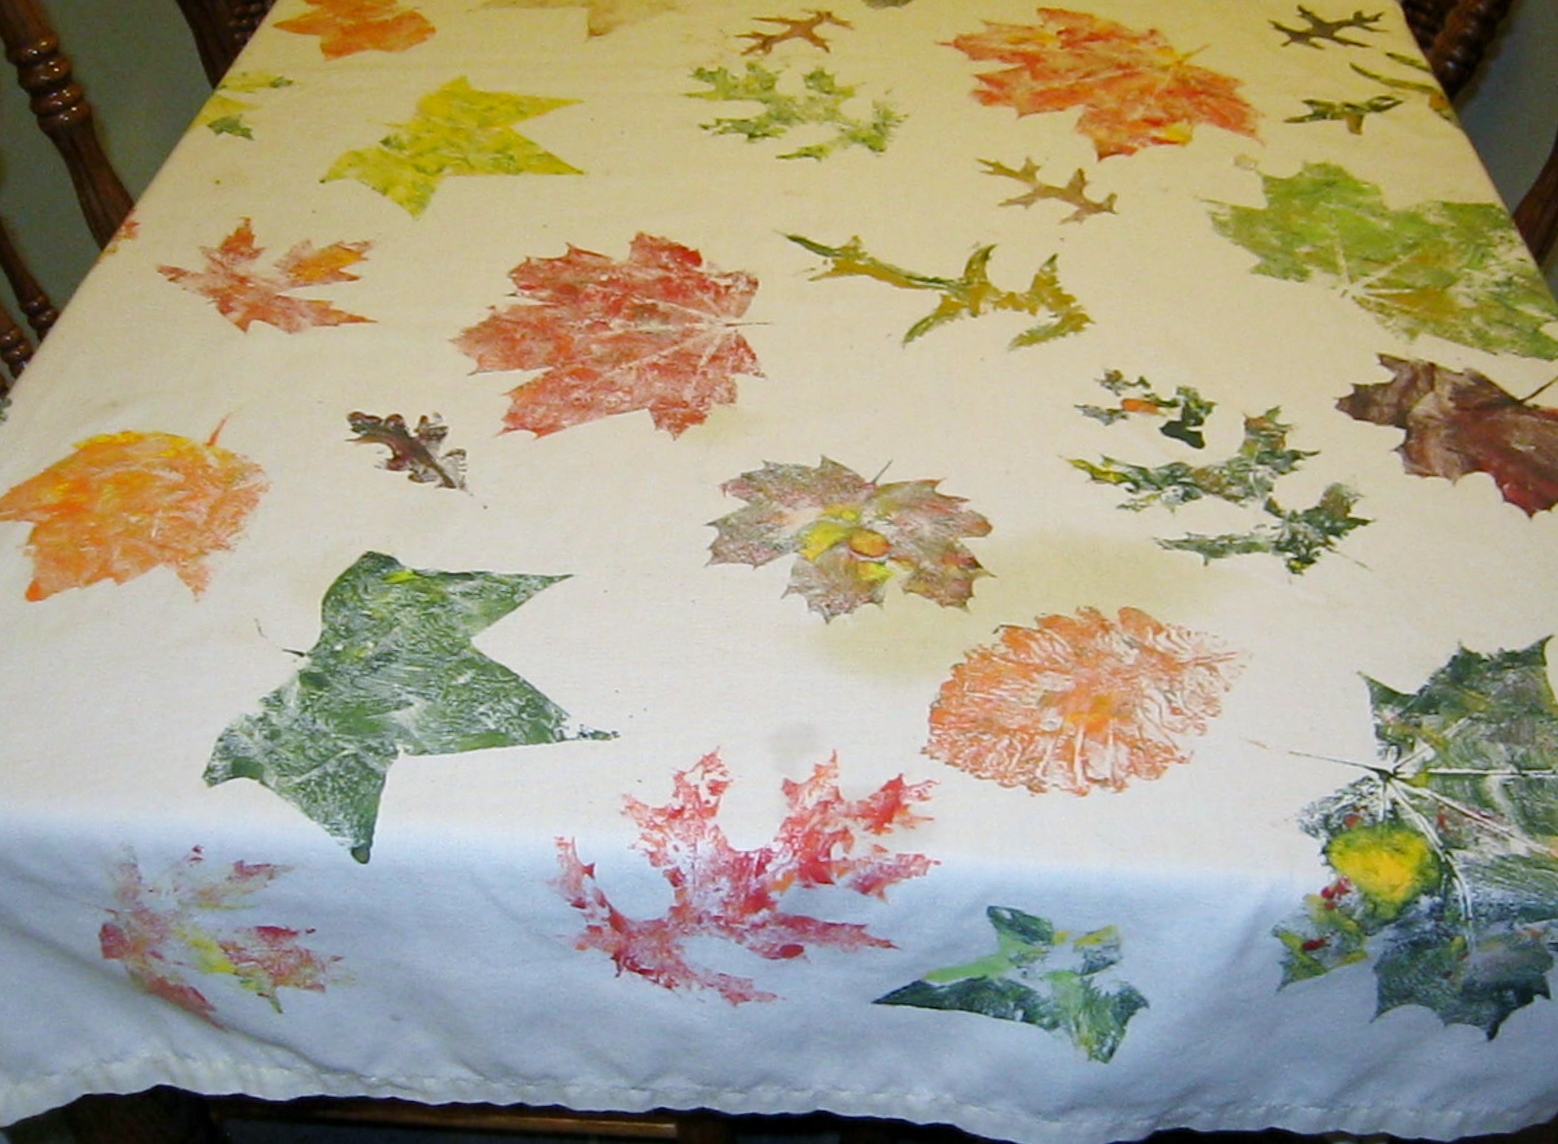
If you are having a large crowd for a meal during the Autumn, consider making a one-of-a-kind tablecloth. Years ago, several members of my family helped me turn real leaves into stamps to create beautiful coverings for our tables. You will need: acrylic paints, an off-white tablecloth or flat bed sheets, surface protection, and some sort of paint applicator. (paint brushes or foam brushes)
Prepare the tablecloth or sheet: launder them if they are new to remove fabric sizing. If you need a smaller size, cut to size and hem the edges by hand or with a sewing machine.
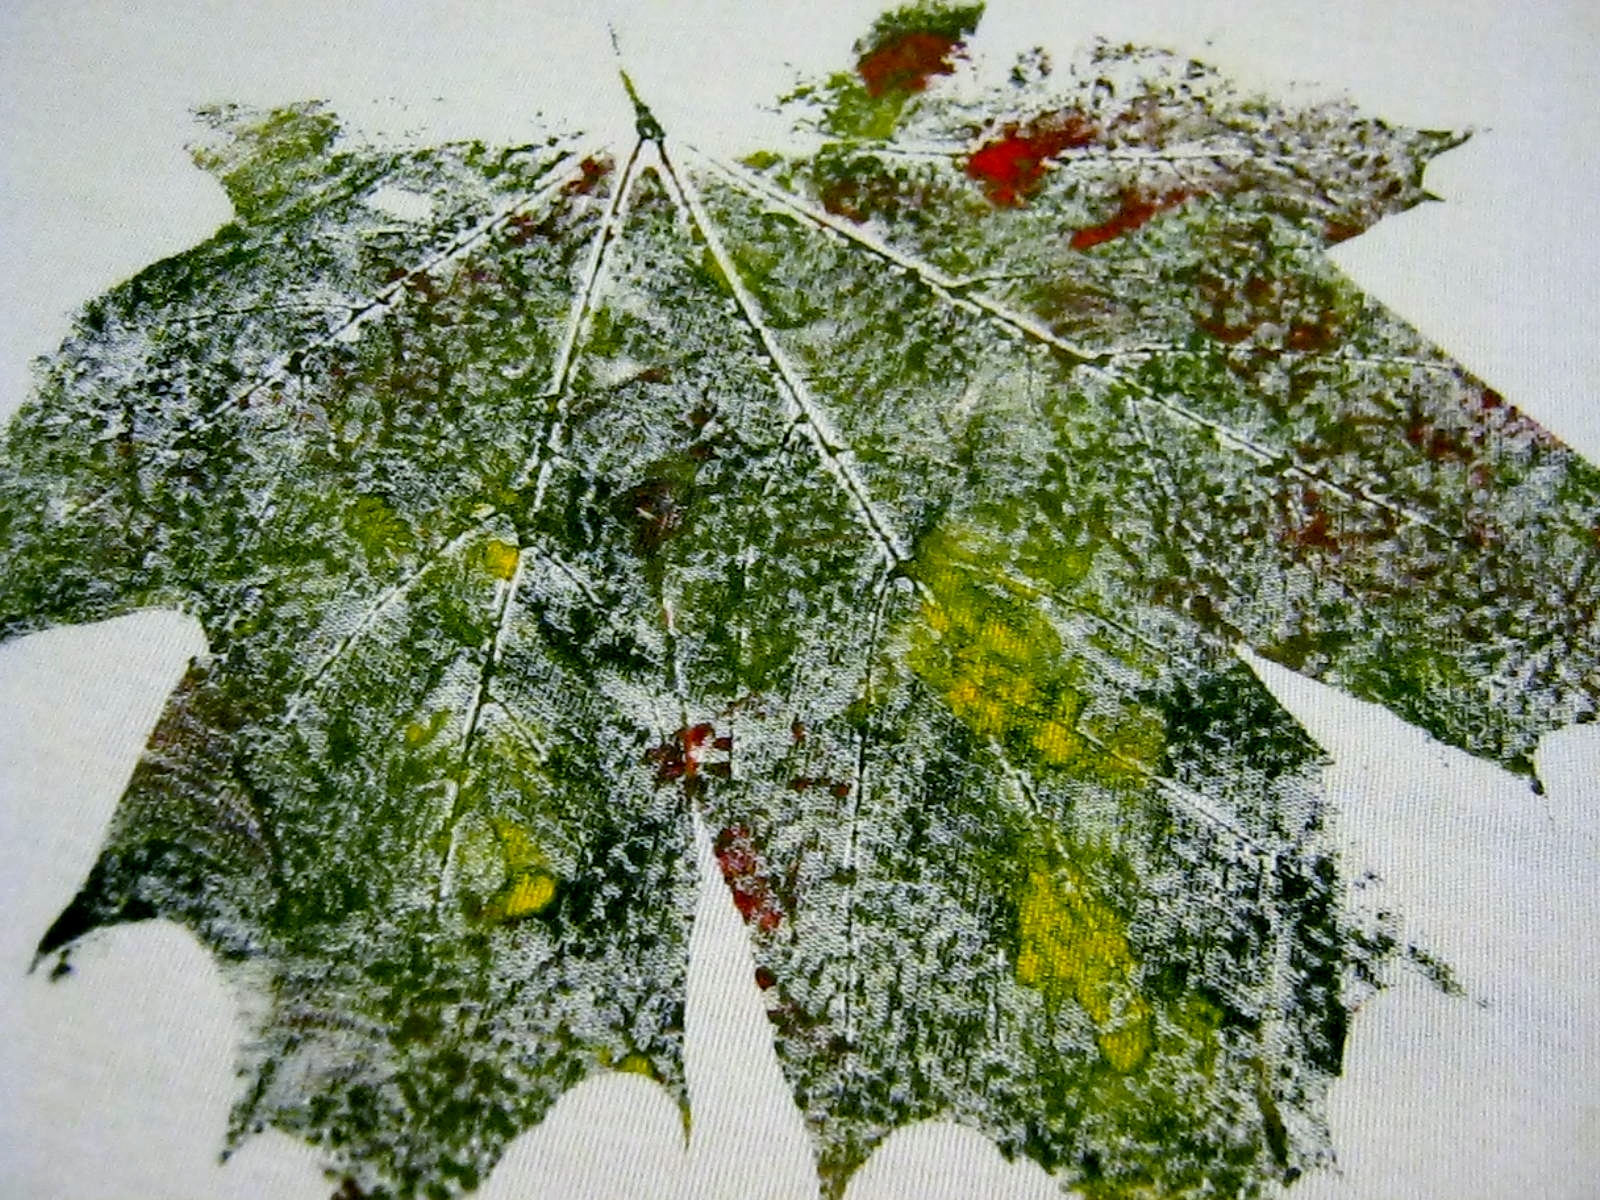
Now you’re ready for the fun…gather leaves that are still soft and pliable. Brown, brittle leaves will crack when you apply paint and pressure to them. Make sure to have protection for your working surface under the sheet, the paint will definitely seep through to the back side. Spread acrylic paint, in Autumn colors, in splotches over the leaves, press down firmly, remove. You have just created a beautiful impression of the leaf that will last for decades. After twenty-four hours your tablecloths can be safely laundered in cool water. They should retain their color for many years. Mine are probably over fifteen years old.
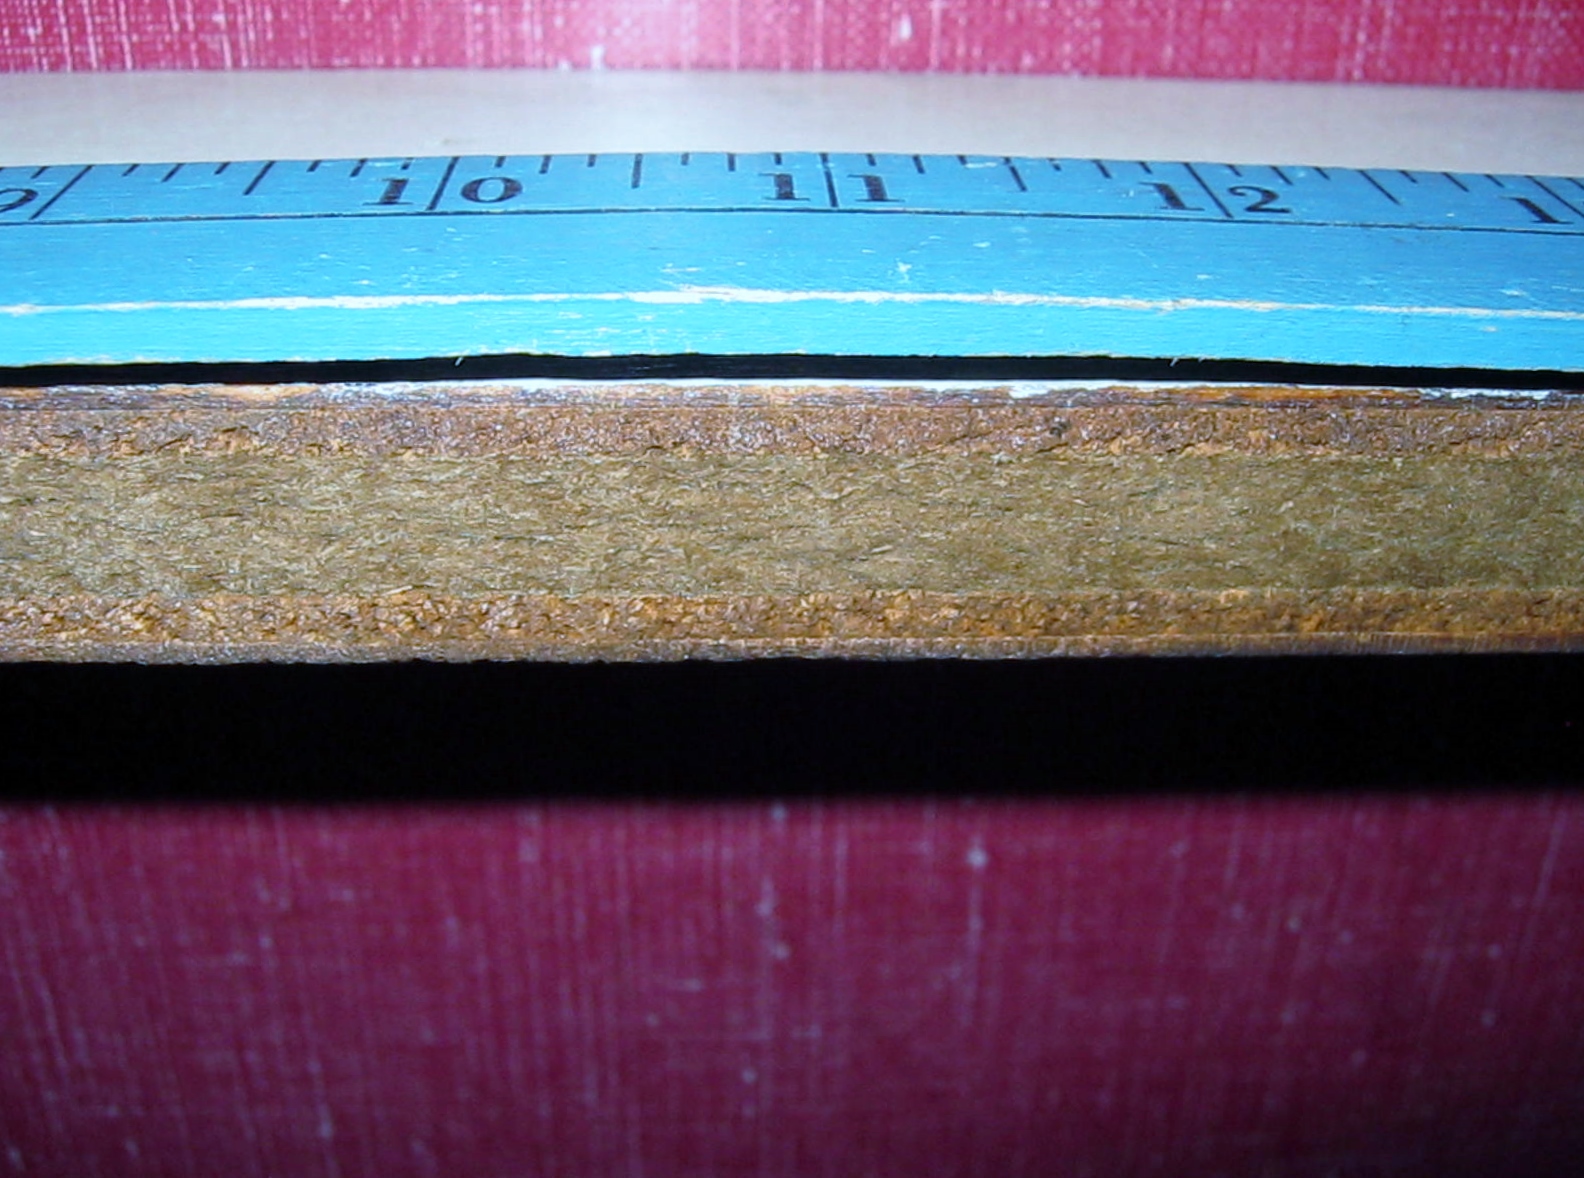
I love the how-to show Flea Market Flip. Recently, while walking through a local town, my husband and I passed a small red formica table. I loved it, and knew I had to have it; the price was right, only fifteen dollars. The table is about the size of a TV tray. It is perfect for crafting, a computer table, eating, etc. Another advantage is the table is lightweight. I can carry it up and down flights of stairs, outside, and all over the house. Wherever it is needed the table goes.
I liked the aged look of the wood on the table, but the edges were a bit jagged and rough. Since I use the table for crafts, I decided yard sticks would be a quick and easy cover, useful, as well as decorative.
I measured the table, sawed, sanded and attached the yardsticks with Aleene’s Tacky Glue.
I’ve posted several projects over the past four years while blogging on WordPress. Today is a rerun of several of my favorites. Most are easily duplicated without instructions. I’ve included links back to the original posts for the project ideas that are a bit more involved. Happy October to All!
I love Jack O’ Lanterns. They are a favorite of mine in the Autumn.
Several years ago after seeing an idea on how to make Oyster Jack O’ Lantern ornaments on Pinterest, I created several. They have held up for years and today I will be decorating my Norfolk Island Pine tree with these adorable pumpkins.
These playful glasses were certainly a hit with my grandchildren and trick-or-treaters who came to our door.
My experience and the link to Martha Stewart’s directions for the glasses can be found at Martha’s Halloween Glasses
Finally, although I didn’t make this snarky sign based on the Wizard of Oz, I love the quote. I only wish I could keep a straight face long enough to use it when someone “bugs” me, but I know I would dissolve into laughter before I could get out two words. Enjoy the season, and remember, “I have flying monkeys, don’t make me use them.” Teeheehee!
When straight wind storms blew through this year, they brought down hundreds of small sticks from the trees surrounding our yard. We collected these and used them in a campfire. Forgotten, the remains lay in the fire pit and weathered for a few weeks. Oh my! Imagine my surprise when perfect sticks of charcoal for artwork caught my eye.
A quick autograph of my initials on the surrounding fire pit bricks assured me they were art-worthy.
I collected a good amount and brought them into the house.
Although I haven’t created art with charcoal in years, I’m eager to give the homemade sticks a try. There might be a bit of frustration involved since the thinner sticks break easily, but hey, it’s an endeavor that won’t cost me more than a sheet of paper.
A good example of charcoal art can be viewed in the following video:
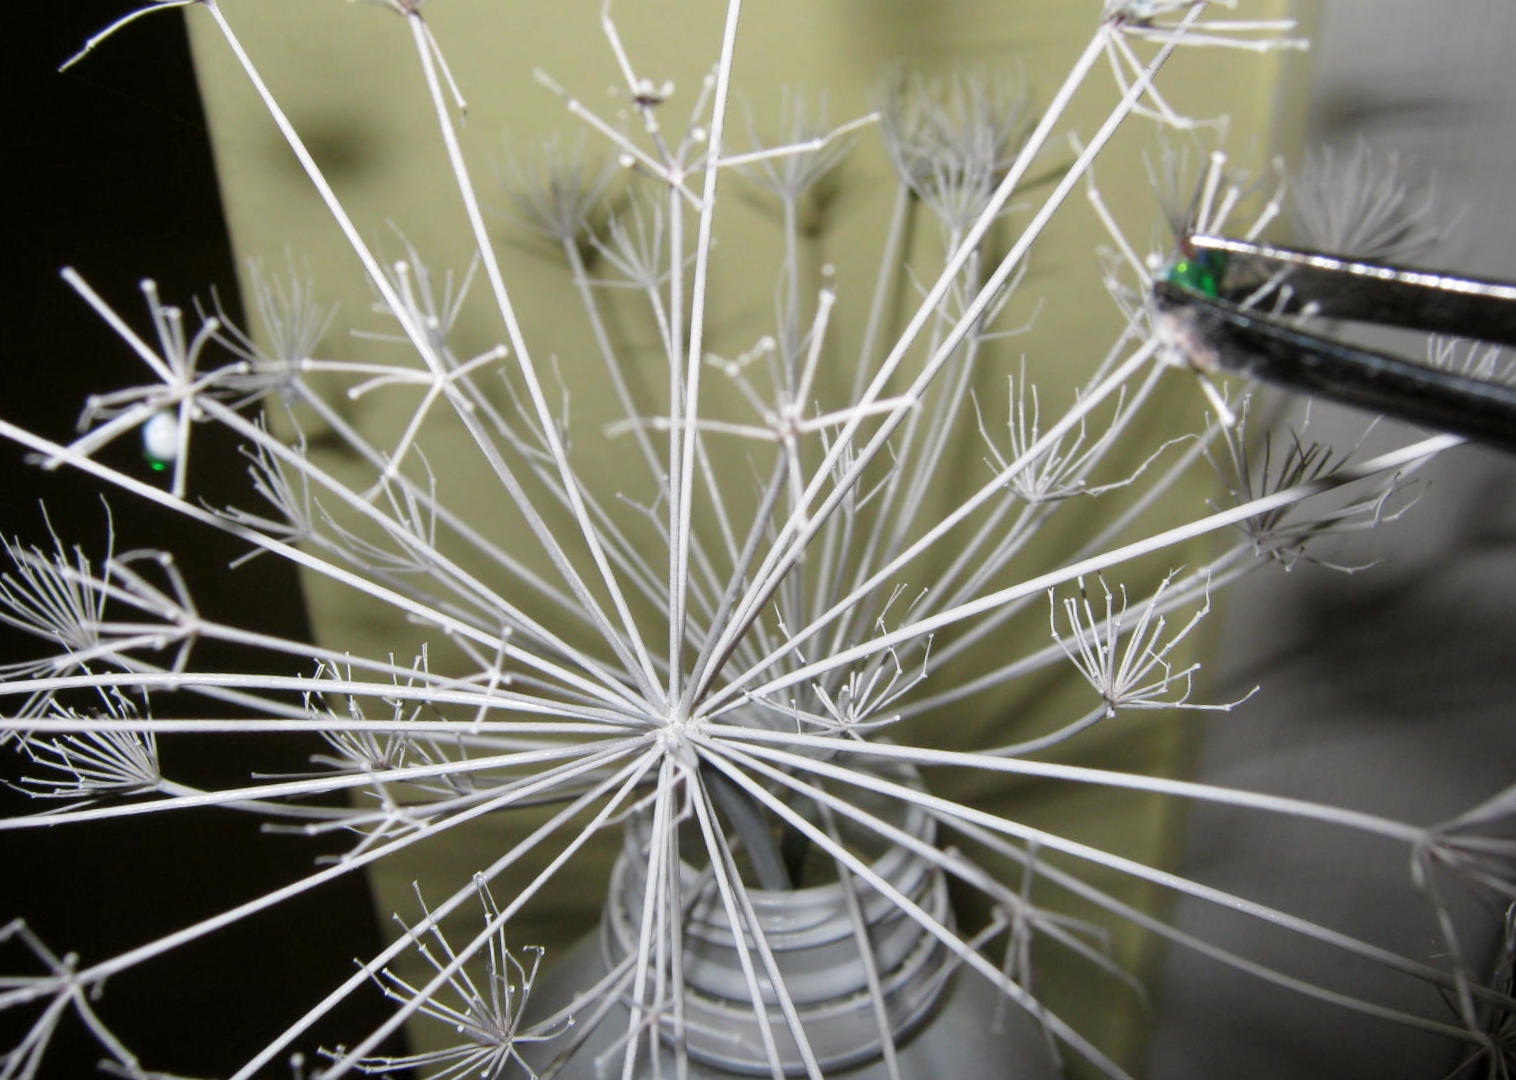
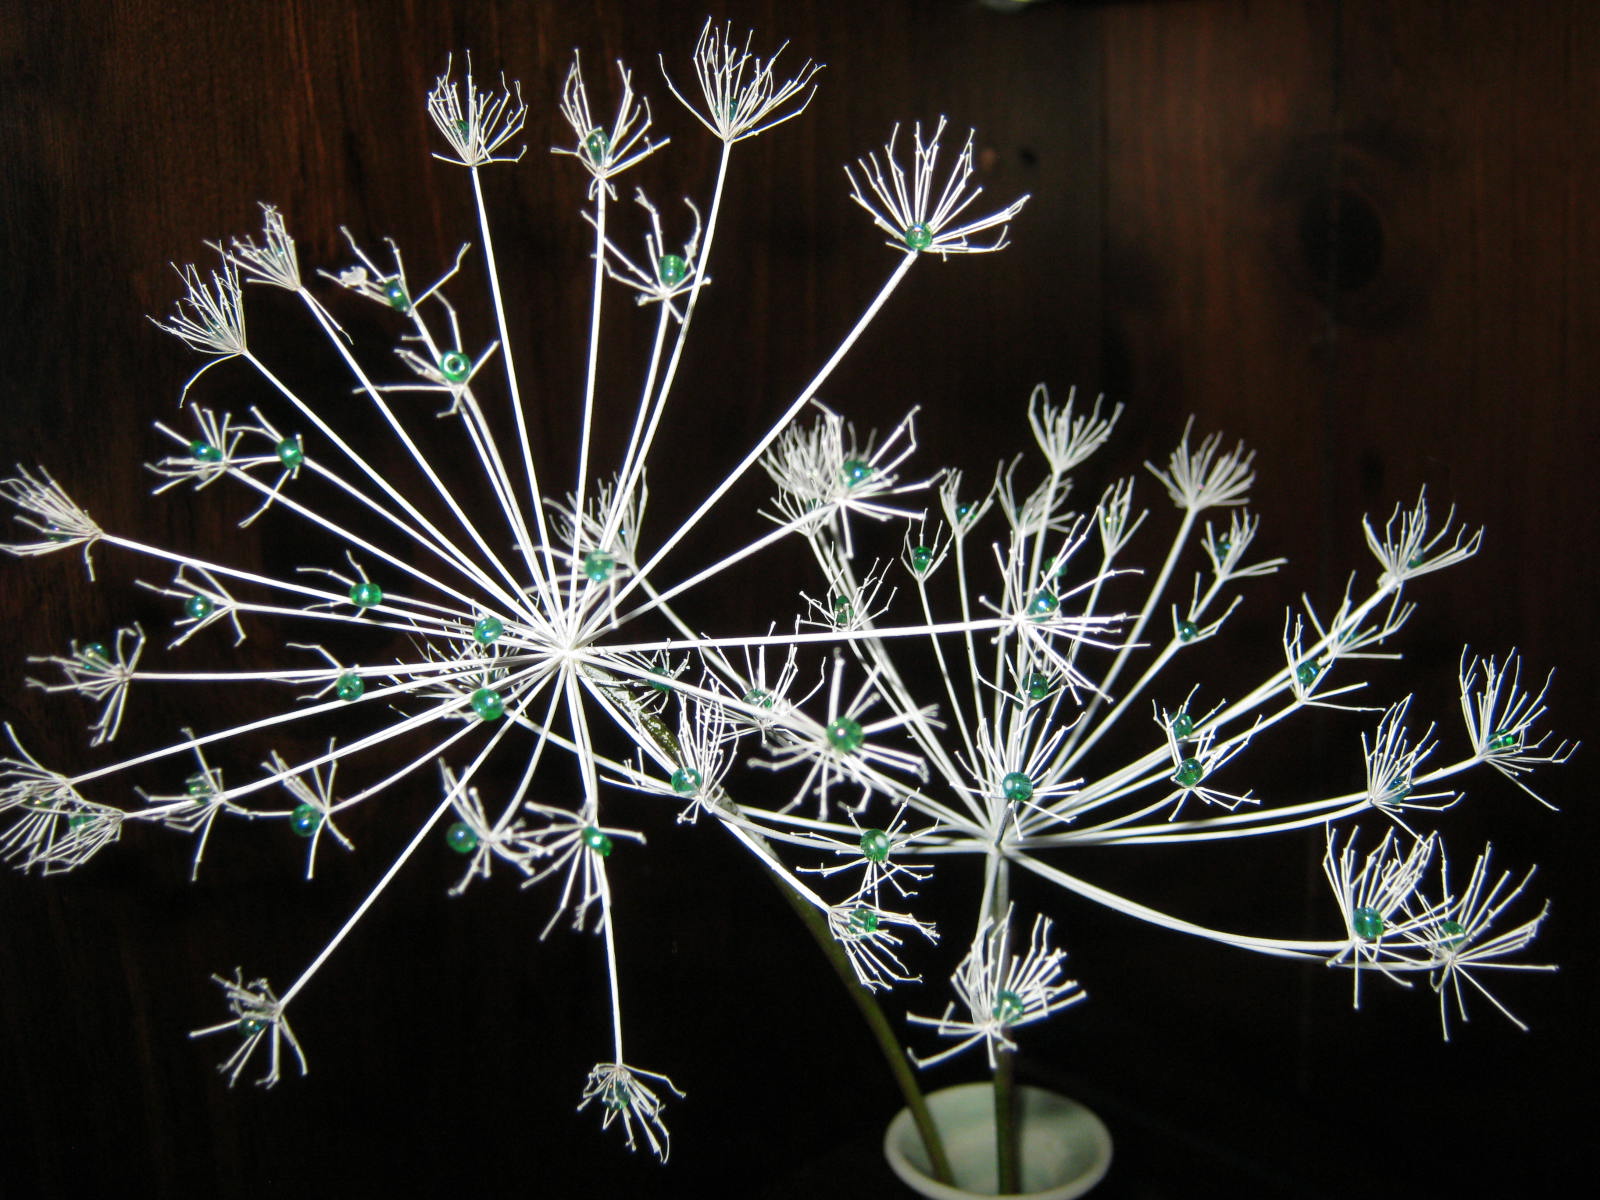
I’ll admit sometimes I delve into the near ridiculous in my quest to use what is at hand, but this time, the ethereal aspects of what I created delighted me.
After I pulled away the dill seeds from the flower-head, I noticed how strong and intact the skeleton had remained. I don’t know what possessed me, but white spray paint and beads flared up as an idea in my addled head. I couldn’t resist…I sprayed the dill, let it dry, and then inserted beads into each umbrel with a pair of tweezers. It was easier than I had assumed, and within a few minutes, I had a very unusual pair of everlasting flowers to place in my living room.
* Crazy Crafter’s Tip – Hold the beads between two fingertips, grab with the tweezer, dip the bead in a dab of glue, and place into project.
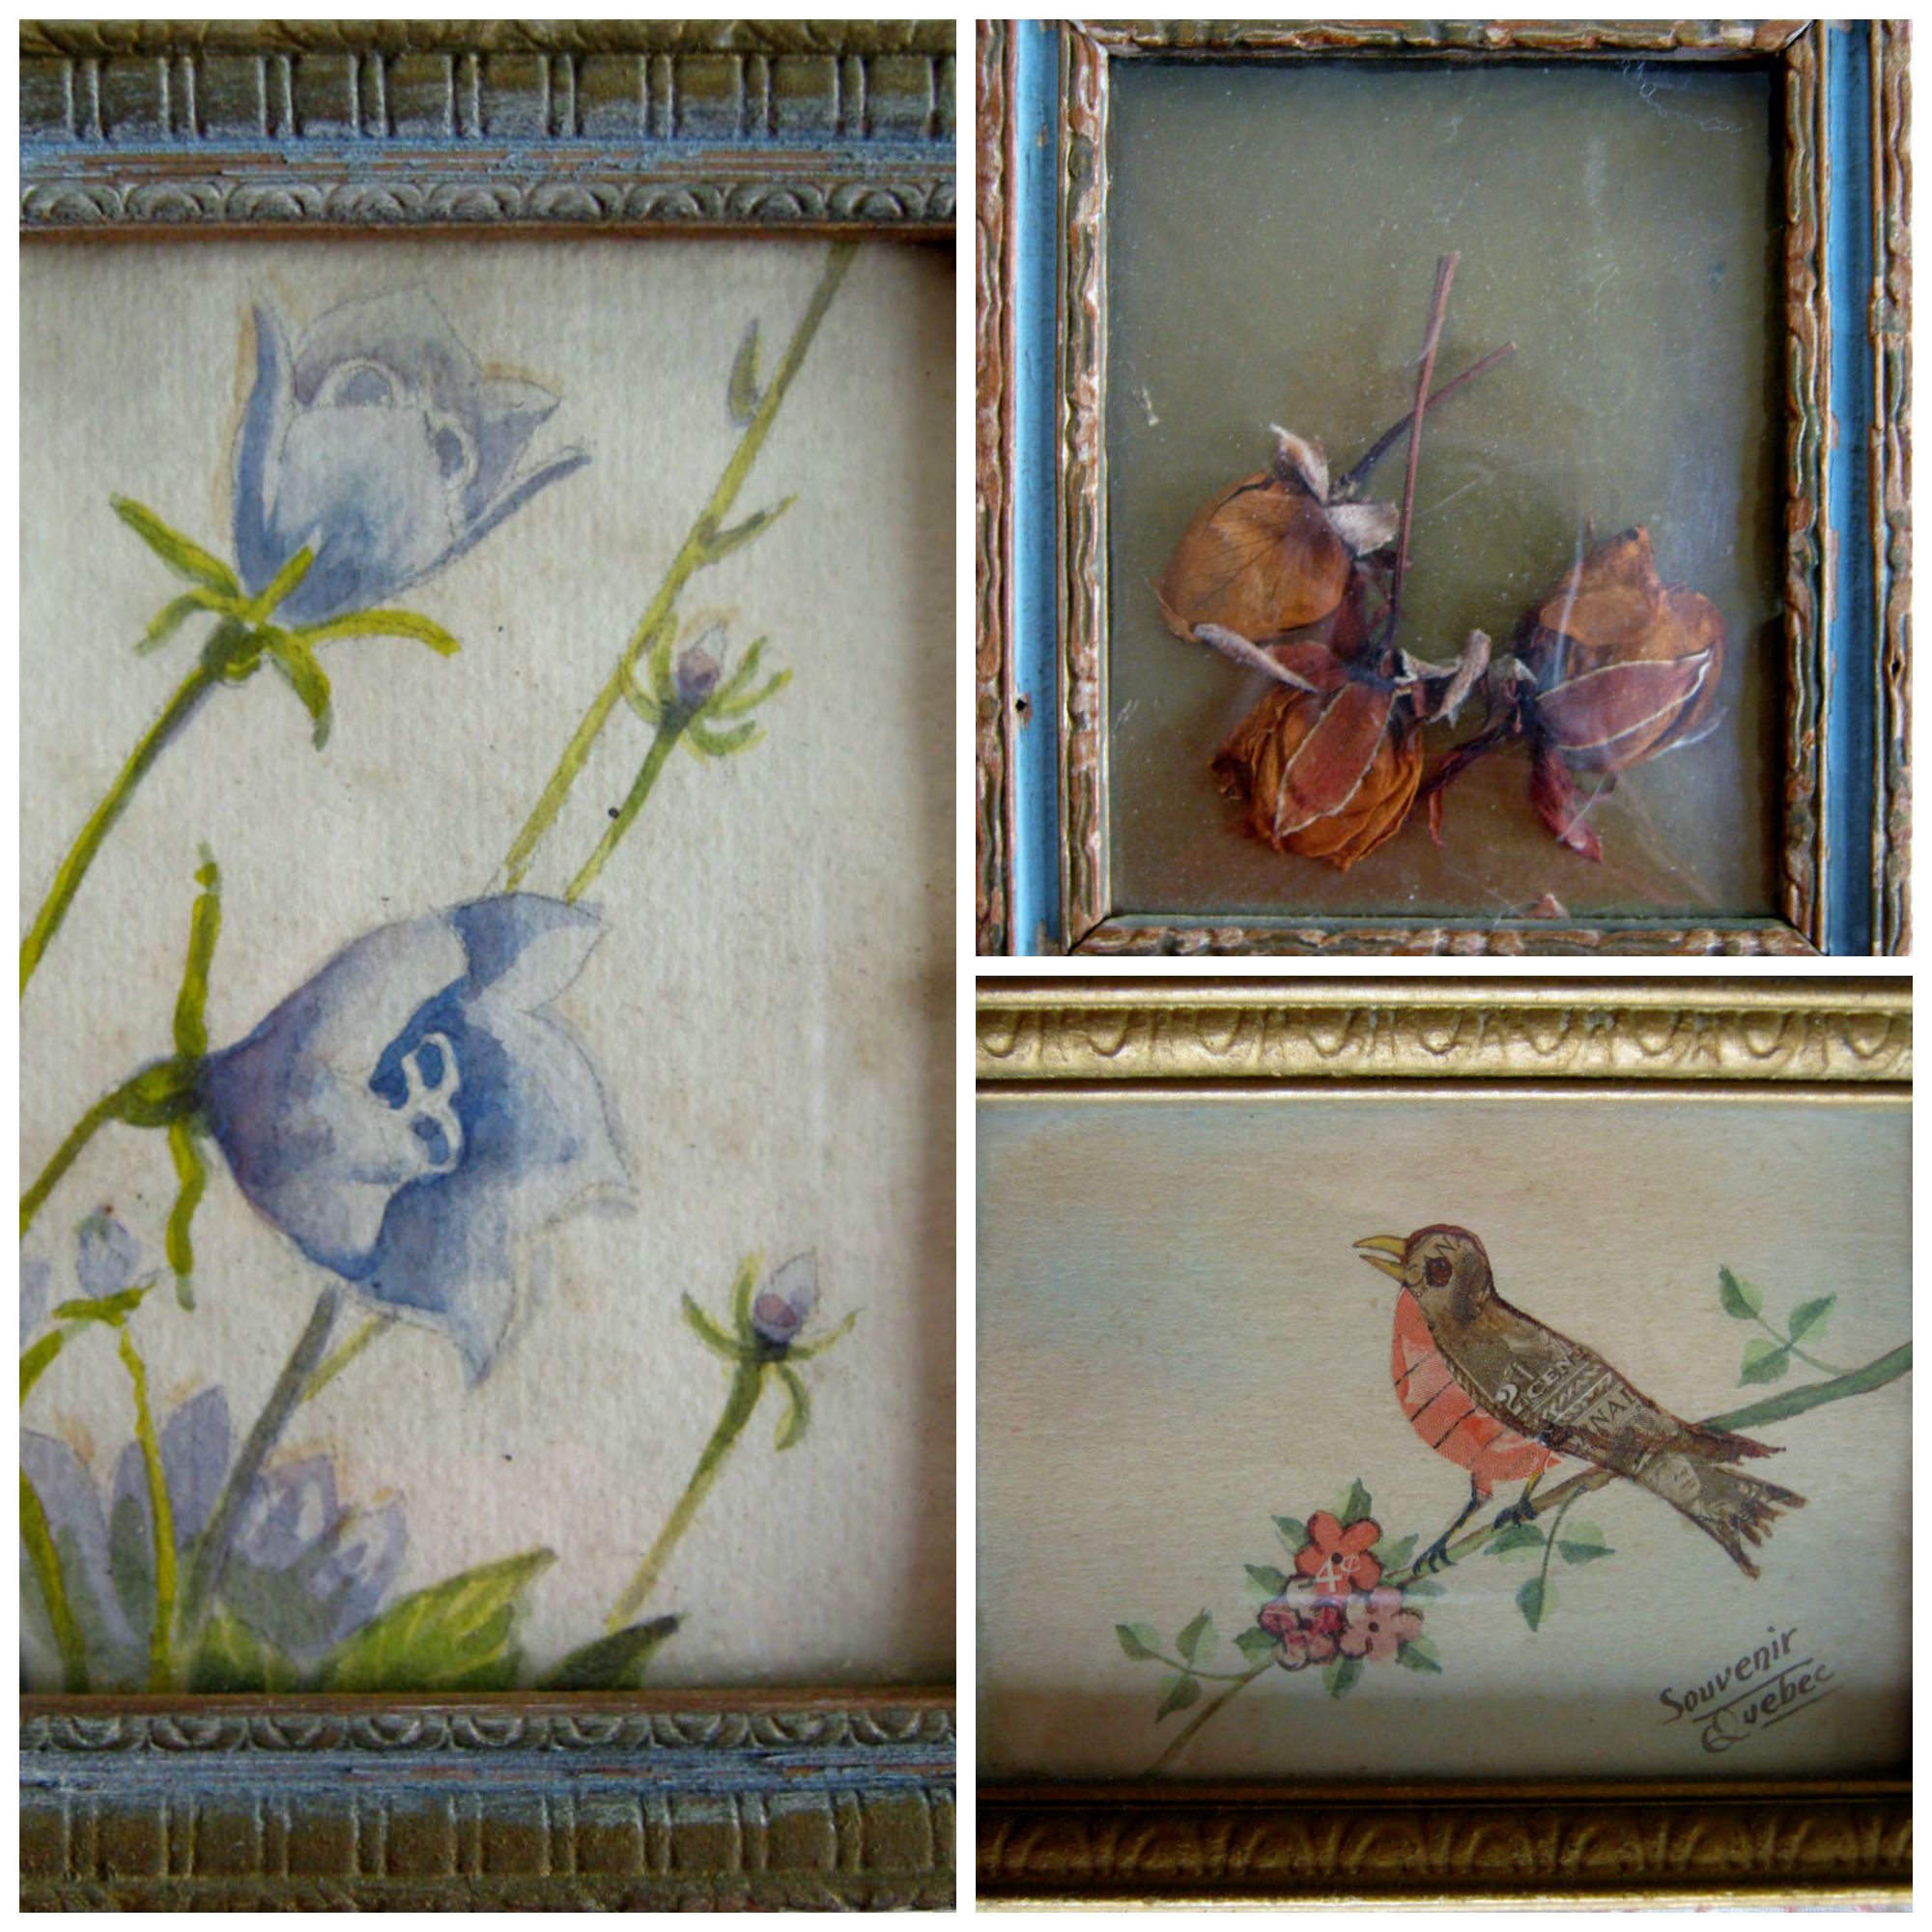
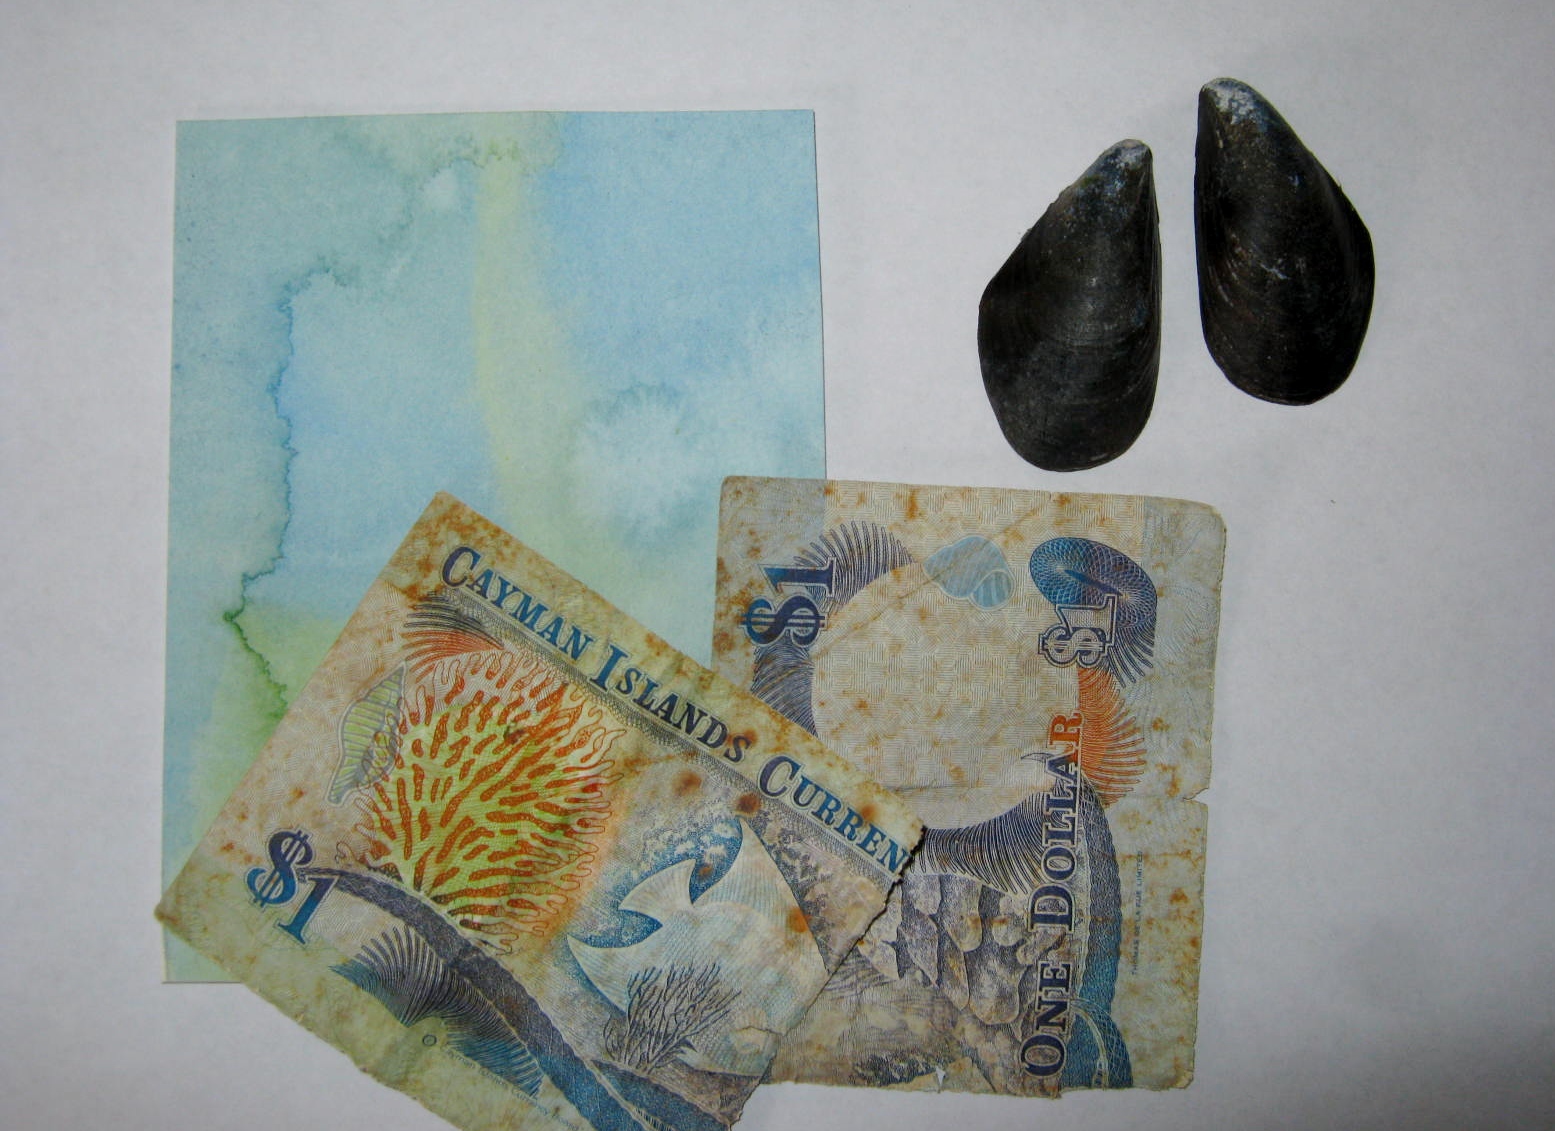
The collage displays several of the tiny memento frames I have in my home. I’ve posted about them in the past, but today I am showing the steps I took to create one of my own.
Why are the items in this photograph important to me? The watercolor snippet is awash with a few colors I frequently use when I paint. The colors perfectly matched the Cayman Island dollar bill my husband and I found beachcombing.
While on the same beach my husband picked up perfectly matched mussel shells, held them over his heart, and smiled that twinkly smile that captured my heart many years ago. I had to save the shells and find a way to keep them as a remembrance. After almost thirty-eight years, I still see the same boy I married.
The only tricky part in creating my project was gluing the shells to the collage. To do this I brushed a little glue in the interior of the shell, knowing that when I placed it right sight up on the canvas, the glue would slide down and “hopefully” adhere the shell to the collage without seeping out the sides. I used rubber cement since it is sticky rather than runny. It worked, most likely because the shells are very light and didn’t require a heavy duty adhesive.
I’m thrilled to have followed through with my idea. So often my beachcombing finds will lay in the bottom of a storage box for years. Do you have a memento of a special day? Create a small memento frame that will remind you of the happy occasion.
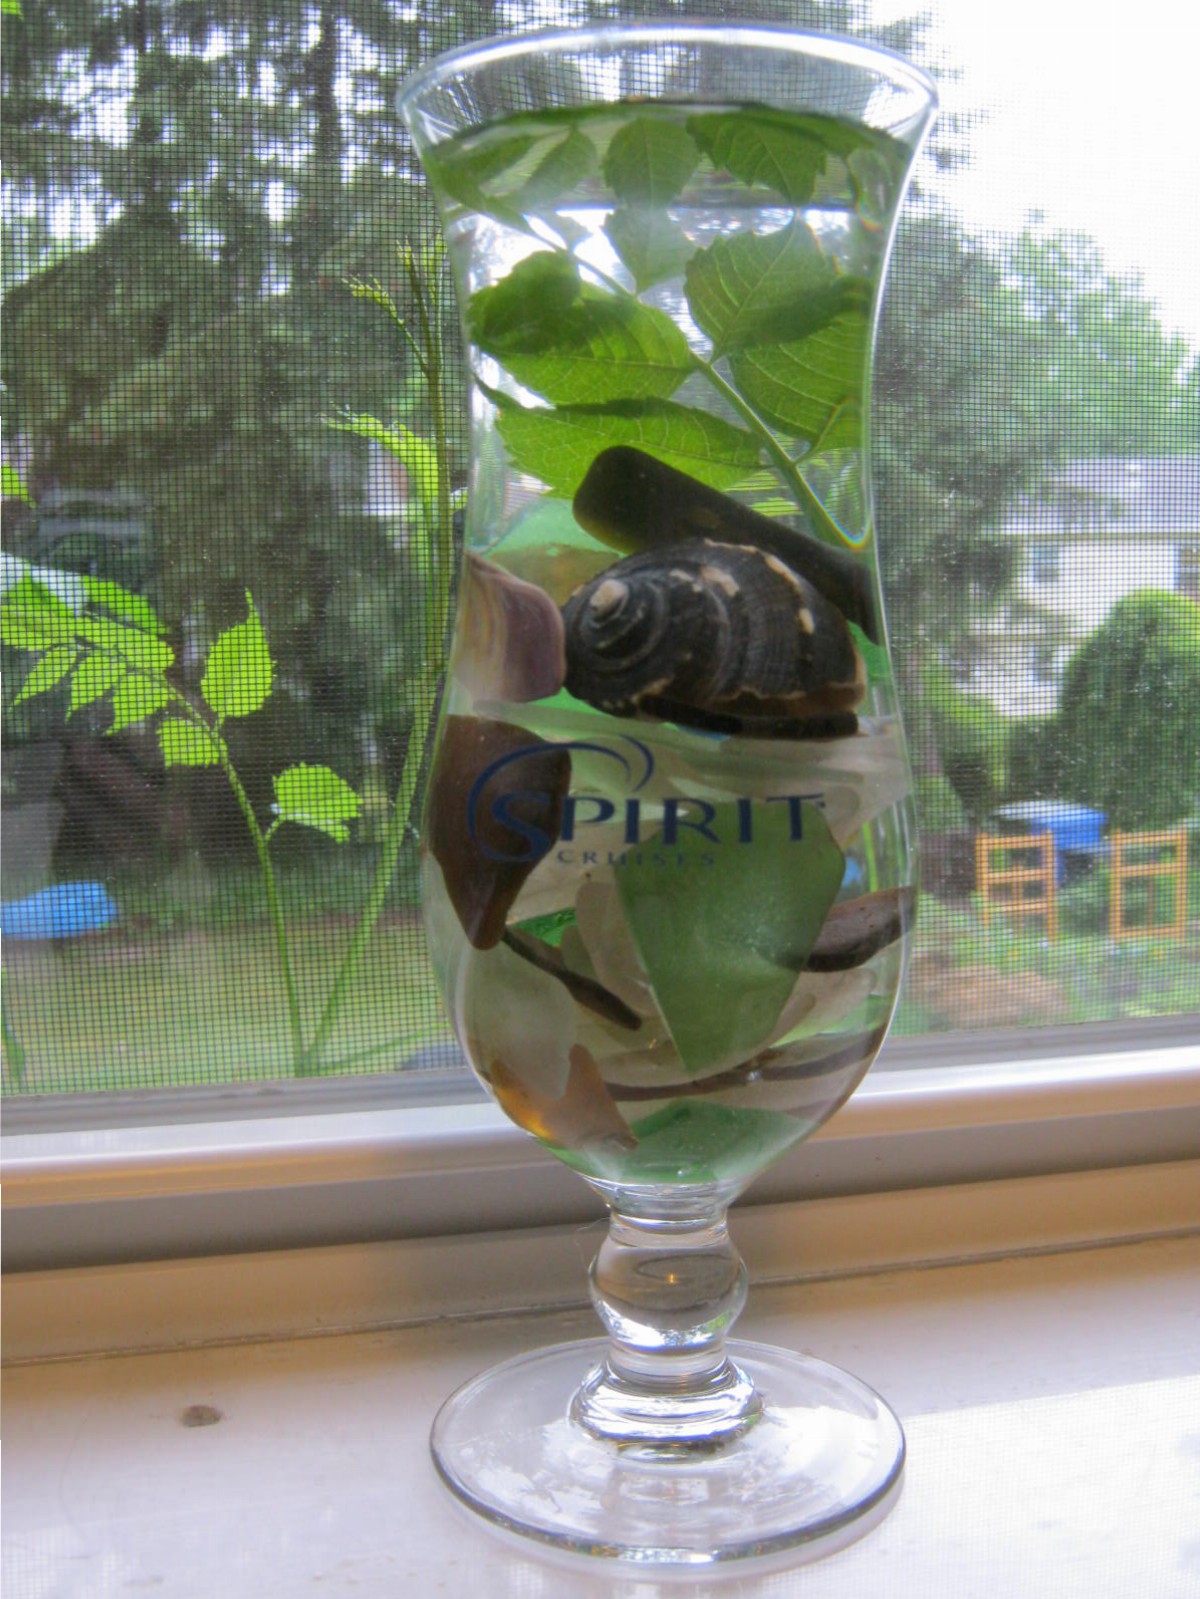
I came across an interesting book at the public library: Windowsill Art by Nancy Ross Hugo. I knew by the title that I would love this book. I feel an instant kinship to anyone who can inspire creativity within me. I immediately fashioned a bit of windowsill art with some sea glass, shells and a sprig of Trumpet Vine. If you have a chance to borrow or buy this inspiring book…please do.
I was glad to bring the glass in out of the garage where it is haphazardly stored in plastic bins. One of these day I need to get all my beach combing finds in some type of order. I also added a leaflet plucked off my Trumpet Vine to the arrangement, and a broken whelk shell. I enjoyed putting this bit of windowsill art together.
I believe I’ve posted in the past on one of my favorite books, Pure Sea Glass by Richard LaMotte. If you enjoy beach combing and searching for “treasures,” you will enjoy looking through this visually lovely book.
Below are a few close-ups of some of the sea glass included in my windowsill art. I enjoyed using the green piece with an oyster shell attached. The greens, browns and whites are most commonly found on nearby beaches. The cobalt blue and olive-green pieces are a little more unique. The olive-green glass is also interesting because it has a curved lip on it. Give hunting a little sea glass a try when you next walk on a beach beside an ocean or bay.
I love going to yard sales in search of bargains and one-of-a-kind items. Last year, I bought a wiry bird feeder for a dollar. I had every intention of using it for the birds when I spotted it, but on arriving home, found a piece was missing. What to do? Toss it and declare the purchase a loss, or shelve it, and let ideas percolate. Well, near a year later, I put a plastic pot inside the wire, planted a few spider plantlets I rooted over the winter, and “Wow!” I love my new planter hanging in the pine.
Another example is this decorative bird house I found a few years ago for just a quarter. It sat on my front steps for two years, but during the winter lost most of its roof. Ragged, but still sturdy, I decided to update the bird house with some Johnny-Jump-Ups. I LOVE IT! It sits in a bed of ivy under the pine tree. Better yet, I can snip off a flower now and then for pressing. Think “makeover” before you toss out the accumulating junk we all seem to collect. Look around your garage, basement and attic for “trashy” items you can update for the garden. Fun!
Over the years I have often used vibrant flowers and leaves for flower pounding. Flower Pounding is the art of transferring the color of flowers and foliage by pounding with a hammer or other heavy object. How to Pound Flowers
Yesterday in my post I included a quick tip about the staining power of geranium petals. This fact reminded me of flower pounding, and it seemed the perfect opportunity to make use of the brilliant flowers and “pound” some blossoms.
Now pounding with a hammer is fine if you are using fabric. When my grandsons and I pounded flowers onto paper with a hammer, dents and dings from the blows marred the surface. I decided to try a gentler approach this time, and using steady pressure, rolled the flowers onto the paper with a small rolling pin. (The larger variety will work fine too)
I found using a rolling pin was a much better choice for transferring the flower color to paper. (Warning: Please don’t use a rolling pin you use in cooking and baking. If you don’t have an extra for crafting, use a brayer, a glass, anything round that can be rolled over a surface. Some plants are poisonous and using a rolling pin that is used in food preparation could allow toxins to contaminate the wood.)
ROLLING FLOWERS
1. Place flowers in chosen design on paper face down, add foliage if desired, white or pastel paper works best.
2. Cover flowers with a thin piece of paper, taking care not to move flowers.
3. Applying steady pressure, roll the pin over the flowers, up and down, several times. Don’t be surprised if you see color bleeding through the top sheet.
4. Separate sheets of paper. Bits of flower will cling to both sides. Pick away what you can without marring the pattern. Allow anything stuck fast to dry, and then try to gently remove with a small soft brush.
(Sometimes bits of flowers or foliage will be stuck like glue, no worries, it adds a bit of texture and interest to the card)
I substituted asparagus fern for the geranium leaves.
I added a few lines with a gold-tipped pen and threaded a wire-edged ribbon through the top.
“Voila'” A unique and inexpensive tag for a gift bag.
I love the appearance of wooden Easter eggs, but they can cost a pretty penny when hand-painted and strung for hanging. I found an alternative, but I must also include a warning: these faux eggs might magically disappear before you can use them for Easter decorating.
Malted Easter Eggs
I recently purchased a package of malted Easter eggs in my local drugstore. I chose them for their eye-appeal; covered in pastel candy, speckled in darker pastels, the malted eggs were small, delicate and irresistible.. While I was pondering all the ways I could rig them for hanging, I ate one…then another, and so on…and you know the end of my tale, by the time I had a plan in place half my eggs had disappeared.
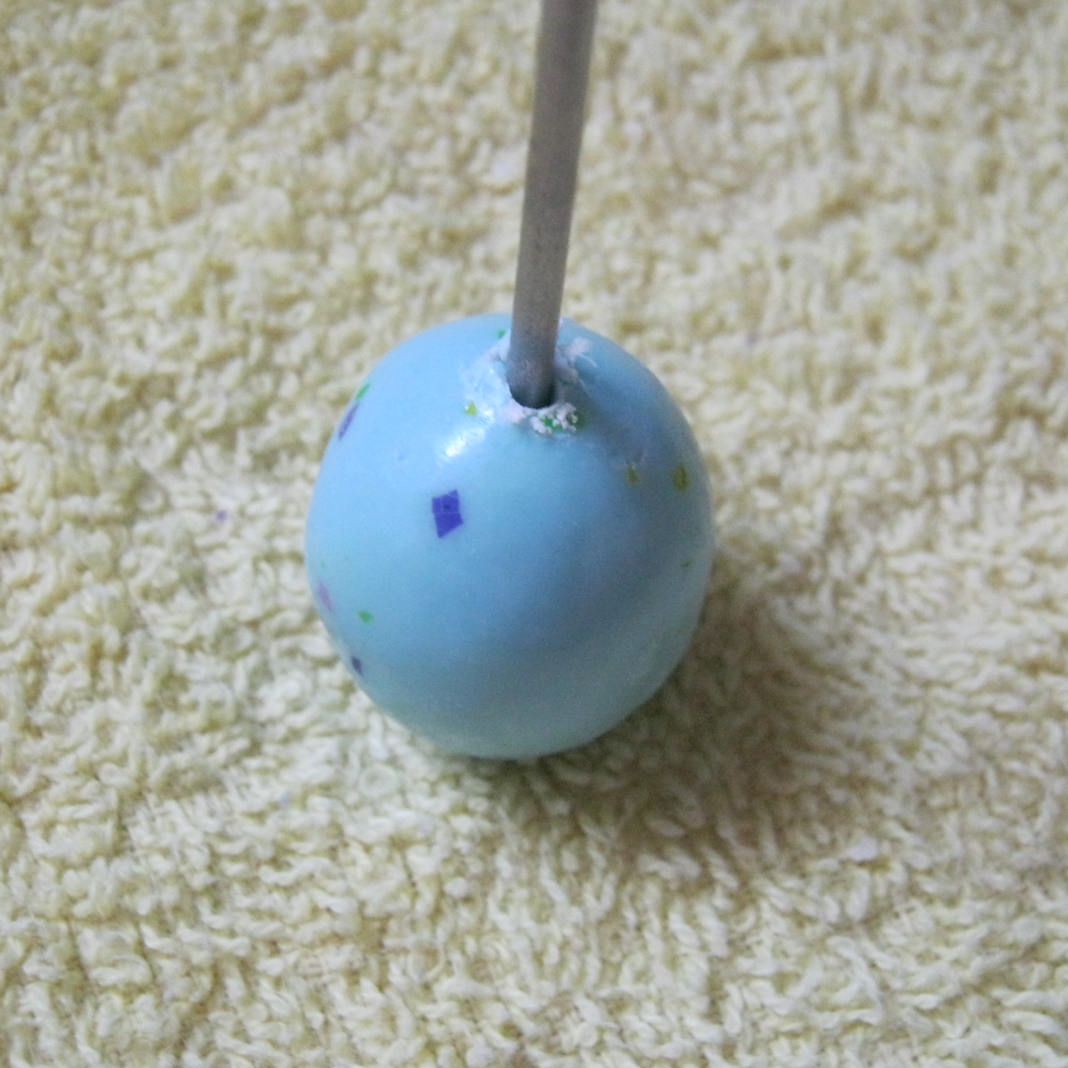
Skewering an Egg
To create a hole for threading, place the malted egg on a wash cloth or other thick cloth, pointy end up. Place a barbecue skewer, ice pick, heavy-duty toothpick, etc., on the top and slowly twist until it penetrates the outer shell. Continue twisting and applying pressure until the skewer reaches the bottom of the egg and exits through the bottom.
Malted Easter Eggs with Ribbons
A thin looped ribbon was easily pushed through with a toothpick, and knotted on the larger end. Easy faux wooden eggs for a fraction of the cost. They won’t last more than one season, but if they did I would miss the fun of making (and eating) them again next year.
“Therefore, confess your sins to one another and pray for one another, that you may be healed. The prayer of a righteous person has great power as it is working.” James 5:16
“In June of 2011, Vivika Hansen DeNegre started The Prayer Flag Project. She invited people from around the world to to join her in making Prayer Flags. Each flag is created in the artists own style, then hung outside for a while, its words and sentiment dissolving into the wind and being spread to all whom the wind touches. They are a living, breathing, kinetic journal of our hopes, dreams and concerns. The Prayer Flag Project… Join us if you’d like.”
The theme: Create a flag that incorporates “Images of leaping humans (think leap of faith), and of course maps and lettering.” My flag, and the flags of others, can be viewed by clicking on the button at the top of this post.
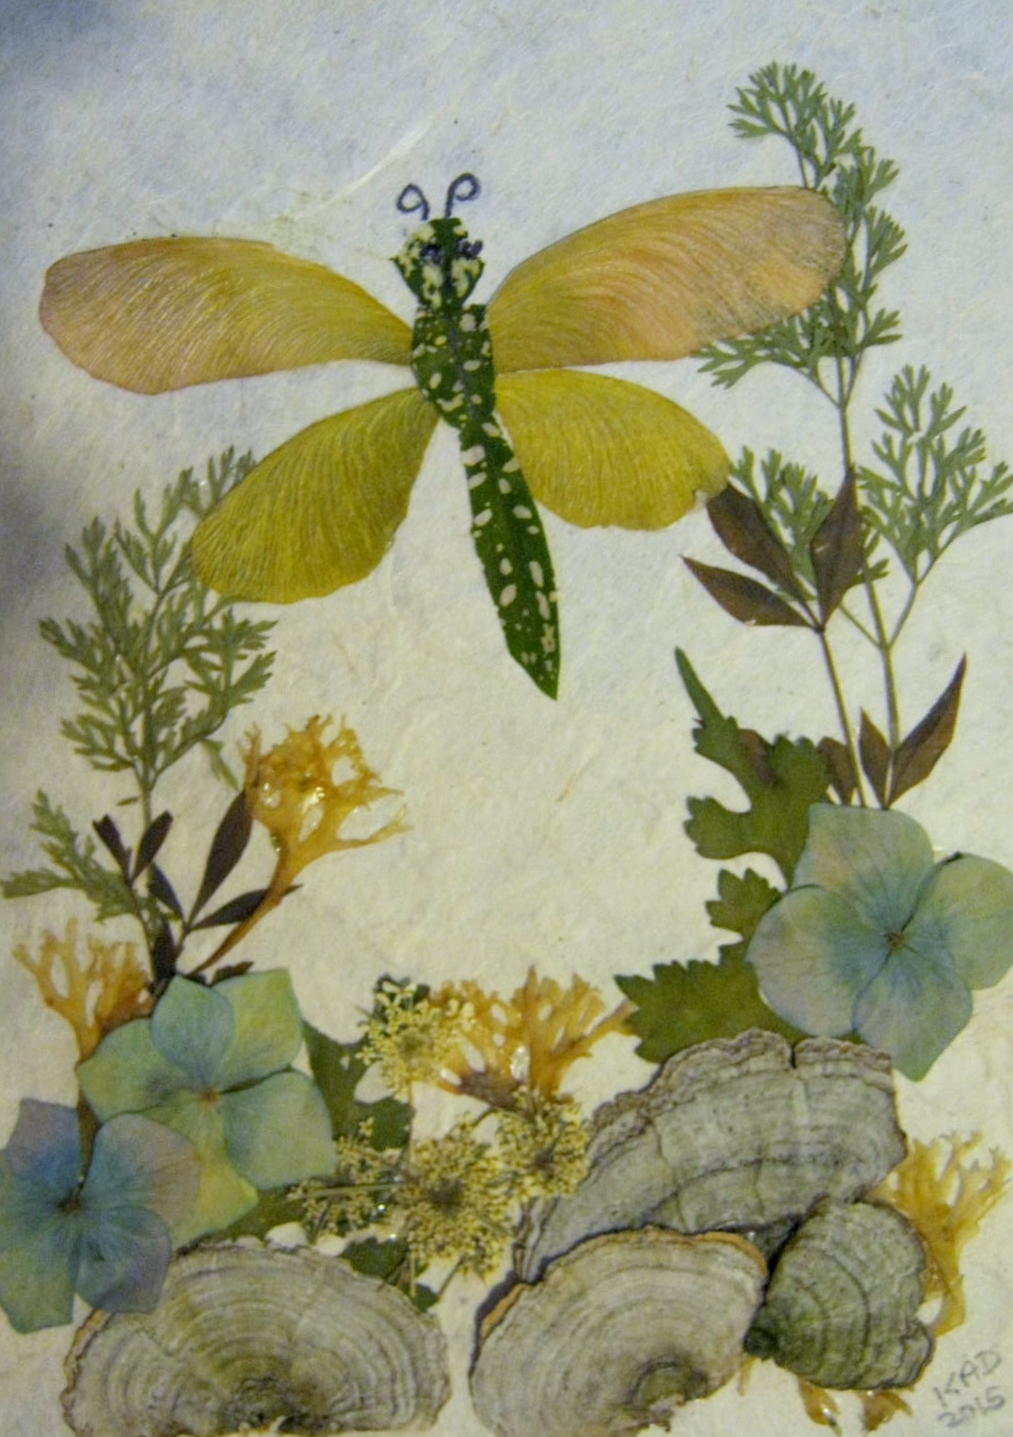
My initial flag was created with pressed flowers on Mulberry paper. It turned out lovely, but I realized it was too fragile to send through the mail, and most likely would not hold up being sewn to binding along the top. Here’s a peek at the finished flag.
The Dragonfly, pressed flower artwork, 5 x 7, Blue Hydrangeas, Queen Anne’s Lace, Seaweed, Lichen, Mulberry Leaves
Pressed Flower Tip: Hydrangeas are a good pressed flower candidate. The hard round center must be removed before pressing. Press without heat in between non-shiny pages.Lichens can be pressed flat in books. Seaweed can be dried and pressed between pages. Wildflower and tree foliage presses beautifully.
I am re-blogging this amazing recipe. Now is the time of the year we really need a hand cream with extra softening power.
As Sandra Lee says, “Semi-Homemade.”
1. Gather Supplies: Big Mixing Bowl, Mixer, 8 oz Baby Lotion, 4 oz Vitamin E Cream, 4 oz Vaseline. (As you can see if you check out the blog recipe at bottom of post, I halved the ingredients they suggested)
2. Scoop out Vitamin E Cream and Vaseline into mixing bowl. Measure out 8 oz of baby lotion.
3. Beat until the mixture resembles light whipped cream. (This step took less than a minute)
4. Scoop into jars.
5. Slather on dry heels and hands. Even my husband liked it. I love it! Next time I will make the full batch. The hardest part was gathering up the jars and getting the cream into the narrow mouths.
Here is the original blog recipe in case you want to check out this one too. Enjoy!
Ask most people what comes to mind when they hear the word, “February,” and they will answer, “Valentine’s Day, Love and Flowers.” I’ve combined these three themes into one, and created a Valentine Tag Tree. This project was very economical. The only item I purchased was the pack of tags. I had pressed flowers on hand, and the twigs were free, gathered during a Winter walk.
I created the hearts out of maple keys. A few years ago I collected hundreds, small and large, in colors of green, beige, pink and red. I cut away the seed and pressed them within the pages of books. I love finding new ways to use the keys.
I chose Winsor & Newton’s Iridescent Medium to add a bit of sparkle to the keys.
The medium didn’t cover evenly, but I liked the rivulets and blots it created…they added more interest and sassiness.
The maple keys were easily trimmed into half a heart shape, and glued together, creating beautiful and unique Valentine hearts.
I glued on a few pressed flowers. Hydrangeas, while not as vivid as the day they were picked and pressed, still added a hint of blue or a green hue.
I used a fine-tipped permanent marker in brown and added words of love and a few swirls on each tag.
I enjoyed creating a Valentine Sampler with the finished tags. I was tempted to glue these down and frame them, but decided to stick with my original idea…a Valentine Tag Tree.
The base was easily constructed, a piece of floral foam, a bit of hot glue, and a ceramic urn. Spanish moss hid the mechanics of the container. A substitution for floral foam would be a grid of tape across the top of the container. Aluminum foil could also be used to wedge the twigs securely in place.
If you don’t have pressed flowers you can use bits and pieces of magazines, seashells, twigs, moss, heart shapes…there are so many choices for these tags. Most of all enjoy yourself.
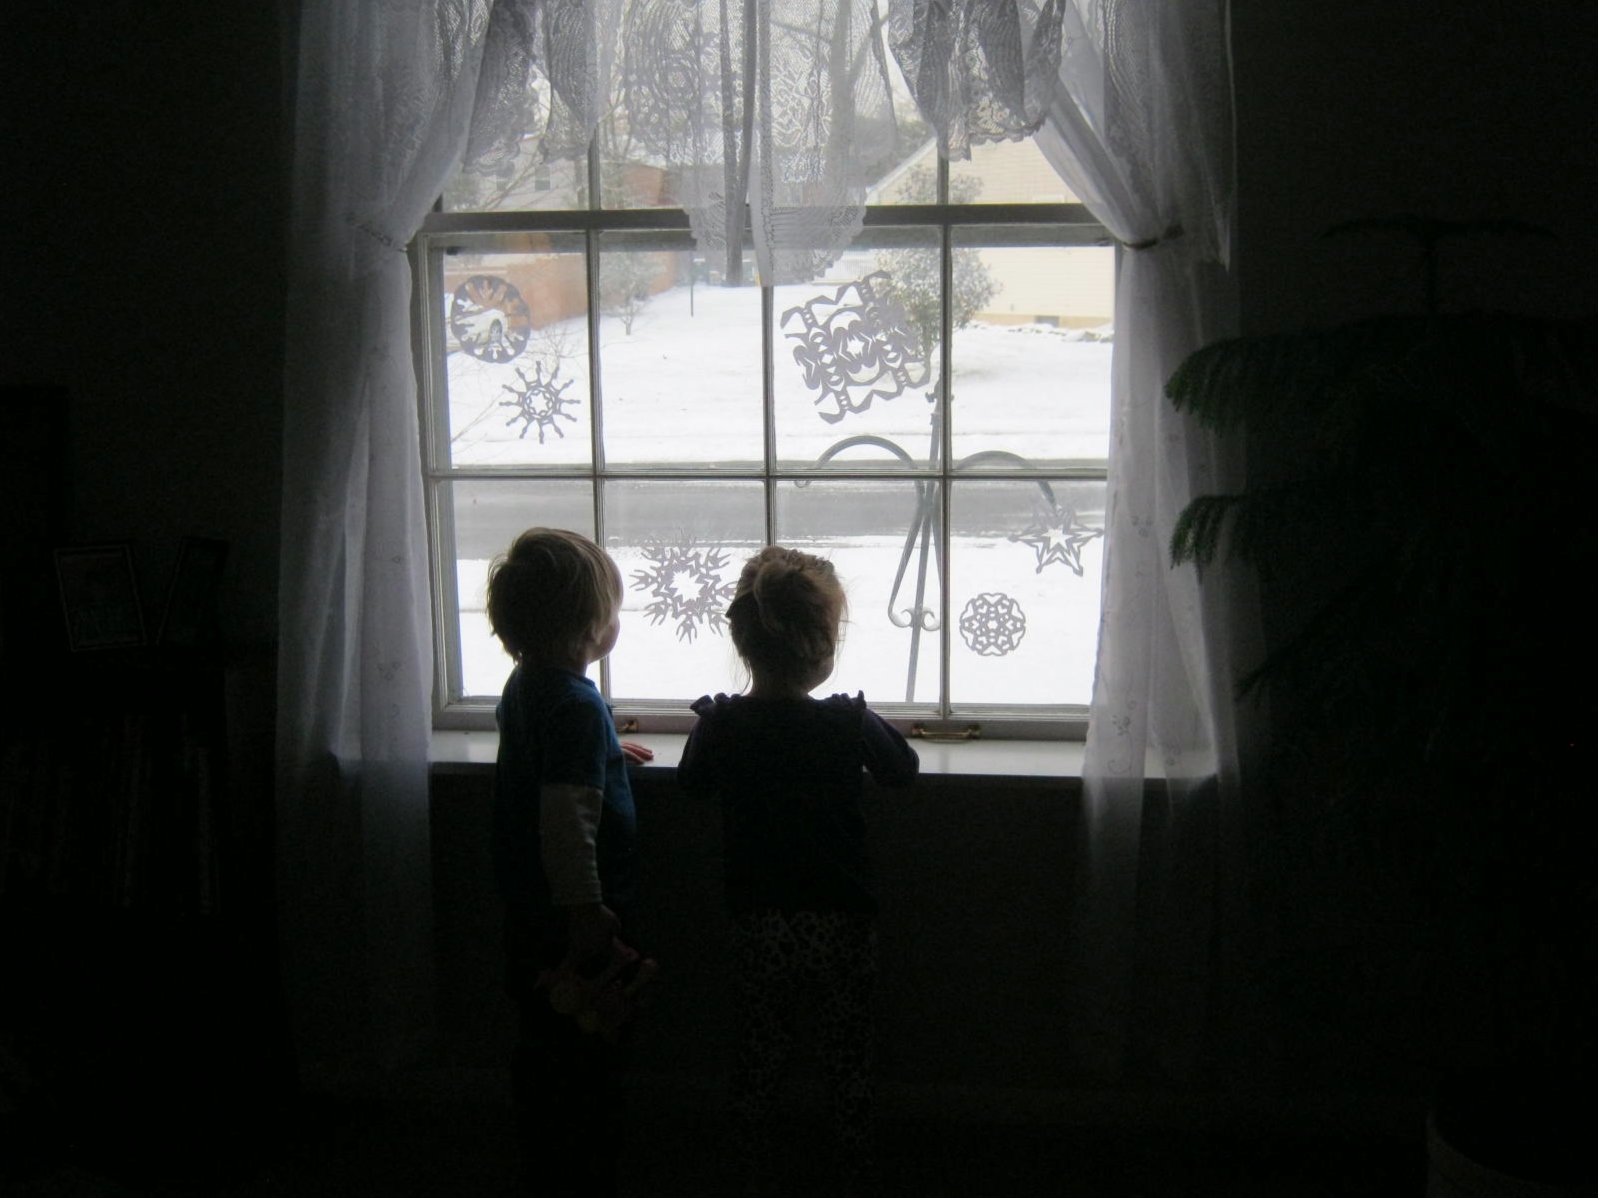
Snow is pretty, but when you are two years old it often keeps you housebound. Tiny hands and feet, button noses, can’t tolerate the frigid air for long. What’s a babe to do?
Our area was caught up in the recent 2000 mile swathe of snow. We only received a light coating, but it was enough to keep the younger grandchildren and me indoors. I wanted to try snow painting: food coloring in squeeze bottles for creating pictures in the snow, but knew the little ones were too young. I decided the next course of action was to bring the snow indoors.
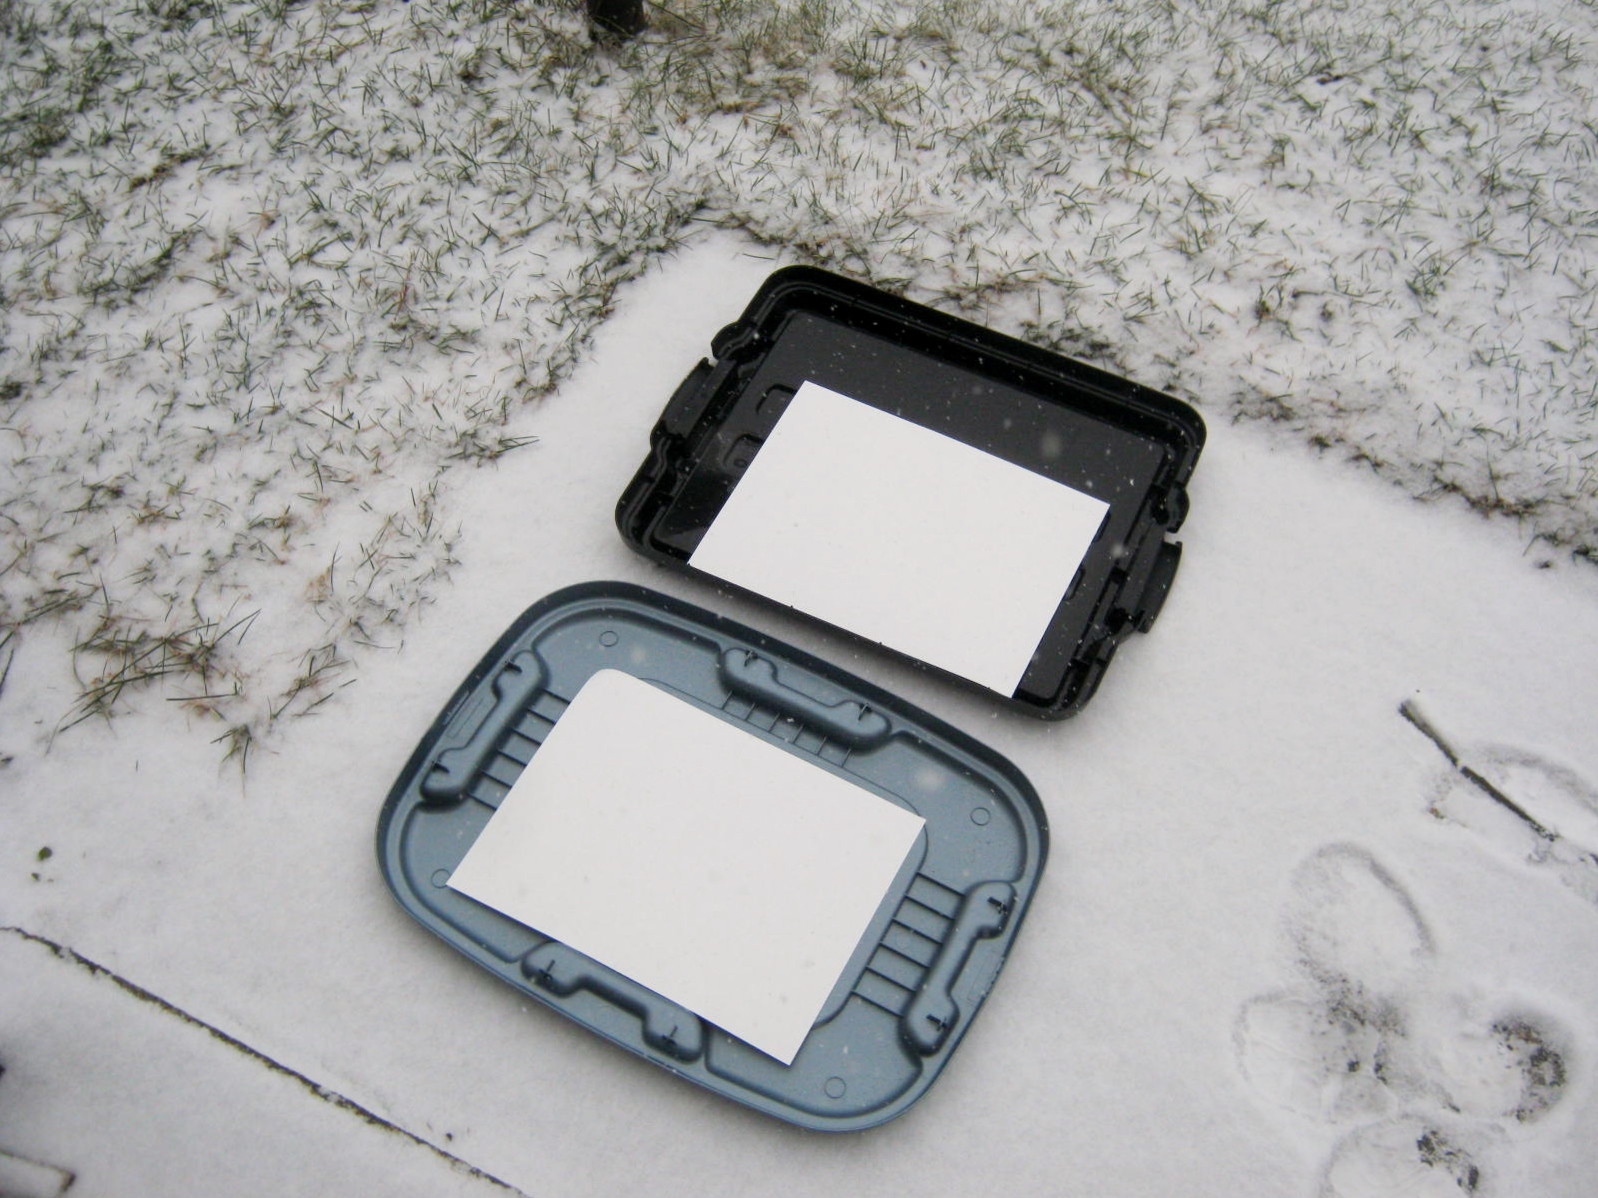
I gathered some watercolor paper and put a roll of painter’s tape on the back to secure it in a shallow storage lid. I placed the trays outdoors hoping the clouds would open up and — ‘Let It Snow, Let It Snow, Let it Snow!’
While the tray was collecting the snow, I mixed up some Wilton brand food coloring: red, blue and yellow. Store these in the fridge. This will keep the food coloring solution cold and let the fun last longer.
The babes napped as the snow flurried down, in a few hours the trays had accumulated enough to begin painting! I brought them inside and put bibs on the babes; the food coloring is concentrated and can stain clothing. Let’s Paint!
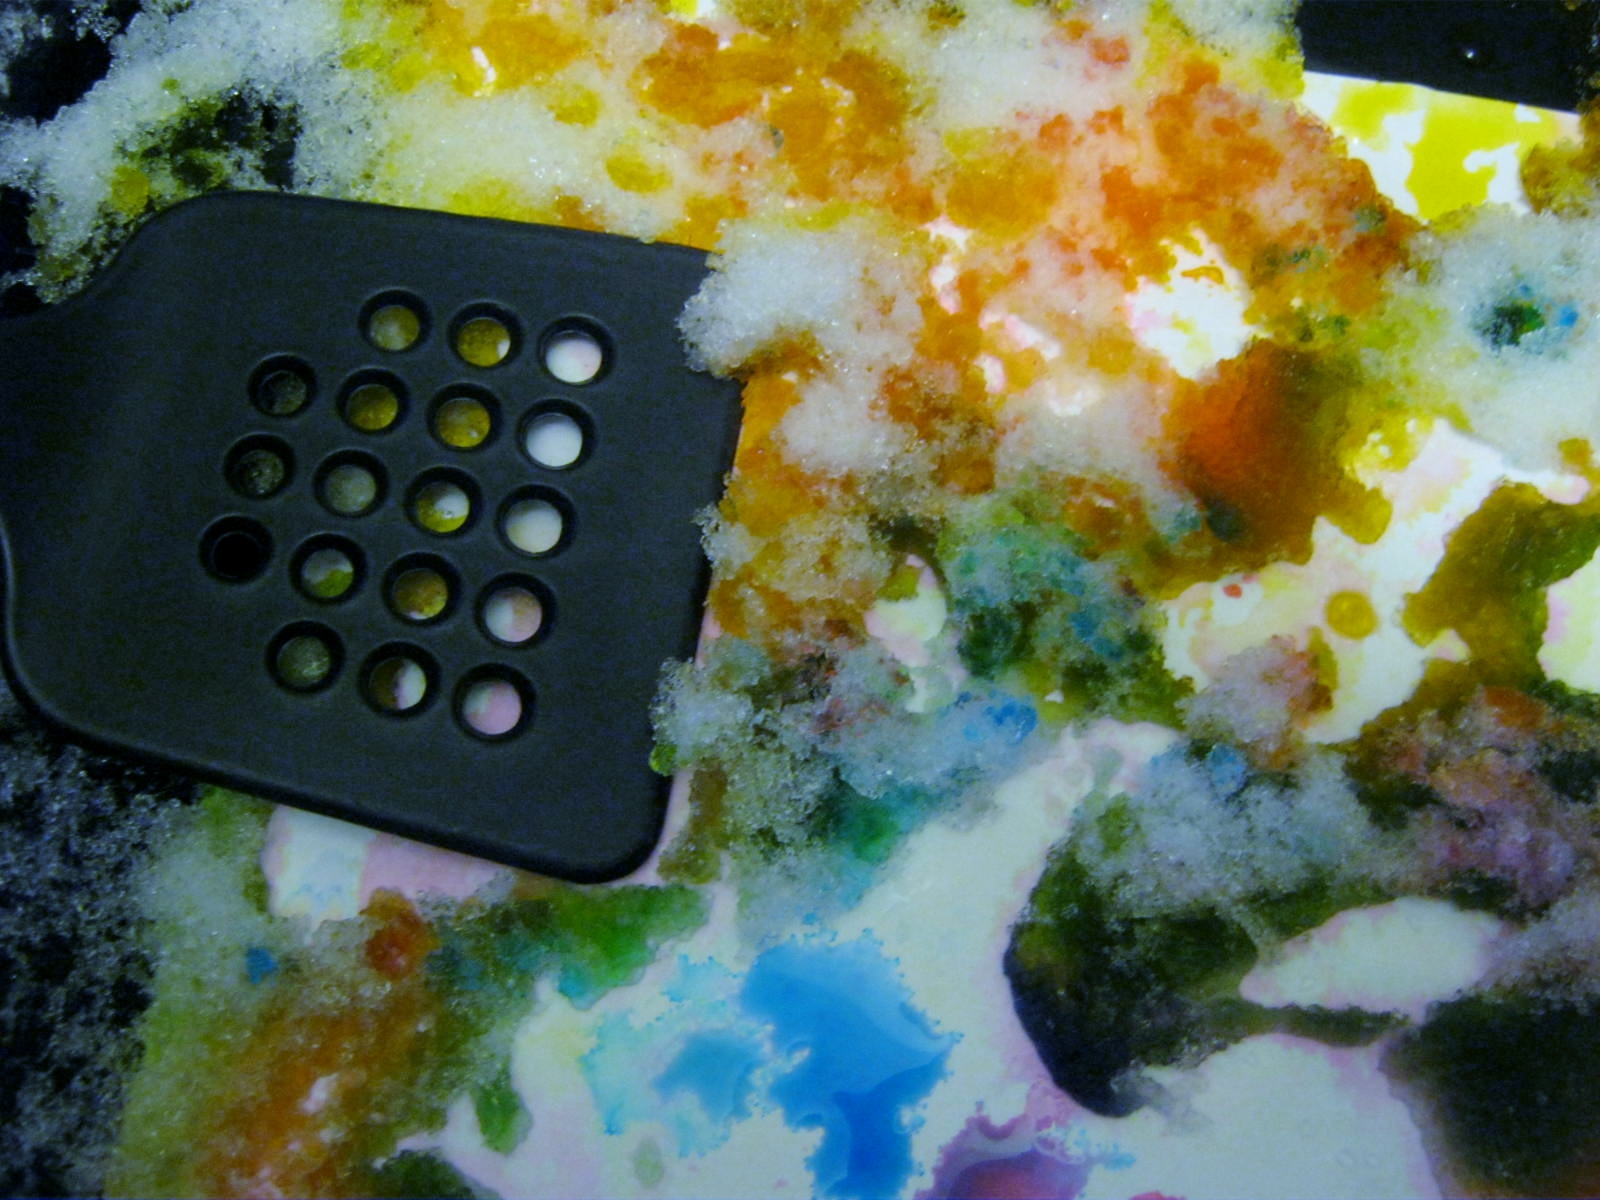
The babes quickly picked up how to hold the squeeze bottles upside down. They had a great time and became really exuberant with their dipping and swirling of the paint bottles.
When we were finished I whisked the finished snow paintings into the garage to allow the snow to slowly melt and deposit the food coloring on the watercolor paper underneath.
A few hours later I scooped off the colorful snow, let the excess water run-off into the sink, and left the paintings in the trays to dry overnight.
The paintings turned out great! I can’t wait to show them to the babes tomorrow. Happy Snow Painting!
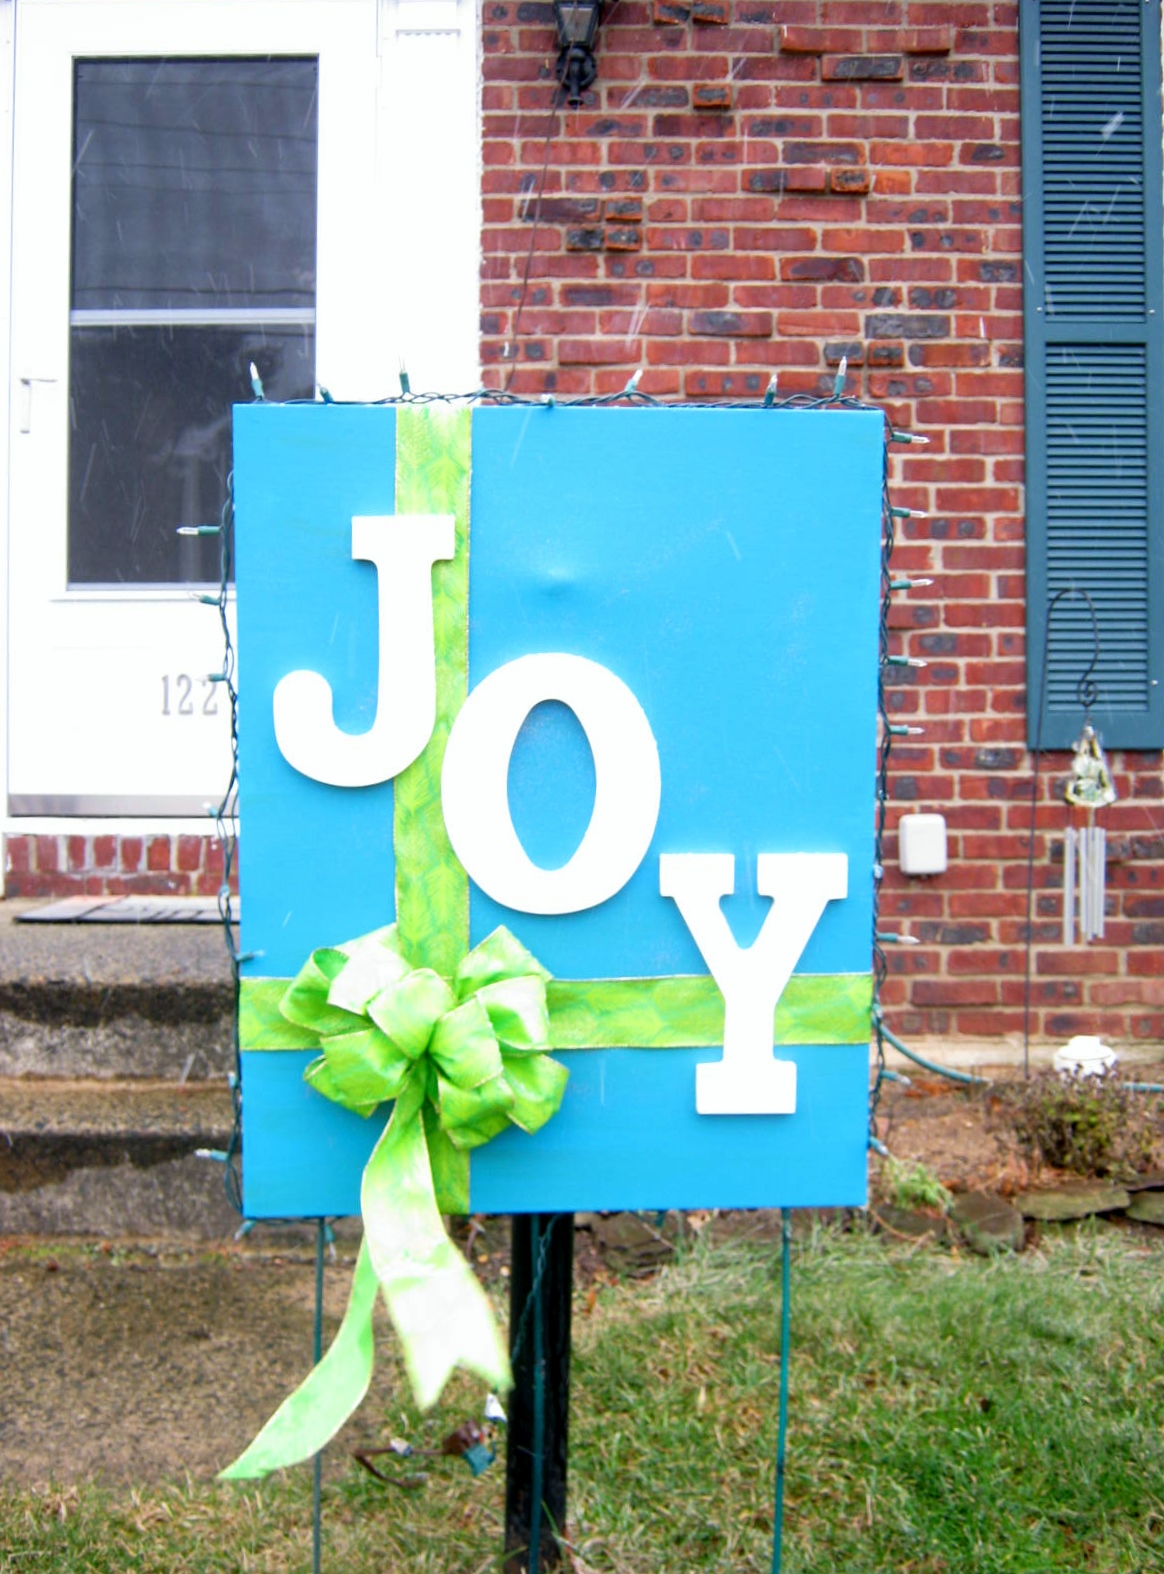
I love the Christmas canvas art I have seen in stores this year. I decided to create one in favorite colors with a theme word that matches my mood this year – JOY
Here’s a quick step-by-step in pictures.
Choose your canvas size, and three bottles of acrylic paint that are in the same color family. Have on hand paper plates or bowls for mixing, and three foam paint applicators. I used two large-sized applicators and one small one because that is what I had on hand. Next time I create something so large, I’ll make sure ALL my applicators are large.
I swished the colors on with the applicators, light color, darker color, light on top. I followed no special pattern or design. I wanted the finished color to have a bit of depth, which is why I chose to use three colors. You can use one, two, three or more if you are so inclined. Your choice is what makes the project special.
At this point I left the canvas alone for several hours to dry. When it was dry to the touch (watch those wet sides when you check it) I Crafted A Bow and tied it off with a piece of floral wire. (I had thirty feet of ribbon for this project) I ran two lengths of ribbon across the front to mimic a tied package. I stapled the ends of the ribbons behind the canvas on the wood stretcher bars, and then with a box cutter poked two holes where the ribbons crossed to insert the floral bow wire.
My letters of Joy were next. I used Gorilla glue for this project. If it was a canvas for indoor use I would have used my glue gun. My experience with glue guns is that in cold temperatures the glue releases its hold. Gorilla Glue, although good for outdoors, is touchy too. Here’s a whole youtube video I found on what NOT to do with Gorilla Glue.
Gorilla Glue expands double, maybe triple, beyond where you place it. Beware of this tendency. I ran a very thin line of glue in the center of each letter and put them in place. I let everything dry overnight.
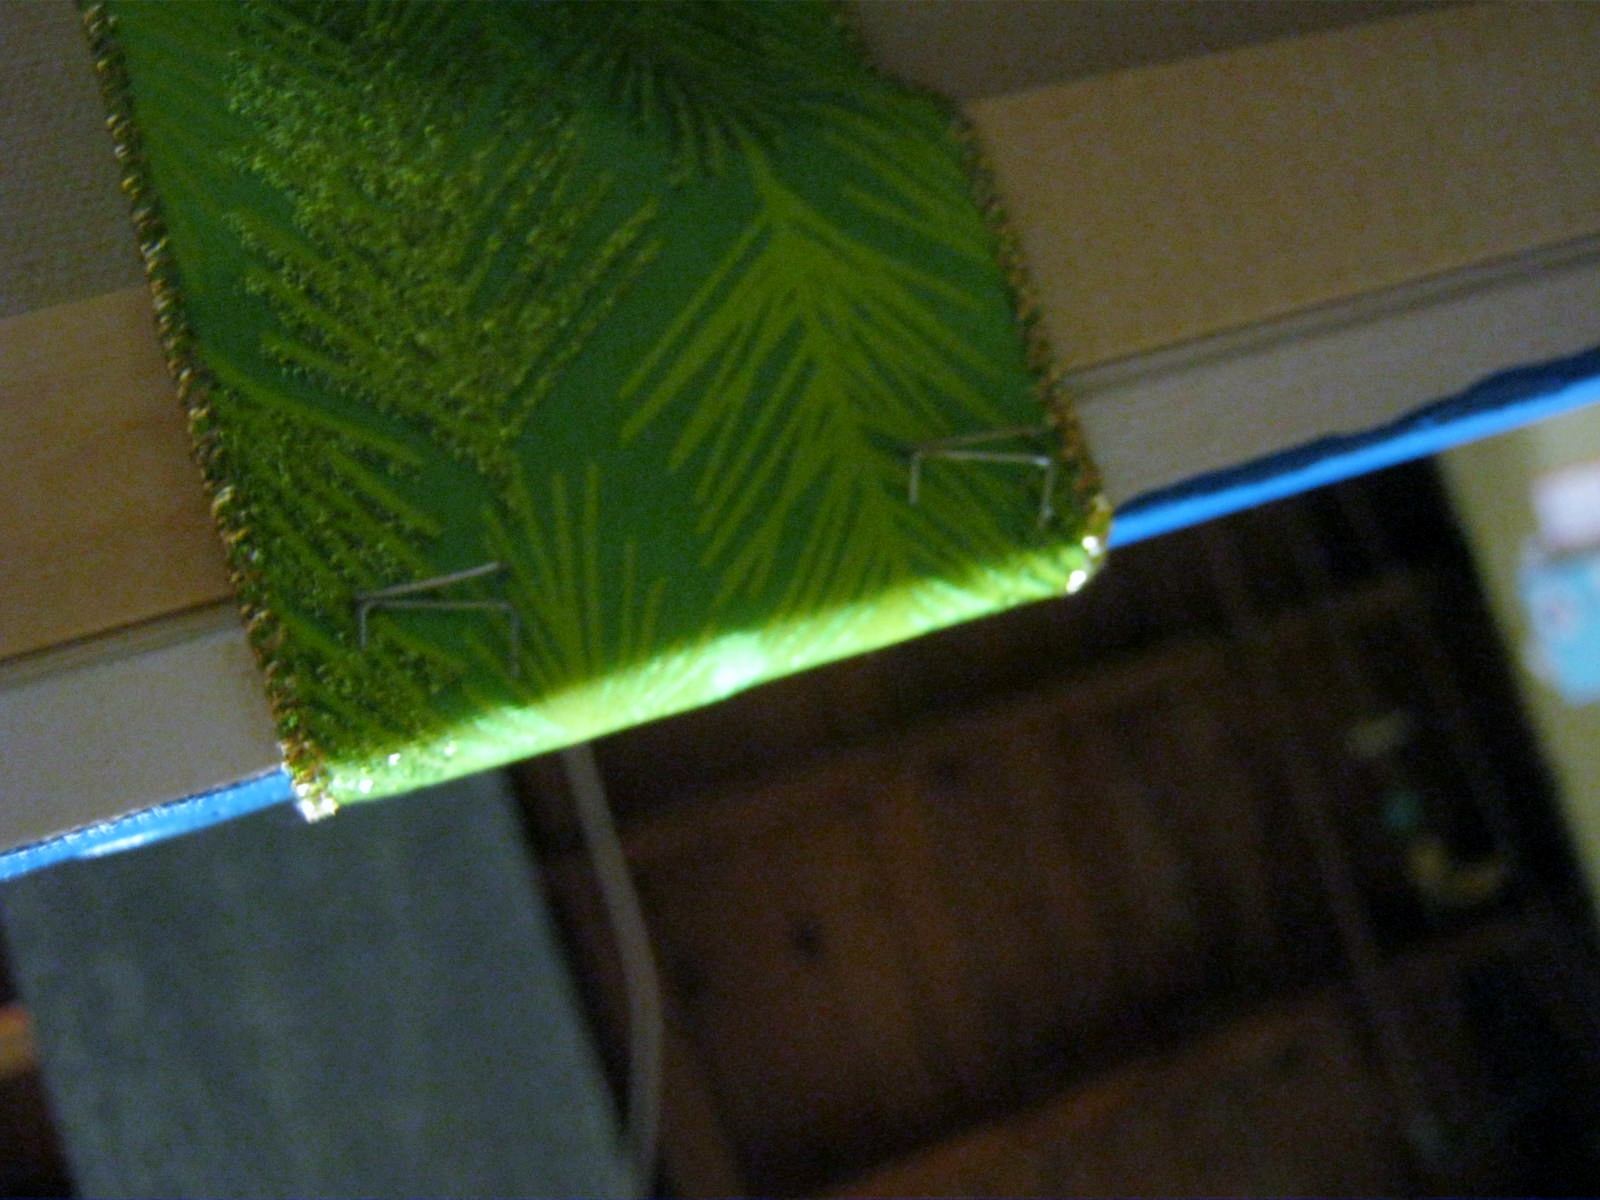
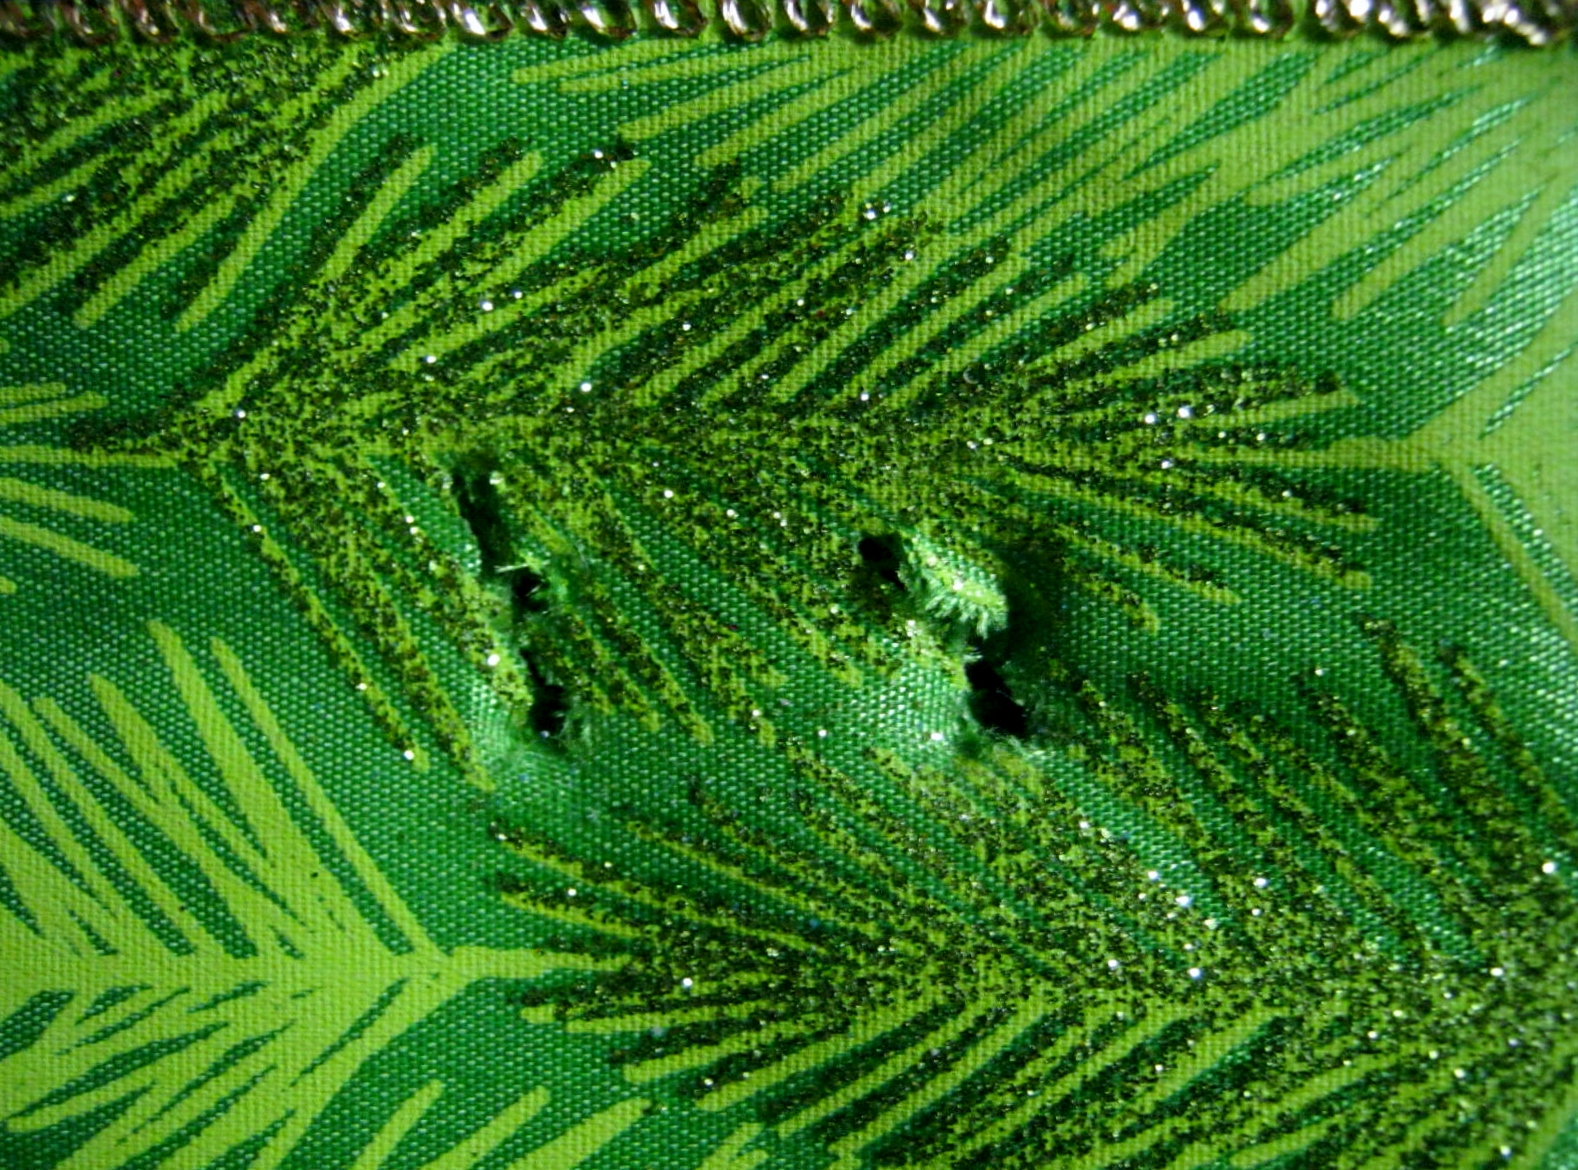
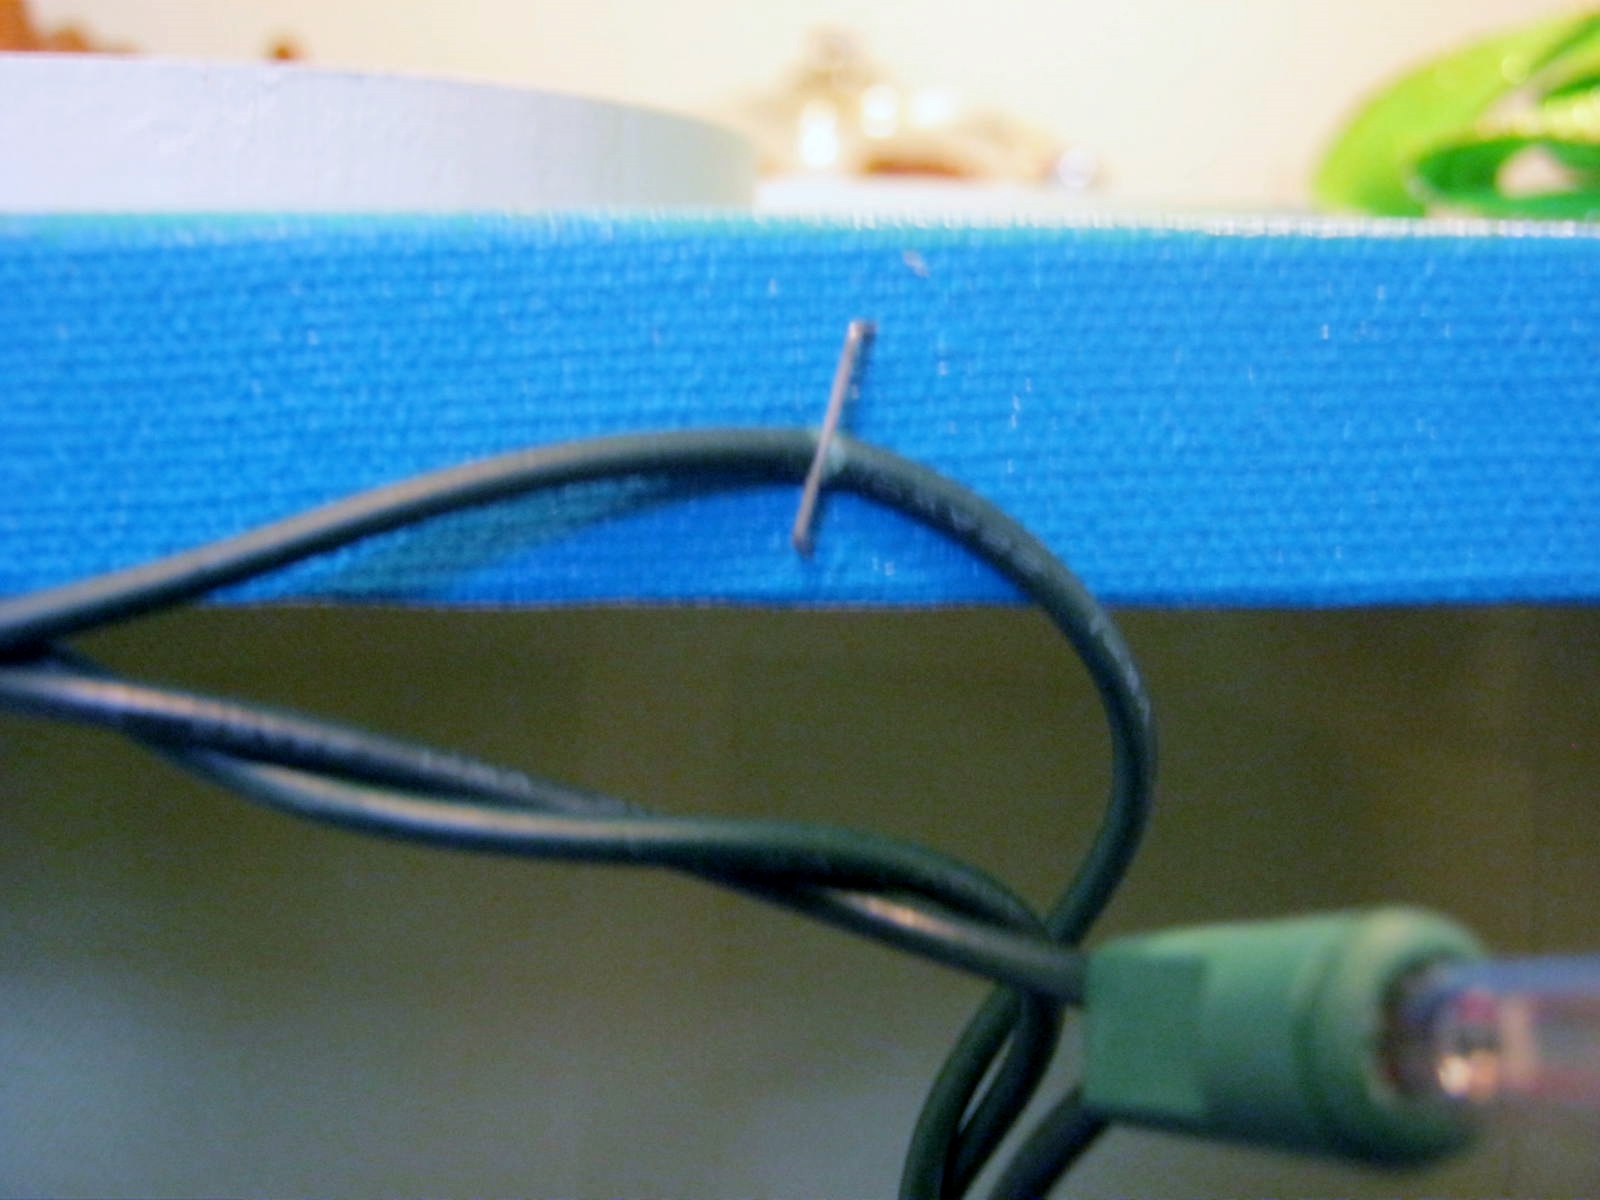
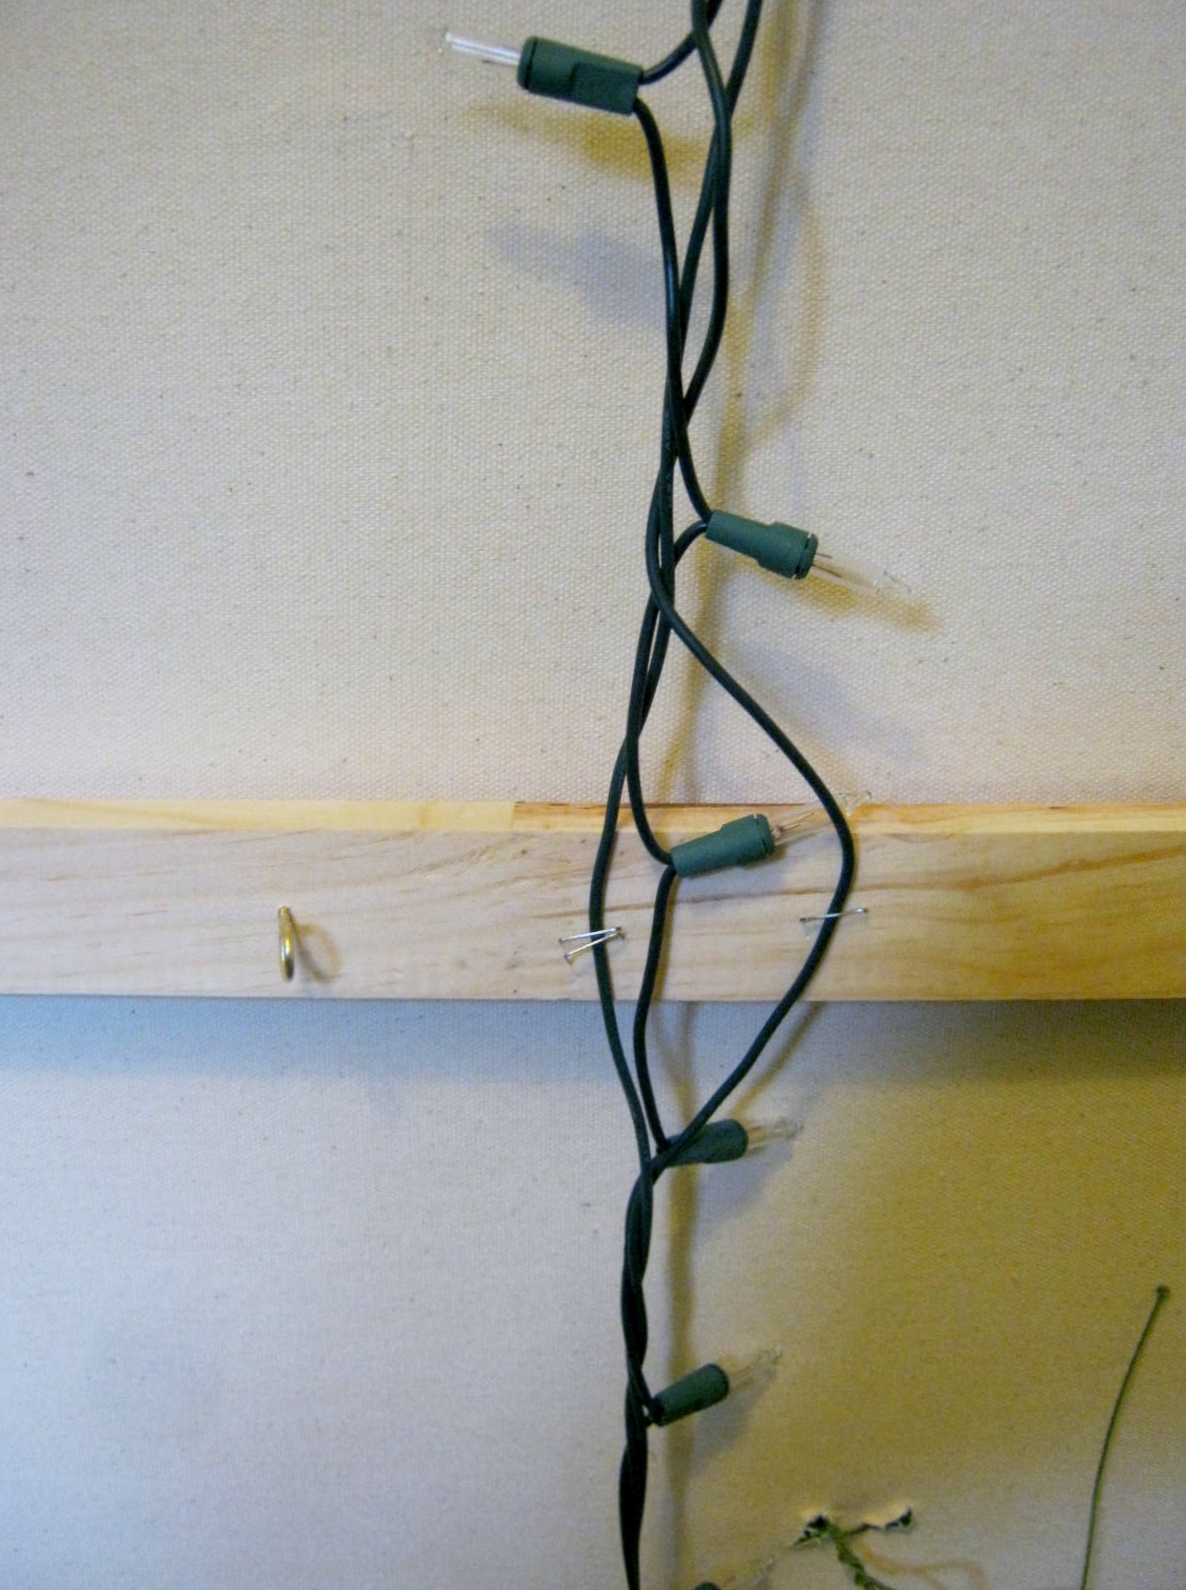
The next day, using the staple gun again, I attached a string of lights around the edge of the canvas. I had some extra, so I ran that bit up behind the canvas.
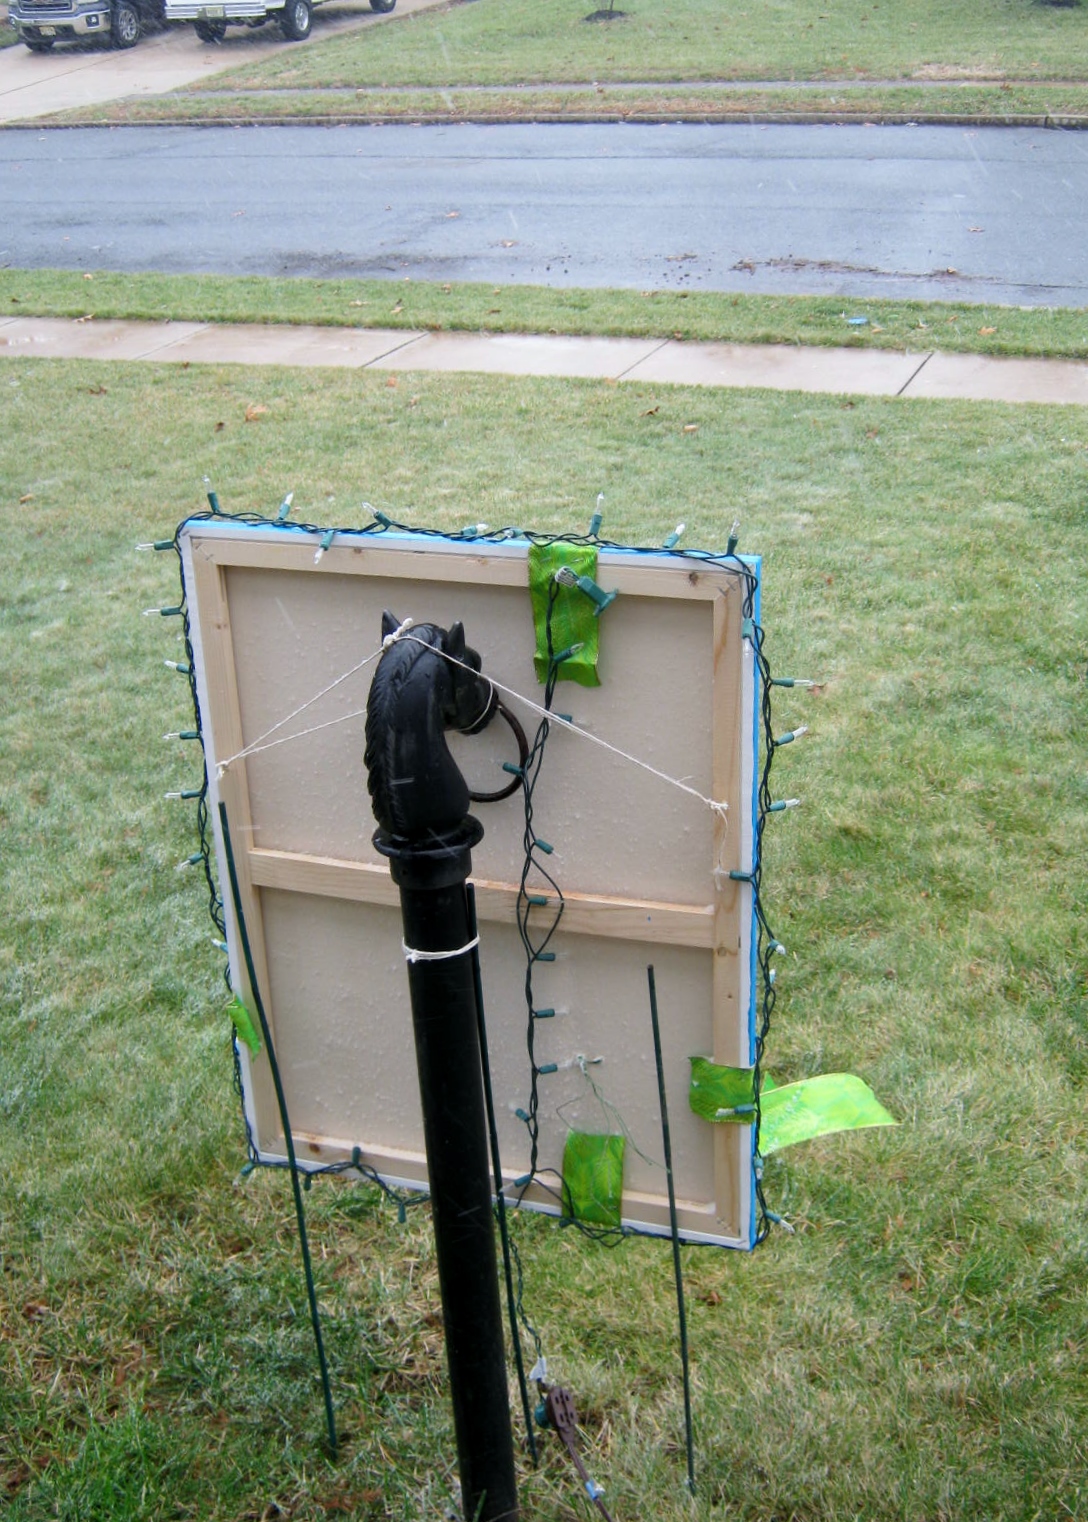
Hanging it was a challenge. My first choice was on a Shepherd hook. No good! Even stabilized from the ground with string and anchors the canvas caught and swirled in every breeze.
My final solution was the horse hitching post by my front porch. The sturdier, lower post was perfect for hanging. The ears and large pole formed a good anchor for many, many strings. Next year when I hang my canvas, I will think ahead and cover the back to hide the mechanics. But hey, the only people who will see the back are the mailman and those who leave my home. Hopefully, they will stay until dark and not notice!
I am always entranced by branches covered with lichen. The frilly growth, the lovely greens…the possibilities…oh my. This type of lichen forms on decaying wood. I usually find them scattered on the ground after a drenching storm. The heavy winds and rain carry them to the ground. These lichen are known as foliose lichen
One problem I needed to deal with before I used the lichen branches was the bits of dirt and insects embedded in the wood. Some nature craft books recommend baking pine cones, branches, and other naturals in the oven to kill insects and/or their eggs. I didn’t want to destroy the beautiful softness or green color of the lichens, and the branches were larger than the dimensions of my oven; the solution: I soaked them in my laundry tub. This seemed to work for flushing out any stowaway insects. I weighted the branches down with plates, because of course…they float. Now I must come up with a project worthy of their beauty.